Home>Furniture & Design>Bathroom Accessories>How To Repair A Cracked Fiberglass Bathtub
Bathroom Accessories
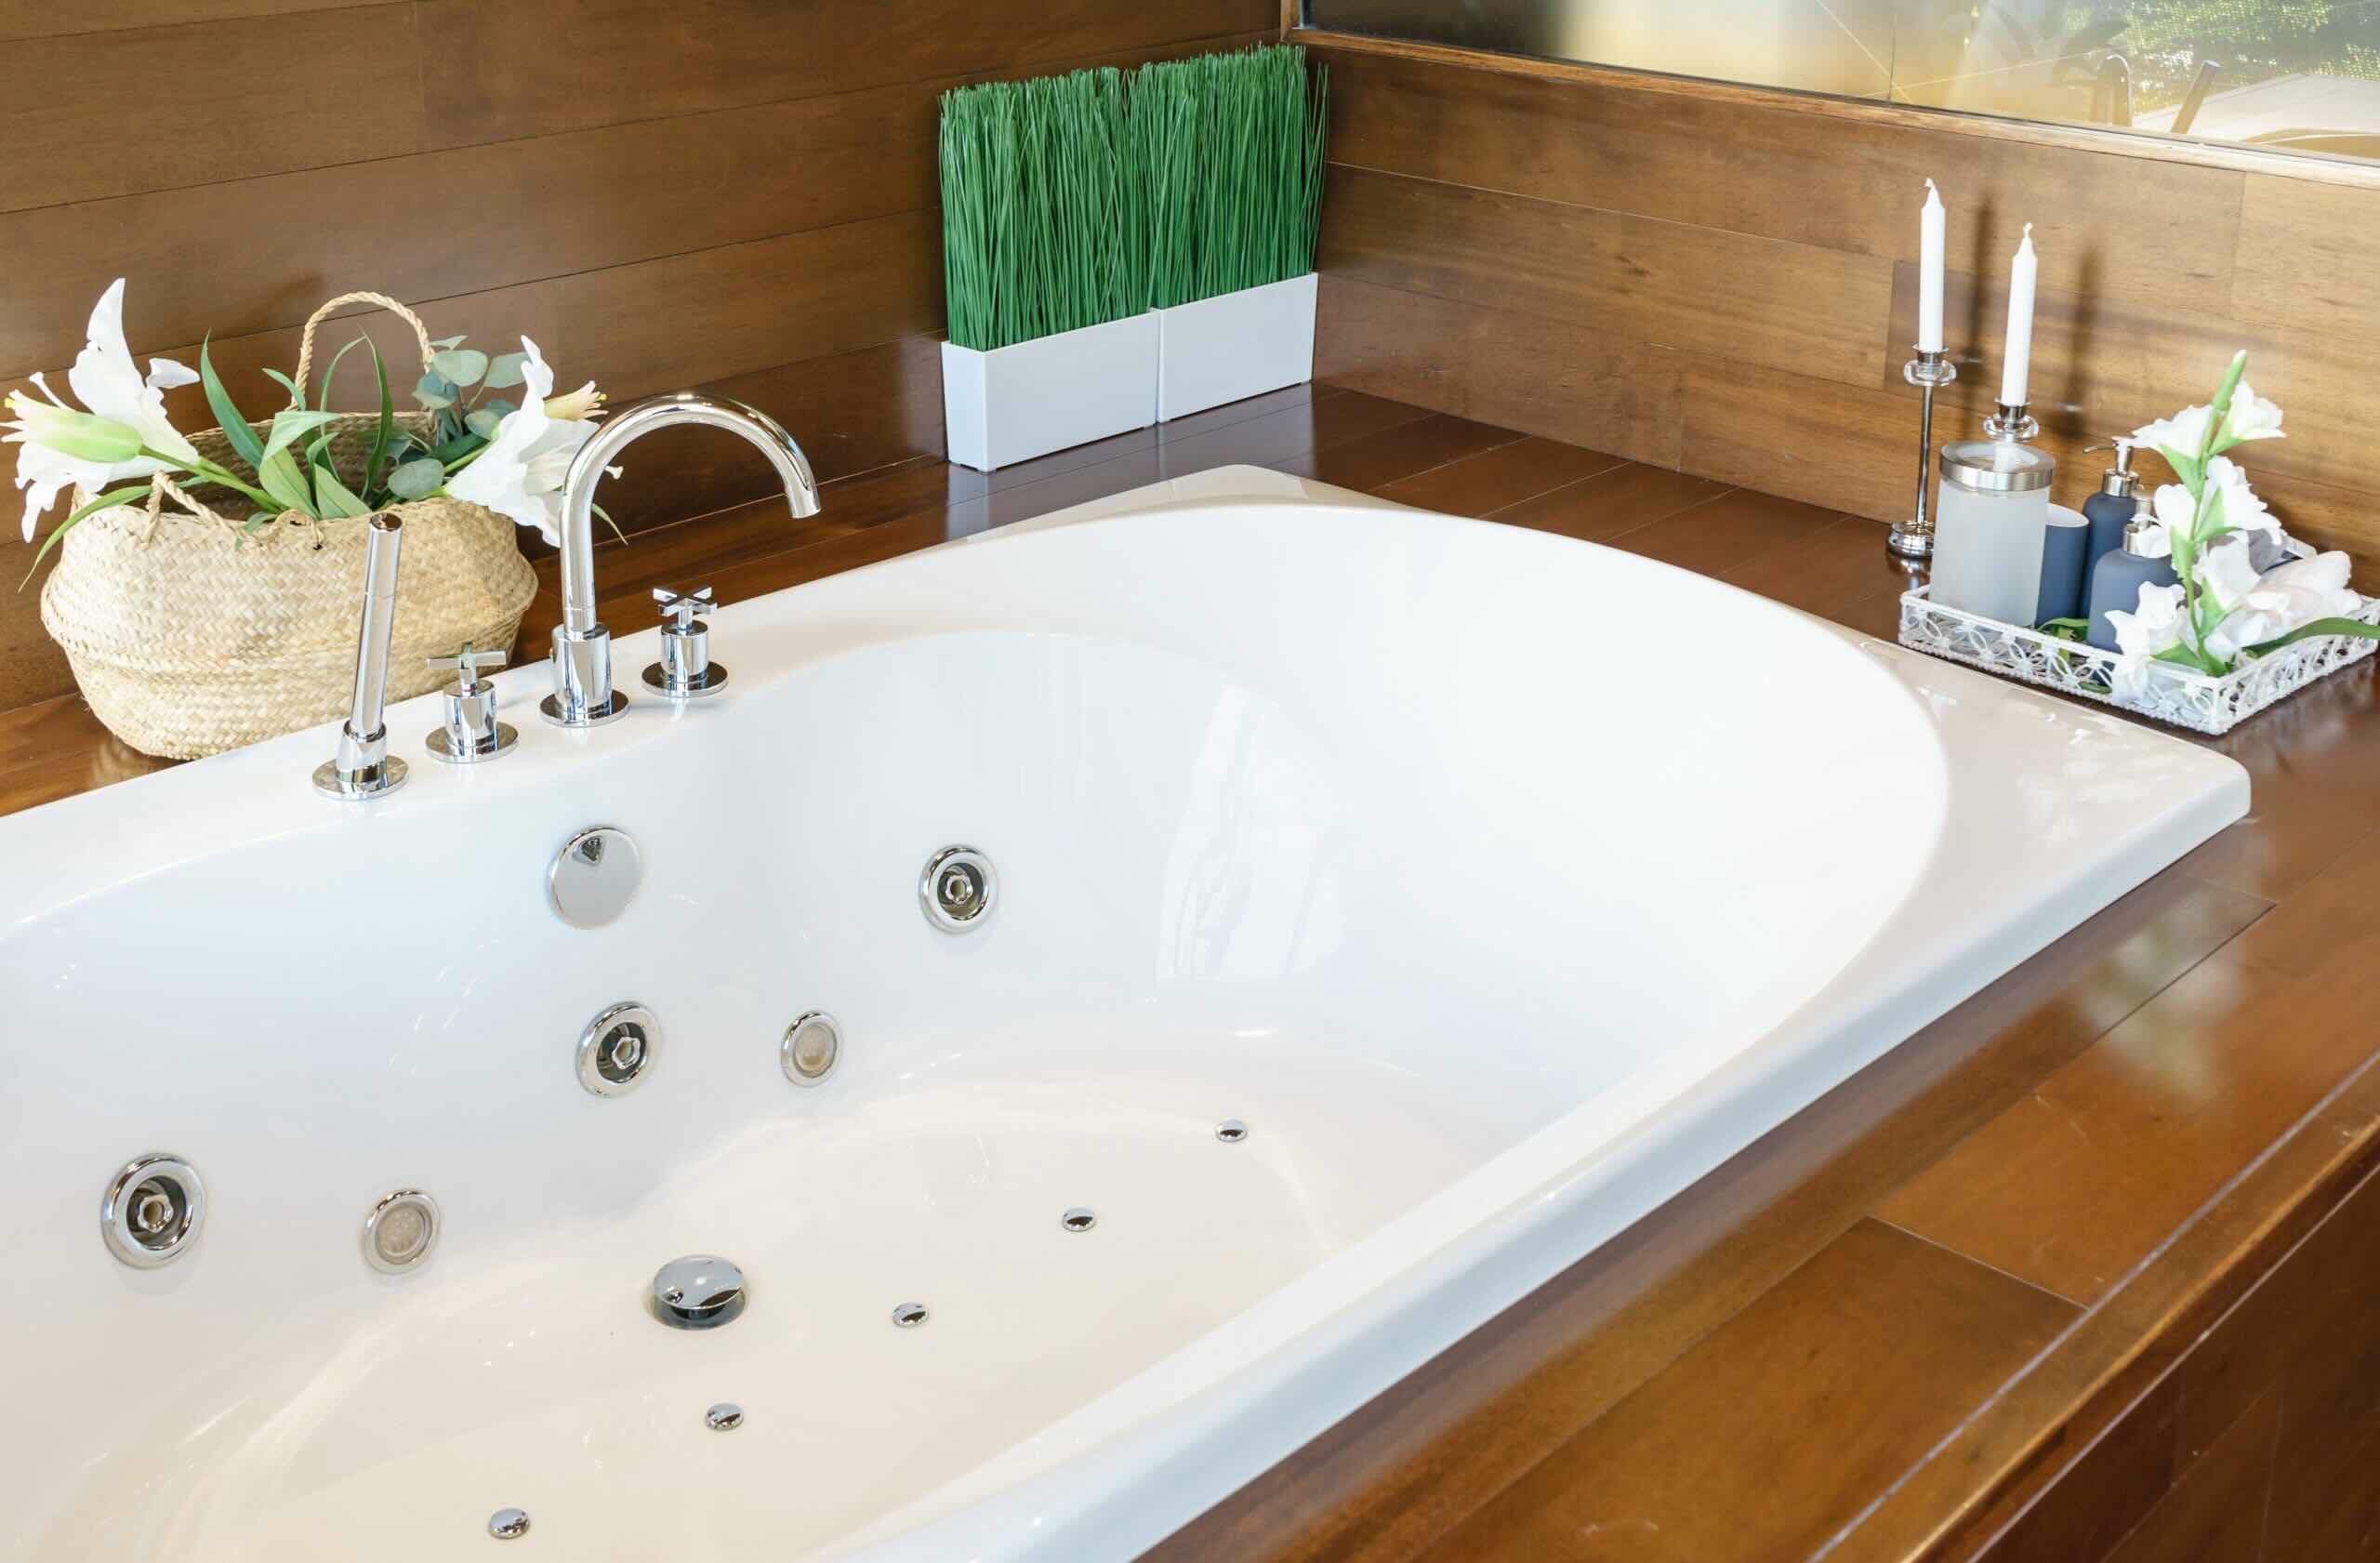
How To Repair A Cracked Fiberglass Bathtub
Modified: February 18, 2024
Learn how to effectively repair a cracked fiberglass bathtub with our expert tips and techniques. Keep your bathroom looking great with our bathroom accessories.
(Many of the links in this article redirect to a specific reviewed product. Your purchase of these products through affiliate links helps to generate commission for Storables.com, at no extra cost. Learn more)
Introduction
A cracked fiberglass bathtub can be a source of frustration and concern for homeowners. Whether the crack is small or extensive, addressing the issue promptly is crucial to prevent further damage and maintain the functionality and aesthetics of the bathtub. Fortunately, with the right tools, materials, and a bit of know-how, repairing a cracked fiberglass bathtub is a manageable task that can be accomplished with confidence.
When it comes to repairing a cracked fiberglass bathtub, it's essential to approach the task with a methodical mindset and a clear understanding of the necessary steps involved. By following a systematic approach, you can effectively restore the bathtub to its original condition, ensuring that it remains a durable and visually appealing fixture in your bathroom.
In this comprehensive guide, we will walk you through the step-by-step process of repairing a cracked fiberglass bathtub. From assessing the extent of the damage to applying the repair kit and conducting the final inspection, each stage of the repair process will be thoroughly explained, providing you with the knowledge and confidence to tackle this project successfully.
By the end of this guide, you will have gained valuable insights into the techniques and materials required to repair a cracked fiberglass bathtub. Additionally, we will provide maintenance tips to help you preserve the longevity of the repaired area, ensuring that your bathtub remains in top-notch condition for years to come.
Now, let's delve into the details of assessing the damage and gathering the necessary materials for the repair process. With a proactive approach and the right guidance, you'll soon be on your way to restoring your cracked fiberglass bathtub to its former glory.
Key Takeaways:
- Don’t ignore a cracked fiberglass bathtub! Assess the damage thoroughly and gather the right materials for a successful repair. With patience and attention to detail, you can restore your bathtub to its former glory.
- After repairing your cracked fiberglass bathtub, conduct a final inspection and follow maintenance tips to ensure its longevity. Regular cleaning, avoiding impact, and prompt repairs will keep your bathtub in top-notch condition.
Read more: How To Whiten A Fiberglass Bathtub
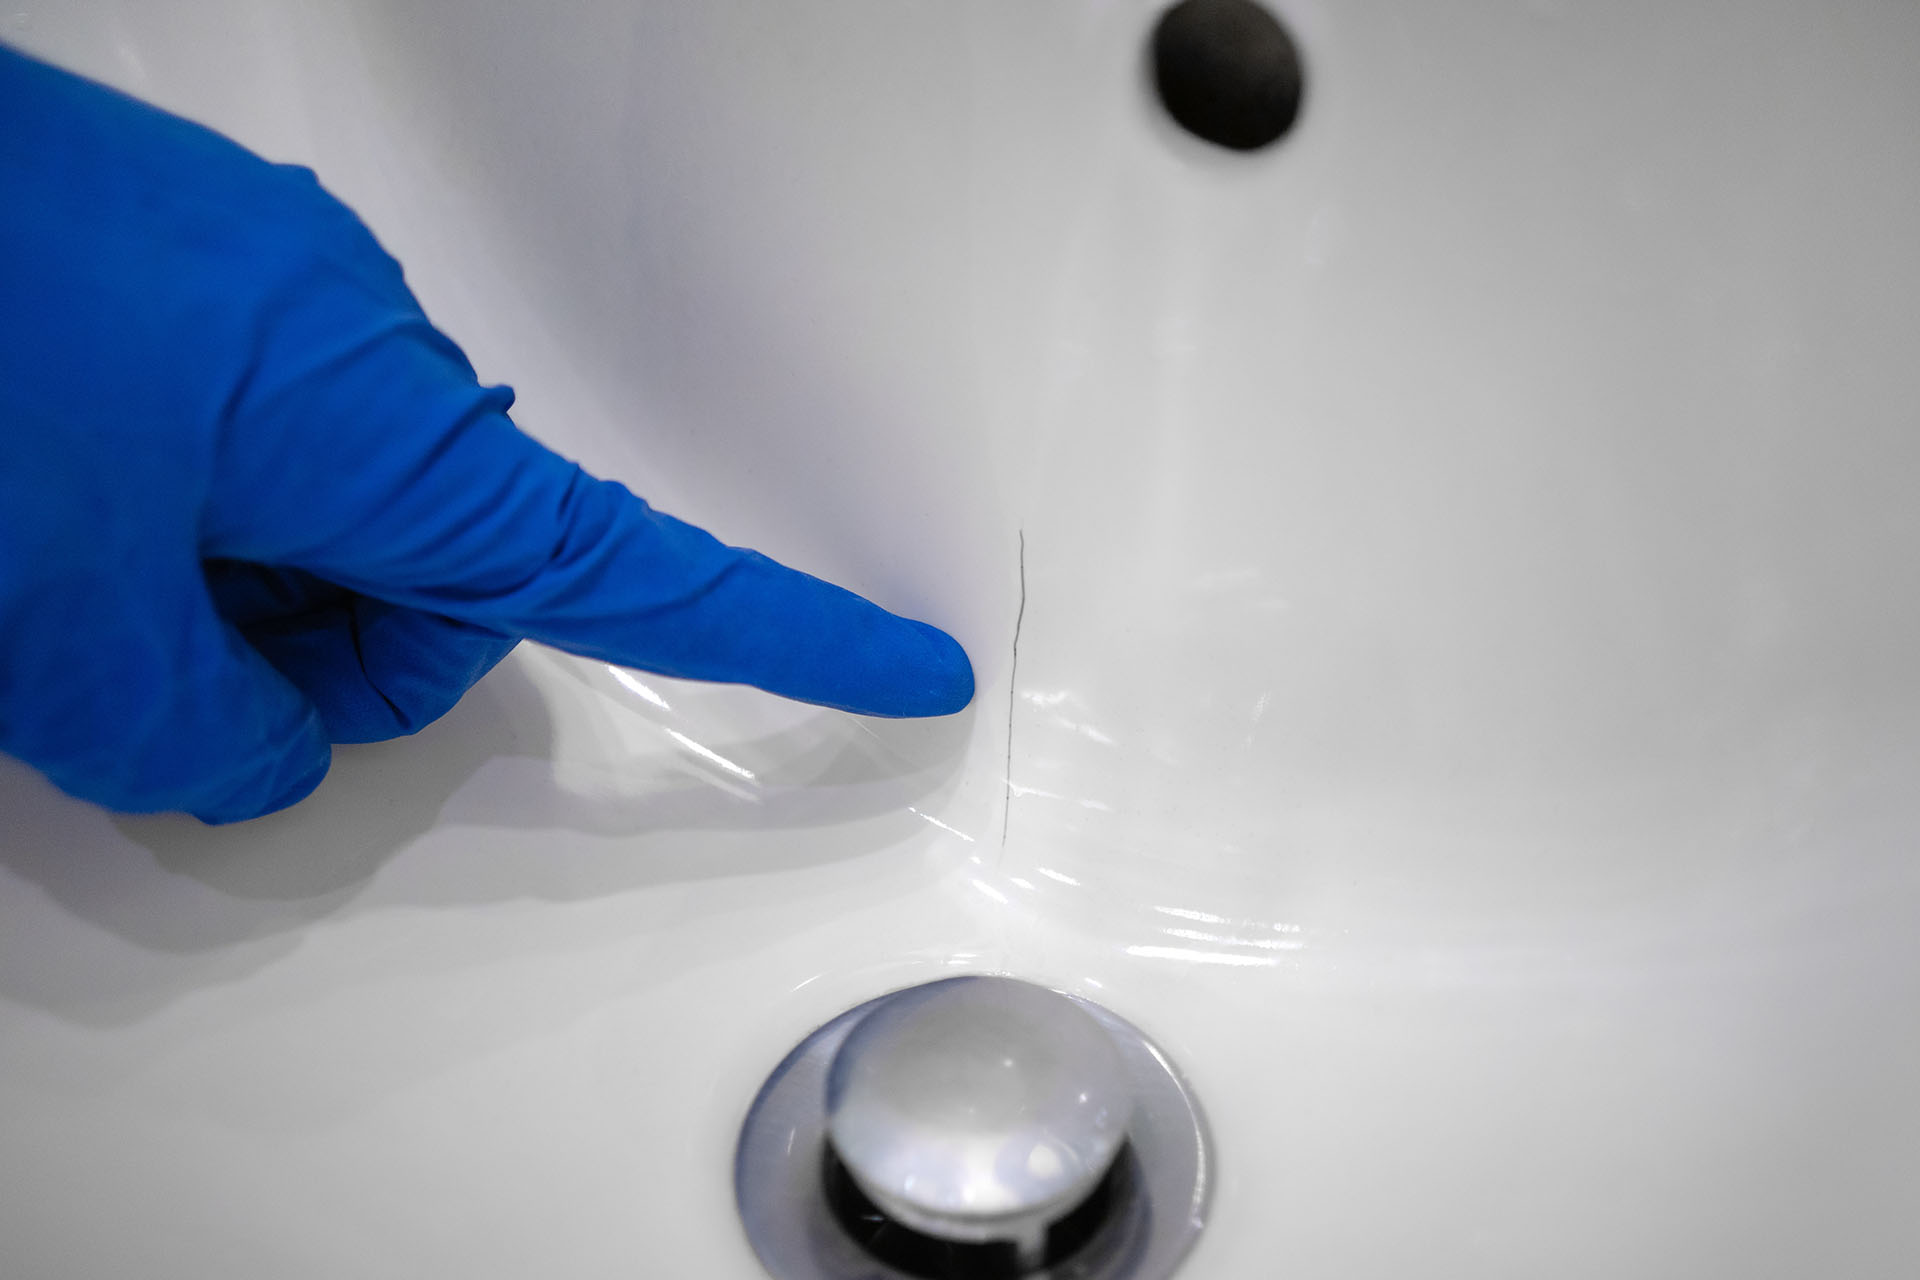
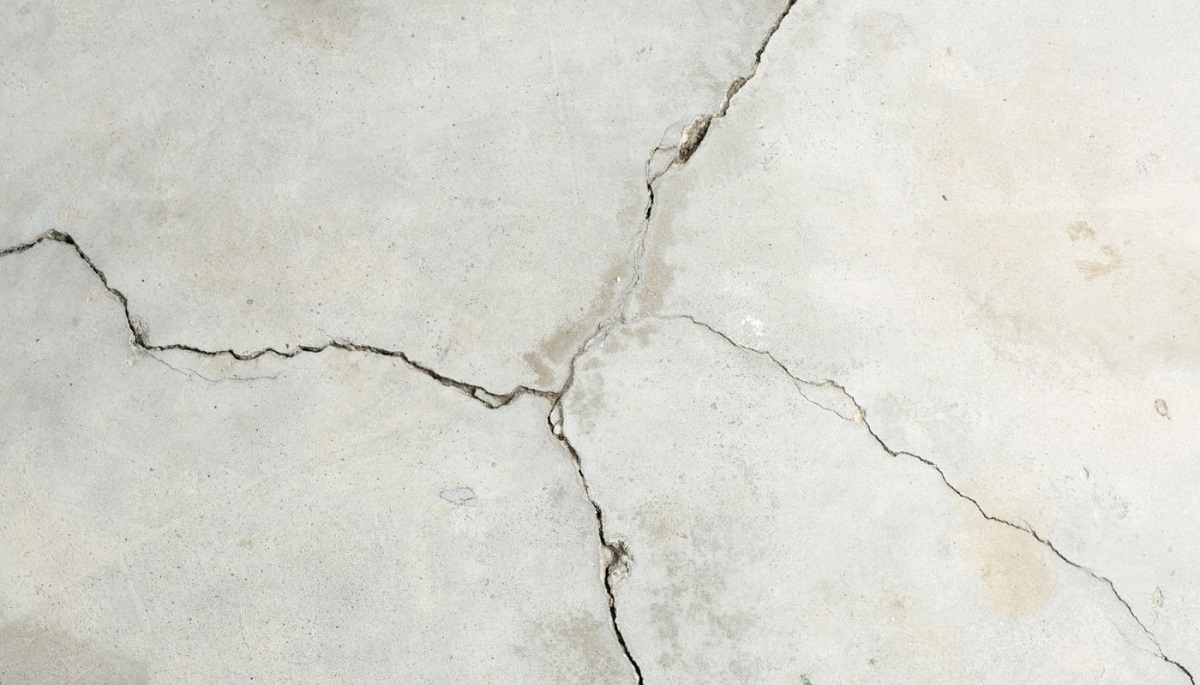
Assessing the Damage
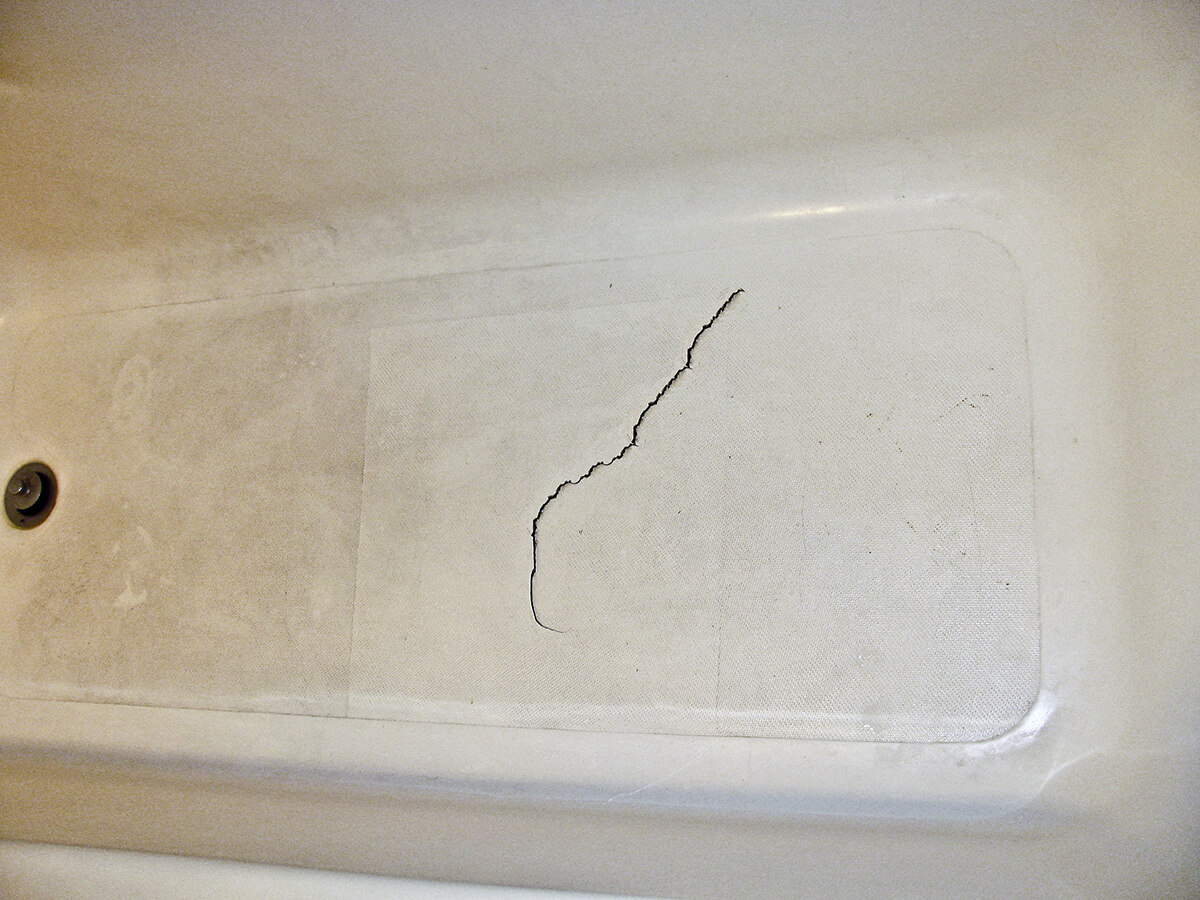
Before embarking on the repair process, it's crucial to thoroughly assess the extent of the damage to your fiberglass bathtub. This initial step is essential for determining the appropriate approach to addressing the crack and ensuring a successful repair outcome.
Begin by visually inspecting the bathtub's surface for any signs of cracking or damage. Look for hairline cracks, larger fractures, or areas where the fiberglass has become compromised. It's important to carefully examine the entire surface of the bathtub, including the bottom, sides, and edges, as cracks can manifest in various locations.
Next, gently press on the areas surrounding the identified cracks to assess the severity of the damage. Pay attention to any flexing or movement in the fiberglass, as this can indicate the presence of underlying structural issues. Additionally, listen for any creaking or cracking sounds, which may suggest that the crack extends deeper than the surface layer.
If the crack is accompanied by leaking or water seepage, it's imperative to address the issue promptly to prevent further water damage to the surrounding areas. Take note of any discoloration, warping, or softening of the fiberglass, as these are indicators of prolonged exposure to moisture.
Furthermore, consider the location of the crack in relation to the bathtub's contours and stress points. Cracks near the drain, corners, or areas subject to frequent impact or pressure may require specific attention to ensure a durable and long-lasting repair.
In some cases, it may be necessary to enlist the expertise of a professional to assess the damage, especially if the crack is extensive or if there are concerns about the structural integrity of the bathtub.
By conducting a thorough assessment of the damage, you'll be equipped with a clear understanding of the scope of the repair project and the specific requirements for addressing the crack. This proactive approach sets the stage for a successful repair process, ensuring that the necessary measures are taken to restore the bathtub to its optimal condition.
With a comprehensive evaluation of the damage completed, the next step involves gathering the necessary materials for the repair, which will be detailed in the following section.
Gathering the Necessary Materials
When it comes to repairing a cracked fiberglass bathtub, having the right materials at your disposal is essential for achieving a successful and long-lasting repair. Before commencing the repair process, it's crucial to gather the necessary materials to ensure a seamless and efficient workflow. Here's a comprehensive list of the essential items you'll need to effectively address the crack in your fiberglass bathtub:
-
Fiberglass Repair Kit: Acquire a high-quality fiberglass repair kit that includes resin, hardener, fiberglass cloth or mat, mixing cups, and application tools. Opt for a repair kit specifically designed for repairing bathtubs or marine applications, as these kits are formulated to withstand moisture and provide durable repairs.
-
Safety Gear: Prioritize safety by obtaining protective gear such as gloves, safety goggles, and a respirator mask. Fiberglass repair materials can emit strong fumes and may cause skin irritation, making it crucial to safeguard yourself during the repair process.
-
Sandpaper and Sanding Block: Invest in a variety of sandpaper grits, including coarse, medium, and fine grades, to effectively sand the repaired area and achieve a smooth finish. Additionally, a sanding block or sanding pad will facilitate even and controlled sanding.
-
Cleaning Supplies: Ensure you have acetone or a suitable fiberglass cleaner to thoroughly clean the cracked area before applying the repair materials. Proper cleaning is essential for promoting adhesion and ensuring the longevity of the repair.
-
Masking Tape and Plastic Sheeting: Prepare the work area by using masking tape and plastic sheeting to protect surrounding surfaces from accidental spills or splatters during the repair process.
-
Mixing and Application Tools: Gather disposable mixing cups, stirring sticks, and application brushes or rollers to accurately measure, mix, and apply the resin and hardener mixture. These tools are essential for achieving precise and controlled application of the repair materials.
-
Leveling Compound (Optional): Depending on the depth of the crack, you may need a leveling compound to fill any depressions or uneven areas around the repaired section, ensuring a seamless and level surface.
By ensuring that you have all the necessary materials on hand, you'll be well-prepared to embark on the repair process with confidence and efficiency. With these materials at your disposal, you can proceed to the next crucial steps of preparing the surface and applying the repair kit to effectively address the crack in your fiberglass bathtub.
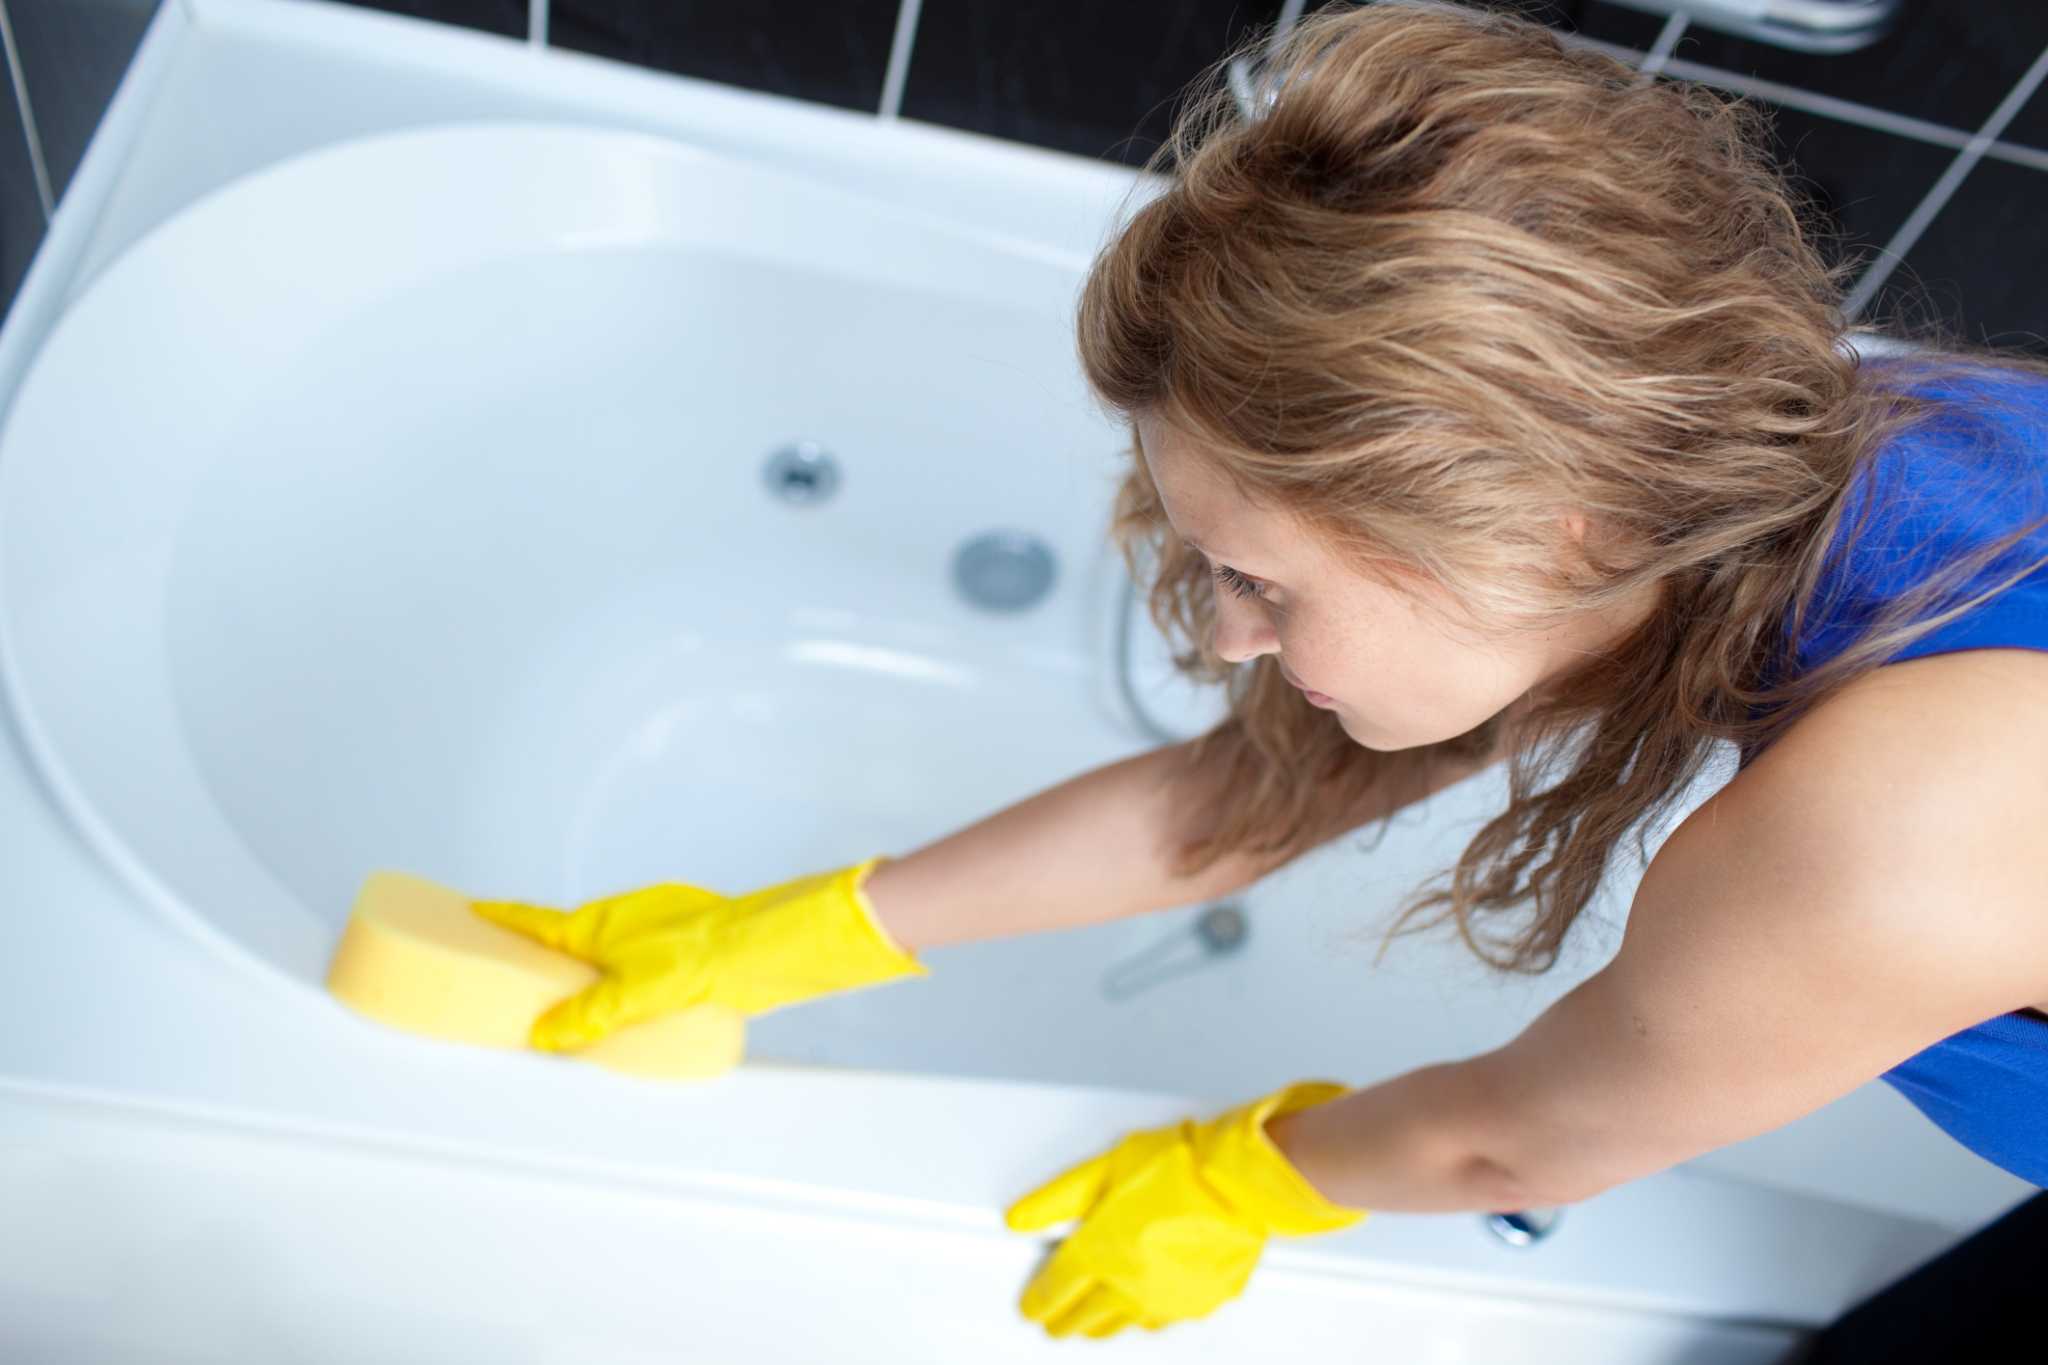
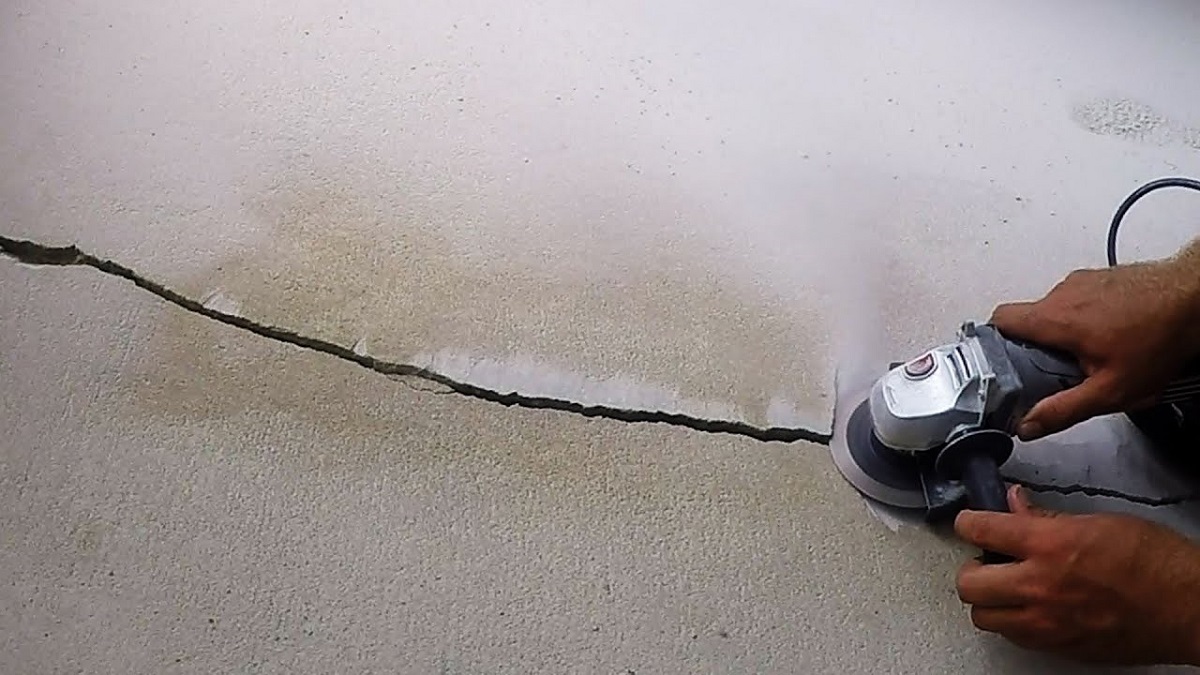
Preparing the Surface
Before applying the repair materials to the cracked fiberglass bathtub, thorough surface preparation is essential to ensure optimal adhesion and a seamless repair outcome. The following steps outline the meticulous process of preparing the surface for the application of the fiberglass repair kit:
-
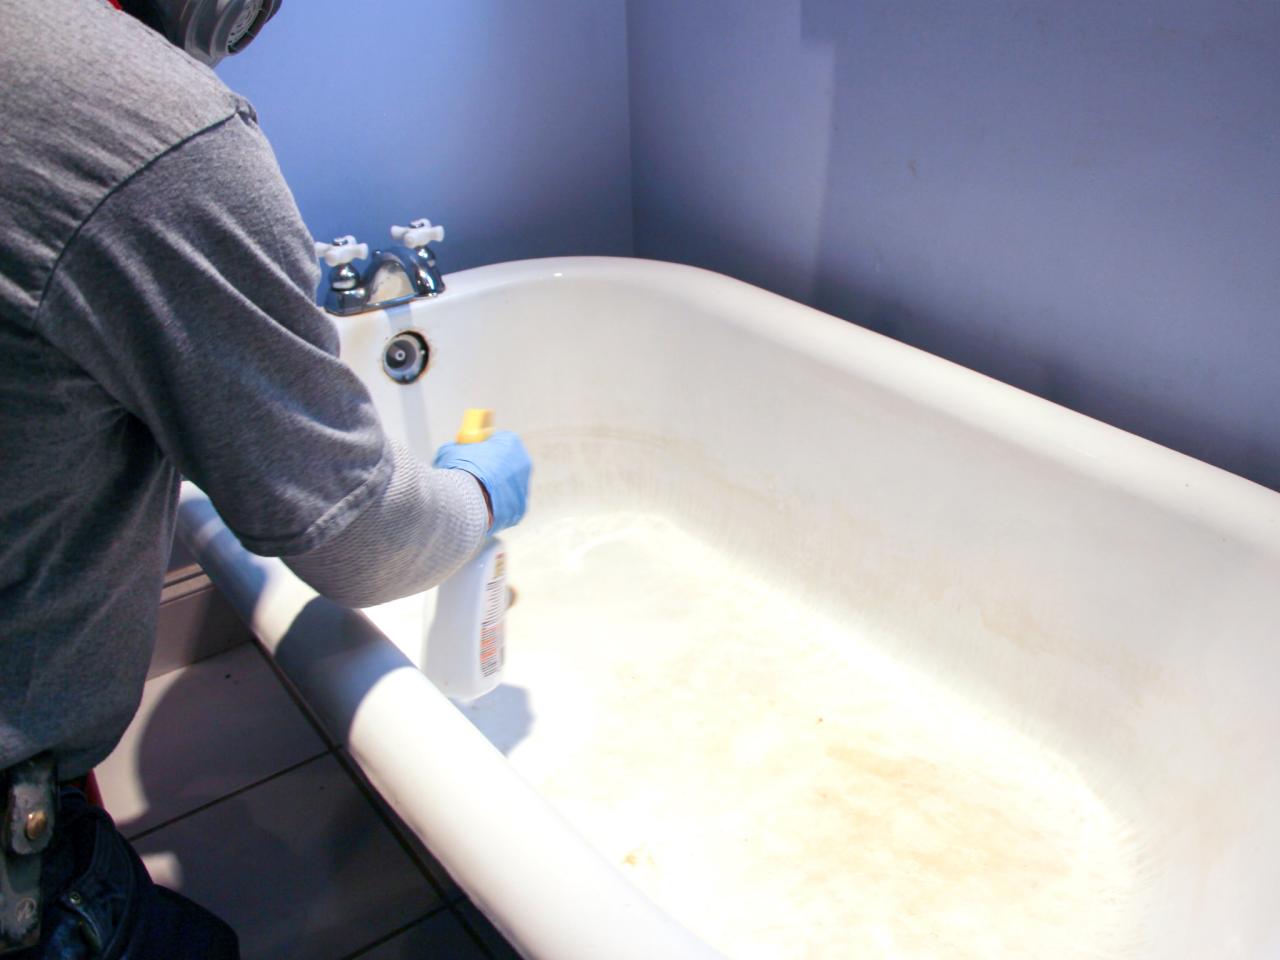
Cleaning the Area: Begin by cleaning the cracked area and its immediate surroundings with acetone or a recommended fiberglass cleaner. This step is crucial for removing any dirt, grime, or residue that may hinder the adhesion of the repair materials. Use a clean cloth or sponge to apply the cleaner and ensure that the surface is completely free of contaminants.
-
Roughening the Surface: Using coarse-grit sandpaper, carefully roughen the edges and the immediate vicinity of the crack. This process, known as feathering, involves creating a slightly rough texture to promote better adhesion of the repair materials. Be mindful not to oversand the surrounding areas, as this can compromise the structural integrity of the bathtub.
-
Removing Loose Fiberglass: Inspect the cracked area for any loose or protruding fiberglass strands. Trim these strands using a pair of scissors or a utility knife to create a smooth and even surface. Removing loose fiberglass ensures that the repair materials can be applied uniformly, minimizing the risk of air pockets or uneven surfaces.
-
Masking Off Surrounding Areas: To prevent accidental spills or splatters during the repair process, use masking tape and plastic sheeting to mask off the surrounding areas of the bathtub. This precautionary measure safeguards adjacent surfaces from being inadvertently coated with the repair materials, maintaining a clean and controlled work environment.
-
Ensuring Dryness: Verify that the cleaned and sanded surface is completely dry before proceeding with the application of the repair kit. Any residual moisture can compromise the adhesion and curing of the repair materials, potentially affecting the durability of the repair.
By meticulously preparing the surface in accordance with these steps, you establish the foundation for a successful repair process. The attention to detail in cleaning, roughening, and securing the work area sets the stage for the effective application of the fiberglass repair kit, ensuring a durable and seamless restoration of the cracked fiberglass bathtub.
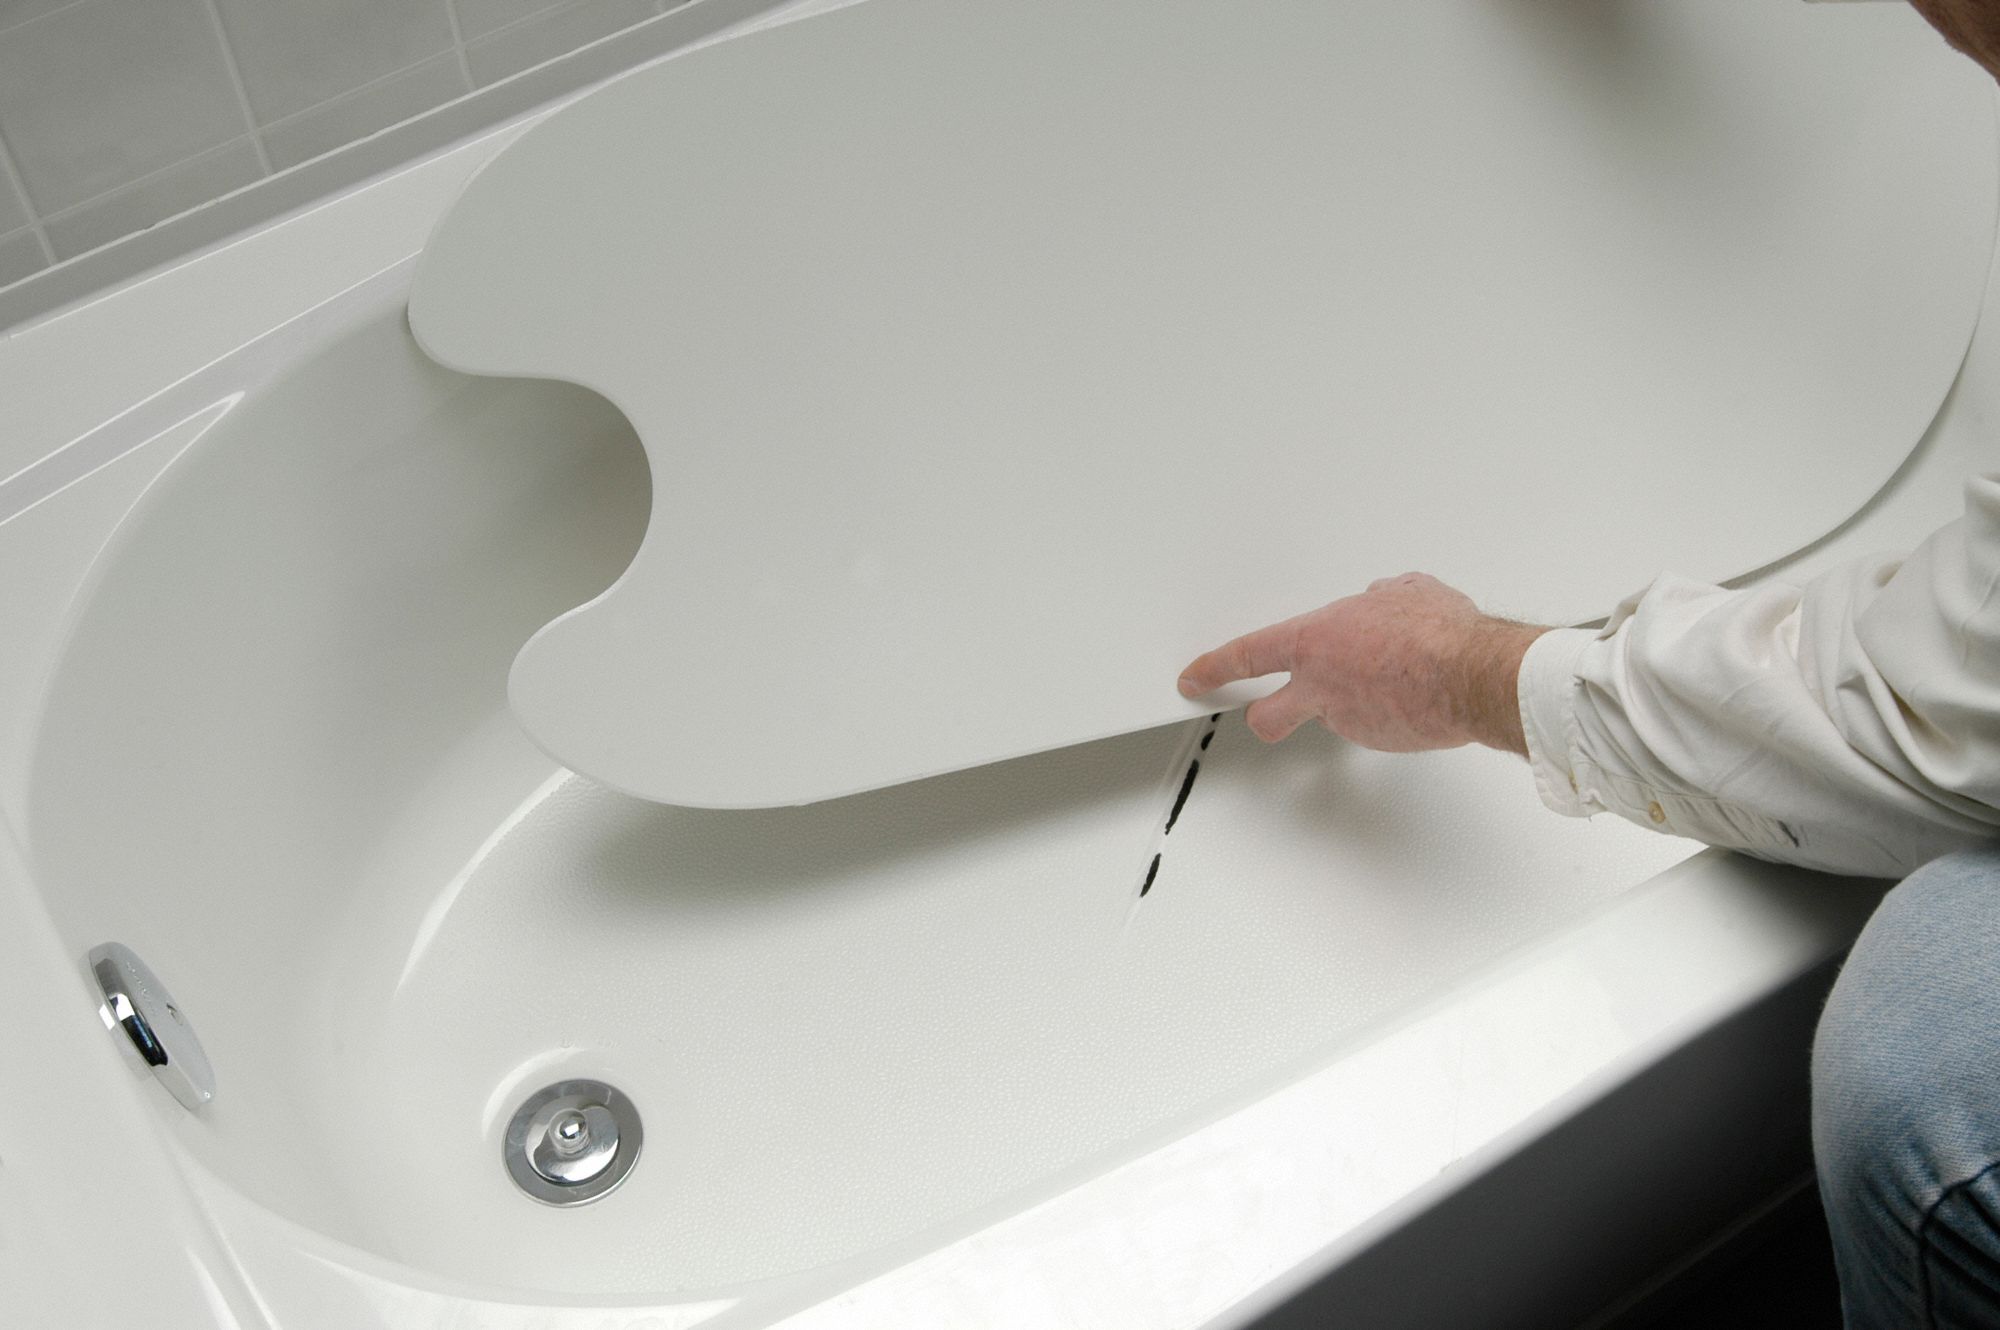
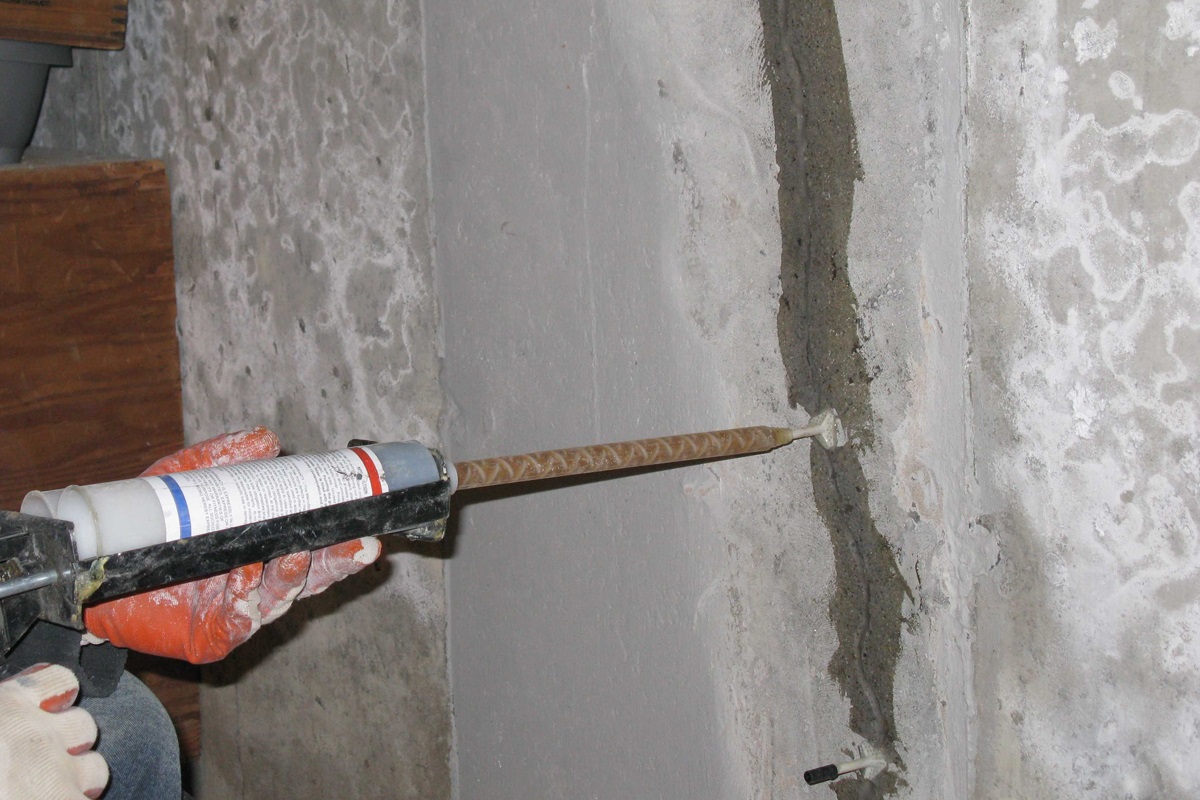
Applying the Repair Kit
Once the surface of the cracked fiberglass bathtub has been meticulously prepared, the next crucial step involves the application of the fiberglass repair kit. This phase of the repair process is pivotal in addressing the crack and reinforcing the structural integrity of the bathtub. Here's a detailed breakdown of the steps involved in applying the repair kit:
-
Mixing the Resin and Hardener: Begin by carefully following the manufacturer's instructions for mixing the resin and hardener included in the repair kit. Typically, the resin and hardener are combined in specified proportions to initiate the curing process. Use the disposable mixing cups and stirring sticks provided in the kit to ensure accurate measurements and thorough blending of the components.
-
Applying the Mixture: Once the resin and hardener are thoroughly mixed, use the provided application brush or roller to apply the mixture to the cracked area. Ensure that the mixture is evenly distributed over the entire length of the crack, covering it with a uniform layer of the repair material. Pay close attention to achieving a smooth and level application, minimizing excess buildup or uneven patches.
-
Laying Fiberglass Cloth or Mat: If the repair kit includes fiberglass cloth or mat, carefully place it over the freshly applied resin mixture. Gently press the cloth or mat into the resin, ensuring that it adheres smoothly to the surface and becomes fully saturated with the repair material. This step reinforces the strength of the repair and provides added support to the cracked area.
-
Applying Additional Layers: Depending on the severity of the crack and the specific instructions provided with the repair kit, it may be necessary to apply multiple layers of the resin mixture and fiberglass cloth or mat. Follow the recommended layering process, allowing each layer to cure before applying the subsequent one. This incremental approach builds up the strength and durability of the repair, ensuring a robust and long-lasting restoration.
-
Smoothing and Leveling: After applying the necessary layers of the repair materials, use a clean brush or roller to smooth out any wrinkles or air bubbles in the fiberglass cloth or mat. This step helps achieve a seamless integration of the repair materials, creating a uniform and level surface that blends seamlessly with the surrounding bathtub structure.
-
Curing and Drying: Allow the applied repair materials to cure and dry according to the manufacturer's specified timeframe. This crucial curing period is essential for the resin to harden and bond with the fiberglass, creating a strong and resilient repair. Ensure that the repaired area is protected from disturbances or exposure to moisture during the curing process to facilitate optimal bonding.
By meticulously following these steps and adhering to the manufacturer's guidelines, you can effectively apply the repair kit to address the cracked fiberglass bathtub. This meticulous approach ensures that the repair is executed with precision and care, resulting in a durable and seamlessly restored bathtub surface.
Use a fiberglass repair kit to fix the crack in your bathtub. Clean the area, apply the repair compound, and sand it smooth. Follow the kit’s instructions for best results.
Read more: How To Support A Fiberglass Bathtub
Sanding and Finishing
After the applied repair materials have fully cured, the sanding and finishing phase plays a pivotal role in refining the repaired area and achieving a seamless integration with the surrounding bathtub surface. This meticulous process involves careful sanding, smoothing, and blending to ensure that the repaired section exhibits a uniform appearance and a smooth texture. Here's a detailed breakdown of the essential steps involved in the sanding and finishing phase:
-
Initial Sanding: Begin by using medium-grit sandpaper to gently sand the repaired area, focusing on smoothing out any unevenness or protruding edges. The goal is to create a level surface that aligns seamlessly with the surrounding fiberglass, ensuring that the repaired section does not protrude or appear visibly distinct.
-
Feathering the Edges: Pay close attention to feathering the edges of the repaired area, gradually blending them into the surrounding bathtub surface. This technique involves tapering the edges of the repair materials to create a gradual transition, minimizing the visibility of the repaired section and achieving a cohesive appearance.
-
Progressive Finishing: Transition to fine-grit sandpaper to further refine the surface, gradually smoothing out any remaining imperfections and achieving a uniform texture. This progressive approach to finishing ensures that the repaired area attains a polished and seamless look, indistinguishable from the original fiberglass surface.
-
Inspecting for Smoothness: Periodically inspect the sanded area to assess its smoothness and integration with the surrounding bathtub surface. Run your hand over the sanded section to detect any irregularities or rough patches, addressing them promptly to achieve a consistent and refined finish.
-
Cleaning and Dust Removal: Thoroughly clean the sanded area to remove any residual dust or debris resulting from the sanding process. Use a clean cloth or sponge to wipe down the surface, ensuring that it is free of any particles that may compromise the subsequent finishing steps.
-
Applying Finishing Compound (Optional): If necessary, apply a high-quality finishing compound to the sanded area to further refine the texture and achieve a polished appearance. The finishing compound aids in smoothing out any remaining imperfections, enhancing the overall aesthetic appeal of the repaired section.
By meticulously following these steps and dedicating attention to detail, the sanding and finishing phase ensures that the repaired area seamlessly integrates with the surrounding bathtub surface, resulting in a visually cohesive and professionally refined restoration. This meticulous approach sets the stage for a successful repair outcome, showcasing the durability and aesthetic quality of the restored fiberglass bathtub.
Final Inspection and Maintenance Tips
After completing the repair process for your cracked fiberglass bathtub, conducting a thorough final inspection is essential to ensure that the restoration is of the highest quality and durability. Additionally, implementing proactive maintenance practices can significantly extend the longevity of the repaired area, preserving the pristine condition of your bathtub. Here's a detailed overview of the final inspection process and valuable maintenance tips to uphold the integrity of your restored fiberglass bathtub.
Final Inspection
-
Visual Assessment: Begin by visually inspecting the repaired area, scrutinizing it for any signs of unevenness, discoloration, or imperfections. Ensure that the repaired section seamlessly integrates with the surrounding bathtub surface, exhibiting a uniform texture and appearance.
-
Tactile Examination: Run your hand over the repaired area to detect any irregularities or rough patches. The surface should feel smooth and consistent, devoid of any protrusions or rough edges.
-
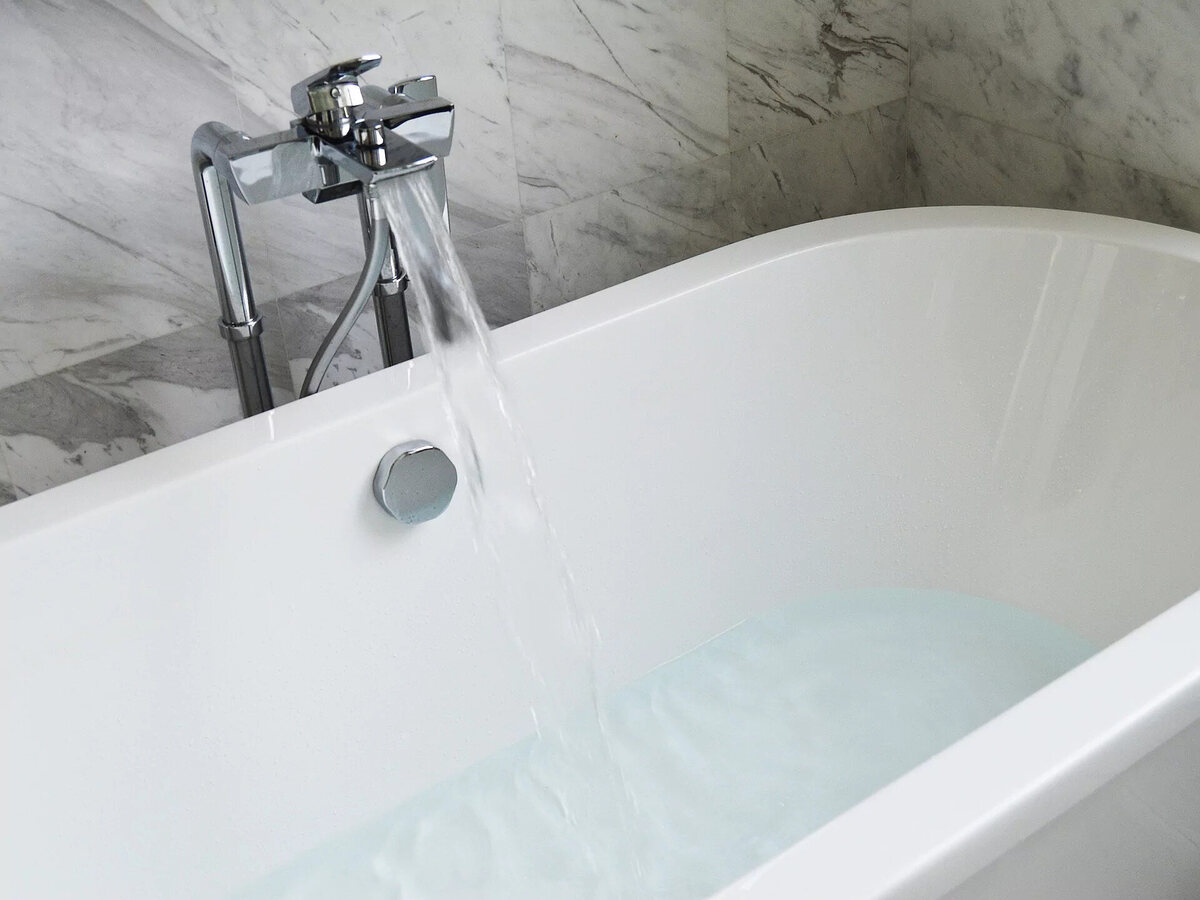
Leak Testing: If the crack was associated with water leakage, perform a thorough leak test to verify that the repair has effectively addressed the issue. Fill the bathtub with water and observe the repaired area for any signs of seepage or moisture penetration.
-
Structural Integrity: Gently press on the repaired section to assess its structural stability. The area should feel firm and secure, indicating a robust repair that can withstand regular use.
-
Aesthetic Evaluation: Step back and evaluate the overall aesthetic quality of the repaired area. It should blend seamlessly with the rest of the bathtub, presenting a visually cohesive and professionally restored surface.
Maintenance Tips
-
Regular Cleaning: Incorporate regular cleaning of the bathtub, using non-abrasive cleaners to maintain the cleanliness and luster of the restored surface. Avoid harsh chemicals that may compromise the integrity of the repair.
-
Avoiding Impact: Be mindful of avoiding impacts or heavy objects that could potentially damage the repaired area. Preventing undue stress on the bathtub surface can prolong the effectiveness of the repair.
-
Prompt Repairs: Address any new cracks or damages promptly to prevent them from escalating and necessitating extensive repairs in the future. Timely intervention can preserve the integrity of the bathtub.
-
Periodic Inspection: Periodically inspect the repaired area for any signs of wear or deterioration. Proactive monitoring allows for early detection of potential issues, enabling timely maintenance and preservation of the repair.
-
Appropriate Usage: Use the bathtub in accordance with recommended guidelines, avoiding excessive weight or pressure on the repaired section. Adhering to usage recommendations can safeguard the longevity of the repair.
By conducting a meticulous final inspection and implementing proactive maintenance measures, you can ensure that the repaired fiberglass bathtub remains in optimal condition for years to come. This proactive approach not only upholds the quality of the repair but also contributes to the longevity and durability of your bathtub, providing enduring functionality and aesthetic appeal.
Frequently Asked Questions about How To Repair A Cracked Fiberglass Bathtub
Was this page helpful?
At Storables.com, we guarantee accurate and reliable information. Our content, validated by Expert Board Contributors, is crafted following stringent Editorial Policies. We're committed to providing you with well-researched, expert-backed insights for all your informational needs.


0 thoughts on “How To Repair A Cracked Fiberglass Bathtub”