Home>Furniture & Design>Bathroom Accessories>How To Frame Around A Bathtub

Bathroom Accessories
How To Frame Around A Bathtub
Modified: March 2, 2024
Learn how to frame around a bathtub and enhance your bathroom with the right accessories. Find expert tips and ideas for bathroom accessories.
(Many of the links in this article redirect to a specific reviewed product. Your purchase of these products through affiliate links helps to generate commission for Storables.com, at no extra cost. Learn more)
Introduction
When it comes to bathroom renovations, framing around a bathtub is a crucial step that can significantly impact the overall look and functionality of the space. Proper framing not only provides structural support for the bathtub but also serves as the foundation for the surrounding walls and tiling. Whether you're upgrading an existing bathtub or installing a new one, understanding how to frame around it is essential for a successful and visually appealing outcome.
The framing process involves creating a sturdy framework that will support the weight of the bathtub and distribute it evenly to the floor and surrounding walls. Additionally, the framing provides a base for attaching moisture-resistant materials, such as cement backer board or waterproof drywall, which are essential for protecting the walls from water damage in a wet environment like the bathroom.
By following the correct framing techniques, you can ensure that the bathtub is securely in place, preventing any potential shifting or movement that could lead to leaks or structural issues down the line. Moreover, a well-executed framing job sets the stage for seamless integration with the surrounding walls, allowing for a professional and polished finish that enhances the overall aesthetic of the bathroom.
In this comprehensive guide, we will walk you through the step-by-step process of framing around a bathtub, covering everything from measuring the bathtub area to selecting the right framing materials and ensuring proper installation. Whether you're a seasoned DIY enthusiast or a homeowner looking to gain a better understanding of the renovation process, this guide will equip you with the knowledge and confidence to tackle bathtub framing with precision and finesse. So, let's dive in and explore the essential steps for framing around a bathtub to transform your bathroom into a functional and visually stunning space.
Key Takeaways:
- Properly measuring the bathtub area and selecting moisture-resistant framing materials are crucial for a successful bathtub framing project. Accurate measurements and durable materials ensure a snug fit and long-term stability.
- Installing and securing the framing with precision, while checking for level and making adjustments as needed, sets the stage for a visually cohesive and structurally robust bathtub enclosure. Meticulous planning and attention to detail are key for a successful framing project.
Read more: How To Trim Around Bathtub
Step 1: Measure the bathtub area
Before embarking on the framing process, it is crucial to accurately measure the bathtub area to ensure that the framing will fit snugly and provide adequate support. Here's a detailed breakdown of the steps involved in measuring the bathtub area:
-
Length and Width: Begin by measuring the length and width of the bathtub. Use a reliable tape measure to record the dimensions precisely. It's essential to measure from the outer edges of the tub to account for any additional features, such as built-in shelves or curved contours.
-
Height: Next, measure the height of the bathtub from the base to the rim. This measurement is vital for determining the height at which the framing will be installed. Consider any variations in the floor or ceiling that may impact the framing height.
-
Clearance: Take into account the required clearance around the bathtub. This includes leaving sufficient space between the bathtub rim and the surrounding walls to accommodate waterproofing materials and ensure a seamless fit for the wall coverings.
-
Obstacles and Plumbing Fixtures: Identify any obstacles or plumbing fixtures in the vicinity of the bathtub area. Measure the distances from the bathtub to these elements, such as faucets, drains, and water supply lines, to plan for the framing layout accordingly.
-
Level and Plumb: Use a level to ensure that the bathtub is positioned correctly and that the walls are plumb. This step is crucial for identifying any irregularities in the existing setup that may need to be addressed during the framing process.
Accurate measurements serve as the foundation for a successful framing project, allowing for precise planning and execution. By meticulously assessing the dimensions and layout of the bathtub area, you can proceed to the next steps with confidence, knowing that the framing will be tailored to fit seamlessly and provide optimal support for the bathtub and surrounding walls.
Step 2: Choose the framing materials
Selecting the appropriate framing materials is a critical aspect of the bathtub framing process, as it directly impacts the structural integrity and longevity of the installation. The chosen materials should be durable, moisture-resistant, and capable of providing robust support for the bathtub and surrounding walls. Here's a comprehensive overview of the key considerations when choosing framing materials for your bathtub installation:
1. Pressure-Treated Lumber:
Opt for pressure-treated lumber, such as treated pine or cedar, for the primary framing components. Pressure-treated wood is specially treated to resist decay, fungal growth, and moisture absorption, making it an ideal choice for the damp environment of a bathroom. Ensure that the lumber is rated for ground contact to withstand potential exposure to moisture from the bathroom floor.
2. Moisture-Resistant Plywood or OSB:
For the horizontal and vertical support panels, opt for moisture-resistant plywood or oriented strand board (OSB). These materials are engineered to withstand moisture and humidity, providing a solid base for attaching wall coverings and ensuring long-term stability. Look for plywood or OSB with a high-quality exterior glue for enhanced durability.
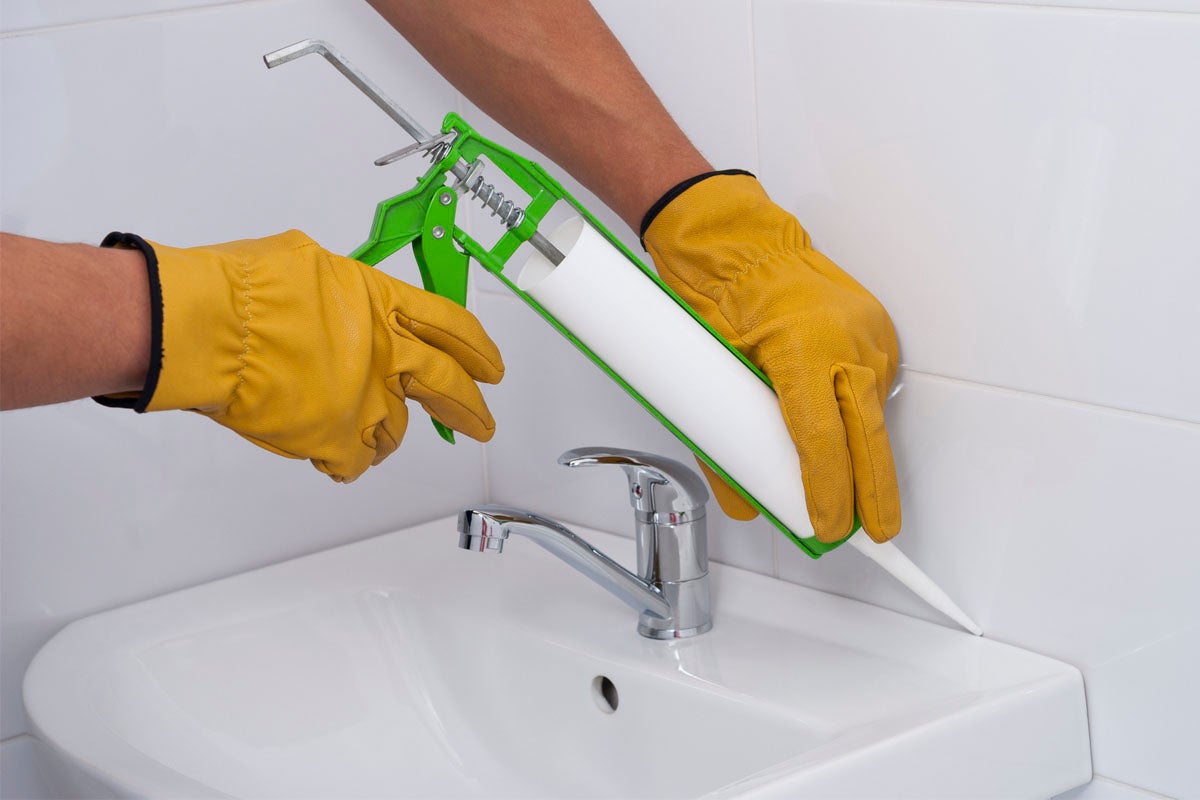
Read more: How To Caulk Around Bathtub
3. Galvanized Nails or Screws:
When fastening the framing components together, use galvanized nails or screws to prevent corrosion and rusting. These fasteners are designed to withstand moisture exposure, making them suitable for securing the framing in a wet environment. Additionally, the use of corrosion-resistant fasteners contributes to the overall longevity of the installation.
4. Waterproofing Membrane:
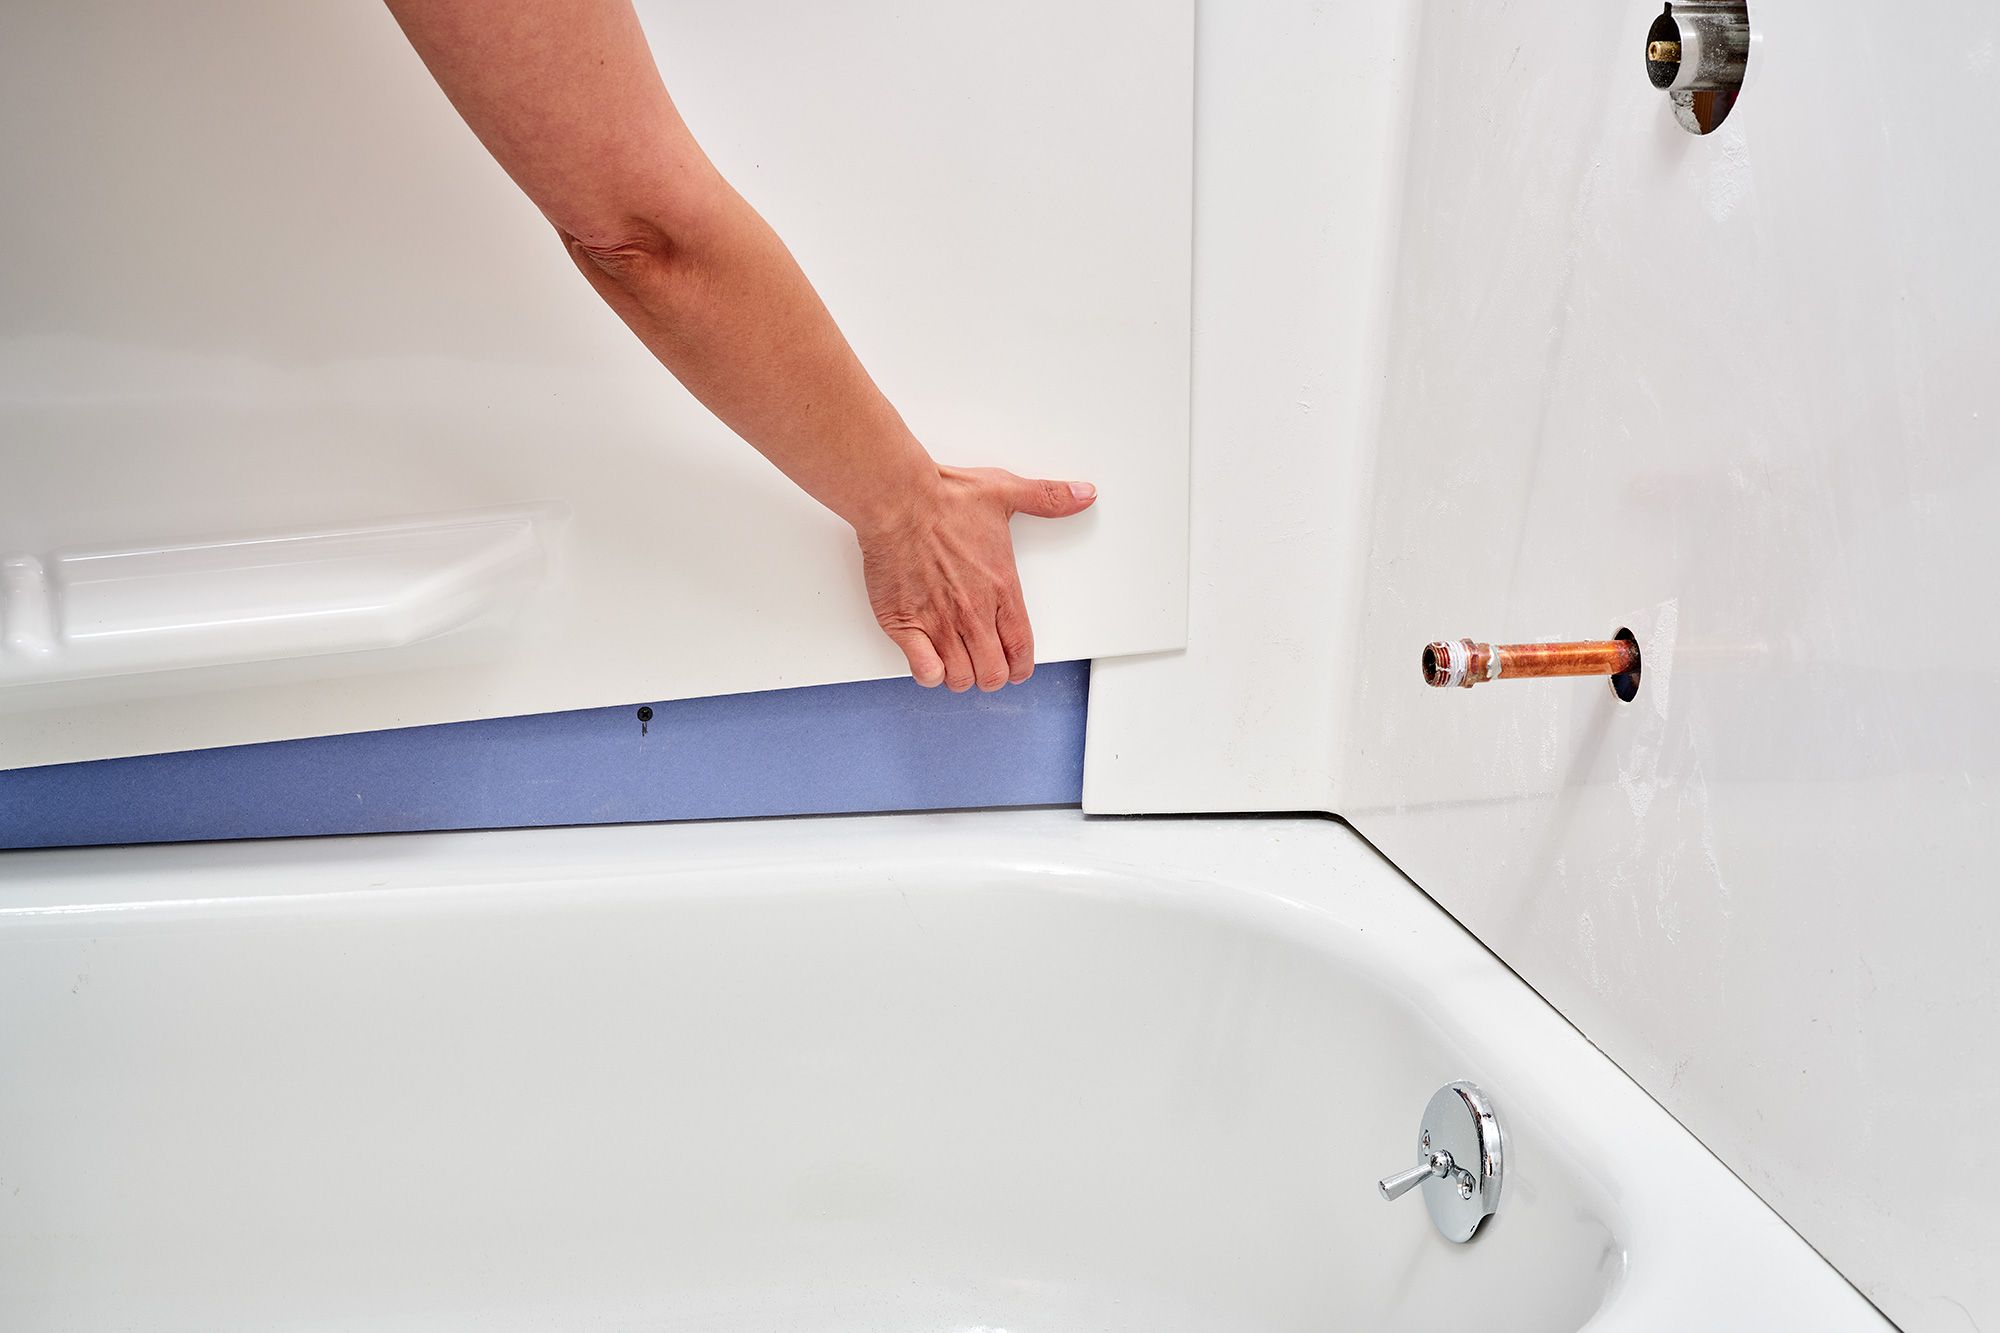
Incorporate a waterproofing membrane, such as a rubberized asphalt or polyethylene sheet, to provide an additional layer of protection against moisture intrusion. Apply the waterproofing membrane to the framing components that come into direct contact with the bathtub and surrounding walls, effectively sealing the structure and safeguarding it from water damage.
5. Shims and Spacers:
Include shims and spacers in your framing materials arsenal to facilitate precise leveling and alignment during the installation process. Shims are essential for adjusting the positioning of the framing components, ensuring that the bathtub sits level and plumb within the framed enclosure. Additionally, spacers aid in maintaining consistent spacing between the framing and the walls, allowing for seamless wall coverings.
By carefully selecting the right framing materials, you can lay a solid foundation for the bathtub installation, promoting structural stability and resilience in the face of moisture and environmental factors. These materials form the backbone of the framing structure, contributing to the overall functionality and longevity of the bathtub enclosure. With the appropriate framing materials in place, you can proceed to the next steps with confidence, knowing that your bathtub framing is built to withstand the rigors of daily use and maintain its integrity for years to come.
Step 3: Cut the framing materials to size
Once you have meticulously measured the bathtub area and selected the appropriate framing materials, the next crucial step is to cut the materials to the precise dimensions required for the installation. This process demands accuracy and attention to detail to ensure that the framing components fit seamlessly and provide robust support for the bathtub and surrounding walls. Here's a detailed breakdown of the essential considerations and steps involved in cutting the framing materials to size:
Read more: How To Decorate Around Bathtub
1. Accurate Measurements:
Refer to the measurements obtained in Step 1 to determine the exact dimensions for the framing components. Use a reliable tape measure and a straight edge to mark the cutting lines on the lumber, plywood, or OSB. Double-check the measurements to avoid errors that could compromise the fit and stability of the framing.
2. Cutting Techniques:
Employ appropriate cutting tools, such as a circular saw, miter saw, or handsaw, based on the type of material being cut. Ensure that the cutting tools are equipped with sharp blades to achieve clean and precise cuts. When cutting pressure-treated lumber, consider using a saw blade specifically designed for treated wood to maintain the integrity of the material.
3. Miters and Angles:
If the framing design involves miters or angled cuts, take extra care to accurately measure and cut the materials to achieve tight and seamless joints. Use a miter saw or a miter box with a handsaw to create precise angles, ensuring that the framing components fit together seamlessly at the corners and junctions.
4. Notching and Cutouts:
For areas where the framing needs to accommodate plumbing fixtures, electrical conduits, or other obstructions, carefully notch or create cutouts in the framing materials. Use a jigsaw or a chisel to make precise cutouts, allowing the framing to snugly fit around the obstacles without compromising the structural integrity.
Read more: How To Frame A Bathtub
5. Safety Precautions:
Prioritize safety during the cutting process by wearing appropriate personal protective equipment, such as safety goggles and gloves. Follow the manufacturer's guidelines for operating cutting tools and ensure that the work area is well-ventilated and free from potential hazards.
By meticulously cutting the framing materials to the required dimensions, you set the stage for a seamless and structurally sound bathtub framing installation. Accurate cuts and precise fitting of the framing components ensure that the bathtub enclosure is well-supported and ready for the next steps in the installation process. With the framing materials expertly tailored to size, you are one step closer to transforming your bathroom with a professionally framed bathtub installation.
Step 4: Install the framing around the bathtub
With the framing materials precisely cut to size, it's time to embark on the pivotal phase of installing the framing around the bathtub. This step involves strategically positioning and securing the framing components to create a sturdy and supportive enclosure for the bathtub. Here's a detailed walkthrough of the essential procedures and considerations involved in the installation process:
-
Positioning the Vertical Supports: Begin by positioning the vertical framing supports along the sides and ends of the bathtub area. Ensure that the supports are aligned with the outer edges of the bathtub and are plumb using a level. This step is crucial for establishing the foundational framework that will cradle the bathtub securely.
-
Attaching the Horizontal Supports: Once the vertical supports are in place, proceed to attach the horizontal framing supports to create a robust framework. These horizontal components provide additional reinforcement and stability to the framing structure, forming the basis for the attachment of wall coverings and waterproofing materials.
-
Securing the Framing Components: Utilize galvanized nails or screws to securely fasten the framing components together at the junctions and intersections. Ensure that the connections are tight and reliable, as they play a vital role in maintaining the structural integrity of the framing enclosure. Pay close attention to the corners and joints to achieve a seamless and secure assembly.
-
Addressing Obstacles and Plumbing Fixtures: If the bathtub area includes obstacles such as plumbing fixtures or protrusions, make necessary adjustments to the framing to accommodate these elements. Notch or trim the framing components as needed to ensure a precise fit around the obstacles, allowing for a seamless integration of the framing with the surrounding features.
-
Incorporating Waterproofing Measures: As the framing takes shape, incorporate waterproofing measures by applying a suitable membrane or sealant to the areas that come into direct contact with the bathtub and adjacent walls. This additional layer of waterproofing safeguards the framing from moisture infiltration, enhancing its durability and resilience in a wet environment.
-
Ensuring Alignment and Leveling: Throughout the installation process, consistently check for alignment and leveling to guarantee that the bathtub fits snugly within the framed enclosure. Use shims and spacers as needed to adjust the positioning of the framing components, ensuring that the bathtub sits level and plumb for a professional and secure installation.
By meticulously following these steps and considerations, you can effectively install the framing around the bathtub, setting the stage for a structurally sound and visually appealing enclosure. The installation process forms the backbone of the bathtub framing, laying the groundwork for the seamless integration of the bathtub with the surrounding walls and ensuring long-term stability and functionality. With the framing securely in place, you are ready to proceed to the final steps of the bathtub installation, bringing you one step closer to realizing your vision for a beautifully framed and functional bathtub in your bathroom.
Step 5: Secure the framing in place
Securing the framing components in place is a critical phase of the bathtub framing process, as it directly influences the stability and longevity of the installation. By effectively fastening the framing elements, you ensure that the bathtub enclosure is structurally sound and capable of withstanding the demands of daily use. Here's a detailed exploration of the essential procedures and considerations involved in securely anchoring the framing in place:
-
Fastening Techniques: Utilize galvanized nails or screws to secure the framing components to the surrounding structure and each other. Opt for corrosion-resistant fasteners to mitigate the risk of rust and deterioration due to moisture exposure. Ensure that the fasteners penetrate the framing materials adequately, forming robust connections that withstand the weight and pressure exerted by the bathtub and wall coverings.
-
Strategic Placement: Pay careful attention to the strategic placement of fasteners, focusing on the junctions, intersections, and load-bearing points of the framing structure. By strategically positioning the fasteners, you reinforce the critical areas of the framing, enhancing its overall strength and stability. Additionally, consider the spacing and quantity of fasteners to achieve uniform and reliable attachment throughout the framing assembly.
-
Adhering to Building Codes: Adhere to local building codes and regulations governing the installation of framing components in a wet environment such as a bathroom. Ensure that the fastening methods and materials align with the prescribed standards, promoting compliance and safety in the construction of the bathtub enclosure. By following established building codes, you uphold the structural integrity and quality of the framing installation.
-
Consideration for Expansion and Contraction: Account for potential expansion and contraction of the framing materials due to fluctuations in humidity and temperature. Use appropriate fastening techniques that allow for natural movement of the materials without compromising the stability of the framing. By accommodating expansion and contraction, you prevent structural issues and ensure the long-term durability of the bathtub enclosure.
-
Quality Assurance: Conduct thorough quality checks to verify the integrity of the fastening connections. Inspect the fasteners for proper depth and secure attachment, addressing any discrepancies or deficiencies promptly. By upholding stringent quality assurance measures, you guarantee that the framing is securely anchored in place, ready to support the bathtub and withstand the rigors of everyday use.
By meticulously securing the framing in place, you fortify the foundation of the bathtub enclosure, laying the groundwork for a resilient and dependable installation. The strategic application of fastening techniques, adherence to building codes, and emphasis on quality assurance culminate in a securely anchored framing structure that forms the backbone of a professionally framed bathtub. With the framing components firmly in place, you are poised to advance to the subsequent phases of the bathtub installation, bringing you closer to the realization of a beautifully framed and functional bathtub in your bathroom.
Step 6: Check for level and adjust if necessary
Ensuring that the framed enclosure for the bathtub is perfectly level and adjusting it as necessary is a critical step that directly impacts the overall stability and functionality of the installation. Here's a detailed exploration of the essential procedures and considerations involved in checking for level and making adjustments as needed:
-
Leveling Assessment: Begin by using a reliable level to assess the horizontal and vertical alignment of the framing components. Place the level along the top edges of the framing to determine if they are perfectly horizontal, ensuring that the bathtub will sit securely without any tilting or imbalance. Additionally, check the vertical surfaces of the framing to confirm that they are plumb, maintaining a straight and upright orientation.
-
Shimming and Adjustment: If the initial assessment reveals any deviations from the desired level and plumb positions, utilize shims to make precise adjustments. Insert shims between the framing components and the surrounding structure to correct any unevenness or misalignment. By strategically placing shims at the appropriate points, you can gradually bring the framing into perfect level and plumb positions, creating a stable foundation for the bathtub.
-
Consistent Verification: Continuously verify the level and plumb status of the framing as you make adjustments, ensuring that each modification brings the structure closer to the desired alignment. Regularly recheck the levelness and plumbness using the level to confirm that the adjustments are effectively addressing any discrepancies. This iterative process allows for meticulous fine-tuning of the framing, guaranteeing precise alignment.
-
Integration with Surrounding Walls: Pay close attention to the integration of the framing with the surrounding walls during the leveling process. Ensure that the framing aligns seamlessly with the existing wall surfaces, creating a smooth transition that facilitates the attachment of wall coverings and tiling. By achieving harmonious integration, you set the stage for a visually cohesive and structurally sound bathtub enclosure.
-
Stability Confirmation: Once the framing has been adjusted to the correct level and plumb positions, verify its stability by applying gentle pressure and ensuring that it remains secure and steadfast. Confirm that the adjustments have effectively resolved any irregularities, resulting in a solid and reliable framework that is ready to support the bathtub and withstand the demands of daily use.
By meticulously checking for level and making precise adjustments as necessary, you establish a stable and precisely aligned framework for the bathtub enclosure. The attention to detail and commitment to achieving perfect levelness and plumbness ensure that the installation is not only visually appealing but also structurally robust. With the framing components impeccably aligned, you are poised to proceed to the subsequent phases of the bathtub installation, bringing you closer to the realization of a beautifully framed and functional bathtub in your bathroom.
Read more: How To Decorate Around An Almond Bathtub
Conclusion
In conclusion, framing around a bathtub is a fundamental aspect of bathroom renovations that demands meticulous planning, precise execution, and a keen understanding of structural requirements. By following the comprehensive steps outlined in this guide, you can effectively navigate the intricacies of bathtub framing, from measuring the area and selecting the right materials to installing and securing the framing with precision.
The process begins with accurate measurements of the bathtub area, encompassing length, width, height, clearance, and potential obstacles. These measurements serve as the foundation for the subsequent steps, ensuring that the framing will fit snugly and provide optimal support for the bathtub and surrounding walls.
Selecting the appropriate framing materials is paramount to the success of the installation. Pressure-treated lumber, moisture-resistant plywood or OSB, galvanized fasteners, waterproofing membranes, and shims form the essential arsenal of materials required to create a durable and moisture-resistant framework for the bathtub.
Cutting the framing materials to the precise dimensions is a critical phase that demands attention to detail and accuracy. By meticulously tailoring the materials to fit the designated spaces, you lay the groundwork for a seamless and structurally sound framing installation.
The installation process involves strategically positioning and securing the framing components, addressing obstacles, and incorporating waterproofing measures to safeguard the structure from moisture infiltration. This phase sets the stage for a robust and visually appealing enclosure that forms the backbone of the bathtub installation.
Securing the framing in place with the use of corrosion-resistant fasteners and adherence to building codes ensures the structural integrity and longevity of the installation. By prioritizing quality assurance and strategic fastening techniques, you fortify the framing structure, readying it to support the bathtub and withstand the demands of daily use.
Finally, checking for level and making precise adjustments as necessary ensures that the framed enclosure is perfectly aligned and stable, laying the groundwork for a visually cohesive and structurally robust bathtub installation.
In essence, mastering the art of framing around a bathtub empowers you to transform your bathroom into a functional and visually stunning space. With a solid understanding of the essential steps and considerations involved in bathtub framing, you are equipped to embark on your renovation journey with confidence, precision, and a commitment to creating a beautifully framed and functional bathtub in your bathroom.
Frequently Asked Questions about How To Frame Around A Bathtub
Was this page helpful?
At Storables.com, we guarantee accurate and reliable information. Our content, validated by Expert Board Contributors, is crafted following stringent Editorial Policies. We're committed to providing you with well-researched, expert-backed insights for all your informational needs.


0 thoughts on “How To Frame Around A Bathtub”