Home>Furniture & Design>Bathroom Fixtures>How To Install A Curved Tension Shower Rod
Bathroom Fixtures
How To Install A Curved Tension Shower Rod
Modified: October 19, 2024
Learn how to easily install a curved tension shower rod to upgrade your bathroom fixtures. Follow our step-by-step guide for a hassle-free installation.
(Many of the links in this article redirect to a specific reviewed product. Your purchase of these products through affiliate links helps to generate commission for Storables.com, at no extra cost. Learn more)
Introduction
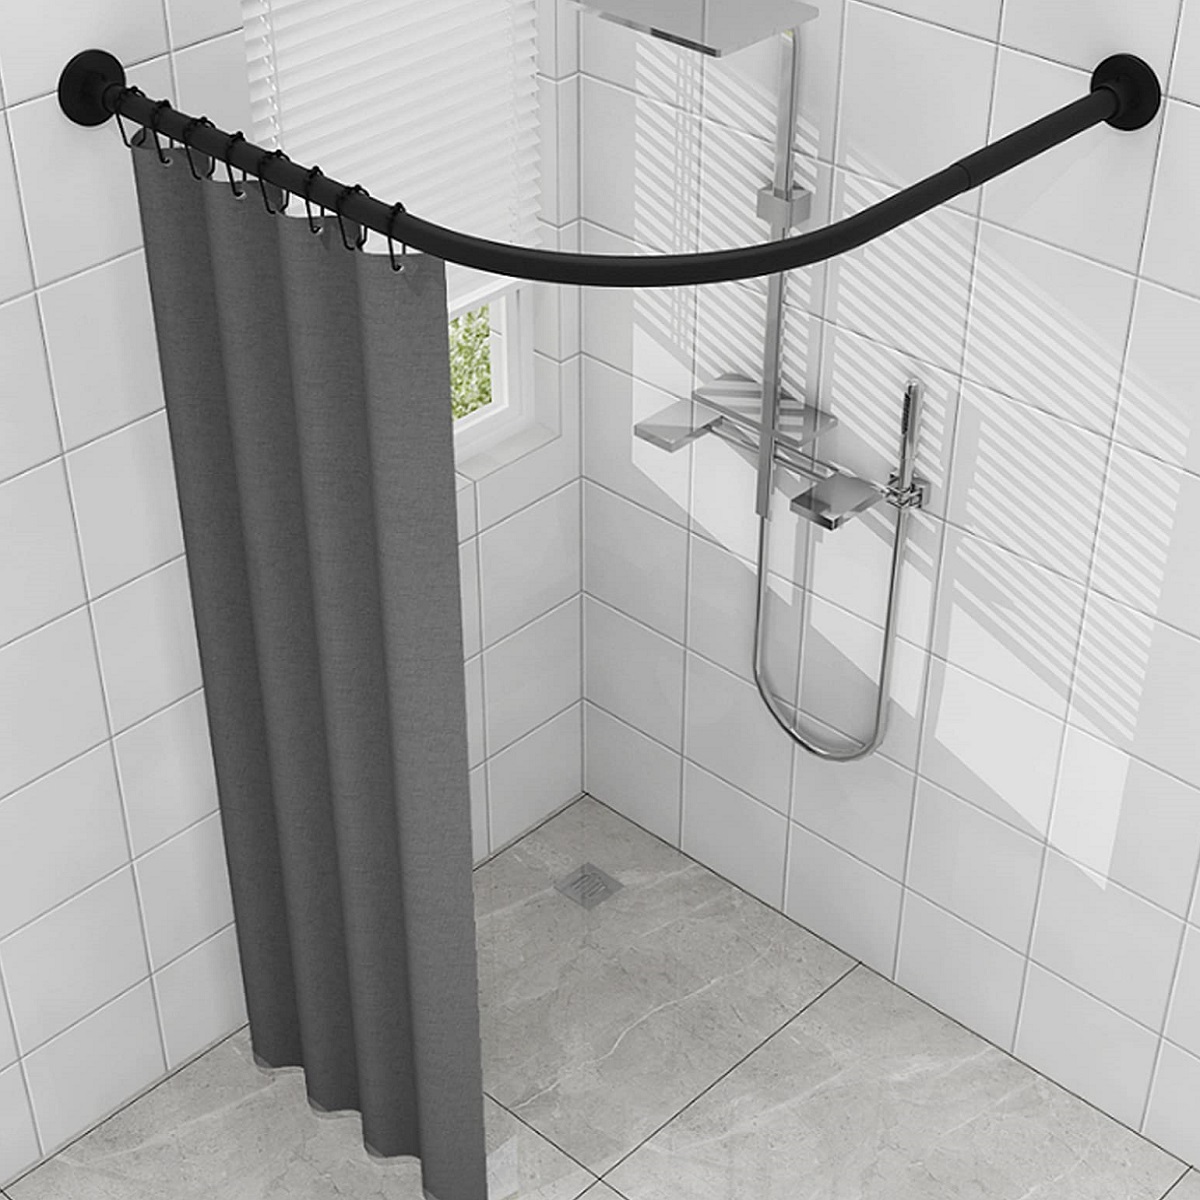
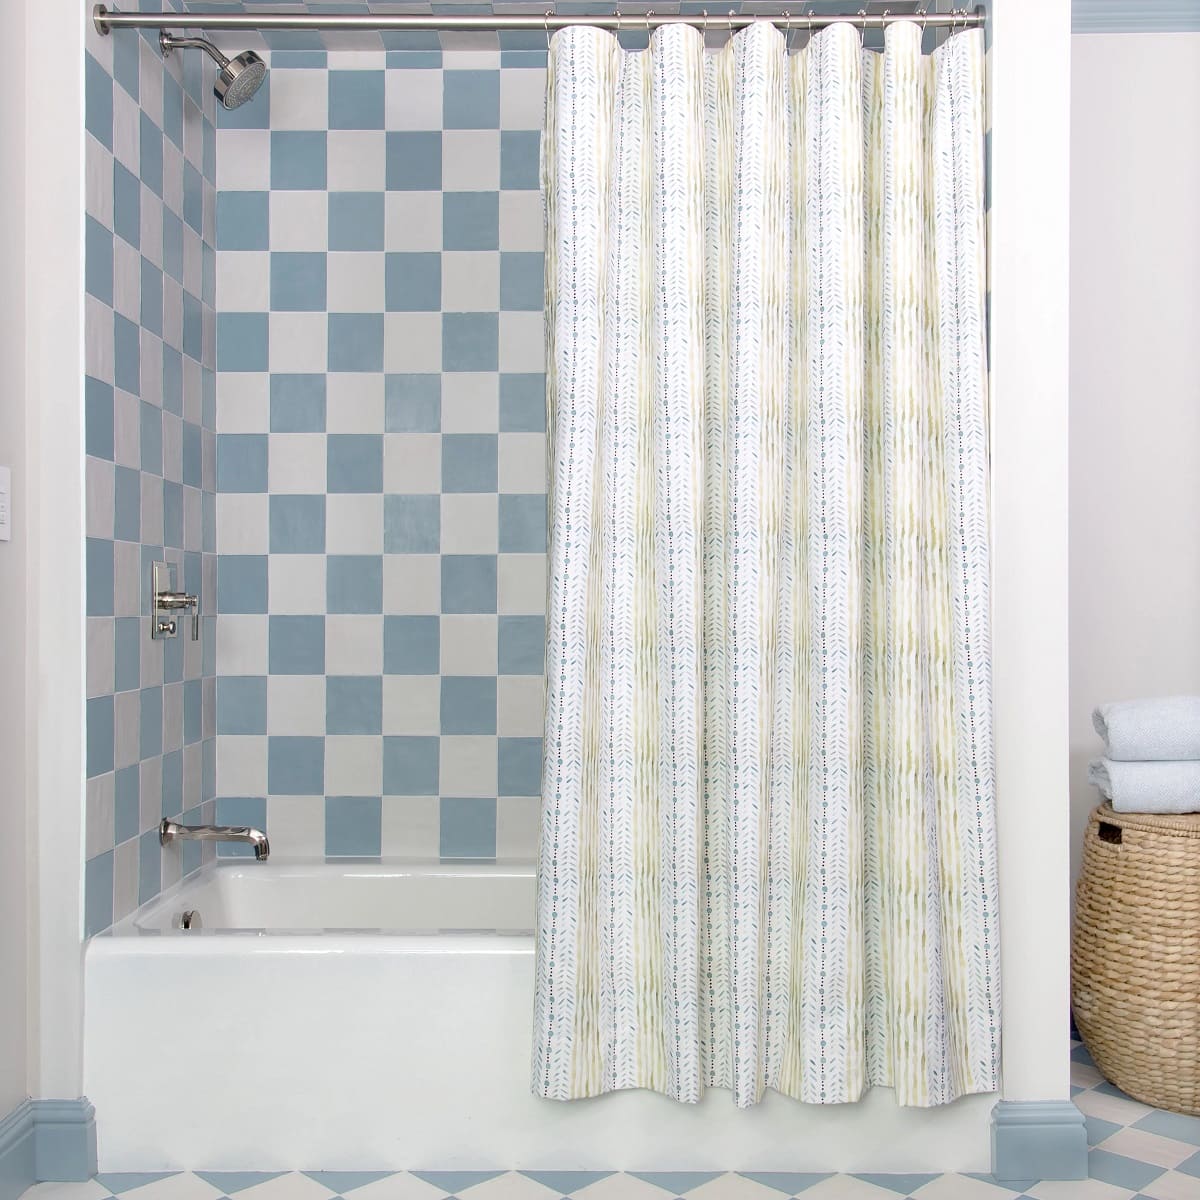
Installing a curved tension shower rod is a simple and effective way to upgrade your bathroom. This innovative fixture not only adds a touch of elegance to your shower space but also provides additional room inside the shower, making your daily routine more comfortable and enjoyable. Whether you're looking to create a spa-like atmosphere or simply seeking a practical solution for a more spacious shower, a curved tension shower rod is a fantastic choice.
In this comprehensive guide, we will walk you through the step-by-step process of installing a curved tension shower rod. By following these instructions, you can transform your shower area into a more functional and aesthetically pleasing space without the need for complex tools or professional assistance. With just a few basic tools and a little bit of time, you can achieve a significant upgrade that will enhance your daily shower experience.
So, if you're ready to take your bathroom to the next level and enjoy the benefits of a curved tension shower rod, let's dive into the installation process. Gather your tools and materials, measure the space, and get ready to elevate your shower experience with this simple yet impactful upgrade.
Key Takeaways:
- Upgrade your shower space with a curved tension shower rod for a more spacious and luxurious shower experience. Follow the simple installation process to elevate your bathroom without the need for professional assistance.
- Enjoy the benefits of a curved tension shower rod, including added space and elegance, by following the step-by-step installation guide. Transform your shower area into a more functional and visually appealing space with this easy and impactful upgrade.
Read more: How To Install A Curved Shower Curtain Rod
Step 1: Gather the necessary tools and materials
Before embarking on the installation of a curved tension shower rod, it's essential to gather all the required tools and materials. Having everything at hand will streamline the process and ensure a smooth installation experience. Here's a comprehensive list of the items you'll need:
Tools:
- Measuring tape: This will be essential for accurately measuring the space where the curved tension shower rod will be installed.
- Pencil: Use a pencil to mark the precise spots for installing the wall brackets.
- Level: A level will help ensure that the curved tension shower rod is installed perfectly straight, enhancing both its appearance and functionality.
- Power drill: You'll need a power drill to create holes for the wall anchors.
- Screwdriver: A screwdriver will be necessary for attaching the wall brackets securely.
- Step stool or ladder: Depending on the height of your shower area, a step stool or ladder may be required to reach the installation site safely.
Materials:
- Curved tension shower rod: Select a high-quality curved tension shower rod that complements your bathroom decor and meets your specific requirements.
- Wall brackets and screws: Ensure that the wall brackets are designed to support a curved tension shower rod and come with the necessary screws for installation.
- Wall anchors: If you're installing the curved tension shower rod on drywall, wall anchors will provide the necessary support for the wall brackets.
- Rubbing alcohol and a clean cloth: These items will be useful for cleaning the installation area, ensuring a secure and long-lasting attachment for the wall brackets.
- Optional: Silicone adhesive: If desired, silicone adhesive can be used to provide additional stability for the wall brackets, especially in tiled shower areas.
By gathering these tools and materials before starting the installation process, you'll be well-prepared to proceed with confidence. With everything in place, you can move on to the next step of measuring the space for the curved tension shower rod installation.
Step 2: Measure the space
Accurate measurements are crucial for a successful installation of a curved tension shower rod. Before proceeding with the installation, take the time to measure the space where the shower rod will be placed. This step ensures that the rod fits perfectly and functions as intended, providing an optimal showering experience.
Read more: Where To Install A Curved Shower Rod
Measuring the Width
Begin by measuring the width of the shower area. Use a measuring tape to determine the distance between the two walls where the curved tension shower rod will be installed. It's essential to measure at the height where the rod will be positioned to ensure a precise fit. Record the width measurement, taking note of any variations in the wall surface that may impact the installation.
Determining the Curvature
Next, assess the curvature of the shower rod. Since the rod is designed to create additional space within the shower, understanding its curvature is essential for proper installation. Measure the distance from the wall to the outermost point of the desired curve. This measurement will help you visualize how the curved tension shower rod will extend into the shower area, providing a clear understanding of its impact on the available space.
Verifying Ceiling Height
In addition to width and curvature, it's important to verify the ceiling height within the shower space. Measure the distance from the floor to the ceiling at multiple points along the installation area. This step ensures that the curved tension shower rod can be positioned at an appropriate height, allowing for comfortable and unrestricted movement within the shower.
Marking the Installation Points
Using a pencil, mark the precise spots on the walls where the wall brackets will be installed. These marks should align with the measurements taken and indicate the exact placement of the brackets to support the curved tension shower rod. Double-check the measurements and markings to confirm their accuracy before proceeding to the next step.
By meticulously measuring the space and recording the necessary dimensions, you'll lay the foundation for a seamless installation process. These precise measurements will guide the placement of the wall brackets and the attachment of the curved tension shower rod, ensuring a secure and tailored fit that enhances both the functionality and aesthetics of your shower area.
Read more: How To Remove A Curved Shower Rod
Step 3: Install the wall brackets
With the measurements and markings in place, it's time to proceed with installing the wall brackets that will provide essential support for the curved tension shower rod. Proper installation of the wall brackets is crucial for ensuring the stability and functionality of the shower rod, so attention to detail is key in this step.
-
Prepare the Installation Area: Begin by ensuring that the installation area is clean and free of any debris or residue. Use rubbing alcohol and a clean cloth to thoroughly clean the spots where the wall brackets will be attached. This step is essential for promoting strong adhesion and ensuring a secure installation.
-
Positioning the Wall Brackets: Hold the first wall bracket against the wall, aligning it with the previously marked spot. Use a level to ensure that the bracket is perfectly horizontal. Once the bracket is level, mark the positions of the screw holes on the wall using a pencil. Repeat this process for the second wall bracket, ensuring that both brackets are aligned at the same height and level with each other.
-
Creating Pilot Holes: With the positions of the screw holes marked, use a power drill to create pilot holes at the designated spots. The pilot holes will serve as guides for the screws, making it easier to attach the wall brackets securely.
-
Attaching the Wall Brackets: Place the wall brackets back against the wall, aligning them with the pilot holes. Secure the brackets in place by driving the provided screws through the bracket holes and into the wall. Use a screwdriver to tighten the screws, ensuring that the brackets are firmly attached and capable of supporting the weight of the curved tension shower rod.
-
Optional: Using Silicone Adhesive: If desired, apply a small amount of silicone adhesive to the back of each wall bracket before attaching them to the wall. This additional step can provide extra stability, especially in tiled shower areas, and further reinforce the attachment of the wall brackets.
-
Verify Stability and Alignment: Once both wall brackets are securely installed, double-check their stability and alignment. Use the level to ensure that the brackets are still perfectly horizontal and aligned with each other. This verification step is essential for guaranteeing a solid foundation for the curved tension shower rod.
By following these detailed steps, you can effectively install the wall brackets with precision and confidence. The secure attachment of the wall brackets sets the stage for the final steps of attaching the curved tension shower rod and adjusting it to your desired position, bringing you closer to the completion of this transformative bathroom upgrade.
Step 4: Attach the curved tension shower rod
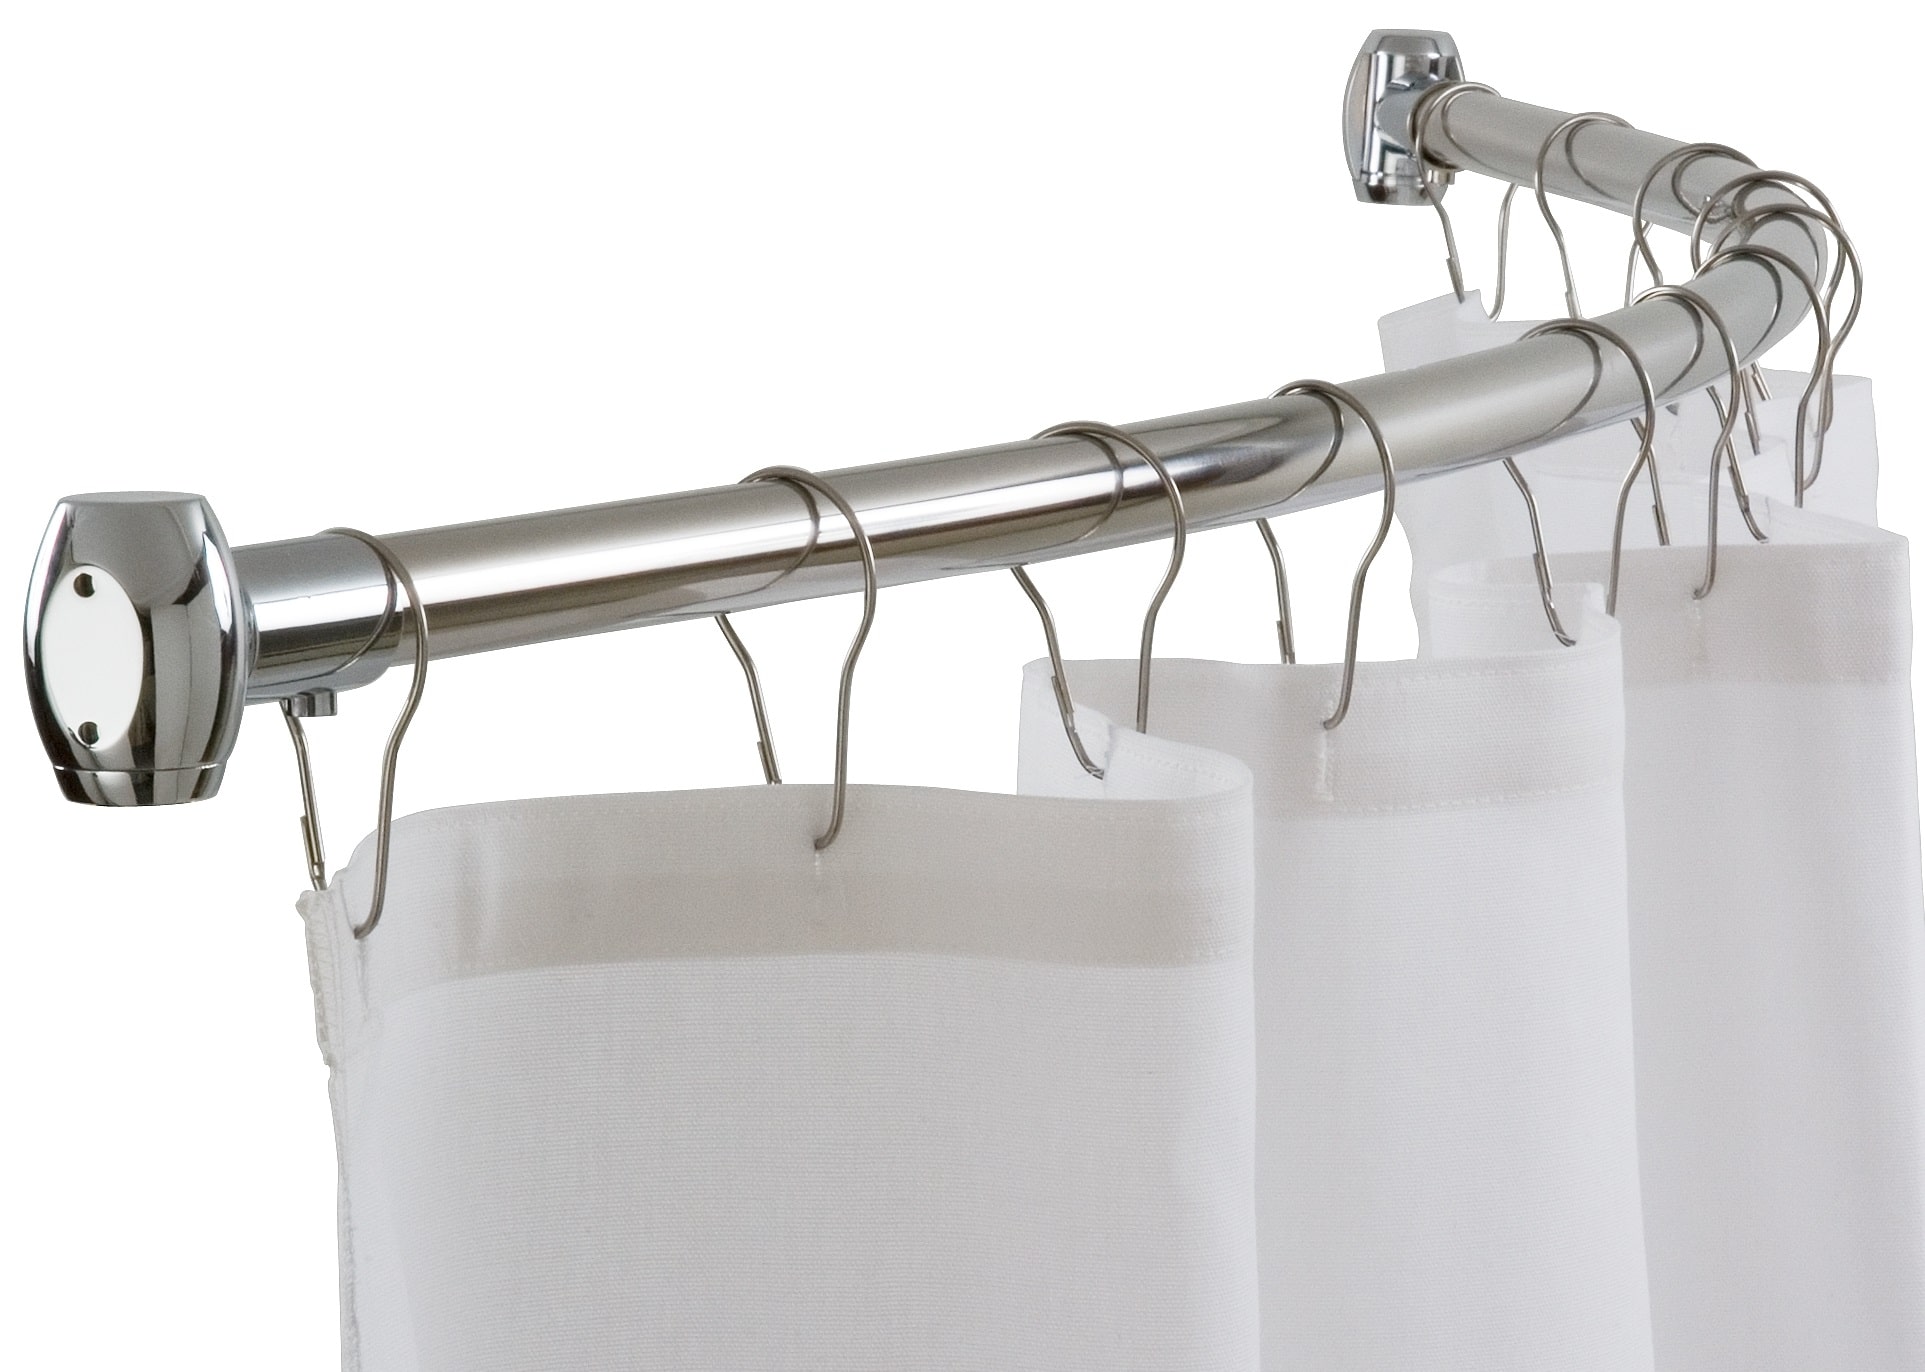
With the wall brackets securely in place, it's time to proceed with attaching the curved tension shower rod, the focal point of this bathroom upgrade. This step involves carefully positioning the shower rod within the installed brackets, ensuring a snug fit and optimal functionality.
-
Prepare the Shower Rod: Before attaching the shower rod, inspect it to ensure that it is free from any defects or damage. Verify that the rod is adjustable to accommodate the specific width of your shower area. If necessary, adjust the rod to the appropriate length according to your earlier measurements.
-
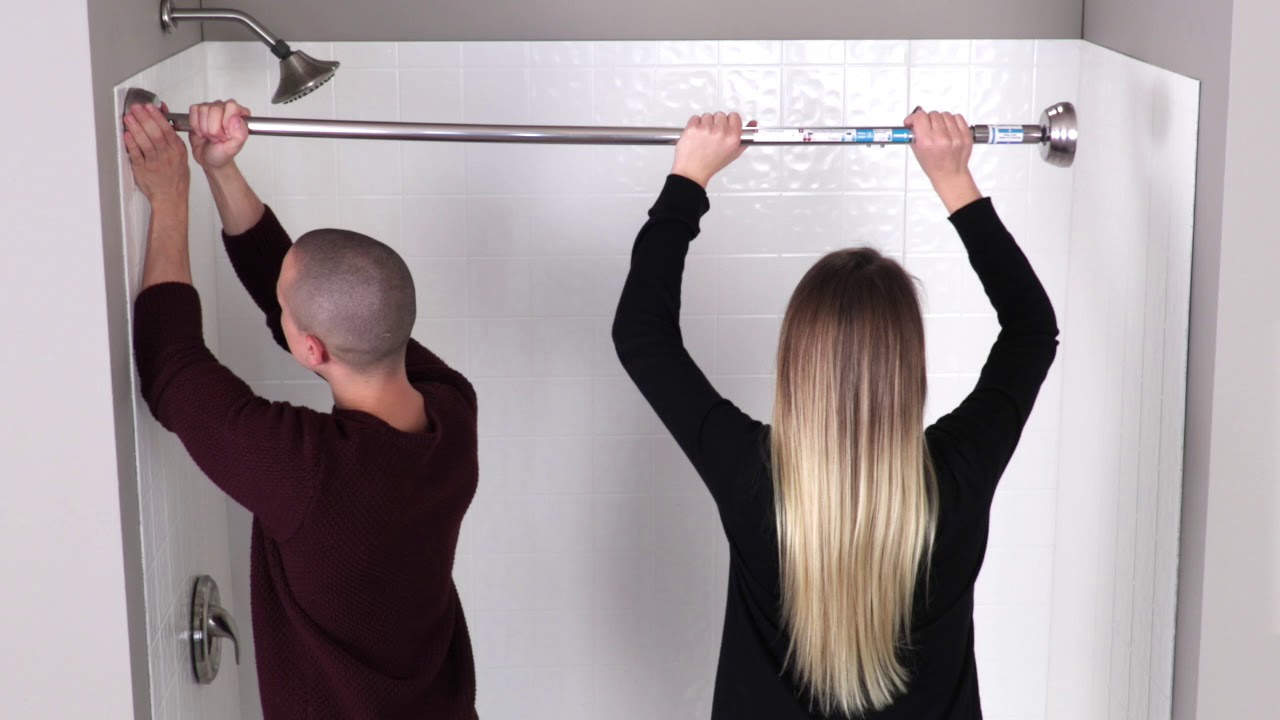
Positioning the Shower Rod: Hold the shower rod at an angle and insert one end into the wall bracket. Then, carefully bend the rod to fit the other end into the opposing wall bracket. The tension mechanism of the rod allows it to expand and contract, facilitating a customized fit within the shower space.
-
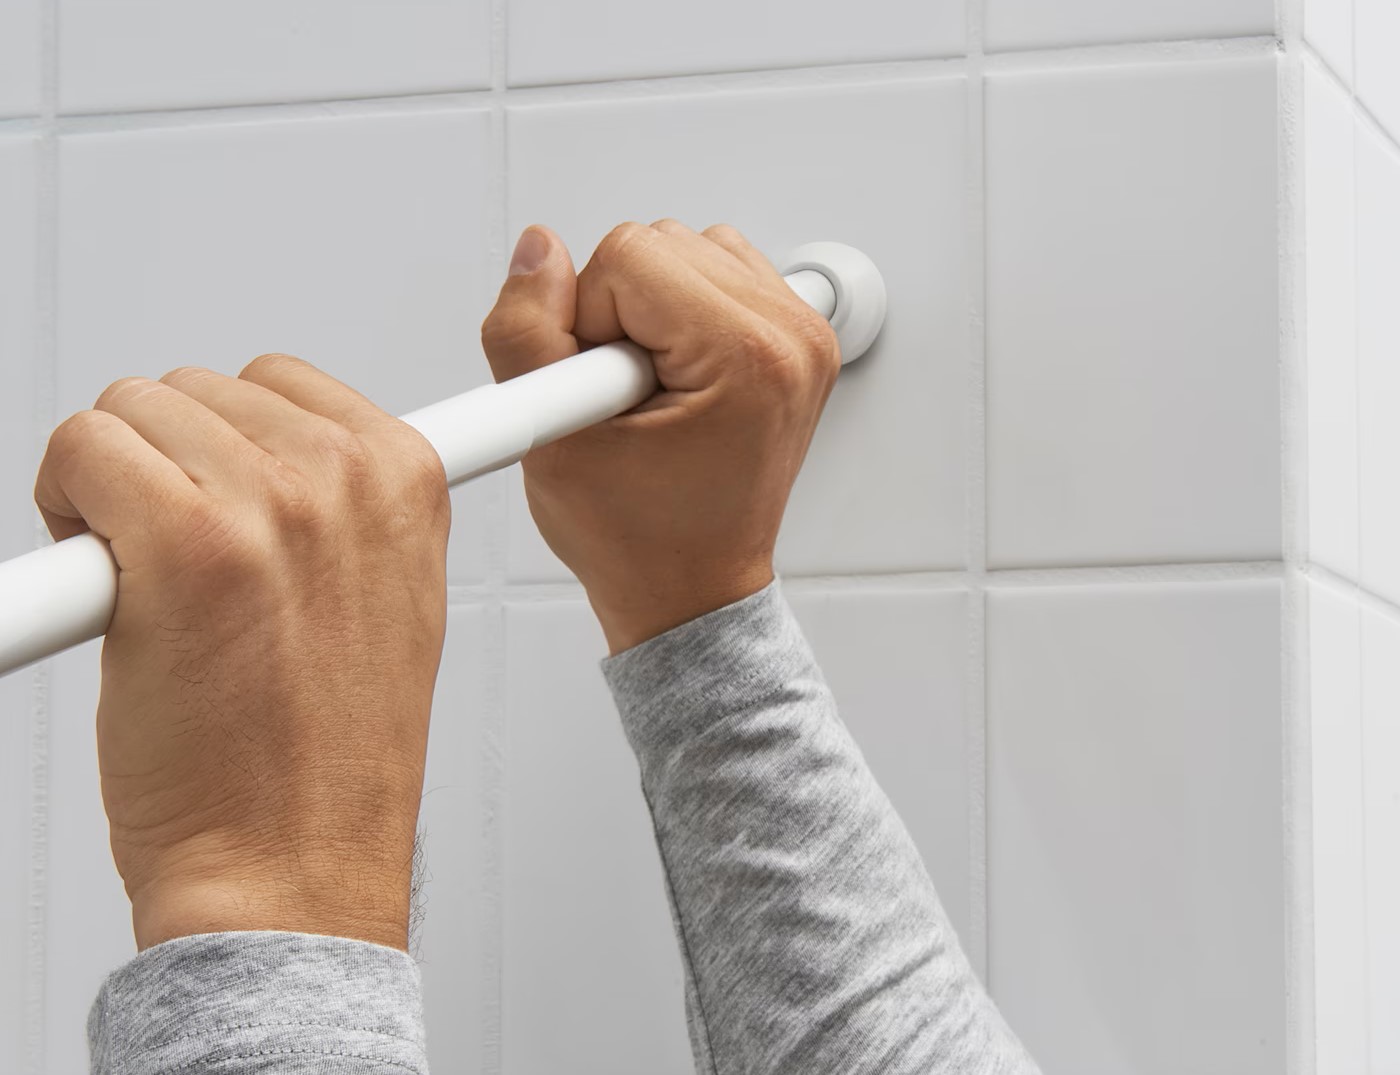
Adjusting the Tension: Once the shower rod is in place, adjust the tension to ensure a secure and stable fit. This can be achieved by twisting the rod in a clockwise direction, gradually increasing the tension until the rod feels firmly anchored between the wall brackets. Be mindful not to overtighten, as this may cause damage to the walls or the rod itself.
-
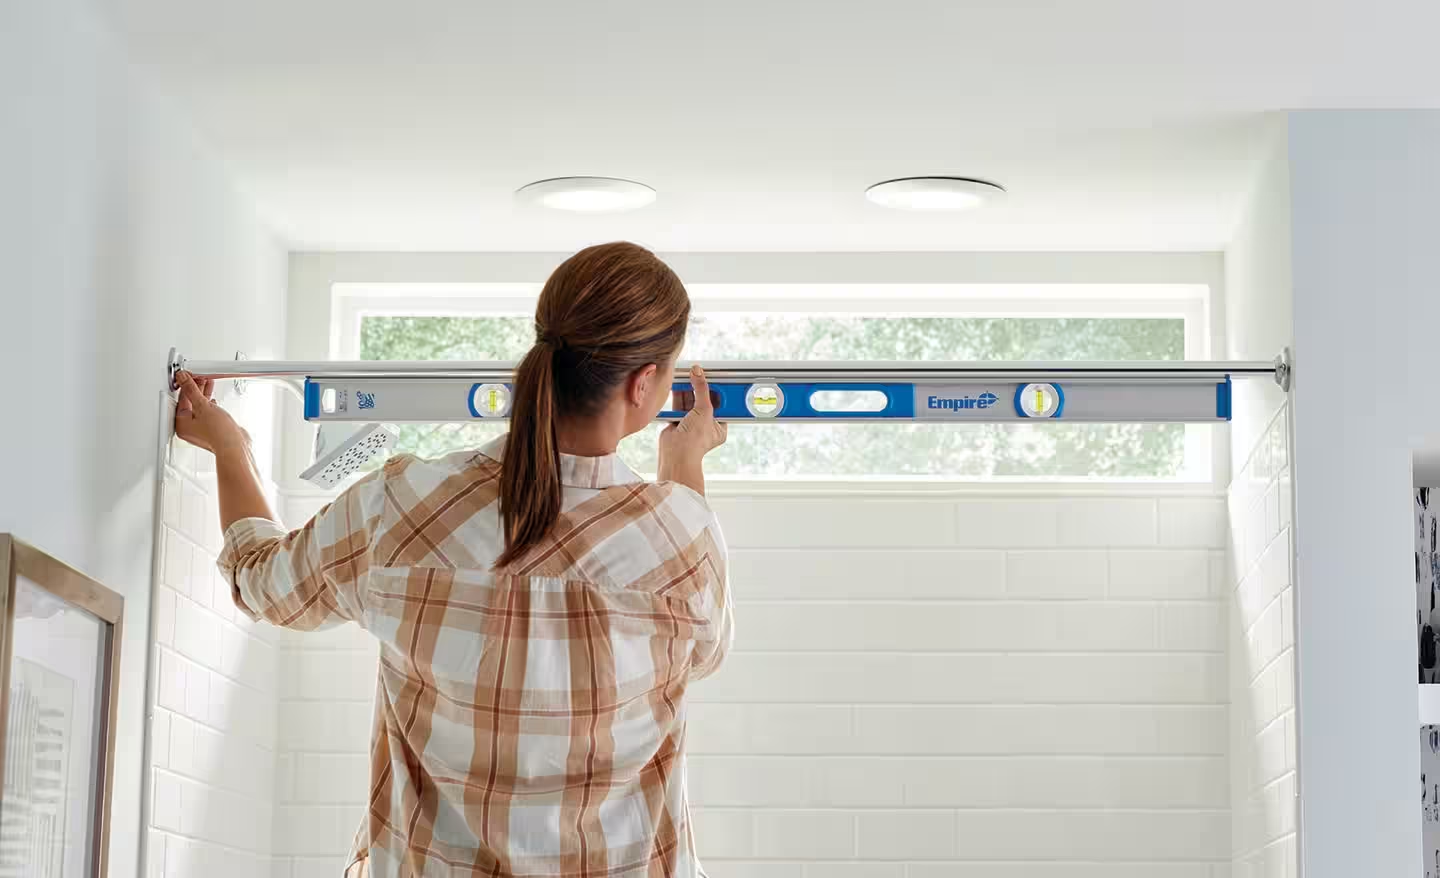
Verifying Alignment: Use a level to confirm that the shower rod is perfectly horizontal. This step is crucial for both the visual appeal and the functionality of the rod. A level shower rod not only enhances the aesthetics of the space but also ensures that shower curtains will hang smoothly without any uneven gaps.
-
Testing Stability: Gently tug on the shower rod to test its stability. It should remain firmly in place without any significant movement. If the rod feels loose, readjust the tension and verify the alignment once again. A stable and secure attachment is essential for the long-term performance of the curved tension shower rod.
-
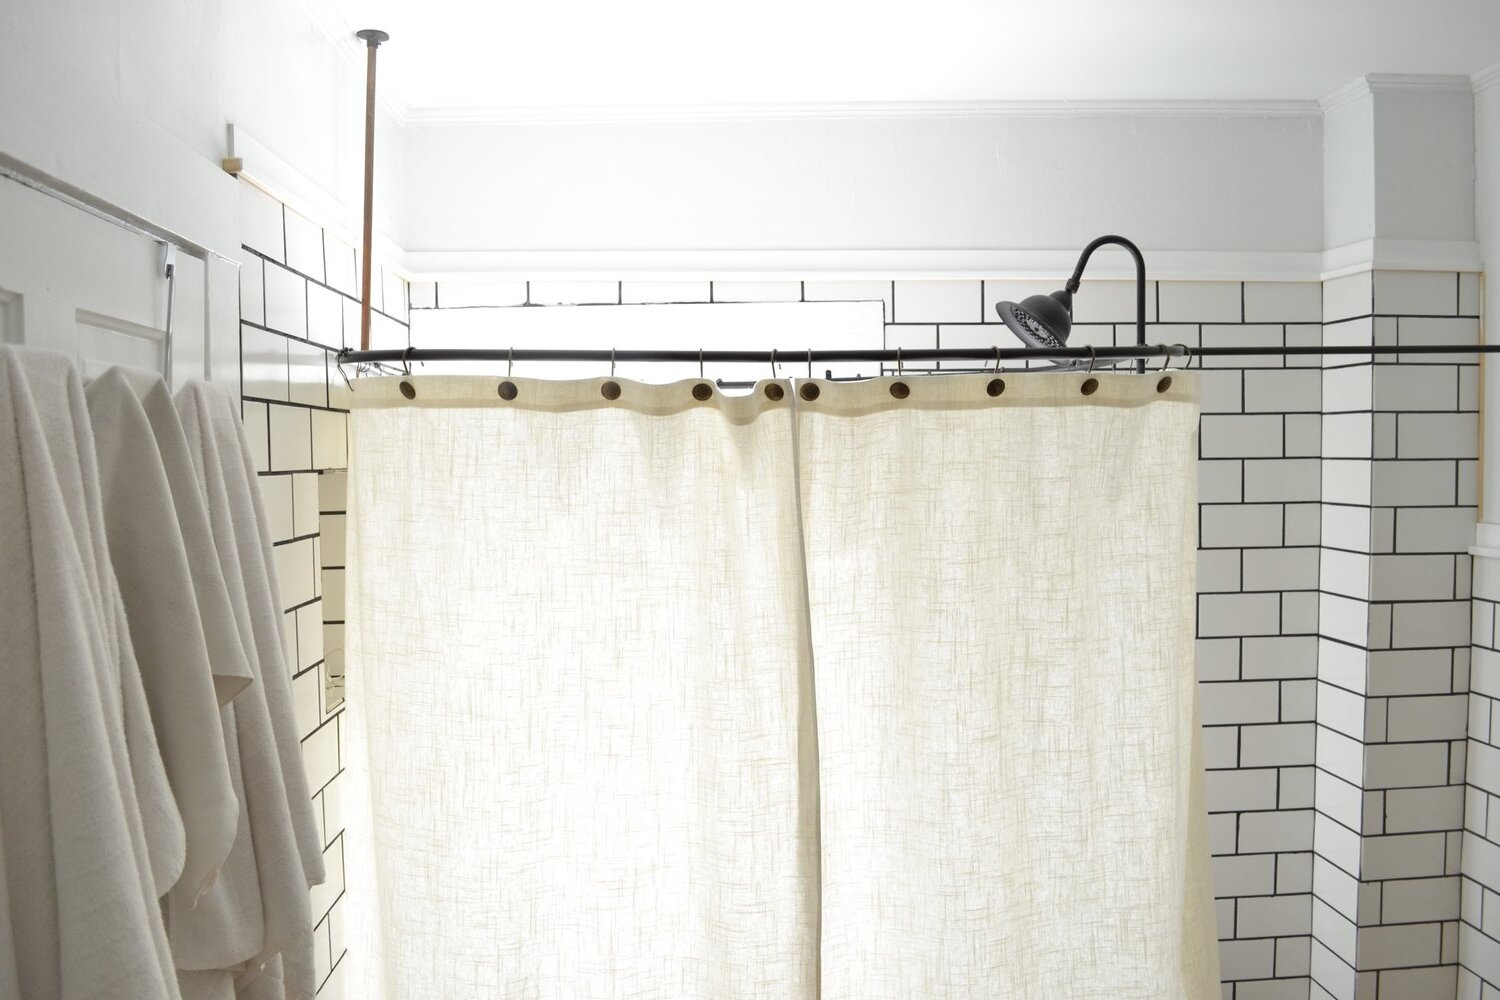
Installing Shower Curtain: With the curved tension shower rod securely in place, proceed to hang your shower curtain. The additional space created by the curved design allows for a more comfortable showering experience while preventing the curtain from encroaching on the shower area.
By following these detailed steps, you can successfully attach and adjust the curved tension shower rod, bringing the installation process to its completion. This transformative upgrade not only enhances the functionality of your shower space but also adds a touch of elegance to your bathroom, elevating your daily routine to a new level of comfort and style.
Step 5: Adjust and secure the tension rod
After attaching the curved tension shower rod, the final step involves adjusting and securing the tension rod to ensure its stability and functionality. Proper adjustment is essential for creating a secure and comfortable showering environment while preventing any potential issues with the rod's positioning.
Fine-Tuning the Tension
Begin by assessing the tension of the shower rod to ensure that it is securely anchored between the wall brackets. If the rod feels loose or unstable, it may require further adjustment to achieve the desired level of tension. Carefully twist the rod in a clockwise direction to increase the tension gradually. As you do so, periodically test the stability of the rod by gently tugging on it. The goal is to achieve a firm and secure fit without over-tightening, which could potentially damage the walls or the rod itself.
Read more: What Size Shower Curtain For A Curved Rod
Verifying Alignment and Stability
Once the tension has been adjusted, it's important to verify the alignment and stability of the shower rod. Using a level, confirm that the rod is perfectly horizontal, enhancing both its appearance and functionality. A level rod ensures that shower curtains will hang smoothly and evenly, preventing any gaps or uneven draping. Additionally, test the stability of the rod by applying gentle pressure to different points along its length. A stable and secure attachment is crucial for the long-term performance of the curved tension shower rod.
Ensuring a Snug Fit
As a final check, ensure that the shower rod fits snugly within the wall brackets without any noticeable movement or slippage. The tension mechanism of the rod should maintain a consistent and secure grip, providing peace of mind and reliability during daily use. If any adjustments are needed to achieve a snug fit, carefully fine-tune the tension and re-verify the alignment to ensure that the shower rod is optimally positioned.
Enjoying the Enhanced Shower Experience
With the tension rod securely adjusted and the shower rod in place, you can now revel in the enhanced shower experience that this simple yet impactful upgrade provides. The additional space created by the curved design allows for a more comfortable showering experience, while the secure attachment of the tension rod ensures long-term reliability and performance.
By following these detailed steps to adjust and secure the tension rod, you can complete the installation process with confidence, knowing that your curved tension shower rod is optimally positioned and ready to elevate your daily shower routine.
Conclusion
In conclusion, the installation of a curved tension shower rod represents a transformative upgrade that enhances both the functionality and aesthetics of your bathroom space. By following the step-by-step process outlined in this guide, you have successfully elevated your shower area, creating a more spacious and comfortable environment for your daily routine.
The careful measurement of the space, precise installation of the wall brackets, and secure attachment of the curved tension shower rod have culminated in a significant enhancement to your bathroom. The additional space created by the curved design not only provides practical benefits, such as preventing the shower curtain from encroaching on the shower area, but also contributes to a more luxurious and inviting shower experience.
Furthermore, the attention to detail in adjusting and securing the tension rod ensures the long-term stability and reliability of the installed shower rod. The level of precision and care taken throughout the installation process reflects your commitment to creating a functional and visually appealing shower space.
As you step back and admire the newly installed curved tension shower rod, take pride in the fact that you have successfully completed a home improvement project that offers tangible benefits on a daily basis. The elegance and practicality of the curved tension shower rod serve as a testament to your dedication to enhancing your living space.
With the installation process now complete, you can look forward to enjoying the enhanced shower experience that this simple yet impactful upgrade provides. Whether it's the added comfort of a more spacious shower or the visual appeal of a beautifully draped shower curtain, the benefits of the curved tension shower rod will undoubtedly enrich your daily routine.
In the end, the installation of a curved tension shower rod is not just about upgrading a bathroom fixture; it's about enhancing your everyday life. It's about creating a space that reflects your attention to detail and your commitment to comfort and style. As you revel in the improved functionality and aesthetics of your shower area, take pride in the fact that you've successfully completed a home improvement project that makes a tangible difference in your daily life.
Frequently Asked Questions about How To Install A Curved Tension Shower Rod
Was this page helpful?
At Storables.com, we guarantee accurate and reliable information. Our content, validated by Expert Board Contributors, is crafted following stringent Editorial Policies. We're committed to providing you with well-researched, expert-backed insights for all your informational needs.
0 thoughts on “How To Install A Curved Tension Shower Rod”