Home>Furniture & Design>Bathroom Accessories>How To Put Up A Shower Curtain Rod
Bathroom Accessories
How To Put Up A Shower Curtain Rod
Modified: February 18, 2024
Learn how to easily install a shower curtain rod in your bathroom with our step-by-step guide. Find the best bathroom accessories and make your space more functional and stylish.
(Many of the links in this article redirect to a specific reviewed product. Your purchase of these products through affiliate links helps to generate commission for Storables.com, at no extra cost. Learn more)
Choosing the Right Shower Curtain Rod
Selecting the appropriate shower curtain rod is a crucial step in enhancing the functionality and aesthetics of your bathroom. With a wide array of options available, it's essential to consider various factors to ensure that the chosen rod complements your bathroom decor and meets your specific needs.
Read more: How To Put Up A Shower Curtain
1. Type of Shower Curtain Rod
When choosing a shower curtain rod, the first decision to make is the type of rod that best suits your bathroom. The most common types include tension rods, permanent rods, and curved rods.
-
Tension Rods: These rods are easy to install and do not require drilling, making them an ideal choice for renters or those who prefer a hassle-free installation process.
-
Permanent Rods: If you're looking for a more secure and permanent solution, consider installing a permanent rod. These rods are typically mounted to the wall or ceiling, providing stability and support for heavier curtains.
-
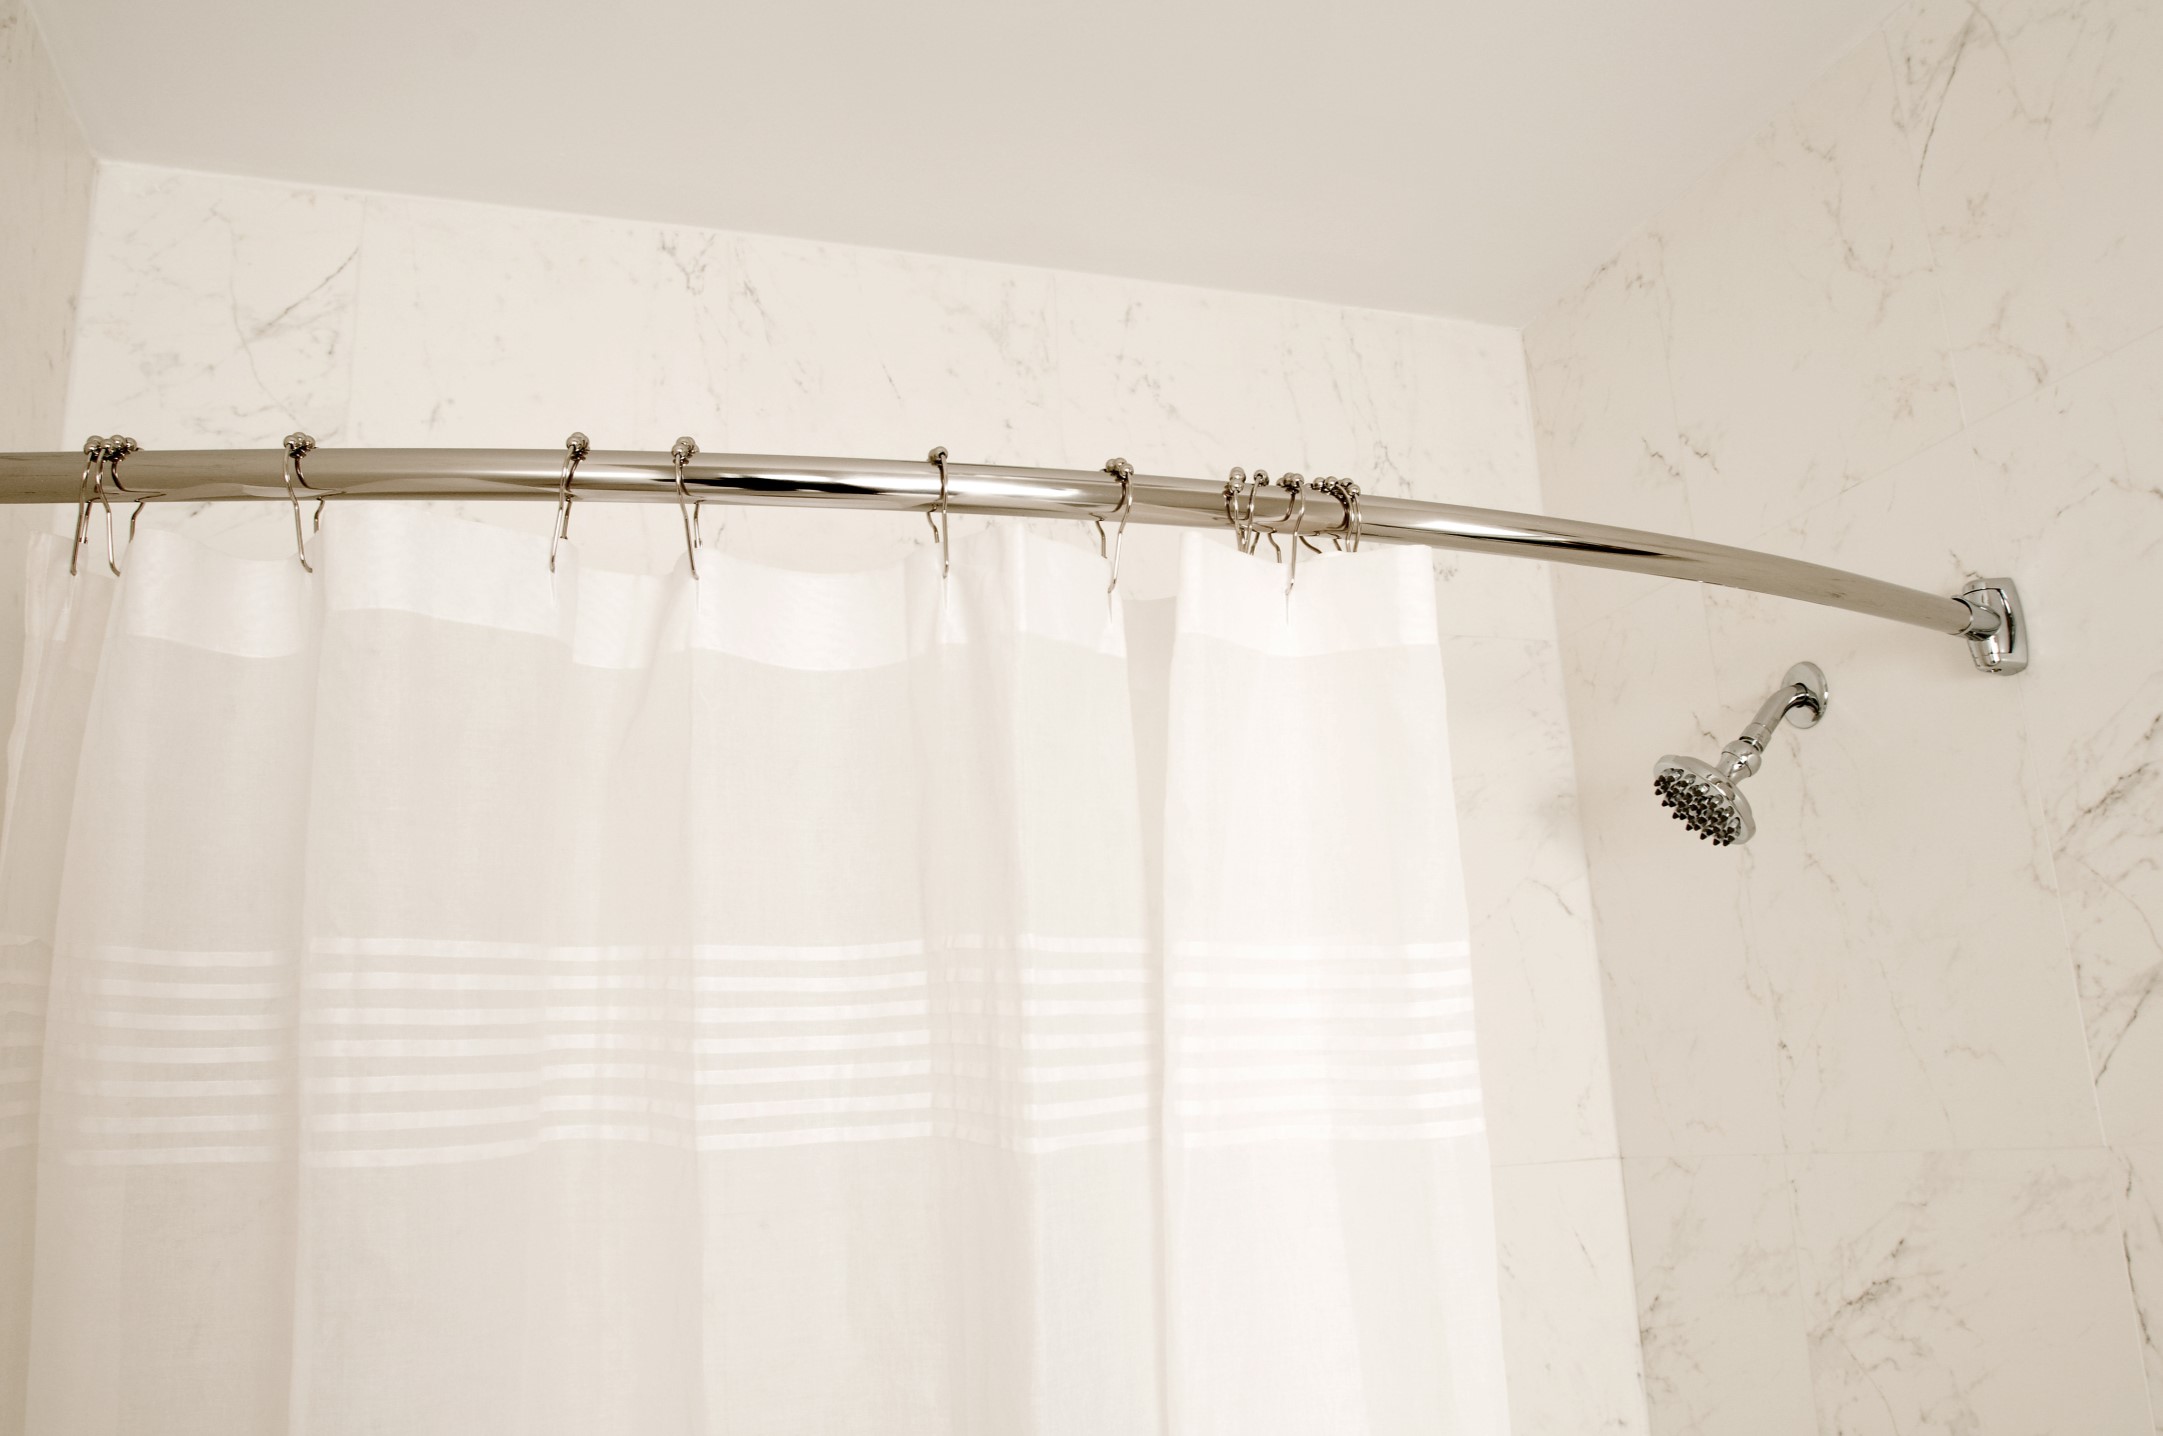
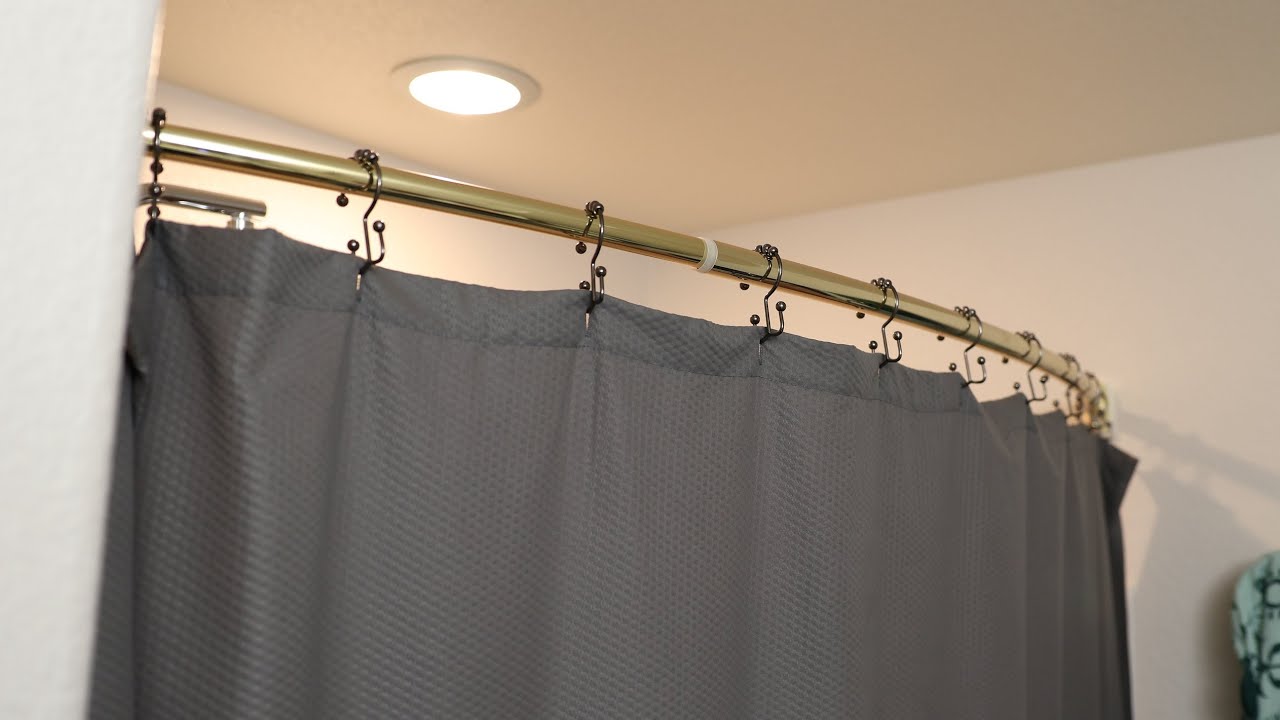
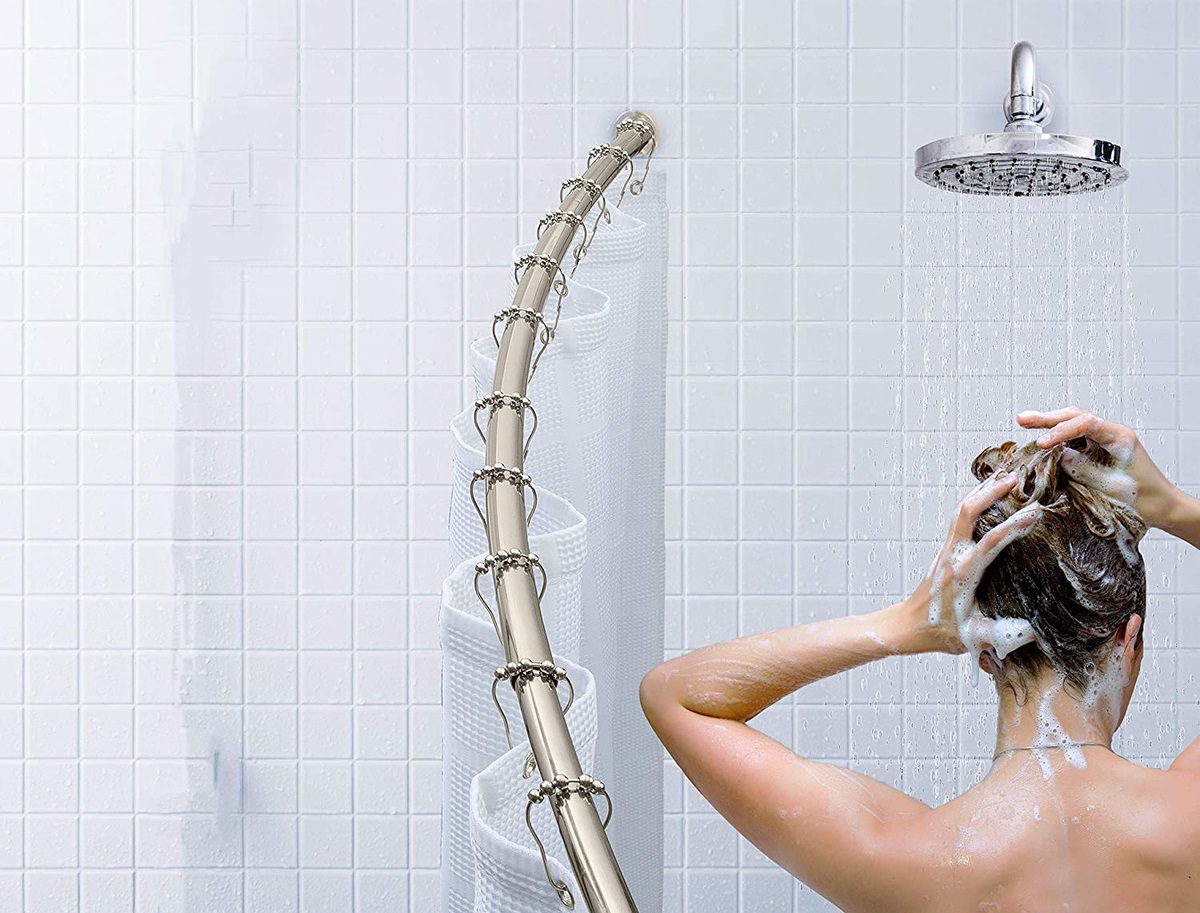
Curved Rods: For a touch of elegance and added space in the shower, curved rods are an excellent choice. They create extra elbow room in the shower and can make a small bathroom feel more spacious.
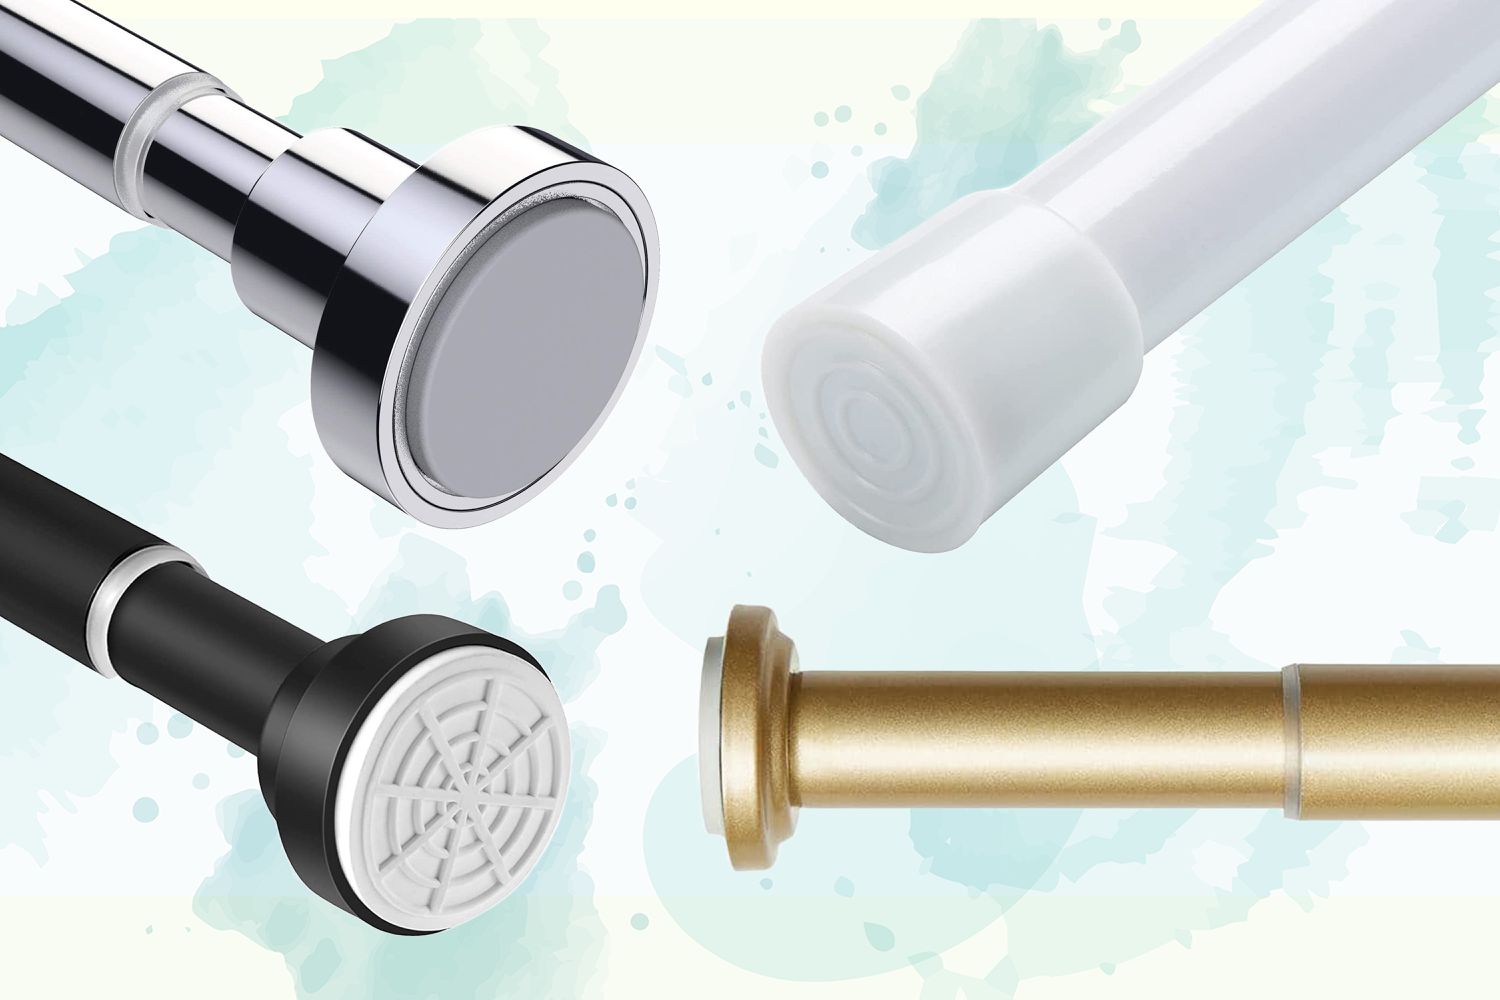
2. Material and Finish
The material and finish of the shower curtain rod play a significant role in both its durability and visual appeal. Common materials include stainless steel, aluminum, and plastic. Each material offers distinct advantages:
-
Stainless Steel: Known for its durability and resistance to rust and corrosion, stainless steel rods are an excellent choice for humid bathroom environments.
-
Aluminum: Lightweight and easy to install, aluminum rods are a practical option that can be found in a variety of finishes to match your bathroom decor.
-
Plastic: While less durable than metal options, plastic rods are budget-friendly and come in a range of colors and designs, making them a versatile choice for a quick bathroom update.
3. Adjustable Length
Consider the length of the shower curtain rod to ensure a proper fit within your shower or bathtub space. Many rods are adjustable, allowing you to customize the length to fit your specific measurements. This flexibility is especially beneficial for non-standard or oversized shower areas.
By carefully considering these factors, you can confidently select a shower curtain rod that not only complements your bathroom decor but also meets your practical requirements. With the right rod in place, you can enhance the functionality and style of your bathroom while enjoying the convenience of a well-chosen shower curtain rod.
Key Takeaways:
- Choose the right shower curtain rod based on your bathroom’s needs and style. Consider tension, permanent, or curved rods, and materials like stainless steel, aluminum, or plastic for durability and visual appeal.
- Measure and mark carefully, install the mounting hardware with precision, and attach the shower curtain rod securely. Adjust and fine-tune for a polished finish, ensuring a stable and visually appealing installation.
Measuring and Marking the Placement
Accurate measurement and precise placement are essential for a successful installation of a shower curtain rod. Before diving into the installation process, it's crucial to take the time to measure the designated area and mark the placement to ensure a seamless and secure fit.
Read more: How To Adjust A Shower Curtain Rod
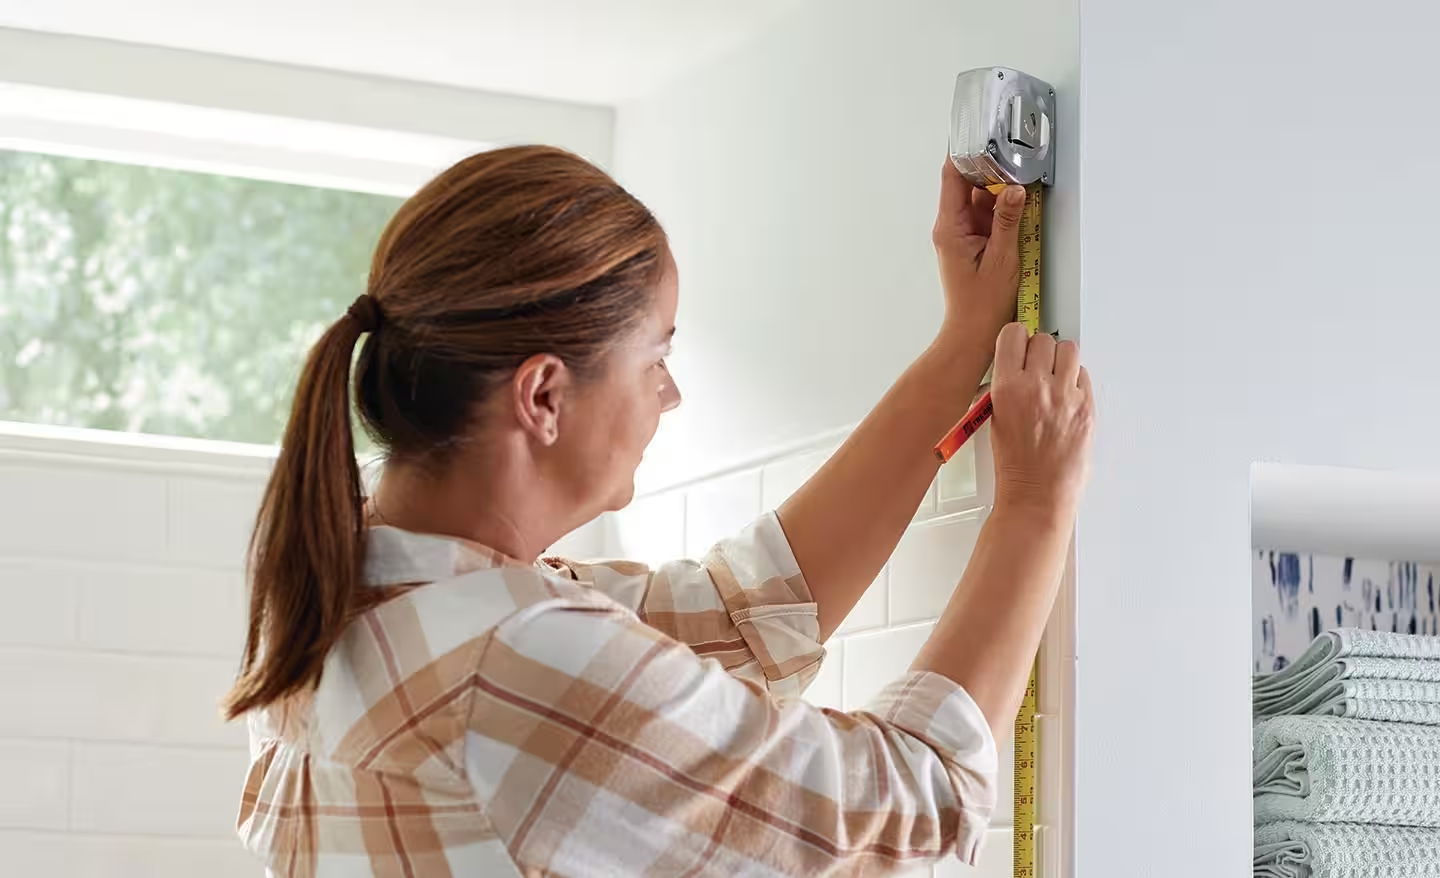
1. Measure the Width
Begin by measuring the width of the shower or bathtub area where the curtain rod will be installed. Use a tape measure to determine the exact width, accounting for any obstructions such as shower fixtures or wall protrusions. It's important to measure multiple times to ensure accuracy, as even a slight discrepancy can affect the fit of the rod.
2. Determine the Height
Next, determine the desired height at which the curtain rod will be placed. Standard practice is to position the rod approximately 1 to 2 inches above the top edge of the shower or tub enclosure. This placement helps prevent water from escaping while allowing the curtain to hang freely without obstructing the view.
3. Mark the Placement
Once the measurements are confirmed, use a pencil to mark the precise placement of the mounting hardware. For tension rods, mark the spots where the rod will be placed, ensuring that the markings are level and evenly spaced. In the case of permanent rods, mark the locations for the mounting brackets or hardware, taking care to align them accurately with the measured width and height.
4. Double-Check the Alignment
Before proceeding with the installation, double-check the alignment of the markings to ensure that they are level and symmetrical. This step is crucial for achieving a professional and polished look once the curtain rod is in place.
By meticulously measuring and marking the placement of the shower curtain rod, you set the stage for a successful installation. Attention to detail during this phase is key to ensuring that the rod fits securely and functions as intended. With the placement accurately marked, you can proceed to the next steps of installing the mounting hardware and attaching the curtain rod, knowing that the foundation has been meticulously prepared for a seamless installation.
Read more: How To Lock A Shower Curtain Rod
Installing the Mounting Hardware
With the measurements and placement markings in place, the next crucial step in installing a shower curtain rod is to secure the mounting hardware. Whether you're working with a tension rod or permanent rod, the process of installing the mounting hardware requires precision and attention to detail to ensure a sturdy and reliable foundation for the curtain rod.
1. Preparing for Installation
Before installing the mounting hardware, gather the necessary tools and hardware, which typically include screws, anchors (if needed), a level, a drill (if applicable), and a screwdriver. Ensure that the chosen hardware is suitable for the type of wall or surface where the rod will be mounted, whether it's drywall, tile, or another material.
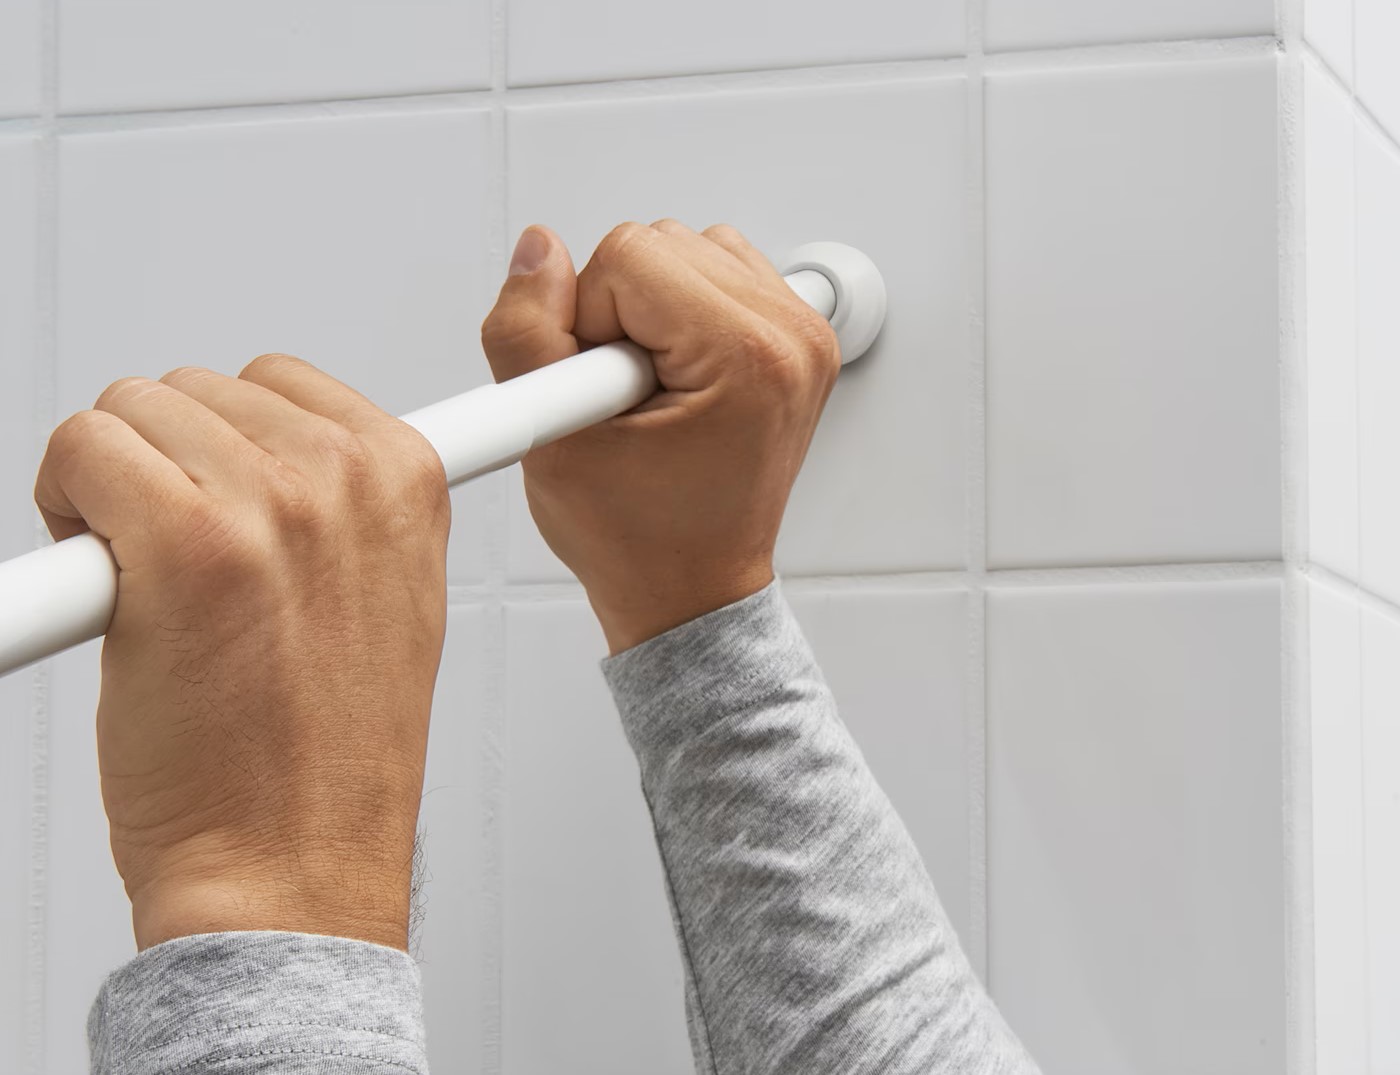
2. Tension Rod Installation
For tension rods, the installation process is straightforward and typically does not require drilling or additional hardware. Simply compress the rod to fit within the designated space, and twist it to extend until it fits securely. Ensure that the rod is level and adjust as needed.
3. Permanent Rod Installation
When installing a permanent rod, begin by using a level to ensure that the mounting brackets or hardware are positioned evenly and at the correct height. If drilling is required, carefully mark the locations for the screws or anchors and use a drill to create pilot holes. Then, securely attach the mounting hardware using the provided screws or appropriate anchors for added stability.
Read more: How To Remove A Shower Curtain Rod
4. Checking for Stability
Once the mounting hardware is in place, test the stability of the installation by gently tugging on the hardware to ensure that it is securely anchored to the wall or ceiling. Any signs of instability or wobbling should be addressed before proceeding to the next steps.
5. Adjusting for Alignment
After securing the mounting hardware, take a final moment to check the alignment and levelness of the installed hardware. Making any necessary adjustments at this stage will ensure that the curtain rod hangs evenly and functions as intended.
By following these steps and taking the time to install the mounting hardware with precision, you establish a solid foundation for the shower curtain rod. With the mounting hardware securely in place, you are now ready to proceed with attaching the curtain rod, bringing you one step closer to completing the installation process.
Attaching the Shower Curtain Rod
With the mounting hardware securely installed, the next pivotal step in the installation process is attaching the shower curtain rod. Whether you've opted for a tension rod or a permanent rod, this phase requires attention to detail and precision to ensure that the rod is properly secured and ready to support the weight of the shower curtain.
1. Tension Rod Attachment
If you've chosen a tension rod, the attachment process is relatively straightforward. Begin by compressing the rod to fit within the designated space, ensuring that it is centered and level. Once in position, twist the rod to extend it until it fits securely between the walls or within the enclosure. The tension created by the rod's spring mechanism holds it in place, providing a reliable and adjustable fit. It's essential to double-check the levelness and stability of the rod before proceeding to the next step.
Read more: Where To Place A Shower Curtain Rod
2. Permanent Rod Attachment
For permanent rods, the attachment process involves securing the rod to the installed mounting hardware. Carefully place the rod onto the mounted brackets or hardware, ensuring that it is evenly positioned and level. Depending on the specific design of the rod and mounting hardware, you may need to use screws or other fasteners to secure the rod in place. Take care to follow the manufacturer's instructions for your specific rod and hardware to ensure a secure attachment.
3. Testing for Stability
Once the shower curtain rod is attached, it's crucial to test its stability and weight-bearing capacity. Gently tug on the rod to ensure that it is firmly anchored and can support the weight of the curtain without shifting or coming loose. This step is essential for verifying that the rod is securely attached and ready to fulfill its intended function.
4. Adjusting and Fine-Tuning
After attaching the shower curtain rod, take a moment to make any necessary adjustments or fine-tuning. Ensure that the rod is level and straight, making any minor tweaks to its positioning as needed. This attention to detail will contribute to a polished and professional-looking installation, ensuring that the curtain hangs evenly and functions as intended.
By meticulously following these steps and attaching the shower curtain rod with precision, you complete a crucial phase of the installation process. With the rod securely in place, you are now ready to proceed to the final steps of adjusting and securing the rod, bringing you one step closer to the successful completion of the installation.
Adjusting and Securing the Rod
After attaching the shower curtain rod, the final phase of the installation process involves adjusting and securing the rod to ensure optimal functionality and a polished appearance. This critical step requires attention to detail and precision to guarantee that the rod is perfectly positioned and firmly secured, ready to fulfill its intended purpose.
Read more: How Long Is A Standard Shower Curtain Rod
1. Ensuring Levelness and Alignment
The first aspect of adjusting the rod involves verifying its levelness and alignment. Using a spirit level, check that the rod is perfectly horizontal or curved, depending on its design. Any deviations from a straight and level position can affect the appearance of the curtain and may lead to operational issues. Making any necessary adjustments at this stage will contribute to a visually appealing and professional-looking installation.
2. Customizing the Length and Fit
For adjustable shower curtain rods, such as tension rods, this is the stage to customize the length and fit according to the specific dimensions of the shower or bathtub area. Extend or compress the rod as needed to ensure a snug and secure fit within the designated space. This customization ensures that the curtain hangs precisely as intended, preventing any gaps or overhangs that could compromise privacy or allow water to escape.
3. Securing the Hardware
Once the rod is perfectly positioned and adjusted, the next step is to secure the mounting hardware to prevent any potential shifting or loosening over time. For permanent rods, ensure that the screws or fasteners holding the mounting brackets are tightened securely, providing a stable foundation for the rod. Similarly, for tension rods, double-check that the rod is firmly in place and that the tension mechanism is engaged to hold it securely within the enclosure.
4. Testing for Stability and Functionality
After making the necessary adjustments and securing the rod, it's essential to conduct a final test to ensure its stability and functionality. Gently tug on the rod and give it a slight shake to verify that it remains firmly anchored and can support the weight of the curtain without any signs of instability. Additionally, test the smooth operation of the curtain, ensuring that it can be opened and closed without encountering any obstructions or resistance.
Read more: How To Hang A Shower Curtain Without A Rod
5. Fine-Tuning for a Polished Finish
As a finishing touch, take a moment to fine-tune any minor details to achieve a polished and professional finish. This may involve straightening the curtain and ensuring that it hangs evenly, free from any wrinkles or bunching. By paying attention to these finer points, you can elevate the overall appearance of the installation, creating a visually appealing and functional shower space.
By meticulously following these steps to adjust and secure the shower curtain rod, you complete the installation process with confidence, knowing that the rod is perfectly positioned and ready to enhance the functionality and aesthetics of your bathroom. With the rod securely adjusted and firmly secured, you can step back and admire the seamless integration of this essential bathroom accessory, knowing that it is poised to deliver both practicality and visual appeal for years to come.
Frequently Asked Questions about How To Put Up A Shower Curtain Rod
Was this page helpful?
At Storables.com, we guarantee accurate and reliable information. Our content, validated by Expert Board Contributors, is crafted following stringent Editorial Policies. We're committed to providing you with well-researched, expert-backed insights for all your informational needs.


0 thoughts on “How To Put Up A Shower Curtain Rod”