Home>Furniture & Design>Bathroom Fixtures>How To Install A Shower Rod On Tile
Bathroom Fixtures
How To Install A Shower Rod On Tile
Modified: February 23, 2024
Learn how to properly install a shower rod on tile in your bathroom with our step-by-step guide. Get expert tips and advice on bathroom fixtures installation.
(Many of the links in this article redirect to a specific reviewed product. Your purchase of these products through affiliate links helps to generate commission for Storables.com, at no extra cost. Learn more)
Introduction
Installing a shower rod on tile can be a daunting task for many homeowners, but with the right tools and a step-by-step guide, it can be a manageable and rewarding DIY project. Whether you're replacing an old shower rod or installing a new one for the first time, this comprehensive guide will walk you through the process, ensuring a sturdy and secure installation that will stand the test of time.
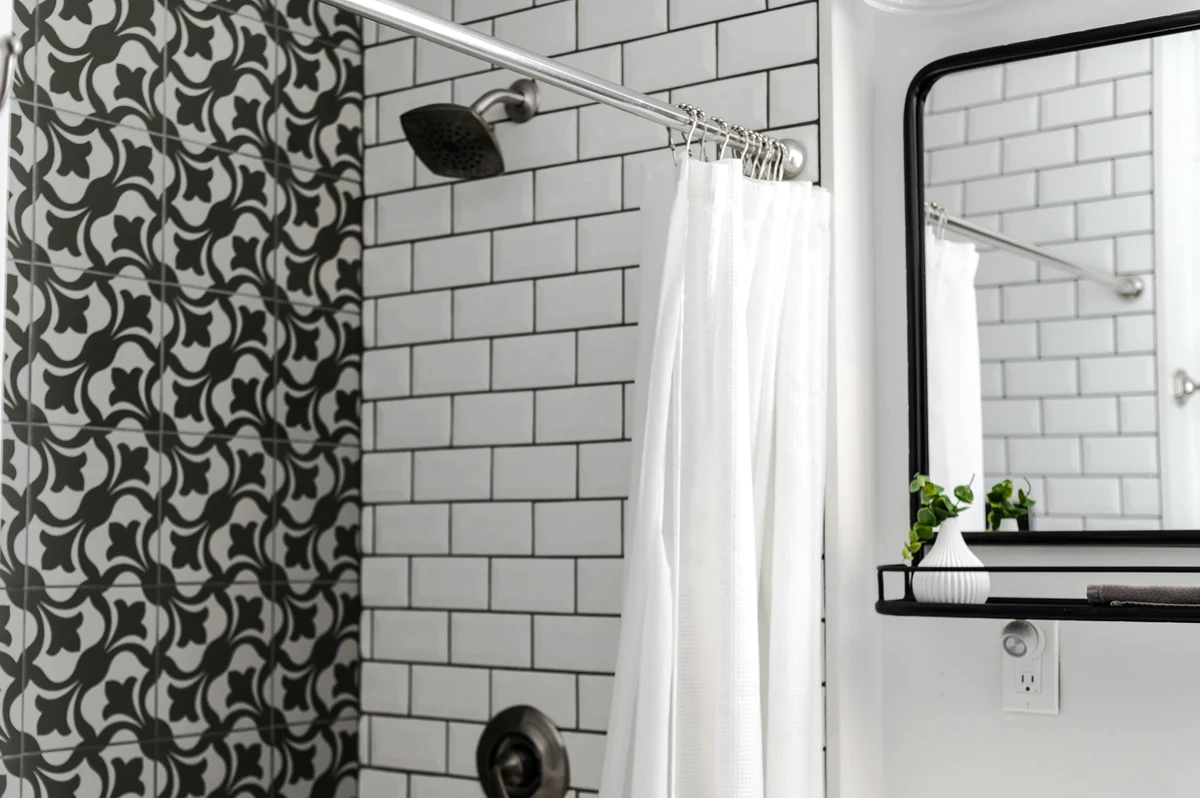
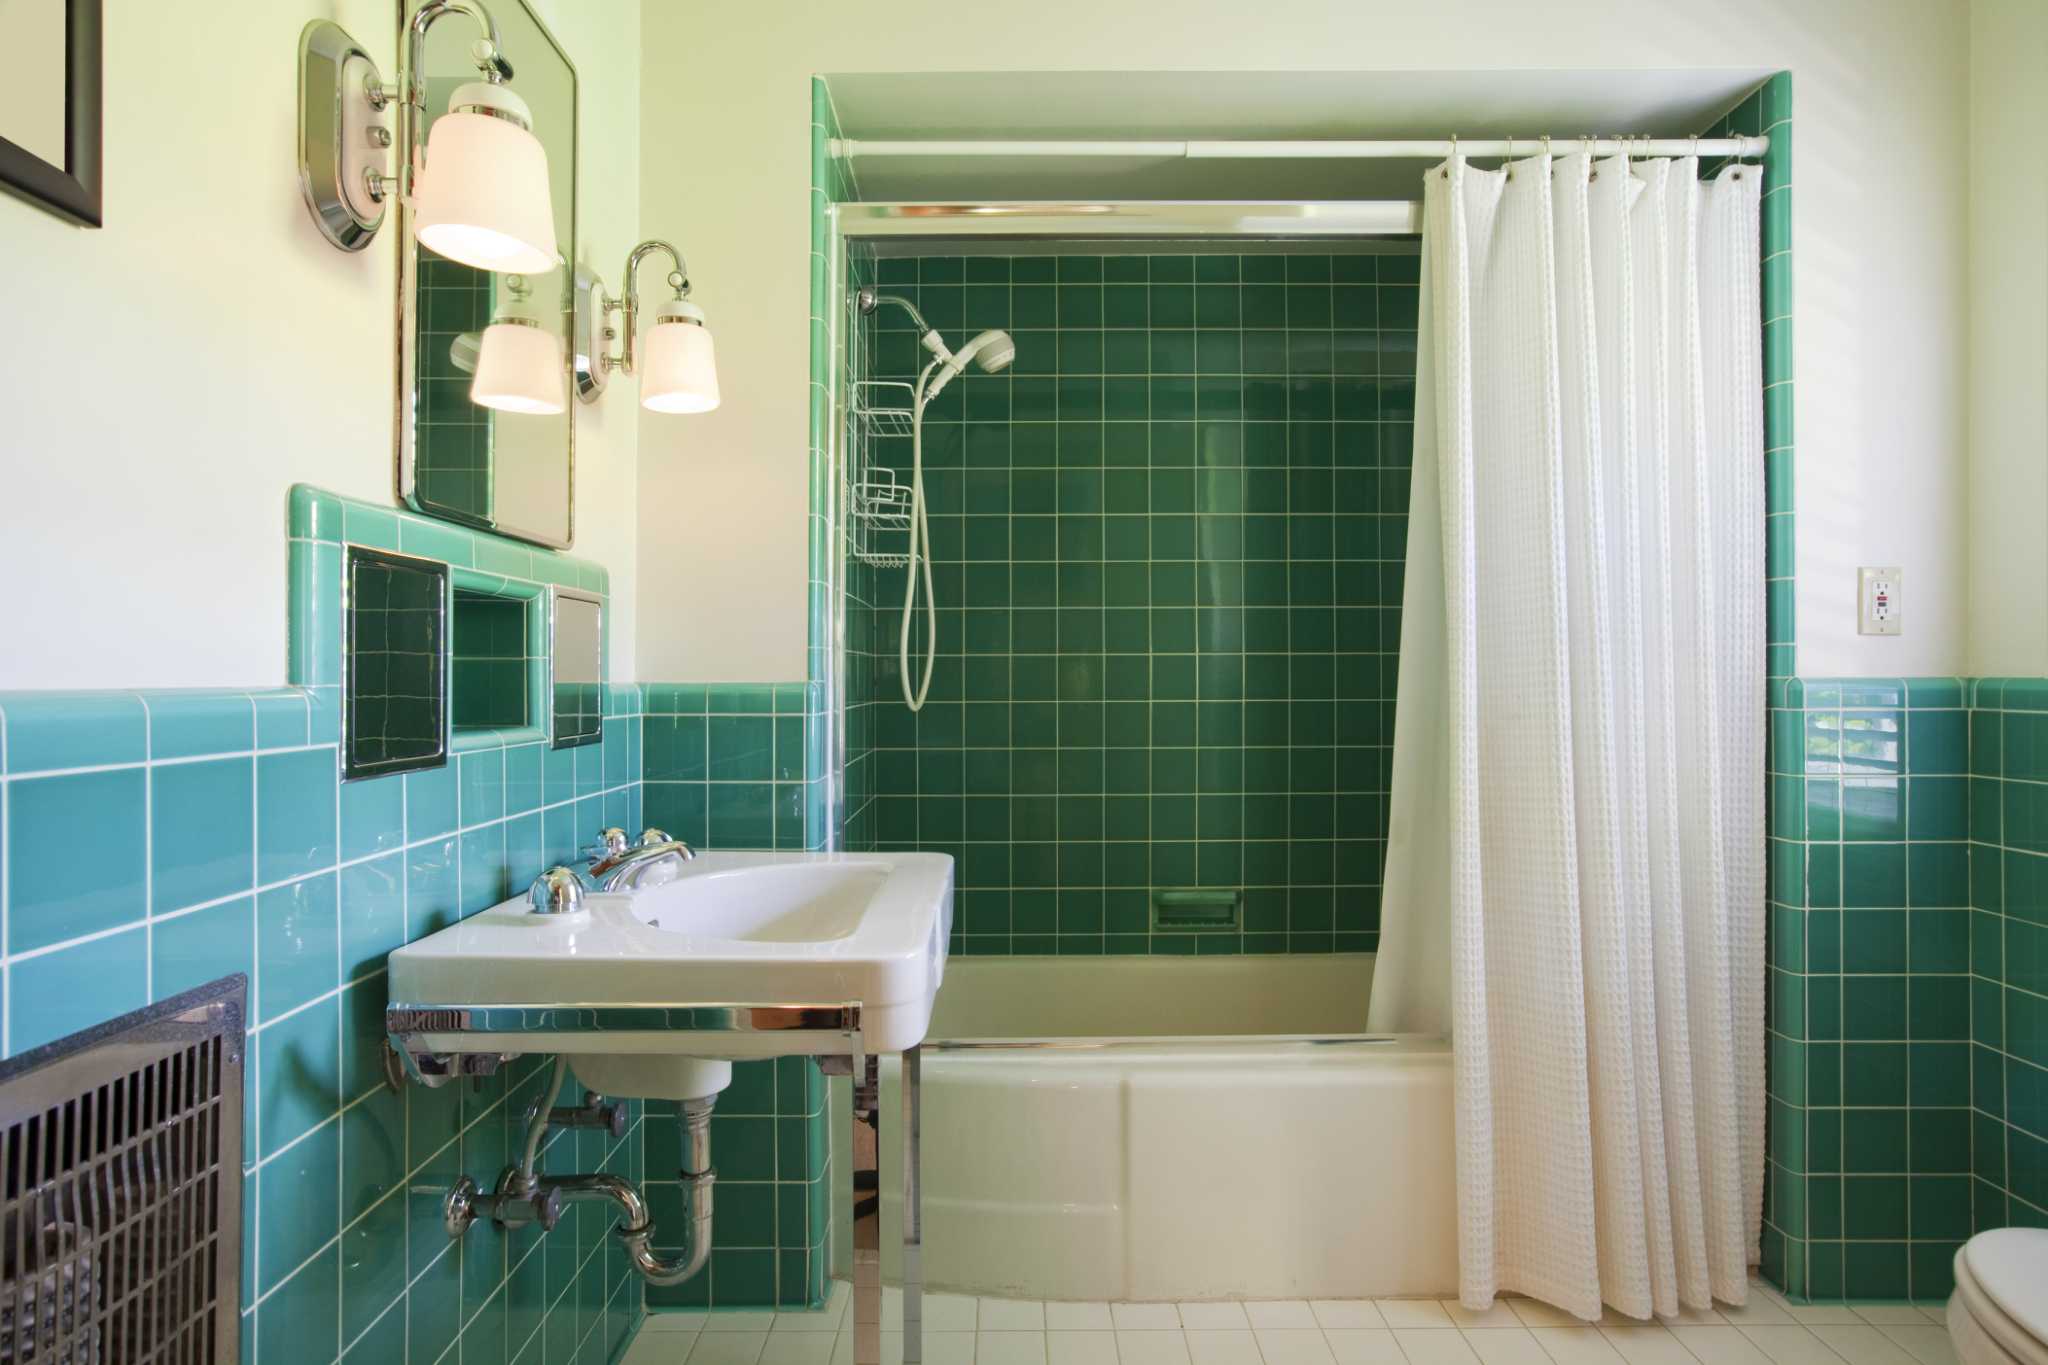
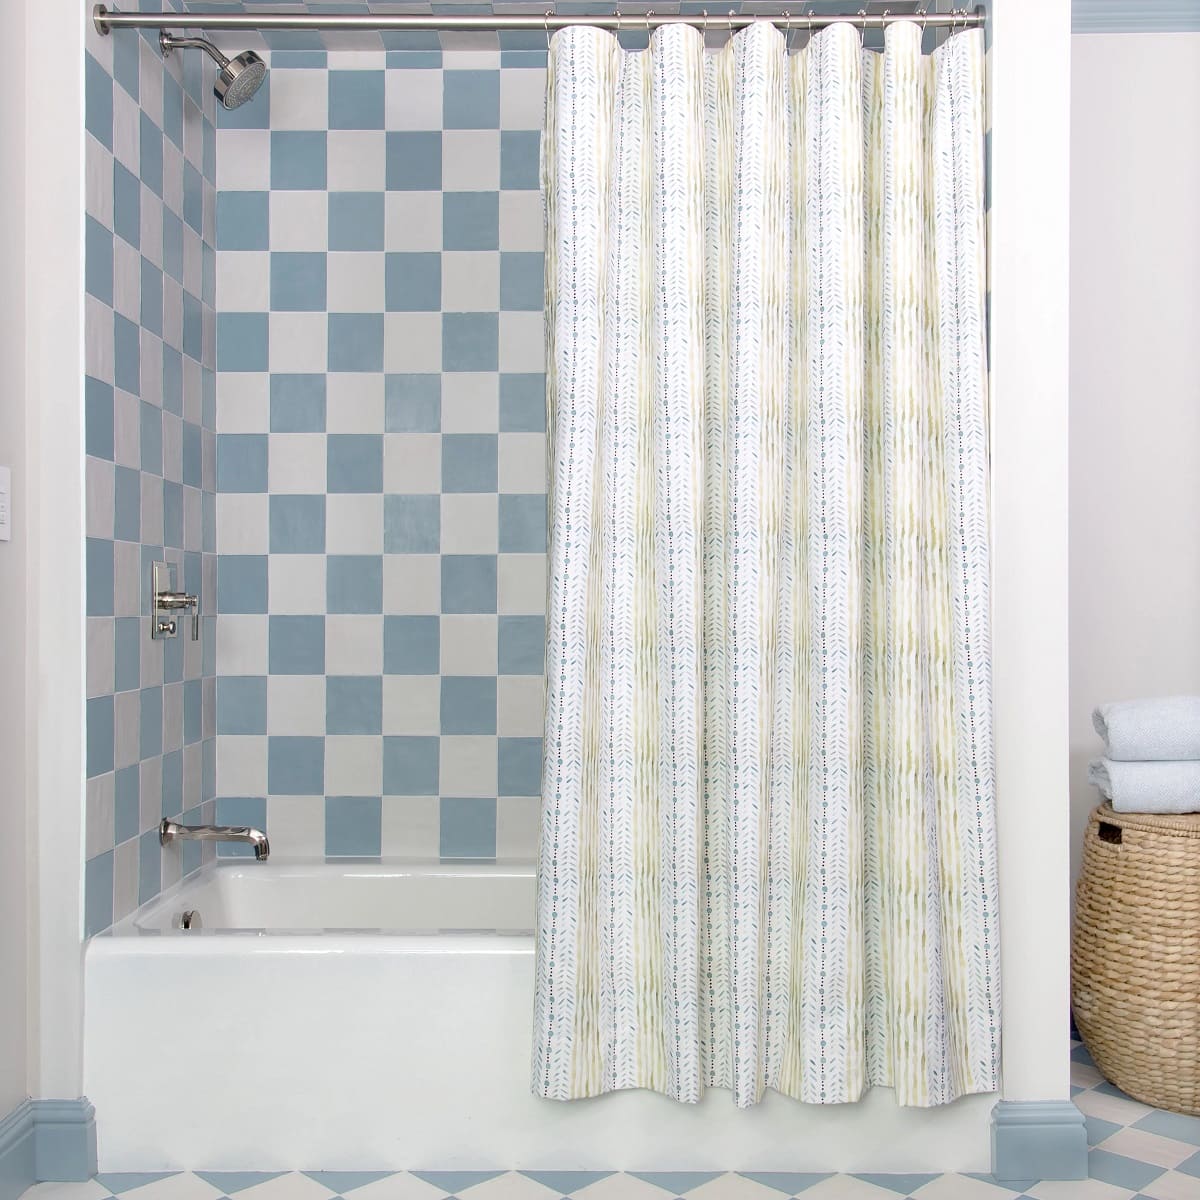
A shower rod is an essential component of any bathroom, providing the necessary support for hanging a shower curtain. It not only adds a decorative touch to the bathroom but also serves a functional purpose by keeping water contained within the shower area. When installed correctly, a shower rod can enhance the overall aesthetic of the bathroom while offering privacy and protection from splashing water.
In this guide, we will cover each step of the installation process in detail, from gathering the necessary tools and materials to hanging the shower curtain. By following these instructions, you can achieve a professional-looking installation that will elevate the functionality and style of your bathroom. Whether you're a seasoned DIY enthusiast or a novice homeowner looking to tackle your first home improvement project, this guide is designed to empower you with the knowledge and confidence to successfully install a shower rod on tile.
With a focus on precision and attention to detail, this guide will help you navigate the potential challenges of working with tile, ensuring that the installation is secure and seamless. By the end of this tutorial, you'll have a newfound sense of accomplishment and pride in your ability to enhance your bathroom with a well-installed shower rod. So, roll up your sleeves, gather your tools, and let's dive into the step-by-step process of installing a shower rod on tile.
Key Takeaways:
- Installing a shower rod on tile is a manageable DIY project that enhances bathroom functionality and style. With the right tools and precision, you can achieve a professional-looking installation that adds privacy and water protection.
- By following step-by-step instructions, you can transform your bathroom with a well-installed shower rod and curtain. This DIY project not only enhances the visual appeal of your bathroom but also reflects your ability to tackle home improvement projects with confidence and precision.
Read more: How To Install A Shower Curtain Rod On Tile
Step 1: Gather the necessary tools and materials
Before embarking on the installation of a shower rod on tile, it's crucial to gather all the essential tools and materials to ensure a smooth and efficient process. Here's a comprehensive list of what you'll need:
Tools:
- Measuring Tape: Accurate measurements are vital for determining the placement of the shower rod, so a reliable measuring tape is essential.
- Pencil: A pencil will be used to mark the precise locations for drilling on the tile.
- Level: To ensure that the shower rod is installed straight and level, a quality level is indispensable.
- Power Drill: A drill with a carbide-tipped masonry bit is necessary for drilling holes in the tile.
- Screwdriver: Depending on the type of wall anchors and screws, a screwdriver may be required for securing the shower rod brackets.
- Stud Finder (optional): If you prefer to anchor the shower rod into a wall stud for added support, a stud finder can help locate the studs behind the tile.
Materials:
- Shower Rod: Select a high-quality shower rod that complements the design of your bathroom and fits the dimensions of your shower or bathtub area.
- Shower Curtain: Choose a shower curtain that suits your style and provides the desired level of privacy and water protection.
- Wall Anchors: For securing the shower rod brackets to the tile, appropriate wall anchors, such as plastic or metal anchors, will be needed.
- Screws: Ensure that you have the correct screws that are compatible with the chosen wall anchors and shower rod brackets.
- Masking Tape (optional): Using masking tape can help prevent the drill bit from slipping on the tile surface while drilling.
By gathering these tools and materials in advance, you'll be well-prepared to proceed with the installation process without interruptions. Having the right equipment at your disposal will contribute to a successful and hassle-free installation of the shower rod on tile. With the necessary tools and materials in hand, you're ready to move on to the next step of measuring and marking the placement of the shower rod.
Step 2: Measure and mark the placement of the shower rod
Accurate measurement and precise marking are crucial steps in ensuring the proper placement of the shower rod on tile. Before proceeding with the installation, it's essential to determine the ideal positioning for the shower rod to achieve optimal functionality and aesthetic appeal.
Begin by measuring the width of the shower or bathtub area where the shower rod will be installed. Use a measuring tape to obtain the exact width, ensuring that the shower rod will span the entire length of the designated area. This measurement will guide you in selecting a shower rod of the appropriate size, preventing any gaps that could compromise the effectiveness of the shower curtain in containing water.
Once the width has been determined, mark the desired height for the shower rod brackets on the tile. Consider the standard height for shower curtains, which typically ranges from 72 to 78 inches above the floor. However, you may adjust this height based on personal preference and the dimensions of your specific shower or bathtub enclosure.
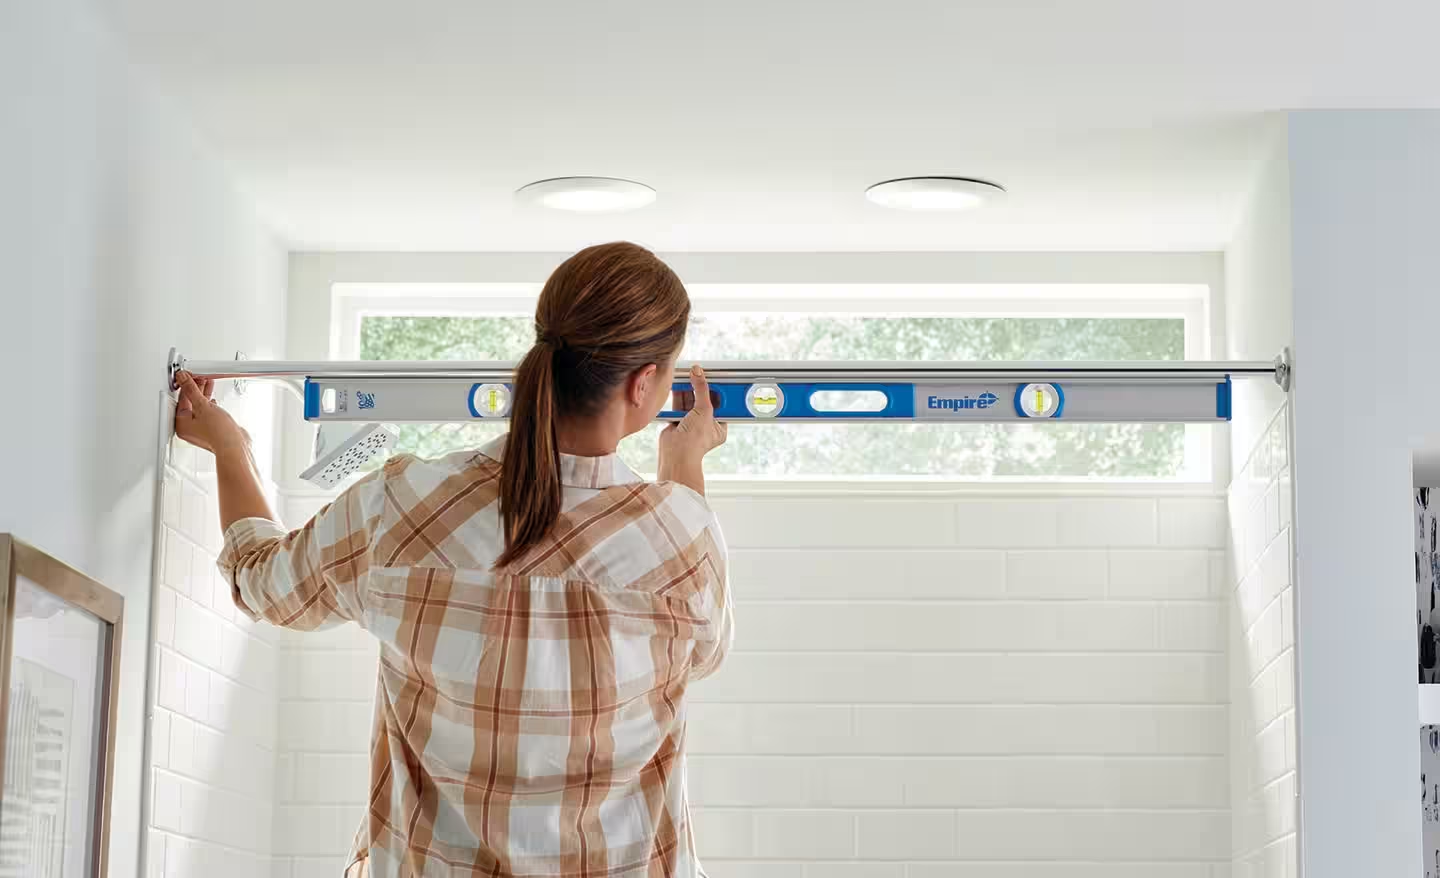
Using a pencil and a level, make light markings on the tile to indicate the positions for the shower rod brackets. Ensure that the markings are aligned and level to maintain a symmetrical and visually appealing installation. If the shower rod will be installed over a bathtub, take into account the height of the tub rim to prevent the shower curtain from dragging or bunching on the surface.
Before proceeding with drilling, double-check the accuracy of the markings and measurements to avoid any errors that could impact the final installation. It's advisable to step back and visually assess the proposed placement of the shower rod to confirm that it aligns with your vision for the bathroom's overall aesthetic.
By meticulously measuring and marking the placement of the shower rod, you lay the groundwork for a successful installation that meets both functional and visual requirements. With the positions clearly identified, you're now ready to move on to the next step of drilling holes in the tile to accommodate the wall anchors.
Read more: How To Install A Tension Shower Rod
Step 3: Drill holes in the tile
Drilling holes in tile requires precision and caution to avoid damaging the delicate surface while creating openings for the wall anchors. Before proceeding with the drilling process, it's essential to equip yourself with the right tools and adopt a methodical approach to ensure a successful outcome.
To begin, attach a carbide-tipped masonry bit to your power drill. The carbide tip is specifically designed to penetrate hard materials such as ceramic or porcelain tile without causing cracks or fractures. It's crucial to select a drill bit size that matches the diameter of the wall anchors to ensure a snug fit once they are inserted into the tile.
Before drilling, consider using masking tape to create a guide for the drill bit. Place a strip of masking tape over the area where the holes will be drilled and mark the precise locations for the holes. The tape serves as a protective barrier, reducing the likelihood of the drill bit slipping and causing damage to the tile surface.
When you're ready to drill, apply gentle and consistent pressure to the drill, allowing the carbide tip to gradually penetrate the tile. It's important to maintain a steady hand and avoid exerting excessive force, as this could lead to unintended damage. Additionally, periodically pausing to clear away any debris from the drilling area can help maintain the effectiveness of the drill bit.
As you approach the completion of each hole, adjust the speed of the drill to prevent chipping or cracking as the bit breaks through the tile. Once the holes have been successfully drilled, carefully remove the masking tape to reveal the clean openings in the tile surface.
Throughout the drilling process, it's crucial to prioritize patience and precision, as rushing or applying excessive force can result in irreversible damage to the tile. By following these meticulous steps and exercising caution, you can effectively create the necessary openings to accommodate the wall anchors for securing the shower rod brackets.
With the holes drilled and the tile surface intact, you've successfully completed a critical phase of the installation process. The next step involves installing the wall anchors to provide a secure foundation for attaching the shower rod brackets, bringing you closer to the completion of the installation with confidence and precision.
Step 4: Install the wall anchors
With the holes drilled in the tile, the next crucial step is to install the wall anchors, which will serve as the sturdy foundation for securing the shower rod brackets. Wall anchors are essential for distributing the weight of the shower rod and curtain evenly, preventing damage to the tile and ensuring a reliable installation that can withstand daily use.
Begin by selecting the appropriate type of wall anchors based on the material of the tile and the weight-bearing capacity required for the shower rod. Plastic or metal wall anchors are commonly used for tile installations, offering reliable support and stability when properly installed.
Insert the wall anchors into the drilled holes, ensuring a snug fit that prevents any looseness or movement. Depending on the design of the wall anchors, you may need to gently tap them into place using a hammer or a rubber mallet, taking care to avoid applying excessive force that could cause damage to the tile.
Once the wall anchors are securely in position, it's time to prepare for the attachment of the shower rod brackets. Confirm that the wall anchors are flush with the tile surface, as any protrusion could interfere with the seamless installation of the brackets.
With the wall anchors firmly in place, you have established a solid foundation for mounting the shower rod brackets, setting the stage for the final steps of the installation process. The secure installation of the wall anchors is a pivotal milestone that paves the way for the successful attachment of the shower rod brackets, bringing you closer to the completion of the installation with confidence and precision.
By meticulously following these steps and ensuring the proper installation of the wall anchors, you are laying the groundwork for a durable and reliable shower rod installation that will enhance the functionality and aesthetic appeal of your bathroom. With the wall anchors securely in position, you are now ready to proceed to the next step of attaching the shower rod brackets, bringing you one step closer to the successful completion of the installation process.
Use a masonry drill bit to make pilot holes in the tile. Insert wall anchors and then attach the shower rod brackets with screws. Use a level to ensure the rod is straight.
Step 5: Attach the shower rod brackets
With the wall anchors securely installed, the next pivotal step in the installation process is attaching the shower rod brackets to the tile. The shower rod brackets play a critical role in supporting the shower rod and curtain, contributing to the overall stability and functionality of the installation. By following a methodical approach and exercising precision, you can ensure a secure and visually appealing attachment of the brackets to the tile surface.
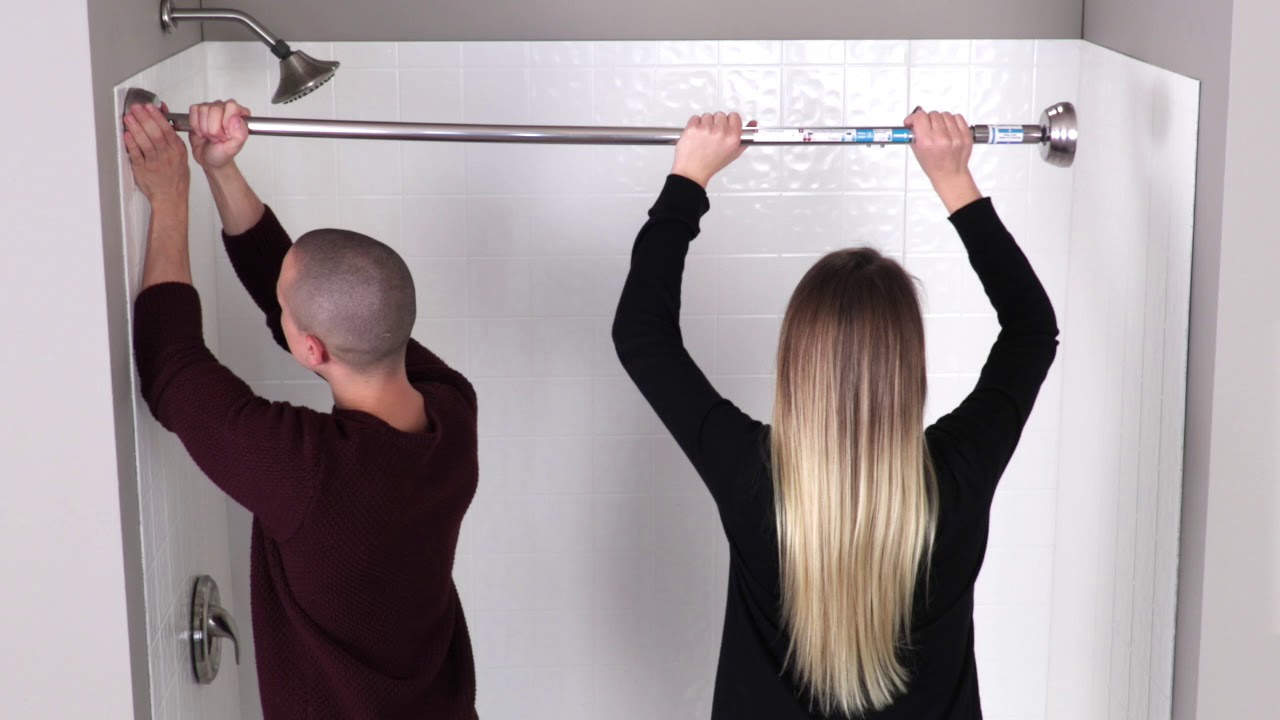
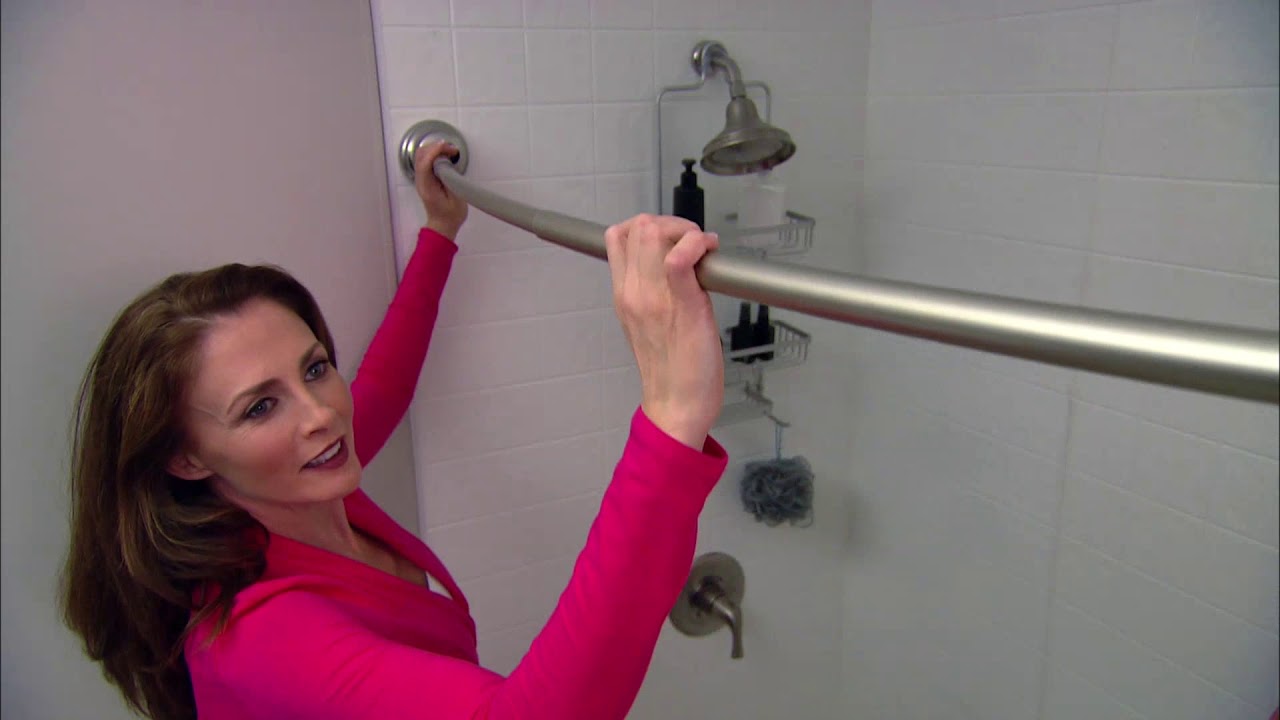
Begin by positioning the shower rod brackets over the installed wall anchors, aligning them with the markings previously made on the tile. It's essential to verify that the brackets are level and evenly spaced to achieve a balanced and symmetrical appearance. Using a level to confirm the alignment of the brackets can help maintain a uniform and professional installation.
Once the positioning is finalized, proceed to attach the brackets to the wall anchors using the appropriate screws. Depending on the design of the brackets and wall anchors, you may need to use a screwdriver to secure the screws firmly in place. Exercise caution to avoid overtightening the screws, as this could potentially damage the wall anchors or compromise the integrity of the installation.
As you fasten the shower rod brackets to the wall anchors, periodically assess the stability and alignment of the brackets to ensure that they are securely affixed to the tile surface. Making any necessary adjustments during this phase can contribute to a seamless and reliable installation that meets both functional and aesthetic standards.
Once the shower rod brackets are securely attached to the wall anchors, perform a final inspection to confirm that they are level, stable, and visually aligned. This visual assessment ensures that the brackets are poised to support the shower rod and curtain effectively, contributing to a polished and professional finish.
By meticulously following these steps and exercising precision throughout the attachment process, you establish a solid foundation for the final phase of the installation: hanging the shower curtain. With the shower rod brackets securely in place, you are now prepared to proceed to the concluding step of the installation process, bringing you closer to the successful completion of the project with confidence and precision.
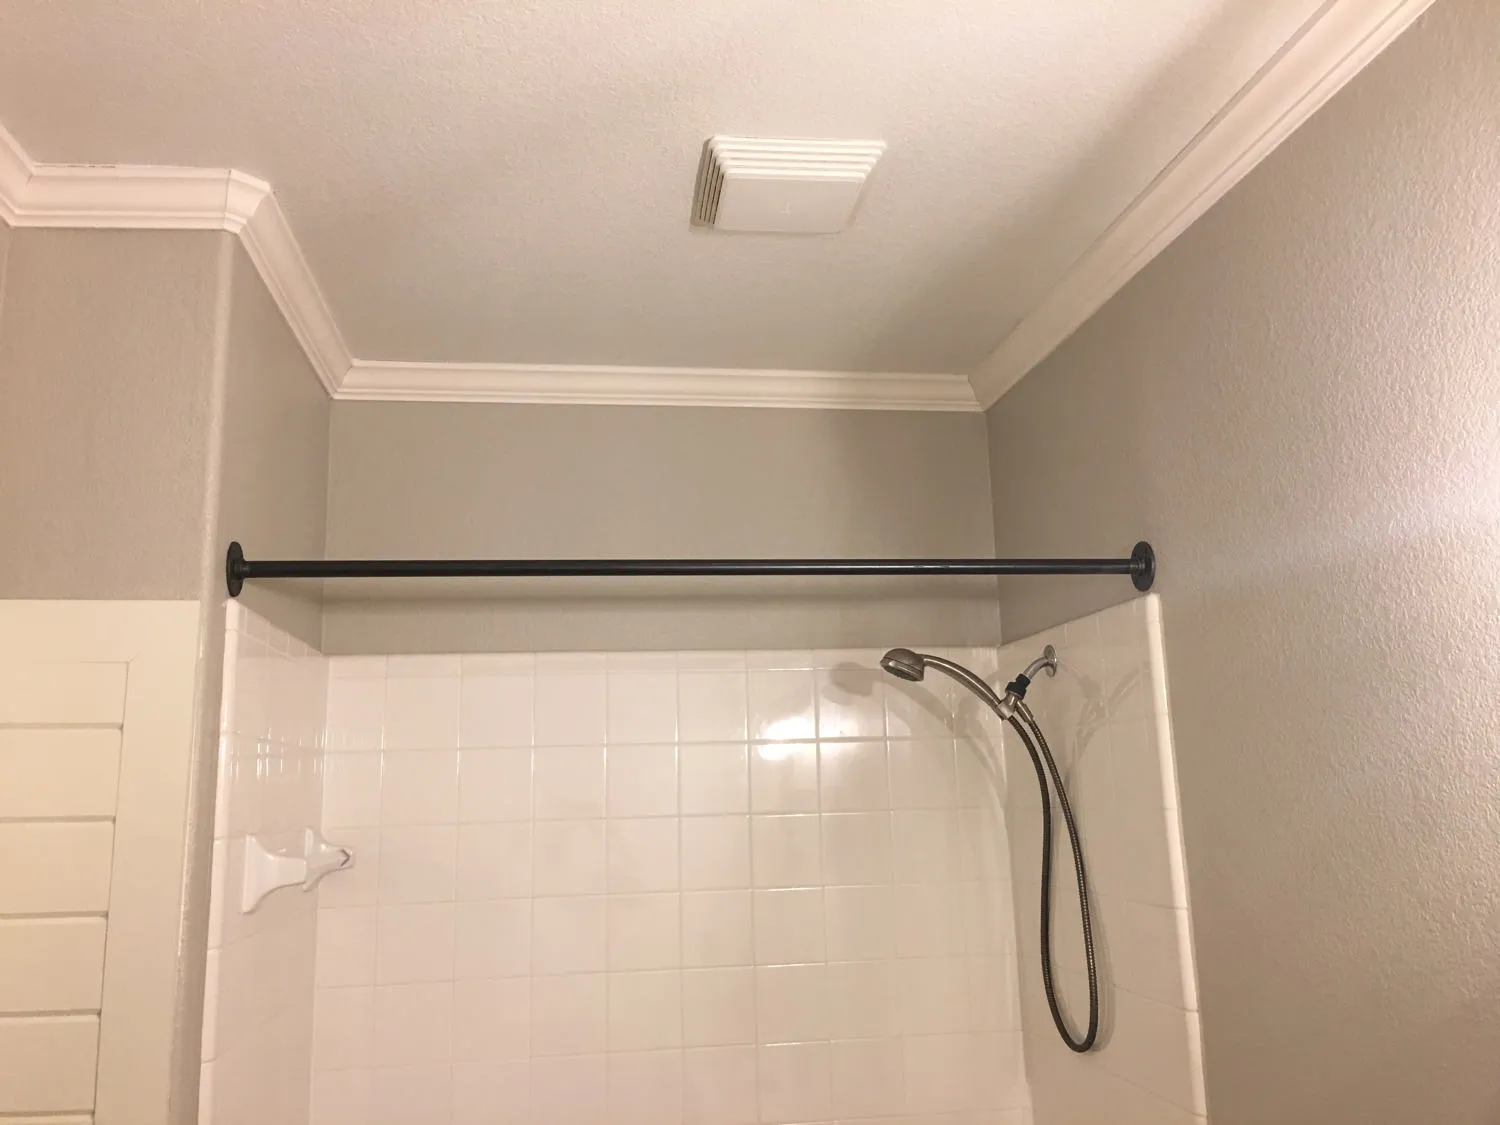
Step 6: Hang the shower curtain
With the shower rod securely installed and the brackets firmly attached to the tile, the final step in the installation process involves hanging the shower curtain. This step not only adds a decorative touch to the bathroom but also serves a functional purpose by providing privacy and containing water within the shower or bathtub area.
Begin by selecting a shower curtain that complements the overall aesthetic of your bathroom while meeting your desired level of privacy and water protection. Whether you opt for a fabric curtain with a decorative pattern or a sleek, transparent liner, ensure that it is sized appropriately to cover the entire span of the shower or bathtub area.
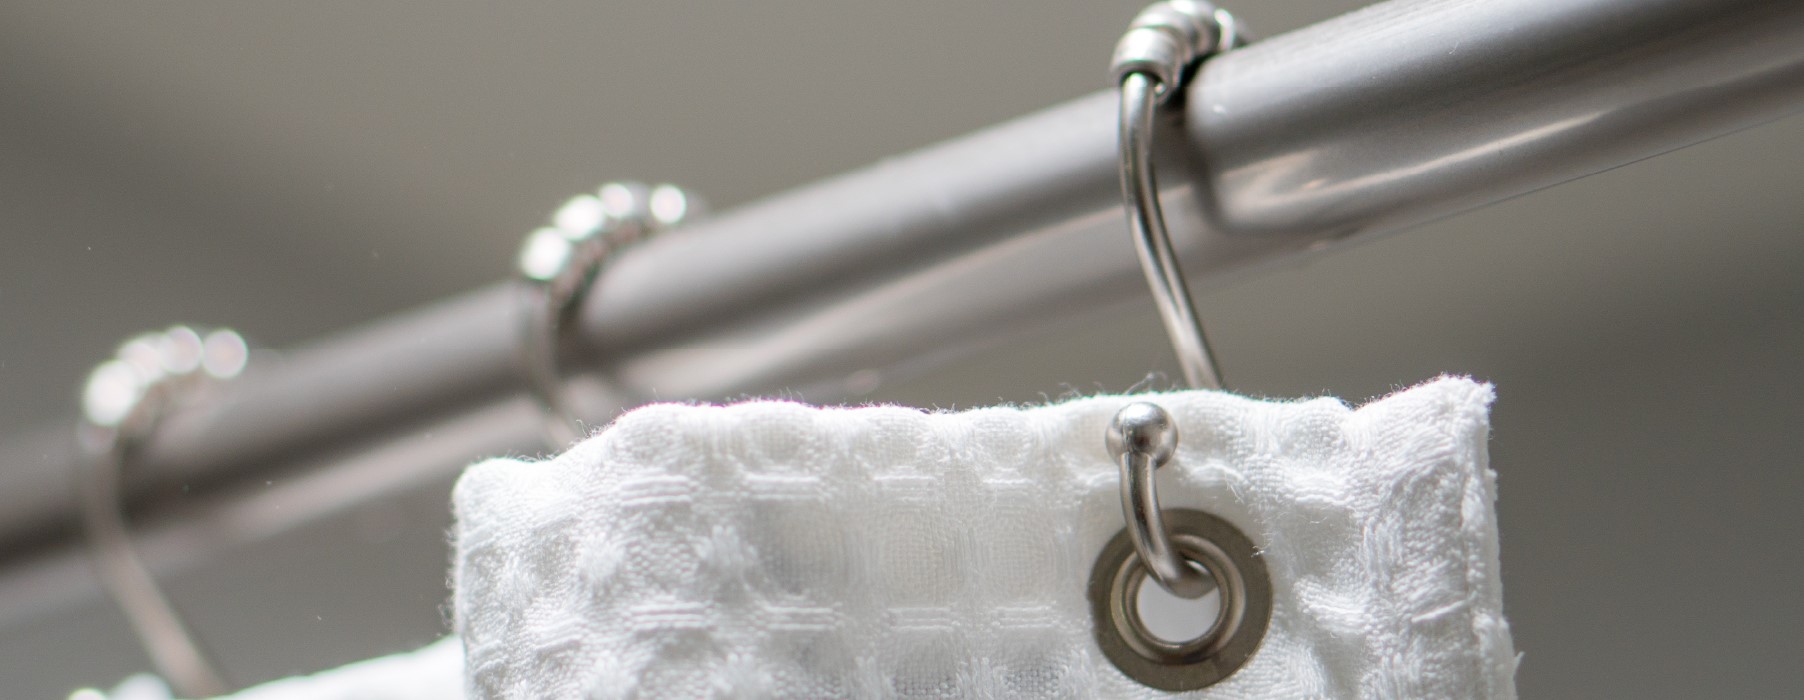
Once you have chosen the shower curtain, it's time to hang it from the shower rod. Start by sliding the curtain rings or hooks onto the shower rod, ensuring that they are evenly spaced to prevent bunching or uneven distribution of the curtain. If your shower curtain features grommets, simply thread the shower rod through the grommets to suspend the curtain securely.
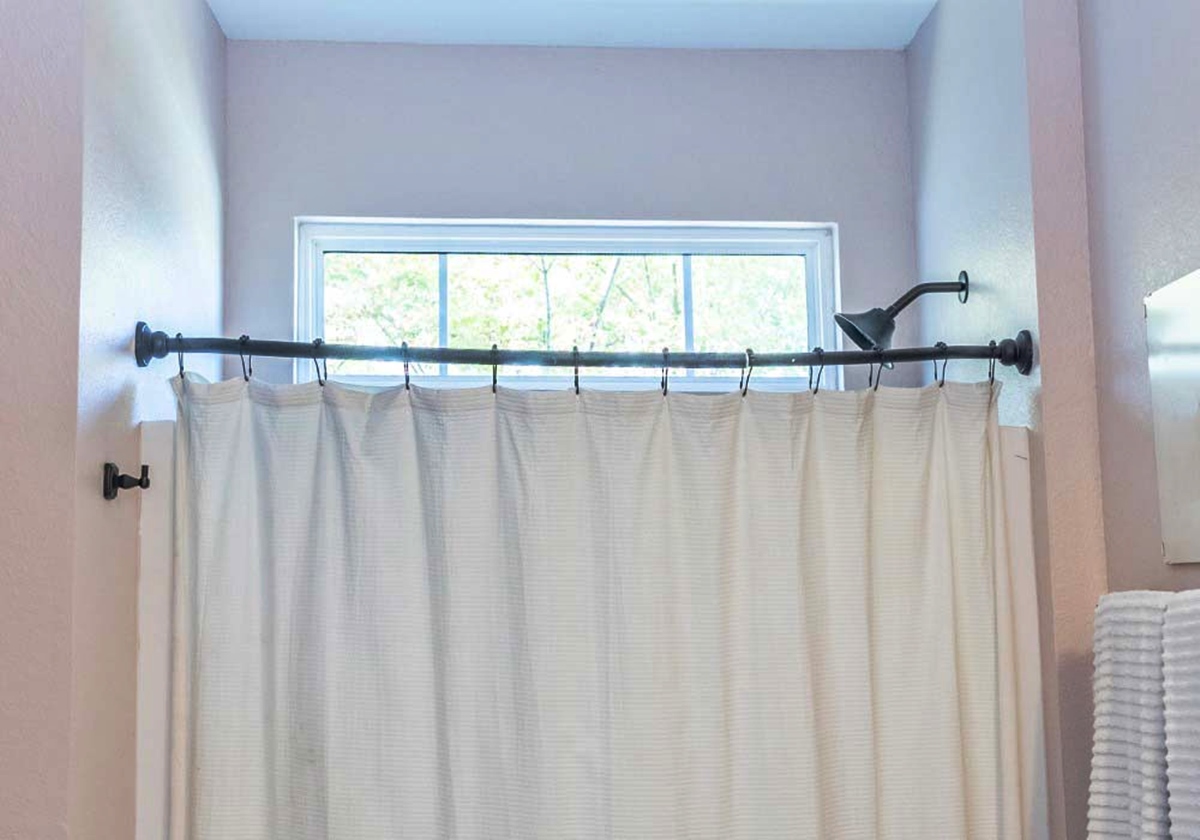
As you hang the shower curtain, take a moment to adjust its positioning to ensure that it drapes evenly and reaches the desired height above the floor or tub rim. The goal is to achieve a visually appealing and functional arrangement that enhances the overall ambiance of the bathroom while effectively containing water during showers.
Once the shower curtain is in place, step back and assess the overall appearance to confirm that it aligns with your vision for the bathroom. Check for any adjustments that may be needed to achieve a balanced and visually pleasing presentation.
With the shower curtain successfully hung from the shower rod, you have completed the final step of the installation process, culminating in a well-appointed and functional addition to your bathroom. The successful hanging of the shower curtain not only completes the installation but also contributes to the overall aesthetic and functionality of the space, providing a sense of accomplishment and satisfaction in achieving a professional-looking result.
By following these detailed steps and exercising care and precision throughout the installation process, you have transformed your bathroom with a well-installed shower rod and curtain, elevating both its visual appeal and practical functionality. With the shower curtain in place, you can now enjoy the enhanced privacy and water containment provided by the meticulously installed shower rod on tile.
Read more: How To Install A Curved Shower Curtain Rod
Conclusion
In conclusion, the successful installation of a shower rod on tile is a testament to the transformative power of a well-executed DIY project. By following the step-by-step guide outlined in this tutorial, you have navigated the intricacies of working with tile and achieved a secure and visually appealing installation that enhances the functionality and aesthetic of your bathroom.
From the initial gathering of tools and materials to the meticulous measurement and marking of the shower rod placement, each step has contributed to the seamless progression of the installation process. The careful drilling of holes in the tile, coupled with the precise installation of wall anchors, has laid the foundation for a sturdy and reliable support system for the shower rod brackets.
The attachment of the shower rod brackets to the tile, guided by precision and attention to detail, has culminated in a professional and visually aligned arrangement that sets the stage for the final touch: hanging the shower curtain. With the shower curtain in place, the installation is not only functional but also visually captivating, adding a decorative element to the bathroom while serving the practical purpose of containing water within the shower or bathtub area.
As you stand back and admire the completed installation, you can take pride in the accomplishment of transforming your bathroom with a well-installed shower rod on tile. The successful execution of this project not only enhances the overall ambiance of the bathroom but also reflects your ability to tackle DIY endeavors with confidence and precision.
The installation of a shower rod on tile is a testament to the rewarding nature of home improvement projects, offering a tangible sense of achievement and pride in enhancing your living space. With the knowledge and skills gained from this experience, you are well-equipped to tackle future DIY projects with the same level of precision and confidence, further elevating the functionality and aesthetic appeal of your home.
In the end, the installation of a shower rod on tile transcends the practicality of hanging a shower curtain; it represents a journey of empowerment and creativity, culminating in a tangible enhancement of your living environment. As you enjoy the benefits of your newly installed shower rod, may it serve as a reminder of your ability to transform your surroundings through skillful and purposeful DIY endeavors.
Frequently Asked Questions about How To Install A Shower Rod On Tile
Was this page helpful?
At Storables.com, we guarantee accurate and reliable information. Our content, validated by Expert Board Contributors, is crafted following stringent Editorial Policies. We're committed to providing you with well-researched, expert-backed insights for all your informational needs.
0 thoughts on “How To Install A Shower Rod On Tile”