Home>Furniture & Design>Bathroom Accessories>How To Remove A Shower Curtain Rod
Bathroom Accessories
How To Remove A Shower Curtain Rod
Modified: February 18, 2024
Learn how to easily remove a shower curtain rod and upgrade your bathroom accessories with our simple step-by-step guide. Say goodbye to old fixtures and hello to a fresh new look!
(Many of the links in this article redirect to a specific reviewed product. Your purchase of these products through affiliate links helps to generate commission for Storables.com, at no extra cost. Learn more)
Introduction
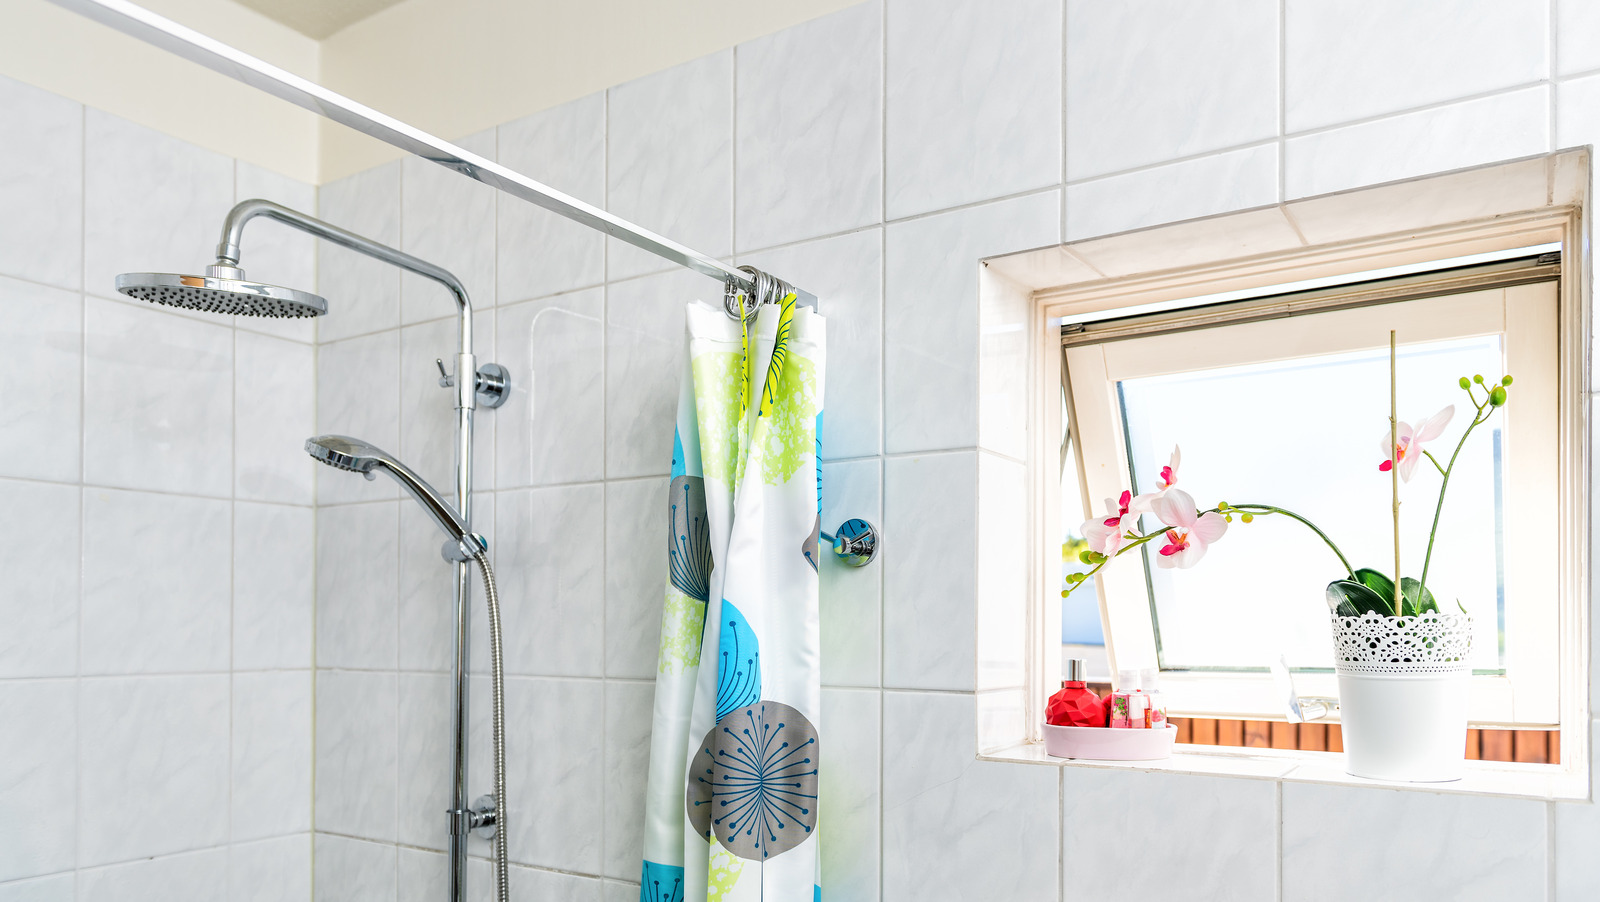
Removing a shower curtain rod may seem like a simple task, but it's important to approach it with the right tools and techniques to ensure a smooth and hassle-free process. Whether you're looking to replace the rod, repaint the bathroom, or make other renovations, knowing how to properly remove the shower curtain rod is essential.
In this comprehensive guide, we will walk you through the step-by-step process of removing a shower curtain rod, providing you with the knowledge and confidence to tackle this project with ease. From gathering the necessary tools to cleaning the area after the rod is removed, we've got you covered with all the essential tips and tricks.
So, if you're ready to take on this DIY project and give your bathroom a fresh new look, let's dive into the details of how to remove a shower curtain rod effectively and efficiently.
Key Takeaways:
- Say goodbye to your old shower curtain rod by following these easy steps. Gather the right tools, remove the curtain, unscrew the rod, and clean the area for a smooth and hassle-free process.
- Removing a shower curtain rod is a DIY project that can give your bathroom a fresh new look. Follow the step-by-step guide to safely and efficiently remove the rod and prepare the space for future upgrades.
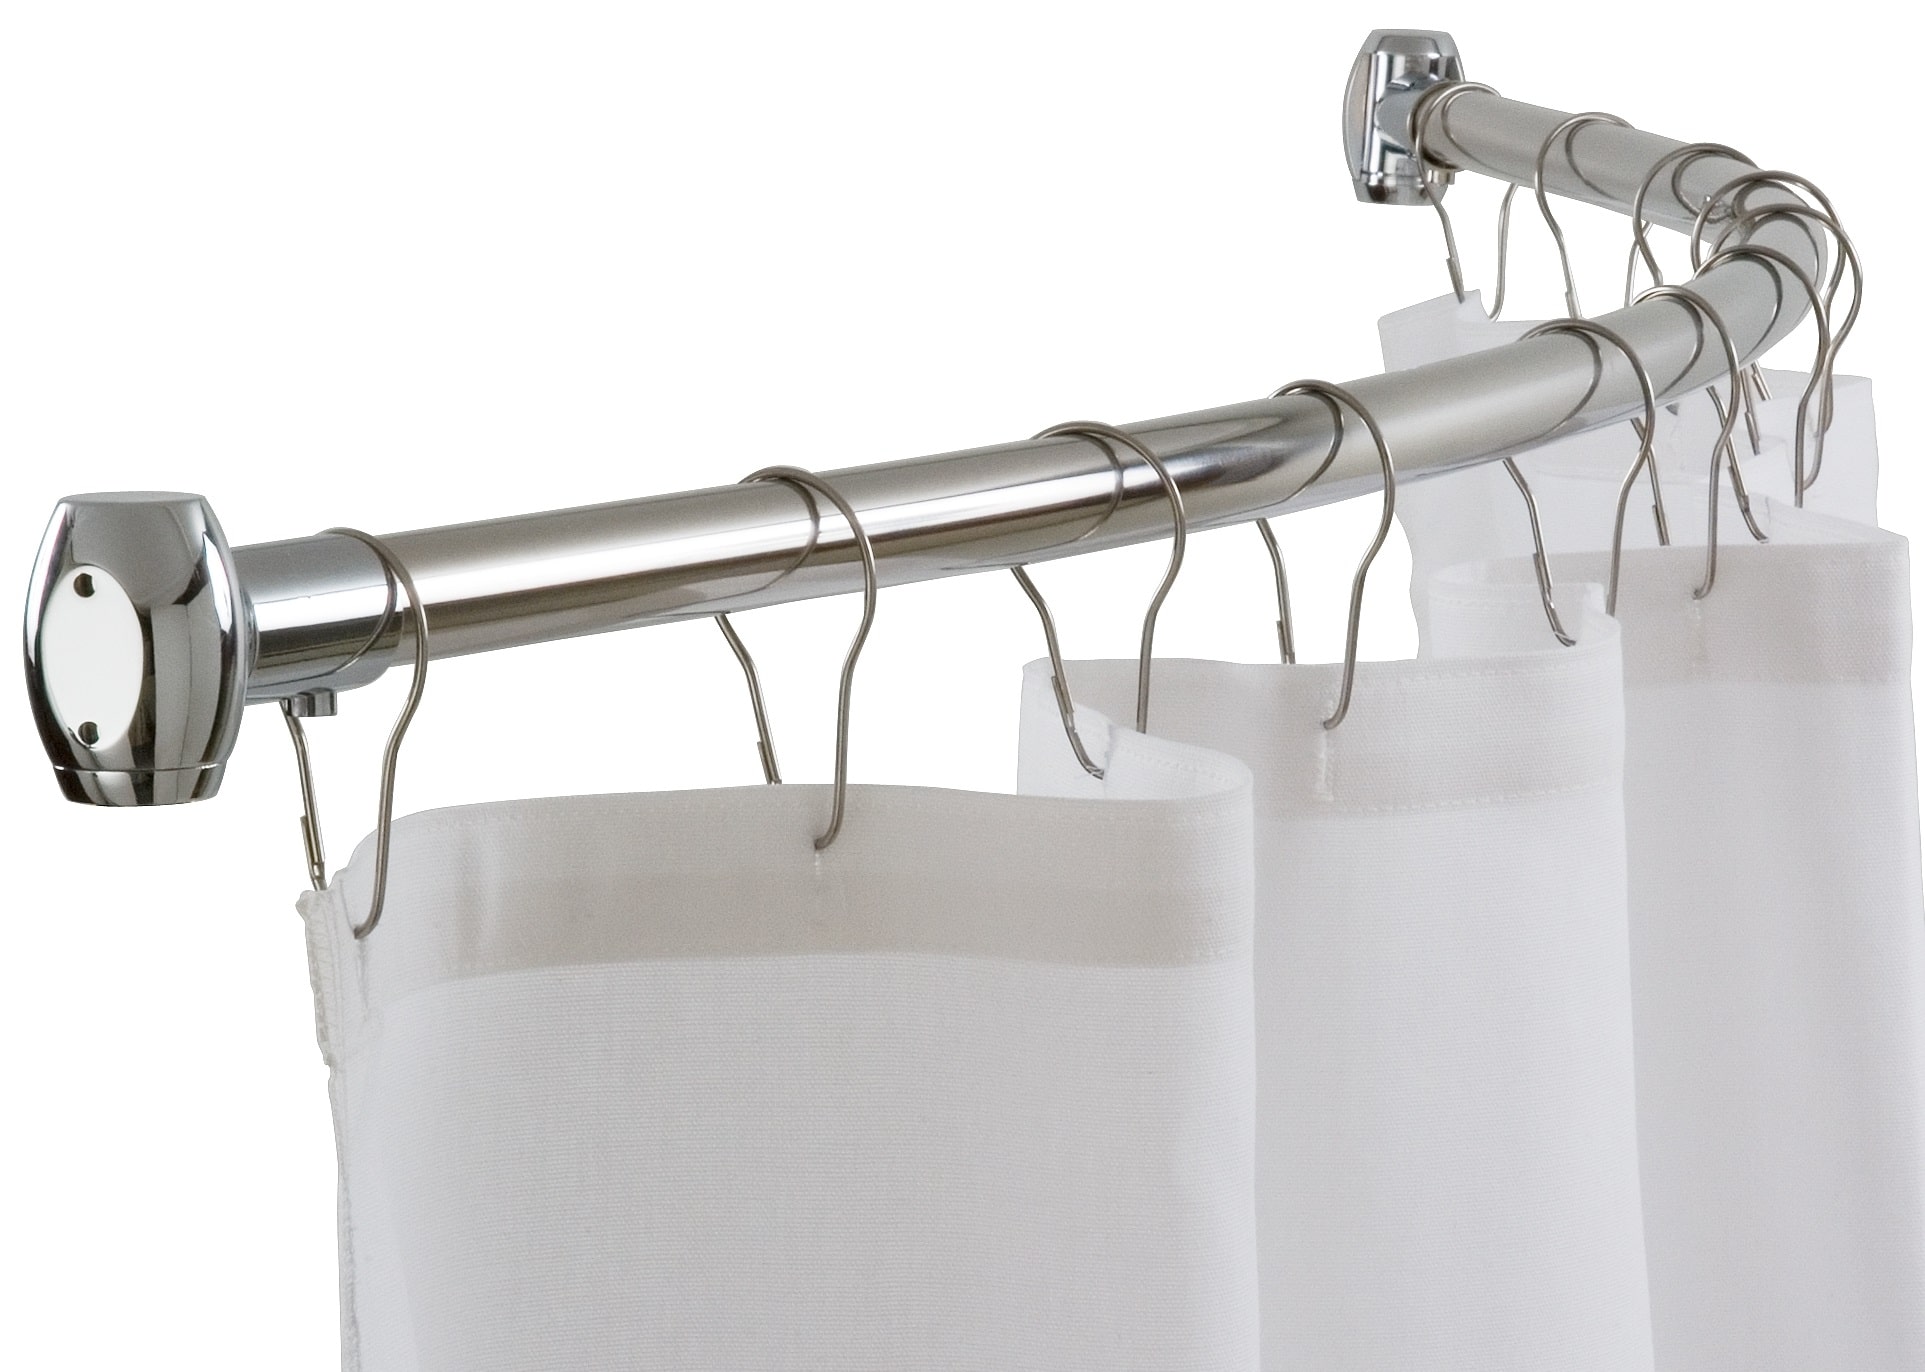
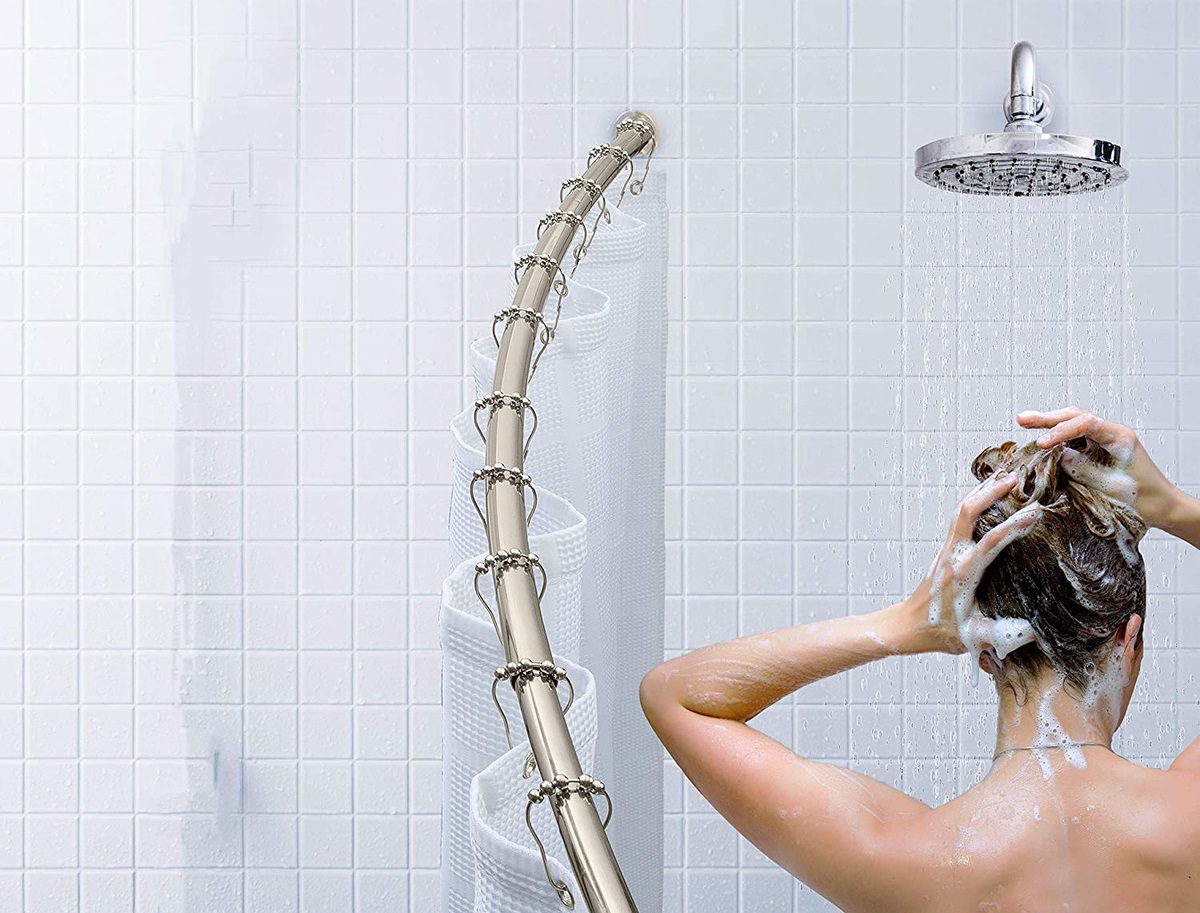
Read more: How To Remove A Curved Shower Curtain Rod
Step 1: Gather the necessary tools
Before you begin the process of removing a shower curtain rod, it's essential to gather the necessary tools to ensure a smooth and efficient removal. Here's a list of tools you'll need for this task:
-
Screwdriver: A screwdriver is a fundamental tool for removing the screws that secure the shower curtain rod to the wall brackets. Depending on the type of screws used, you may need a Phillips or flat-head screwdriver.
-
Adjustable Wrench: If your shower curtain rod is secured with nuts and bolts, an adjustable wrench will be indispensable for loosening and removing them.
-
Step Stool or Ladder: Since shower curtain rods are typically installed at a height, having a step stool or ladder will provide you with the necessary elevation to reach and remove the rod safely.
-
Safety Gloves: It's always a good idea to wear safety gloves to protect your hands during the removal process, especially when handling sharp or rusty screws and brackets.
-
Cleaning Supplies: Once the rod and brackets are removed, you'll want to clean the area thoroughly. Having cleaning supplies such as a mild cleaner, sponge, and cloth on hand will allow you to tidy up the space before installing a new rod or making any other changes.
By ensuring that you have these essential tools at your disposal, you'll be well-prepared to tackle the task of removing the shower curtain rod. With the right tools in hand, you can proceed to the next steps with confidence, knowing that you have everything you need to complete the job effectively.
Step 2: Remove the shower curtain
Before you can proceed with removing the shower curtain rod, it's essential to take down the shower curtain itself. This step is relatively straightforward but requires care to avoid tangling or damaging the curtain. Here's a detailed guide on how to remove the shower curtain:
-
Open the Curtain: Start by fully opening the shower curtain to provide easy access to the rod and its attachments. This will also prevent the curtain from getting in the way as you work on removing the rod.
-
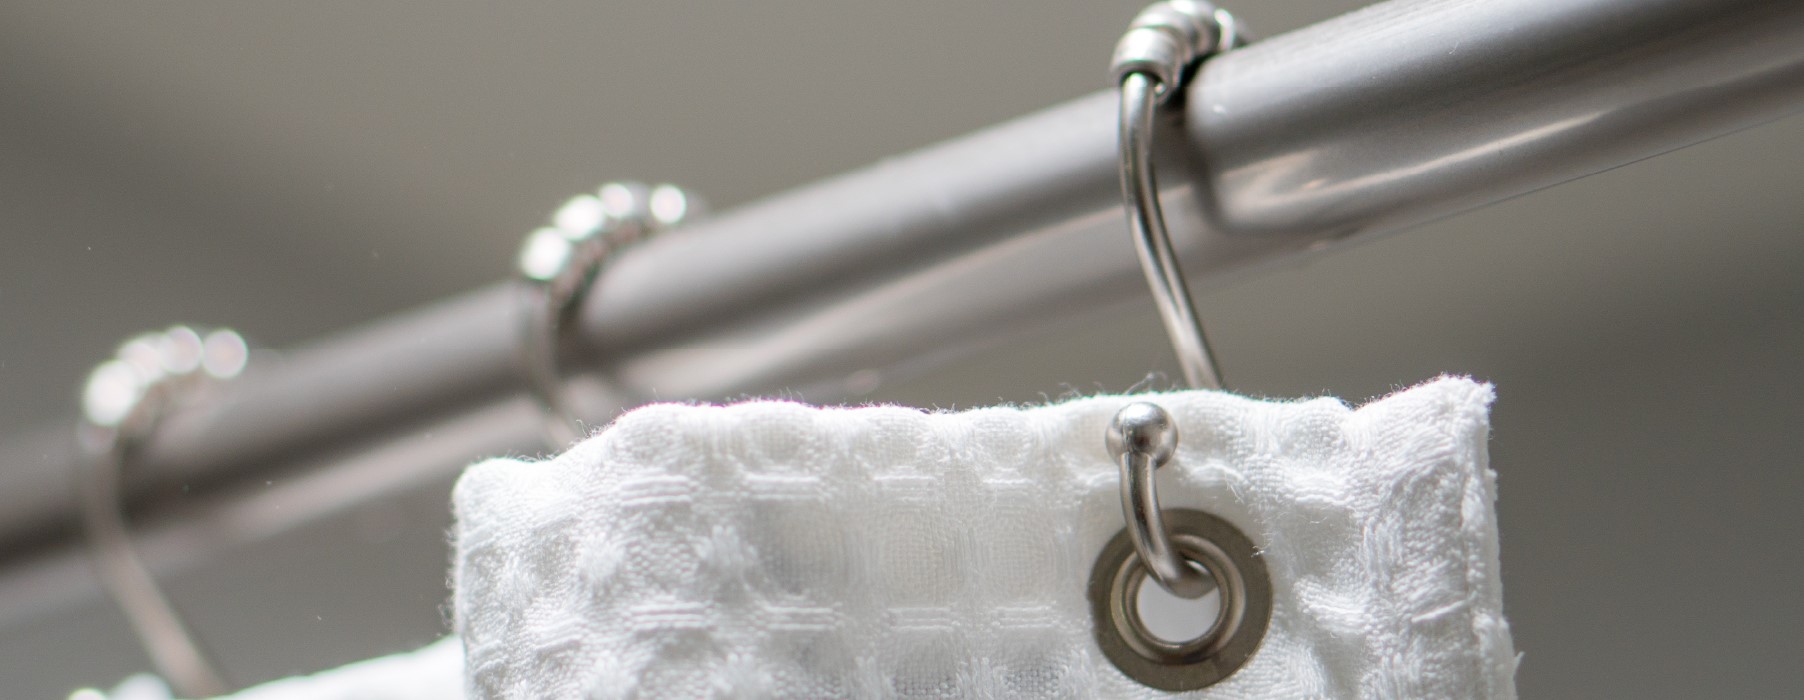
Unhook the Rings or Hooks: If your shower curtain is attached to the rod using rings or hooks, carefully unhook them from the rod. Work your way along the entire length of the rod, ensuring that each ring or hook is detached.
-
Slide the Curtain Off the Rod: Once the rings or hooks are removed, gently slide the shower curtain off the rod. Take care to support the weight of the curtain to prevent it from falling or getting caught on any obstructions.
-
Fold and Store the Curtain: To keep the shower curtain clean and free from wrinkles, consider folding it neatly and setting it aside for storage. If the curtain requires washing, this is an opportune time to do so before rehanging it.
By following these steps, you can safely and efficiently remove the shower curtain, preparing the area for the next phase of the process. With the curtain out of the way, you can now focus on the pivotal task of removing the shower curtain rod itself.
Now that the shower curtain has been successfully removed, you're ready to move on to the next step in the process: unscrewing the rod from the wall brackets. This step will require careful attention to detail and the use of the appropriate tools to ensure a seamless removal process.
Step 3: Unscrew the rod from the wall brackets
With the shower curtain removed, the next crucial step in removing the shower curtain rod is to unscrew it from the wall brackets. This process requires attention to detail and the use of the appropriate tools to ensure a smooth and efficient removal. Here's a detailed guide on how to unscrew the rod from the wall brackets:
-
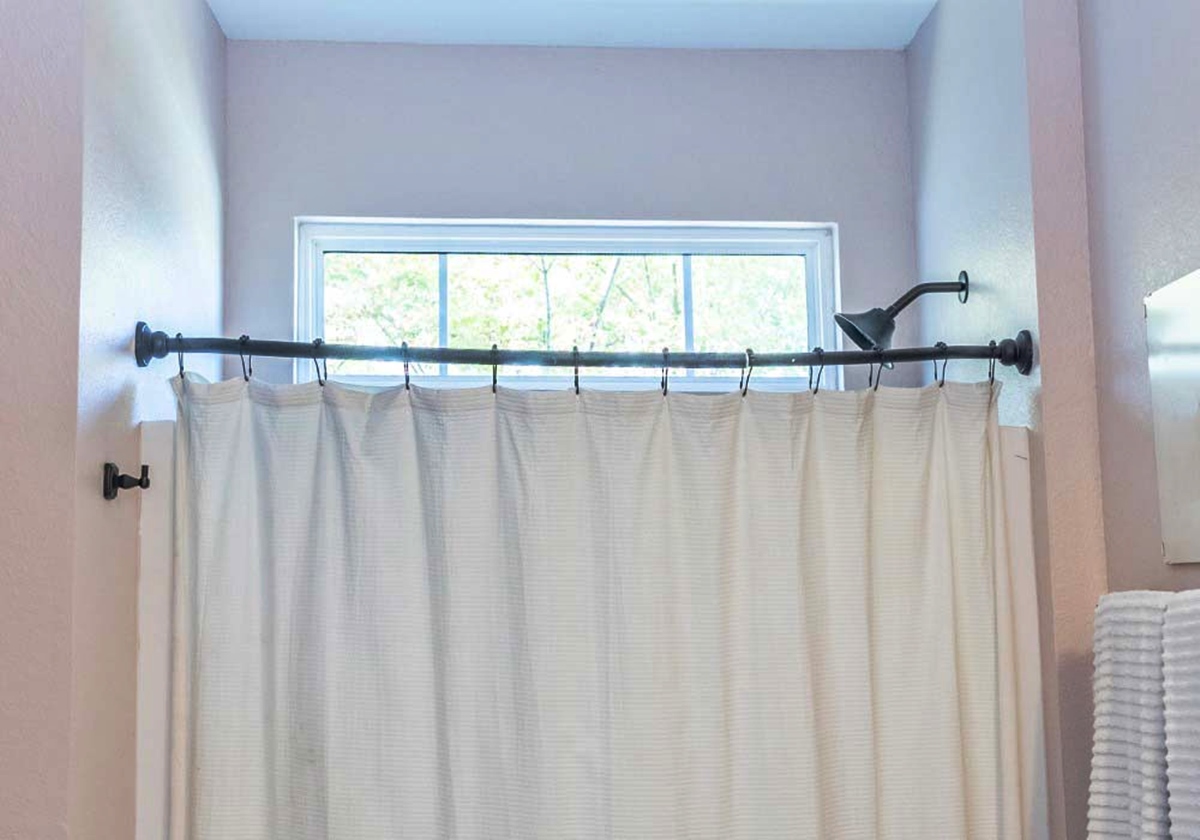
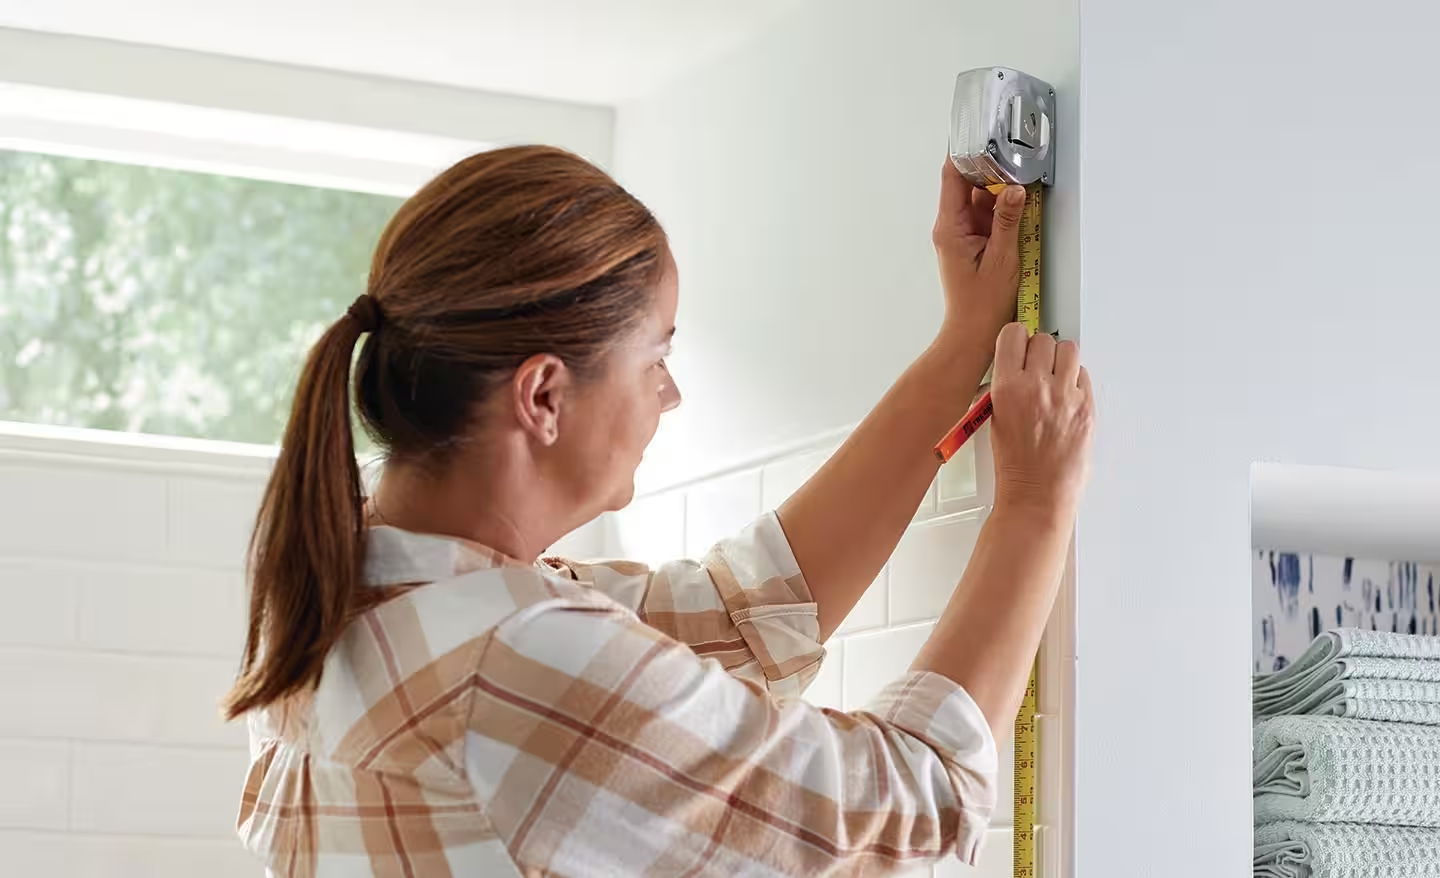
Locate the Wall Brackets: Begin by identifying the wall brackets that secure the shower curtain rod in place. These brackets are typically attached to the wall with screws or bolts and are responsible for supporting the weight of the rod.
-
Position the Ladder or Step Stool: If the wall brackets are positioned at a height that is not easily reachable, use a stable ladder or step stool to gain the necessary elevation. Safety should always be a priority when working at elevated heights.
-
Use the Screwdriver or Wrench: Depending on the type of fasteners used, whether screws or bolts, use the appropriate tool – a screwdriver or an adjustable wrench – to begin loosening and removing the fasteners. Turn the screwdriver or wrench in a counterclockwise direction to loosen the screws or bolts.
-
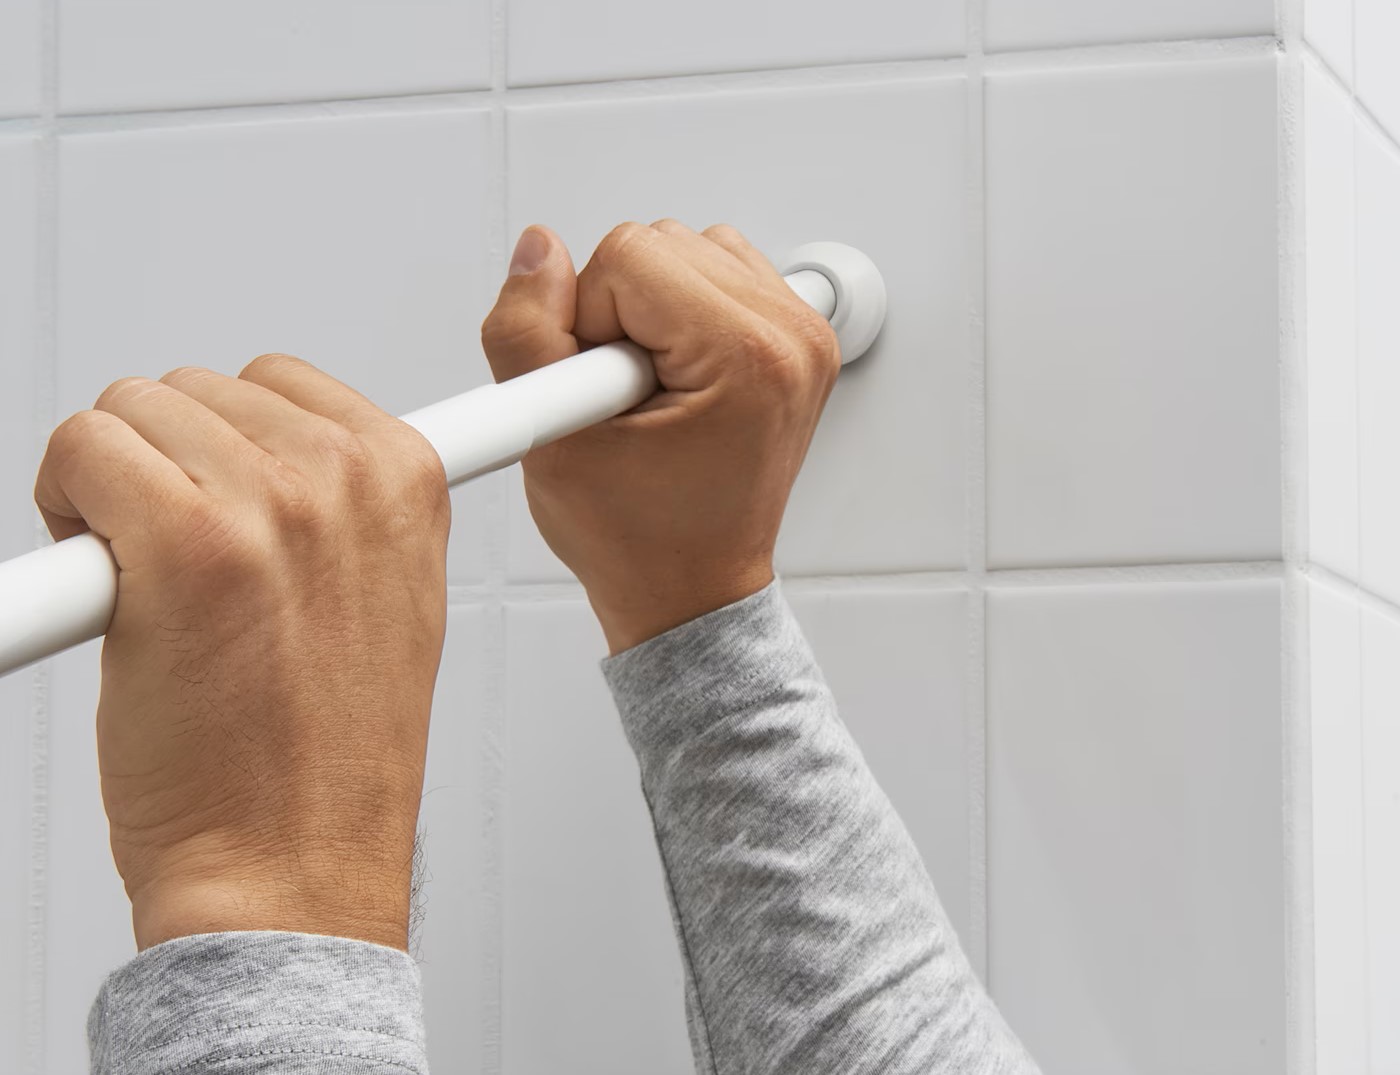
Support the Rod: As you begin to loosen the fasteners, it's important to support the weight of the shower curtain rod to prevent it from falling unexpectedly. This can be done by holding the rod with one hand while using the other hand to unscrew the fasteners.
-
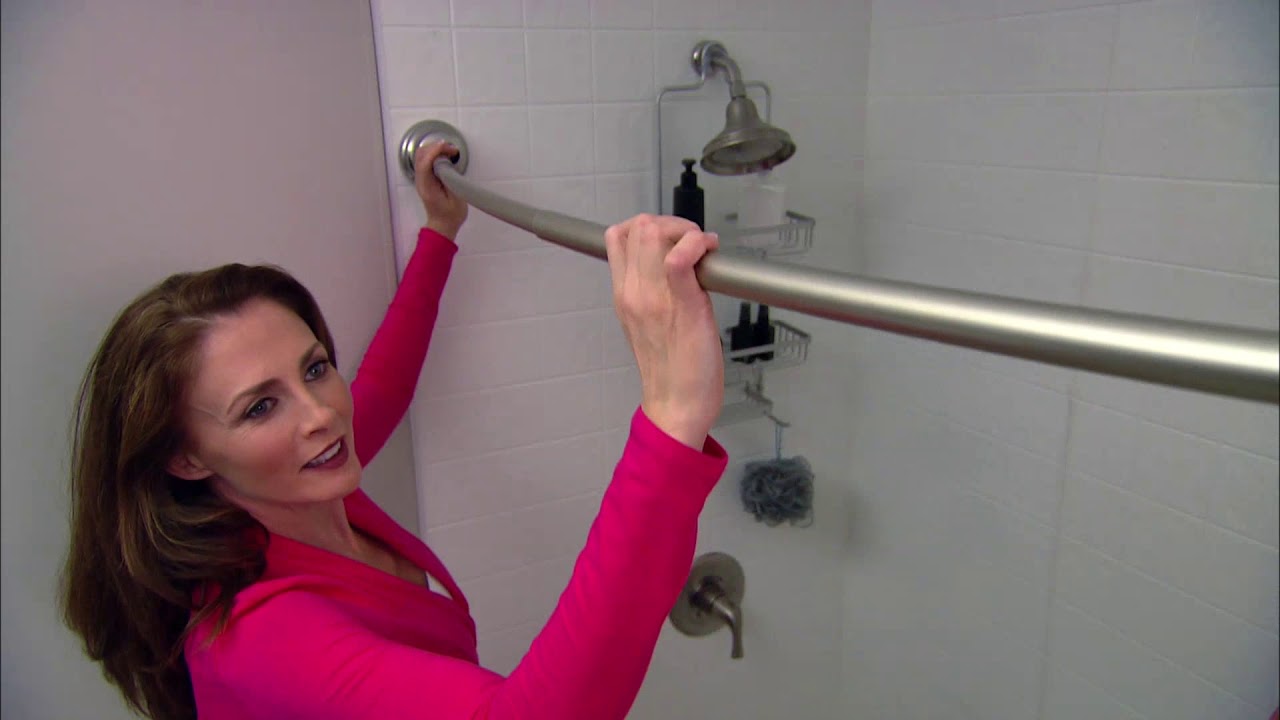
Remove the Rod: Once the fasteners are fully loosened, carefully lift the shower curtain rod away from the wall brackets. Take care to avoid any sudden movements that could cause the rod to slip or fall.
-
Set Aside the Rod and Fasteners: After the rod has been removed, set it aside in a safe location, along with the screws or bolts that were used to secure it to the wall brackets. Keeping these components together will make it easier to reinstall the rod in the future, if desired.
By following these steps, you can effectively unscrew the shower curtain rod from the wall brackets, setting the stage for the final phase of the removal process. With the rod successfully detached, you're now ready to proceed to the next step: removing the wall brackets themselves.
To remove a shower curtain rod, first, unscrew the mounting brackets from the wall. Then, carefully slide the rod out of the brackets. If the rod is stuck, try twisting it slightly to loosen it before sliding it out.
Step 4: Remove the wall brackets
With the shower curtain rod successfully detached, the next critical step in the removal process is to remove the wall brackets that previously supported the rod. While this step may seem straightforward, it requires attention to detail and the use of the appropriate tools to ensure a seamless removal. Here's a detailed guide on how to remove the wall brackets:
-
Inspect the Wall Brackets: Begin by closely examining the wall brackets to assess how they are affixed to the wall. Wall brackets are typically secured with screws or bolts, and it's essential to understand the fastening mechanism before proceeding with their removal.
-
Prepare the Work Area: Clear the space around the wall brackets to provide ample room for maneuvering and accessing the fasteners. Having a clutter-free work area will make the removal process more manageable and reduce the risk of misplacing small components.
-
Use the Screwdriver or Wrench: Depending on the type of fasteners securing the wall brackets, use the appropriate tool – a screwdriver or an adjustable wrench – to begin loosening and removing the screws or bolts. Turn the tool in a counterclockwise direction to release the fasteners from the wall.
-
Support the Brackets: As you loosen the screws or bolts, it's important to support the weight of the wall brackets to prevent them from unexpectedly falling. This can be done by holding the brackets with one hand while using the other hand to unscrew the fasteners.
-
Remove the Brackets: Once the fasteners are fully loosened, carefully lift the wall brackets away from the wall. Take care to avoid any sudden movements that could cause the brackets to slip or fall. If the brackets are painted or caulked to the wall, gently pry them away using a putty knife or similar tool.
-
Inspect the Wall Surface: After the brackets are removed, inspect the wall surface to ensure that it is free from any residual debris, caulk, or damage. If necessary, use a mild cleaner and a cloth to clean the area, preparing it for any future installations or renovations.
By following these steps, you can effectively remove the wall brackets, completing the essential tasks involved in the removal of a shower curtain rod. With the brackets successfully detached and the wall surface cleaned, you have completed the process of removing a shower curtain rod and its associated components.
Read more: How To Remove Rust From A Shower Curtain Rod
Step 5: Clean the area
After the shower curtain rod and wall brackets have been removed, it's essential to thoroughly clean the area to ensure that it's ready for any future installations or renovations. Cleaning the space not only enhances the visual appeal but also prepares the surface for any necessary touch-ups or repairs. Here's a detailed guide on how to clean the area effectively:
-
Remove Residual Debris: Begin by inspecting the wall surface and the surrounding area for any residual debris, dust, or particles that may have accumulated during the removal process. Use a soft-bristled brush or a vacuum cleaner to gently remove any loose debris, ensuring that the area is free from dirt and dust.
-
Clean with Mild Cleaner: Prepare a mild cleaning solution by mixing a small amount of gentle, non-abrasive cleaner with water. Dampen a clean cloth or sponge with the cleaning solution and gently wipe down the wall surface, paying particular attention to the areas where the wall brackets were previously attached. This will help remove any lingering grime or residue, leaving the surface clean and refreshed.
-
Inspect for Damage: While cleaning the area, take the opportunity to inspect the wall surface for any signs of damage, such as chipped paint, scratches, or dents. If any damage is detected, consider addressing it before proceeding with any new installations. Minor touch-ups or repairs can help restore the wall to its optimal condition.
-
Dry the Area: After cleaning the wall surface, use a dry cloth or towel to thoroughly dry the area. Ensuring that the surface is completely dry will prevent moisture-related issues and provide a clean canvas for any future projects or installations.
-
Evaluate Caulk and Paint: If the wall brackets were previously caulked or if the paint around the area appears worn or damaged, consider evaluating the condition of the caulk and paint. If necessary, reapply caulk to seal any gaps or joints, and touch up the paint to maintain a uniform and polished appearance.
By following these steps, you can effectively clean the area after removing the shower curtain rod, ensuring that the space is primed for any future enhancements or modifications. A clean and well-maintained area sets the stage for a fresh start, whether it involves installing a new shower curtain rod, repainting the bathroom, or embarking on other renovation projects. With the area now cleaned and prepped, you have successfully completed the process of removing a shower curtain rod, leaving behind a pristine and inviting space for further improvements.
Conclusion
In conclusion, successfully removing a shower curtain rod involves a systematic approach, attention to detail, and the use of the right tools. By following the step-by-step process outlined in this guide, you can confidently tackle this DIY project and transform your bathroom space with ease.
From gathering the necessary tools to carefully removing the shower curtain and unscrewing the rod from the wall brackets, each step plays a crucial role in ensuring a smooth and efficient removal process. Additionally, the meticulous removal of the wall brackets and the thorough cleaning of the area contribute to leaving the space in optimal condition for any future installations or renovations.
As you embark on this journey of removing a shower curtain rod, it's important to prioritize safety and precision. Using a sturdy step stool or ladder, wearing safety gloves, and handling the tools with care are essential practices that contribute to a successful removal experience.
Furthermore, the process of removing a shower curtain rod presents an opportunity to assess the condition of the wall surface, address any damage, and prepare the area for potential upgrades. Whether you plan to install a new shower curtain rod, repaint the bathroom, or undertake other improvements, the meticulous removal process sets the stage for a fresh start.
By understanding the intricacies of removing a shower curtain rod and following the detailed steps provided in this guide, you can confidently navigate this DIY task and achieve a satisfying outcome. The knowledge and skills gained from this experience can empower you to take on future home improvement projects with confidence and proficiency.
In essence, the process of removing a shower curtain rod is not only about dismantling a fixture but also about preparing the space for new possibilities. With the rod and brackets removed and the area thoroughly cleaned, you have set the stage for a refreshed and rejuvenated bathroom space, ready to embrace the next phase of transformation and enhancement.
Frequently Asked Questions about How To Remove A Shower Curtain Rod
Was this page helpful?
At Storables.com, we guarantee accurate and reliable information. Our content, validated by Expert Board Contributors, is crafted following stringent Editorial Policies. We're committed to providing you with well-researched, expert-backed insights for all your informational needs.


0 thoughts on “How To Remove A Shower Curtain Rod”