Home>Furniture & Design>Bathroom Accessories>How To Remove A Curved Shower Curtain Rod

Bathroom Accessories
How To Remove A Curved Shower Curtain Rod
Modified: October 18, 2024
Learn how to remove a curved shower curtain rod and update your bathroom accessories with ease. Follow our step-by-step guide for a hassle-free process.
(Many of the links in this article redirect to a specific reviewed product. Your purchase of these products through affiliate links helps to generate commission for Storables.com, at no extra cost. Learn more)
Introduction
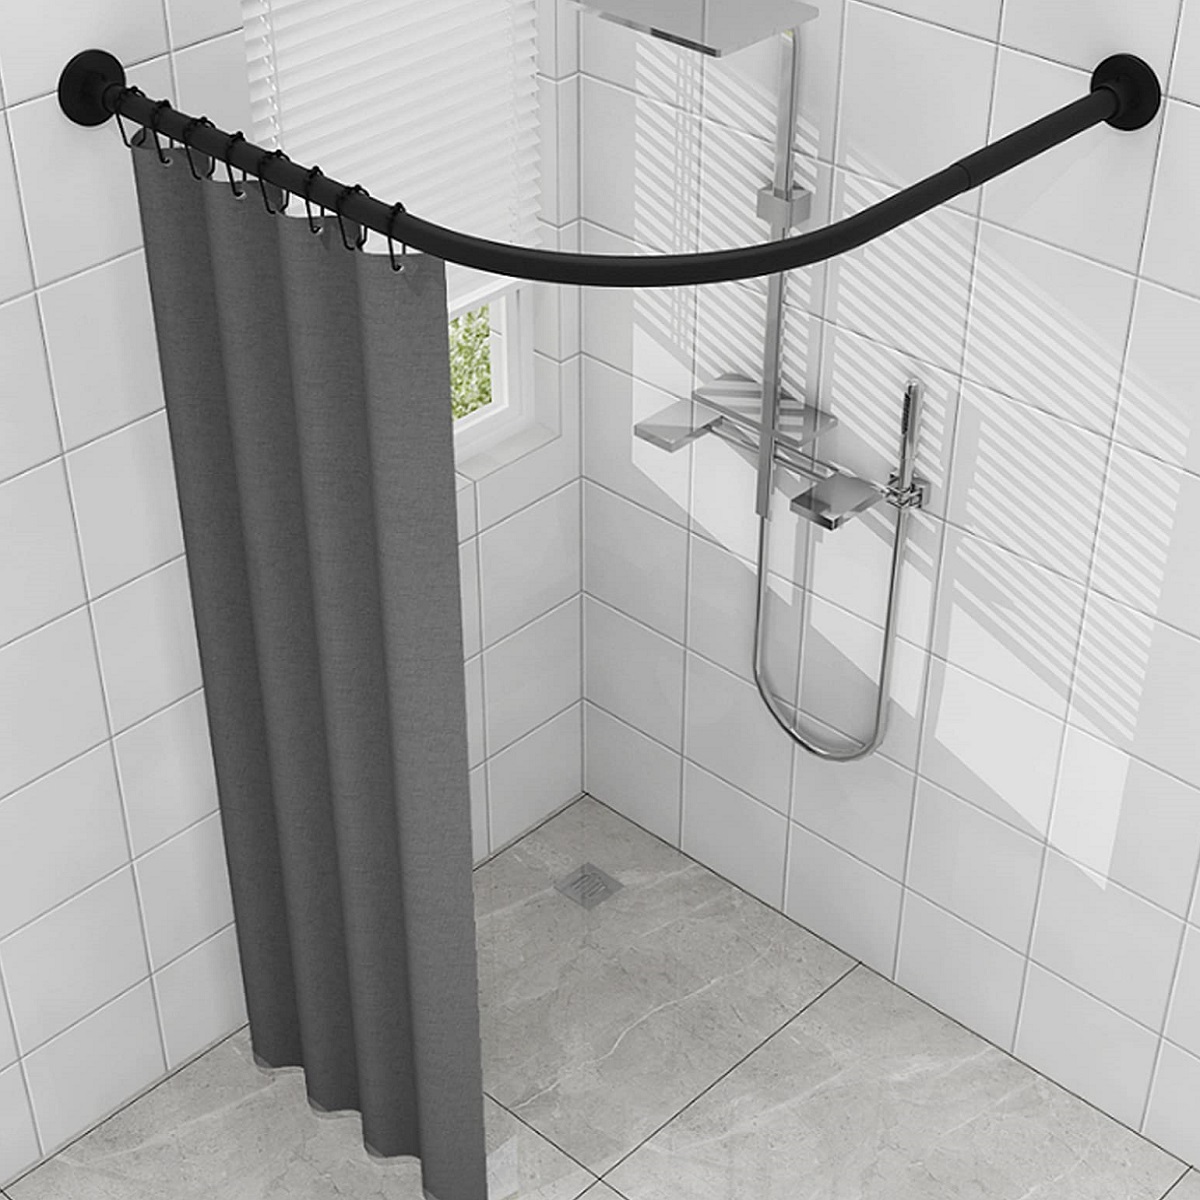
Removing a curved shower curtain rod may seem like a daunting task, but with the right tools and a systematic approach, it can be a straightforward process. Whether you're renovating your bathroom, replacing the rod, or simply need to access the area behind it, knowing how to remove the curved shower curtain rod is a valuable skill.
In this guide, we will walk you through the step-by-step process of removing a curved shower curtain rod. By following these instructions, you can effectively disassemble the rod without causing damage to your bathroom walls or tiles. Before you begin, it's essential to gather the necessary tools to ensure a smooth and efficient removal process.
Let's dive into the details of each step, from gathering the tools to cleaning the area after the rod has been removed. With this comprehensive guide, you'll be equipped with the knowledge and confidence to tackle the task of removing a curved shower curtain rod effectively.
Key Takeaways:
- Removing a curved shower curtain rod is a manageable task with the right tools and steps. It’s a valuable skill for home improvement and opens the door to bathroom transformations.
- After removing the rod, cleaning the area ensures a fresh and inviting space for future enhancements. Mastering this process empowers you to tackle new home improvement projects with confidence.
Read more: How To Remove A Curved Shower Rod
Step 1: Gather the necessary tools
Before you begin the process of removing a curved shower curtain rod, it's crucial to gather the necessary tools to ensure a smooth and efficient removal. Having the right tools at your disposal will not only make the task easier but also help prevent any accidental damage to the rod or surrounding areas. Here's a detailed list of the essential tools you'll need:
-
Screwdriver: A screwdriver, preferably a Phillips head or flathead screwdriver, will be required to remove the screws that secure the mounting brackets of the curved shower curtain rod to the wall. Ensure that the screwdriver's size matches the screws on the mounting brackets to avoid damaging them during the removal process.
-
Adjustable Wrench: An adjustable wrench will come in handy for removing any nuts or bolts that may be securing the curved shower curtain rod to the wall. It allows for a firm grip and precise application of force, making it easier to loosen and remove the fasteners.
-
Step Stool or Ladder: Depending on the height of your shower area, a step stool or ladder may be necessary to reach the mounting brackets and the curved shower curtain rod safely. Ensure that the step stool or ladder is stable and positioned securely to prevent accidents while working at elevated heights.
-
Safety Gloves: It's advisable to wear safety gloves to protect your hands during the removal process. Gloves provide a better grip on tools and also offer protection from sharp edges or rough surfaces that may be encountered while handling the curved shower curtain rod and its components.
-
Safety Glasses: While removing the curved shower curtain rod, there may be instances where debris or dust particles could fall from above. Wearing safety glasses will protect your eyes from any potential hazards, ensuring a safe and comfortable removal process.
By gathering these essential tools, you'll be well-prepared to tackle the task of removing a curved shower curtain rod with confidence and efficiency. With the right tools at your disposal, you can proceed to the next steps of the removal process, knowing that you have everything you need to complete the task effectively.
Step 2: Remove the shower curtain
Before you can proceed with removing the curved shower curtain rod, it's essential to take down the shower curtain that is hanging from it. This step ensures that the curtain does not obstruct your access to the mounting brackets and the rod itself. Here's a detailed guide on how to remove the shower curtain safely and efficiently:
-
Open the Shower Curtain Rings: Start by sliding open the shower curtain rings or hooks that are holding the curtain in place on the curved rod. Carefully detach each ring from the rod, ensuring that the curtain is free from any attachments to the rod.
-
Remove the Shower Curtain: Once the rings are detached, gently remove the shower curtain from the curved rod. It's important to handle the curtain with care to avoid tangling or causing any damage to the fabric or the rod.
-
Fold or Roll the Curtain: To prevent the shower curtain from dragging on the floor or getting in the way during the rest of the removal process, consider folding or rolling it neatly. This will also make it easier to store or rehang the curtain once the curved rod has been removed.
By following these steps, you can effectively remove the shower curtain from the curved rod, clearing the way for the subsequent steps in the removal process. With the curtain safely taken down, you can now focus on the next crucial steps of unscrewing the mounting brackets and removing the curved shower curtain rod from its position.
Step 3: Unscrew the mounting brackets
With the shower curtain removed, the next step in removing a curved shower curtain rod is to unscrew the mounting brackets that secure it to the wall. This process requires attention to detail and precision to ensure that the brackets are detached without causing any damage to the surrounding area. Here's a detailed guide on how to unscrew the mounting brackets safely and effectively:
-
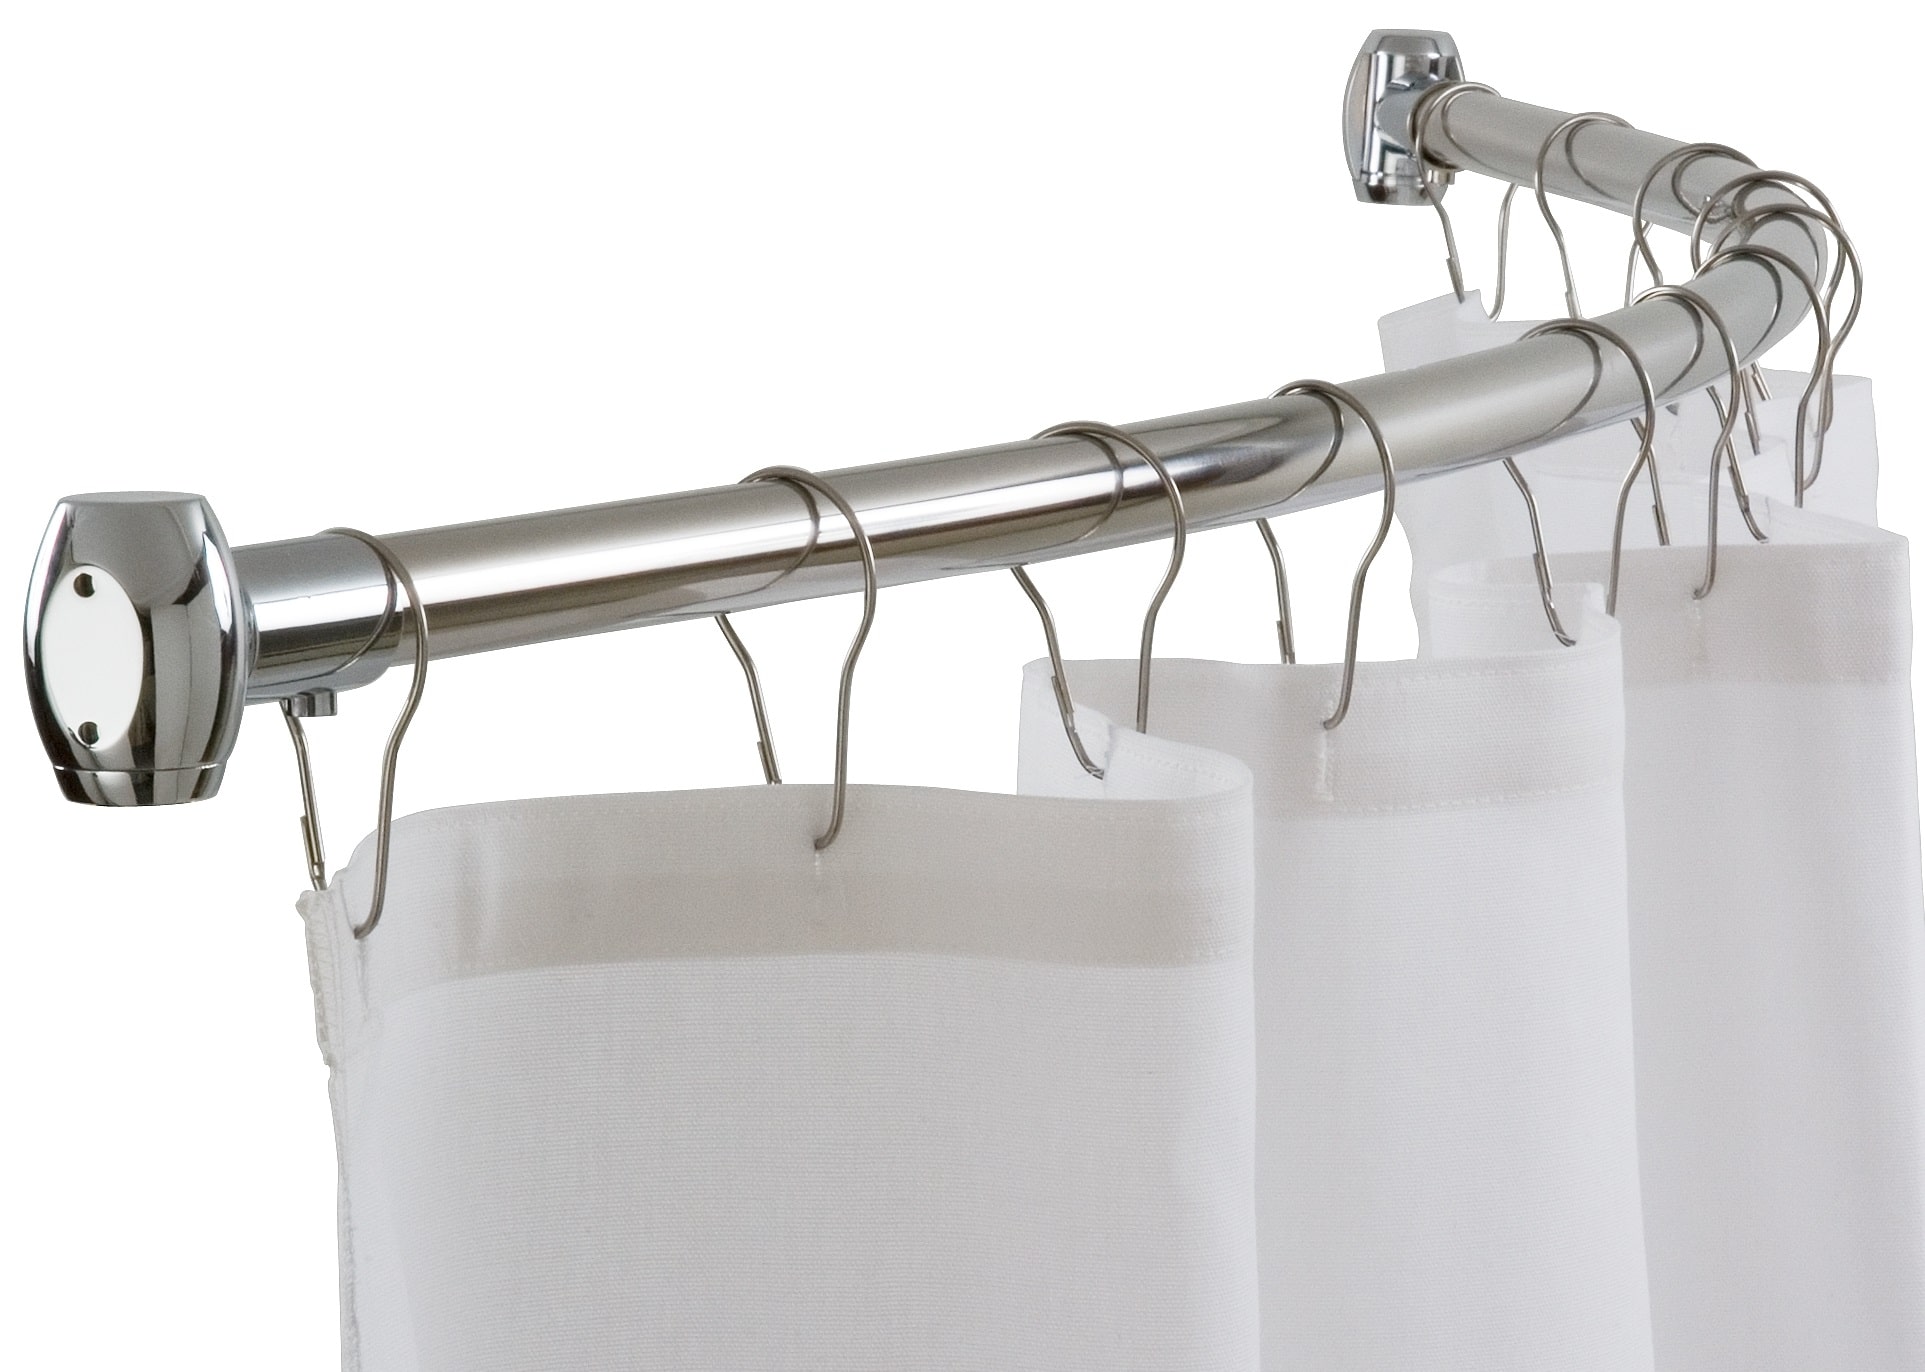
Locate the Mounting Brackets: Identify the mounting brackets that hold the curved shower curtain rod in place. These brackets are typically attached to the wall at both ends of the rod and may be secured with screws or bolts.
-
Use the Screwdriver: Depending on the type of fasteners used, select the appropriate screwdriver to fit the screws or bolts on the mounting brackets. Position the screwdriver securely on the head of the screw or bolt and apply gentle, consistent pressure in a counterclockwise direction to loosen and remove them.
-
Support the Rod: As you begin to unscrew the mounting brackets, it's important to provide support for the curved shower curtain rod to prevent it from falling unexpectedly. Use one hand to hold the rod while using the other hand to remove the screws or bolts from the brackets.
-
Secure the Hardware: Once the screws or bolts have been removed, carefully set them aside in a secure location. Keeping track of the hardware ensures that they can be reused when reinstalling the curved shower curtain rod or replaced if necessary.
-
Inspect the Wall: After the mounting brackets have been detached, take a moment to inspect the wall for any marks or damage that may have occurred during the removal process. If there are any noticeable blemishes, consider addressing them before installing a new rod.
By following these steps, you can successfully unscrew the mounting brackets and detach the curved shower curtain rod from the wall. With the brackets removed, the final step involves carefully taking down the rod and ensuring that the area is cleaned and prepared for any subsequent installations or renovations.
To remove a curved shower curtain rod, start by unscrewing the mounting brackets from the wall. Then, carefully lift the rod off the brackets and set it aside. Finally, patch any holes left in the wall from the brackets.
Step 4: Remove the curved shower curtain rod
With the mounting brackets unscrewed and detached from the wall, the next crucial step is to remove the curved shower curtain rod itself. This process requires careful handling to ensure that the rod is taken down safely without causing any damage to the surrounding area. Here's a detailed guide on how to remove the curved shower curtain rod effectively:
-
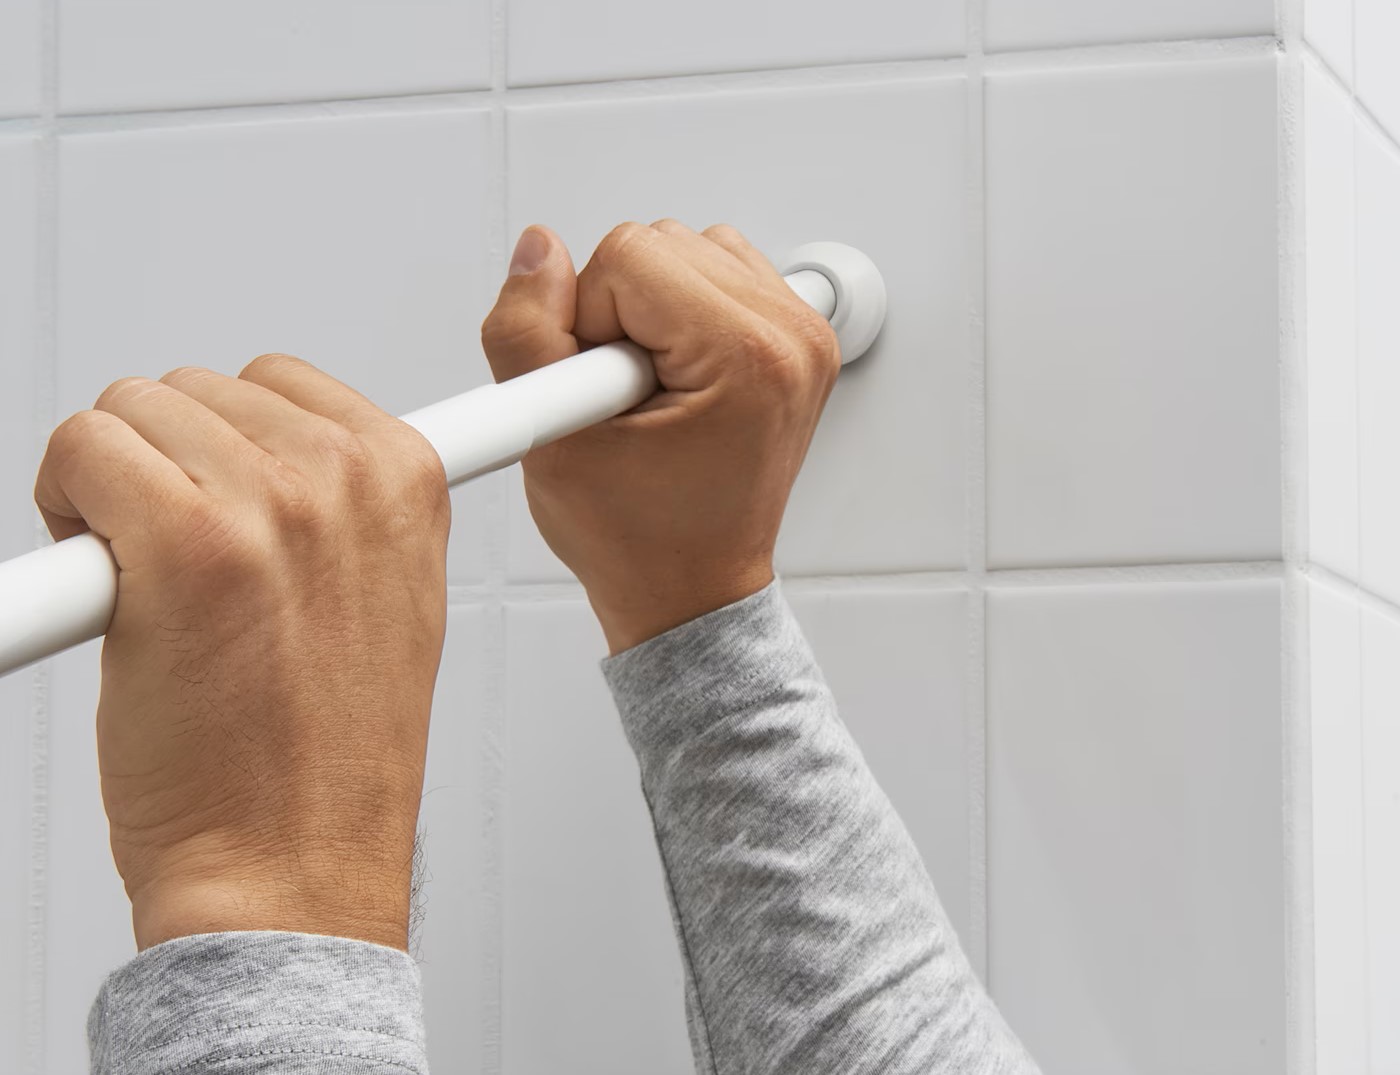
Support the Rod: Before attempting to remove the curved shower curtain rod, ensure that it is adequately supported to prevent it from falling unexpectedly. Depending on the design of the rod, it may be necessary to have an extra set of hands to hold one end while you work on the other. Alternatively, if the rod is lightweight and manageable, you can support it on your own by maintaining a firm grip as you proceed with the removal.
-
Check for Obstructions: Inspect the area around the curved shower curtain rod to ensure that there are no obstructions or remaining attachments that could impede its removal. Look for any residual screws, nails, or other fasteners that may have been overlooked during the unscrewing of the mounting brackets. Clearing the area of any obstacles will facilitate a smoother removal process.
-
Gently Disengage the Rod: With the rod adequately supported and the surrounding area cleared, gently disengage the curved shower curtain rod from its position. Depending on the design, you may need to twist, slide, or carefully maneuver the rod to release it from any remaining fixtures or supports. Exercise caution to avoid sudden movements that could dislodge other components or cause damage.
-
Secure the Rod: Once the curved shower curtain rod has been successfully removed, set it aside in a safe and stable location. It's essential to handle the rod with care to prevent any bending, warping, or scratches that could affect its usability in the future. If the rod is intended for reuse, storing it in a protective cover or padded area can help maintain its condition.
By following these steps, you can effectively remove the curved shower curtain rod from its position, completing a crucial phase of the removal process. With the rod safely taken down, the final step involves cleaning the area and preparing it for any subsequent installations or renovations.
Read more: How To Install A Curved Shower Curtain Rod
Step 5: Clean the area
After successfully removing the curved shower curtain rod, it's essential to dedicate some time to clean the area where the rod was previously installed. This step not only ensures that the space looks tidy and well-maintained but also prepares it for any future installations or renovations. Here's a detailed guide on how to clean the area effectively:
-
Remove Residual Debris: Begin by inspecting the wall and surrounding area for any residual debris, dust, or particles that may have accumulated during the removal process. Use a soft-bristled brush or a vacuum cleaner with a brush attachment to gently sweep or suction away any loose debris. Pay attention to the areas where the mounting brackets were attached, as they may have collected dust and grime over time.
-
Clean the Wall Surface: Once the loose debris has been removed, it's time to clean the wall surface to ensure that it's free from any marks or residues. Prepare a mild cleaning solution by mixing a small amount of gentle liquid soap or dish detergent with warm water. Dampen a clean microfiber cloth or sponge in the solution and gently wipe the wall surface, paying particular attention to the areas where the mounting brackets were positioned. Avoid using harsh or abrasive cleaners that could damage the wall finish.
-
Address Stubborn Stains: If you encounter any stubborn stains or marks on the wall, consider using a specialized wall cleaner or a mild solution of white vinegar and water. Apply the cleaning solution to the affected areas and gently scrub with a soft brush or sponge. Take care not to apply excessive force that could cause damage to the wall surface. Once the stains have been addressed, rinse the area with clean water and allow it to dry thoroughly.
-
Inspect for Wall Damage: After cleaning the area, take a moment to inspect the wall for any signs of damage or imperfections that may require attention. Look for small dents, scratches, or areas where the paint or finish may have worn off. If necessary, consider addressing these issues by applying touch-up paint or making arrangements for any required repairs before proceeding with any new installations.
-
Prepare for Future Installations: Once the area is clean and free from debris, it's ready for any future installations or renovations. Whether you plan to install a new curved shower curtain rod, make updates to the bathroom decor, or undertake additional renovations, having a clean and well-prepared area sets the stage for a seamless and successful process.
By following these steps, you can effectively clean the area after removing the curved shower curtain rod, ensuring that the space is well-maintained and ready for any future enhancements. Taking the time to clean and prepare the area demonstrates attention to detail and sets the foundation for a fresh and inviting bathroom space.
Conclusion
Congratulations on successfully completing the process of removing a curved shower curtain rod! By following the step-by-step guide outlined in this article, you have gained valuable insights into the systematic approach required to disassemble the rod effectively. From gathering the necessary tools to cleaning the area after the rod has been removed, each step was carefully designed to ensure a smooth and efficient removal process.
As you reflect on the journey of removing the curved shower curtain rod, it's important to acknowledge the sense of accomplishment that comes with mastering a practical home improvement skill. The knowledge and confidence you've acquired through this experience can be applied to future projects, empowering you to take on new challenges with ease.
Beyond the technical aspects of the removal process, it's worth appreciating the opportunity to enhance your living space. Whether you're preparing for a bathroom renovation, updating the decor, or simply seeking access to the area behind the rod, the removal of the curved shower curtain rod marks a significant step towards transforming your bathroom environment.
As you look ahead, consider the possibilities that lie beyond the empty space where the rod once stood. Perhaps you envision a fresh design concept for your bathroom, or you're eager to explore new options for shower curtain rods that will complement your aesthetic preferences. Whatever your aspirations may be, the removal of the curved shower curtain rod opens the door to creativity and innovation in your home.
Furthermore, the attention to detail demonstrated in cleaning the area after the rod's removal reflects a commitment to maintaining a well-kept and inviting living space. This conscientious approach sets the stage for future installations and renovations, ensuring that your bathroom remains a place of comfort and rejuvenation.
In conclusion, the process of removing a curved shower curtain rod is not merely a practical task but a journey that embodies the spirit of home improvement and personal empowerment. As you take pride in your accomplishment, remember that every project, no matter how seemingly small, contributes to the ongoing evolution of your living environment. Embrace the newfound knowledge and skills, and let them inspire you to embark on further endeavors that enrich the beauty and functionality of your home.
Frequently Asked Questions about How To Remove A Curved Shower Curtain Rod
Was this page helpful?
At Storables.com, we guarantee accurate and reliable information. Our content, validated by Expert Board Contributors, is crafted following stringent Editorial Policies. We're committed to providing you with well-researched, expert-backed insights for all your informational needs.


0 thoughts on “How To Remove A Curved Shower Curtain Rod”