Home>Furniture & Design>Bathroom Fixtures>How To Install A Tension Shower Rod
Bathroom Fixtures
How To Install A Tension Shower Rod
Modified: February 17, 2024
Learn how to easily install a tension shower rod in your bathroom with our step-by-step guide. Upgrade your bathroom fixtures hassle-free!
(Many of the links in this article redirect to a specific reviewed product. Your purchase of these products through affiliate links helps to generate commission for Storables.com, at no extra cost. Learn more)
Introduction
Installing a tension shower rod is a simple yet effective way to upgrade your bathroom. Whether you're looking to replace an old rod or add a new one, this DIY project can be completed in just a few easy steps. By following this guide, you can achieve a secure and stylish shower rod installation without the need for drilling or making permanent alterations to your bathroom walls.
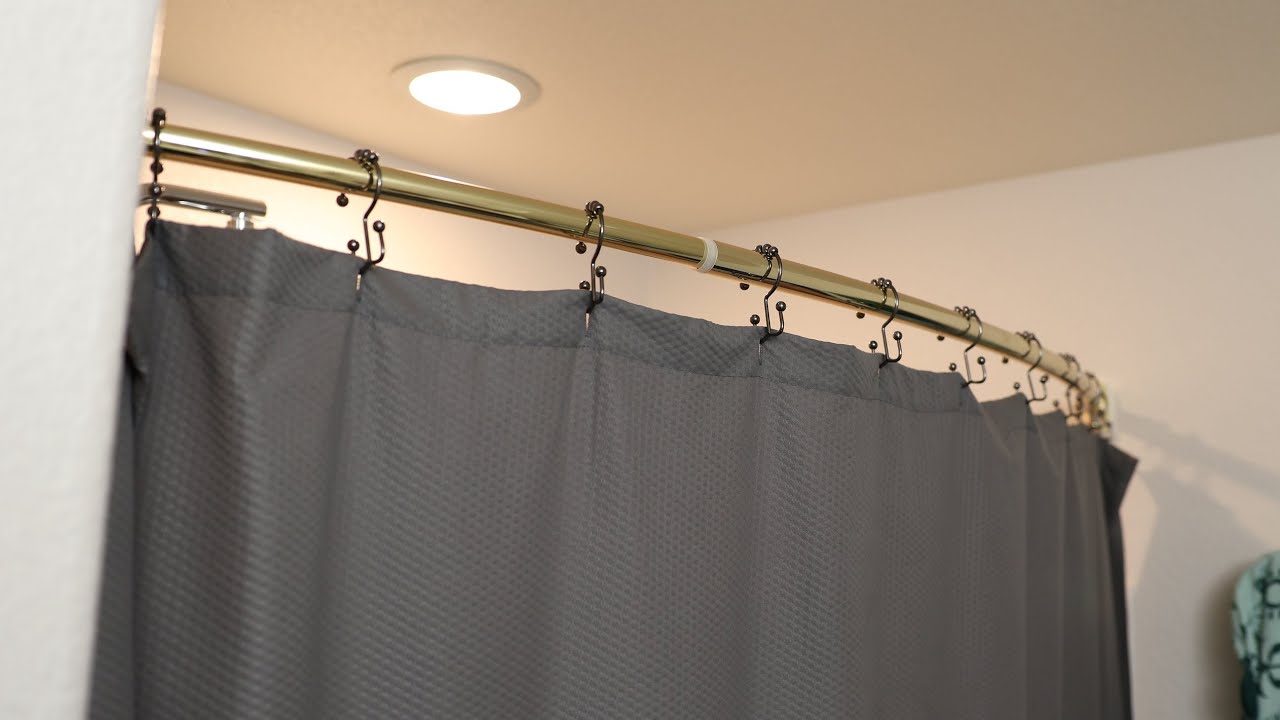
A tension shower rod is a versatile and practical solution for hanging shower curtains or creating a barrier in your bathtub. Unlike traditional shower rods that require drilling and mounting hardware, a tension rod relies on spring-loaded tension to stay in place. This makes it an ideal choice for renters or homeowners who prefer a non-permanent installation option.
In addition to its ease of installation, a tension shower rod offers flexibility in terms of adjustability. You can customize the length of the rod to fit your specific shower or bathtub space, ensuring a snug and secure fit. With a wide range of designs and finishes available, you can also choose a rod that complements your bathroom decor, adding a touch of style to the space.
Whether you're a seasoned DIY enthusiast or a novice looking to tackle your first home improvement project, installing a tension shower rod is a manageable task that requires minimal time and effort. By following the steps outlined in this guide, you can achieve a professional-looking installation and enjoy the benefits of a well-appointed bathroom space.
Now, let's dive into the step-by-step process of installing a tension shower rod to elevate the functionality and aesthetic appeal of your bathroom. With the right tools and a clear understanding of the process, you'll be well on your way to completing this project with confidence and ease.
Key Takeaways:
- Elevate your bathroom with a tension shower rod, a simple DIY upgrade that adds style and functionality without drilling. Customize the length, secure it in place, and enjoy a professional-looking installation.
- With a tension shower rod, you can hang shower curtains or create a bathtub barrier without permanent alterations. Measure, adjust, and install with ease, achieving a secure and stylish bathroom upgrade.
Read more: How To Install A Curved Tension Shower Rod
Step 1: Gather the Necessary Tools and Materials
Before embarking on the installation of a tension shower rod, it's essential to gather all the required tools and materials. By ensuring that you have everything at hand, you can streamline the installation process and minimize interruptions. Here's a comprehensive list of the necessary items:
Tools:
-
Measuring Tape: A reliable measuring tape is crucial for accurately determining the dimensions of your shower or bathtub space. This will help you customize the length of the tension rod to achieve a perfect fit.
-
Step Ladder: Depending on the height of your shower area, a step ladder may be necessary to reach and adjust the tension rod at the desired height.
-
Rubber Mallet or Hammer: A rubber mallet or hammer will aid in securely locking the tension rod in place once it's adjusted to the correct length.
-
Level: To ensure that the tension rod is installed perfectly straight, a level is indispensable. This tool will help you achieve a professional-looking installation.
Materials:
-
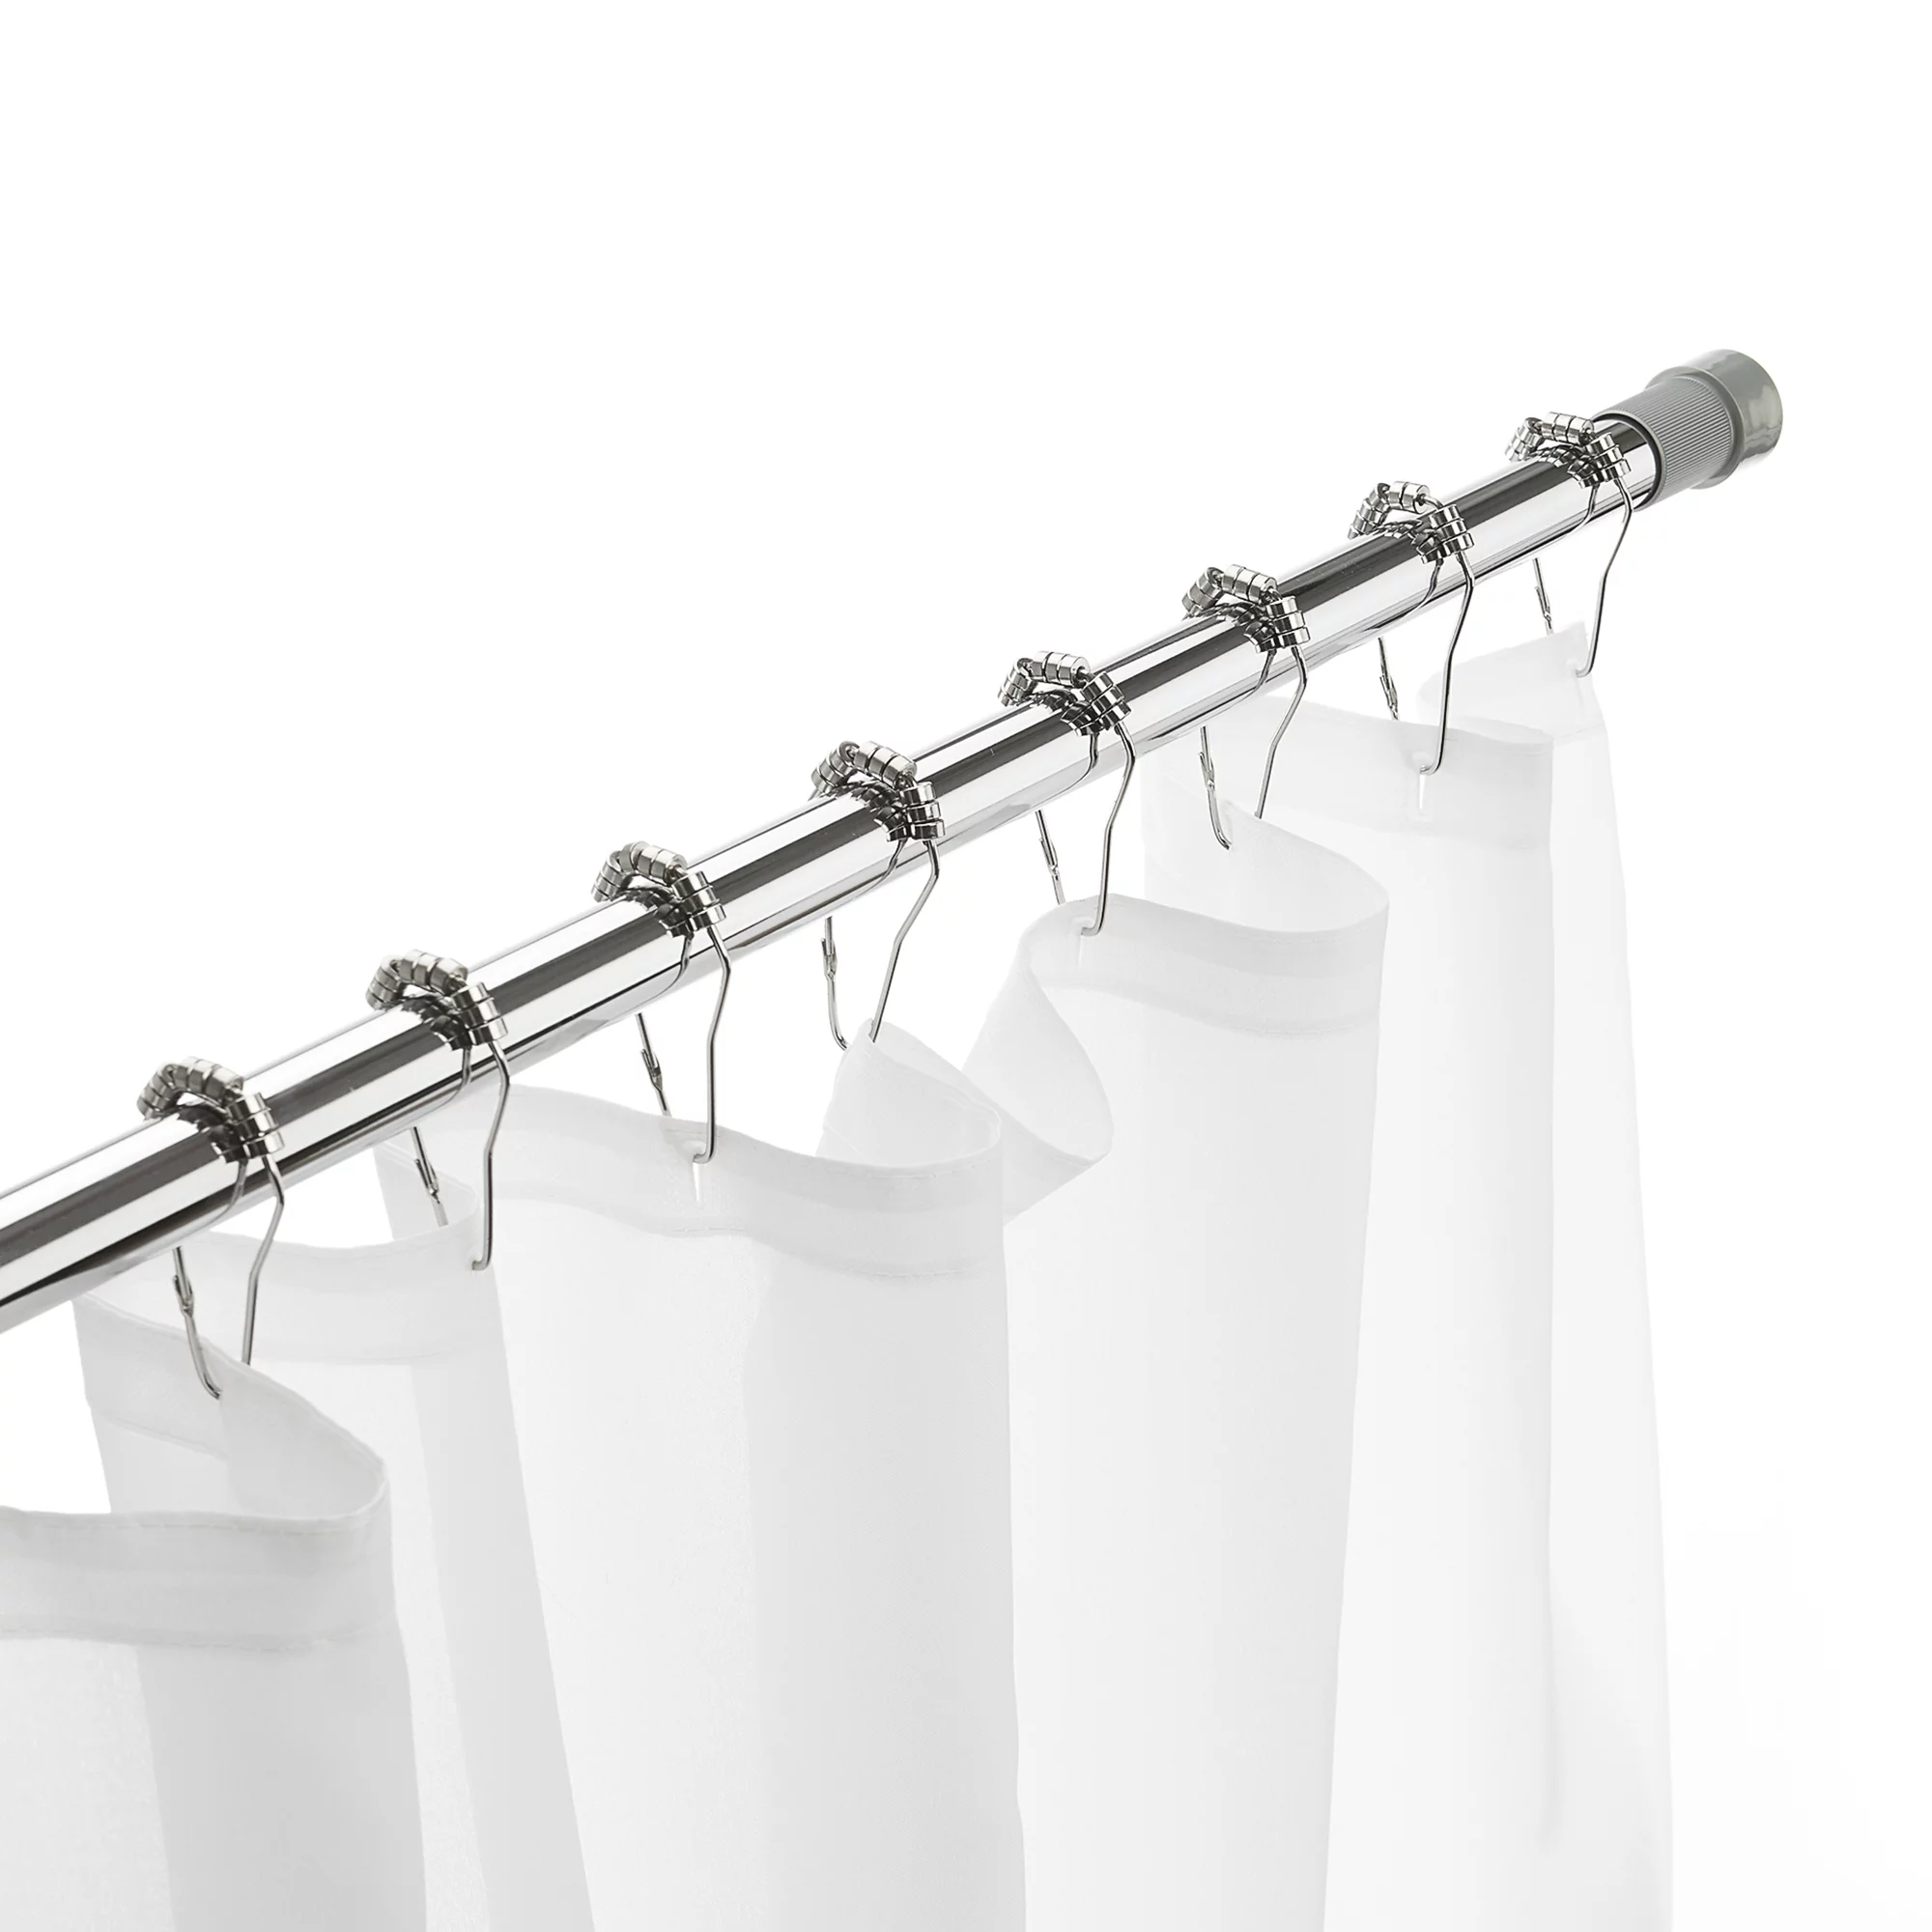
Tension Shower Rod: Select a high-quality tension shower rod that suits the dimensions of your shower or bathtub area. These rods are available in various lengths and finishes, so choose one that complements your bathroom decor.
-
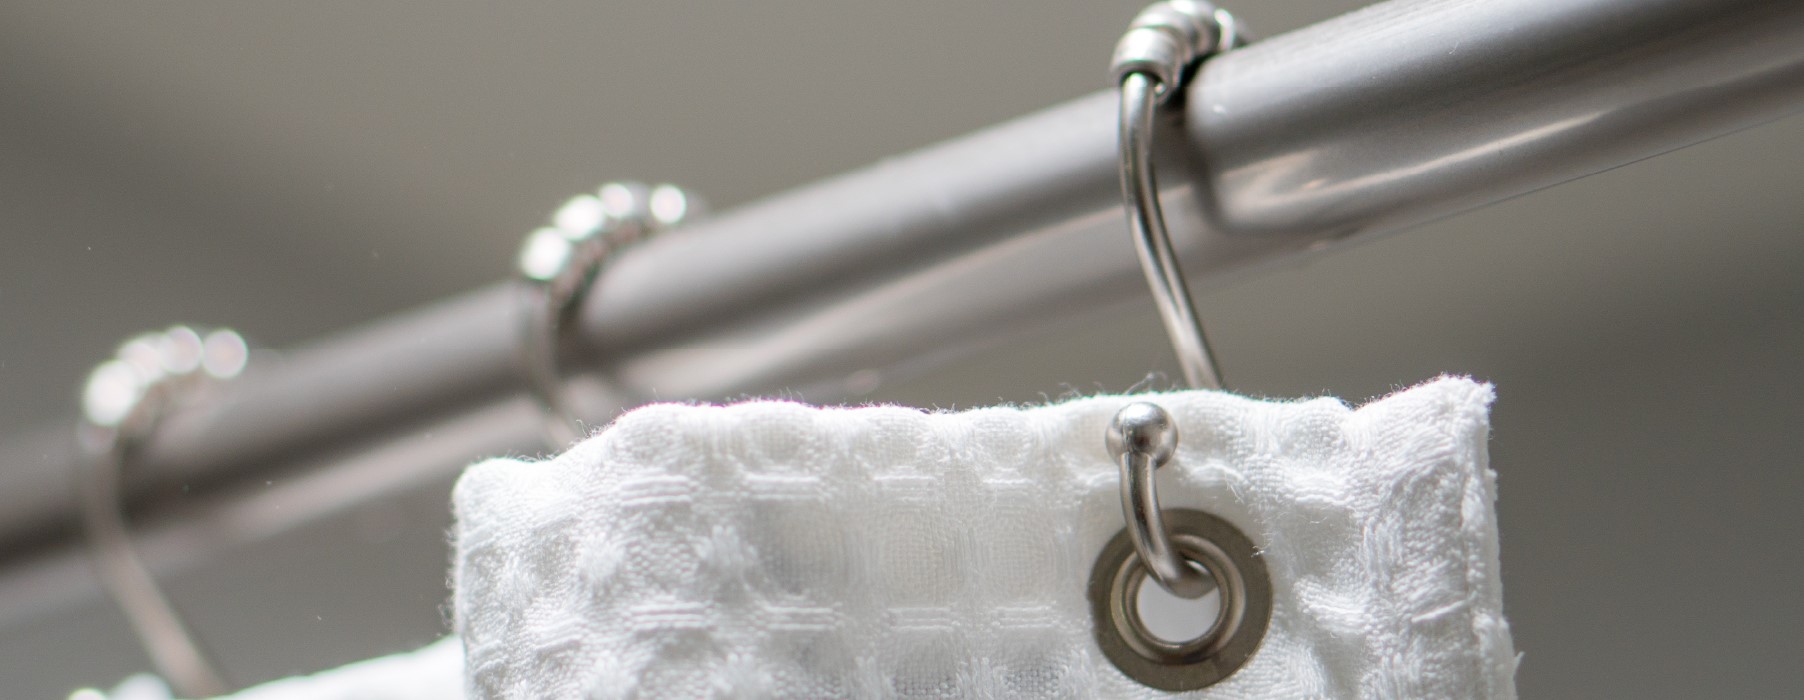
Shower Curtain or Liner: If you plan to hang a shower curtain or liner, ensure that you have it ready for installation once the tension rod is in place.
-
Optional: Shower Curtain Rings or Hooks: If your shower curtain requires rings or hooks for hanging, make sure you have these on hand.
By gathering these essential tools and materials, you'll be well-prepared to proceed with the installation of your tension shower rod. This proactive approach will help you complete the project efficiently and with confidence, ensuring that your bathroom receives a functional and visually appealing upgrade.
Step 2: Measure the Space
Accurate measurements are crucial for ensuring a precise and secure fit when installing a tension shower rod. Before proceeding with the installation, take the time to measure the width of your shower or bathtub area. This step is essential for customizing the length of the tension rod to fit the space perfectly.
Begin by using a measuring tape to determine the distance between the walls where the tension rod will be installed. Measure the width at two different heights to account for any variations in the wall surface. It's important to take these measurements at the exact height where the tension rod will be positioned to ensure a snug and stable fit.
Once you have the measurements, consider the adjustable range of the tension rod you've selected. Most tension rods offer a range of adjustability to accommodate different widths. Compare your measurements to the adjustable range of the rod to ensure that it can be extended or compressed to fit your specific space.
When measuring the space, it's also important to account for any obstructions or uneven surfaces that may impact the installation. Check for protruding tiles, fixtures, or other obstacles that could affect the placement of the tension rod. If necessary, make adjustments to accommodate these obstructions and ensure a smooth installation process.
To verify the accuracy of your measurements, double-check the width of the space and compare it to the adjustable range of the tension rod. This extra step can help prevent potential issues during the installation and ensure that the tension rod fits securely without any gaps or instability.
By taking the time to measure the space meticulously, you can lay the groundwork for a successful tension shower rod installation. These precise measurements will enable you to customize the length of the rod to fit your specific shower or bathtub area, resulting in a secure and professional-looking installation.
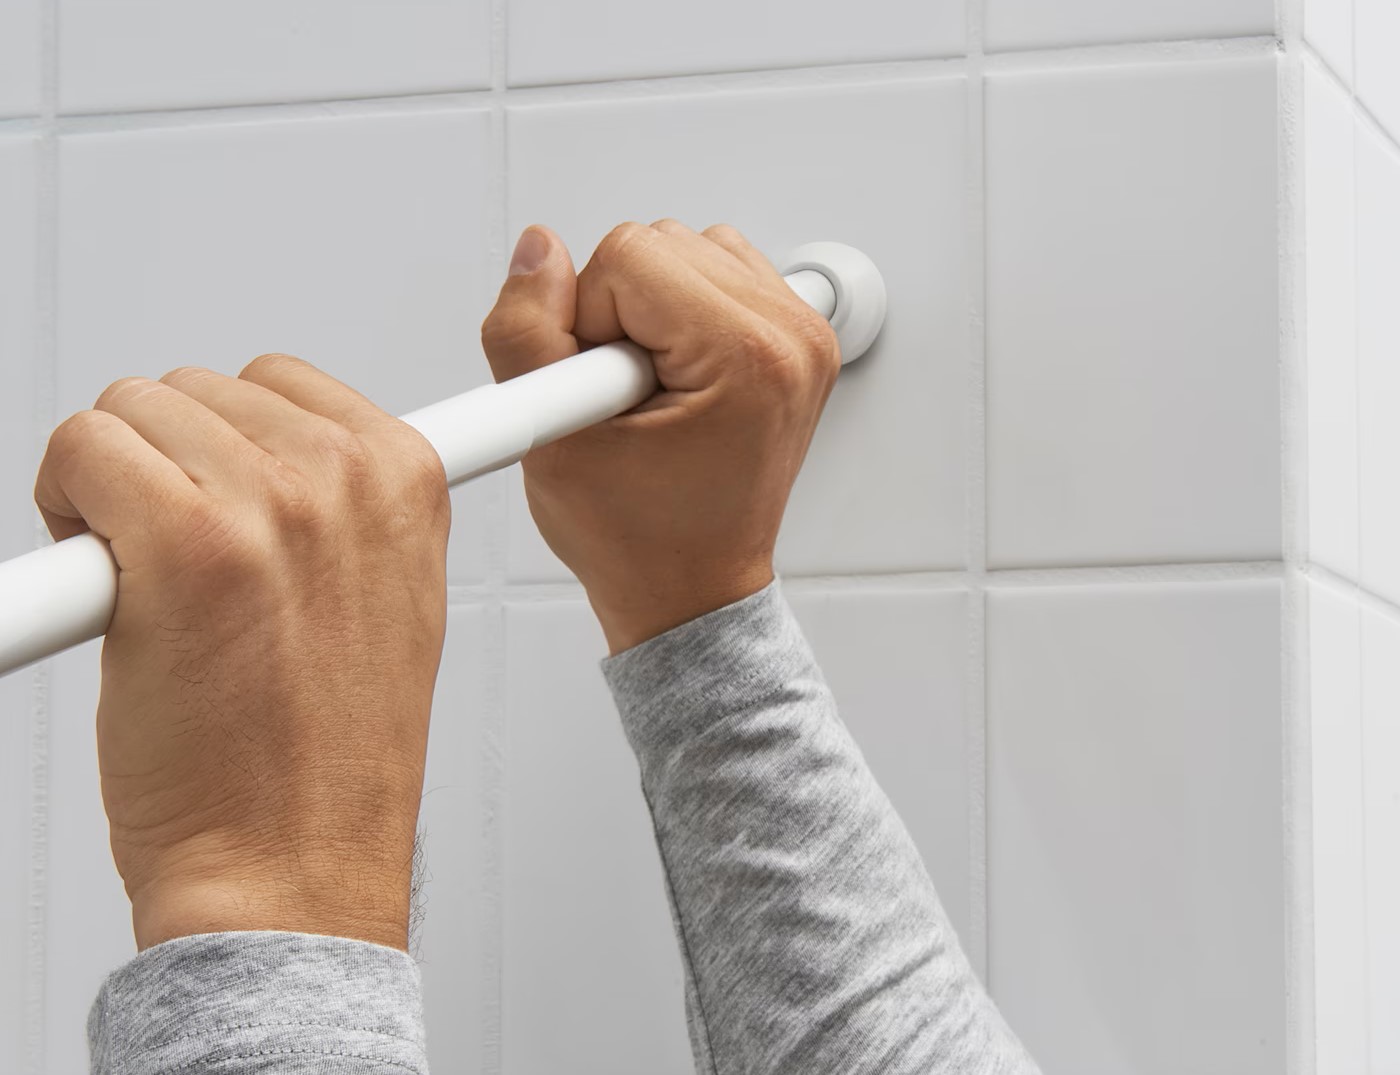
Step 3: Adjust the Rod Length
With precise measurements in hand, it's time to adjust the length of the tension shower rod to fit your specific space. This step is crucial for achieving a secure and stable installation, as a properly adjusted rod will provide a snug fit between the walls of your shower or bathtub area.
Begin by unlocking the tension rod to release the spring-loaded mechanism. Most tension rods feature an inner rod that can be twisted or extended to adjust the overall length. Depending on the design of your tension rod, there may be a twisting motion or a telescoping action to customize the length.
Carefully follow the manufacturer's instructions for adjusting the rod length, as different models may have specific mechanisms for length customization. As you extend or compress the rod, periodically check the fit within the measured space to ensure that it aligns with your initial measurements.
Once you've adjusted the rod to the appropriate length, it's time to lock it in place. Use a rubber mallet or a hammer to gently tap the ends of the tension rod, securing it firmly between the walls. This step is essential for creating the necessary tension that will keep the rod in place without the need for drilling or mounting hardware.
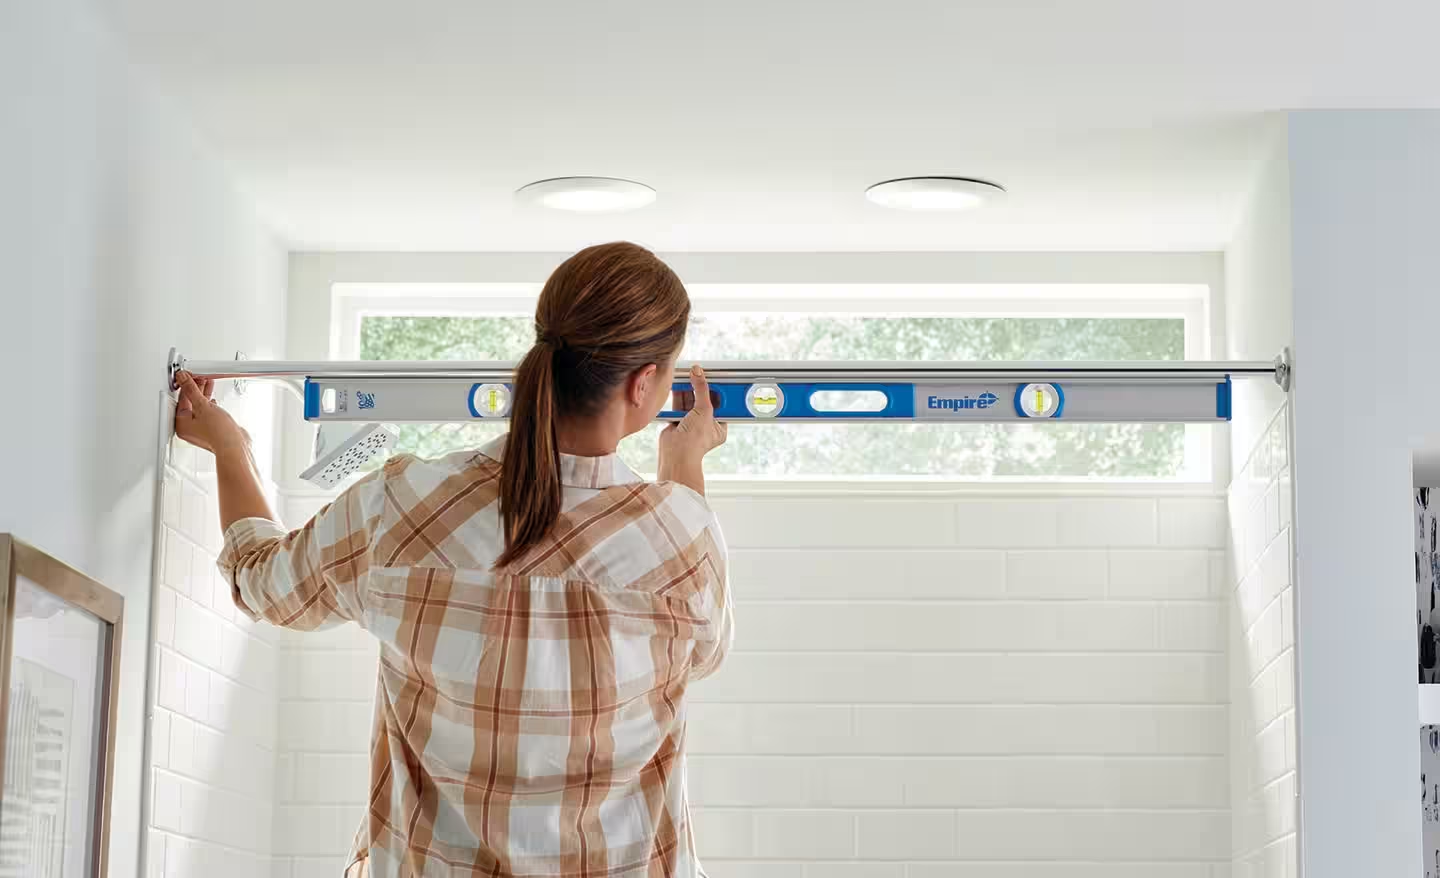
As you lock the tension rod, be mindful of maintaining a level position. Use a level to ensure that the rod is perfectly straight and aligned with the walls. This attention to detail will result in a professional-looking installation that enhances the overall aesthetic of your bathroom space.
After securing the tension rod, give it a gentle tug to test its stability. A properly adjusted and locked tension rod should remain firmly in place without any slippage or movement. If the rod feels loose, recheck the length adjustment and ensure that it's securely locked between the walls.
By meticulously adjusting the rod length and confirming its stability, you can proceed with confidence to the next step of the installation process. With the tension rod securely in place, you're one step closer to enjoying the functional and visual benefits it brings to your bathroom.
This completes the adjustment of the tension rod length, setting the stage for the final step of the installation process. With the rod customized to fit your specific space, you're ready to move forward and complete the installation with ease and precision.
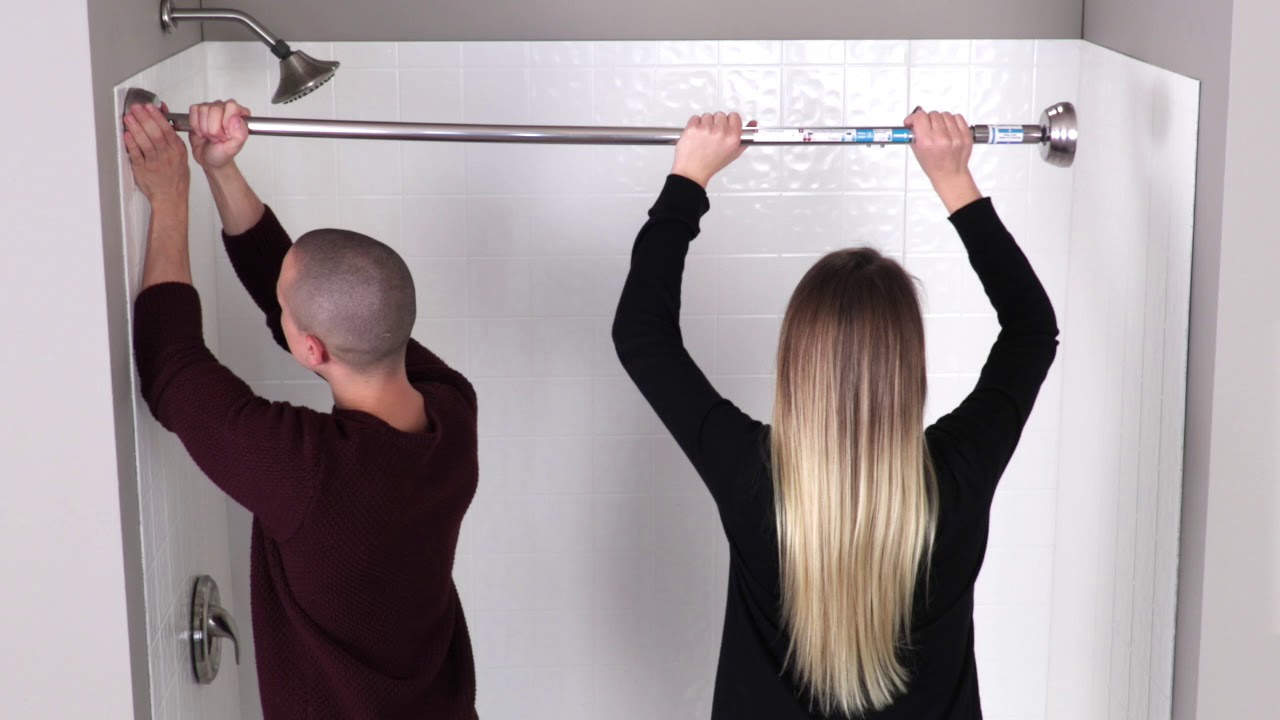
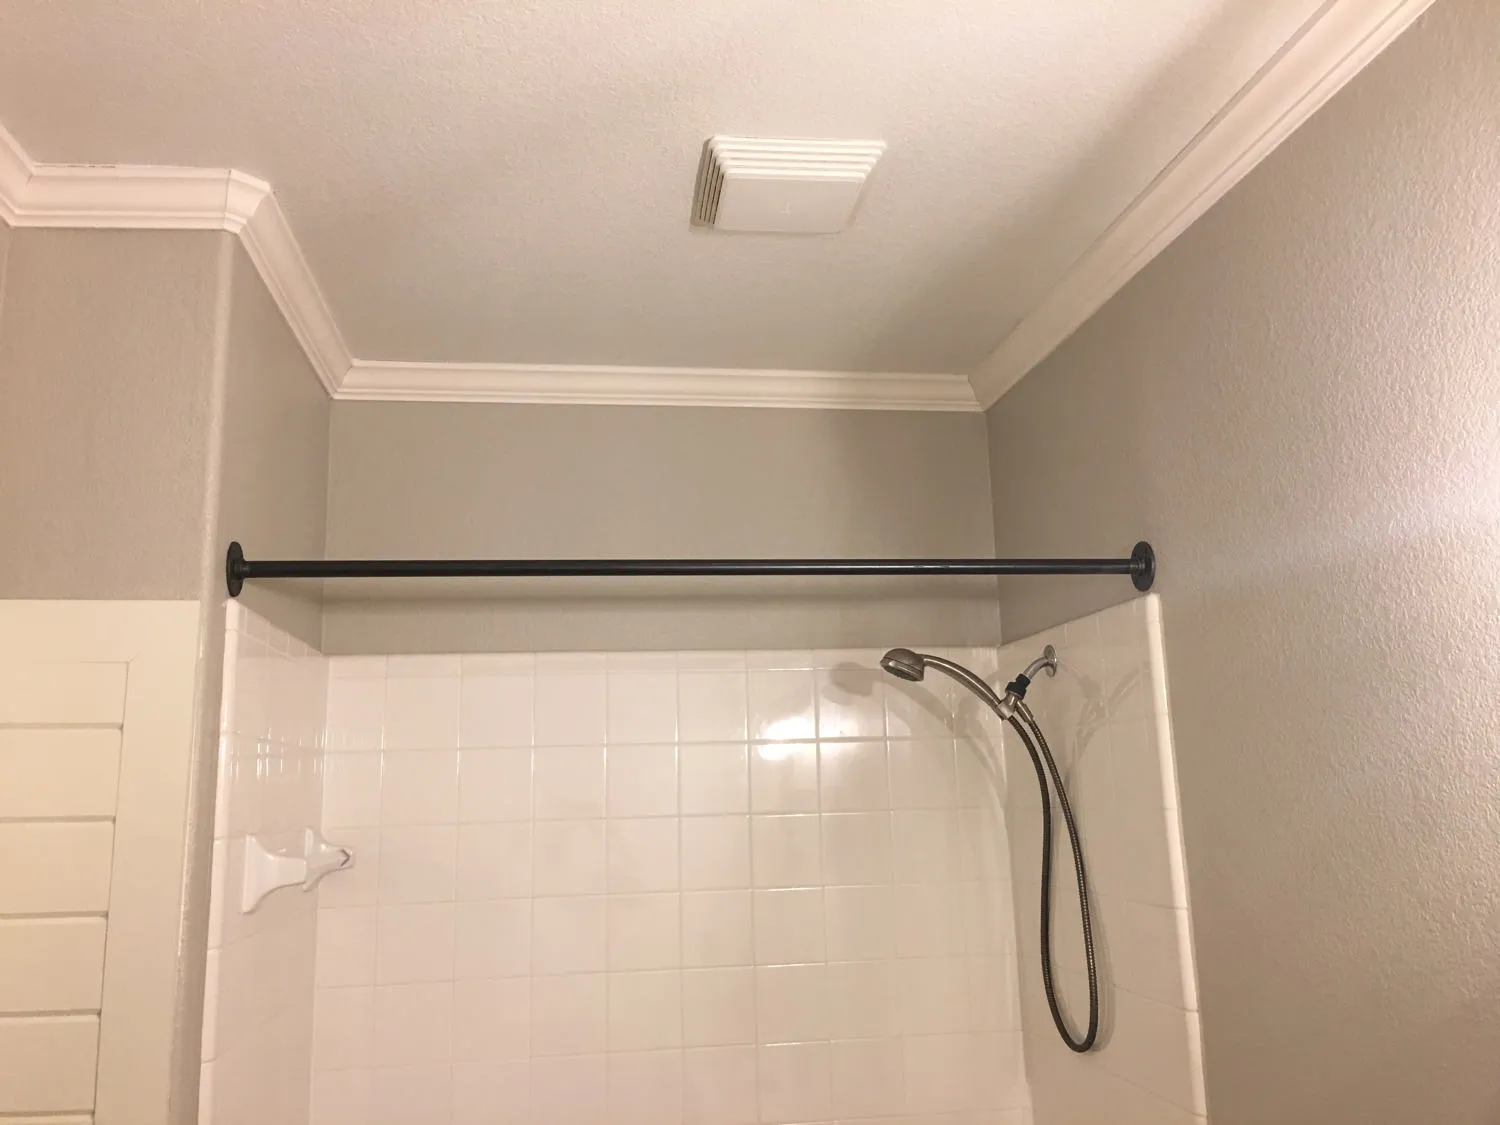
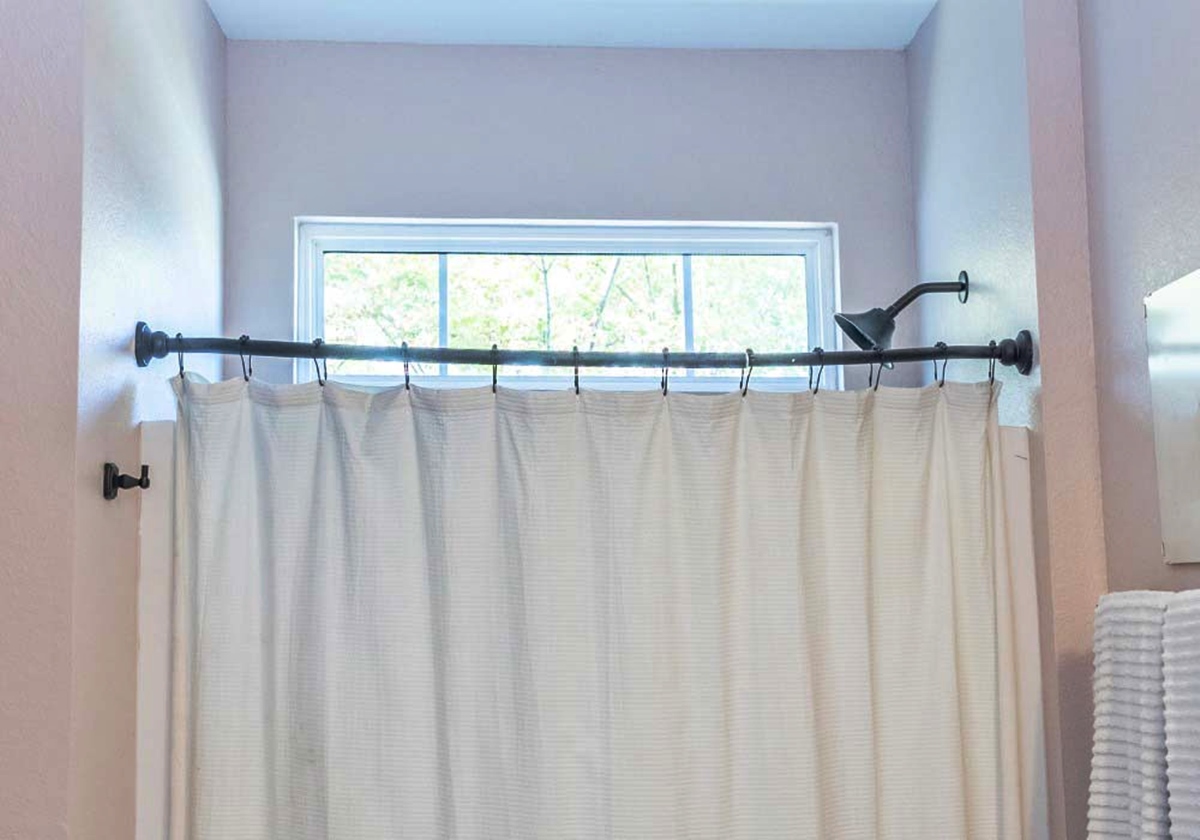
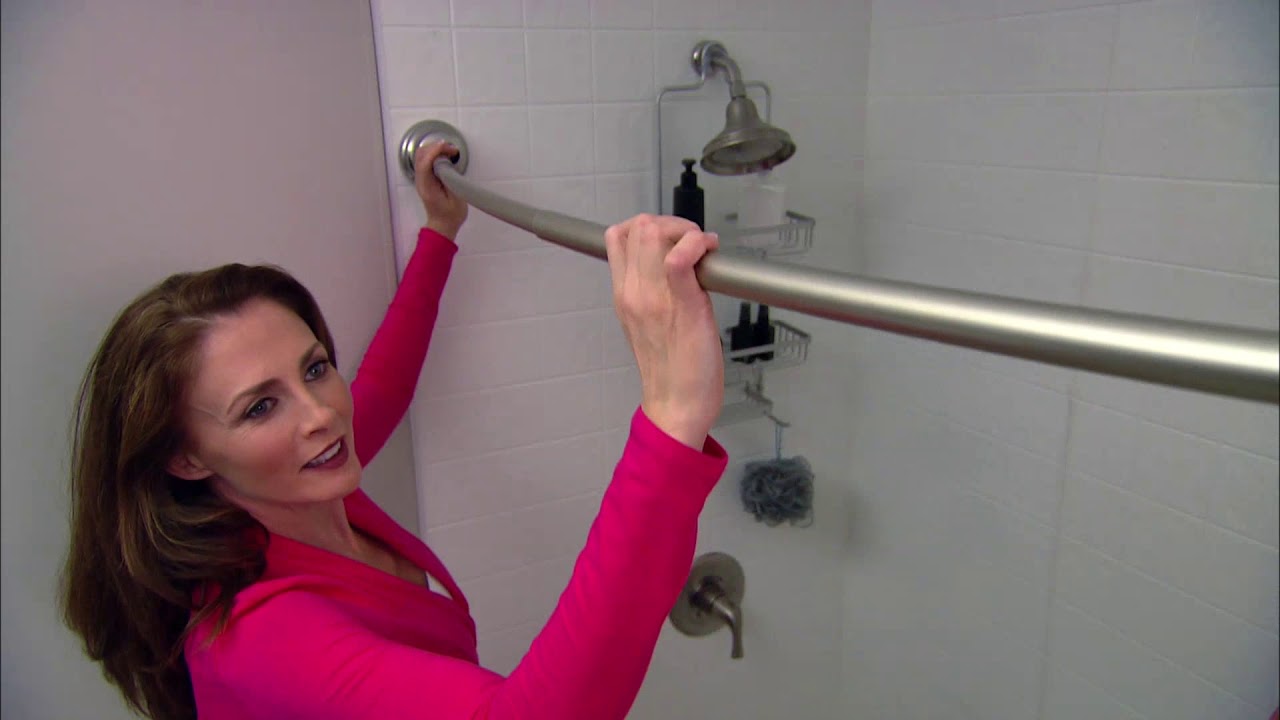
Step 4: Install the Rod
With the tension rod adjusted to the appropriate length and securely locked in place, it's time to proceed with the installation process. Installing the tension rod is a straightforward task that involves positioning it within the designated space and ensuring a stable and level fit.
Begin by holding the tension rod at the desired height within the shower or bathtub area. Position the rod between the walls, ensuring that it rests securely and evenly on both sides. Take care to align the rod parallel to the ground, maintaining a level position throughout the installation.
As you position the tension rod, apply gentle pressure to the ends, pressing them against the walls to create tension. This pressure, combined with the spring-loaded mechanism of the rod, will help anchor it in place without the need for additional hardware or drilling. Continue to adjust the position and tension of the rod until it feels stable and secure.
Once the tension rod is in position and securely anchored between the walls, give it a final check to ensure that it's level and straight. Use a level to verify the alignment, making any necessary adjustments to achieve a professional-looking installation.
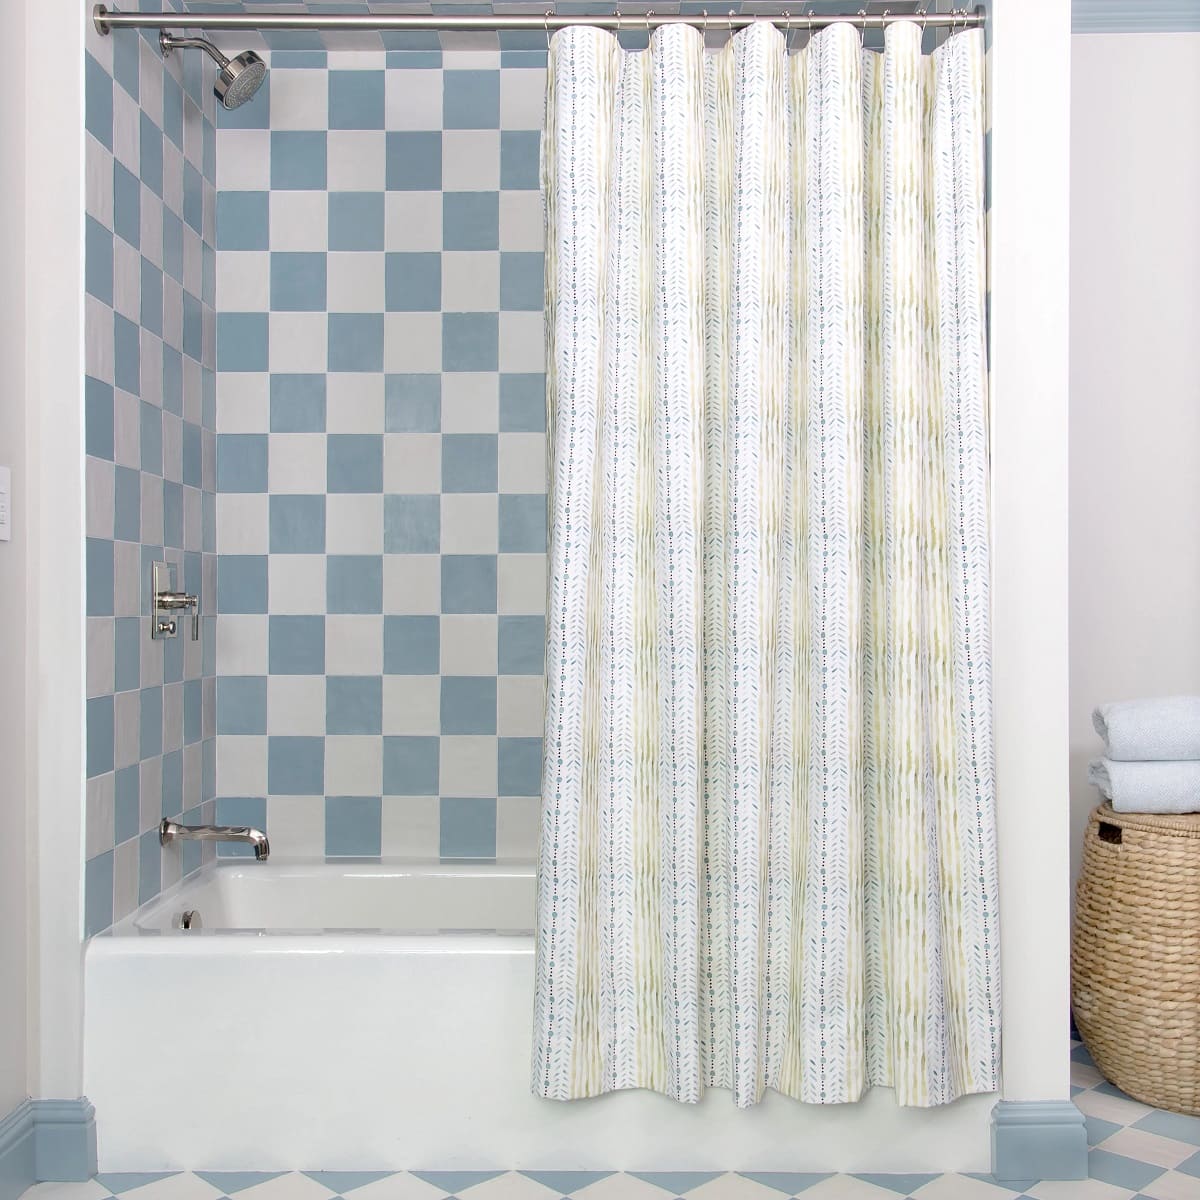
With the tension rod successfully installed, it's time to add the finishing touches. If you plan to hang a shower curtain or liner, proceed to attach it to the rod according to your preferred method. Whether using hooks, rings, or other hanging accessories, ensure that the curtain or liner is securely in place, ready to provide privacy and functionality to your shower or bathtub area.
After completing the installation of the tension rod and any accompanying shower accessories, take a moment to step back and admire your handiwork. The newly installed tension rod not only enhances the functionality of your bathroom but also adds a touch of style and convenience to the space.
By following these simple yet effective steps, you've successfully installed a tension shower rod, elevating the aesthetic and practical aspects of your bathroom. With the right tools, meticulous measurements, and attention to detail, you've achieved a professional-looking installation that enhances the overall appeal of your bathroom space.
When installing a tension shower rod, make sure to measure the space accurately before purchasing the rod. It’s important to twist the rod tightly to create tension and prevent it from slipping.
Step 5: Test the Stability
After completing the installation of the tension shower rod, it's crucial to perform a stability test to ensure that the rod is securely in place and capable of withstanding daily use without any issues. This step is essential for verifying the reliability of the installation and providing peace of mind regarding the rod's ability to support shower curtains or liners effectively.
To begin the stability test, gently tug on the tension rod to assess its resistance and stability. A properly installed tension rod should remain firmly in place, with no noticeable movement or slippage. By applying gentle pressure in various directions, including both horizontal and vertical movements, you can confirm the rod's ability to withstand typical usage without compromising its position.
As you perform the stability test, pay close attention to any signs of instability or shifting. If the tension rod exhibits any movement or feels loose, it's important to address the issue promptly. In such cases, re-evaluate the installation and consider readjusting the rod length or repositioning it between the walls to achieve a more secure fit.
Additionally, observe the overall alignment of the tension rod during the stability test. Ensure that it remains level and straight, maintaining a consistent distance from the walls on both sides. Any deviations from a level position or uneven gaps between the rod and the walls may indicate the need for further adjustments to enhance stability.
If the stability test reveals any concerns regarding the tension rod's security or alignment, take the necessary steps to address the issues promptly. This may involve repositioning the rod, adjusting its length, or applying additional pressure to create a more secure fit between the walls.
By thoroughly testing the stability of the tension rod, you can confirm the success of the installation and address any potential issues before they escalate. This proactive approach ensures that the tension rod provides a reliable and durable solution for hanging shower curtains or creating a barrier in your bathtub, enhancing the functionality and visual appeal of your bathroom space.
With the stability test successfully completed, you can take pride in achieving a secure and professional installation of the tension shower rod. Your diligence in ensuring the rod's stability reinforces its ability to serve as a practical and stylish addition to your bathroom, offering both functionality and aesthetic appeal.
Conclusion
In conclusion, the installation of a tension shower rod offers a straightforward yet impactful way to enhance the functionality and visual appeal of your bathroom space. By following the step-by-step process outlined in this guide, you've gained the knowledge and confidence to complete this DIY project with ease and precision.
The versatility of a tension shower rod, coupled with its non-permanent installation method, makes it an ideal choice for individuals seeking a practical and customizable solution for hanging shower curtains or creating a barrier in their bathtub. Whether you're a homeowner looking to upgrade your bathroom or a renter seeking a temporary yet effective improvement, the tension rod provides a versatile and stylish option.
Through meticulous measurements, precise adjustments, and careful installation, you've successfully transformed your bathroom with the addition of a tension shower rod. The attention to detail in customizing the rod length, ensuring a level and stable fit, and performing a thorough stability test has resulted in a professional-looking installation that elevates the overall aesthetic of your bathroom.
As you admire the newly installed tension rod and the shower curtain or liner hanging gracefully from it, you can take pride in the tangible impact of this DIY project. Not only does the tension rod offer practical functionality by providing a designated space for shower curtains, but it also contributes to the visual cohesion and style of your bathroom.
Furthermore, the skills and knowledge gained from this installation process can empower you to tackle future DIY projects with confidence. The ability to measure, adjust, and install a tension shower rod serves as a testament to your capability as a DIY enthusiast, enabling you to take on additional home improvement tasks with a sense of accomplishment and proficiency.
In essence, the installation of a tension shower rod represents more than just a functional upgrade to your bathroom; it embodies the satisfaction of a successful DIY endeavor and the empowerment that comes with mastering a new skill. As you enjoy the enhanced functionality and aesthetic appeal of your bathroom, take pride in the accomplishment of completing this project and look forward to the many more opportunities for creative and rewarding DIY projects in the future.
Frequently Asked Questions about How To Install A Tension Shower Rod
Was this page helpful?
At Storables.com, we guarantee accurate and reliable information. Our content, validated by Expert Board Contributors, is crafted following stringent Editorial Policies. We're committed to providing you with well-researched, expert-backed insights for all your informational needs.
0 thoughts on “How To Install A Tension Shower Rod”