Home>Furniture & Design>Bathroom Accessories>How To Change A Bathtub Drain Flange
Bathroom Accessories
How To Change A Bathtub Drain Flange
Modified: April 22, 2024
Learn how to change a bathtub drain flange with our step-by-step guide. Upgrade your bathroom accessories with ease. Expert tips and tricks included!
(Many of the links in this article redirect to a specific reviewed product. Your purchase of these products through affiliate links helps to generate commission for Storables.com, at no extra cost. Learn more)
Introduction
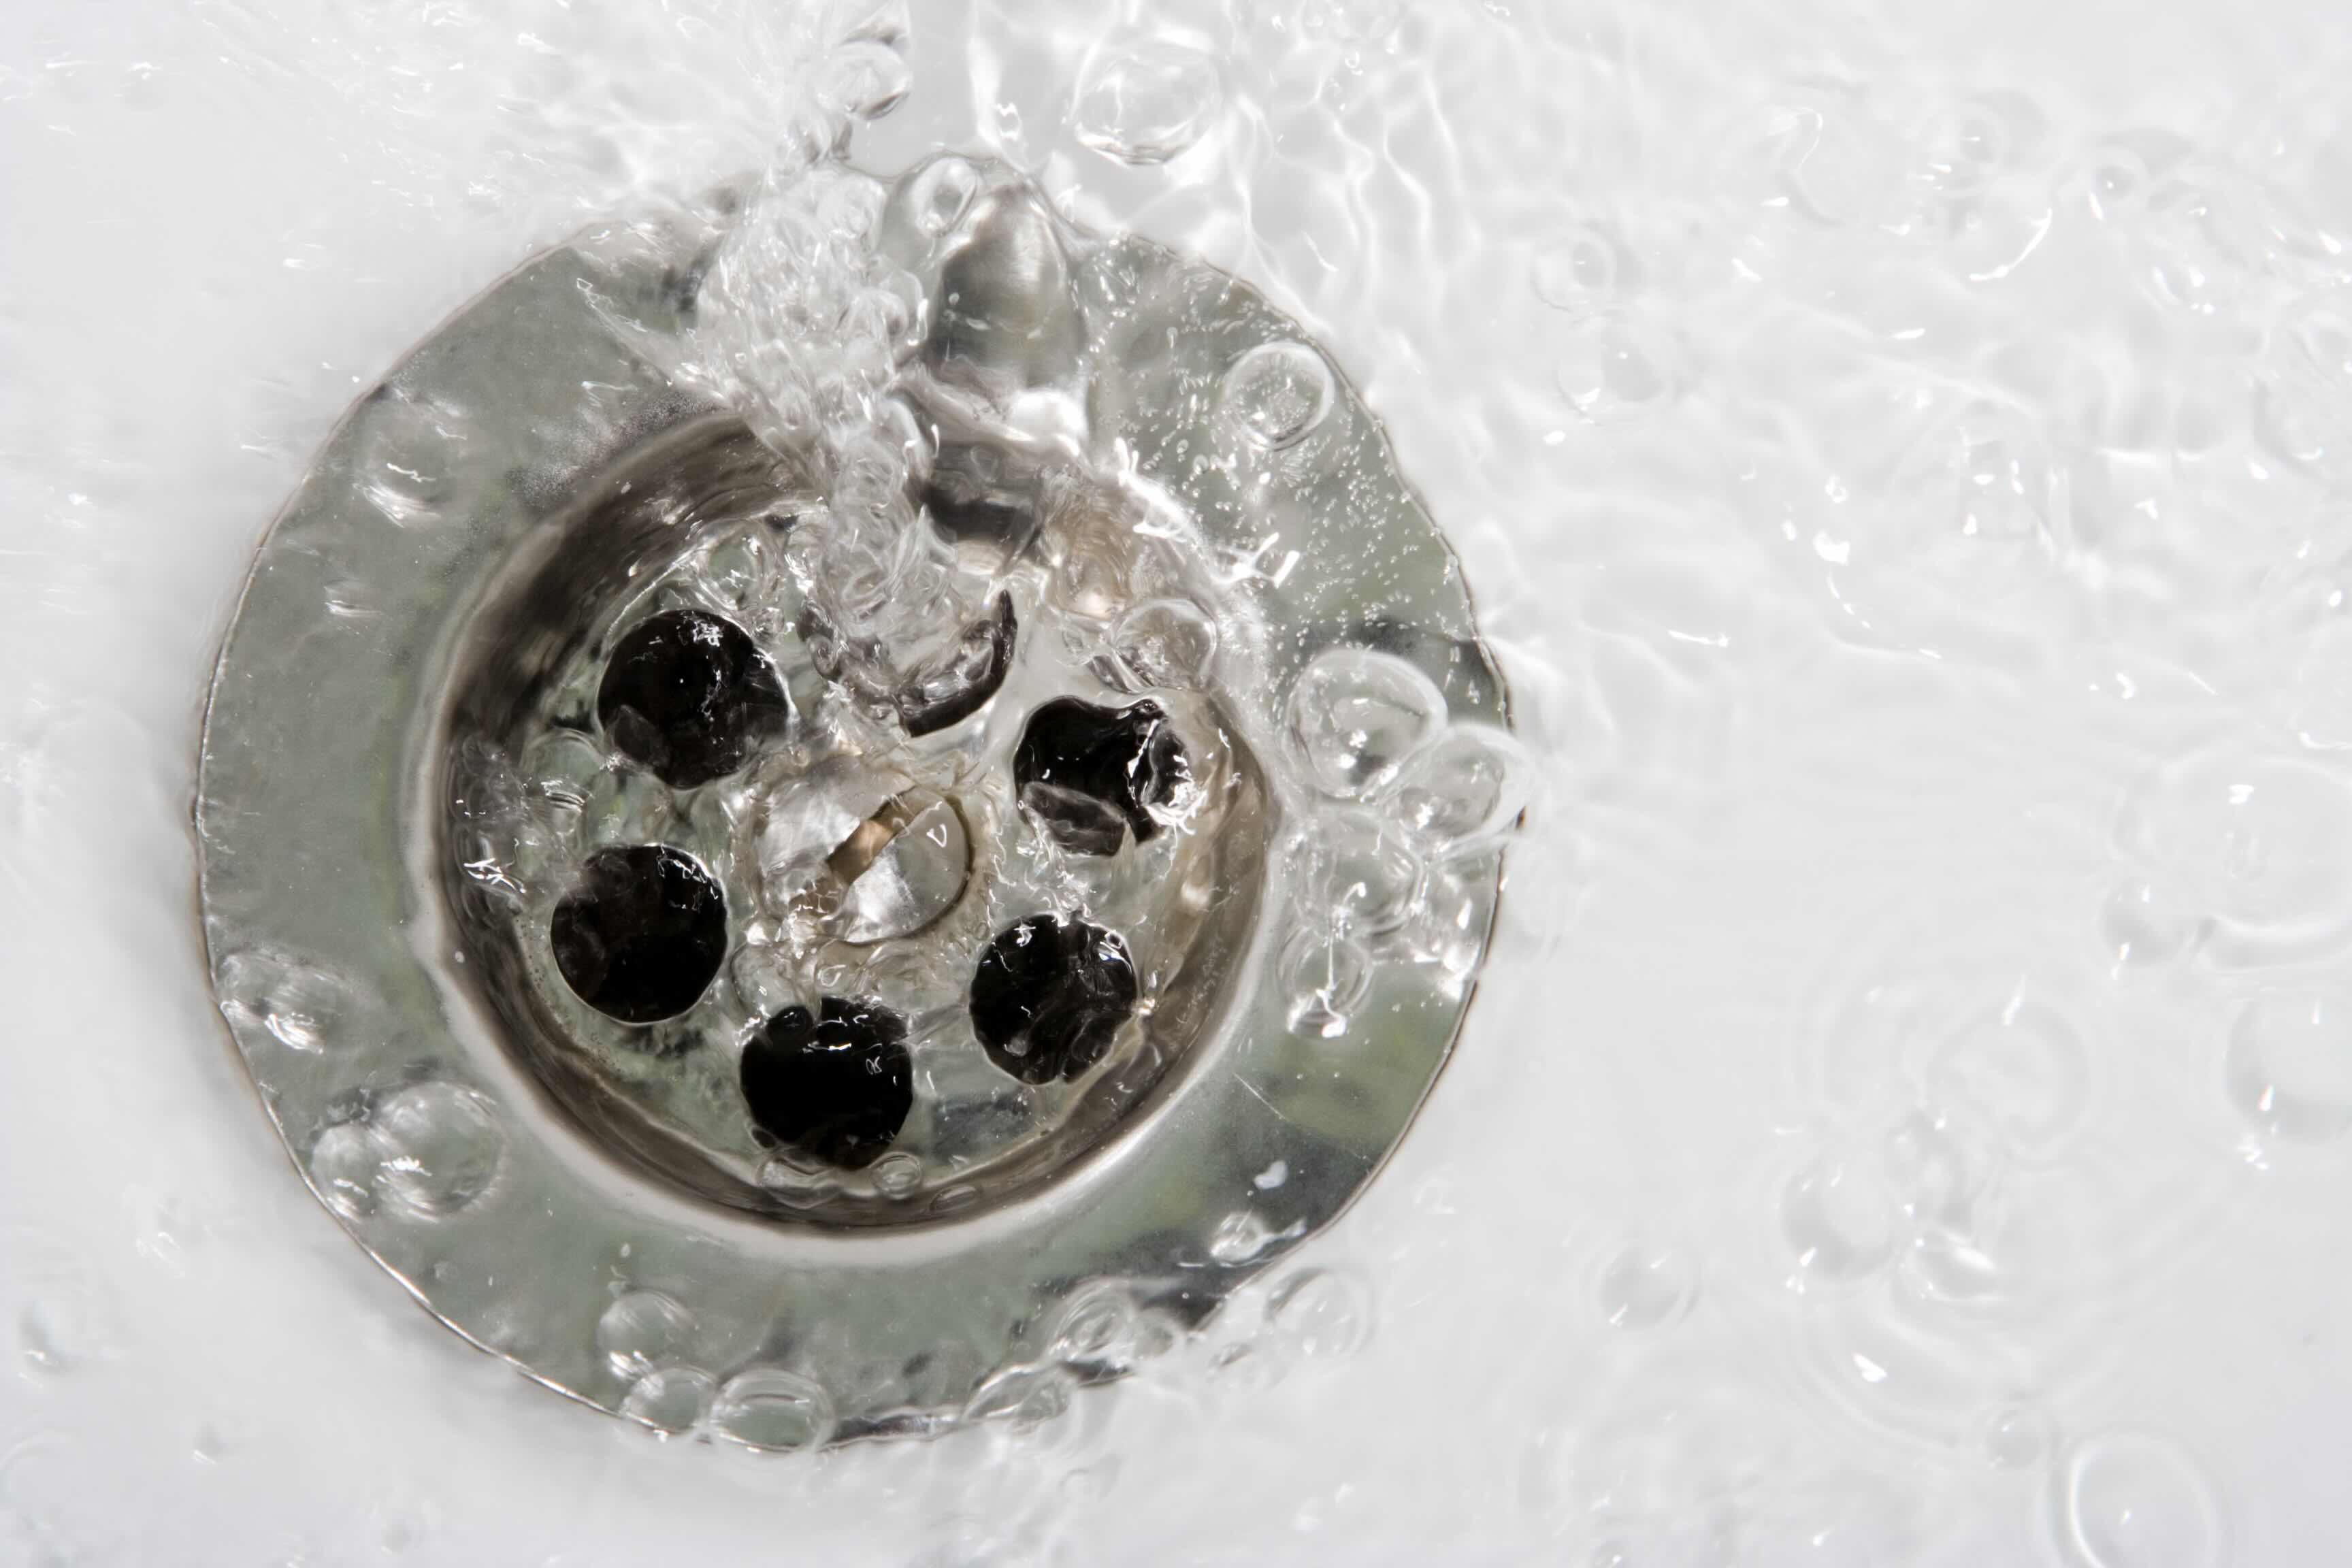
Changing a bathtub drain flange is a common task that many homeowners may need to tackle at some point. The drain flange, located at the bottom of the bathtub, plays a crucial role in allowing water to flow out of the tub and preventing leaks. Over time, wear and tear can lead to a damaged or corroded drain flange, necessitating its replacement. While this may seem like a daunting task, with the right tools and a clear understanding of the process, it can be a manageable DIY project.
In this comprehensive guide, we will walk you through the step-by-step process of changing a bathtub drain flange. Whether you're a seasoned DIY enthusiast or a novice homeowner looking to take on your first plumbing project, this guide will equip you with the knowledge and confidence to successfully complete the task. By following these instructions and tips, you can restore the functionality of your bathtub drain and ensure a watertight seal, ultimately contributing to the overall maintenance and longevity of your bathroom fixtures.
Before diving into the practical steps of removing the old drain flange and installing the new one, it's essential to gather the necessary tools and materials. By having everything at hand, you can streamline the process and minimize interruptions, allowing for a smoother and more efficient experience. With the right preparation and a clear understanding of the task ahead, you'll be well-equipped to tackle this home improvement project with confidence and precision.
Now, let's explore the tools and materials needed for this project, ensuring that you have everything required to successfully change your bathtub drain flange.
Key Takeaways:
- Changing a bathtub drain flange is a manageable DIY project that requires careful preparation, precise installation, and thorough testing to ensure a watertight seal and optimal functionality of your bathtub’s drainage system.
- By following the step-by-step process of removing the old drain flange, cleaning the area, installing the new flange, and conducting thorough testing, you can contribute to the maintenance and longevity of your bathroom fixtures with confidence and precision.
Read more: How To Remove Bathtub Drain Flange
Tools and materials needed
Before embarking on the task of changing a bathtub drain flange, it's crucial to gather the essential tools and materials to ensure a seamless and efficient process. Here's a comprehensive list of what you'll need:
Tools:
- Plumbers Wrench: A specialized wrench designed for plumbing tasks, the plumbers wrench provides a secure grip for loosening and tightening the drain flange without causing damage.
- Screwdriver Set: A set of screwdrivers, including both flathead and Phillips head varieties, will be necessary for removing screws and other fasteners securing the drain flange in place.
- Putty Knife: This tool will come in handy for removing old plumber's putty and any residual sealing material from the area around the drain flange.
- Needle-Nose Pliers: Useful for reaching and manipulating small components within the drain assembly, needle-nose pliers are essential for this task.
- Plumbers Putty: A high-quality plumbers putty will be required for creating a watertight seal when installing the new drain flange.
- Silicone Caulk: Silicone caulk is essential for sealing the edges of the new drain flange, ensuring a secure and waterproof fit.
- Safety Gloves: It's important to protect your hands during the process, so a pair of durable safety gloves is recommended.
- Safety Goggles: When working with plumbing components, particularly in confined spaces, safety goggles provide essential eye protection.
Materials:
- New Bathtub Drain Flange: Ensure that you have the correct replacement drain flange that matches the specifications of your bathtub and the existing plumbing setup.
- Replacement Gasket: Depending on the type of drain flange, you may need a new gasket to create a secure seal between the flange and the bathtub.
- Plumbers Tape: Also known as Teflon tape, plumbers tape is used to create a tight seal on threaded connections, preventing leaks.
- Rags and Cleaning Solvent: Having rags and a suitable cleaning solvent on hand will allow you to thoroughly clean the area around the drain flange before installing the new one.
- Bucket: A bucket will be useful for collecting any water that may remain in the drain assembly during the process, preventing spills and mess.
- Old Towels or Drop Cloth: To protect the surrounding area from water, tools, and debris, laying down old towels or a drop cloth is advisable.
By ensuring that you have all the necessary tools and materials ready before starting the project, you can approach the task with confidence and efficiency, ultimately leading to a successful and satisfying outcome.
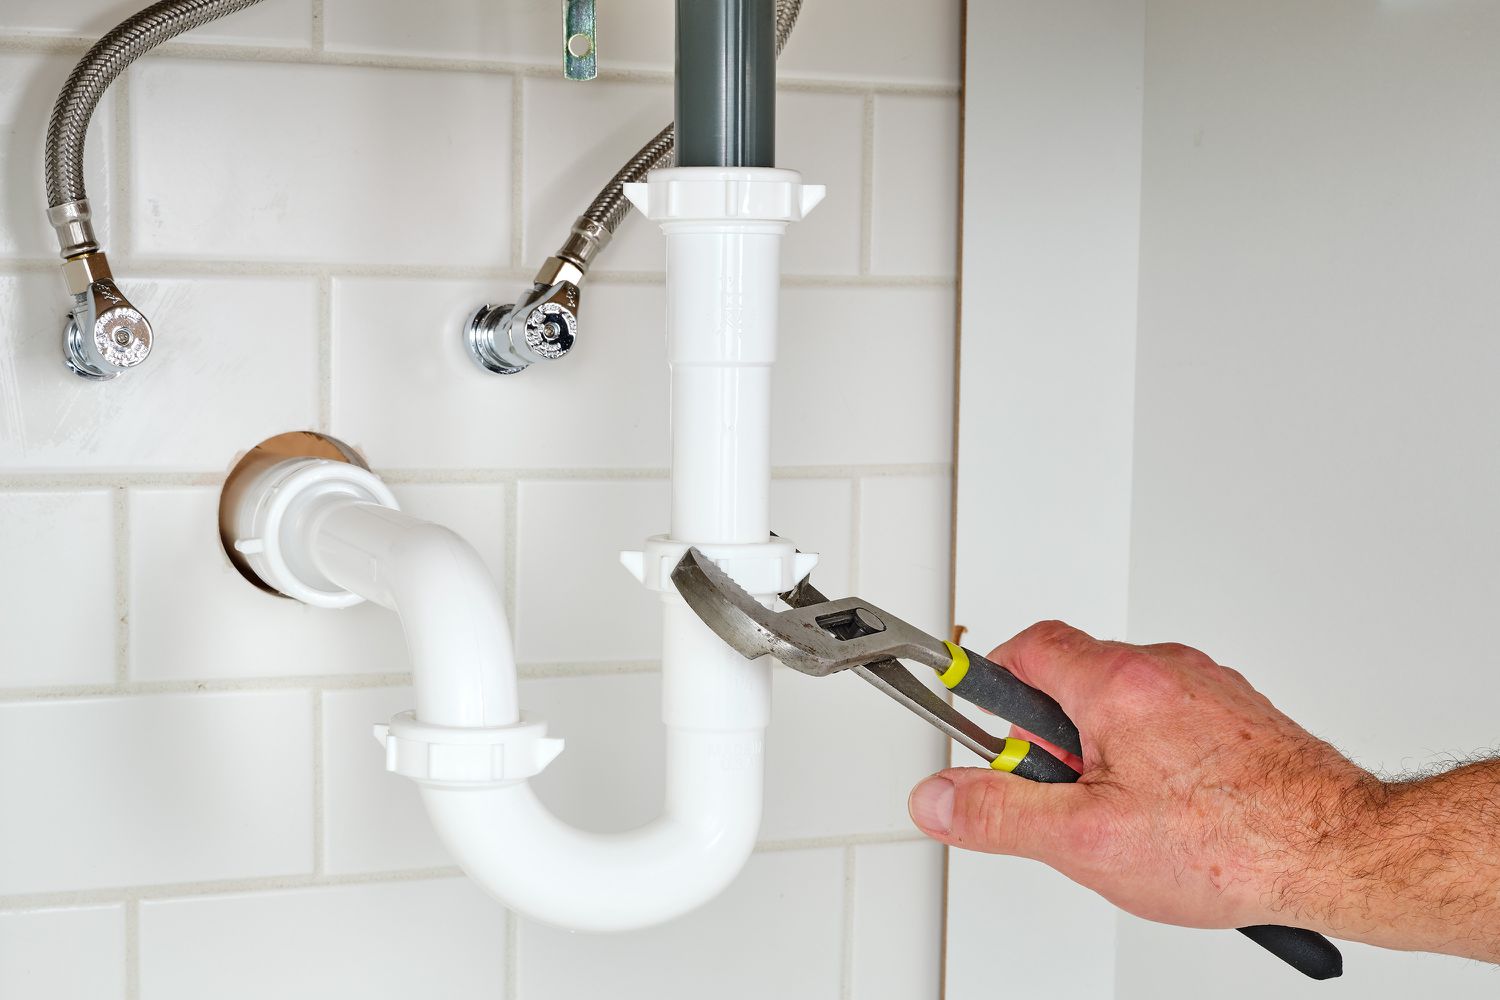
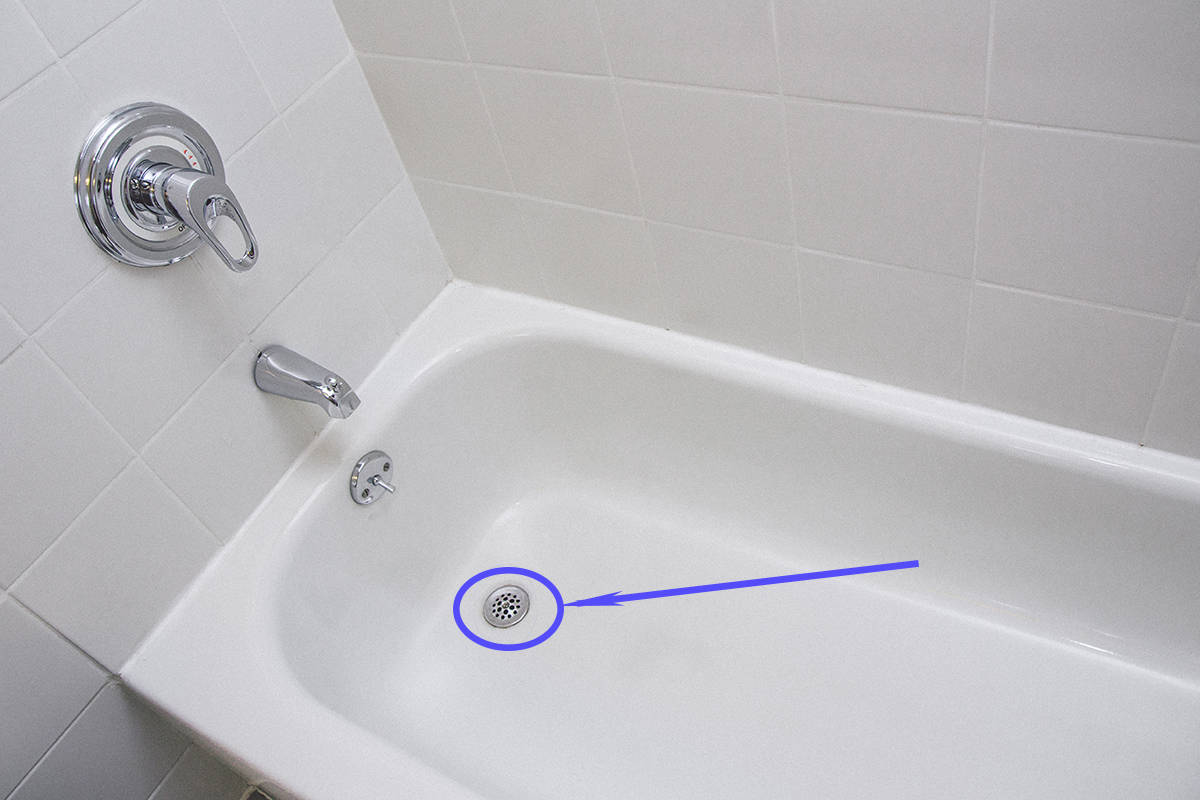
Removing the old drain flange
Removing the old drain flange is a crucial step in the process of replacing it with a new one. This task requires careful attention to detail and the use of the appropriate tools to ensure a smooth and successful removal. Here's a detailed guide on how to effectively remove the old drain flange from your bathtub:
-
Prepare the Work Area: Before starting the removal process, it's essential to prepare the work area. Lay down old towels or a drop cloth to protect the bathtub surface and surrounding area from any potential debris or water. Additionally, ensure that you have access to proper lighting to clearly see and access the drain flange.
-
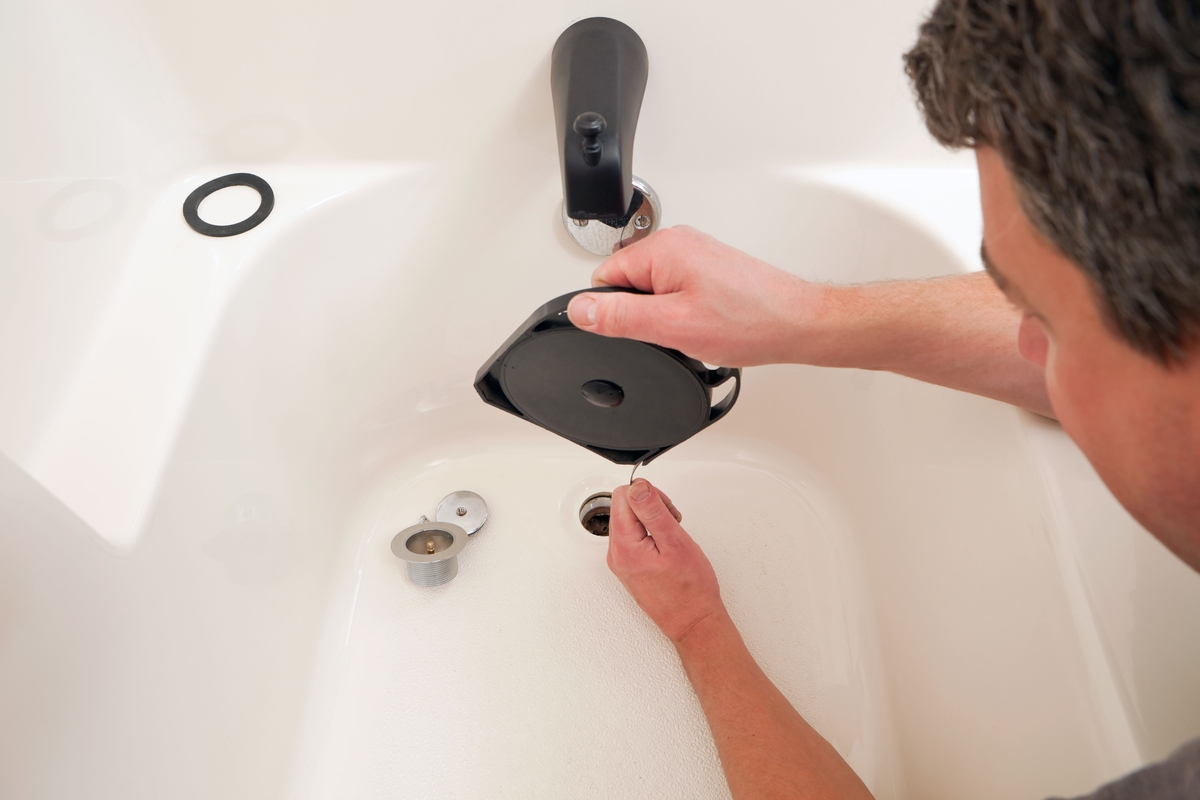
Locate and Remove the Drain Cover: In most bathtub setups, the drain cover is the visible component that requires removal. Using a screwdriver, carefully remove the screws securing the drain cover in place. Once the screws are removed, lift the drain cover out of the drain assembly and set it aside.
-
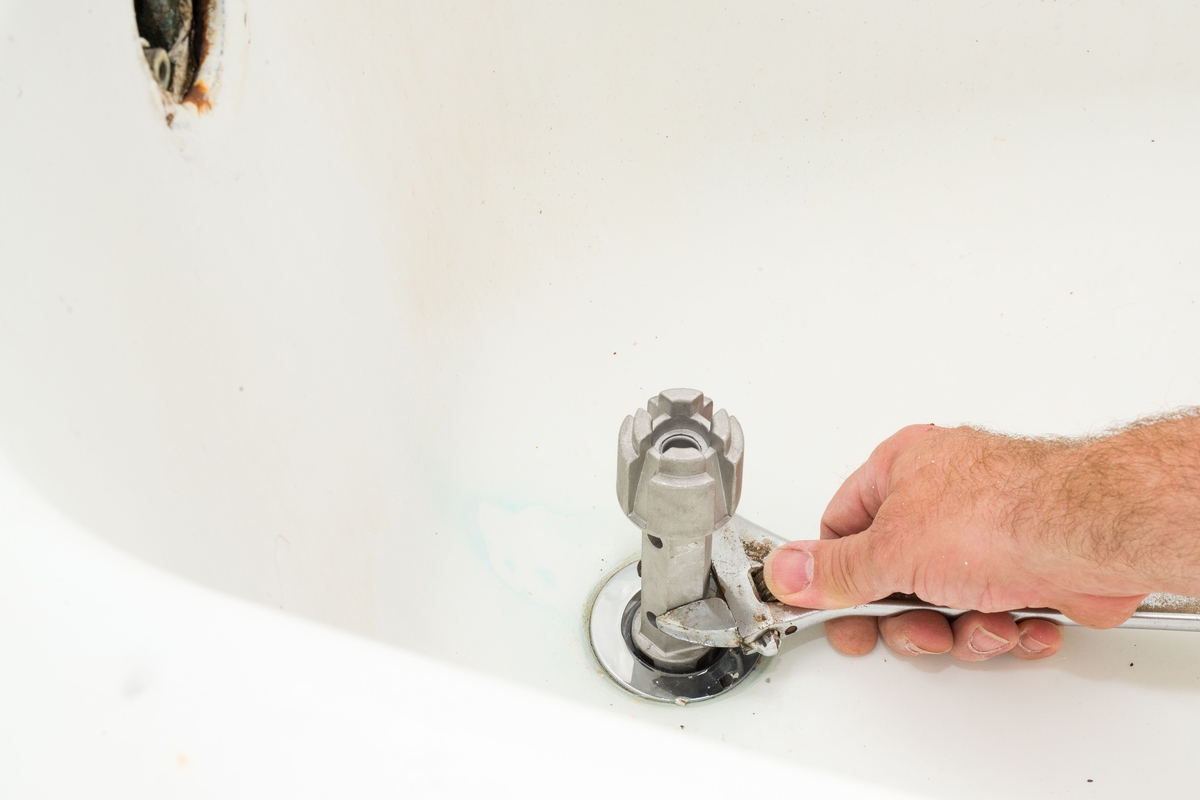
Loosen the Drain Flange: With the drain cover removed, you will now have access to the drain flange. Using a plumbers wrench, carefully loosen the drain flange by turning it counterclockwise. It's important to exert steady and controlled force to avoid damaging the surrounding plumbing or the bathtub itself. If the drain flange is stubborn and difficult to loosen, applying a penetrating lubricant and allowing it to sit for a short period can help ease the removal process.
-
Inspect and Clean the Drain Assembly: Once the old drain flange is removed, take the opportunity to inspect the drain assembly for any signs of damage, corrosion, or buildup. Use a flashlight to peer into the drain pipe and ensure that it is clear of any obstructions. Additionally, clean the area around the drain assembly using a putty knife to remove any old plumber's putty or sealing material.
-
Dispose of the Old Drain Flange: Properly dispose of the old drain flange and any associated components in accordance with local waste disposal regulations. This may involve placing the old flange and related materials in a designated waste bin or taking them to a recycling facility if applicable.
By following these steps and exercising care and precision, you can effectively remove the old drain flange from your bathtub, setting the stage for the next phase of the project: installing the new drain flange.
Read more: How To Change Out Bathtub Drain
Cleaning the area
After removing the old drain flange, it's essential to thoroughly clean the surrounding area to ensure a pristine surface for installing the new drain flange. Cleaning the area serves multiple purposes, including removing any residual debris, old sealing material, and ensuring a smooth and secure fit for the replacement flange. Here's a detailed guide on how to effectively clean the area around the drain assembly:
-
Clearing Debris and Residue: Begin by using a rag or paper towels to wipe away any loose debris and residue from the exposed area around the drain assembly. This initial step helps create a clean and clear workspace, allowing for better visibility and access to the components.
-
Applying Cleaning Solvent: For areas with stubborn residue or old plumber's putty, applying a suitable cleaning solvent can help dissolve and loosen the material. Ensure that the cleaning solvent is compatible with the bathtub material and won't cause any damage. Use a clean rag or sponge to apply the solvent, gently working it into the affected areas.
-
Scrubbing and Wiping: With the cleaning solvent applied, use a soft-bristled brush or sponge to scrub the area around the drain assembly. Pay close attention to the edges and crevices where old sealing material may have adhered. Thoroughly wipe the area with clean rags to remove the dissolved residue and ensure a dry surface.
-
Inspecting for Residual Material: After the initial cleaning, inspect the area closely to ensure that all residual material, including old plumber's putty and debris, has been effectively removed. Use a flashlight to illuminate the space and check for any remaining traces of residue.
-
Drying the Area: Before proceeding with the installation of the new drain flange, it's crucial to ensure that the cleaned area is completely dry. Use clean, dry rags to absorb any remaining moisture and allow the area to air dry if necessary. A dry surface is essential for creating a secure and watertight seal when installing the new drain flange.
By meticulously cleaning the area around the drain assembly, you set the stage for a successful and seamless installation of the new drain flange. This attention to detail not only contributes to the aesthetic appeal of the finished project but also ensures the functionality and longevity of the plumbing components. With the area thoroughly cleaned and prepared, you're now ready to proceed with the next phase: installing the new drain flange.
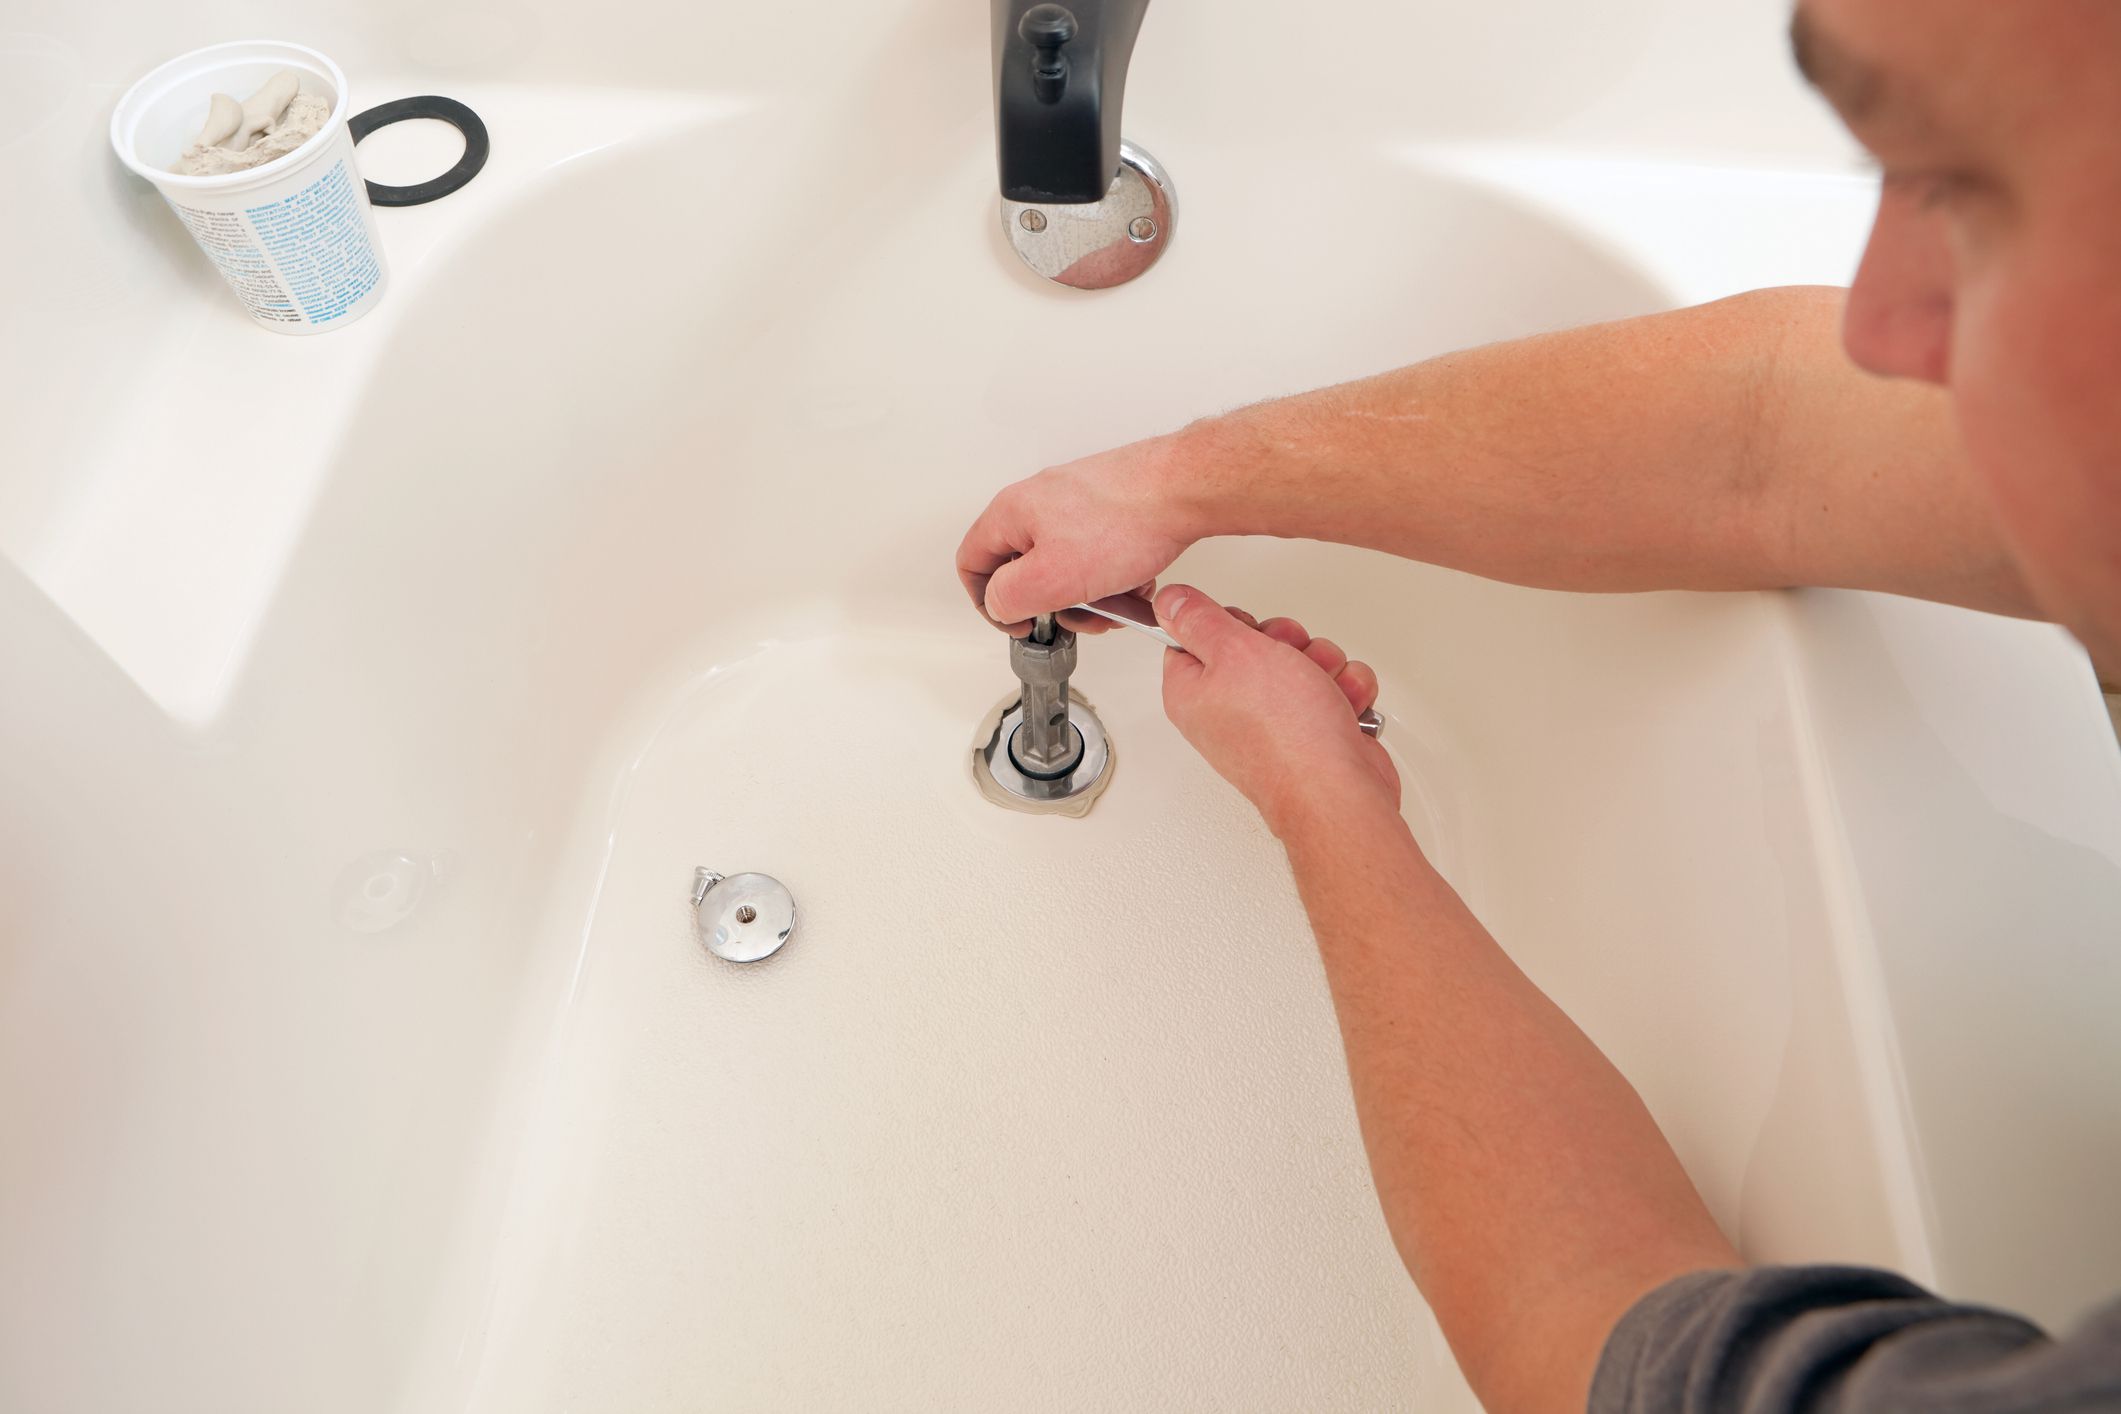
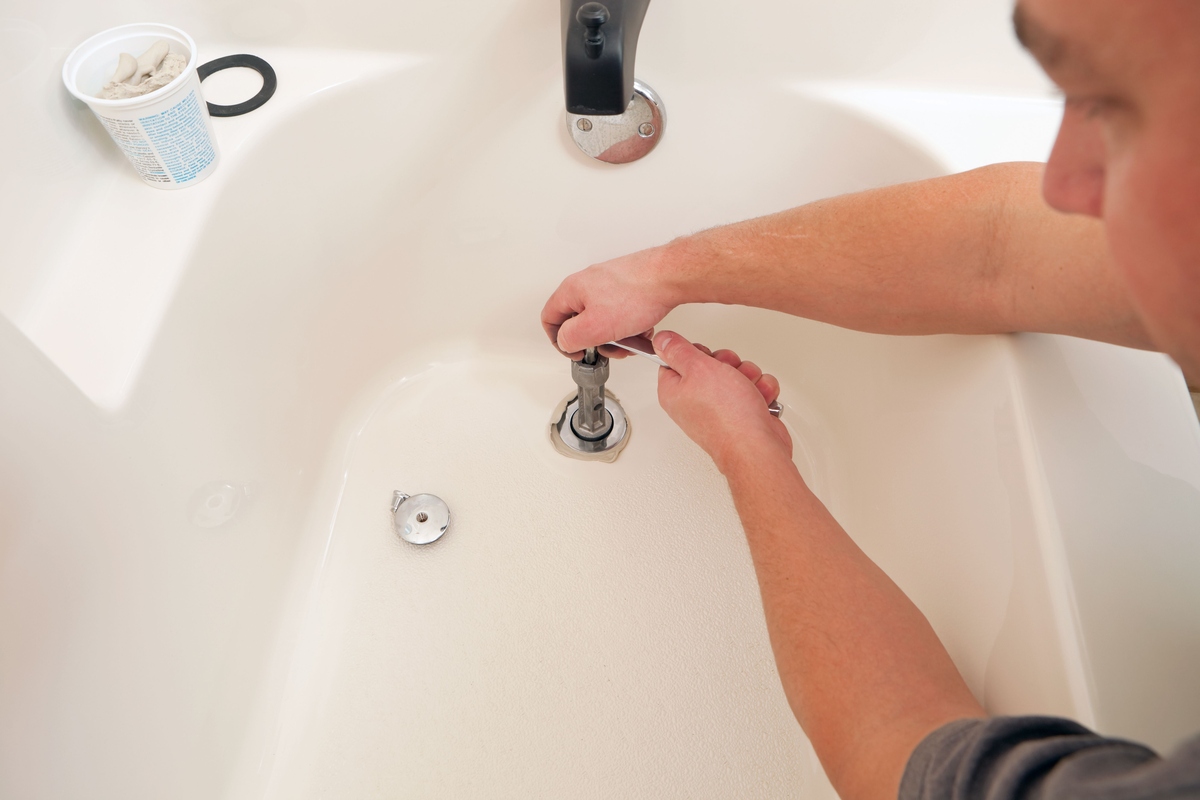
Installing the new drain flange
Installing the new drain flange is a pivotal step in the process of rejuvenating your bathtub's functionality and ensuring a watertight seal. This phase requires precision, attention to detail, and the use of appropriate materials to achieve a secure and durable installation. Here's a comprehensive guide on how to effectively install the new drain flange in your bathtub:
-
Prepare the New Drain Flange: Before proceeding with the installation, ensure that the new drain flange is clean and free of any manufacturing residues. Inspect the replacement flange to verify that it matches the specifications of your bathtub and the existing plumbing setup. Additionally, check for the presence of a gasket or any accompanying components that may be required for the installation.
-
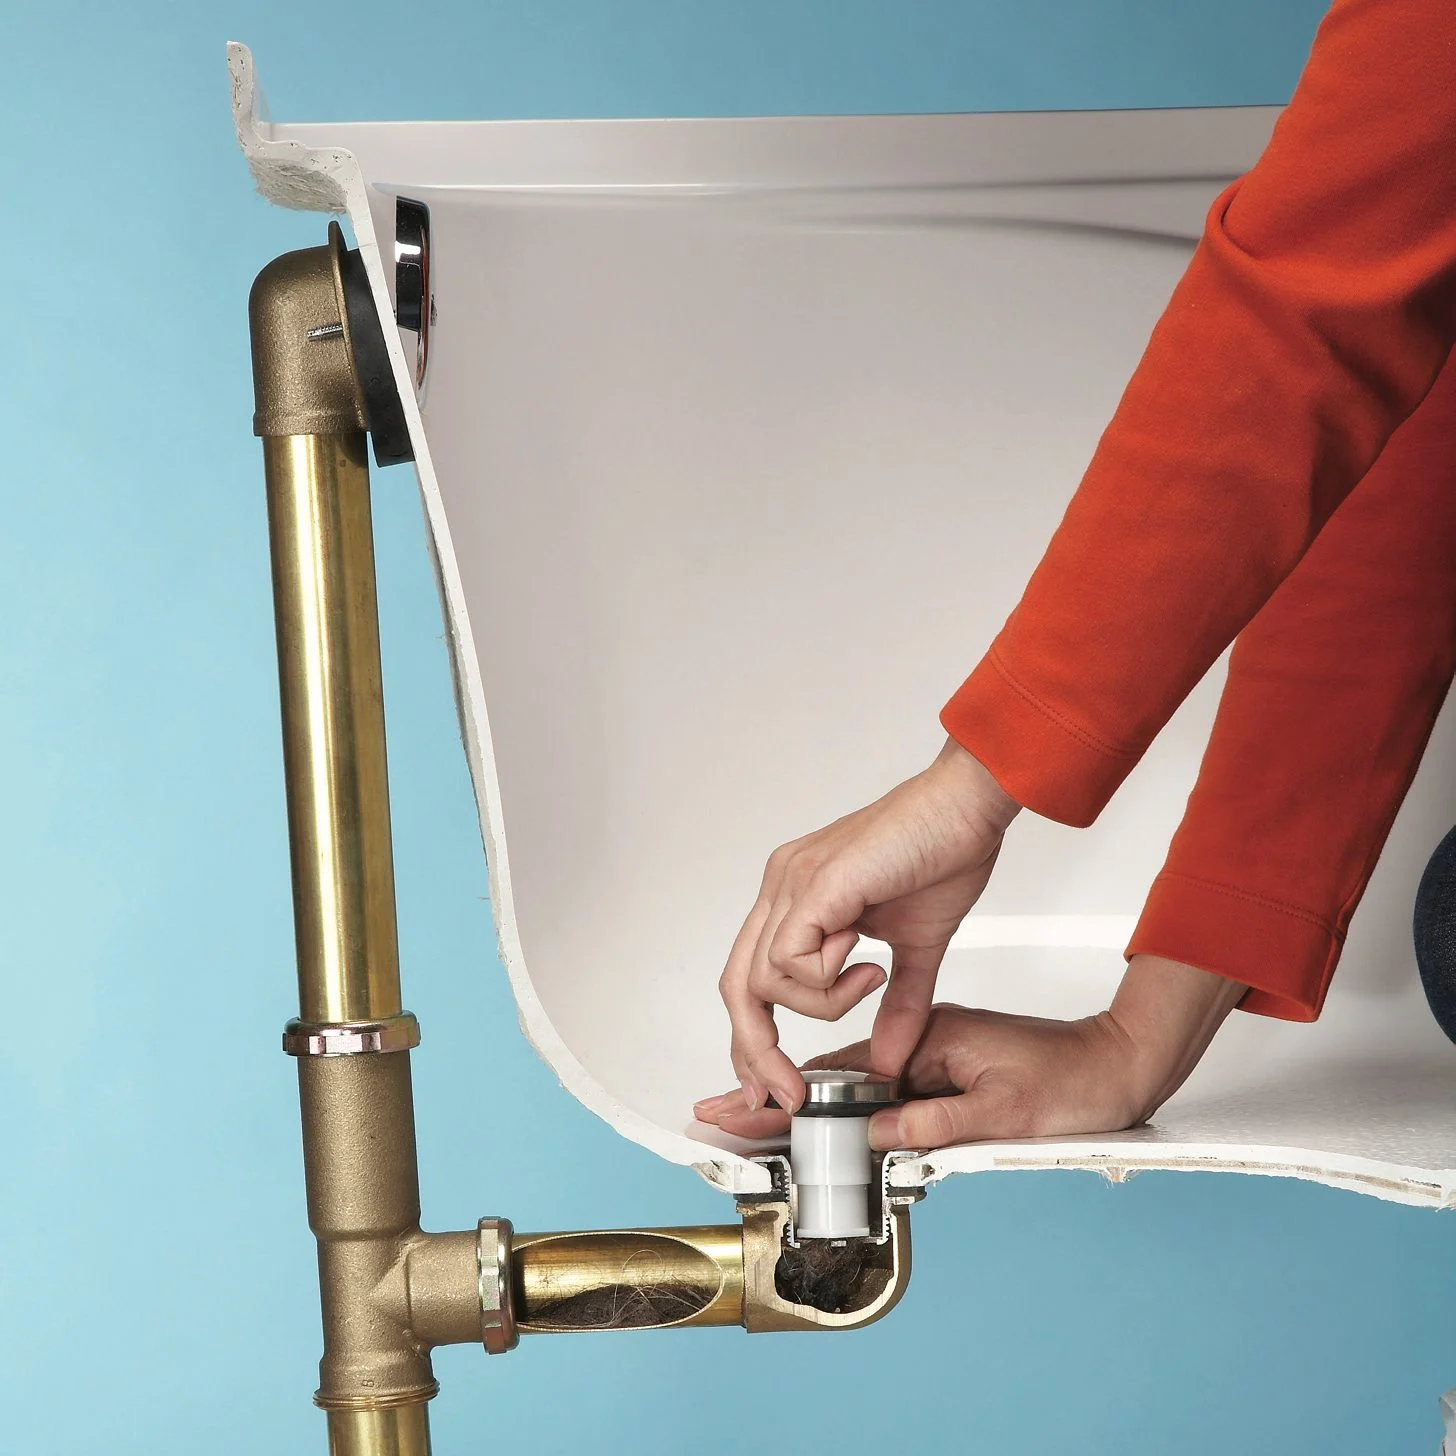
Apply Plumbers Putty: To create a secure and waterproof seal, roll a small amount of high-quality plumbers putty into a rope-like shape. Carefully apply the putty around the underside of the new drain flange. Ensure that the putty forms a complete circle around the flange, providing a uniform seal when installed in the drain opening.
-
Position the New Drain Flange: With the plumbers putty in place, carefully position the new drain flange in the drain opening of the bathtub. Apply gentle pressure to seat the flange securely, ensuring that the putty forms a tight seal between the flange and the surface of the bathtub. Verify that the flange is aligned correctly and sits flush with the bathtub surface.
-
Secure the Drain Flange: Using a plumbers wrench, carefully tighten the new drain flange by turning it clockwise. Exercise caution to avoid over-tightening, as this can lead to damage or distortion of the flange or the surrounding components. Ensure that the flange is snug and secure, creating a watertight seal without excessive force.
-
Remove Excess Putty: After securing the new drain flange, use a putty knife or a clean rag to remove any excess plumbers putty that may have squeezed out from beneath the flange. This step contributes to a neat and professional finish while ensuring that the excess putty does not interfere with the functionality of the drain assembly.
-
Apply Silicone Caulk (Optional): For an added layer of protection and sealing, consider applying a thin bead of silicone caulk around the edges of the new drain flange. This supplementary sealant helps reinforce the watertight integrity of the installation, particularly in areas prone to water exposure.
By following these steps and exercising care and precision, you can successfully install the new drain flange in your bathtub, contributing to the overall maintenance and functionality of your bathroom fixtures. With the new drain flange securely in place, you're now ready to proceed to the final phase: testing the new drain flange to ensure its effectiveness and integrity.
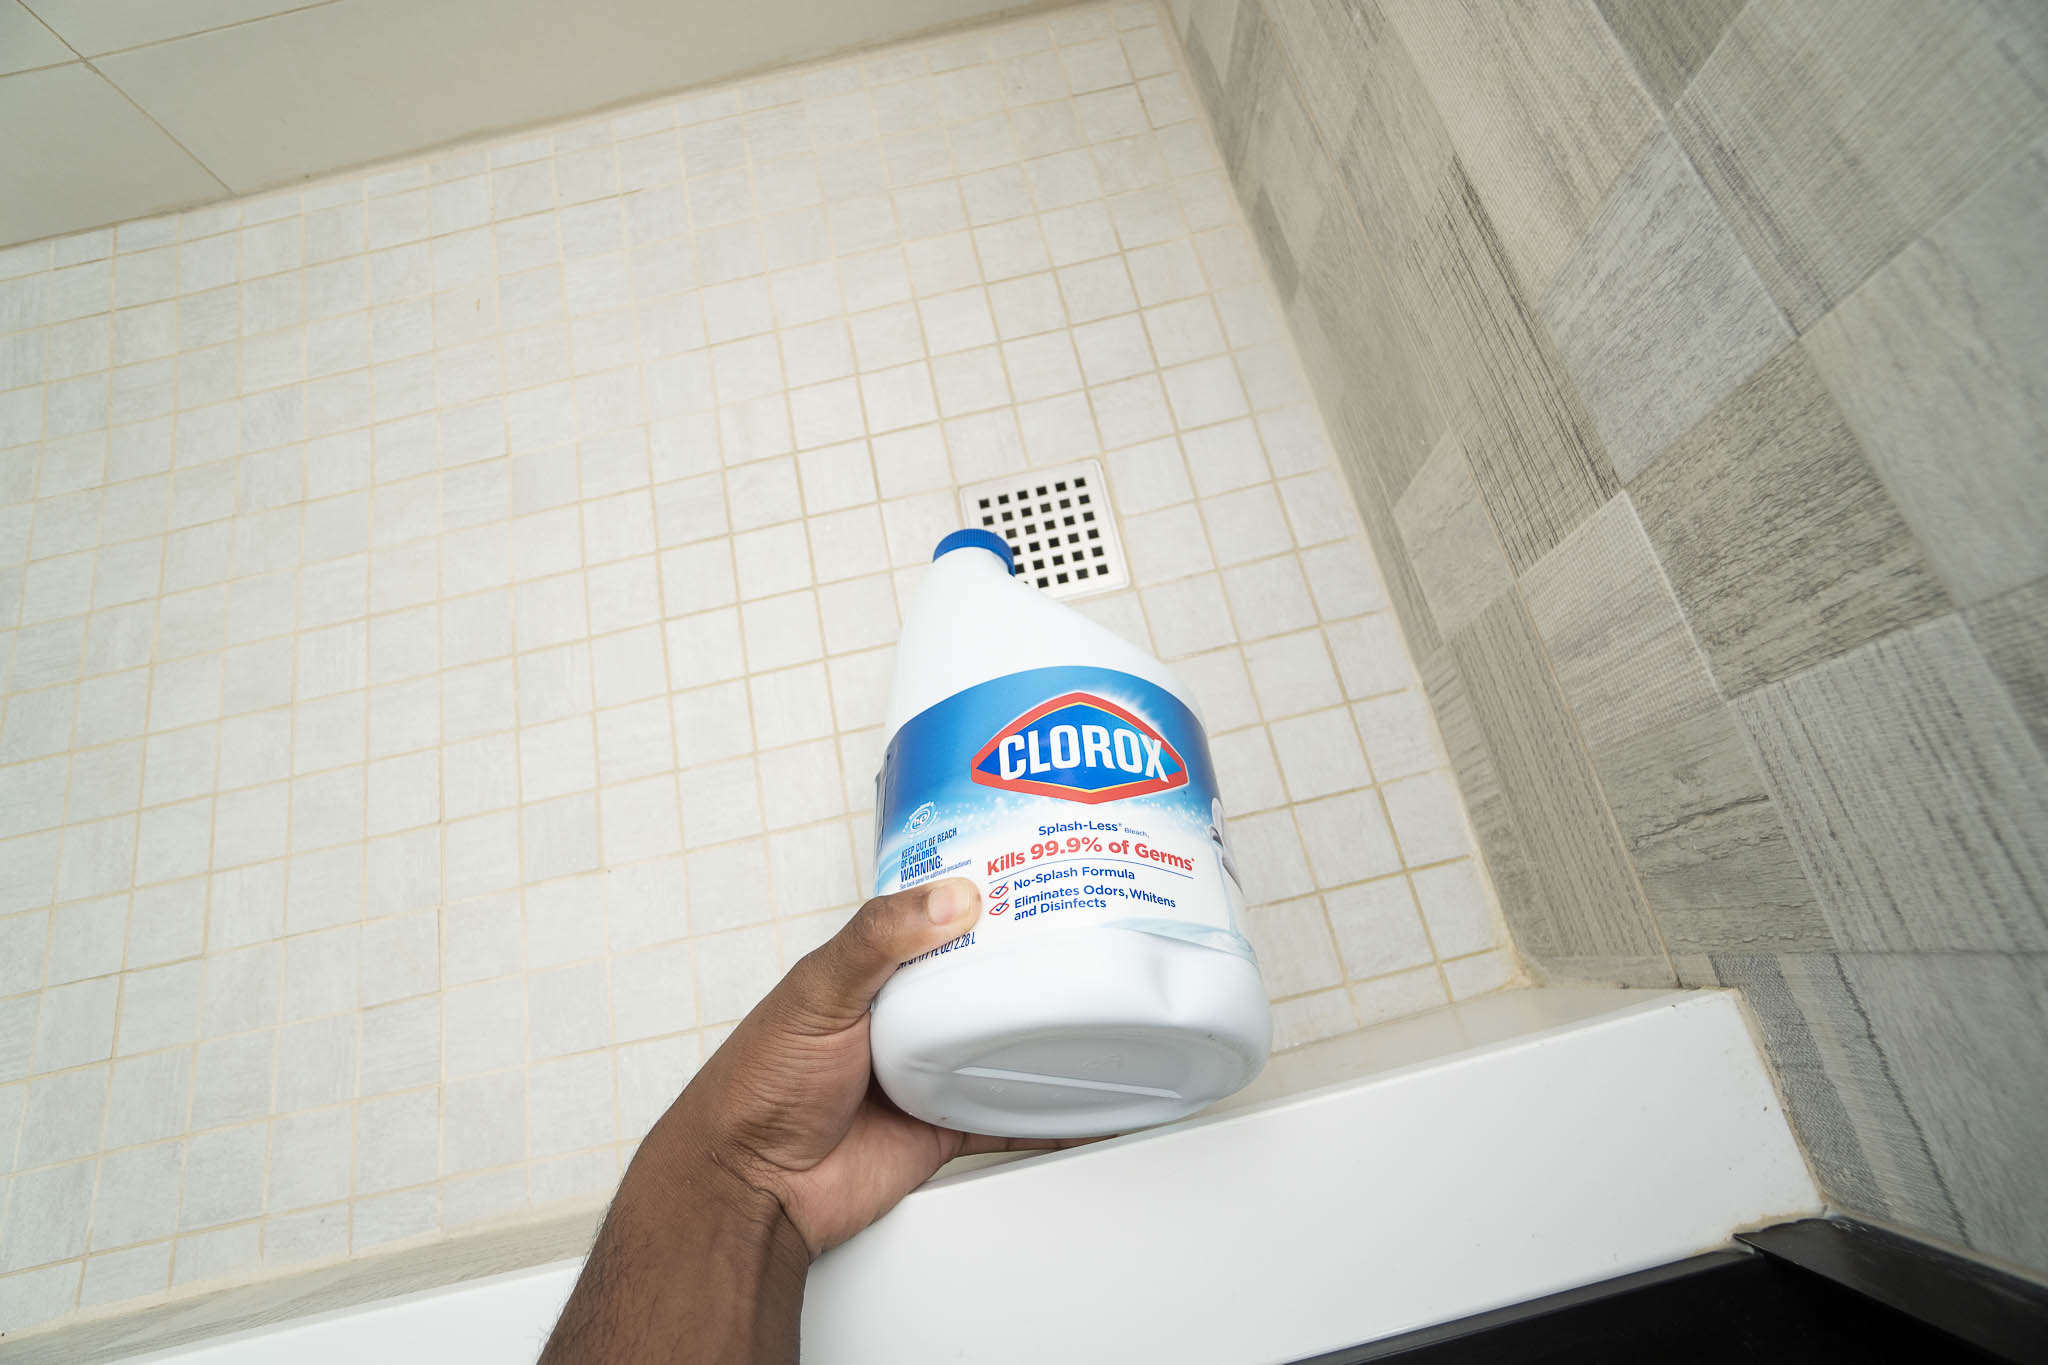
Use a drain removal tool to unscrew the old flange. Clean the area thoroughly before installing the new flange to ensure a proper seal.
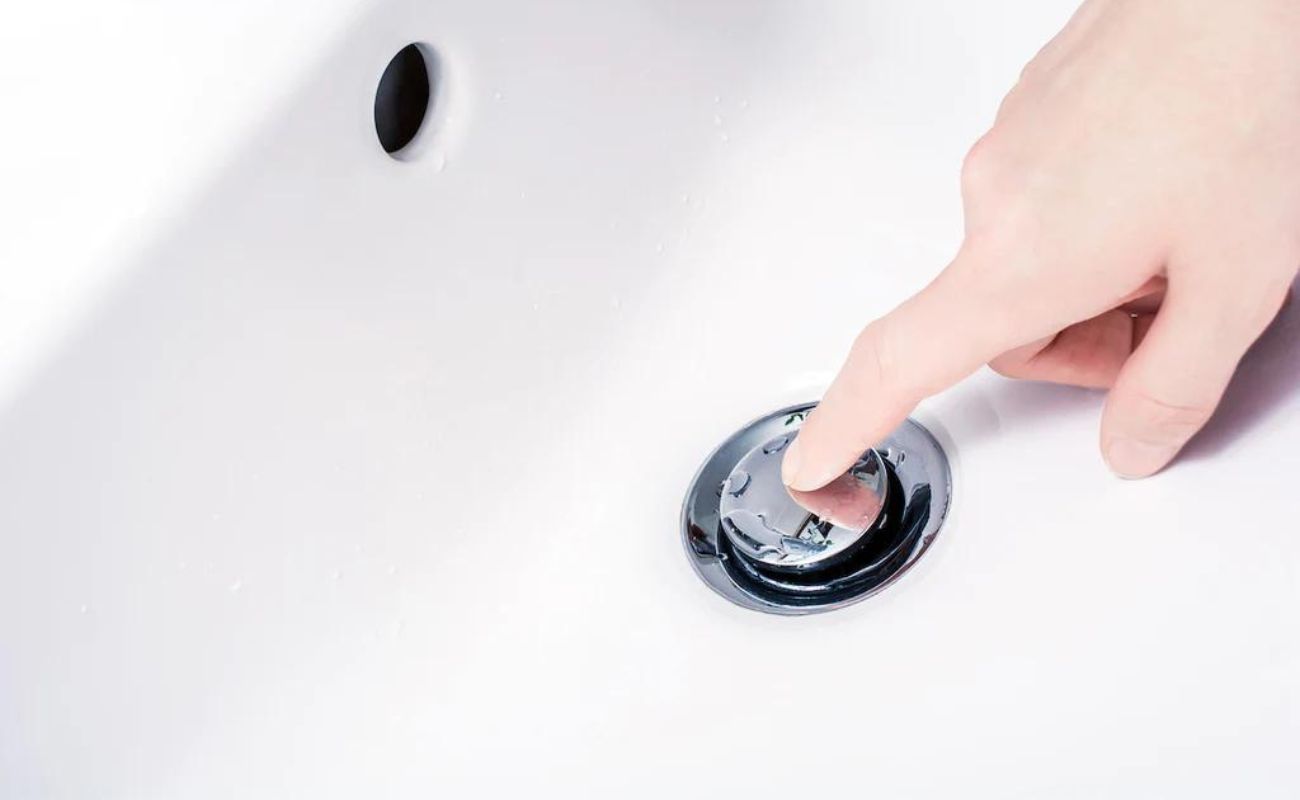
Testing the new drain flange
After successfully installing the new drain flange, it's crucial to conduct thorough testing to ensure its effectiveness and integrity. This phase serves as a critical quality check, allowing you to verify that the new drain flange functions as intended and provides a watertight seal. Here's a detailed guide on how to effectively test the new drain flange in your bathtub:
-
Visual Inspection: Begin by visually inspecting the installed drain flange. Ensure that it sits flush with the bathtub surface and appears securely fastened. Check for any signs of misalignment, gaps, or irregularities that may indicate an improper installation. A thorough visual inspection provides valuable initial feedback on the quality of the installation.
-
Fill the Bathtub: With the drain flange in place, fill the bathtub with water to a moderate level. Observe the area around the drain flange for any signs of water leakage or seepage. Pay close attention to the edges of the flange and the surrounding surface, as well as the underside of the bathtub. Any visible leaks or water seepage indicate a potential issue with the installation that requires immediate attention.
-
Monitor for Leakage: Allow the bathtub to remain filled with water for an extended period, typically 15-20 minutes. During this time, monitor the area around the drain flange closely for any signs of leakage. Check for water droplets, dampness, or discoloration that may indicate a compromised seal. It's essential to be thorough in this observation, as even minor leaks can lead to significant water damage over time.
-
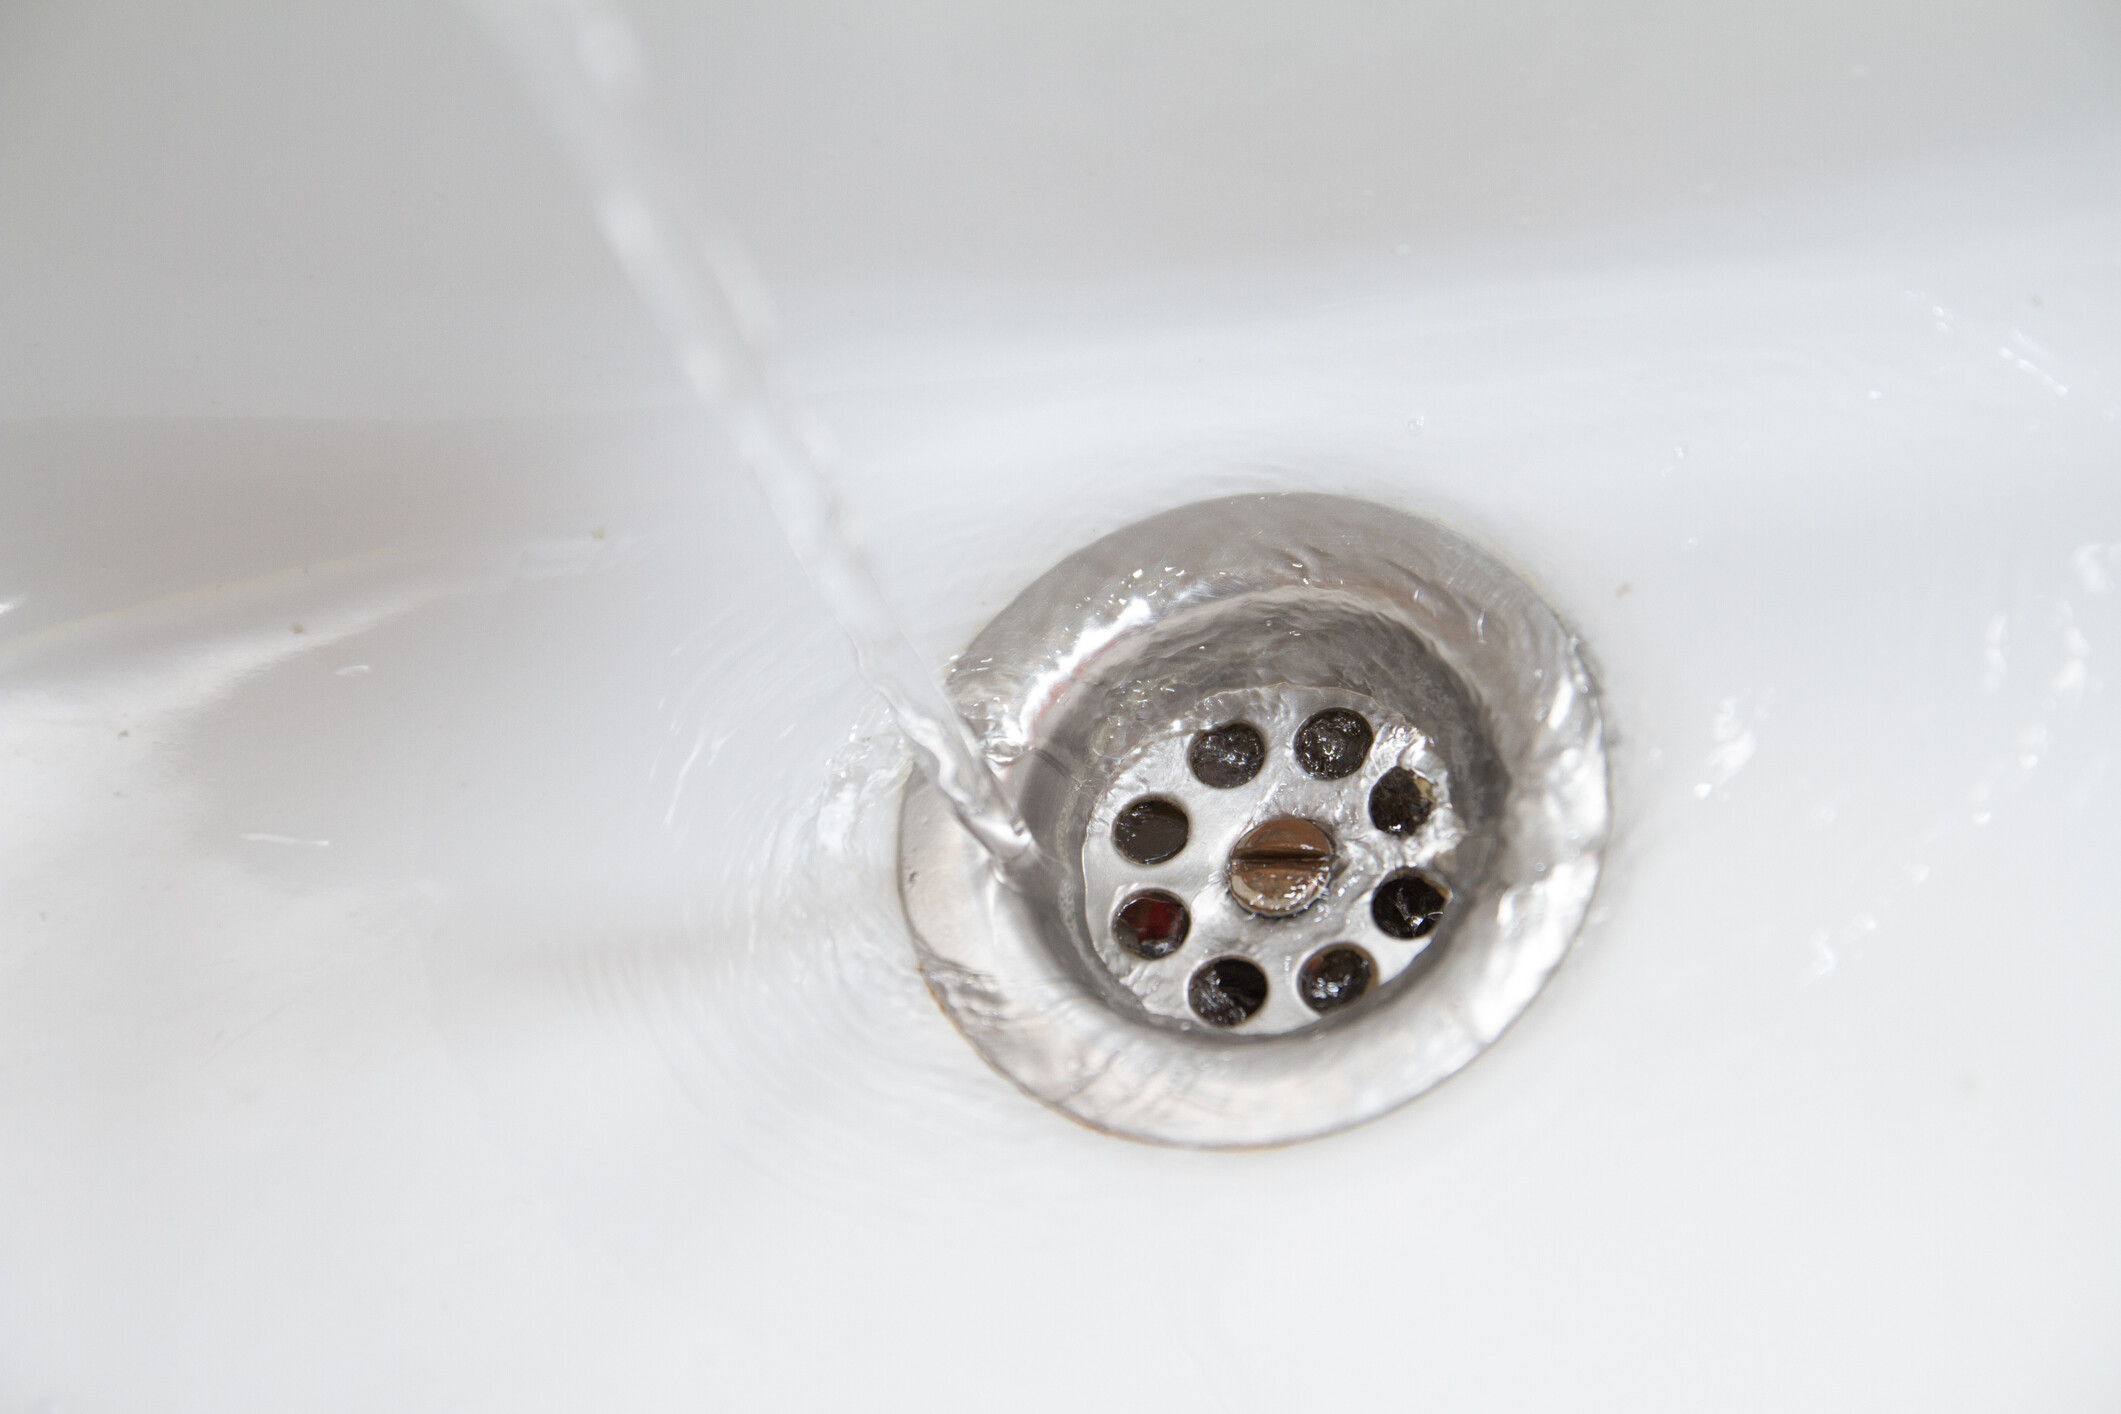
Drain the Bathtub: After the observation period, carefully drain the bathtub to test the functionality of the new drain flange. Observe the drainage process to ensure that water flows freely and efficiently out of the bathtub. Listen for any unusual sounds or gurgling noises that may indicate a restriction or obstruction in the drain assembly. A smooth and unimpeded drainage process is indicative of a well-installed and functional drain flange.
-
Re-Inspect the Installation: Following the testing process, re-inspect the installation of the new drain flange. Verify that the plumbers putty and, if applicable, the silicone caulk have formed a secure and uniform seal around the flange. Check for any displacement or irregularities that may have occurred during the testing phase. A final visual inspection provides assurance of the overall integrity of the installation.
By diligently conducting these testing procedures, you can confidently verify the effectiveness of the new drain flange and address any potential issues before they escalate. A successful test ensures that your bathtub's drainage system is fully operational and free from leaks, contributing to the overall functionality and longevity of your bathroom fixtures.
Conclusion
In conclusion, changing a bathtub drain flange is a manageable DIY project that can significantly contribute to the maintenance and functionality of your bathroom fixtures. By following the step-by-step process outlined in this guide, you can successfully remove the old drain flange, clean the area, install the new drain flange, and thoroughly test its effectiveness. This comprehensive approach ensures that your bathtub's drainage system remains in optimal condition, free from leaks and potential issues.
It's important to emphasize the value of thorough preparation and attention to detail when undertaking this task. By gathering the necessary tools and materials beforehand, you can streamline the process and minimize interruptions, ultimately leading to a more efficient and satisfying experience. Additionally, the careful removal of the old drain flange, coupled with meticulous cleaning of the surrounding area, sets the stage for a successful installation of the new drain flange.
The installation phase itself requires precision and the use of appropriate materials, such as high-quality plumbers putty and silicone caulk, to create a secure and watertight seal. By following the recommended steps and exercising care during the installation, you can ensure that the new drain flange is firmly seated and capable of withstanding the demands of regular use.
Furthermore, the testing phase serves as a critical quality check, allowing you to verify the integrity of the installation and address any potential issues before they escalate. Thorough visual inspection, filling the bathtub with water, monitoring for leakage, and observing the drainage process are essential steps in confirming the effectiveness of the new drain flange.
Ultimately, by successfully completing the process of changing a bathtub drain flange, you contribute to the overall maintenance and longevity of your bathroom fixtures. A well-installed and functional drain flange not only ensures efficient water drainage but also prevents water damage and potential structural issues in the long run.
In summary, this guide equips you with the knowledge and confidence to tackle the task of changing a bathtub drain flange, empowering you to maintain and enhance the functionality of your bathroom with a practical and rewarding DIY project.
Frequently Asked Questions about How To Change A Bathtub Drain Flange
Was this page helpful?
At Storables.com, we guarantee accurate and reliable information. Our content, validated by Expert Board Contributors, is crafted following stringent Editorial Policies. We're committed to providing you with well-researched, expert-backed insights for all your informational needs.


0 thoughts on “How To Change A Bathtub Drain Flange”