Home>Furniture & Design>Bathroom Accessories>How To Polish An Old Bathtub
Bathroom Accessories
How To Polish An Old Bathtub
Modified: April 22, 2024
Learn how to restore the shine to your old bathtub with our expert tips and bathroom accessories. Transform your bathroom with our easy polishing techniques.
(Many of the links in this article redirect to a specific reviewed product. Your purchase of these products through affiliate links helps to generate commission for Storables.com, at no extra cost. Learn more)
Introduction
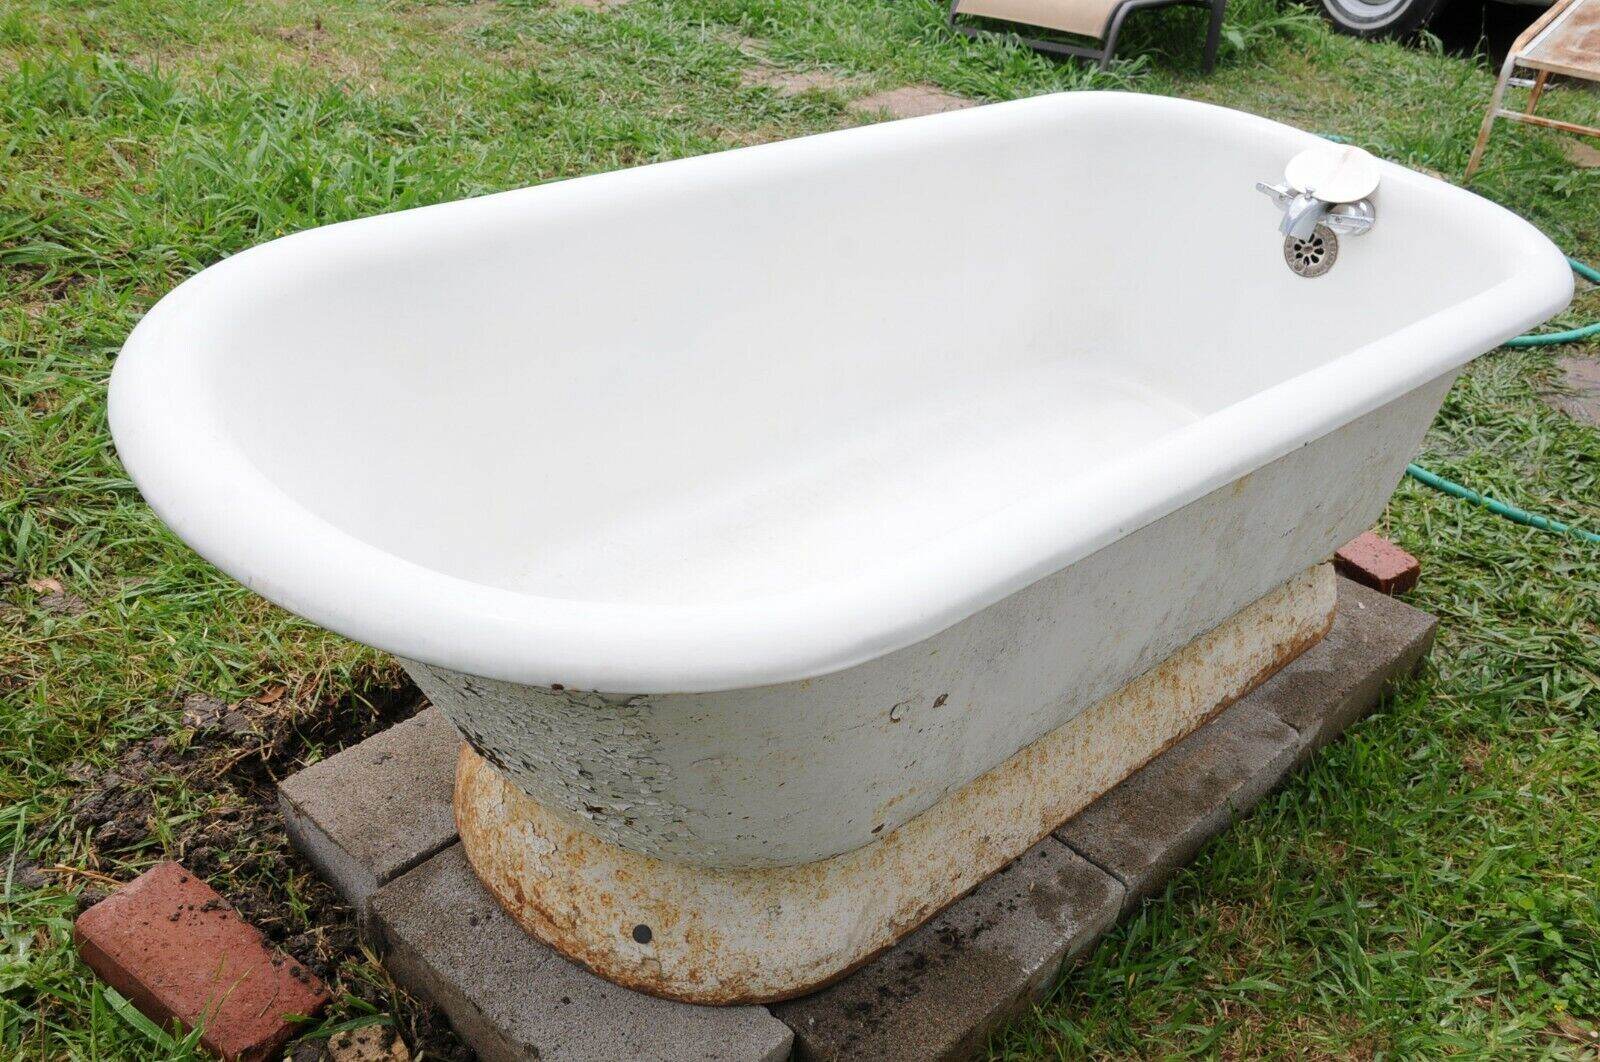
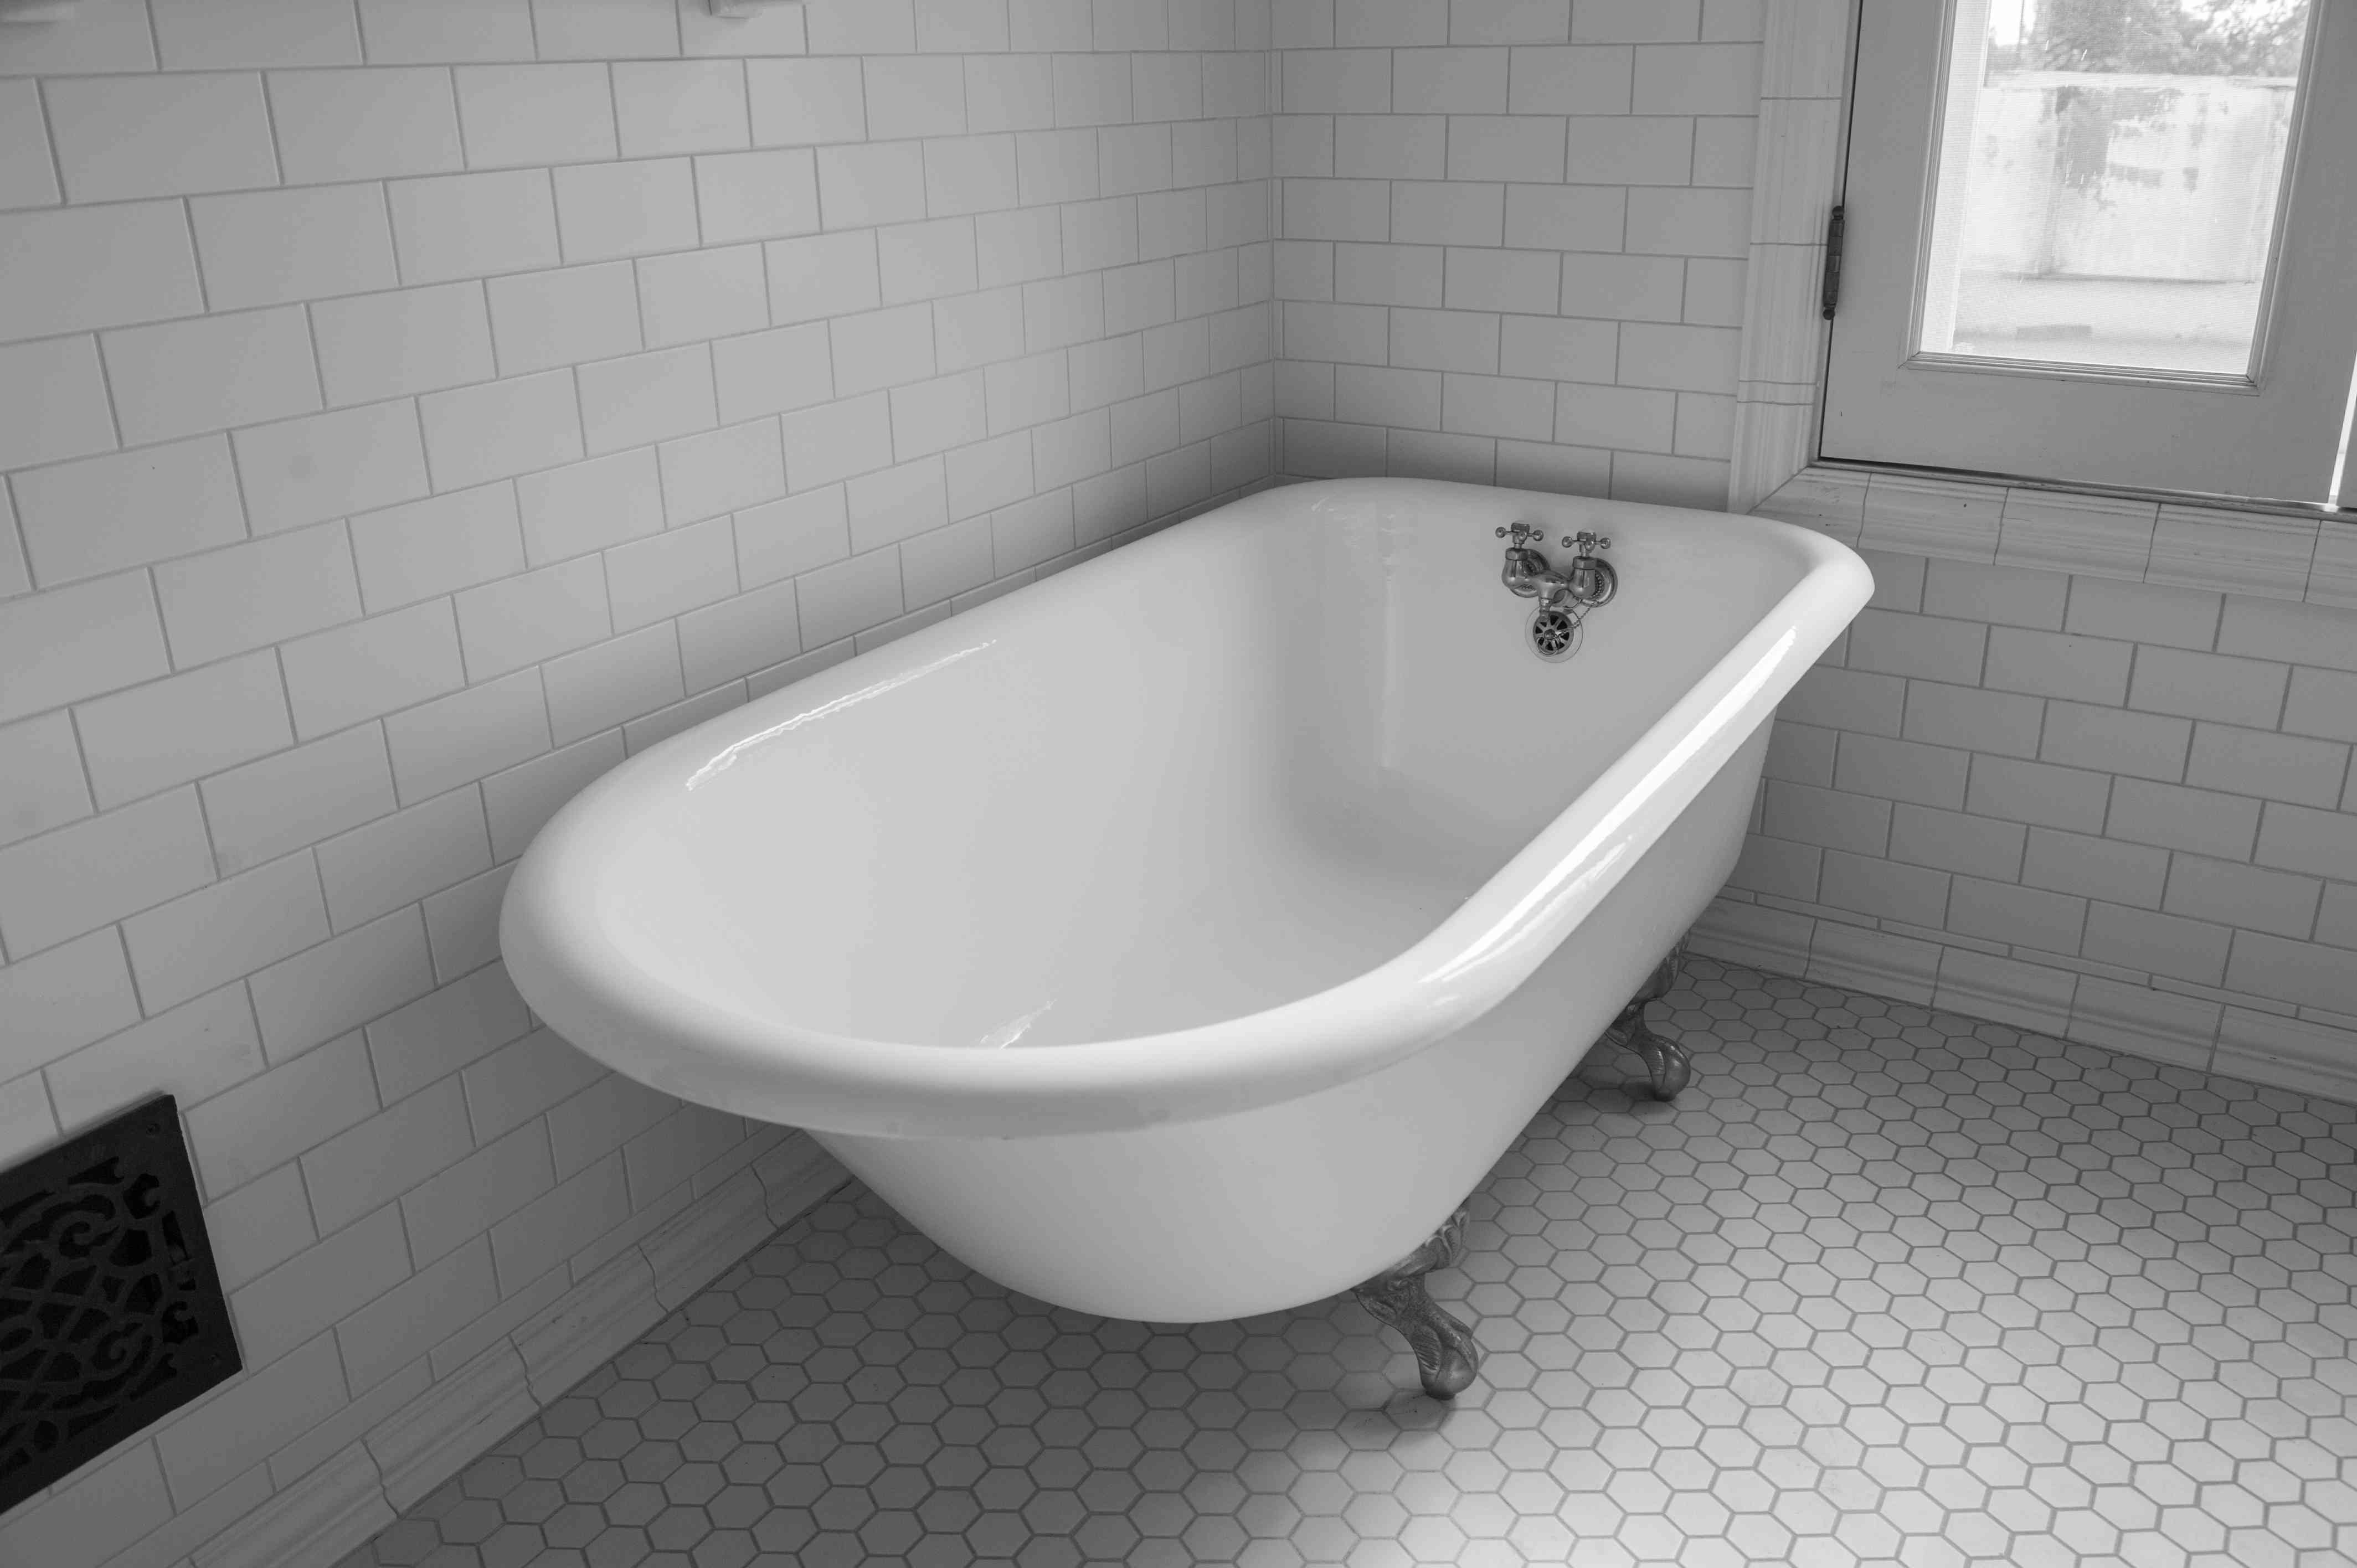
Reviving an old bathtub to its former glory can breathe new life into your bathroom. Over time, bathtubs can lose their luster, accumulating stains, rust, and scratches that detract from their aesthetic appeal. However, with the right techniques and products, it's possible to restore the shine and smoothness of an old bathtub, transforming it into a focal point of your bathroom once again.
In this comprehensive guide, we will walk you through the step-by-step process of polishing an old bathtub. From cleaning and removing stains to sanding and applying polish, each stage is crucial in rejuvenating the bathtub's surface. By following these steps, you can achieve a professional-quality finish and prolong the lifespan of your beloved bathtub.
So, roll up your sleeves and get ready to embark on a rewarding journey of bathtub restoration. With a little effort and the right tools, you can bring back the sparkle and elegance of your old bathtub, making it a source of pride and enjoyment in your home. Let's dive into the details and learn how to breathe new life into your aging bathtub!
Key Takeaways:
- Revive your old bathtub by following a step-by-step process: clean, remove stains, sand, apply polish, and buff. Enjoy a sparkling, elegant, and long-lasting finish with a little effort and the right tools.
- Transform your aging bathtub into a focal point of your bathroom. By meticulously cleaning, removing stains, sanding, applying polish, and buffing, you can achieve a professional-quality finish and prolong the lifespan of your beloved bathtub.
Read more: How To Polish A Bathtub
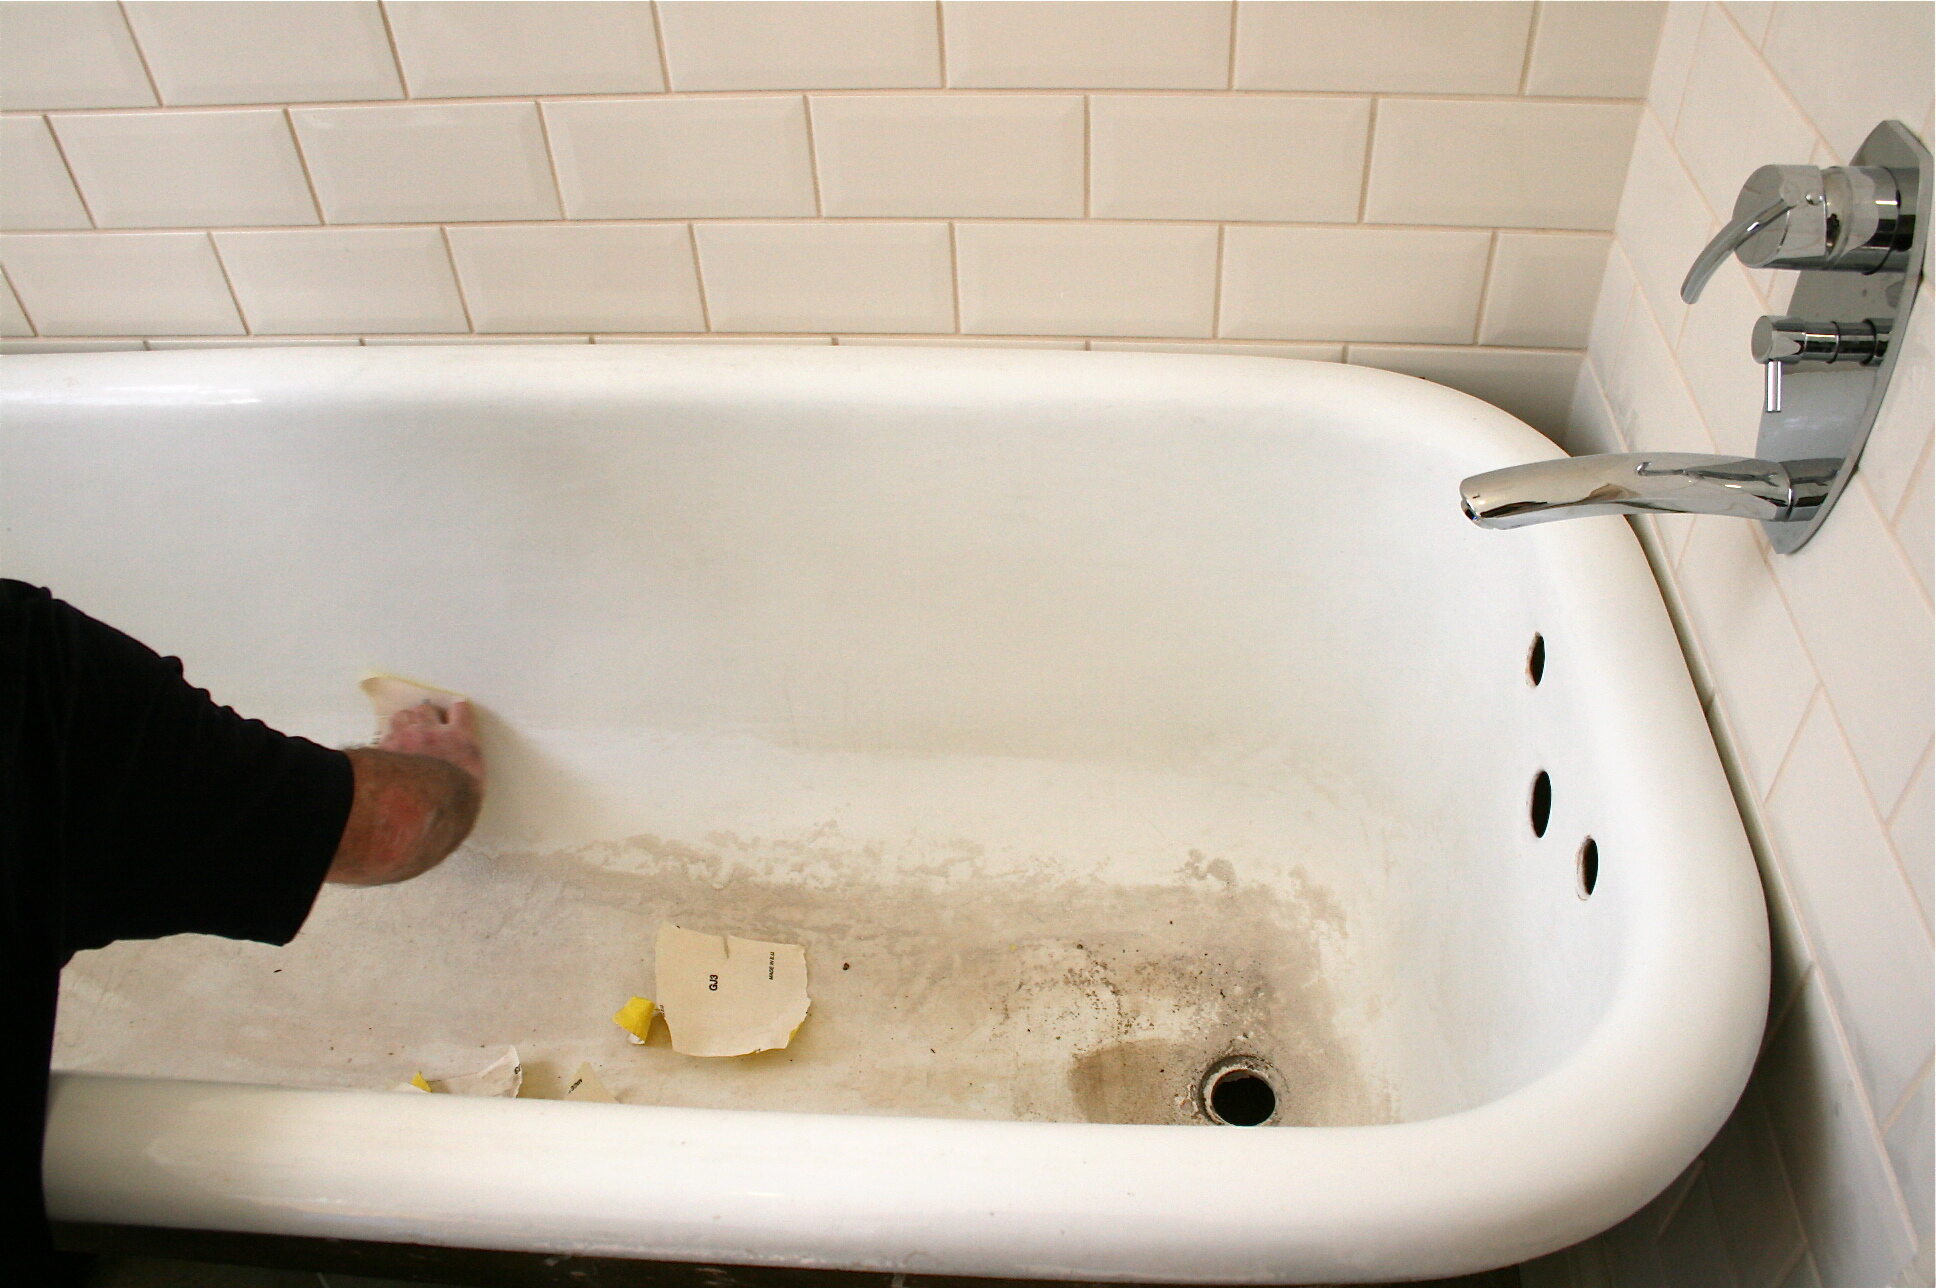
Step 1: Clean the Bathtub
Before embarking on the process of polishing an old bathtub, it's essential to start with a thorough cleaning. Over time, dirt, grime, and soap scum can accumulate on the surface, diminishing its shine and making it appear dull and lackluster. To begin the restoration process, follow these steps to ensure the bathtub is impeccably clean:
-
Gather Cleaning Supplies: Assemble the necessary cleaning supplies, including a non-abrasive bathtub cleaner, a sponge or soft cloth, a scrub brush, and rubber gloves. It's crucial to choose a cleaner specifically formulated for bathtubs to avoid damaging the surface.
-
Prep the Bathtub: Remove any items such as bath mats, shampoo bottles, or soap dishes from the bathtub. Clearing the surface allows for unrestricted access during the cleaning process.
-
Apply the Cleaner: Generously apply the bathtub cleaner to the entire surface, ensuring that it covers areas with visible stains, soap scum, and dirt. Allow the cleaner to sit for the recommended duration as per the product instructions. This dwell time allows the cleaner to effectively break down and loosen the accumulated grime.
-
Scrub the Surface: Using a sponge or soft cloth, gently scrub the bathtub surface, paying particular attention to areas with stubborn stains or discoloration. For more challenging spots, such as soap scum buildup, utilize a scrub brush to agitate and lift the residue without scratching the surface.
-
Rinse Thoroughly: Once the surface has been scrubbed, thoroughly rinse the bathtub with clean water. Ensure that all traces of the cleaner and loosened grime are completely washed away. This step is crucial in preparing the surface for the subsequent restoration processes.
By meticulously cleaning the bathtub, you create a pristine canvas for the subsequent steps in the restoration process. Removing dirt, grime, and soap scum not only enhances the visual appeal of the bathtub but also ensures that the subsequent restoration steps are carried out effectively. With the bathtub now sparkling clean, you are ready to proceed to the next phase of the restoration journey.
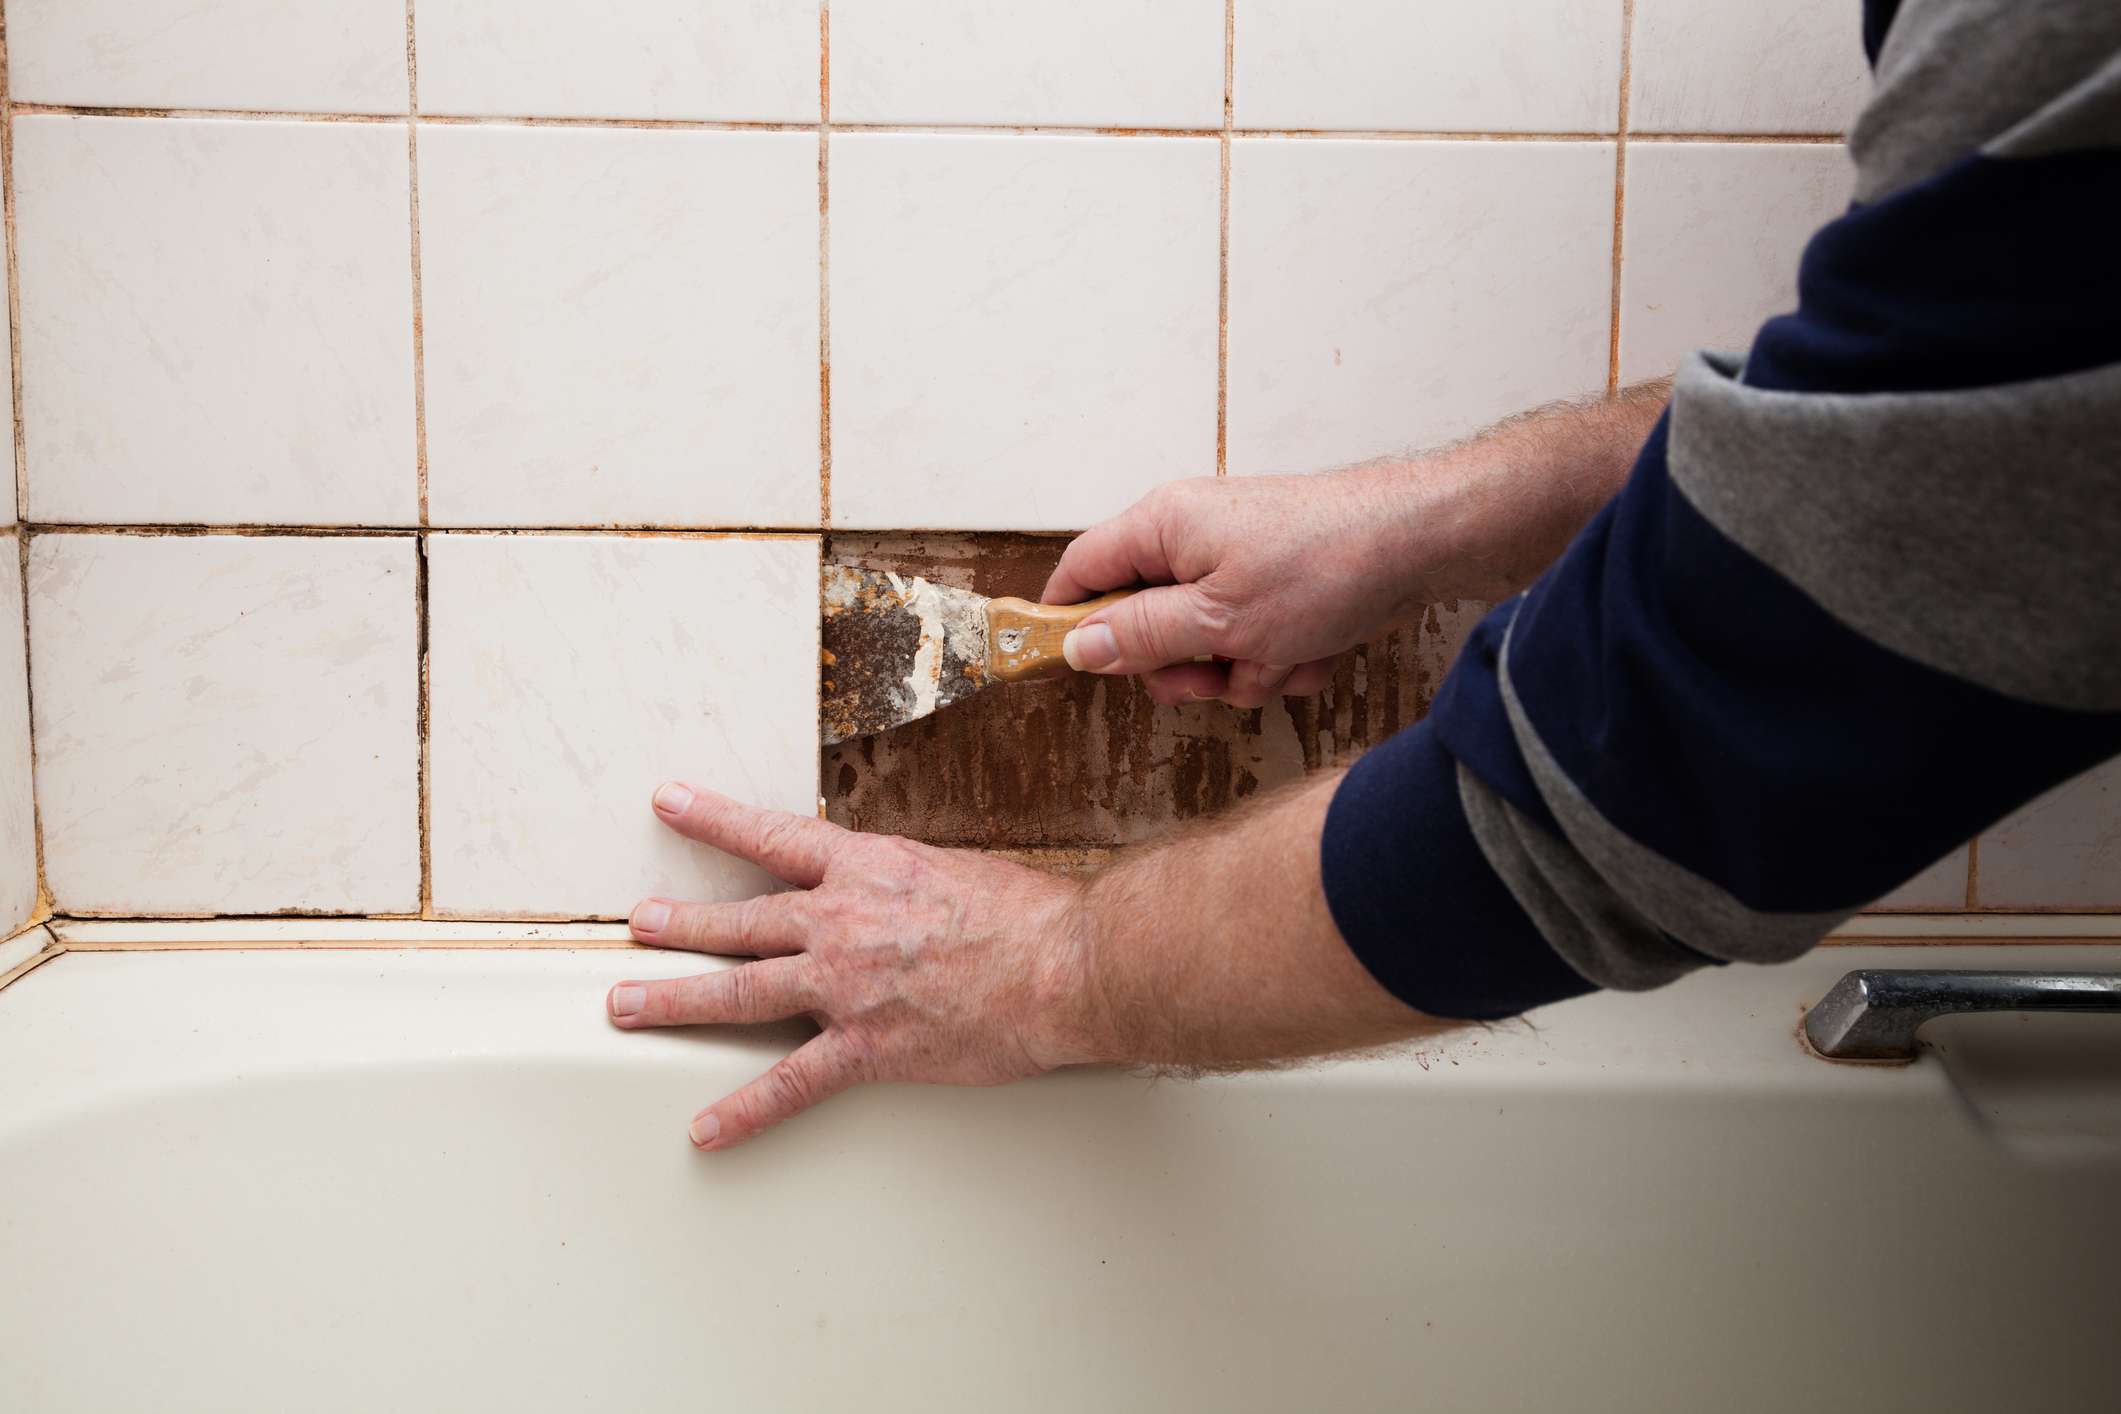
Step 2: Remove Stains and Rust
Once the bathtub is thoroughly cleaned, the next crucial step in the restoration process involves addressing any stubborn stains and rust that may have marred the surface over time. These blemishes not only detract from the bathtub's appearance but can also compromise its structural integrity if left unchecked. To effectively remove stains and rust, follow these detailed steps:
-
Assess the Stains and Rust: Begin by carefully examining the bathtub surface to identify areas with noticeable stains and rust. Common culprits include mineral deposits, hard water stains, and rust spots, which can be particularly challenging to eliminate. By assessing the extent of the blemishes, you can determine the most suitable approach for removal.
-
Select the Appropriate Products: Depending on the nature of the stains and rust, choose the appropriate cleaning products to effectively address the specific issues. For mineral deposits and hard water stains, a mild acidic cleaner or a specially formulated stain remover can be highly effective. When dealing with rust, consider using a rust remover or a gentle abrasive cleaner designed for use on bathtubs.
-
Apply the Stain and Rust Removers: Following the product instructions, apply the selected stain and rust removers to the affected areas of the bathtub. Ensure thorough coverage of the stains and rust spots, allowing the products to penetrate and dissolve the blemishes effectively. It's important to use these products in a well-ventilated area and wear protective gloves to safeguard your skin.
-
Gentle Scrubbing: After applying the stain and rust removers, gently scrub the affected areas using a non-abrasive sponge or cloth. For stubborn rust spots, a soft-bristled brush can be used to carefully agitate the surface without causing damage. Exercise caution to avoid scratching the bathtub while effectively targeting the blemishes.
-
Rinse and Inspect: Once the stain and rust removal process is complete, thoroughly rinse the bathtub to remove any residual cleaner and loosened blemishes. Inspect the surface to ensure that the stains and rust have been effectively eliminated. If necessary, repeat the process to address persistent blemishes until the bathtub surface is free from unsightly stains and rust.
By diligently addressing stains and rust, you can significantly enhance the visual appeal of the bathtub and prepare it for the subsequent stages of the restoration process. With these blemishes effectively removed, the bathtub is now ready for the next critical phase: sanding the surface to achieve a smooth and uniform texture in preparation for the application of polish.
Step 3: Sand the Surface
After thoroughly cleaning the bathtub and addressing stubborn stains and rust, the next pivotal step in the restoration process involves sanding the surface to achieve a smooth and uniform texture. Sanding is essential for preparing the bathtub's surface to effectively receive the polish, ensuring a flawless and long-lasting finish. Follow these detailed steps to expertly sand the bathtub surface:
-
Select the Appropriate Sandpaper: Begin by selecting the appropriate grit of sandpaper for the task. For initial sanding to remove imperfections and create a uniform texture, opt for a medium-grit sandpaper, such as 220-grit. If the surface requires further smoothing, a finer grit, such as 400-grit, can be used for the final sanding stages.
-
Prepare the Surface: Before commencing the sanding process, ensure that the bathtub surface is completely dry and free from any residual cleaning products. Additionally, protect the surrounding area from dust and debris by covering nearby fixtures and surfaces with plastic sheeting or drop cloths.
-
Begin Sanding: With the appropriate sandpaper in hand, gently sand the entire bathtub surface in smooth, even strokes. Pay particular attention to areas with visible imperfections, scratches, or uneven texture. The goal is to create a uniformly smooth surface that is free from blemishes and ready to receive the polish.
-
Check for Consistency: Periodically pause to inspect the sanded surface, ensuring that it exhibits a consistent texture and that imperfections have been effectively smoothed out. Adjust the sanding technique and pressure as needed to achieve a uniform finish across the entire bathtub surface.
-
Final Sanding: If necessary, proceed with the final sanding stage using a finer grit sandpaper to refine the surface further. This step is crucial for achieving a flawlessly smooth texture that will enhance the adhesion and durability of the polish.
-
Thoroughly Clean the Surface: Once the sanding process is complete, thoroughly clean the bathtub to remove any sanding residue and ensure that the surface is pristine and ready for the next phase of the restoration process.
By meticulously sanding the bathtub surface, you create an ideal foundation for the application of polish, ensuring a professional-quality finish that will revitalize the bathtub's appearance and prolong its lifespan. With the surface expertly sanded, you are now prepared to proceed to the next critical phase: applying the polish to restore the bathtub's luster and elegance.
Use a non-abrasive cleaner and a soft sponge to gently scrub the bathtub surface. For tough stains, make a paste of baking soda and water, apply it to the stains, and let it sit for 15 minutes before scrubbing. Rinse thoroughly with water.
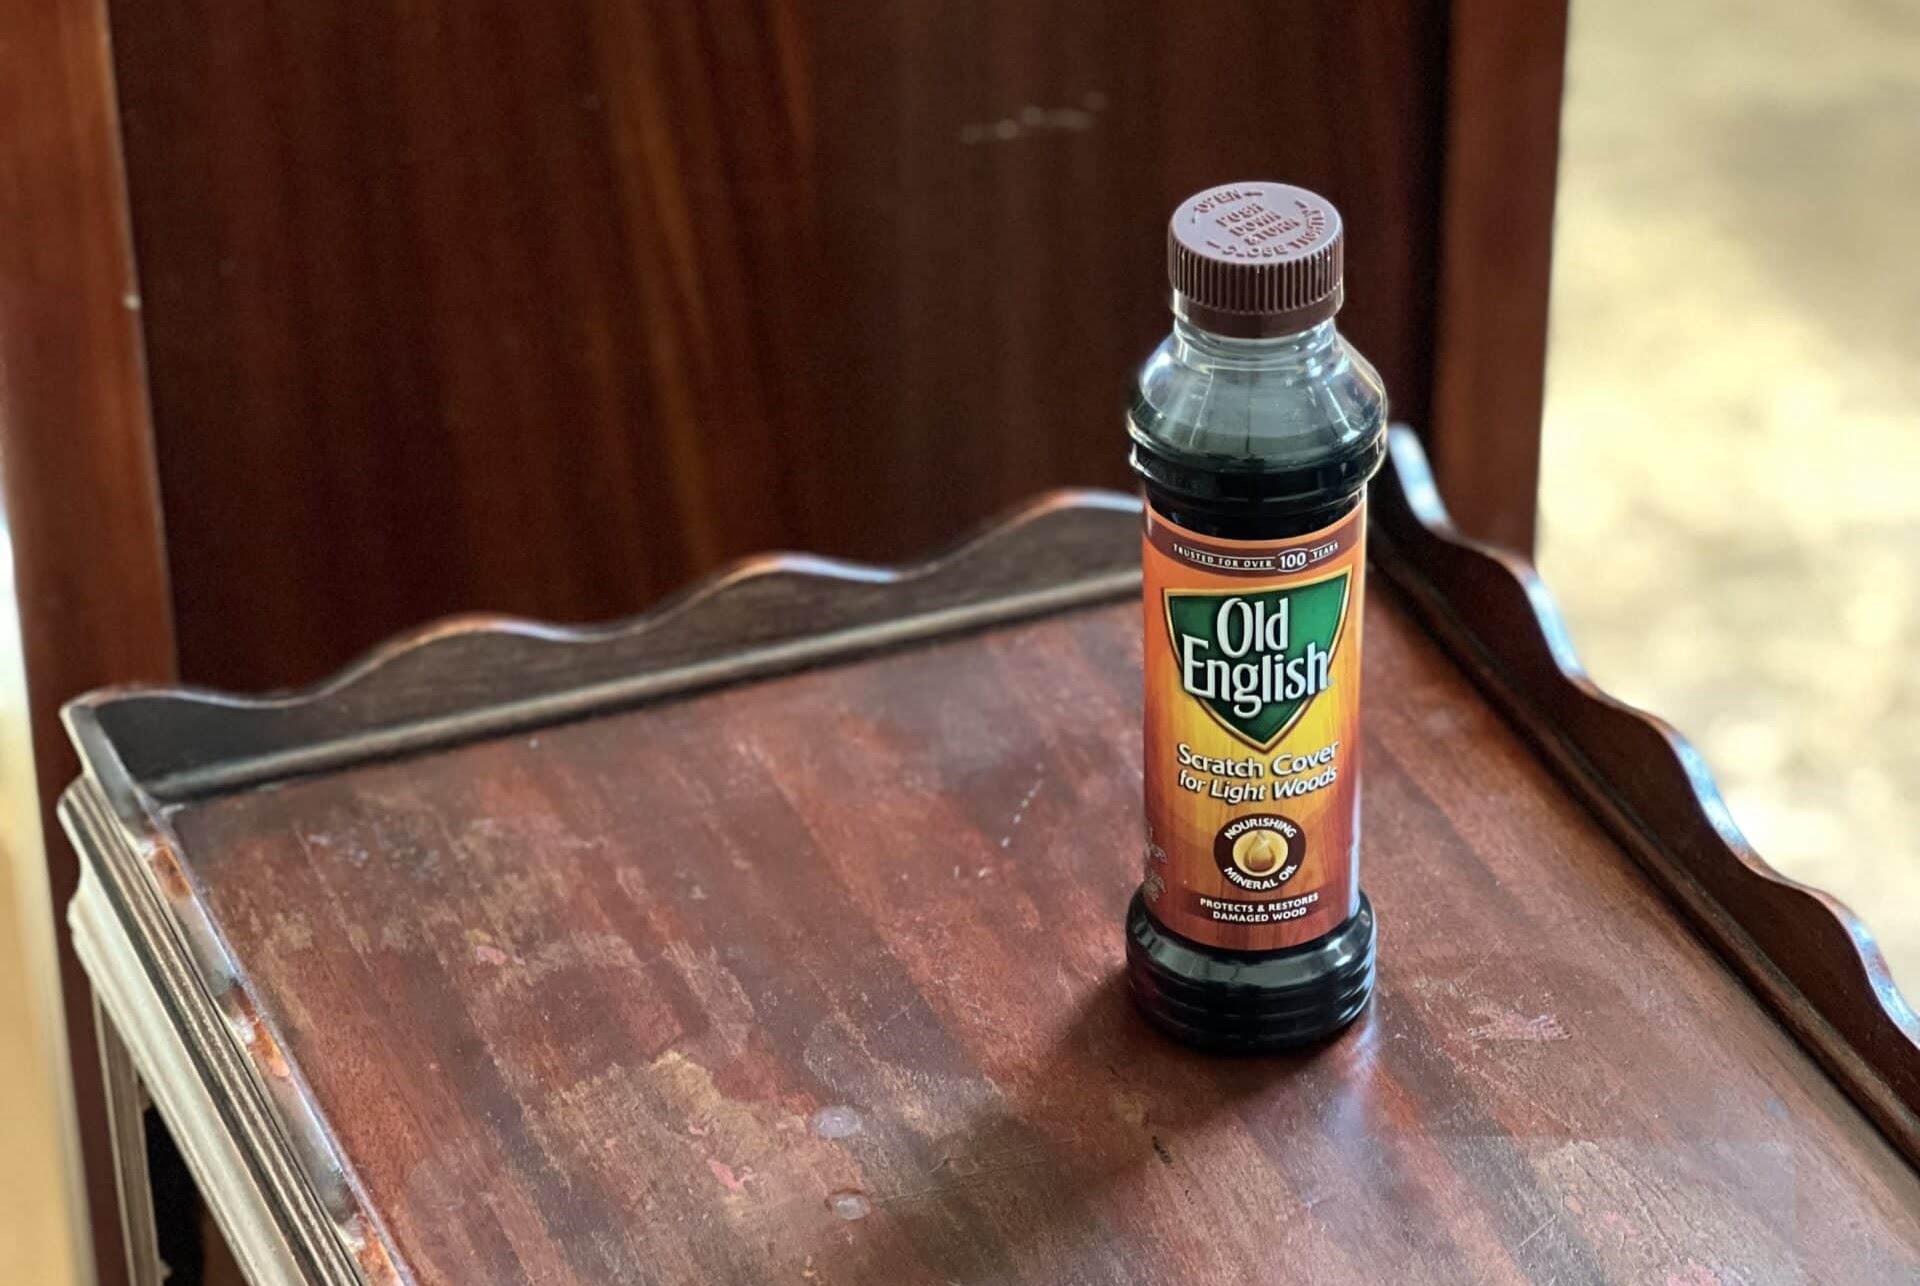
Step 4: Apply the Polish
With the bathtub surface meticulously cleaned and expertly sanded, the next crucial step in the restoration process involves applying the polish to rejuvenate the bathtub's luster and restore its elegant appearance. The application of polish is a transformative stage that not only enhances the visual appeal of the bathtub but also provides a protective layer that safeguards the surface from future wear and tear. Follow these detailed steps to expertly apply the polish and breathe new life into your aging bathtub:
-
Select the Appropriate Polish: Begin by selecting a high-quality bathtub polish specifically formulated to enhance the shine and durability of the surface. Look for a polish that is designed to withstand the rigors of daily use while providing long-lasting protection against stains, scratches, and discoloration. Additionally, consider whether you prefer a glossy or matte finish to complement your bathroom decor.
-
Prepare the Work Area: Before applying the polish, ensure that the surrounding area is well-ventilated and free from dust or debris that could compromise the finish. Protect nearby fixtures and surfaces by covering them with plastic sheeting or drop cloths to prevent accidental splatters or spills.
-
Apply the Polish Evenly: Using a clean, soft cloth or applicator pad, apply a small amount of the bathtub polish to the surface. Begin spreading the polish in smooth, circular motions, ensuring even coverage across the entire bathtub. Pay particular attention to achieving a uniform application, avoiding excess buildup or streaks that could detract from the final finish.
-
Follow Product Instructions: Adhere to the specific instructions provided by the polish manufacturer regarding application techniques, drying times, and any additional coats that may be recommended. Some polishes may require multiple coats to achieve the desired level of shine and protection, so it's essential to follow the recommended application process for optimal results.
-
Allow for Proper Drying: Once the polish has been applied, allow it to dry completely according to the product instructions. This drying period is crucial for the polish to bond with the bathtub surface, creating a resilient and long-lasting finish that will withstand daily use and cleaning.
-
Inspect and Touch Up: After the initial coat of polish has dried, inspect the bathtub surface to ensure that the finish meets your expectations. If necessary, apply additional coats of polish to achieve the desired level of shine and protection, carefully following the product guidelines for optimal results.
By expertly applying the polish, you can revitalize the bathtub's appearance, infusing it with a radiant shine and a protective layer that will prolong its beauty and functionality. With the polish effectively applied, the final phase of the restoration process involves buffing the bathtub to achieve a flawless and enduring finish.
Read more: How To Polish An Acrylic Bathtub
Step 5: Buff the Bathtub
After applying the polish and allowing it to dry thoroughly, the final step in the bathtub restoration process involves buffing the surface to achieve a flawless and enduring finish. Buffing is a critical stage that enhances the shine of the bathtub, smoothens the polish, and ensures a uniform appearance across the entire surface. Follow these detailed steps to expertly buff the bathtub and elevate its visual appeal to new heights:
-
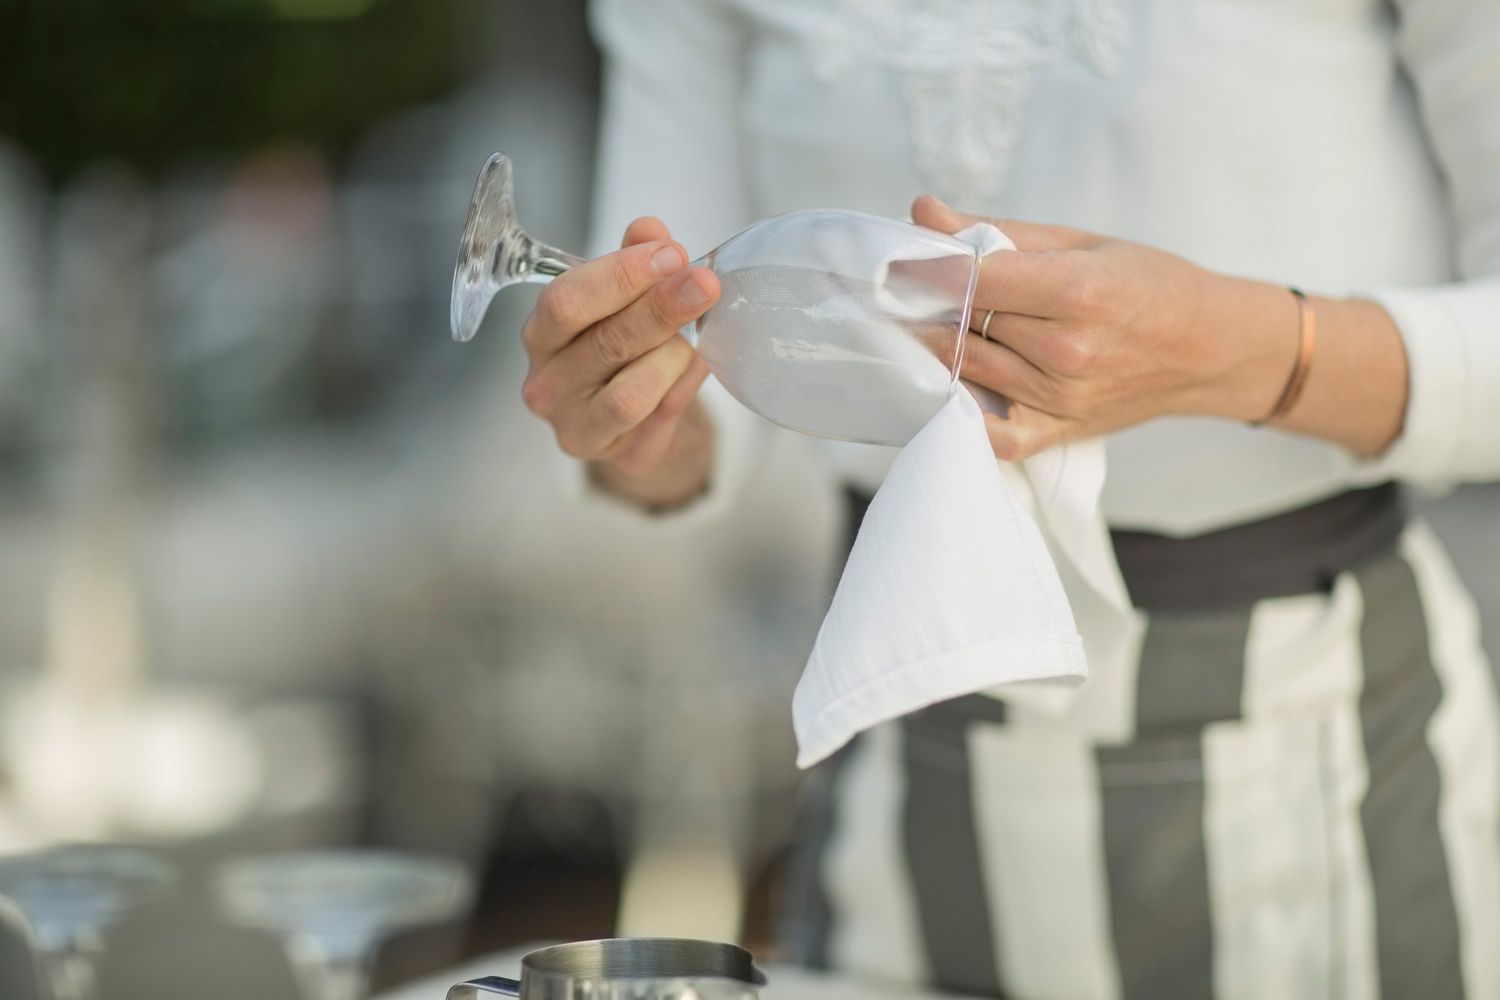
Select the Buffing Material: Begin by selecting a soft, clean cloth or a buffing pad specifically designed for use on polished surfaces. It's essential to choose a material that is gentle and non-abrasive to avoid scratching or damaging the freshly polished bathtub surface.
-
Apply Gentle Pressure: With the chosen buffing material in hand, gently buff the bathtub surface in circular motions, applying light to moderate pressure. The goal is to evenly distribute the polish, remove any residual streaks or uneven areas, and enhance the luster of the surface.
-
Focus on Uniformity: Pay particular attention to achieving a uniform appearance as you buff the bathtub. Consistent and even pressure during the buffing process will help ensure that the polish is seamlessly distributed, resulting in a stunning and uniform finish that accentuates the bathtub's elegance.
-
Inspect for Flaws: Periodically pause to inspect the buffed surface, checking for any remaining imperfections, streaks, or areas that may require additional attention. Address any flaws by gently buffing those specific areas until the desired level of smoothness and shine is achieved.
-
Final Touches: Once the entire surface has been buffed, perform a final inspection to ensure that the bathtub exhibits a radiant and flawless finish. Pay close attention to detail, making any necessary touch-ups to perfect the polish and elevate the overall appearance of the bathtub.
By meticulously buffing the bathtub surface, you can elevate its visual appeal, creating a stunning and enduring finish that showcases the beauty and elegance of the restored bathtub. With the buffing process expertly completed, step back and admire the transformation, reveling in the radiant shine and impeccable finish that have breathed new life into your aging bathtub.
Conclusion
In conclusion, the process of polishing an old bathtub is a transformative journey that revitalizes the appearance and functionality of a beloved fixture in your home. By meticulously following the step-by-step restoration process, you can breathe new life into an aging bathtub, restoring its luster, elegance, and structural integrity. From the initial stage of thorough cleaning to the final touches of expert buffing, each step plays a crucial role in achieving a professional-quality finish that will stand the test of time.
Throughout the restoration process, attention to detail is paramount, ensuring that the bathtub's surface is impeccably cleaned, free from stubborn stains and rust, expertly sanded to achieve a smooth texture, and adorned with a high-quality polish that enhances its visual appeal. The culmination of these efforts results in a bathtub that exudes radiance, sophistication, and durability, becoming a focal point of your bathroom once again.
Moreover, the restoration process extends beyond mere aesthetics, as it also contributes to the longevity of the bathtub. By addressing imperfections, stains, and wear, you are not only enhancing the visual appeal but also fortifying the surface against future damage and deterioration. The protective layer of polish serves as a shield, safeguarding the bathtub from the rigors of daily use and ensuring that its beauty endures for years to come.
As you stand back and admire the resplendent finish of your newly polished bathtub, take pride in the dedication and care invested in its restoration. The transformation is not merely cosmetic; it is a testament to the enduring value of cherished possessions and the art of preservation. Your rejuvenated bathtub stands as a symbol of timeless elegance and a testament to the rewards of meticulous craftsmanship.
In essence, the process of polishing an old bathtub transcends mere maintenance; it is an act of reverence for the cherished elements of your home. By embracing the restoration journey, you have not only revived a fixture but also imbued it with a renewed sense of purpose and beauty. As you indulge in the luxurious comfort of your polished bathtub, may it serve as a reminder of the transformative power of restoration and the enduring allure of timeless craftsmanship.
Frequently Asked Questions about How To Polish An Old Bathtub
Was this page helpful?
At Storables.com, we guarantee accurate and reliable information. Our content, validated by Expert Board Contributors, is crafted following stringent Editorial Policies. We're committed to providing you with well-researched, expert-backed insights for all your informational needs.
0 thoughts on “How To Polish An Old Bathtub”