Home>Furniture & Design>Bathroom Fixtures>How To Fix A Shower Rod
Bathroom Fixtures
How To Fix A Shower Rod
Modified: August 17, 2024
Learn how to fix a shower rod and upgrade your bathroom fixtures with our step-by-step guide. Say goodbye to wobbly rods and enjoy a sturdy, stylish shower space.
(Many of the links in this article redirect to a specific reviewed product. Your purchase of these products through affiliate links helps to generate commission for Storables.com, at no extra cost. Learn more)
Introduction
Welcome to the ultimate guide on how to fix a shower rod! Whether you're looking to upgrade your bathroom or simply need to replace a worn-out shower rod, this step-by-step tutorial will walk you through the process with ease. A sturdy and properly installed shower rod is essential for keeping your shower curtain in place and maintaining a tidy and functional bathroom space. By following these instructions, you'll be able to tackle this DIY project like a pro, saving time and money while achieving a professional-looking result.
In the upcoming sections, we'll cover everything you need to know, from gathering the necessary tools and materials to removing the old shower rod, measuring and cutting the new one if needed, and finally, installing the new shower rod. We'll also discuss how to test the stability of the newly installed rod and make any necessary adjustments to ensure it's securely in place.
Whether you're a seasoned DIY enthusiast or a beginner looking to expand your home improvement skills, this guide is designed to provide clear and concise instructions that anyone can follow. With a bit of patience and attention to detail, you'll soon have a perfectly installed shower rod that enhances the functionality and aesthetic appeal of your bathroom.
So, roll up your sleeves, gather your tools, and let's dive into the process of fixing a shower rod. With the right guidance and a can-do attitude, you'll be well on your way to achieving a bathroom upgrade that you can be proud of. Let's get started!
Key Takeaways:
- Fixing a shower rod is a DIY project that can be tackled with the right tools and steps. From removing the old rod to testing the stability of the new one, attention to detail is key for a successful installation.
- By following the step-by-step guide, anyone can upgrade their bathroom with a new shower rod. The process involves measuring, cutting (if needed), and installing the rod, resulting in a functional and visually appealing space.
Read more: How To Secure A Shower Rod
Step 1: Gather necessary tools and materials
Before diving into the process of fixing a shower rod, it's essential to gather all the necessary tools and materials. Having the right equipment at hand will streamline the installation process and ensure that you can tackle the project efficiently. Here's a comprehensive list of the items you'll need:
Tools:
-
Screwdriver: A Phillips or flat-head screwdriver will be necessary for removing the existing shower rod and installing the new one. Ensure that the screwdriver is appropriate for the screws used in your specific shower rod hardware.
-
Measuring Tape: Accurate measurements are crucial for ensuring that the new shower rod fits perfectly within your shower space. A reliable measuring tape will help you determine the precise length for the new rod.
-
Hacksaw (if needed): If the new shower rod is too long for your shower area, a hacksaw will be required to trim it to the correct size. Ensure that you have a suitable hacksaw for cutting metal rods.
-
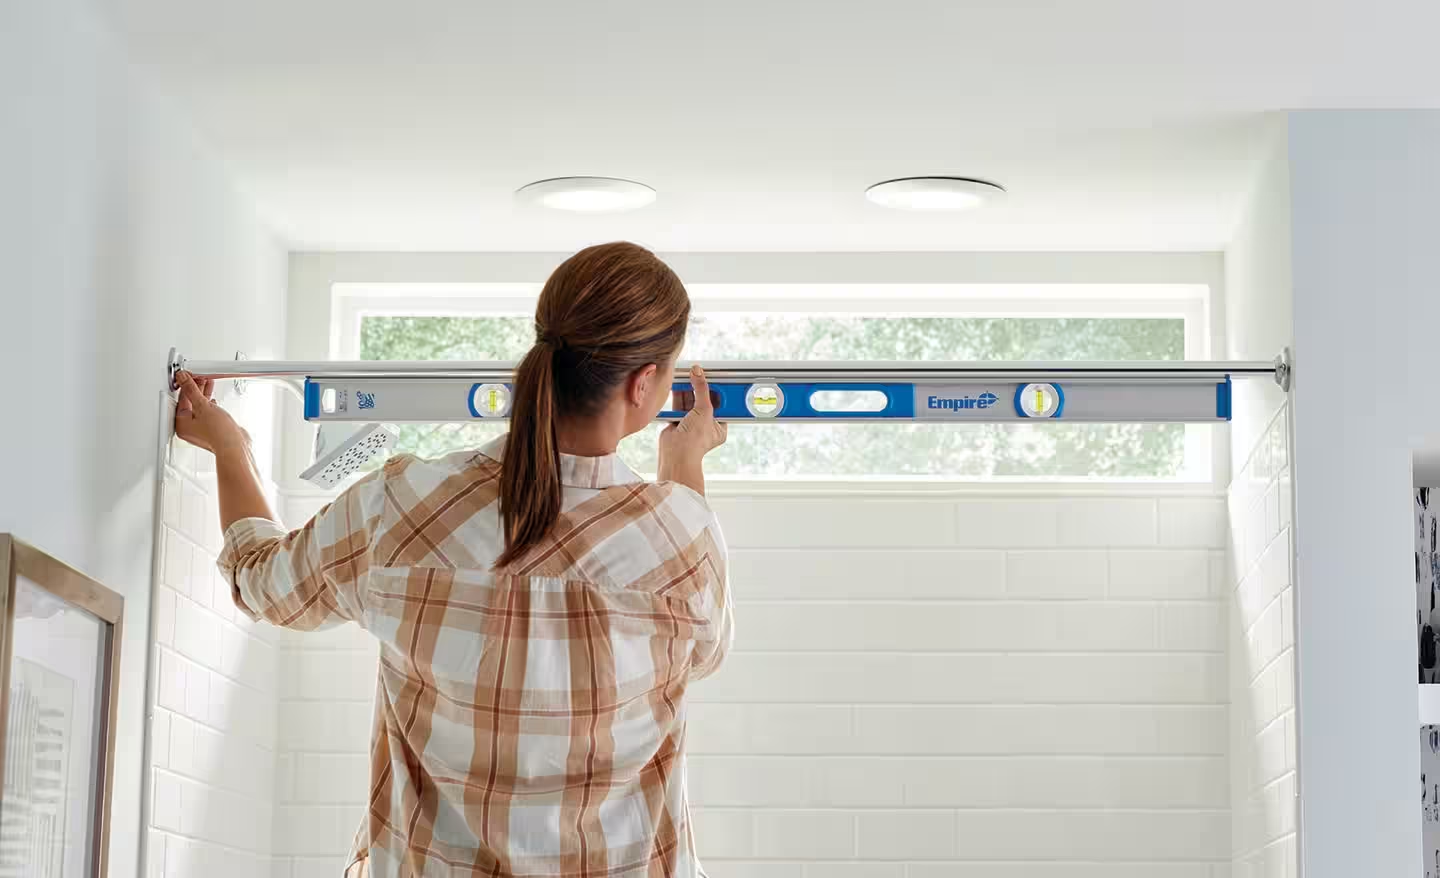
Level: To guarantee that the new shower rod is installed straight and level, a bubble level is indispensable. This tool will help you achieve a professional-looking result.
-
Pencil: Marking the positions for the new shower rod brackets is essential for accurate installation. A pencil will allow you to make these markings without damaging the walls.
-
Step Stool or Ladder: Depending on the height of your shower area, a step stool or ladder may be necessary to reach and install the shower rod securely.
Materials:
-
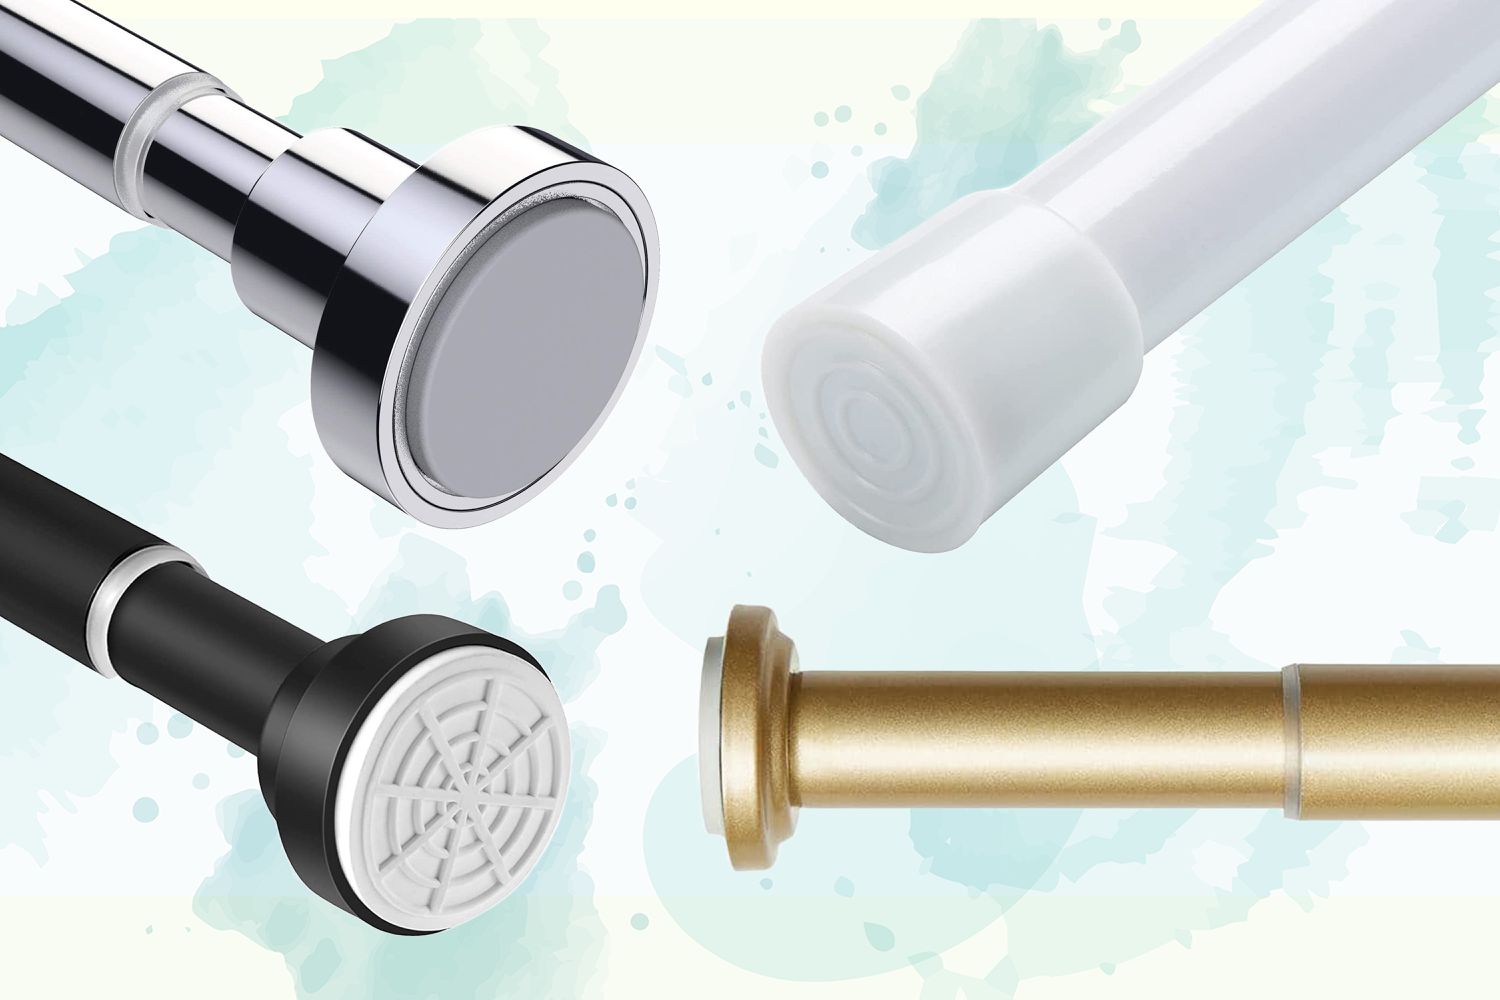
New Shower Rod: Whether you've opted for a tension rod or a permanently mounted rod, ensure that you have the new shower rod on hand and that it's the appropriate size for your shower space.
-
Shower Rod Brackets: If the new shower rod doesn't come with brackets, or if you're replacing the existing brackets, make sure you have the necessary hardware to support the rod.
-
Screws and Anchors (if required): If the shower rod brackets need to be mounted on drywall or tile, ensure that you have the appropriate screws and anchors to secure them firmly in place.
By gathering these tools and materials before you begin, you'll set yourself up for a smooth and efficient shower rod installation process. With everything at your disposal, you'll be ready to move on to the next steps with confidence.
Step 2: Remove the old shower rod
Removing the old shower rod is the crucial first step in the process of fixing or replacing it. Whether you're dealing with a tension rod or a permanently mounted one, careful attention to detail and the right approach will ensure a smooth removal process.
Read more: How Long Is A Standard Shower Rod
Tension Rod Removal:
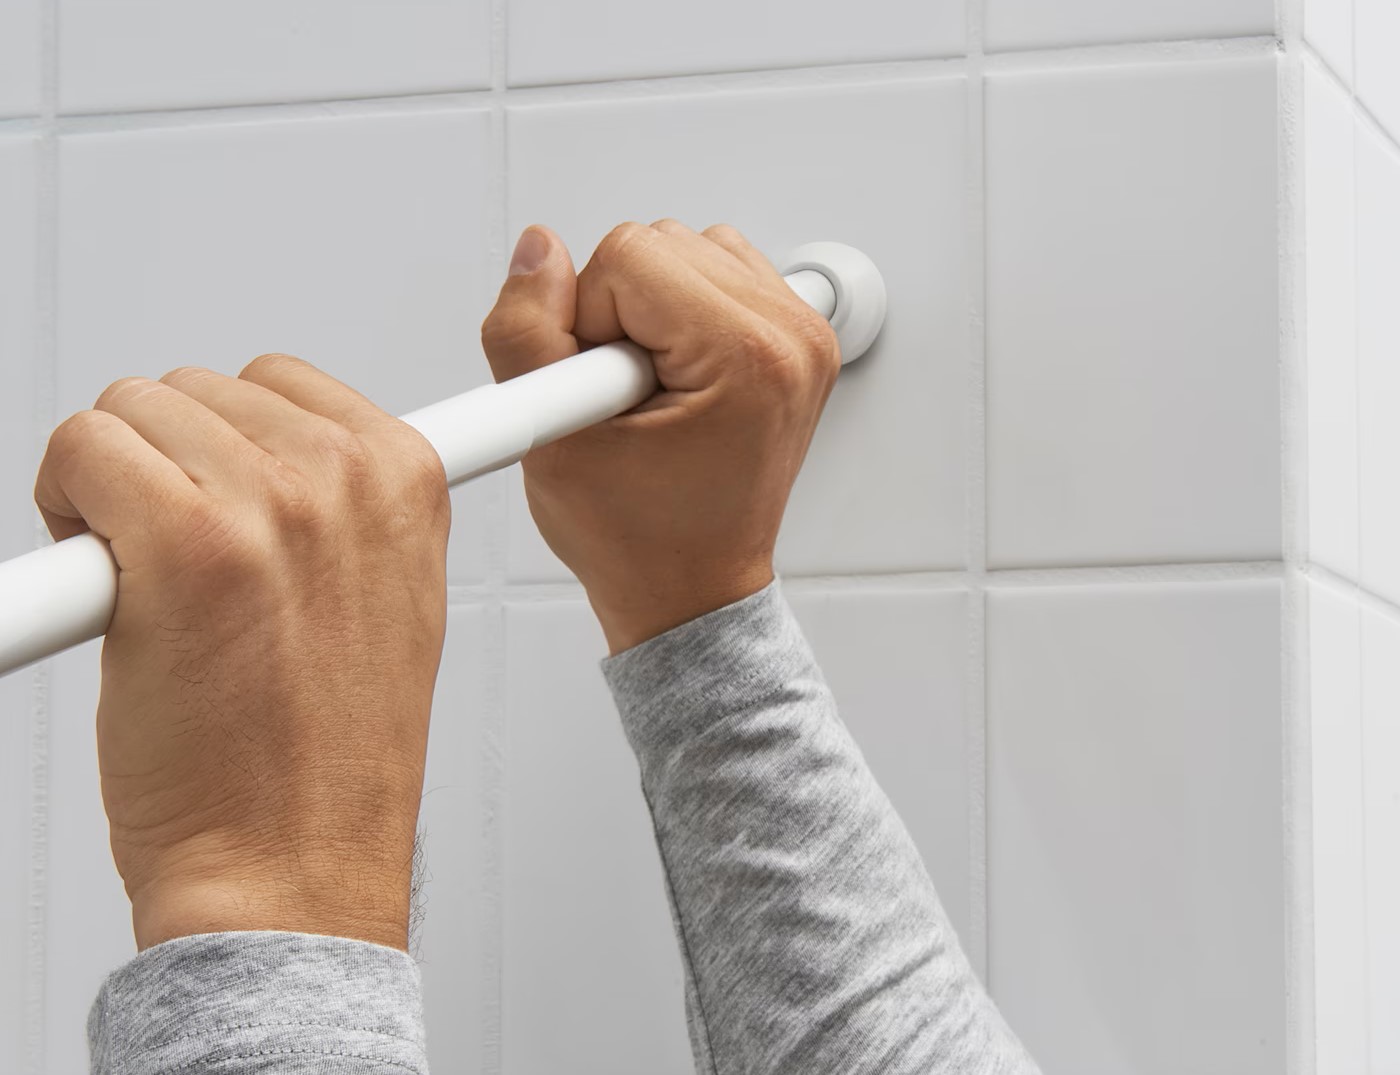
If you have a tension rod, start by carefully twisting and loosening it to release the tension. Hold onto both ends of the rod to prevent it from slipping and causing any damage. Once the tension is released, carefully slide the rod out of place and set it aside.
Permanently Mounted Rod Removal:
For a permanently mounted shower rod, the removal process involves unscrewing the mounting brackets from the wall. Using a screwdriver appropriate for the screws, carefully remove the screws that secure the brackets in place. Once the brackets are detached, gently lift the old rod away from the wall and set it aside.
Patching and Cleaning:
With the old shower rod removed, take the opportunity to inspect the wall surface behind it. If there are any holes or damage from the previous installation, consider patching and repainting the area to ensure a clean and polished look for the new rod. Use spackling compound to fill any holes, sand the surface smooth, and apply a fresh coat of paint if necessary.
Final Checks:
Before proceeding to the next step, take a moment to ensure that the shower area is clear of any debris or dust resulting from the removal process. A clean and tidy workspace will set the stage for a seamless installation of the new shower rod.
By following these steps, you'll successfully remove the old shower rod, leaving the space ready for the next phase of the installation process. With the old rod out of the way, you're now prepared to move on to the exciting task of measuring and installing the new shower rod.
Read more: How High To Hang A Shower Rod
Step 3: Measure and cut the new shower rod if necessary
Once the old shower rod has been successfully removed, the next crucial step is to measure and cut the new shower rod if it doesn't perfectly fit the available space. Accurate measurements are essential to ensure a precise fit, and if adjustments are needed, a hacksaw will come in handy for cutting the rod to the correct size.
Measuring the Space:
Using a measuring tape, carefully determine the exact length needed for the new shower rod. Measure the distance between the inner edges of the shower walls to ensure a snug and secure fit. It's important to take precise measurements, accounting for any variations in the wall surfaces or irregularities in the shower space.
Cutting the Rod:
If the new shower rod is longer than the measured space, it will need to be trimmed to the appropriate length. Using a hacksaw designed for cutting metal, carefully mark the cutting points on the rod based on the measurements taken. Secure the rod in a stable position and proceed to cut it with the hacksaw, ensuring a straight and clean cut.
Smoothing the Edges:
After cutting the rod, use a metal file or sandpaper to smooth out any rough or sharp edges resulting from the cutting process. This step is essential for ensuring that the rod fits smoothly into the brackets and that there are no sharp edges that could cause injury during installation or use.
Read more: How To Adjust A Shower Curtain Rod
Double-Checking the Fit:
Once the new shower rod has been measured and, if necessary, cut to size, double-check the fit by placing it within the shower space. Ensure that it aligns perfectly with the inner edges of the walls and that it sits level and securely. This step is crucial for confirming that the rod is ready for installation and that any adjustments have been made accurately.
By meticulously measuring and, if needed, cutting the new shower rod to fit the available space, you'll ensure a seamless and professional installation process. With the rod prepared and customized to suit your specific shower area, you're now ready to proceed to the exciting phase of installing the new shower rod.
Step 4: Install the new shower rod
With the old shower rod removed and the new one prepared to fit the available space, it's time to embark on the exciting phase of installing the new shower rod. This step is crucial for ensuring that the rod is securely mounted and properly positioned, providing a stable foundation for your shower curtain and enhancing the overall functionality of your bathroom space.
Positioning the Brackets:
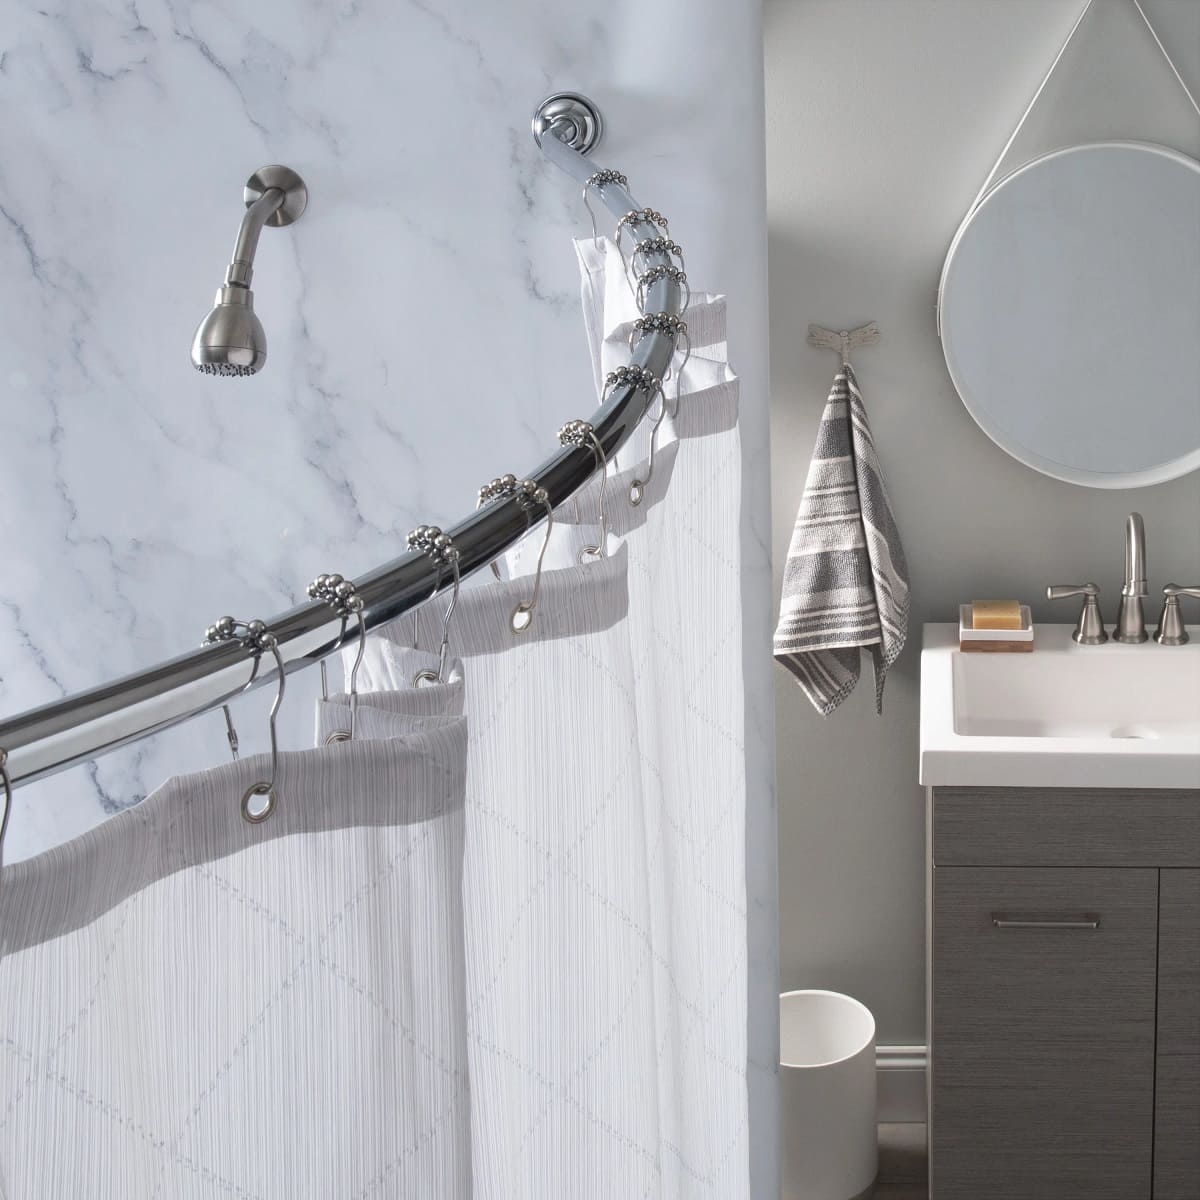
Begin by positioning the brackets for the new shower rod at the desired height and distance from the wall. Using a measuring tape and a pencil, mark the precise locations where the brackets will be mounted. Ensure that the brackets are positioned symmetrically and at a height that allows the shower curtain to hang comfortably without dragging on the floor.
Mounting the Brackets:
With the bracket positions marked, it's time to secure them to the wall. If you're mounting the brackets on drywall, use appropriate wall anchors to ensure a strong and reliable attachment. Using a screwdriver, carefully drive the screws through the brackets and into the wall, ensuring that they are firmly anchored in place. For added stability, consider using a level to confirm that the brackets are perfectly aligned and that the rod will hang straight.
Read more: How To Remove A Curved Shower Rod
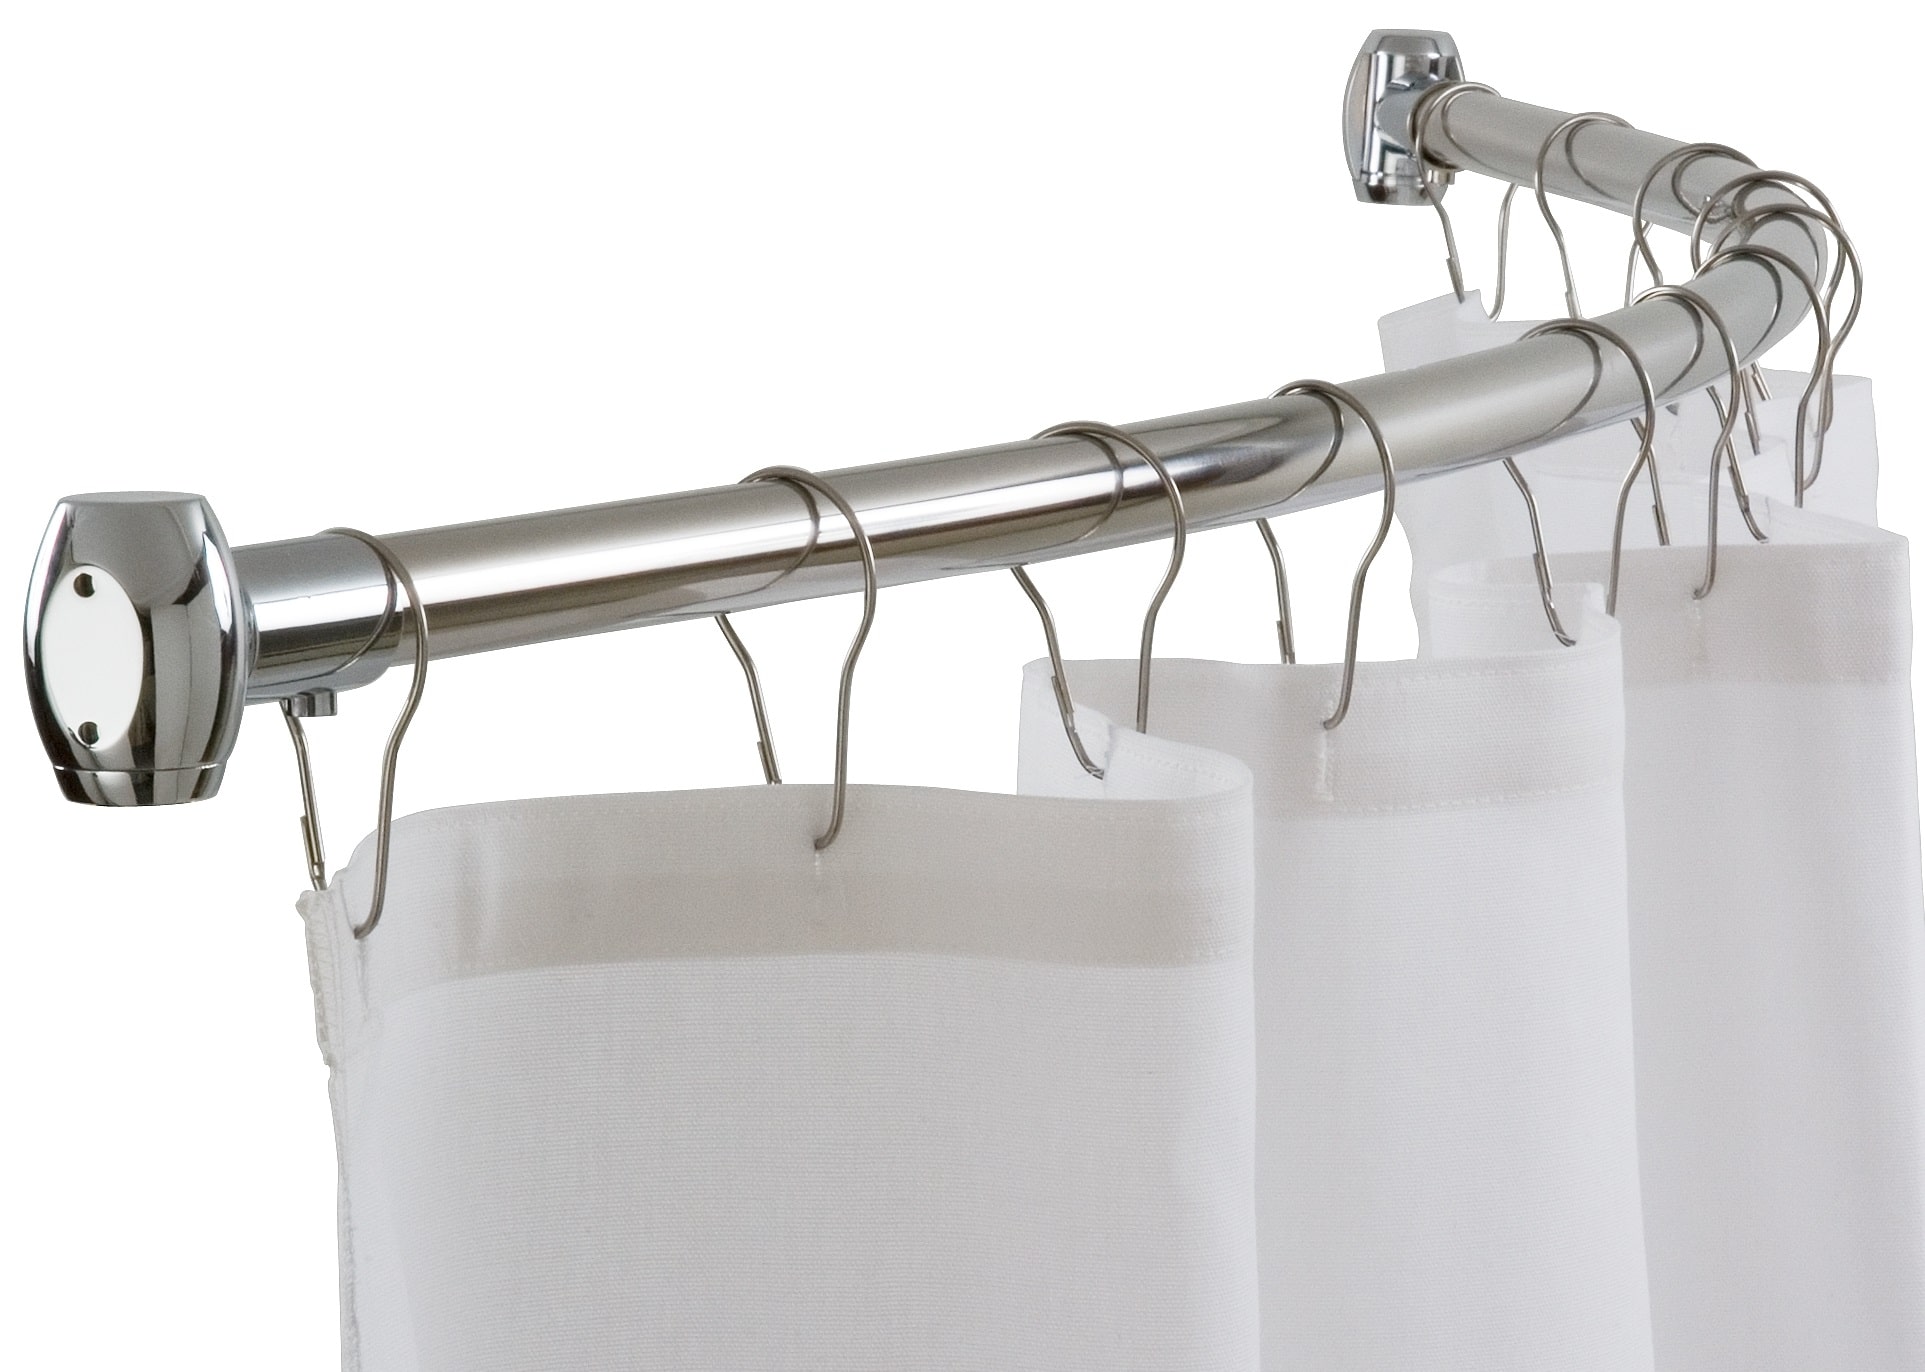
Installing the Shower Rod:
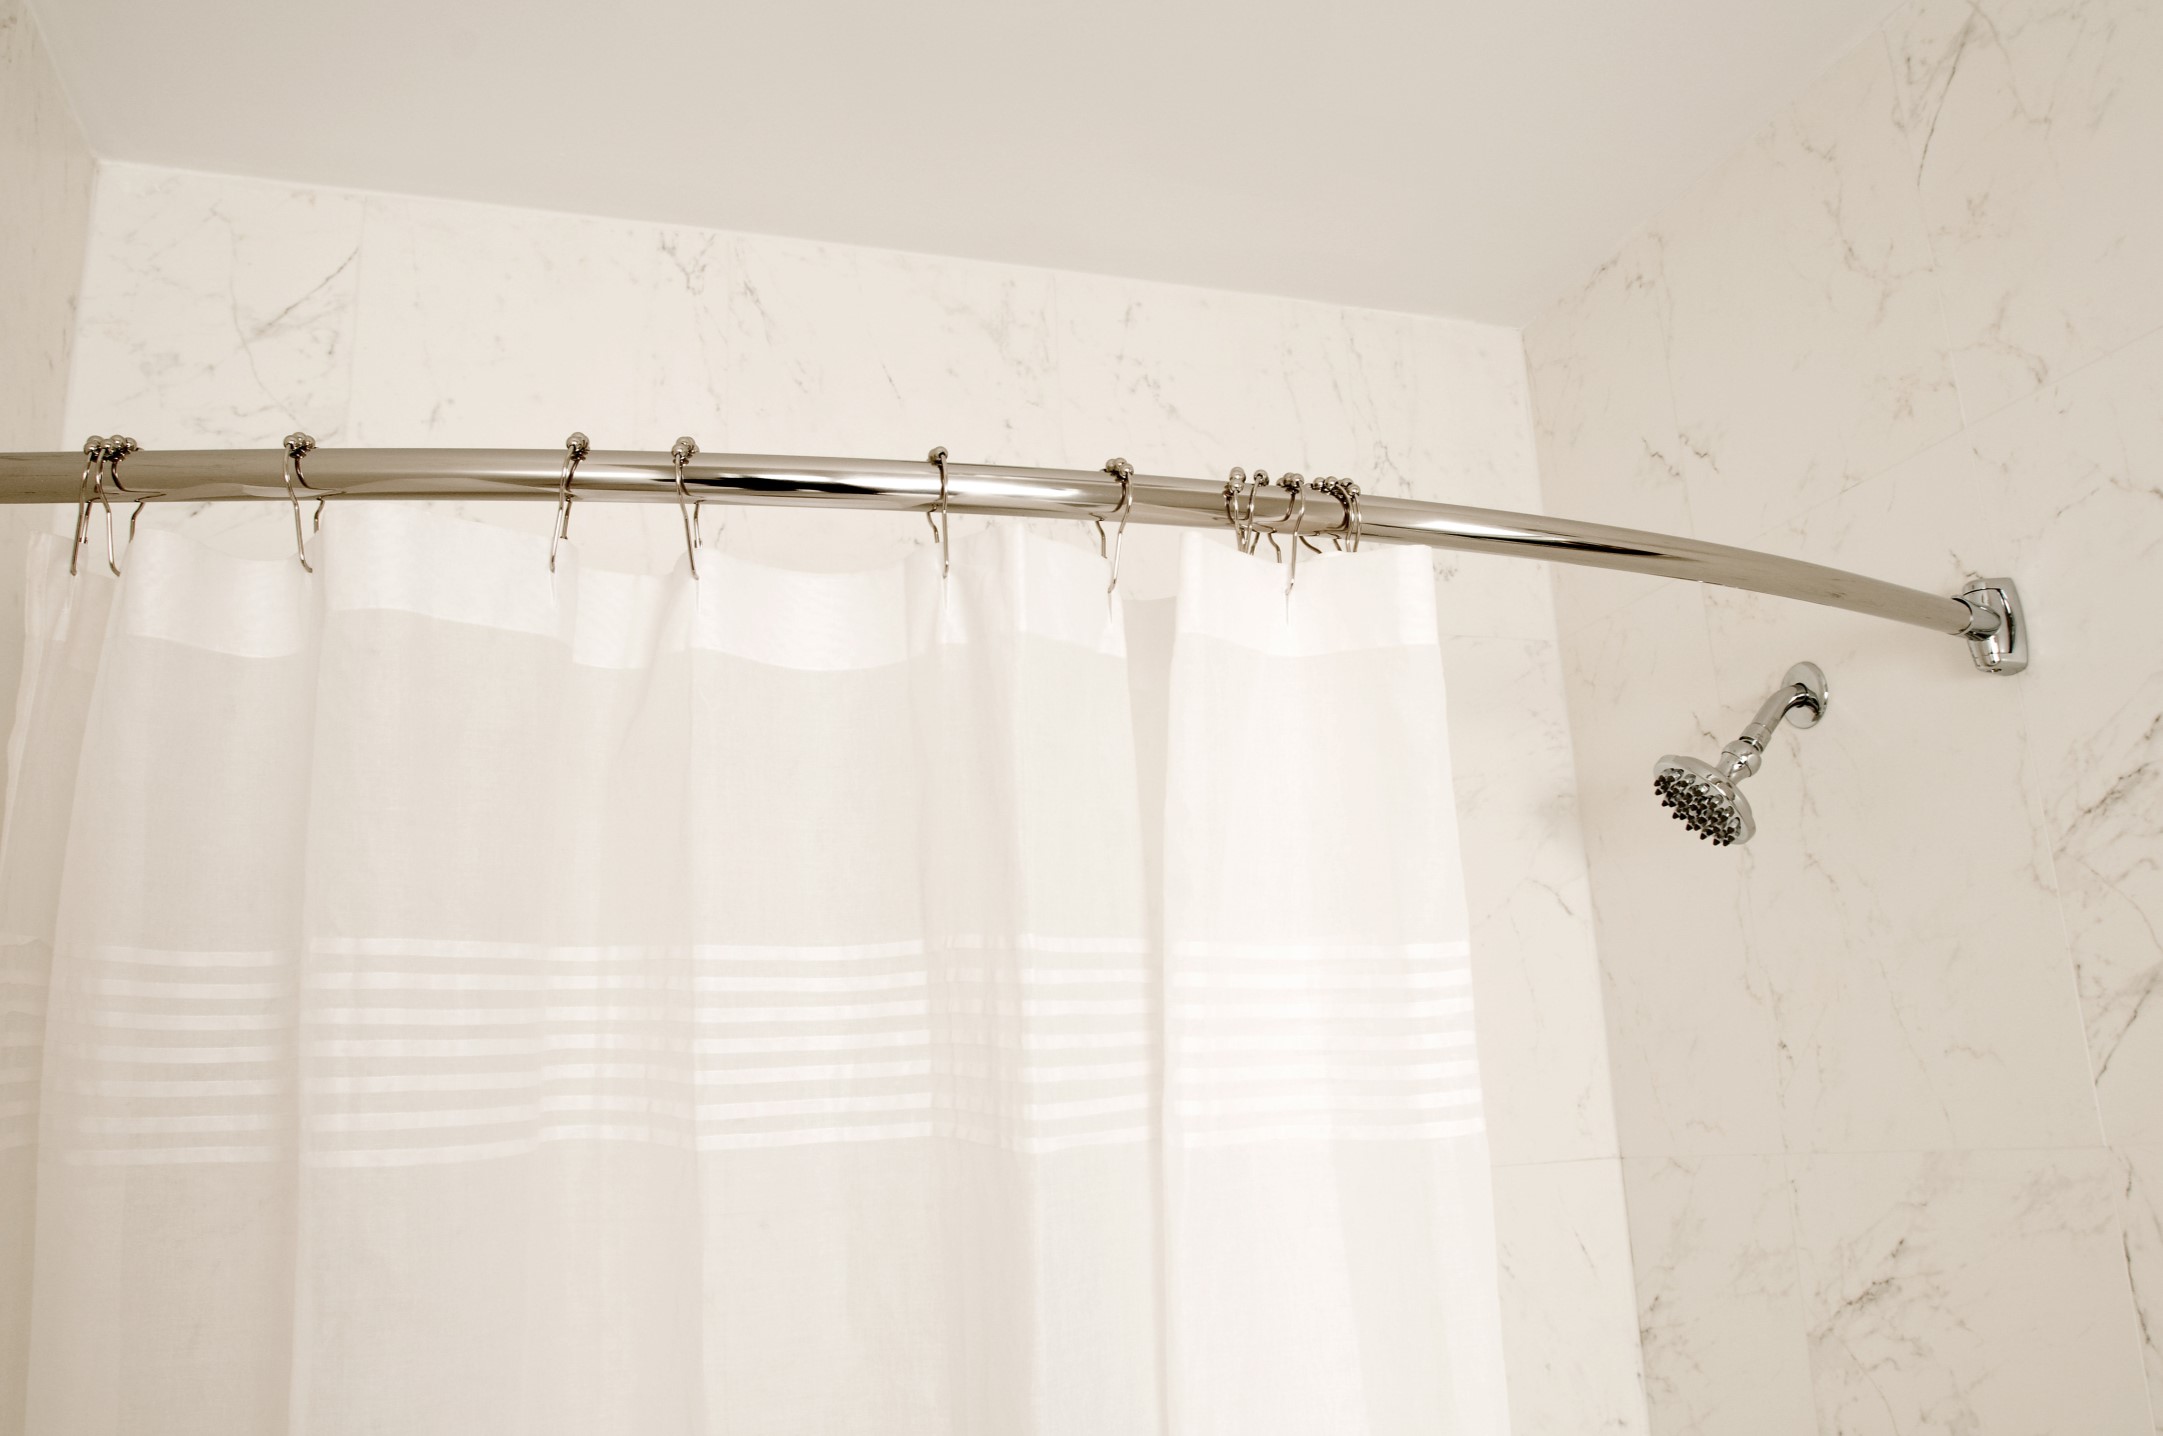
Once the brackets are securely mounted, it's time to install the new shower rod. Depending on the type of rod you have, whether it's a tension rod or one that requires attachment to the brackets, carefully position the rod within the brackets. For tension rods, extend the rod to the desired length and then twist it to create tension, ensuring a snug fit between the walls. If the rod requires attachment to the brackets, follow the manufacturer's instructions for securing it in place, ensuring that it sits level and stable.
Testing the Stability:
After installing the new shower rod, it's essential to test its stability and ensure that it can support the weight of the shower curtain without sagging or shifting. Gently tug on the rod and observe its response, making any necessary adjustments to the brackets or rod attachment to achieve optimal stability. Additionally, run the shower curtain along the rod to confirm that it glides smoothly and hangs evenly.
By following these steps, you'll successfully install the new shower rod, providing a secure and reliable foundation for your shower curtain. With the rod in place, you're one step closer to enjoying a refreshed and functional bathroom space.
Step 5: Test the stability and adjust if needed
After installing the new shower rod, it's crucial to ensure its stability and ability to support the weight of the shower curtain. Testing the stability will help identify any potential issues and allow for necessary adjustments to be made, ensuring a secure and reliable installation.
To begin, gently apply pressure to the middle and ends of the shower rod to simulate the weight of a fully extended shower curtain. Observe the rod for any signs of bending or sagging, which could indicate that the brackets may need to be repositioned or tightened. A stable and properly installed shower rod should remain straight and level, with no visible signs of strain or movement.
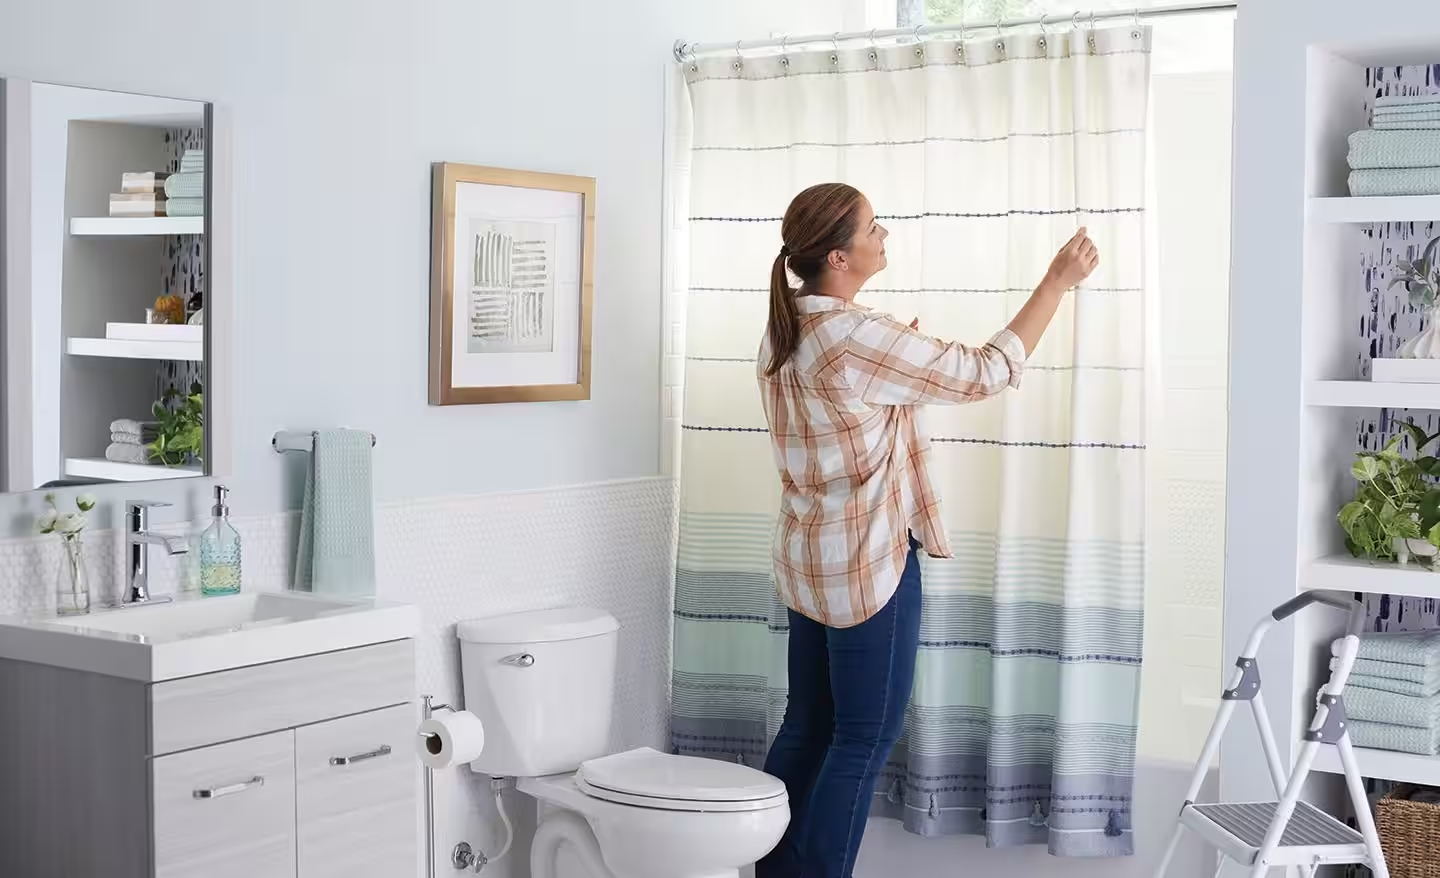
Next, slide the shower curtain along the rod to confirm that it glides smoothly without any obstructions or uneven dragging. This test ensures that the curtain can be opened and closed effortlessly, enhancing the overall functionality of the shower space.
If any instability or issues are detected during testing, adjustments may be necessary. Start by checking the mounting brackets to ensure that they are securely attached to the wall and that the screws are tightened appropriately. If the brackets show signs of movement or instability, consider reinforcing them with additional screws or using sturdier wall anchors for a more secure attachment.
Using a level, verify that the shower rod is installed perfectly horizontally, as any slight tilt can affect the curtain's movement and overall appearance. If adjustments are needed, carefully loosen the brackets, make the necessary corrections, and then re-secure the rod, ensuring that it sits level and stable.
Throughout the testing and adjustment process, it's essential to maintain a keen eye for detail and a commitment to achieving a flawless installation. By addressing any stability issues and making precise adjustments, you'll ensure that the new shower rod provides a reliable and long-lasting solution for hanging your shower curtain.
Once the stability testing and adjustments are complete, step back and admire your handiwork. A securely installed shower rod not only enhances the functionality of your bathroom but also adds a touch of elegance to the space. With the rod in place and perfectly stable, you can look forward to enjoying a shower experience that's both practical and visually appealing.
Conclusion
In conclusion, successfully fixing a shower rod is a rewarding accomplishment that enhances both the functionality and aesthetics of your bathroom. By following the comprehensive steps outlined in this guide, you've gained the knowledge and confidence to tackle this DIY project with ease. From gathering the necessary tools and materials to removing the old shower rod, measuring and cutting the new rod if needed, and finally, installing and testing its stability, you've navigated each phase with precision and skill.
As you stand back and admire the newly installed shower rod, take pride in the fact that you've not only improved the practicality of your bathroom but also added a touch of personal flair to the space. The process of fixing a shower rod is not just about functionality; it's an opportunity to showcase your DIY prowess and attention to detail.
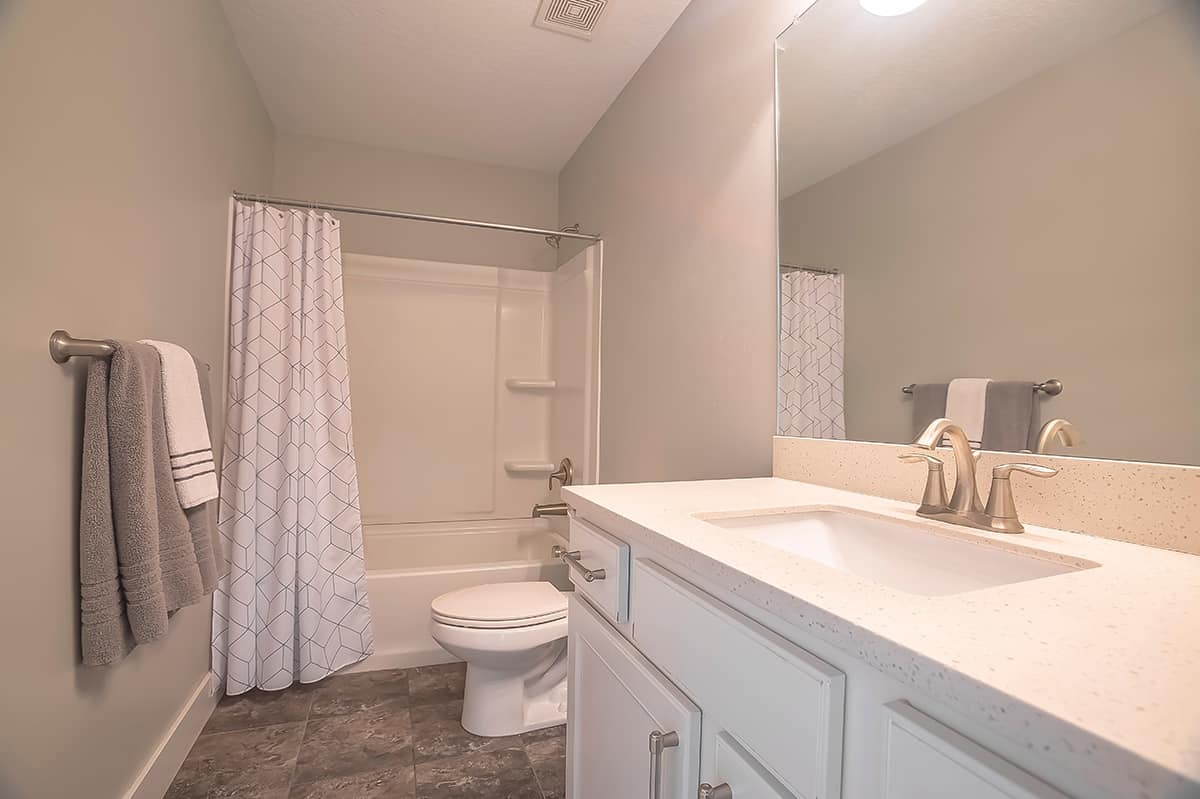
With the new shower rod securely in place, your shower curtain will hang elegantly, creating a clean and inviting atmosphere in your bathroom. The stability and levelness of the rod ensure that the curtain glides effortlessly, enhancing the overall shower experience.
Furthermore, the successful completion of this project serves as a testament to your ability to take on home improvement tasks with confidence and skill. Whether you're a seasoned DIY enthusiast or someone exploring the world of home maintenance for the first time, the process of fixing a shower rod has equipped you with valuable skills that can be applied to future projects.
As you reflect on the journey from removing the old shower rod to installing the new one, take a moment to appreciate the transformation it has brought to your bathroom. The attention to detail and precision you've demonstrated throughout the process have resulted in a professional-looking installation that elevates the entire space.
In the end, fixing a shower rod is not just about the practical function it serves; it's about the sense of accomplishment and pride that comes with successfully completing a home improvement project. With your newly installed shower rod, you've not only enhanced the functionality of your bathroom but also added a personal touch that reflects your dedication to creating a comfortable and inviting living space.
So, as you step back and admire the newly installed shower rod, take a moment to appreciate the transformation you've brought to your bathroom. With a job well done, you can look forward to enjoying a refreshed and functional shower space for years to come.
Frequently Asked Questions about How To Fix A Shower Rod
Was this page helpful?
At Storables.com, we guarantee accurate and reliable information. Our content, validated by Expert Board Contributors, is crafted following stringent Editorial Policies. We're committed to providing you with well-researched, expert-backed insights for all your informational needs.

0 thoughts on “How To Fix A Shower Rod”