Home>Furniture & Design>Bathroom Fixtures>How To Remove A Curved Shower Rod
Bathroom Fixtures
How To Remove A Curved Shower Rod
Modified: May 6, 2024
Learn how to remove a curved shower rod and update your bathroom fixtures with our step-by-step guide. Say goodbye to the old and hello to the new!
(Many of the links in this article redirect to a specific reviewed product. Your purchase of these products through affiliate links helps to generate commission for Storables.com, at no extra cost. Learn more)
Introduction
Removing a curved shower rod may seem like a daunting task, but with the right tools and a systematic approach, it can be a straightforward process. Whether you're looking to replace the existing shower rod or make adjustments to your bathroom, understanding the steps involved in removing a curved shower rod is essential.
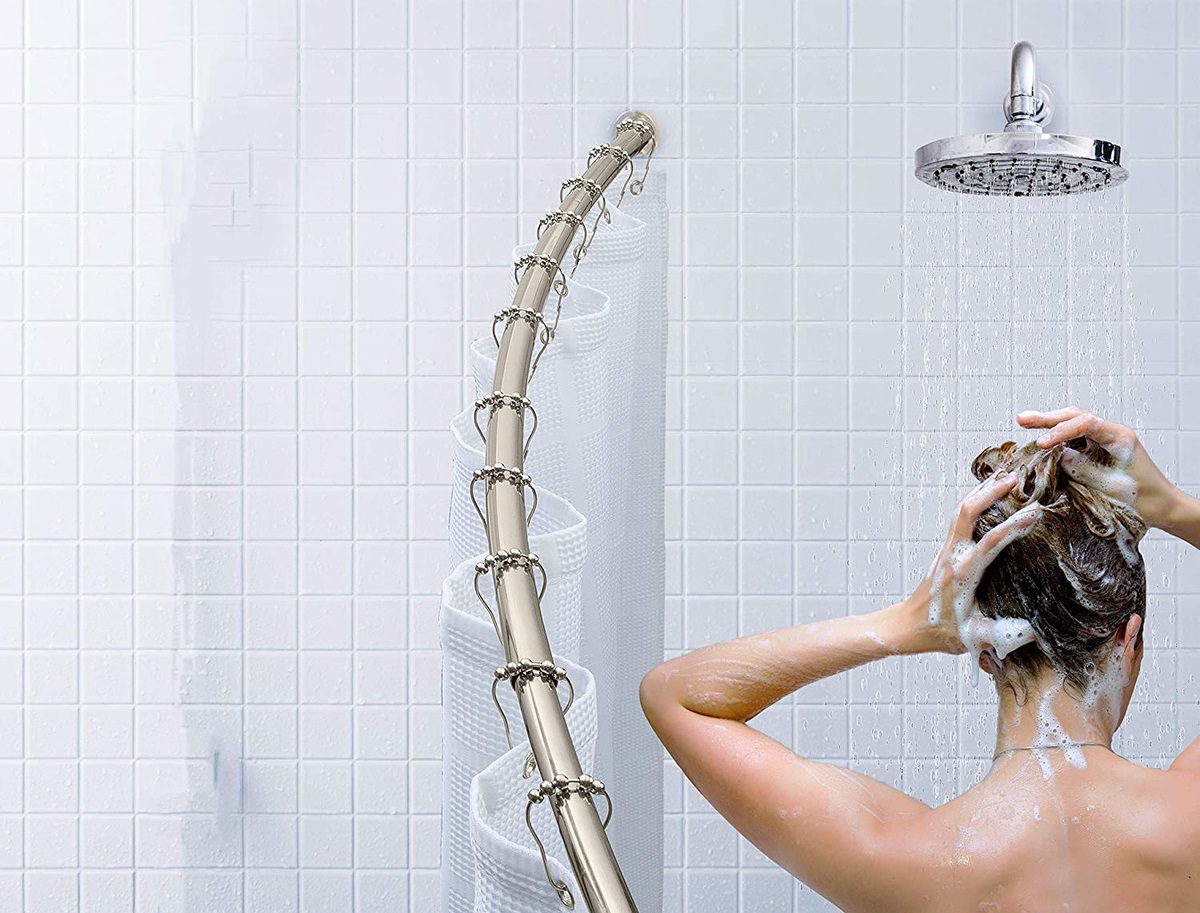
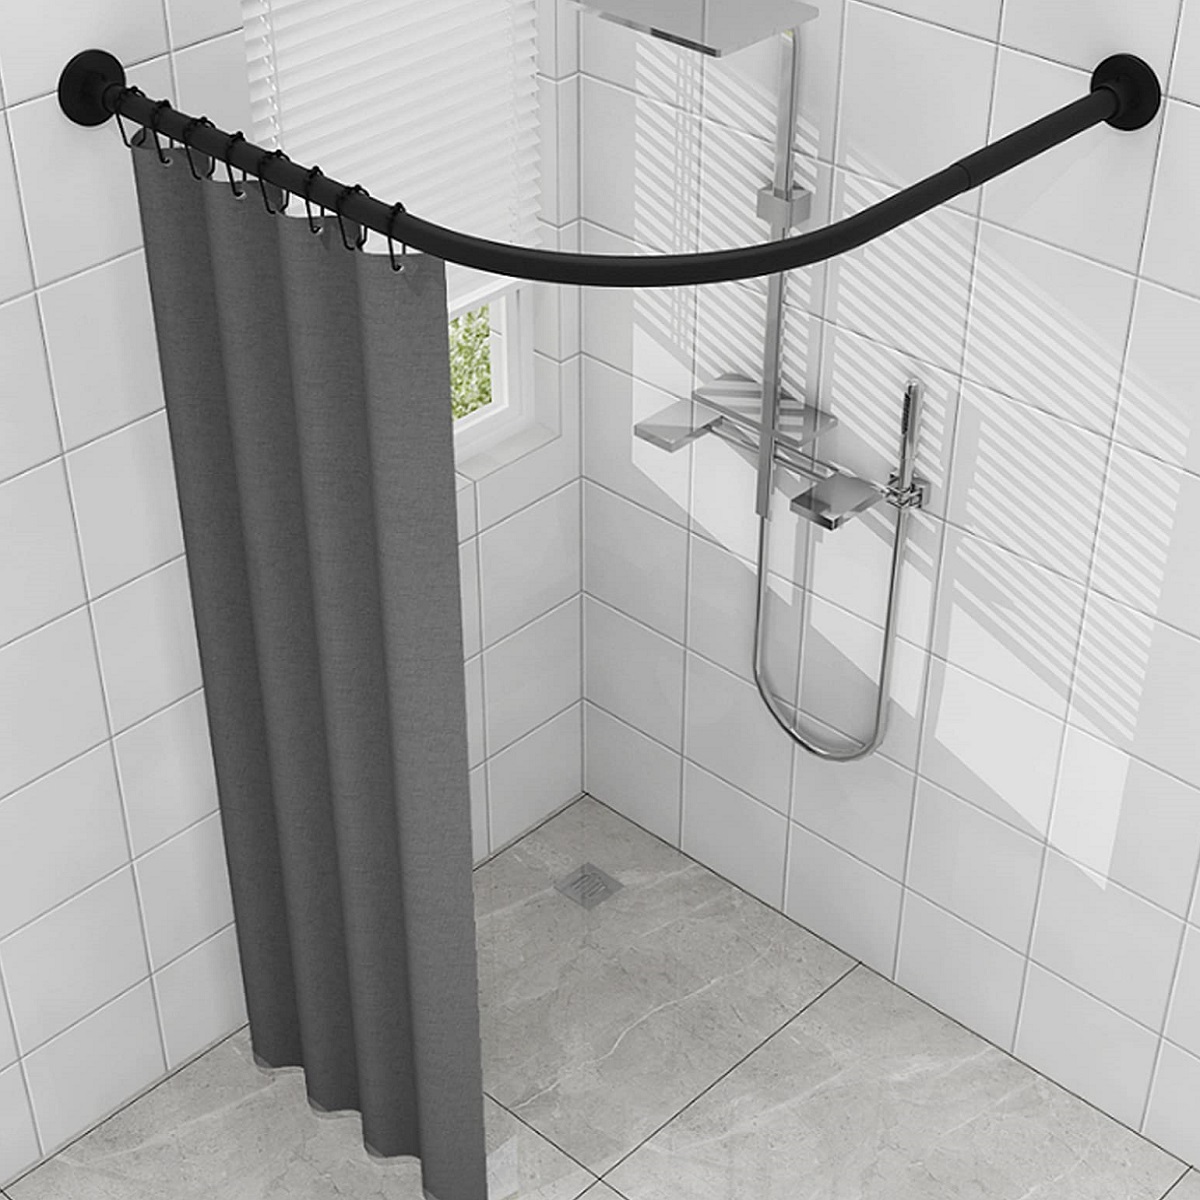
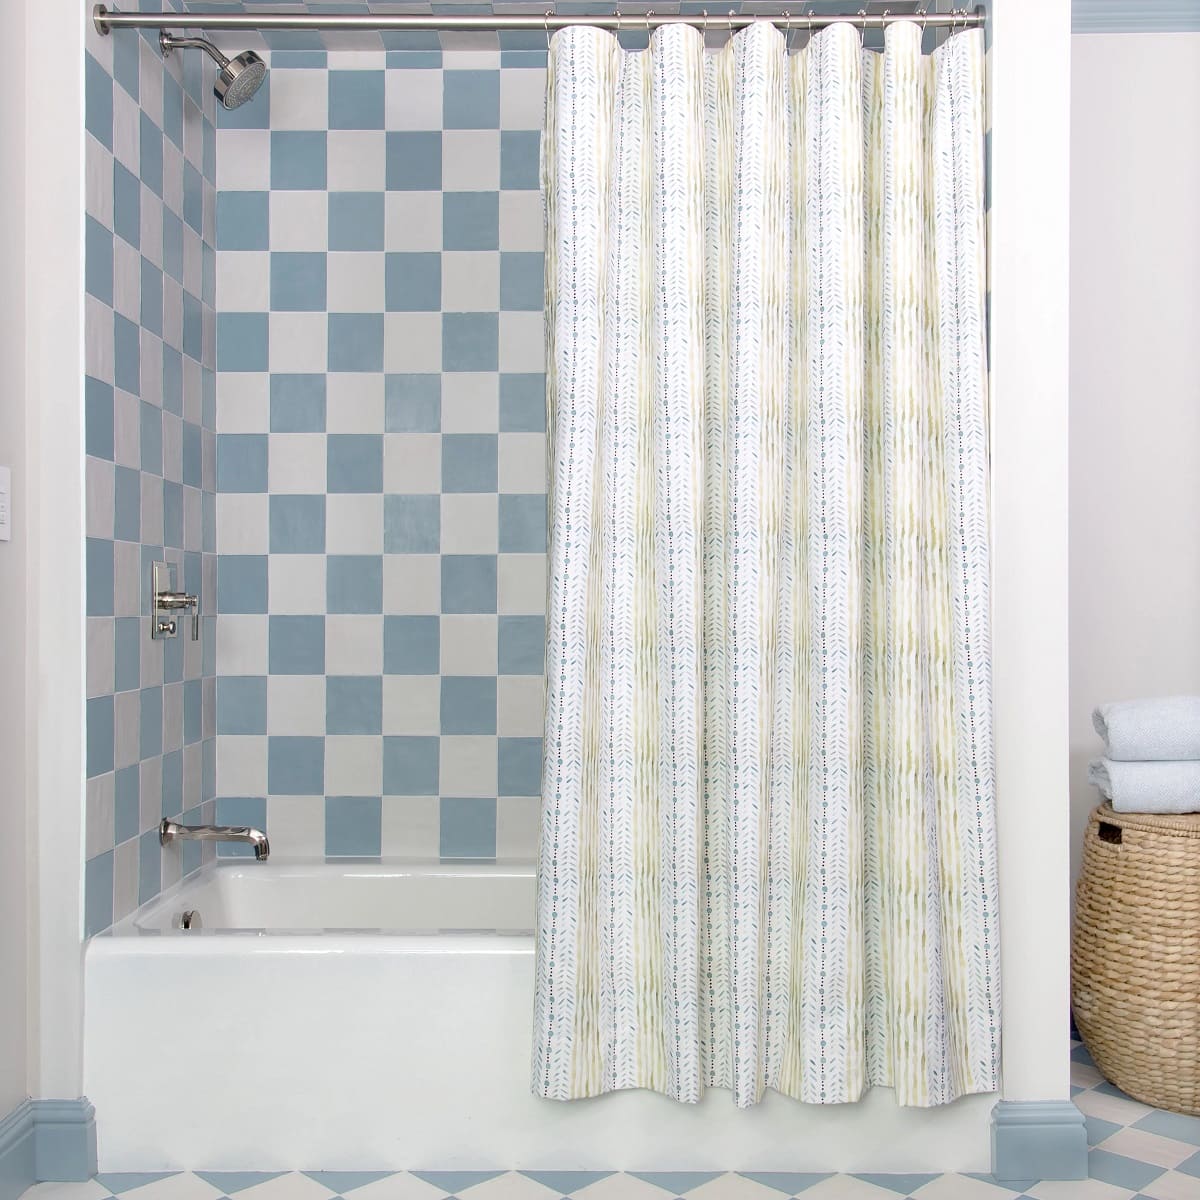
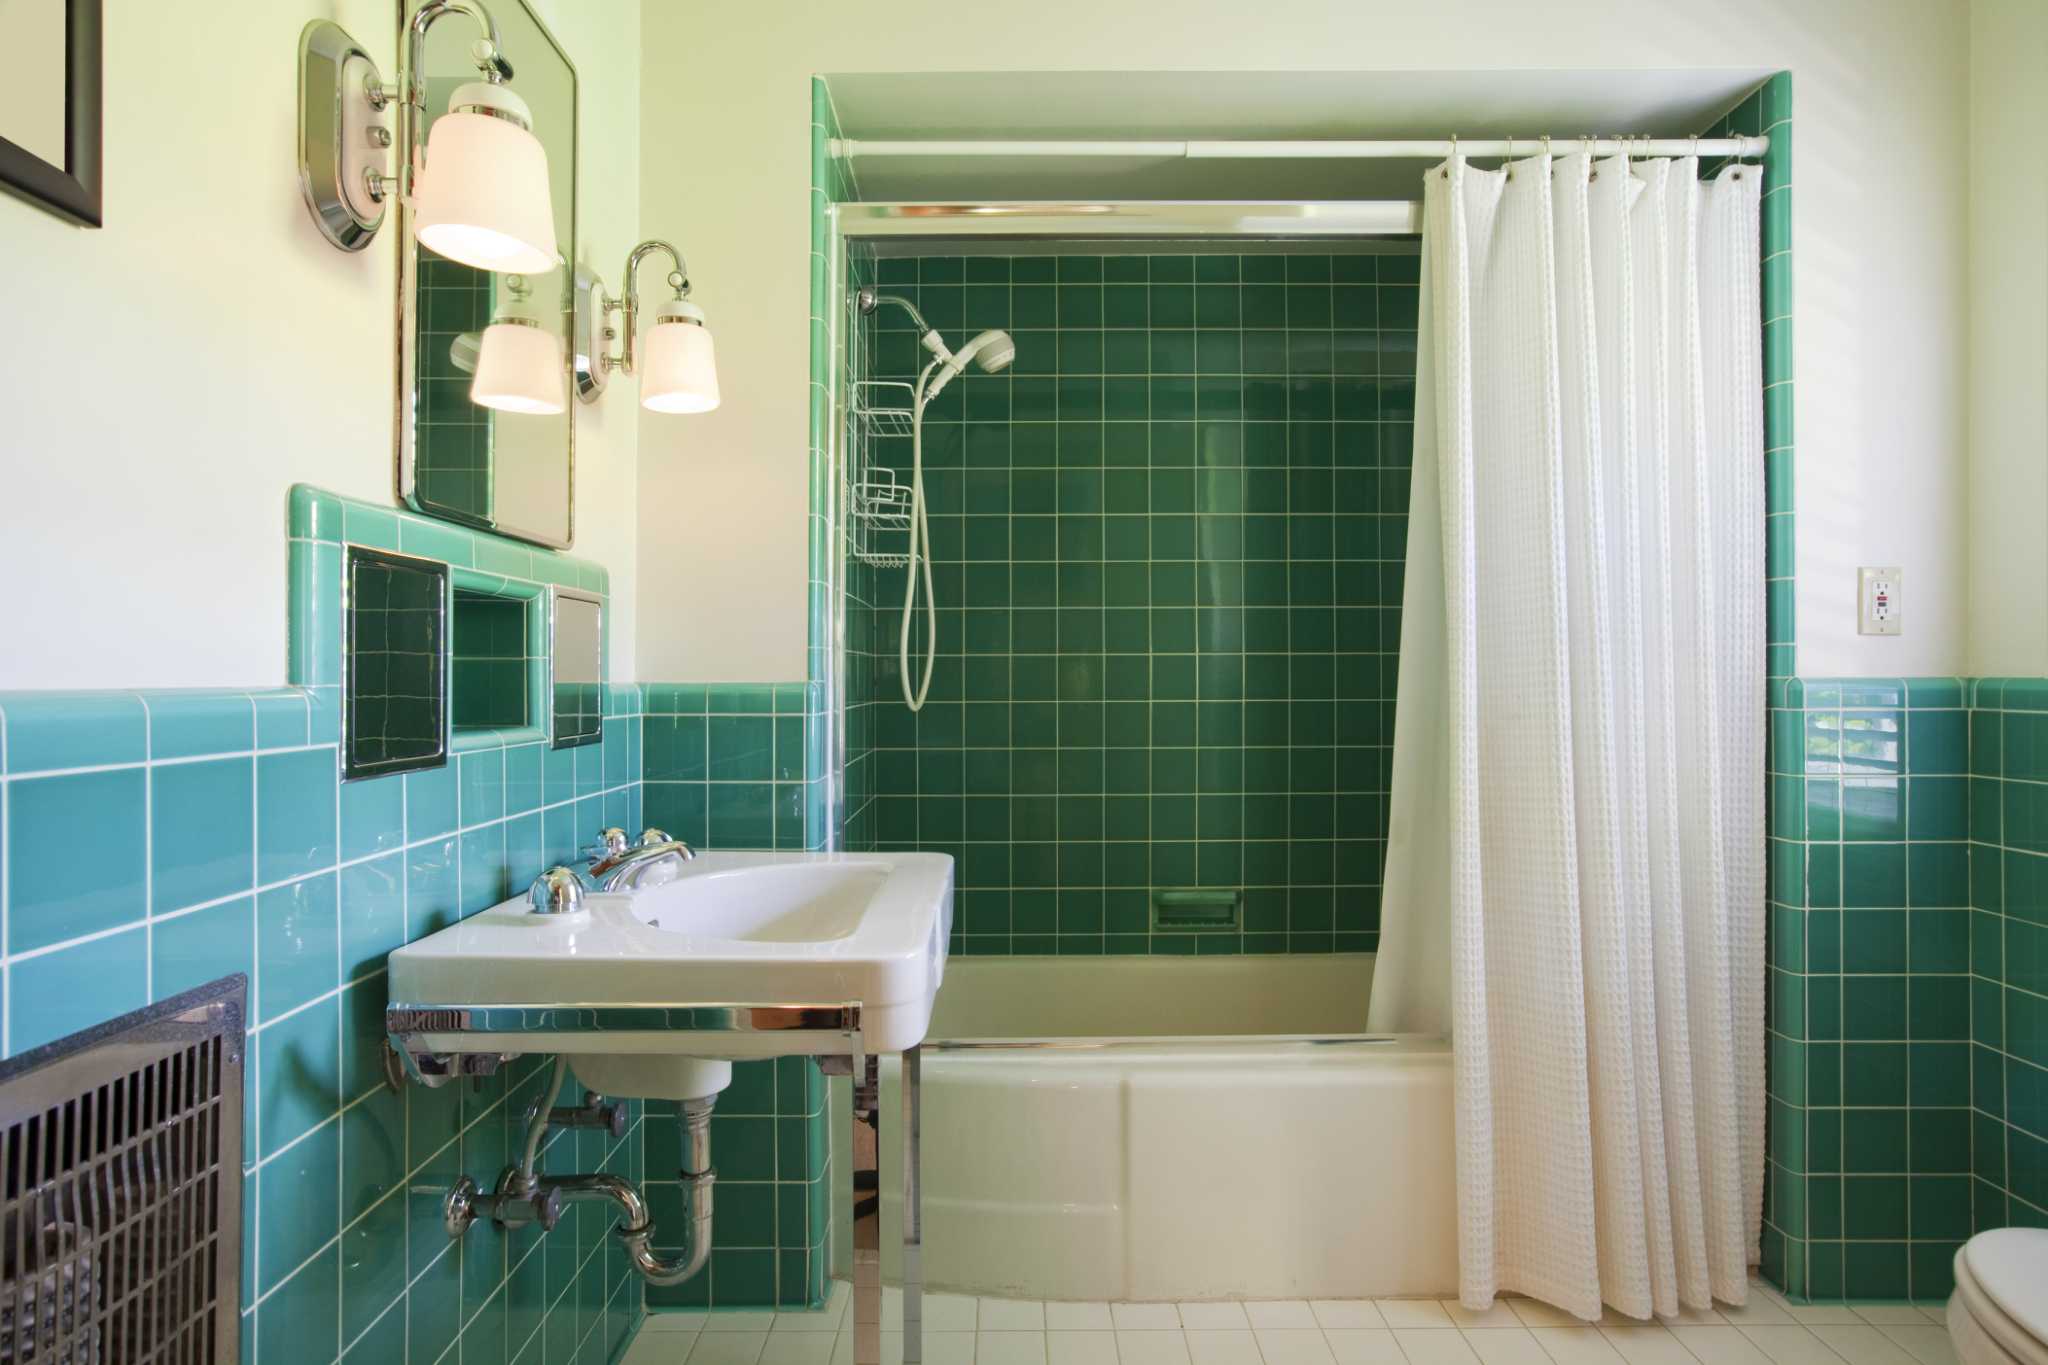
A curved shower rod is a popular choice in many bathrooms due to its ability to create extra space and provide a more luxurious showering experience. However, there are times when you may need to remove it, such as when renovating the bathroom, replacing the shower rod with a different style, or making repairs to the surrounding walls.
In this guide, we will walk you through the step-by-step process of removing a curved shower rod. From gathering the necessary tools to patching any holes or damage left behind, you'll gain the knowledge and confidence to tackle this task effectively. By following these instructions, you can ensure a smooth and successful removal process, allowing you to proceed with your bathroom improvement plans.
So, let's roll up our sleeves and dive into the process of removing a curved shower rod. With the right guidance and a can-do attitude, you'll be well-equipped to handle this home improvement task with ease.
Key Takeaways:
- Removing a curved shower rod is a manageable task with the right tools and approach. Gather essential tools, unscrew mounting hardware, and patch any damage for a smooth removal process.
- Prioritize safety and organization when removing a curved shower rod. Gather tools, unscrew hardware, and patch any damage to ensure a successful and efficient removal process.
Read more: How To Remove A Curved Shower Curtain Rod
Step 1: Gather the necessary tools
Before embarking on the task of removing a curved shower rod, it's essential to gather the necessary tools to ensure a smooth and efficient process. Having the right tools at your disposal will not only make the job easier but also help prevent any potential damage to the surrounding area. Here's a comprehensive list of tools you'll need:
-
Screwdriver: A screwdriver is a fundamental tool for removing the mounting hardware that secures the curved shower rod in place. Depending on the type of screws used, you may require a Phillips or flat-head screwdriver.
-
Adjustable Wrench: This versatile tool will come in handy for loosening and removing any nuts or bolts that are part of the mounting hardware. Ensure that the wrench is adjustable to fit various sizes of nuts and bolts.
-
Putty Knife: A putty knife is essential for removing any caulking or adhesive that may be securing the curved shower rod to the wall. It helps in gently prying the rod away from the wall without causing damage.
-
Utility Knife: You'll need a utility knife to cut through any silicone or caulk sealing the edges of the curved shower rod. This will facilitate the smooth removal of the rod without leaving behind residue.
-
Safety Glasses: It's crucial to prioritize safety when working with tools. Wearing safety glasses will protect your eyes from any debris or particles that may dislodge during the removal process.
-
Drop Cloth or Tarp: To protect the bathtub or shower area from any falling debris or dust, lay down a drop cloth or tarp. This will help maintain cleanliness and prevent any potential damage to the fixtures.
-
Cleaning Supplies: Once the curved shower rod is removed, you may need to clean the area to remove any residual adhesive, caulk, or dirt. Have cleaning supplies such as a mild detergent, sponge, and towels on hand for this purpose.
By ensuring that you have these essential tools readily available, you'll be well-prepared to proceed with the subsequent steps of removing the curved shower rod. With the right tools at your disposal, you can approach the task with confidence and efficiency, knowing that you have everything you need to complete the job effectively.
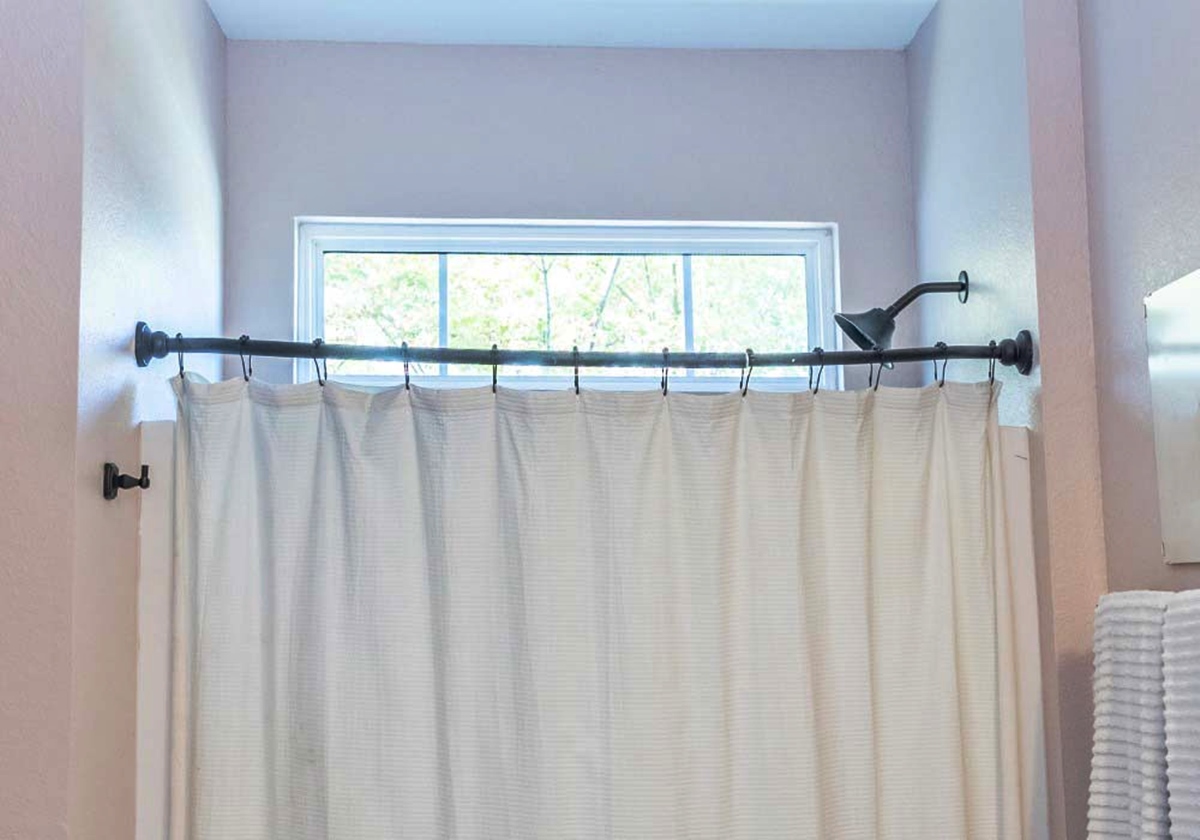
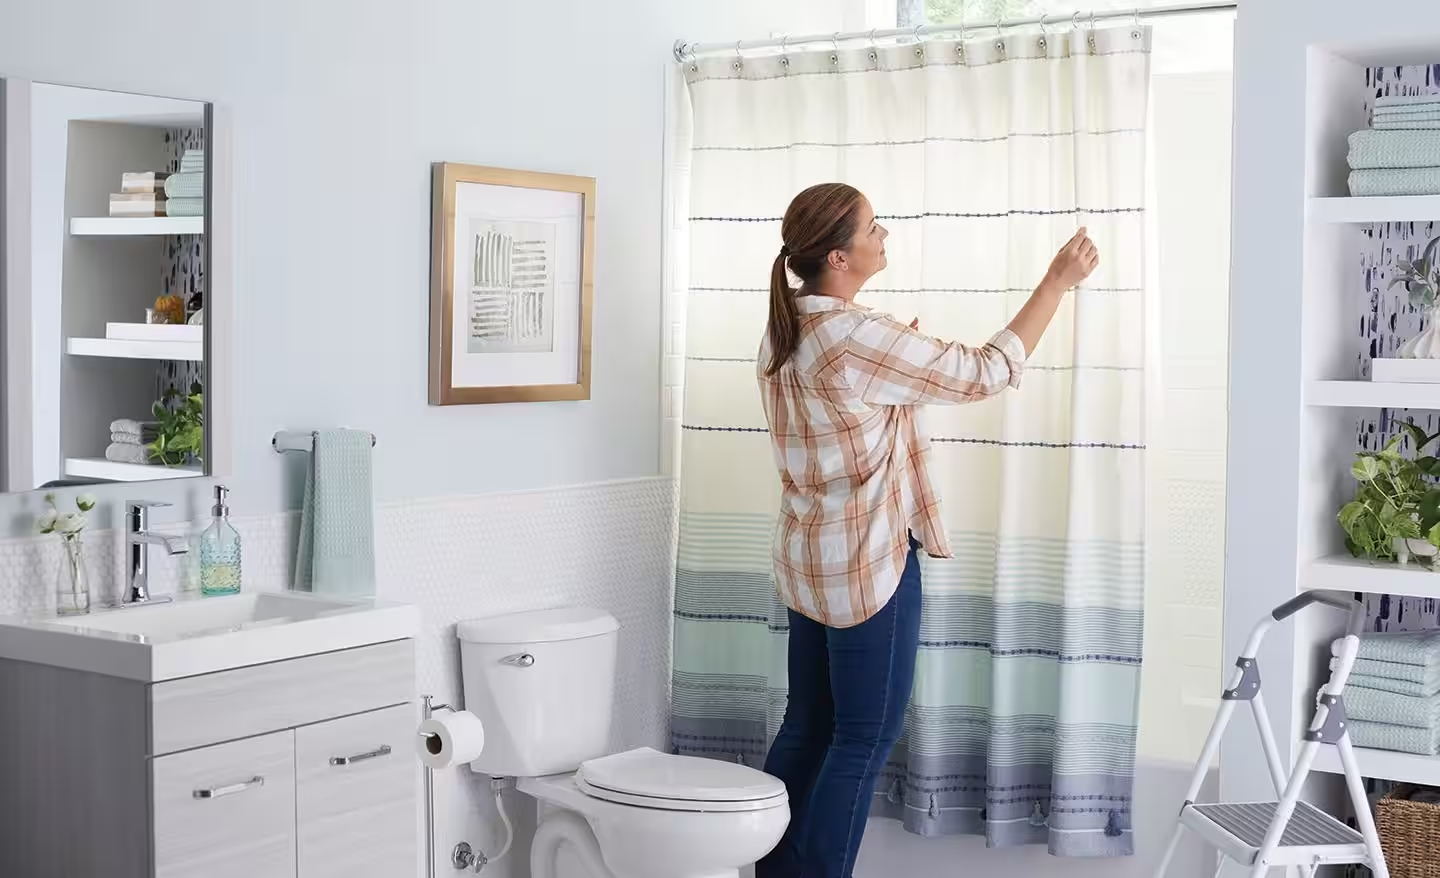
Step 2: Remove the shower curtain
Before you can begin the process of removing the curved shower rod, it's essential to take down the shower curtain or any other items that may be hanging from the rod. This step ensures that the curtain doesn't obstruct your access to the rod and allows for a clear workspace. Here's a detailed guide on how to remove the shower curtain:
-
Open the Shower Curtain: If the shower curtain is closed, carefully open it to reveal the entire curved shower rod. Ensure that the curtain rings or hooks are easily accessible.
-
Remove the Curtain Rings or Hooks: Depending on the type of curtain, you may need to unhook the rings or hooks from the rod. Start from one end and work your way across, detaching each ring or hook until the entire curtain is free from the rod.
-
Set Aside the Curtain and Rings: Once the curtain is detached, set it aside in a safe location, away from the work area. If the curtain requires cleaning, this is an opportune time to do so.
-
Inspect the Rod Area: With the curtain removed, take a moment to inspect the curved shower rod and the area around it. Look for any signs of damage, such as rust, mold, or mildew, and make a note of any areas that may require cleaning or maintenance.
By following these steps, you can effectively remove the shower curtain and prepare the curved shower rod for the subsequent stages of the removal process. This initial step sets the stage for a smooth and organized approach to handling the curved shower rod, ensuring that the surrounding area is clear and ready for the next steps.
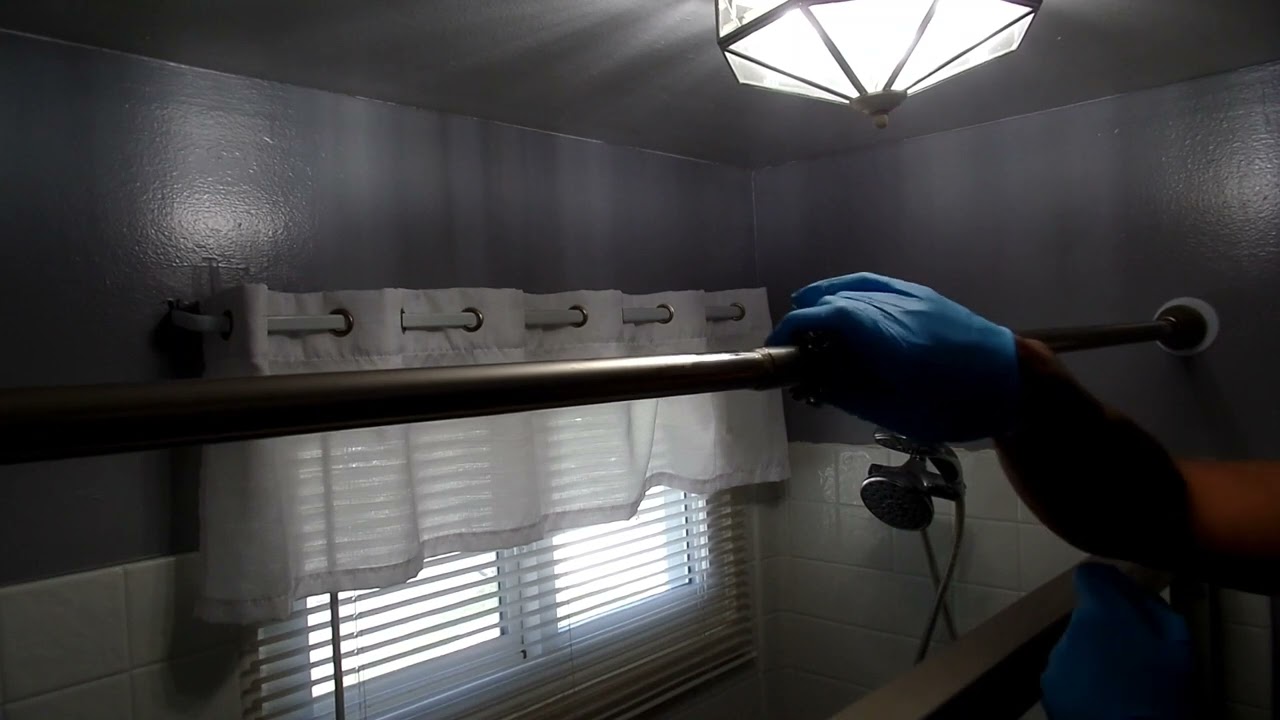
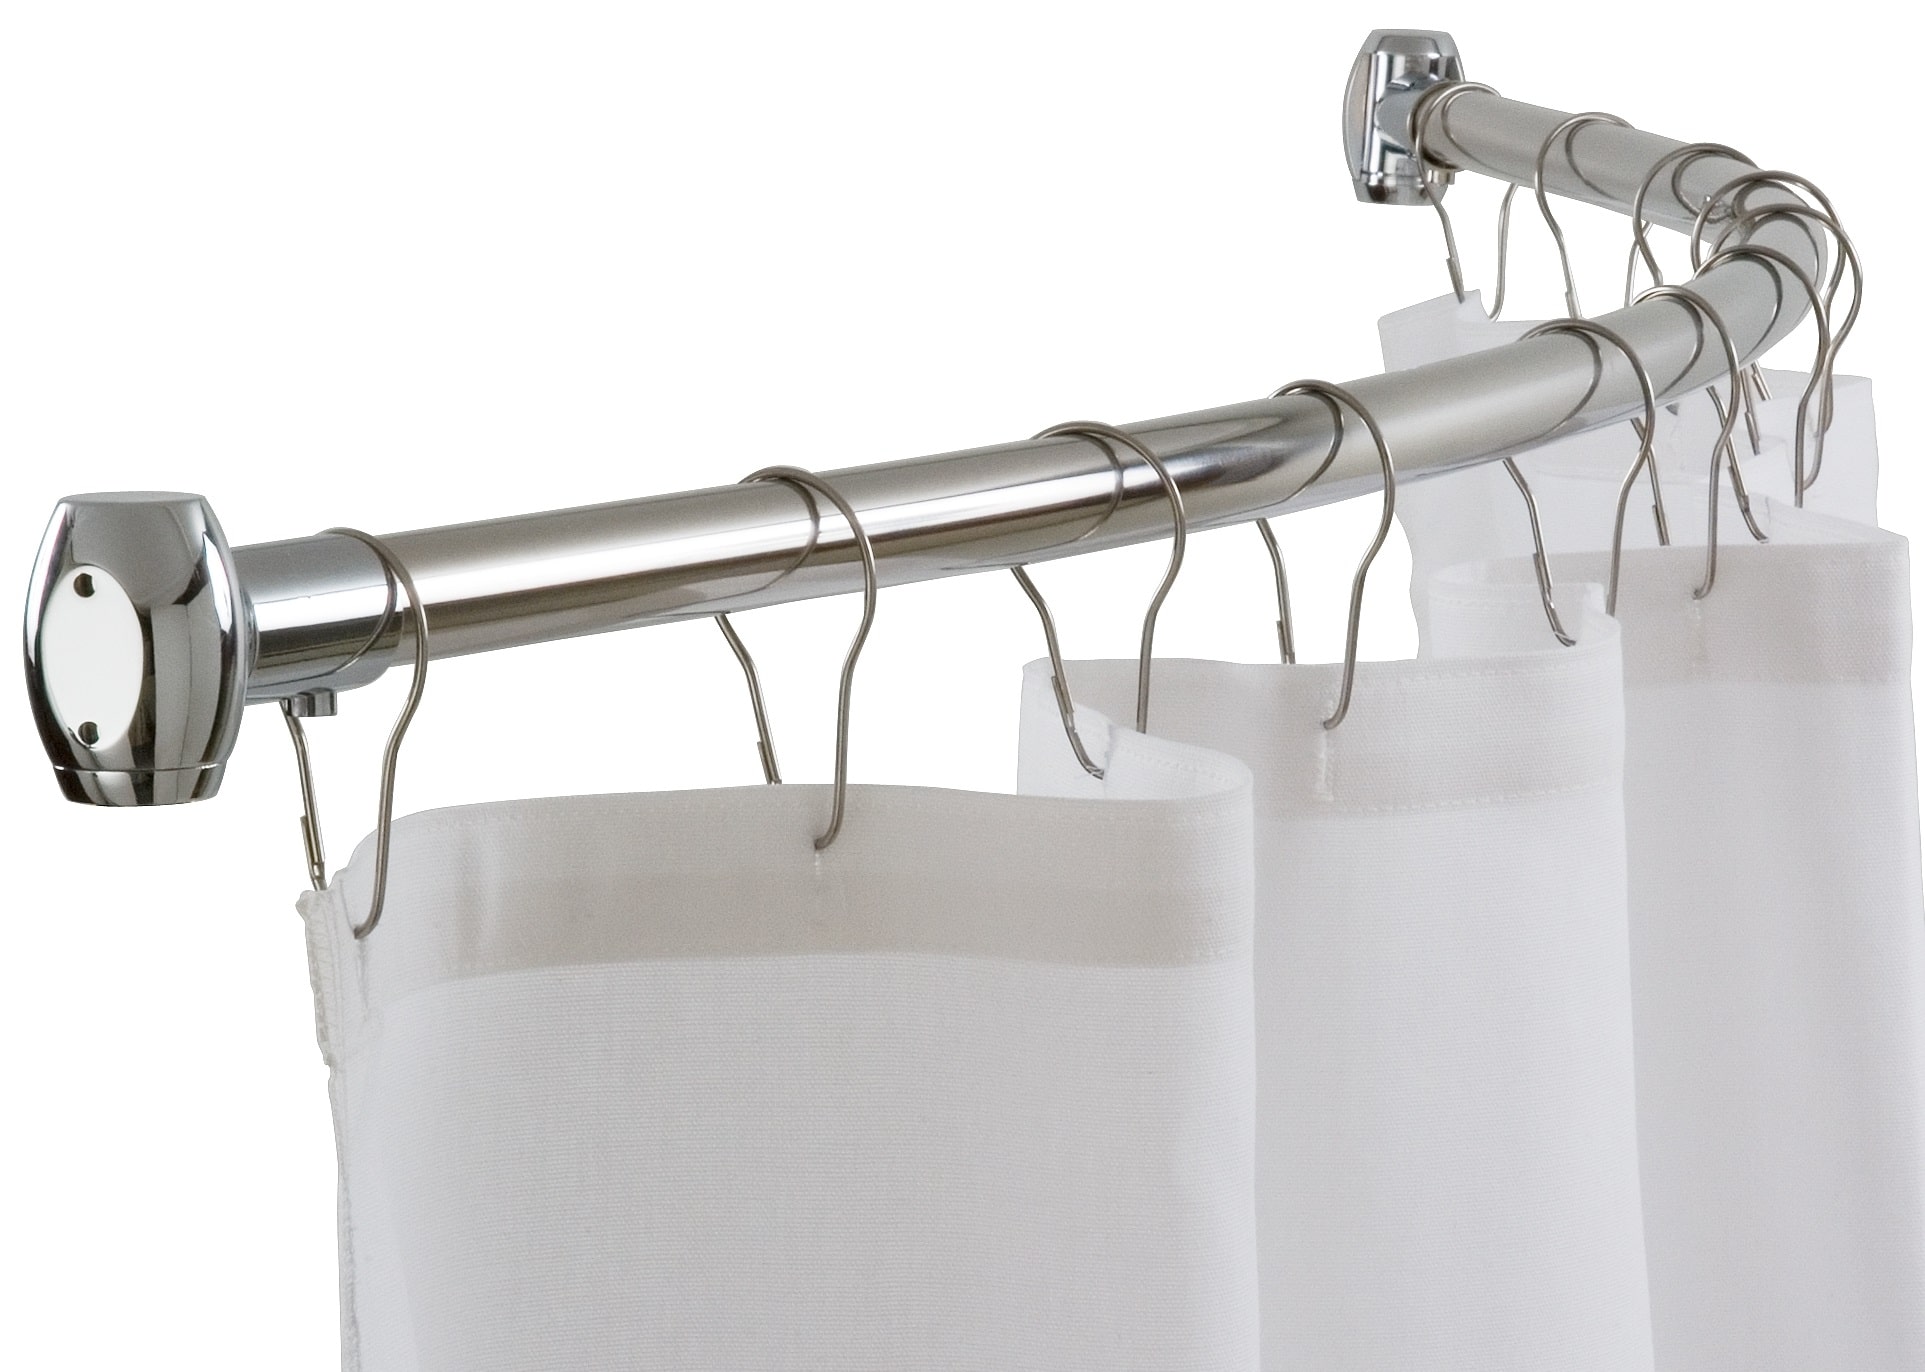
Step 3: Unscrew the mounting hardware
With the shower curtain removed and the necessary tools at hand, the next crucial step in removing a curved shower rod is to unscrew the mounting hardware that secures it to the wall. This process requires precision and attention to detail to ensure that the hardware is removed without causing damage to the surrounding area. Here's a detailed guide on how to effectively unscrew the mounting hardware:
-
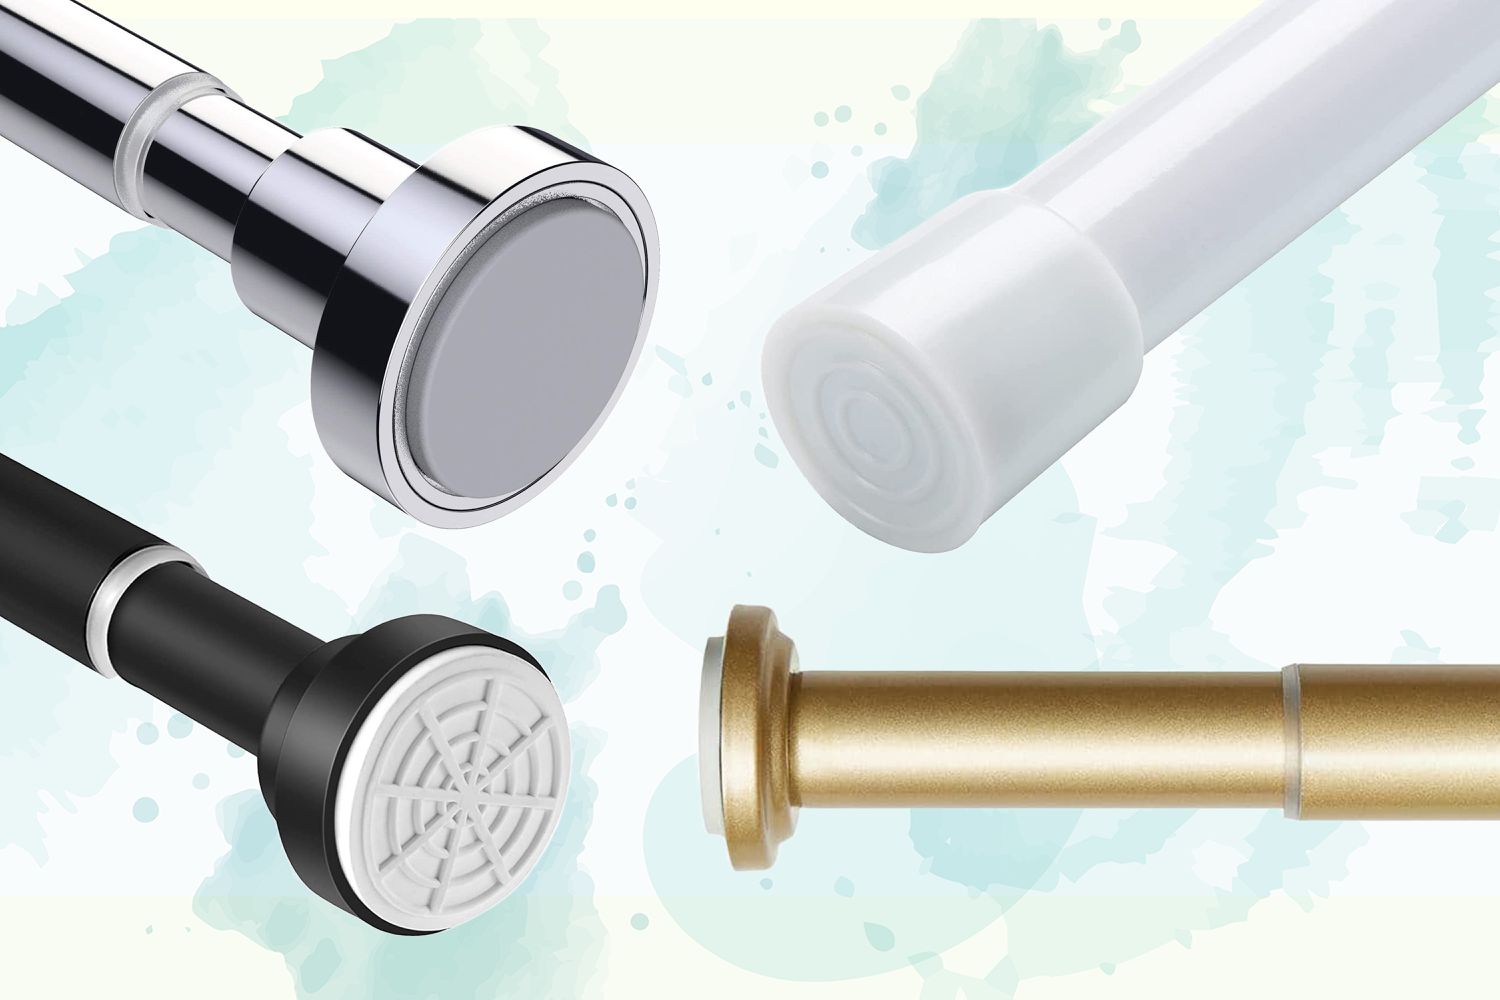
Locate the Mounting Hardware: The mounting hardware for the curved shower rod is typically located at both ends, securing the rod to the wall. It may consist of screws, brackets, or flanges, depending on the specific design of the rod. Identify the hardware and take note of the number of fasteners holding the rod in place.
-
Use the Screwdriver: Depending on the type of screws used, select the appropriate screwdriver, whether it's a Phillips or flat-head, to fit the screw heads. Position the screwdriver securely onto the screw head and begin turning it counterclockwise to loosen and remove the screws. If the hardware includes brackets or flanges, check for any additional screws or fasteners securing them to the wall.
-
Support the Rod: As you unscrew the hardware, it's essential to provide support for the curved shower rod to prevent it from falling unexpectedly. Use one hand to hold the rod while using the other hand to remove the screws or fasteners. This ensures that the rod remains stable and controlled throughout the process.
-
Inspect for Caulking or Adhesive: In some installations, the mounting hardware may be sealed with caulk or adhesive to provide additional stability. If this is the case, carefully inspect the area around the hardware for any signs of caulking or adhesive. Use a putty knife to gently pry away the caulk, allowing for easier access to the mounting hardware.
-
Store the Hardware Securely: As you remove the screws or fasteners, keep them in a safe and easily accessible location. This will prevent any loss of hardware and ensure that they can be reused if necessary. Consider using a small container or resealable bag to store the hardware, keeping it organized for reinstallation or future use.
By following these steps, you can effectively unscrew the mounting hardware that secures the curved shower rod to the wall. This meticulous process sets the stage for the subsequent removal of the curved shower rod itself, ensuring that the hardware is detached with care and precision. With the mounting hardware removed, you're ready to proceed to the next step of removing the curved shower rod.
To remove a curved shower rod, start by unscrewing the mounting brackets from the wall. Then, carefully lift the rod off the brackets and remove any remaining hardware. Be sure to patch any holes left in the wall.
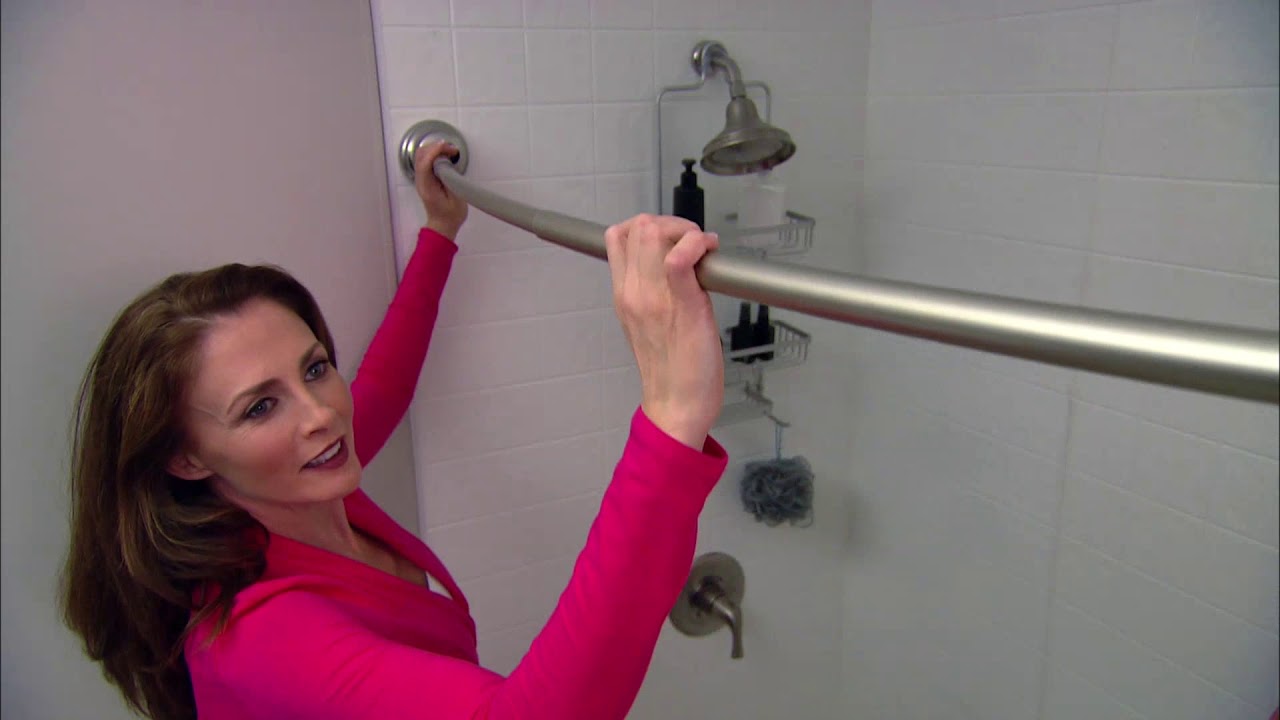
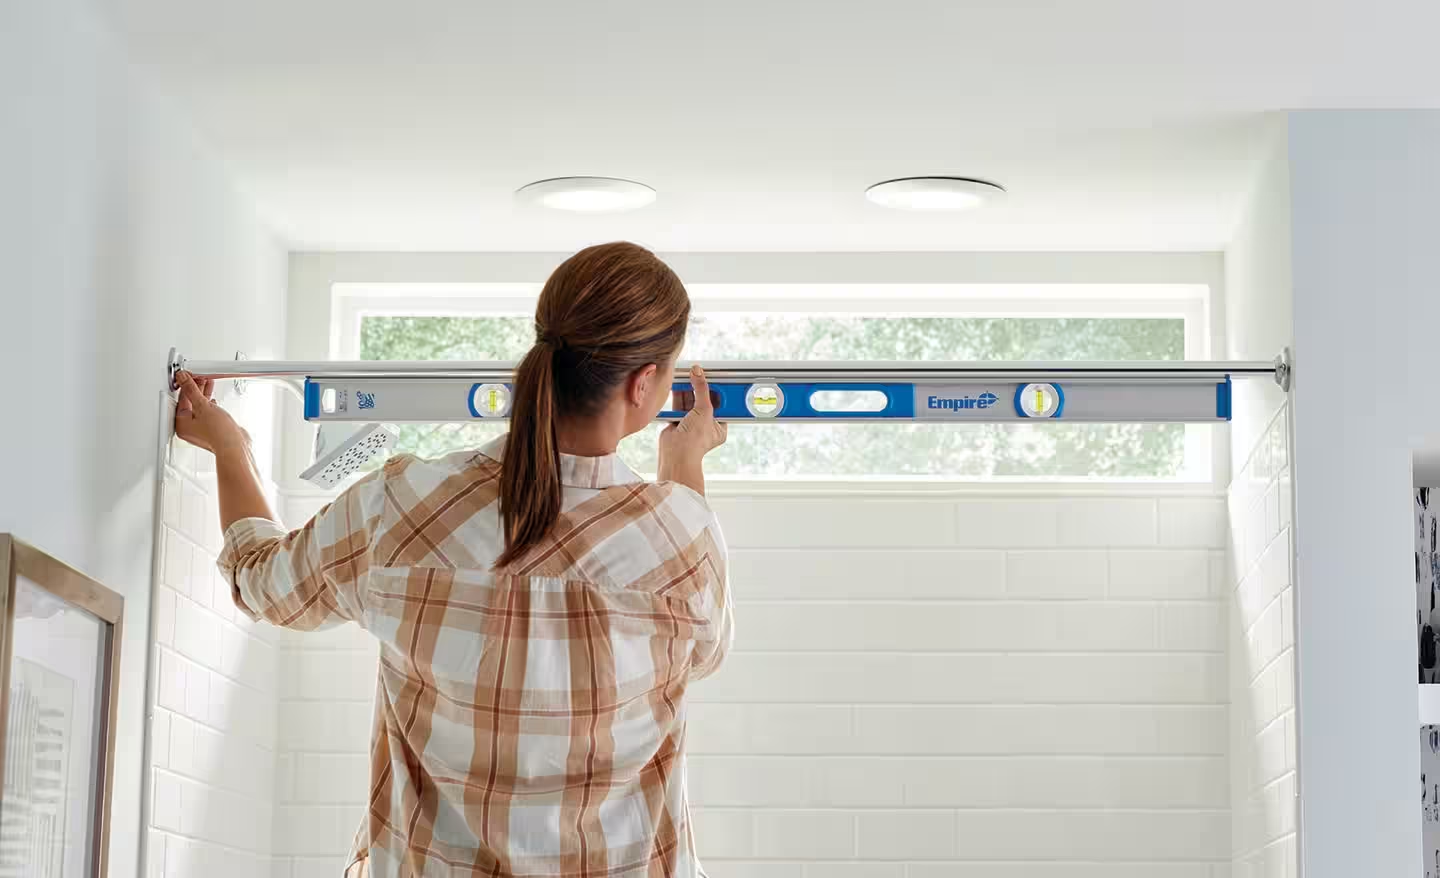
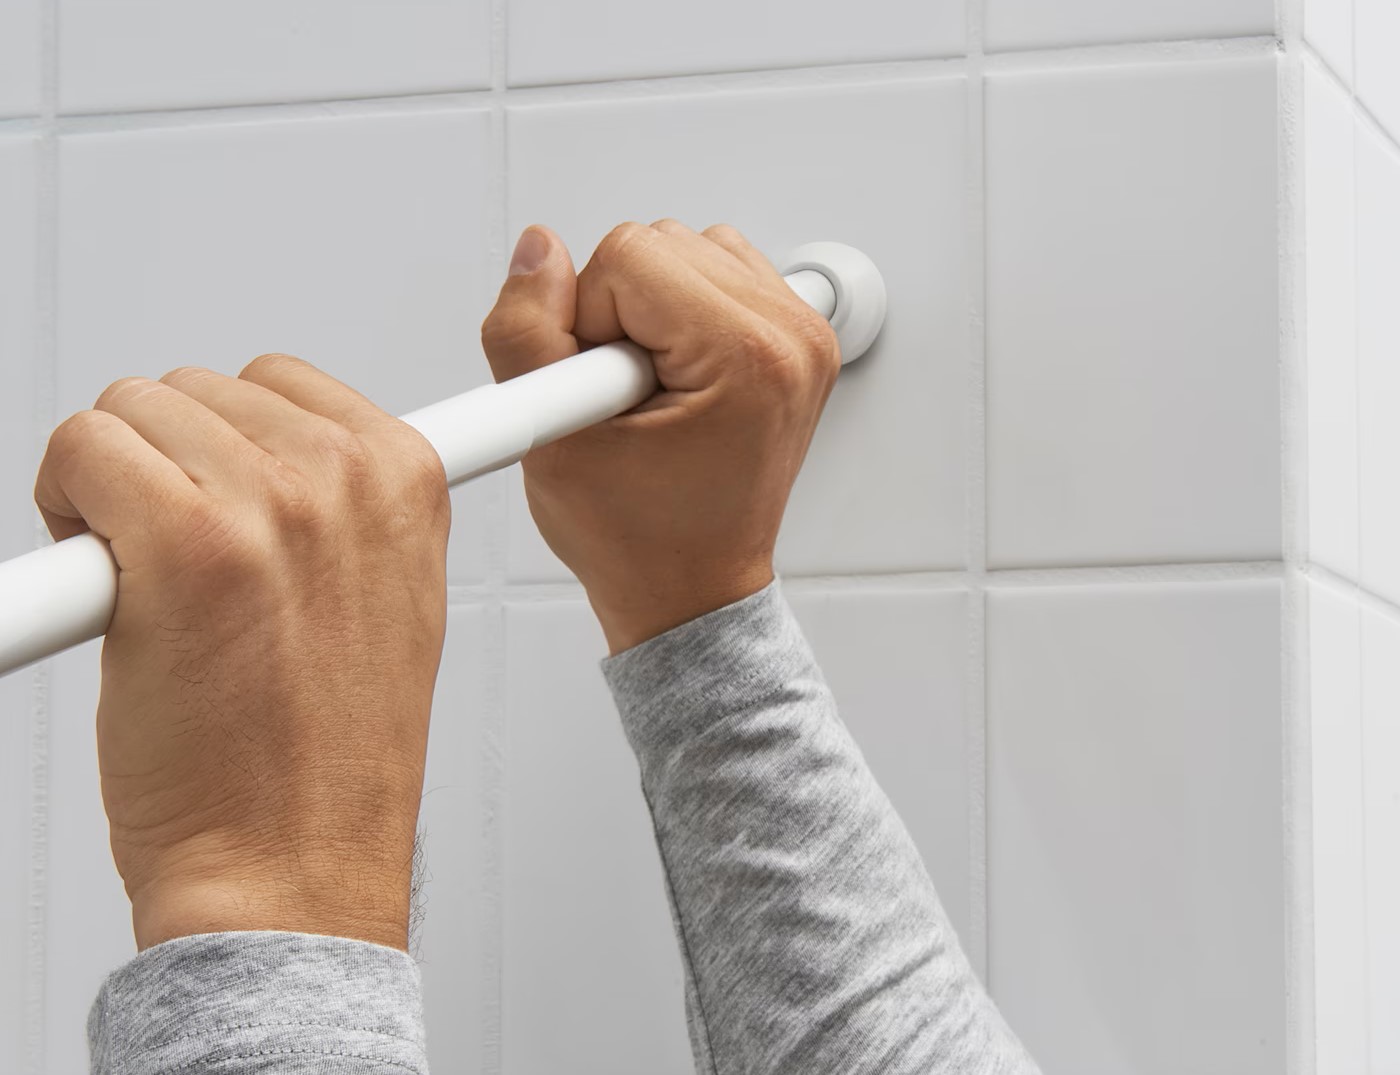
Step 4: Remove the curved shower rod
With the mounting hardware unscrewed and the shower curtain removed, the next pivotal step in the process of removing a curved shower rod is the actual removal of the rod itself. This step requires attention to detail and a methodical approach to ensure that the rod is detached without causing damage to the surrounding walls or fixtures. Here's a comprehensive guide on how to effectively remove the curved shower rod:
-
Gently Detach the Rod: Start by gently lifting the curved shower rod away from the wall. Depending on the installation method, the rod may be secured in place by tension, brackets, or other mechanisms. Carefully assess how the rod is attached and apply gentle pressure to detach it from the wall.
-
Inspect for Residue: As you lift the rod, inspect the area where it was mounted for any signs of residue, such as caulk, adhesive, or dirt. If there are remnants of caulking or adhesive, use a putty knife or utility knife to gently remove them, ensuring that the wall surface is clean and free from any obstructions.
-
Secure the Rod: Once the rod is detached, set it aside in a safe and stable location. It's essential to handle the rod with care to prevent any bending or damage during the removal process. If the rod is in good condition and you plan to reuse it, store it in a secure area to avoid any potential dents or scratches.
-
Assess the Wall Condition: With the curved shower rod removed, take a moment to assess the condition of the wall where it was mounted. Look for any signs of damage, such as holes, scratches, or discoloration. This assessment will help determine if any repairs or touch-ups are needed before installing a new shower rod.
-
Clean the Area: After the rod is removed and the wall is inspected, take the opportunity to clean the surrounding area. Use a mild detergent and a sponge to remove any residual dirt or grime, ensuring that the wall is clean and ready for any necessary repairs or the installation of a new shower rod.
By following these steps, you can effectively remove the curved shower rod, leaving the area clean and prepared for the next phase of your bathroom improvement project. With the rod safely removed and the wall in good condition, you're now ready to proceed with any necessary repairs or the installation of a new shower rod, knowing that the removal process was carried out with precision and care.
Read more: How To Install A Curved Shower Curtain Rod
Step 5: Patch any holes or damage left behind
After removing the curved shower rod, it's essential to address any holes or damage left behind on the wall. This step ensures that the wall surface is restored to its original condition, providing a clean and smooth foundation for any future installations or repairs. Here's a detailed guide on how to effectively patch any holes or damage left behind:
-
Assess the Wall: Begin by carefully examining the wall where the curved shower rod was mounted. Look for any holes, scratches, or other forms of damage that may have resulted from the installation or removal process. It's essential to have a clear understanding of the extent of the damage before proceeding with the patching process.
-
Fill Holes with Spackling: If there are small to medium-sized holes left behind by the mounting hardware, use spackling compound to fill them. Apply a small amount of spackling to a putty knife and gently press it into the holes, ensuring that they are completely filled. Smooth out the surface of the spackling to create a seamless finish.
-
Sand the Patched Areas: Once the spackling has dried, use fine-grit sandpaper to gently sand the patched areas. This will help smooth out any uneven surfaces and ensure that the patched areas blend seamlessly with the surrounding wall. Be mindful of the pressure applied to avoid damaging the wall surface.
-
Repaint if Necessary: Depending on the type of wall and the extent of the damage, you may need to repaint the patched areas to match the existing wall color. Use a small brush or roller to carefully apply matching paint to the patched areas, ensuring that the color blends seamlessly with the surrounding wall. Allow the paint to dry completely before proceeding with any further installations.
-
Inspect for Smoothness: After patching and painting, inspect the wall to ensure that the patched areas are smooth and indistinguishable from the rest of the wall. Run your hand over the patched areas to check for any roughness or unevenness. Making any necessary touch-ups at this stage will ensure a flawless finish.
-
Clean the Surrounding Area: Once the patching and painting are complete, take the time to clean the surrounding area to remove any dust or debris. Use a damp cloth or sponge to gently wipe the wall, ensuring that the patched areas are free from any residual particles.
By following these steps, you can effectively patch any holes or damage left behind after removing the curved shower rod. This meticulous process ensures that the wall is restored to its original condition, providing a clean and seamless surface for any future bathroom enhancements. With the wall patched and prepared, you're now ready to proceed with confidence, knowing that the removal process was carried out with attention to detail and a focus on maintaining the integrity of your bathroom space.
Conclusion
In conclusion, the process of removing a curved shower rod involves a systematic approach that ensures the safe and efficient removal of the fixture while maintaining the integrity of the surrounding area. By following the step-by-step guide outlined in this article, you can confidently tackle this home improvement task and prepare the bathroom for any subsequent renovations or upgrades.
The initial step of gathering the necessary tools sets the stage for a well-prepared and organized approach to removing the curved shower rod. Having essential tools such as a screwdriver, adjustable wrench, putty knife, and safety glasses at your disposal ensures that you can proceed with the subsequent steps with confidence and efficiency.
Removing the shower curtain not only clears the workspace but also allows for a thorough inspection of the curved shower rod and the surrounding area. This step sets the stage for a focused and organized approach to the subsequent removal process, ensuring that the workspace is clear and ready for the next steps.
Unscrewing the mounting hardware requires precision and attention to detail to ensure that the hardware is removed without causing damage to the surrounding area. By carefully unscrewing the hardware and providing support for the curved shower rod, you can effectively detach the mounting hardware and prepare for the removal of the rod itself.
The actual removal of the curved shower rod involves a methodical approach to ensure that the rod is detached without causing damage to the surrounding walls or fixtures. By gently detaching the rod, inspecting for residue, and assessing the wall condition, you can effectively remove the rod and prepare the area for any necessary repairs or the installation of a new shower rod.
Patching any holes or damage left behind ensures that the wall surface is restored to its original condition, providing a clean and smooth foundation for any future installations or repairs. By carefully assessing the wall, filling holes with spackling, and inspecting for smoothness, you can achieve a flawless finish and prepare the bathroom for any subsequent enhancements.
In essence, the process of removing a curved shower rod is a manageable task that, when approached with the right tools and a systematic approach, can be carried out effectively. By following the detailed steps outlined in this guide, you can navigate the removal process with confidence and precision, ensuring that your bathroom space is ready for the next phase of your home improvement journey.
Now that you've mastered removing a curved shower rod, why stop there? Dive deeper into home enhancements with our guide on bathroom renovations. Get a clear picture of timelines and tips for a smoother update. Don't forget about regular upkeep; our comprehensive article on necessary home maintenance ensures your space remains in top shape year-round. Stay ahead with your home projects with these essential reads!
Frequently Asked Questions about How To Remove A Curved Shower Rod
Was this page helpful?
At Storables.com, we guarantee accurate and reliable information. Our content, validated by Expert Board Contributors, is crafted following stringent Editorial Policies. We're committed to providing you with well-researched, expert-backed insights for all your informational needs.
0 thoughts on “How To Remove A Curved Shower Rod”