Articles
How To Remove A Bemis Toilet Seat
Modified: September 1, 2024
Learn how to easily remove a Bemis toilet seat with step-by-step instructions and helpful articles for a hassle-free process.
(Many of the links in this article redirect to a specific reviewed product. Your purchase of these products through affiliate links helps to generate commission for Storables.com, at no extra cost. Learn more)
Introduction
Removing a Bemis toilet seat may seem like a daunting task, but with the right tools and a little know-how, it can be a relatively simple process. Whether you are replacing a damaged seat or want to clean the area thoroughly, removing the seat is the first step.
Bemis is a reputable brand known for its durable and stylish toilet seats. Their seats are designed for easy installation and removal, making maintenance hassle-free. By following a few simple steps, you can remove a Bemis toilet seat without any hassle.
In this article, we will guide you through the process of removing a Bemis toilet seat step by step. We will also provide tips on cleaning the area and preparing for the installation of a new seat, in case you decide to upgrade or replace the existing one.
Before we dive into the steps, it is important to mention that safety should always be a priority. Make sure to wear protective gloves and glasses to prevent any injuries. Additionally, ensure that you have the necessary tools and supplies ready before you begin the removal process.
Now, let’s get started with the first step: gathering the necessary tools and supplies to make the removal process smooth and efficient.
Key Takeaways:
- Removing a Bemis toilet seat is a simple process that requires the right tools and careful attention. By following the steps outlined in this article, you can easily accomplish this task and prepare for installation or maintenance.
- Safety should always be a priority when removing or installing a Bemis toilet seat. Gather the necessary tools, locate the attachment points, and follow the step-by-step instructions to ensure a smooth and successful removal process.
Read also: 8 Best Bemis Toilet Seat for 2025
Step 1: Gather the necessary tools and supplies
Before you begin removing the Bemis toilet seat, it’s essential to gather the tools and supplies you’ll need. Having everything ready beforehand will save you time and frustration during the removal process.
Here’s a list of the tools and supplies you’ll need:
1. Adjustable wrench: This tool will help you loosen and remove any bolts or nuts that secure the toilet seat to the hinges. Make sure to choose the right size wrench that fits the nuts on your specific Bemis toilet seat.
2. Screwdriver: A flat-head or Phillips screwdriver may be required to remove certain types of Bemis toilet seats. Check your seat to determine which type of screwdriver you’ll need.
3. Cleaning supplies: It’s a good idea to have some cleaning supplies on hand to tidy up the area after the seat removal. You can use a mild cleaner or disinfectant, a sponge or cloth, and some paper towels.
4. Replacement seat (optional): If you plan to replace the Bemis toilet seat, make sure to have the new seat ready before you begin the removal process. Ensure that the new seat is compatible with your toilet model.
Once you have gathered all the necessary tools and supplies, you are ready to move on to the next step: locating the attachment points of the toilet seat.
Step 2: Locate the seat attachment points
Locating the seat attachment points is crucial for the successful removal of a Bemis toilet seat. The attachment points are the areas where the seat hinges connect to the toilet bowl. By identifying these points, you’ll be able to focus your efforts on removing the seat effectively.
To locate the seat attachment points, follow these steps:
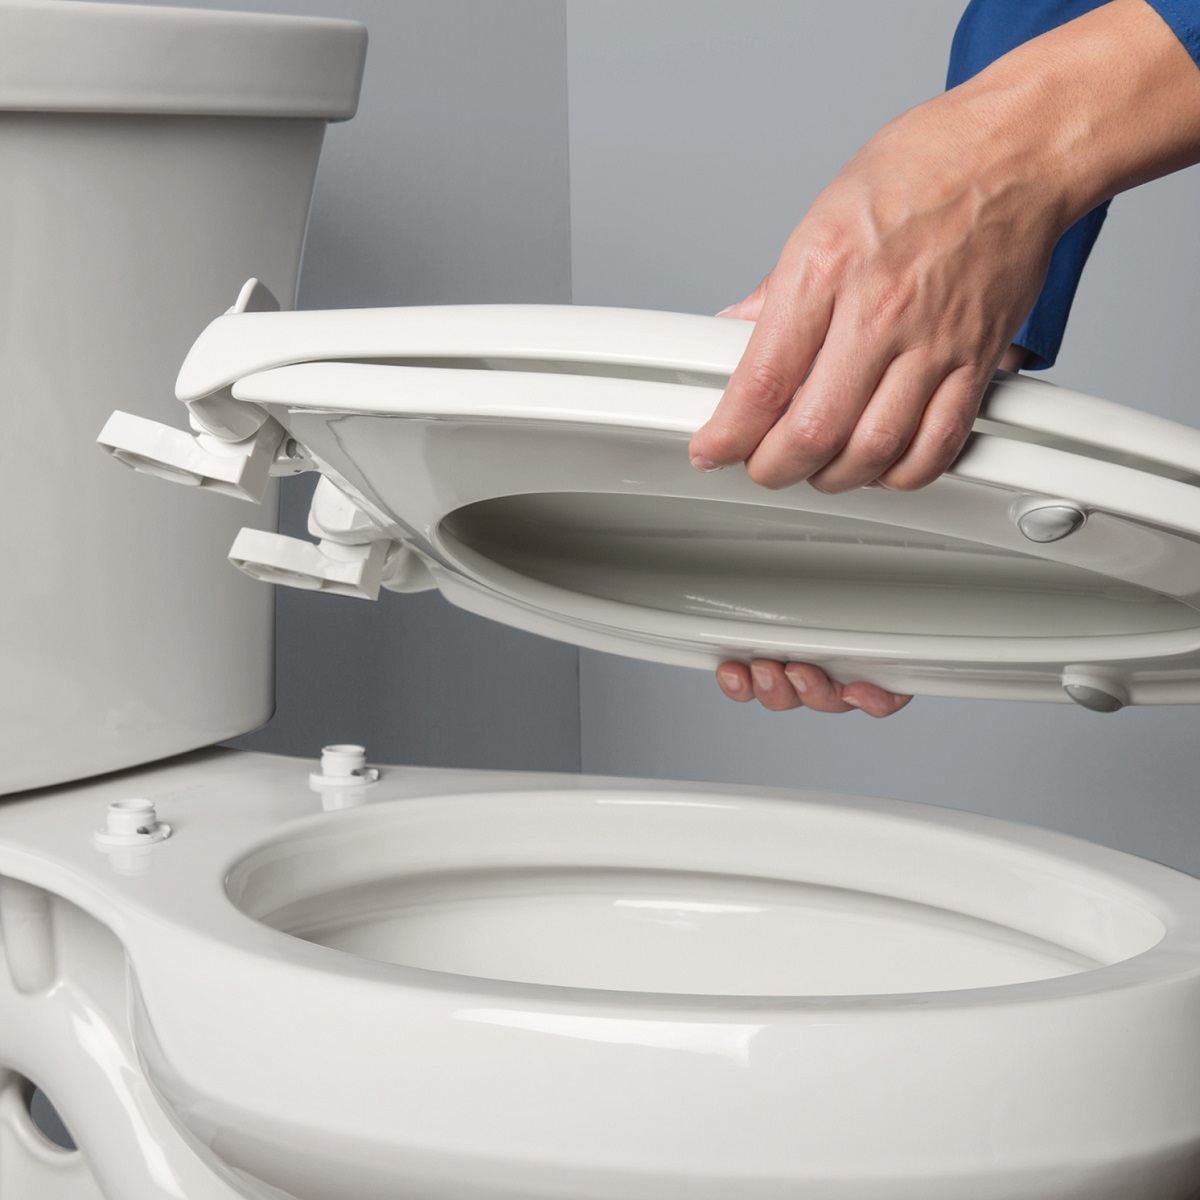
1. Inspect the underside of the toilet seat: Flip the lid and seat up to expose the underside of the toilet seat. Look for two sets of hinges or mounting brackets attached to the toilet bowl. These are the attachment points.
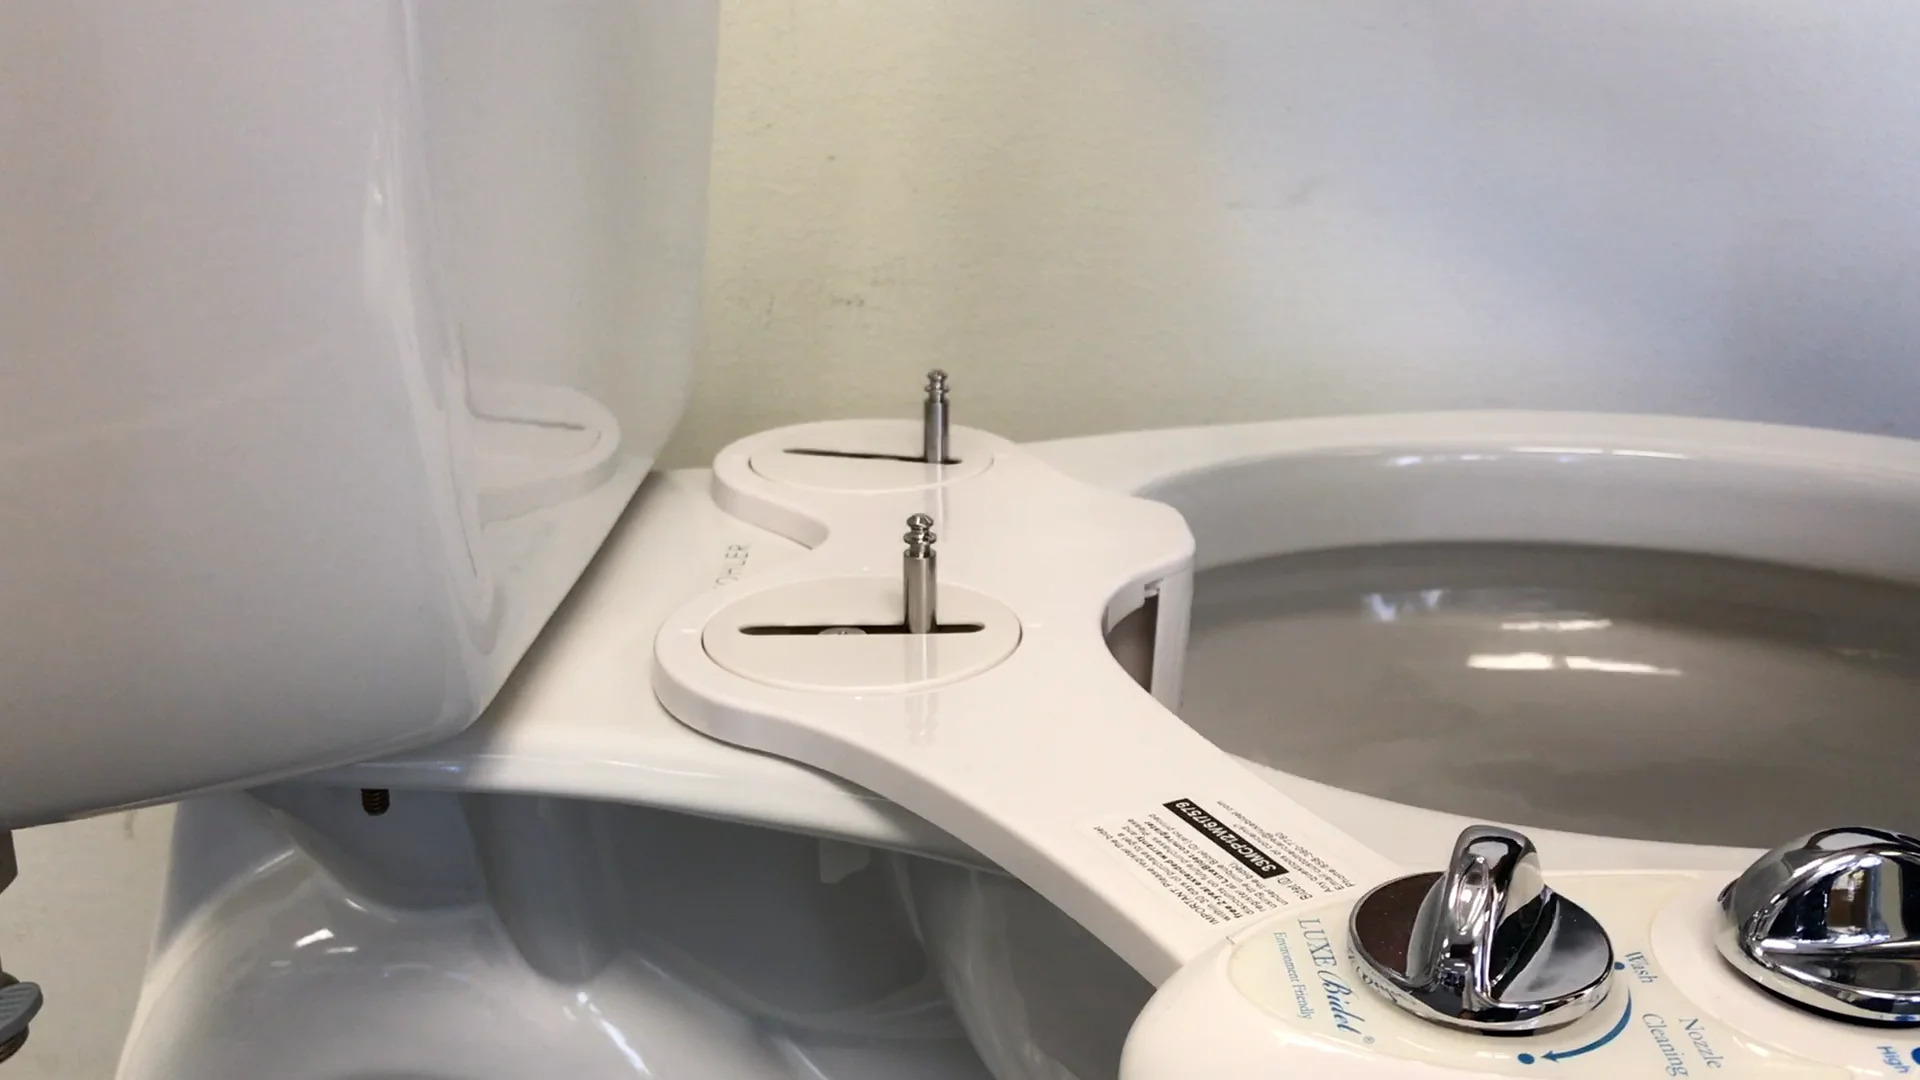
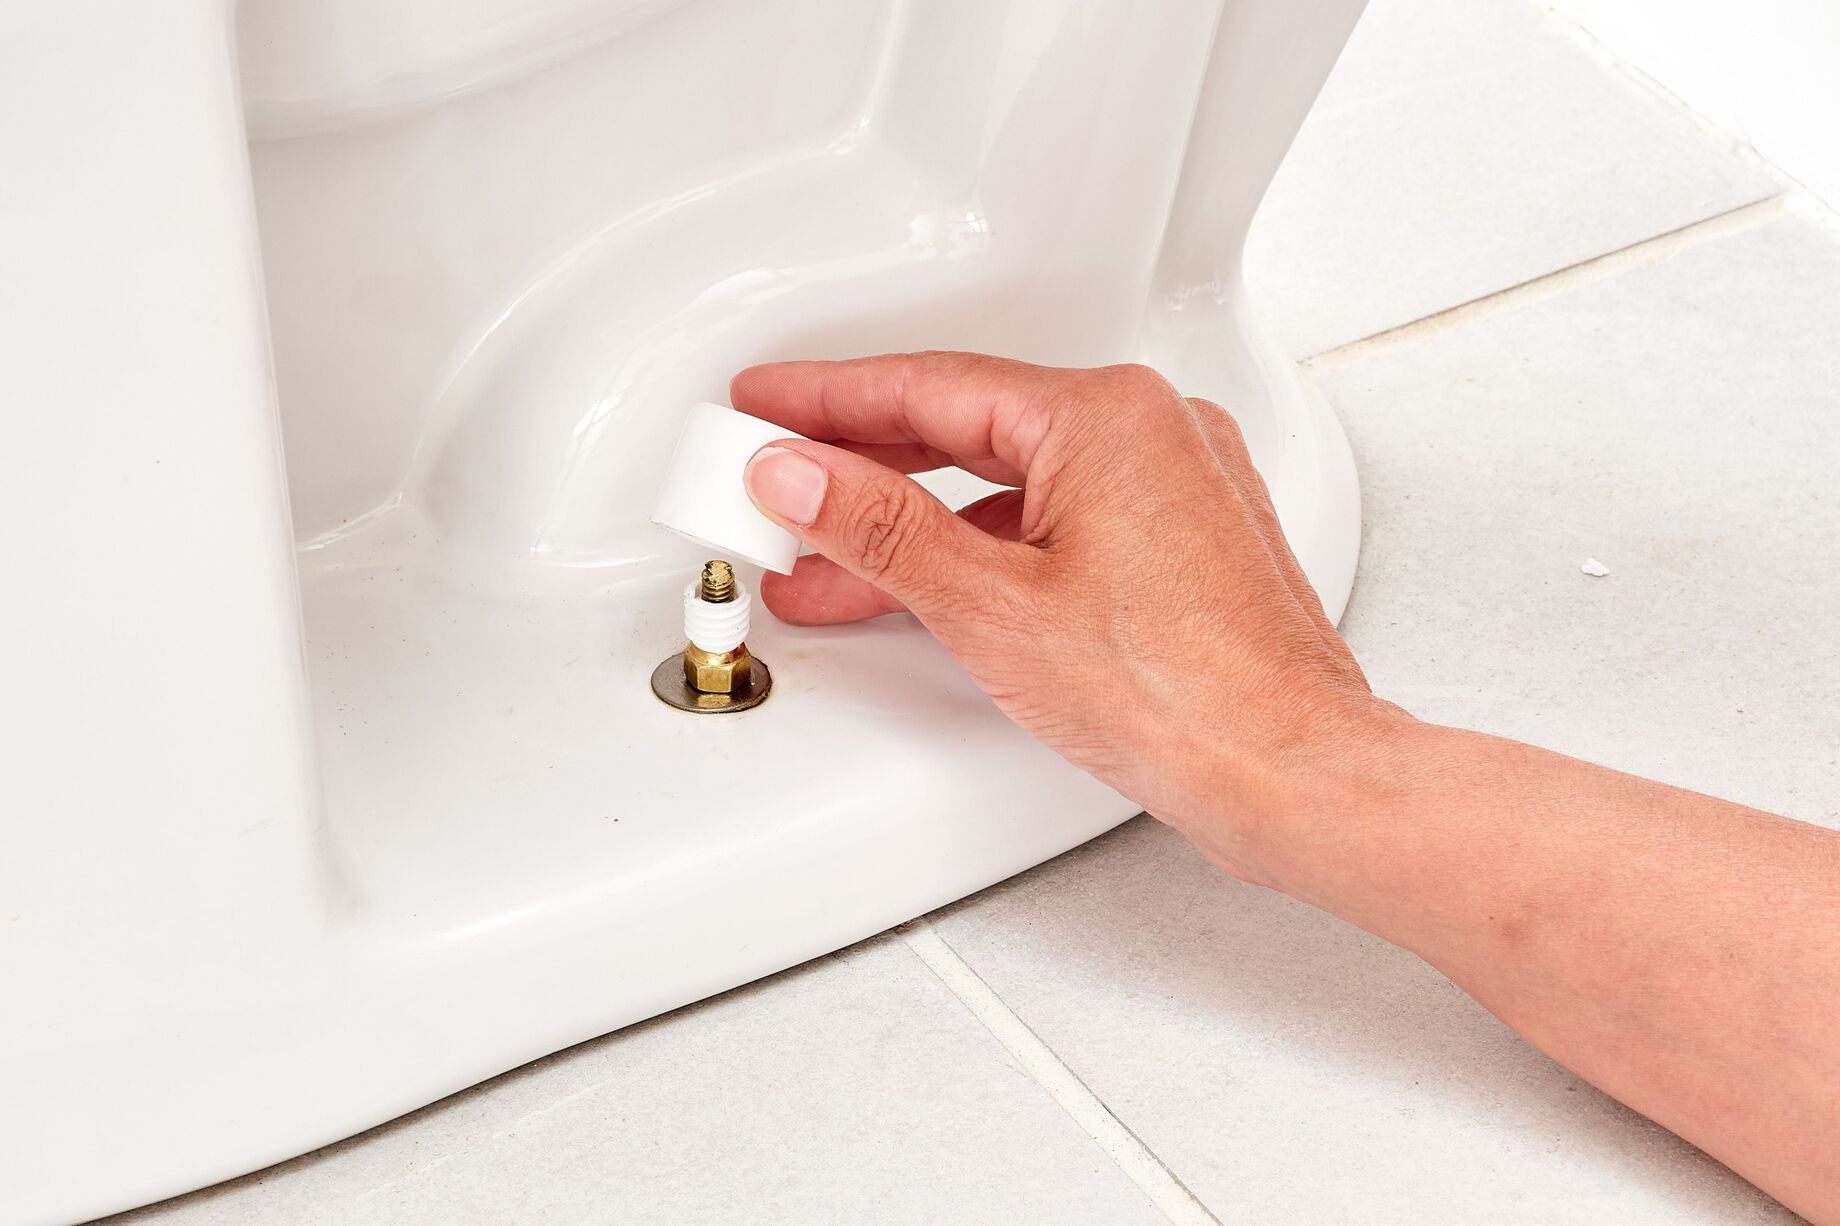
2. Check for visible screws or hardware: Depending on the type of Bemis toilet seat you have, you might find visible screws or hardware securing the seat to the hinges. Examine the attachment points closely to identify any visible fasteners.
3. Look for hidden release buttons: Some Bemis toilet seats have hidden release buttons or tabs that allow for easy removal. These buttons are usually located on the side or underside of the seat. Press or slide the buttons to release the seat from the hinges.
4. Refer to the Bemis seat manual: If you’re unable to locate the attachment points or are unsure about the removal process, consult the manual that came with your Bemis toilet seat. The manual will provide specific instructions on how to locate and detach the seat.
It’s important to note that the location and type of attachment points can vary depending on the model and design of your Bemis toilet seat. Take your time to thoroughly examine the seat and familiarize yourself with the attachment points before proceeding to the next step: removing the seat from the hinges.
Step 3: Remove the seat from the hinges
Once you have located the attachment points of your Bemis toilet seat, it’s time to remove the seat from the hinges. This step requires careful attention to avoid any damage to the toilet bowl or seat.
Follow these steps to remove the seat from the hinges:
1. Loosen the nuts or screws: If your Bemis toilet seat has visible nuts or screws, use an adjustable wrench or screwdriver to loosen them. Turn the wrench counterclockwise or unscrew the screws until they are loose enough to remove by hand. Be mindful not to apply excessive force, as it may strip the threads or damage the seat.
2. Release the hidden buttons or tabs: For Bemis toilet seats with hidden release buttons or tabs, follow the instructions in the manual or press/slides the buttons as indicated. This action will release the seat from the hinges.
3. Lift the seat straight up: Once the nuts, screws, or release buttons are loosened or released, gently lift the Bemis toilet seat straight up from the hinges. Be cautious and lift the seat evenly to prevent any sudden movements that may cause damage or injury.
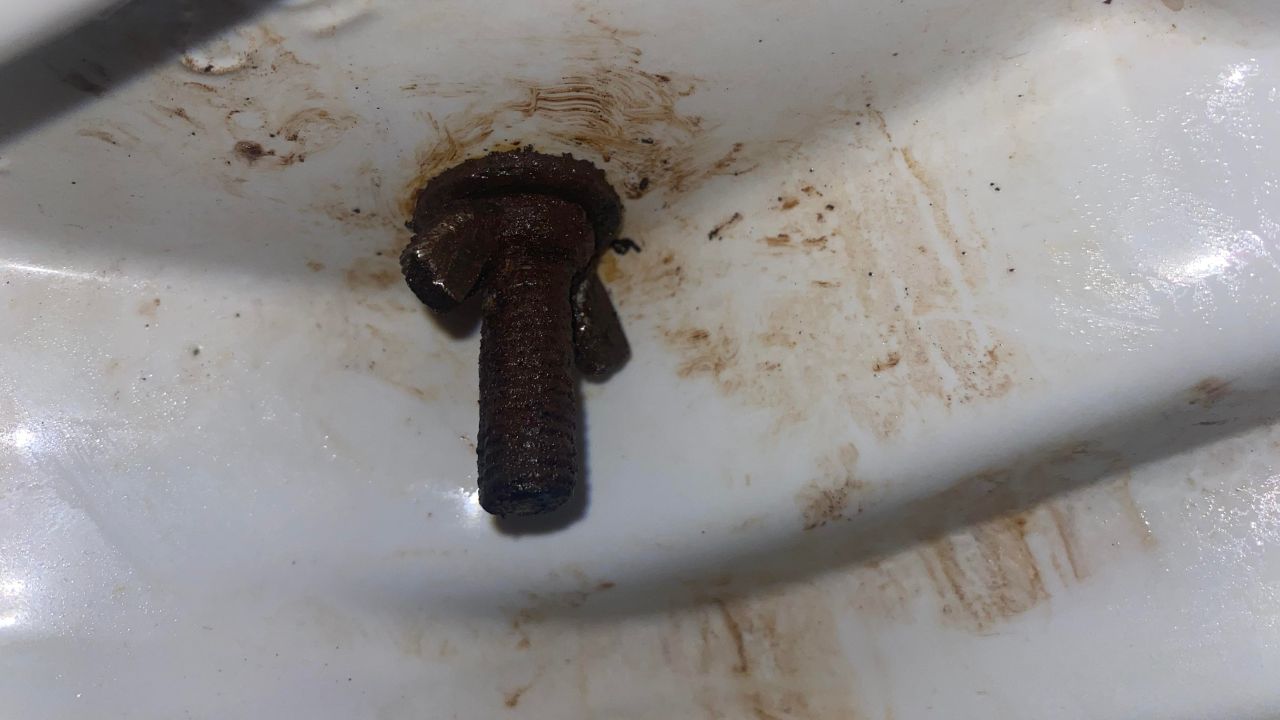
4. Inspect the hinges and attachment points: After removing the seat, take a moment to inspect the hinges and attachment points. Check for any signs of wear, damage, or debris. If necessary, clean the hinges and attachment points using a mild cleaner and a soft cloth or sponge.
By following these steps, you can safely remove the Bemis toilet seat from the hinges without any hassle. With the seat removed, you can proceed to the next step: cleaning the area and preparing for installation.
To remove a Bemis toilet seat, look for the plastic caps at the back of the seat and lift them to access the screws. Use a screwdriver to unscrew the bolts and lift the seat off the toilet.
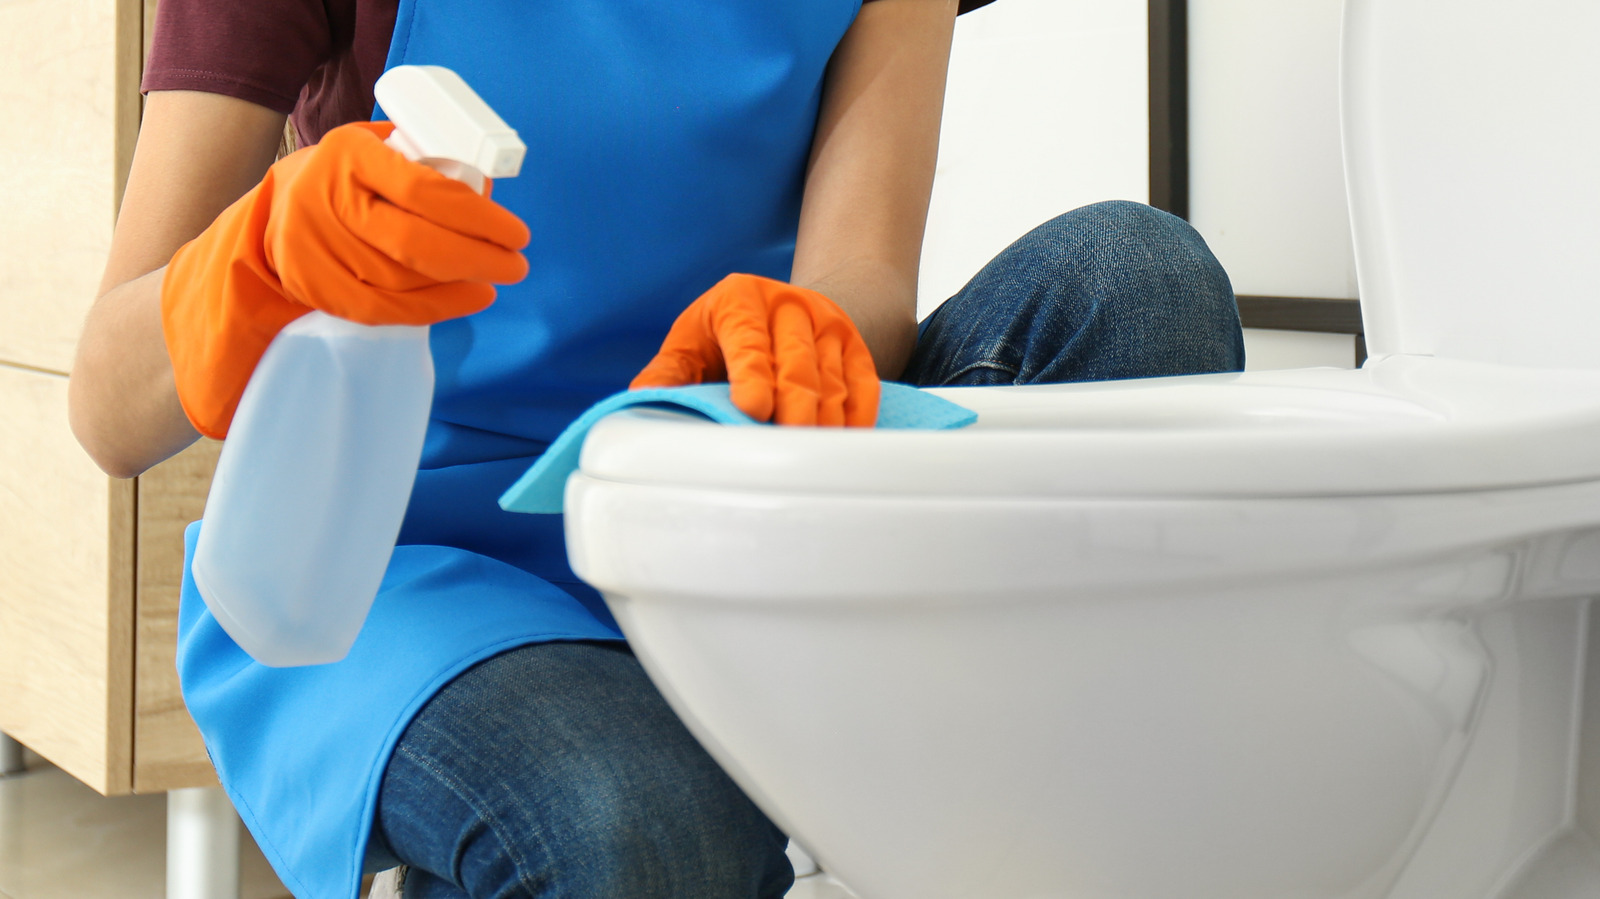
Step 4: Clean the area and prepare for installation
After removing the Bemis toilet seat, it’s essential to clean the area and prepare for future installation or maintenance. This step will ensure a hygienic and seamless transition to a new seat or the reinstallation of the existing one.
Follow these steps to clean the area and prepare for installation:
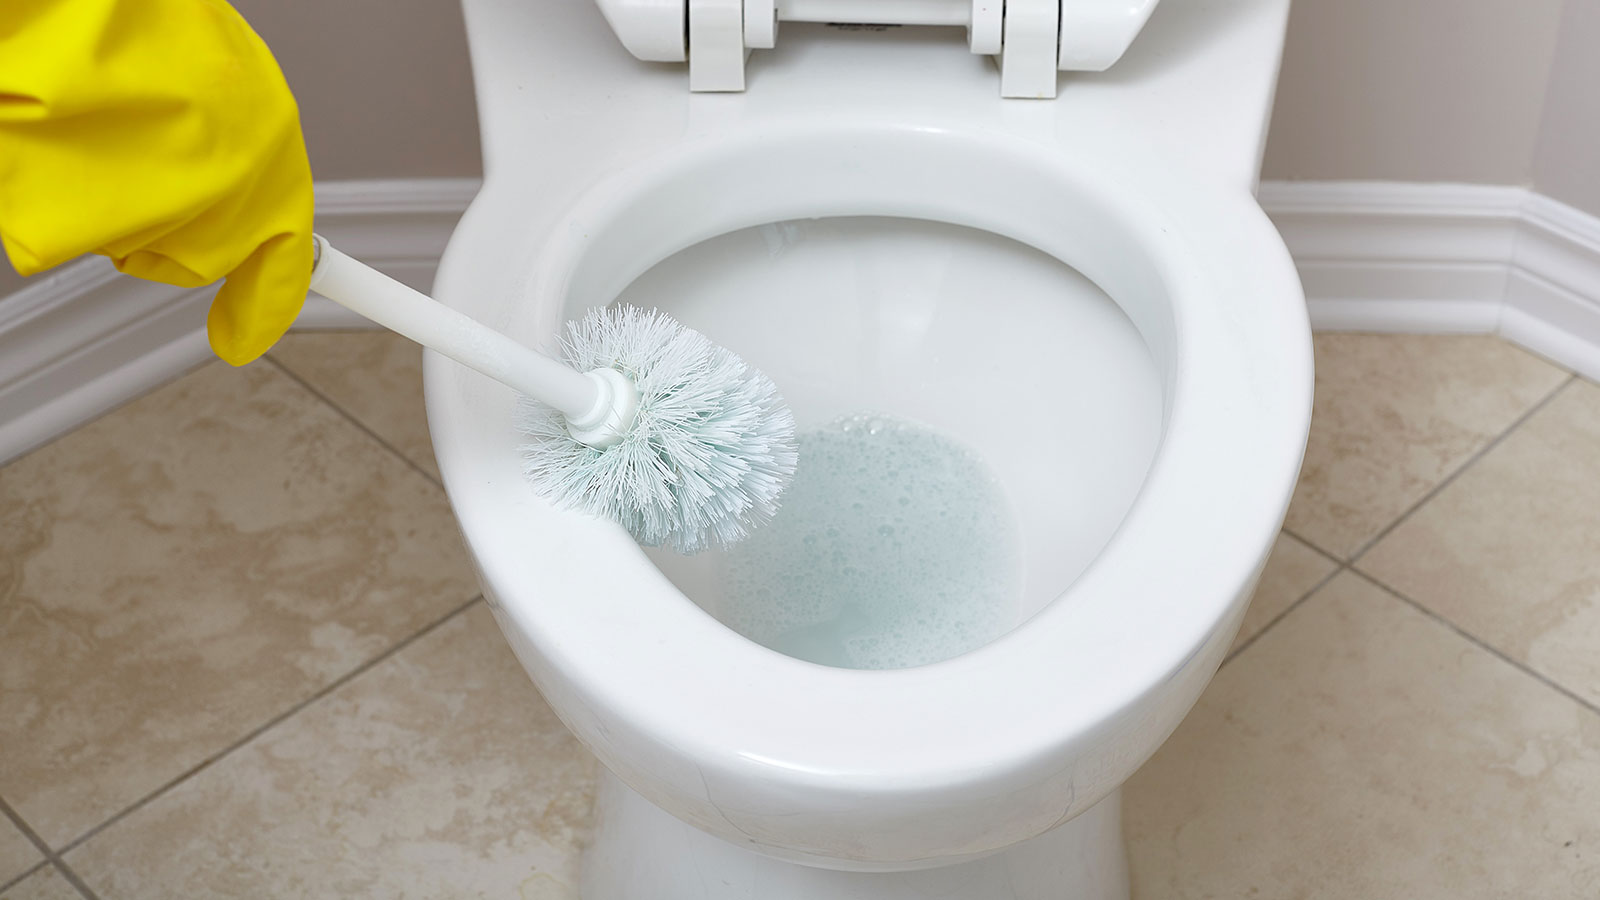
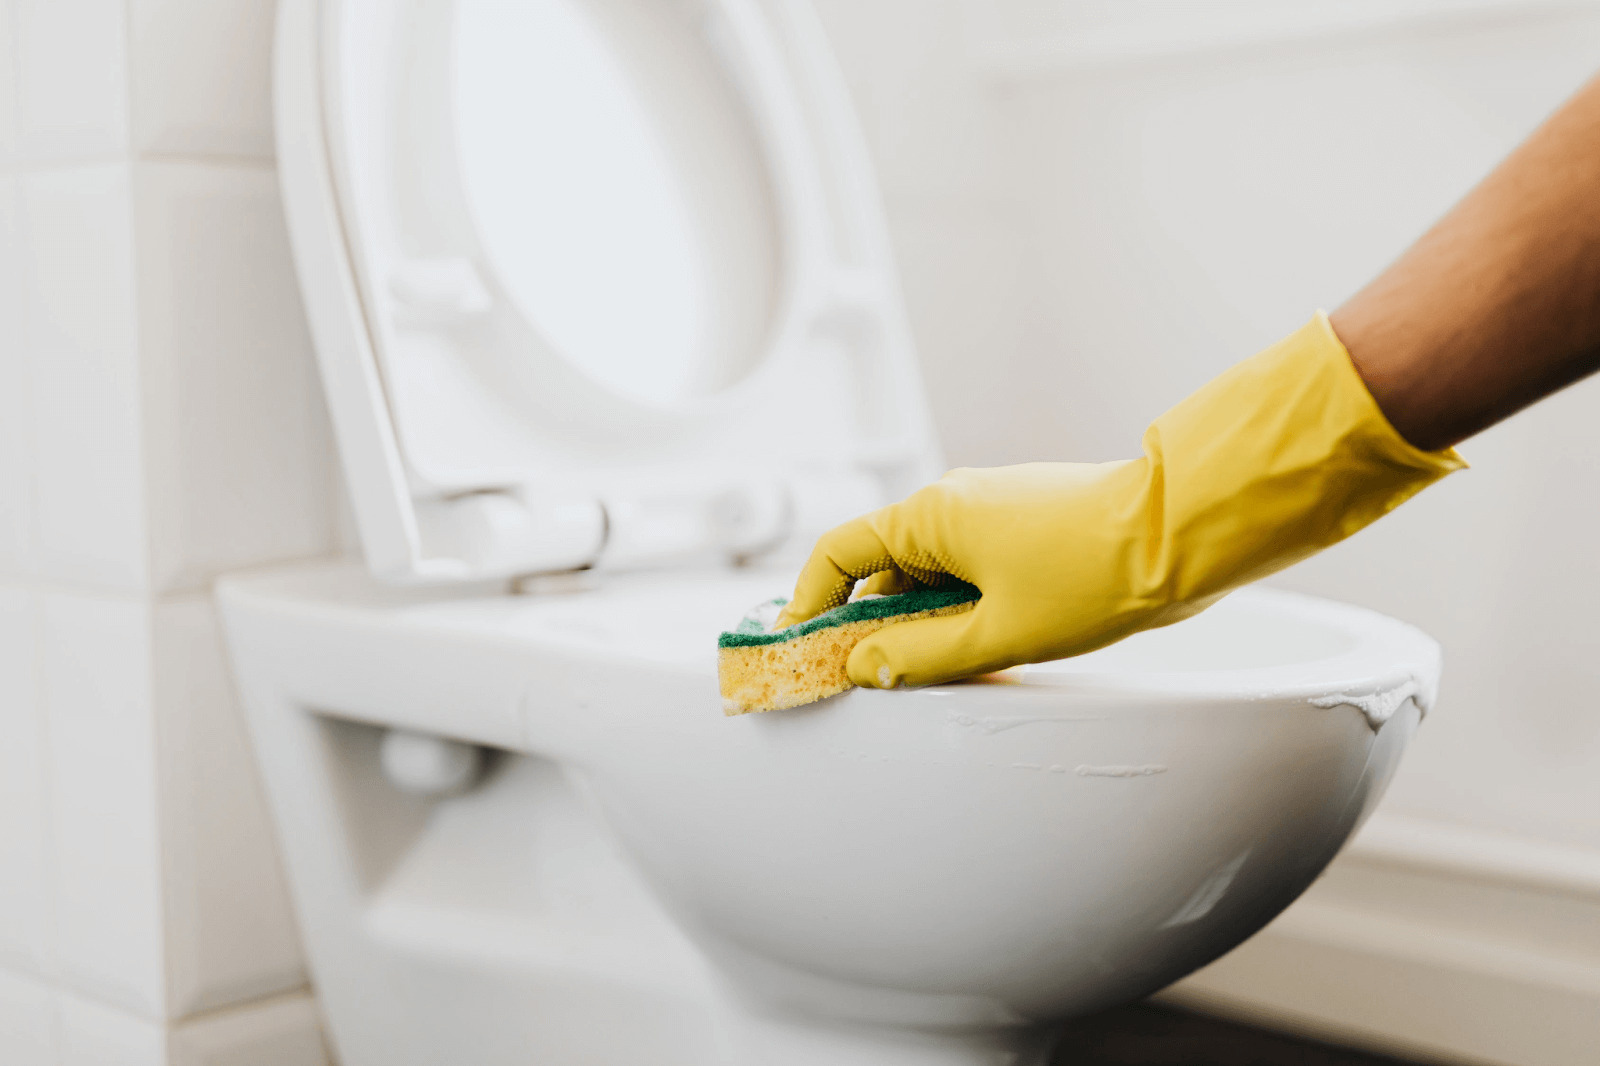
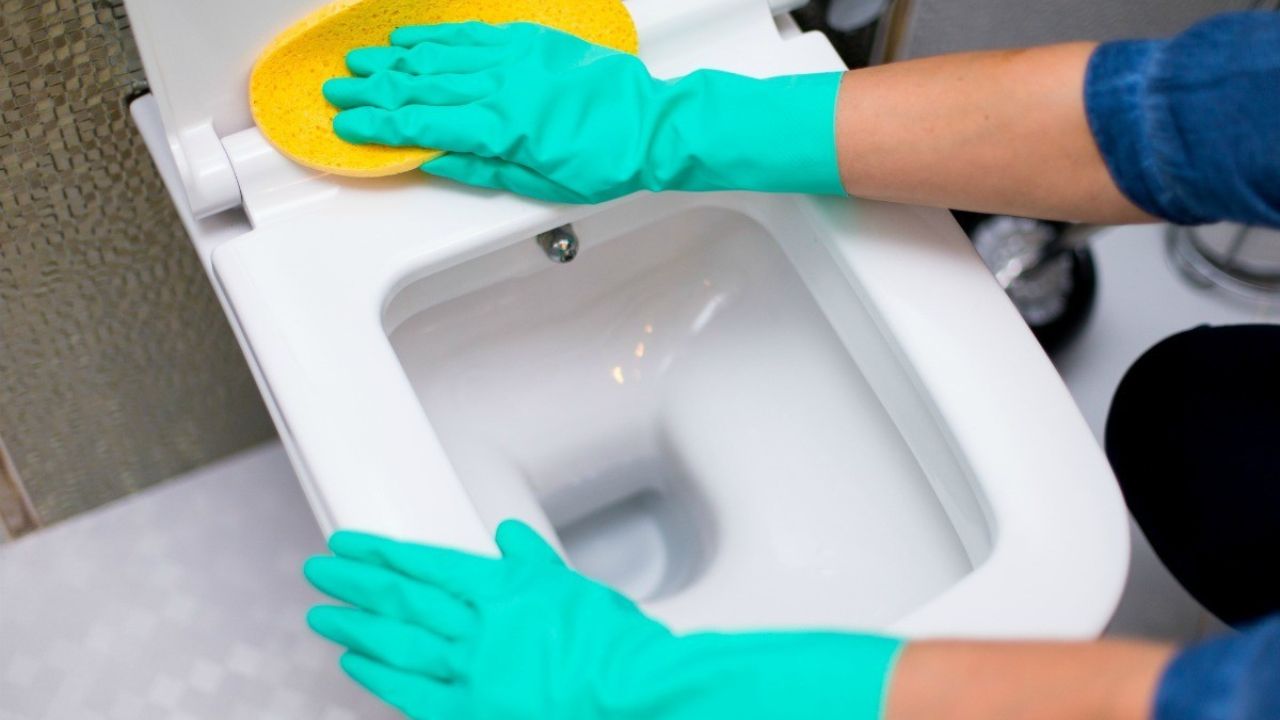
1. Clean the toilet bowl and hinges: Use a mild cleaner or disinfectant to clean the toilet bowl and hinges. Pay attention to any accumulated dirt, stains, or residue around the attachment points. Gently scrub the area with a sponge or cloth, and then rinse it thoroughly with clean water.
2. Dry the area: Once you have cleaned the area, dry it thoroughly with a paper towel or a clean cloth. Ensure that there is no moisture or residue left on the toilet bowl or hinges, as this could affect the future installation of the Bemis toilet seat.
3. Inspect the hinges and attachment points: Take a moment to inspect the hinges and attachment points for any signs of damage or wear. Check if the nuts, screws, or release buttons are intact and in good condition. If you notice any issues, consider replacing them before installing the seat.
4. Prepare for installation: If you plan to reinstall the same Bemis toilet seat, ensure that the seat is clean and free from any debris or obstructions. If you are installing a new seat, make sure it is compatible with your toilet bowl and that you have all the necessary hardware and instructional materials.
By properly cleaning the area and preparing for installation, you are setting the foundation for a smooth and sanitary experience. Next, we will move on to step 5, where we will discuss the optional process of installing a new Bemis toilet seat.
Read also: 13 Amazing Bemis Toilet Seat Round for 2025
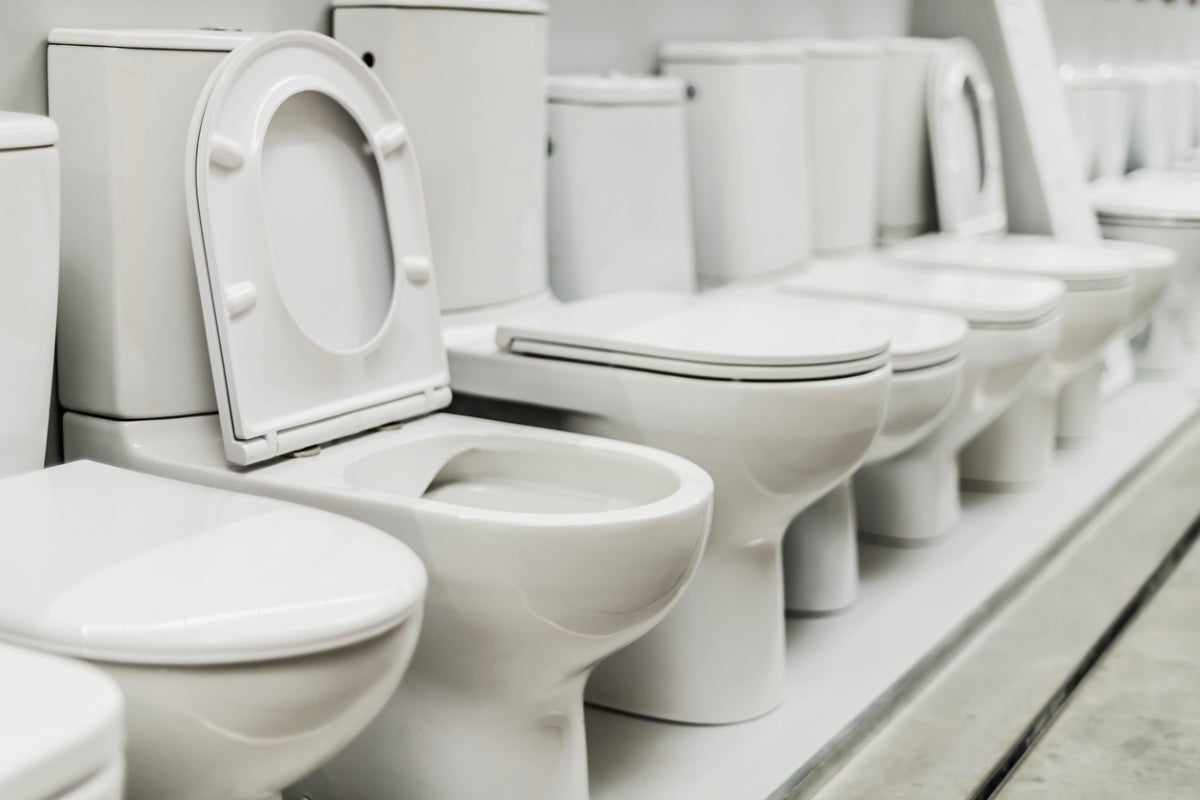
Step 5: Install a new Bemis toilet seat (optional)
Installing a new Bemis toilet seat can be an exciting opportunity to upgrade the look and functionality of your bathroom. If you have chosen to replace the existing seat with a new one, follow these steps to ensure a proper installation:
1. Read the instructions: Before starting the installation process, carefully read the instructions provided with your Bemis toilet seat. Familiarize yourself with the necessary steps and any specific requirements for your seat model.
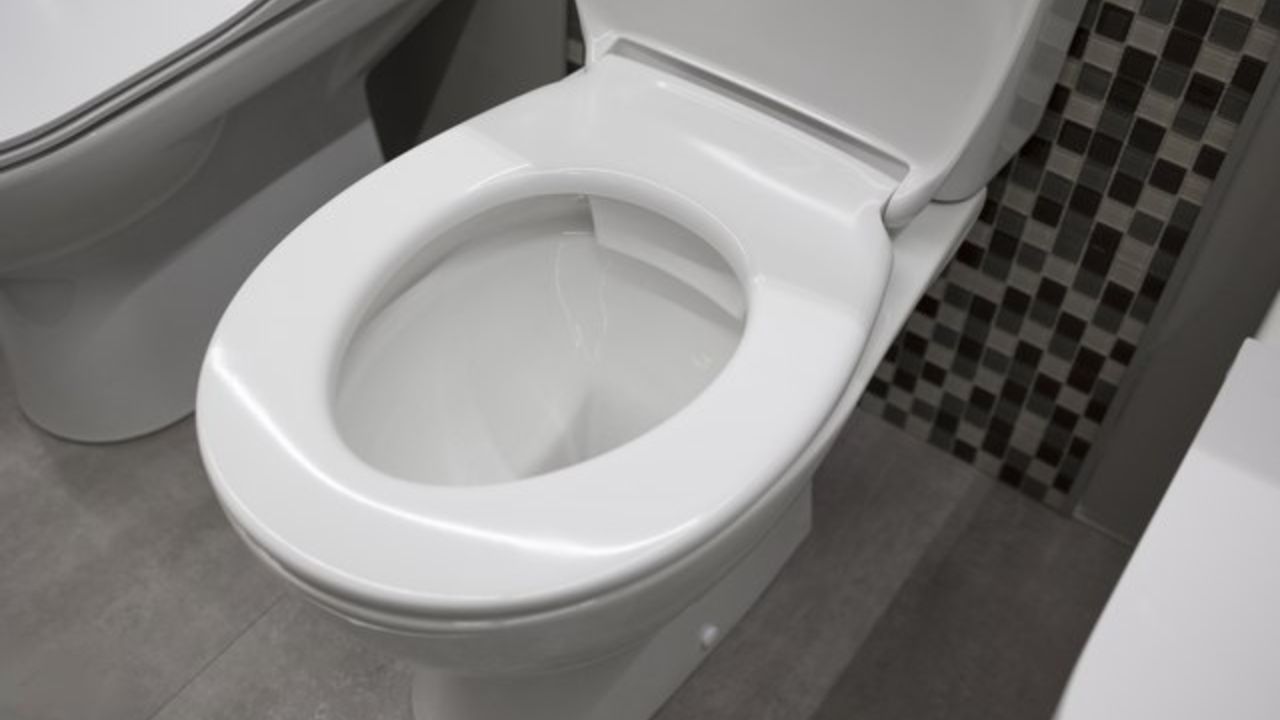
2. Position the seat on the hinges: Place the new Bemis toilet seat on the hinges, aligning it with the attachment points on the toilet bowl. Ensure that the seat is centered and positioned correctly.
3. Attach the seat to the hinges: Depending on your Bemis seat model, you may need to use nuts, screws, or a different type of attachment mechanism. Follow the instructions provided to secure the seat to the hinges.
4. Tighten the nuts or screws: Use an adjustable wrench or screwdriver to tighten the nuts or screws. Be careful not to overtighten them, as this could lead to damage or cracking of the seat or toilet bowl.
5. Test the seat for stability: After tightening the fasteners, test the seat for stability. Sit on the seat and gently rock back and forth to ensure it is securely attached and does not wobble or shift.
6. Make any necessary adjustments: If the seat feels loose or unstable, you may need to readjust the nuts or screws. Carefully loosen them, make any necessary adjustments to the seat position, and then retighten them.
7. Clean and inspect the area: Once the seat is securely installed, clean the area around the attachment points using a mild cleaner or disinfectant and a soft cloth or sponge. Ensure that there are no visible smudges or residue.
By following these steps, you can successfully install a new Bemis toilet seat and enjoy its improved functionality and aesthetic appeal. Remember to always consult the manufacturer’s instructions for specific guidance on your seat model.
Conclusion
Removing a Bemis toilet seat can be a straightforward process when you have the right tools and follow the necessary steps. By gathering the necessary tools and supplies, locating the seat attachment points, and successfully removing the seat from the hinges, you can accomplish this task with ease.
After removing the seat, it’s important to take the time to clean the area and prepare for future installation. By ensuring the toilet bowl and hinges are clean, dry, and in good condition, you set the stage for a seamless transition to a new seat or the reinstallation of the existing one.
If you decide to install a new Bemis toilet seat, carefully follow the instructions provided with your specific seat model. By positioning the seat correctly on the hinges, attaching it securely, and making any necessary adjustments, you can enjoy a stable and comfortable seat.
Remember, safety should always be a priority during the removal and installation process. Wear protective gloves and glasses to prevent any potential injuries. Take your time and exercise caution to avoid damaging the seat or toilet bowl.
By following the steps outlined in this article, you can easily remove a Bemis toilet seat and prepare for installation or maintenance. Whether you’re replacing a damaged seat or giving your bathroom a fresh update, with a little effort and the right tools, your toilet seat removal journey will be a success.
Now you have the knowledge and confidence to tackle the task at hand. So go ahead, remove that Bemis toilet seat, and enjoy a clean and refreshed bathroom experience!
Now that you've mastered removing a Bemis toilet seat, why stop here? Ready for more DIY bathroom projects? Dive into our guide on toilet seat replacement, ideal for anyone looking to upgrade their bathroom's comfort and style. Or, if you're setting up a new loo from scratch, don't miss our detailed walkthrough on toilet seat installation. Both articles are packed with practical tips and straightforward steps to ensure your next bathroom update goes as smoothly as possible.
Frequently Asked Questions about How To Remove A Bemis Toilet Seat
Was this page helpful?
At Storables.com, we guarantee accurate and reliable information. Our content, validated by Expert Board Contributors, is crafted following stringent Editorial Policies. We're committed to providing you with well-researched, expert-backed insights for all your informational needs.


0 thoughts on “How To Remove A Bemis Toilet Seat”