Home>Furniture & Design>Bathroom Accessories>How To Remove An American Standard Toilet Seat
Bathroom Accessories
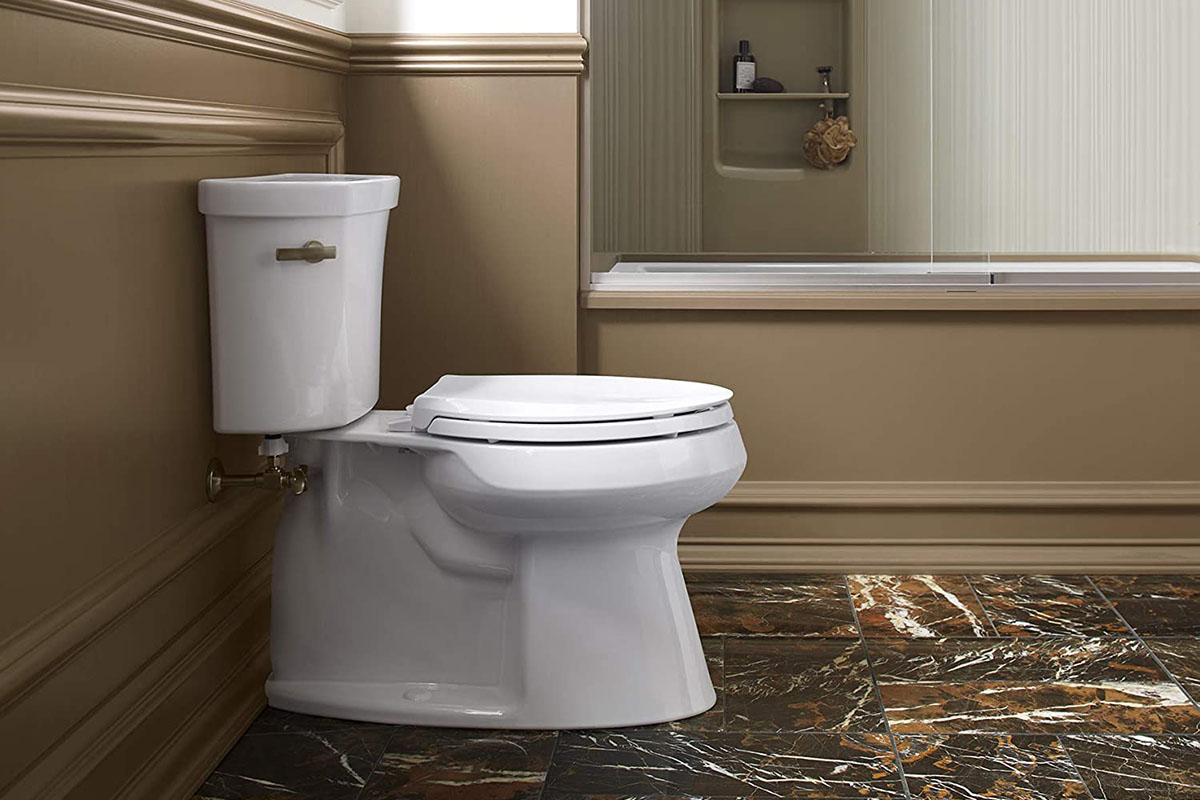
How To Remove An American Standard Toilet Seat
Modified: February 28, 2024
Learn how to easily remove an American Standard toilet seat with our step-by-step guide. Find out the best tools and techniques for this essential bathroom accessory.
(Many of the links in this article redirect to a specific reviewed product. Your purchase of these products through affiliate links helps to generate commission for Storables.com, at no extra cost. Learn more)
Introduction
Removing an American Standard toilet seat may seem like a daunting task, but with the right tools and a clear understanding of the process, it can be a straightforward and manageable endeavor. Whether you're looking to replace a worn-out seat or simply need to access the area beneath it for cleaning or repairs, knowing how to properly remove the toilet seat is essential. In this comprehensive guide, we will walk you through the step-by-step process, providing valuable insights and tips to ensure a smooth and successful removal.
By following the instructions outlined in this guide, you'll be equipped with the knowledge and confidence to tackle this task with ease. From gathering the necessary tools to identifying the type of toilet seat and executing the removal process, each step will be explained in detail to help you navigate the process effectively. Additionally, we'll cover essential tips for cleaning the area and preparing it for the installation of a new seat, ensuring that you can complete the entire process seamlessly.
Whether you're a seasoned DIY enthusiast or a novice homeowner looking to expand your home maintenance skills, understanding how to remove an American Standard toilet seat is a valuable skill to have in your repertoire. With the right guidance and a willingness to learn, you'll be able to carry out this task confidently and efficiently, saving time and money on professional assistance.
So, without further ado, let's dive into the step-by-step process of removing an American Standard toilet seat, empowering you to take control of your bathroom maintenance and upkeep.
Key Takeaways:
- Removing an American Standard toilet seat is a manageable task with the right tools and knowledge. By following the step-by-step guide, you can confidently tackle this DIY project and maintain a clean and functional bathroom.
- Attention to detail and careful handling are crucial when removing a toilet seat. This proactive approach to home maintenance empowers you to create a welcoming and well-maintained bathroom space for your household.
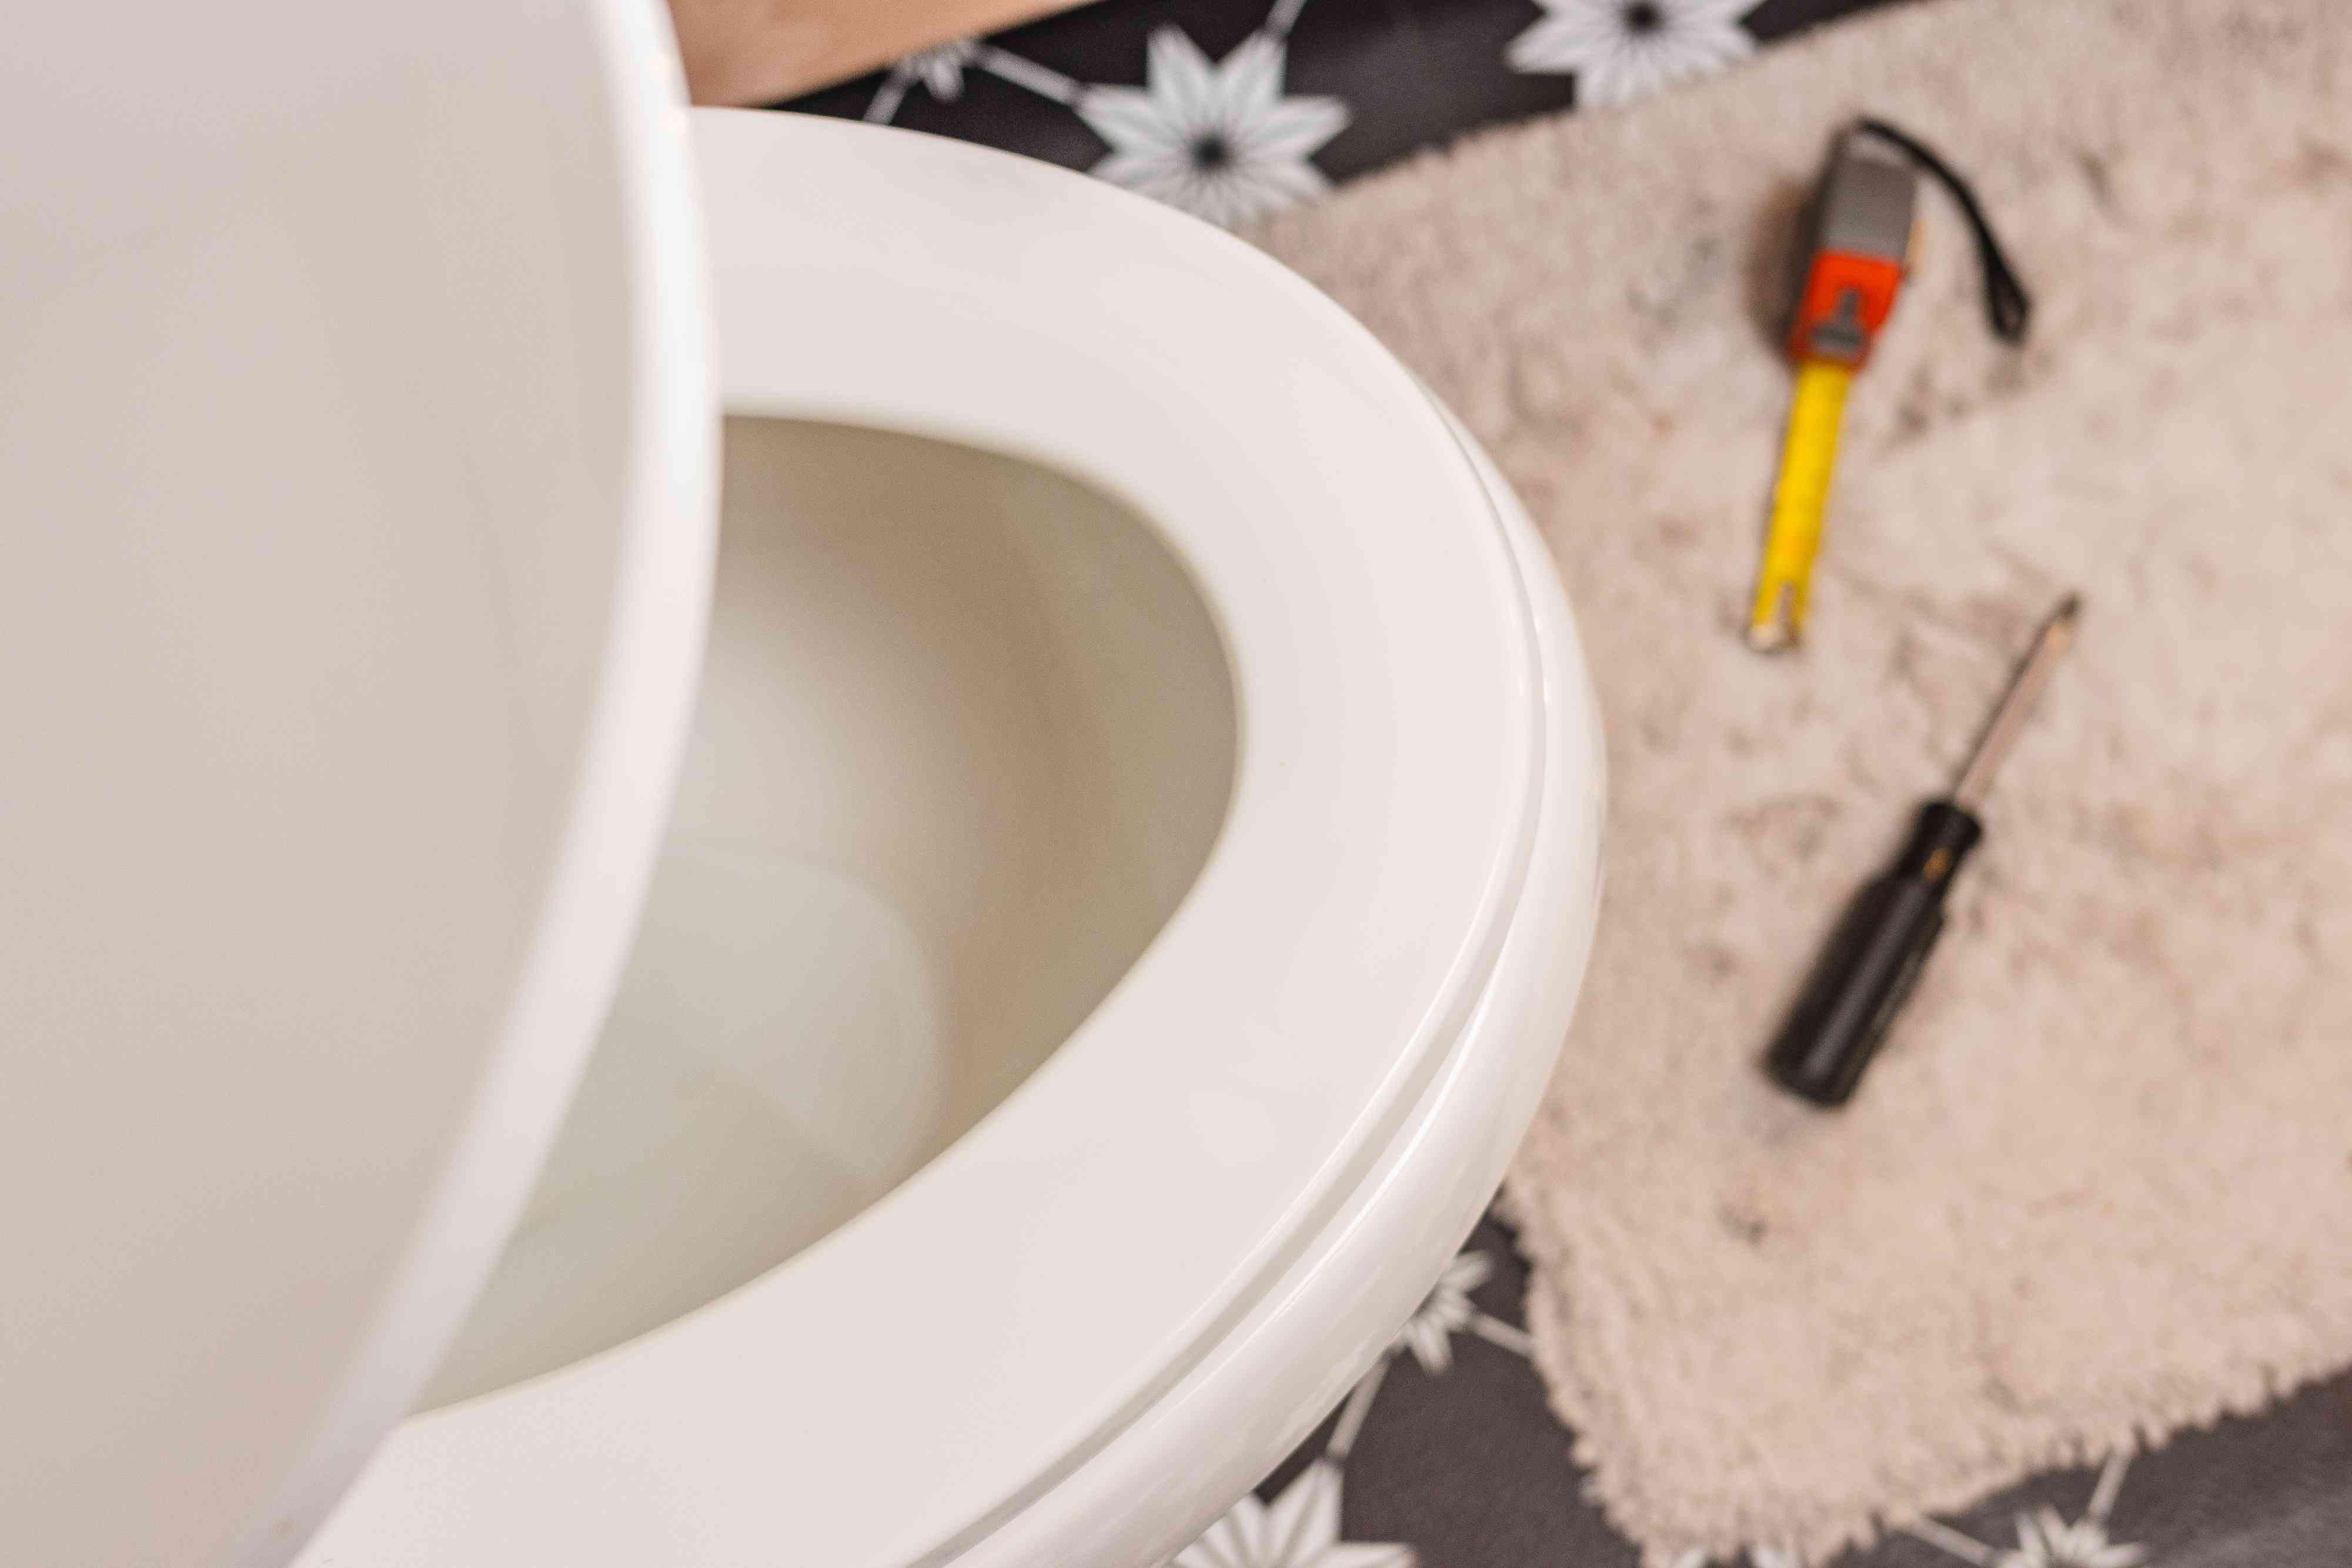
Step 1: Gather the necessary tools
Before embarking on the task of removing an American Standard toilet seat, it's essential to gather the necessary tools to ensure a smooth and efficient process. Having the right tools at your disposal will not only make the task easier but also help prevent potential damage to the toilet or surrounding areas. Here's a comprehensive list of the tools you'll need:
-
Adjustable Wrench: This versatile tool will be instrumental in loosening and removing the bolts that secure the toilet seat to the bowl. Ensure that the wrench is adjustable to accommodate various bolt sizes.
-
Screwdriver: Depending on the type of fasteners used to secure the toilet seat, you may need a flathead or Phillips head screwdriver. This tool will aid in removing any screws or fasteners that hold the seat in place.
-
Protective Gloves: It's advisable to wear protective gloves, such as latex or rubber gloves, to safeguard your hands during the removal process. Additionally, gloves can provide a better grip when handling the toilet seat and its components.
-
Cleaning Supplies: While not necessarily a tool, having cleaning supplies on hand, such as disinfectant wipes or a mild cleaning solution, will allow you to clean the area around the toilet seat once it has been removed.
-
Flashlight: In some cases, the area beneath the toilet seat may be poorly lit, making it challenging to see the fasteners or bolts. A flashlight can help illuminate the area, making it easier to identify and work on the components.
-
Plastic Bags or Container: Having a plastic bag or container nearby will allow you to dispose of any old or damaged components, such as bolts or plastic covers, in an organized and hygienic manner.
By ensuring that you have these essential tools at your disposal, you'll be well-prepared to tackle the task of removing an American Standard toilet seat. With the right tools in hand, you can approach the process with confidence, knowing that you have everything you need to complete the task effectively and efficiently.
Step 2: Identify the type of toilet seat
Before proceeding with the removal process, it's crucial to identify the type of American Standard toilet seat installed in your bathroom. American Standard offers a variety of toilet seat designs, each with its unique fastening mechanisms and installation methods. By understanding the specific type of toilet seat you have, you can approach the removal process with greater precision and confidence.
Hinges and Fasteners
The first step in identifying the type of toilet seat is to examine the hinges and fasteners that secure it to the toilet bowl. American Standard toilet seats commonly feature two primary hinge types: top-mount hinges and bottom-mount hinges. Top-mount hinges are visible from the top of the seat and are typically accompanied by plastic caps or bolt covers, while bottom-mount hinges are concealed beneath the seat, providing a streamlined and seamless appearance.
Additionally, take note of the fasteners used to secure the seat. These may include bolts, screws, or nuts, depending on the specific model and design. Understanding the type of fasteners will inform the tools you need for the removal process, ensuring that you are adequately prepared to tackle the task.
Material and Design
Another aspect to consider when identifying the type of toilet seat is the material and design. American Standard offers toilet seats in various materials, including plastic, wood, and molded wood. Each material may require different removal techniques to ensure that the seat is safely and effectively detached from the toilet bowl.
Furthermore, the design of the toilet seat, whether it's a standard round seat or an elongated seat, will impact the removal process. Elongated seats, which are longer and narrower than standard round seats, may have distinct installation methods and fastening systems, necessitating careful consideration during the identification phase.
Read more: How To Install American Standard Toilet
Manufacturer Information
If possible, refer to the manufacturer's documentation or website to gather specific details about your American Standard toilet seat. This may include the model number, installation instructions, and any unique features or considerations related to the seat. By accessing manufacturer information, you can gain valuable insights into the seat's construction and installation, allowing you to approach the removal process with a comprehensive understanding of the seat's specifications.
By thoroughly identifying the type of American Standard toilet seat in your bathroom, you'll be better equipped to proceed with the subsequent removal steps. This attention to detail and understanding of the seat's characteristics will contribute to a smoother and more efficient removal process, ensuring that you can successfully detach the seat without encountering unexpected challenges.
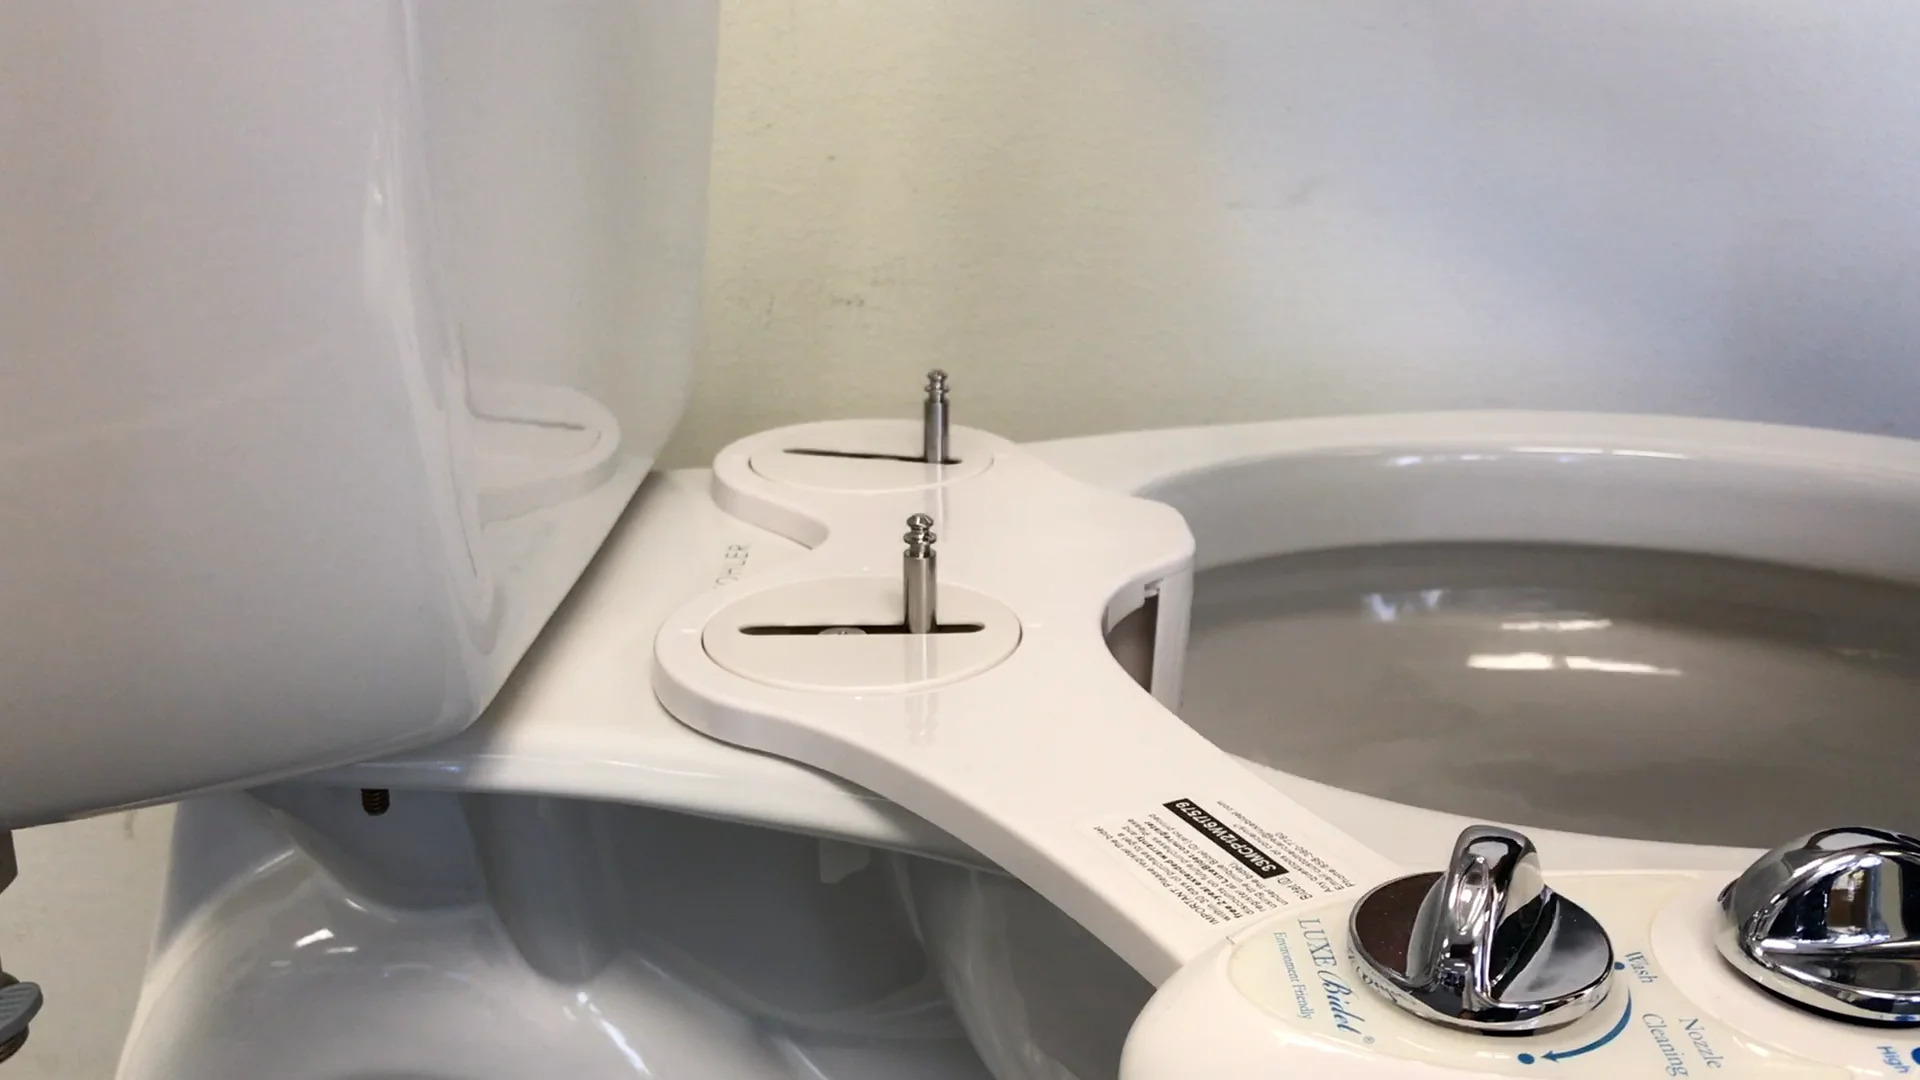
Step 3: Remove the plastic caps or bolt covers
Once you have identified the type of American Standard toilet seat installed in your bathroom, the next step is to prepare for the actual removal process. In many cases, American Standard toilet seats are equipped with plastic caps or bolt covers that conceal the fastening components, such as bolts or screws, securing the seat to the toilet bowl. These covers are designed to provide a clean and polished appearance while effectively concealing the hardware beneath.
To begin, carefully inspect the area around the hinges of the toilet seat to locate the plastic caps or bolt covers. Depending on the specific model and design of the seat, these covers may be situated at the rear or front of the seat, covering the access points to the fasteners. In some instances, the covers may be secured with a snap-on mechanism, while others may feature a hinge or adhesive attachment.
Using a flathead screwdriver or your fingers, gently pry or lift the plastic caps or bolt covers to expose the fasteners beneath. Exercise caution to avoid applying excessive force, as this may cause damage to the covers or surrounding surfaces. If the covers are secured with a hinge, carefully pivot them open to reveal the underlying fasteners.
In the case of snap-on covers, applying gentle pressure and leveraging the edge of the screwdriver can aid in releasing the covers without causing damage. It's important to approach this step with patience and precision, ensuring that the covers are removed without causing any unintended harm to the toilet seat or bowl.
Once the plastic caps or bolt covers have been successfully removed, take a moment to inspect the exposed fasteners and assess their condition. This visual inspection can provide valuable insights into the type of fasteners used and their overall state, which may influence the subsequent steps in the removal process.
By effectively removing the plastic caps or bolt covers, you have taken a crucial initial step in preparing the toilet seat for removal. This process sets the stage for accessing the fasteners and initiating the subsequent steps to detach the seat from the toilet bowl. With the covers removed, you are now ready to proceed to the next phase of the removal process, bringing you one step closer to successfully removing the American Standard toilet seat.
Step 4: Loosen the bolts
With the plastic caps or bolt covers successfully removed, the next critical step in removing an American Standard toilet seat is to loosen the bolts that secure the seat to the toilet bowl. The bolts, often accompanied by nuts or screws, play a pivotal role in maintaining the stability and positioning of the seat, and loosening them is essential for safe and effective removal.
Using an adjustable wrench, carefully locate the bolts situated at the rear of the toilet seat, beneath the bowl. Depending on the specific model and design of the seat, the bolts may be visible and accessible from the top, or they may be positioned beneath the bowl, requiring a degree of maneuvering to reach them. Ensure that the wrench is adjusted to fit the size of the bolts, providing a secure grip for controlled loosening.
Applying gentle and consistent pressure, begin to rotate the wrench in a counterclockwise direction to loosen the bolts. It's important to exercise caution and avoid excessive force, as overtightened bolts may require additional effort to loosen. If the bolts are resistant to initial attempts at loosening, applying a penetrating lubricant, such as WD-40, can help to reduce friction and facilitate smoother rotation.
As you loosen the bolts, it's advisable to alternate between the two sides of the seat, gradually releasing the tension on both bolts in a balanced manner. This approach helps prevent uneven pressure on the seat and ensures that it can be detached smoothly without unnecessary strain on the fasteners or the toilet bowl.
In some instances, the bolts may be accompanied by nuts or screws on the underside of the toilet bowl. If this is the case, use the appropriate tool, such as a screwdriver or additional wrench, to stabilize the nuts or screws while loosening the bolts. This dual-action approach prevents the entire fastening system from rotating and facilitates controlled loosening of the bolts.
As the bolts are gradually loosened, you may begin to feel the seat becoming less secure, indicating that the fasteners are being effectively disengaged from the bowl. Continue to rotate the wrench until the bolts can be easily lifted out of their respective openings, allowing the seat to be fully detached from the toilet bowl.
By effectively loosening the bolts, you have completed a crucial phase in the removal process, setting the stage for the final step of detaching the American Standard toilet seat. With the bolts loosened and the seat no longer firmly secured to the bowl, you are now prepared to proceed to the subsequent step, bringing you closer to successfully removing the seat and preparing the area for cleaning and potential replacement.
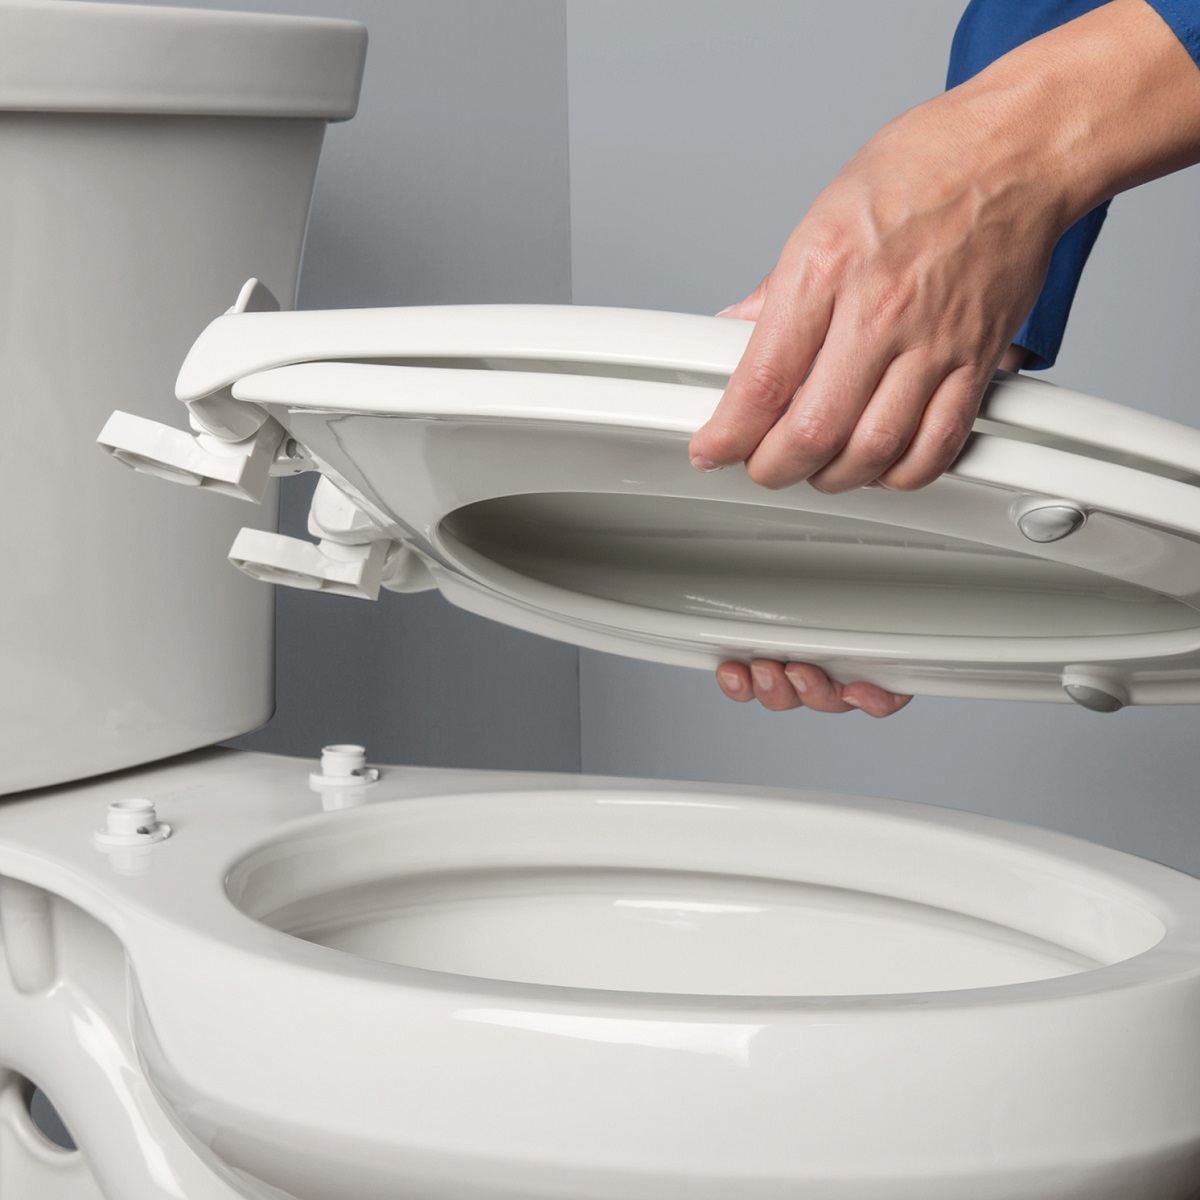
Step 5: Remove the toilet seat
With the bolts successfully loosened, the final step in removing an American Standard toilet seat involves lifting the seat and fully detaching it from the toilet bowl. This phase requires careful handling and attention to detail to ensure that the seat is removed without causing damage to the bowl or surrounding areas.
Begin by gently lifting the toilet seat upward, taking care to support both the seat and the lid, if applicable. It's important to maintain a steady and controlled grip to prevent any sudden movements that could potentially scratch or impact the toilet bowl. As you lift the seat, be mindful of any remaining resistance from the fasteners, and ensure that the bolts are fully disengaged from their respective openings.
Once the seat is lifted, inspect the underside to confirm that the bolts, nuts, or screws are no longer attached to the hinges or fastening points. If any components remain connected, use the appropriate tools to fully detach them, ensuring that the seat can be lifted away cleanly and without obstruction.
With the seat successfully removed, set it aside in a safe and designated area, taking care to avoid placing it on delicate surfaces or causing any accidental damage. If the seat is being replaced, this is an opportune moment to assess its condition and determine whether a new seat is required. Additionally, inspect the hinges and fasteners for any signs of wear or damage, as these components may also need attention or replacement.
After the seat has been removed, take a moment to examine the area beneath it, ensuring that the toilet bowl is clean and free of any debris or residue. If necessary, use disinfectant wipes or a mild cleaning solution to thoroughly clean the exposed area, preparing it for the potential installation of a new seat or for general maintenance purposes.
By successfully removing the American Standard toilet seat, you have completed a fundamental aspect of bathroom maintenance and upkeep. Whether the seat is being replaced or simply accessed for cleaning or repairs, this accomplishment signifies a proactive approach to home maintenance, empowering you to address essential fixtures with confidence and skill.
With the seat removed and the area prepared, you are now equipped to proceed with any necessary maintenance tasks, such as installing a new seat or conducting thorough cleaning. This successful removal process demonstrates your ability to navigate essential home maintenance procedures effectively, contributing to a well-maintained and functional bathroom environment.
To remove an American Standard toilet seat, look for the plastic caps at the back of the seat and use a flathead screwdriver to pop them open. Then, use a screwdriver to unscrew the bolts holding the seat in place and lift it off.
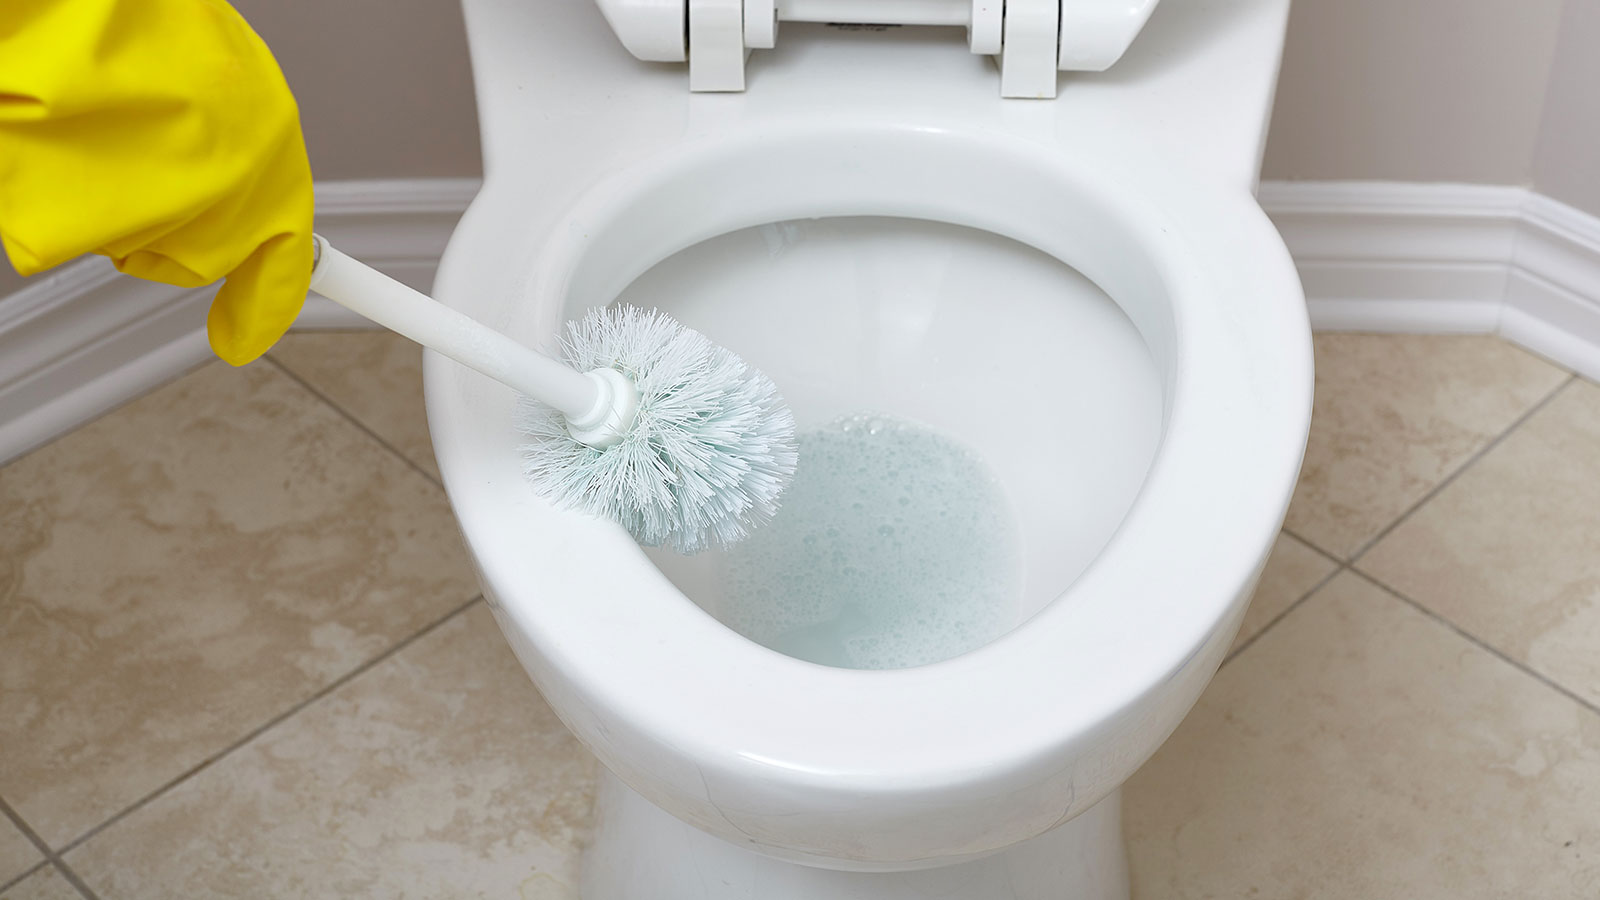
Step 6: Clean the area
After successfully removing the American Standard toilet seat, it's essential to devote attention to cleaning the area around the toilet bowl. This step not only ensures hygiene and cleanliness but also provides an opportunity to inspect and maintain the toilet bowl and its surroundings.
Begin by thoroughly cleaning the exposed area beneath the toilet seat. Use disinfectant wipes or a mild cleaning solution to sanitize the surface, removing any accumulated dirt, grime, or residue. Pay particular attention to the areas around the hinges and fastening points, as these areas may harbor hidden debris that can impact the overall cleanliness of the toilet.
Inspect the toilet bowl itself, checking for any signs of staining, discoloration, or mineral deposits. If necessary, use a toilet bowl cleaner and brush to effectively remove any buildup and restore the bowl to a pristine condition. Additionally, consider using a specialized cleaner designed to target hard water stains or mineral deposits, ensuring that the bowl maintains its luster and cleanliness.
As you clean the area, take note of any potential issues or maintenance needs that may require attention. This may include identifying loose or damaged components, such as hinge covers, fasteners, or the toilet bowl itself. Addressing these issues promptly can prevent potential complications and contribute to the overall functionality and aesthetics of the toilet.
Furthermore, consider the opportunity to assess the condition of the floor surrounding the toilet. Wipe down the floor surface to remove any water spots, spills, or accumulated dust, enhancing the overall cleanliness of the bathroom environment. This attention to detail contributes to a well-maintained and inviting space, reflecting a proactive approach to home upkeep.
By dedicating time to clean the area around the toilet, you not only ensure a hygienic and visually appealing environment but also demonstrate a commitment to maintaining essential fixtures within your home. This proactive approach to cleanliness and maintenance contributes to a welcoming and functional bathroom space, reflecting your attention to detail and care for your home.
As you complete the cleaning process, take a moment to appreciate the refreshed and revitalized appearance of the area. This final step in the removal process sets the stage for potential seat replacement or continued maintenance, ensuring that the bathroom remains a clean, comfortable, and well-maintained space for you and your household.
Conclusion
In conclusion, the process of removing an American Standard toilet seat is a task that, with the right guidance and approach, can be accomplished with confidence and efficiency. By following the step-by-step instructions outlined in this comprehensive guide, you have gained valuable insights into the essential aspects of toilet seat removal, from gathering the necessary tools to identifying the type of seat, and executing the removal process with precision.
Successfully removing the toilet seat not only allows for access to the area beneath it for cleaning and potential maintenance but also presents an opportunity to assess the condition of the seat and its accompanying components. Whether you are replacing the seat or simply conducting routine maintenance, this process empowers you to take control of your bathroom upkeep and contribute to a well-maintained and functional home environment.
Throughout the removal process, attention to detail and careful handling were emphasized, ensuring that the task was carried out with consideration for the toilet bowl and its surroundings. By approaching the removal process with patience and precision, you have demonstrated a proactive approach to home maintenance, reflecting a commitment to the care and upkeep of essential fixtures within your household.
As you proceed with any subsequent maintenance tasks, such as installing a new seat or conducting thorough cleaning, the knowledge and skills acquired through this removal process will serve as valuable assets. Your ability to navigate essential home maintenance procedures effectively contributes to a well-maintained and functional bathroom environment, enhancing the overall comfort and functionality of your home.
By successfully removing the American Standard toilet seat and preparing the area for potential maintenance or replacement, you have taken a proactive step toward maintaining a clean, comfortable, and inviting bathroom space. Your dedication to home upkeep and attention to detail reflect a commitment to creating a welcoming and well-maintained living environment for yourself and your household.
Frequently Asked Questions about How To Remove An American Standard Toilet Seat
Was this page helpful?
At Storables.com, we guarantee accurate and reliable information. Our content, validated by Expert Board Contributors, is crafted following stringent Editorial Policies. We're committed to providing you with well-researched, expert-backed insights for all your informational needs.

0 thoughts on “How To Remove An American Standard Toilet Seat”