Home>Furniture & Design>Bathroom Accessories>How To Wire A Bathroom Exhaust Fan With Light
Bathroom Accessories
How To Wire A Bathroom Exhaust Fan With Light
Modified: March 25, 2024
Learn how to wire a bathroom exhaust fan with light easily and safely. Get expert tips on installing bathroom accessories for improved ventilation and lighting.
(Many of the links in this article redirect to a specific reviewed product. Your purchase of these products through affiliate links helps to generate commission for Storables.com, at no extra cost. Learn more)
Introduction
Installing a bathroom exhaust fan with a light is a crucial step in ensuring proper ventilation and illumination in your bathroom. This dual-function fixture not only helps to eliminate excess moisture and odors but also provides adequate lighting for your daily grooming routines. Whether you're upgrading an existing fan or installing a new one, this comprehensive guide will walk you through the step-by-step process of wiring a bathroom exhaust fan with a light.
Proper ventilation is essential for maintaining a healthy indoor environment, as it helps to prevent mold and mildew growth while reducing humidity levels. Additionally, adequate lighting is crucial for creating a functional and inviting space. By combining these two elements into a single unit, you can streamline the installation process and optimize the functionality of your bathroom.
In this guide, we will cover the necessary steps to safely and effectively wire a bathroom exhaust fan with a light. From turning off the power supply to testing the fan and light, each step is crucial in ensuring a successful installation. By following these instructions and safety precautions, you can confidently tackle this project and enjoy the benefits of a well-ventilated and well-lit bathroom.
Now, let's dive into the step-by-step process of wiring a bathroom exhaust fan with a light to enhance the functionality and comfort of your bathroom space.
Key Takeaways:
- Safety First!
Before wiring a bathroom exhaust fan with a light, always turn off the power supply to prevent electrical shock. Verify the power is off and use a non-contact voltage tester for extra safety. - Test for Success
After installation, test the fan and light to ensure they work seamlessly. Check for smooth fan operation, proper light illumination, and simultaneous functionality. Prioritize safety and compliance throughout the testing process.
Read more: How To Wire A Bathroom Exhaust Fan
Step 1: Turn off the Power
Before beginning any electrical work, it is crucial to prioritize safety by turning off the power supply to the bathroom. This step is essential to prevent the risk of electrical shock or injury during the installation process. Here's a detailed guide on how to safely turn off the power and prepare for the installation of your bathroom exhaust fan with a light.
-
Locate the Circuit Breaker: Start by identifying the circuit breaker that controls the electrical supply to your bathroom. Typically, the circuit breaker panel is located in the basement, garage, or utility room of your home. Once you've located the panel, open the door to reveal the breakers inside.
-
Identify the Correct Breaker: Within the circuit breaker panel, look for the breaker that corresponds to the bathroom's electrical supply. Breakers are typically labeled to indicate the areas of the house they control. In this case, look for a label that mentions the bathroom, exhaust fan, or lighting.
-
Switch Off the Breaker: Once you've identified the correct breaker, switch it to the "off" position. This action will cut off the electrical supply to the bathroom, ensuring that no power is flowing to the wiring and fixtures.
-
Verify the Power Is Off: After turning off the breaker, it's important to verify that the power is indeed off before proceeding with the installation. You can use a non-contact voltage tester to check for the presence of electrical current in the wiring and electrical fixtures. This step provides an extra layer of safety by confirming that the electrical supply has been successfully disconnected.
By following these steps to turn off the power supply, you can create a safe working environment for the installation of your bathroom exhaust fan with a light. Prioritizing safety at the outset of the project sets the stage for a smooth and secure installation process. With the power safely turned off, you can proceed to the next steps with confidence, knowing that you've taken the necessary precautions to protect yourself and others from potential electrical hazards.
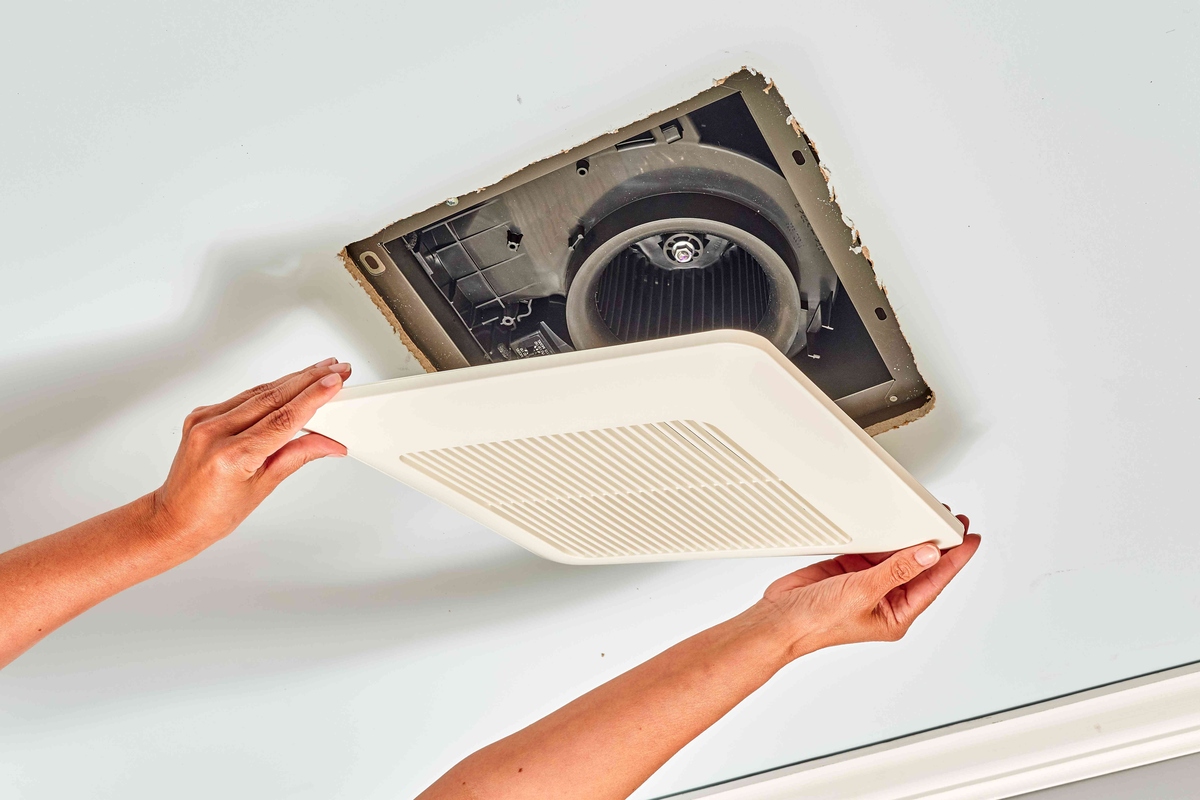
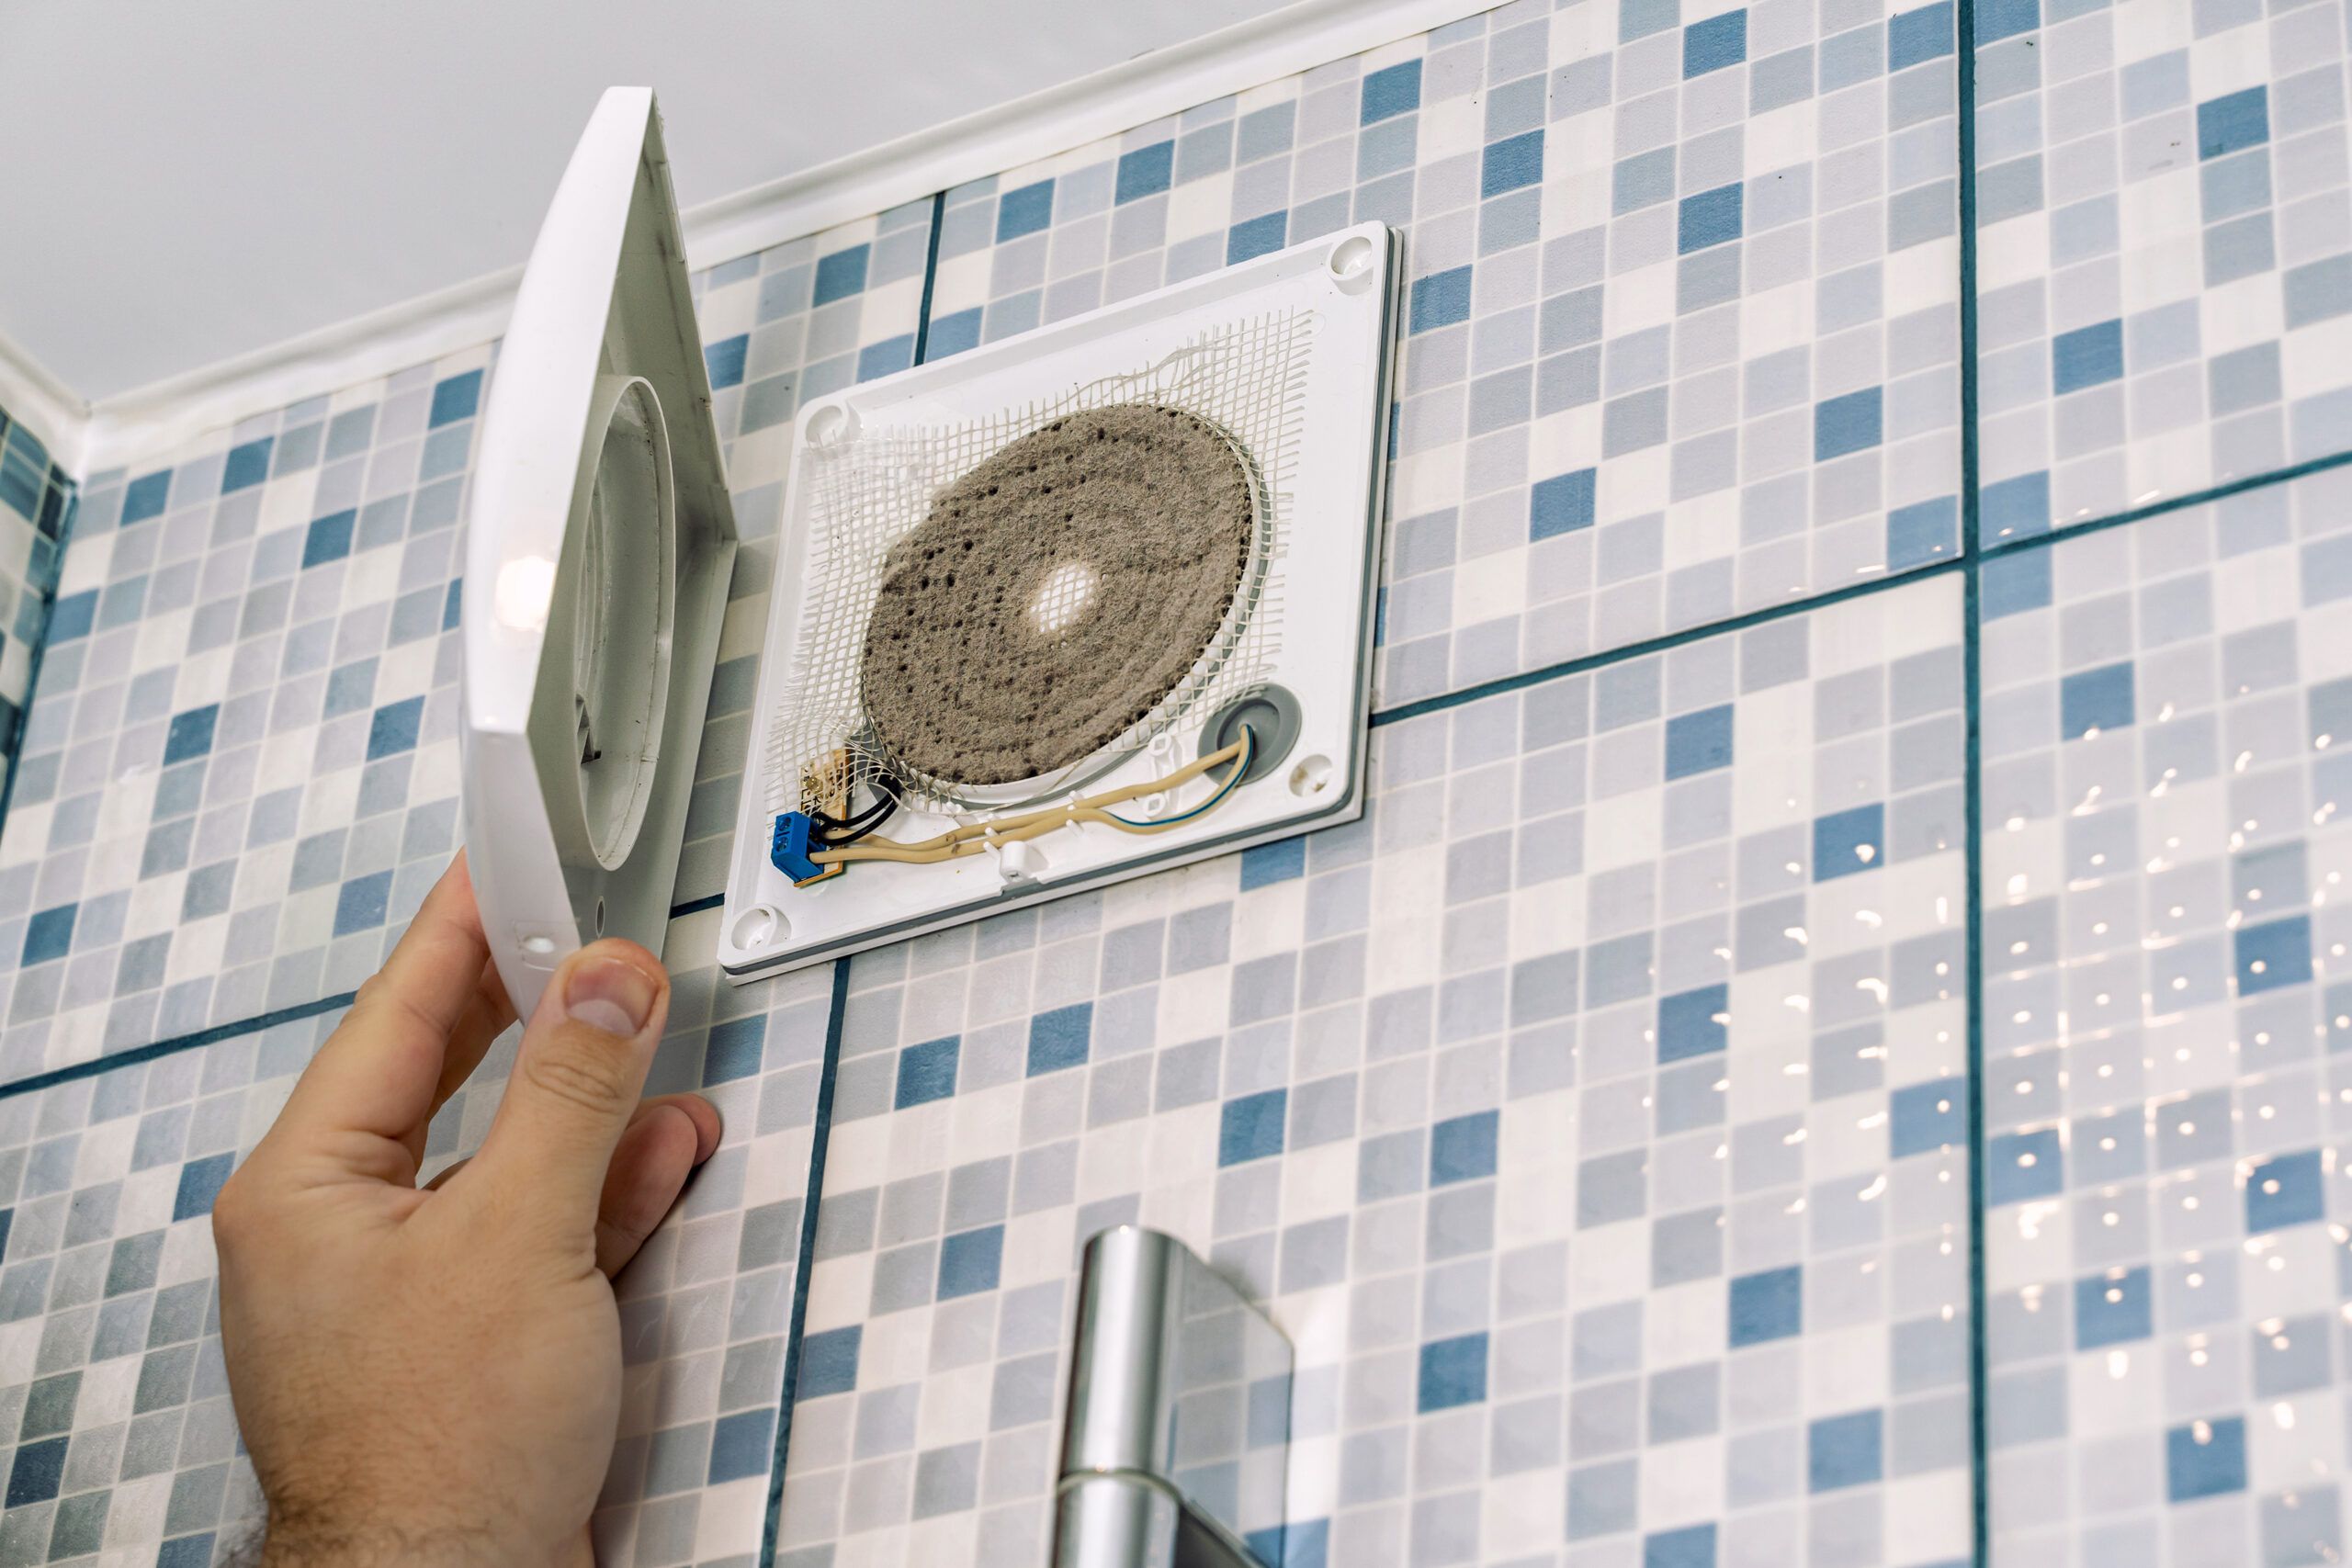
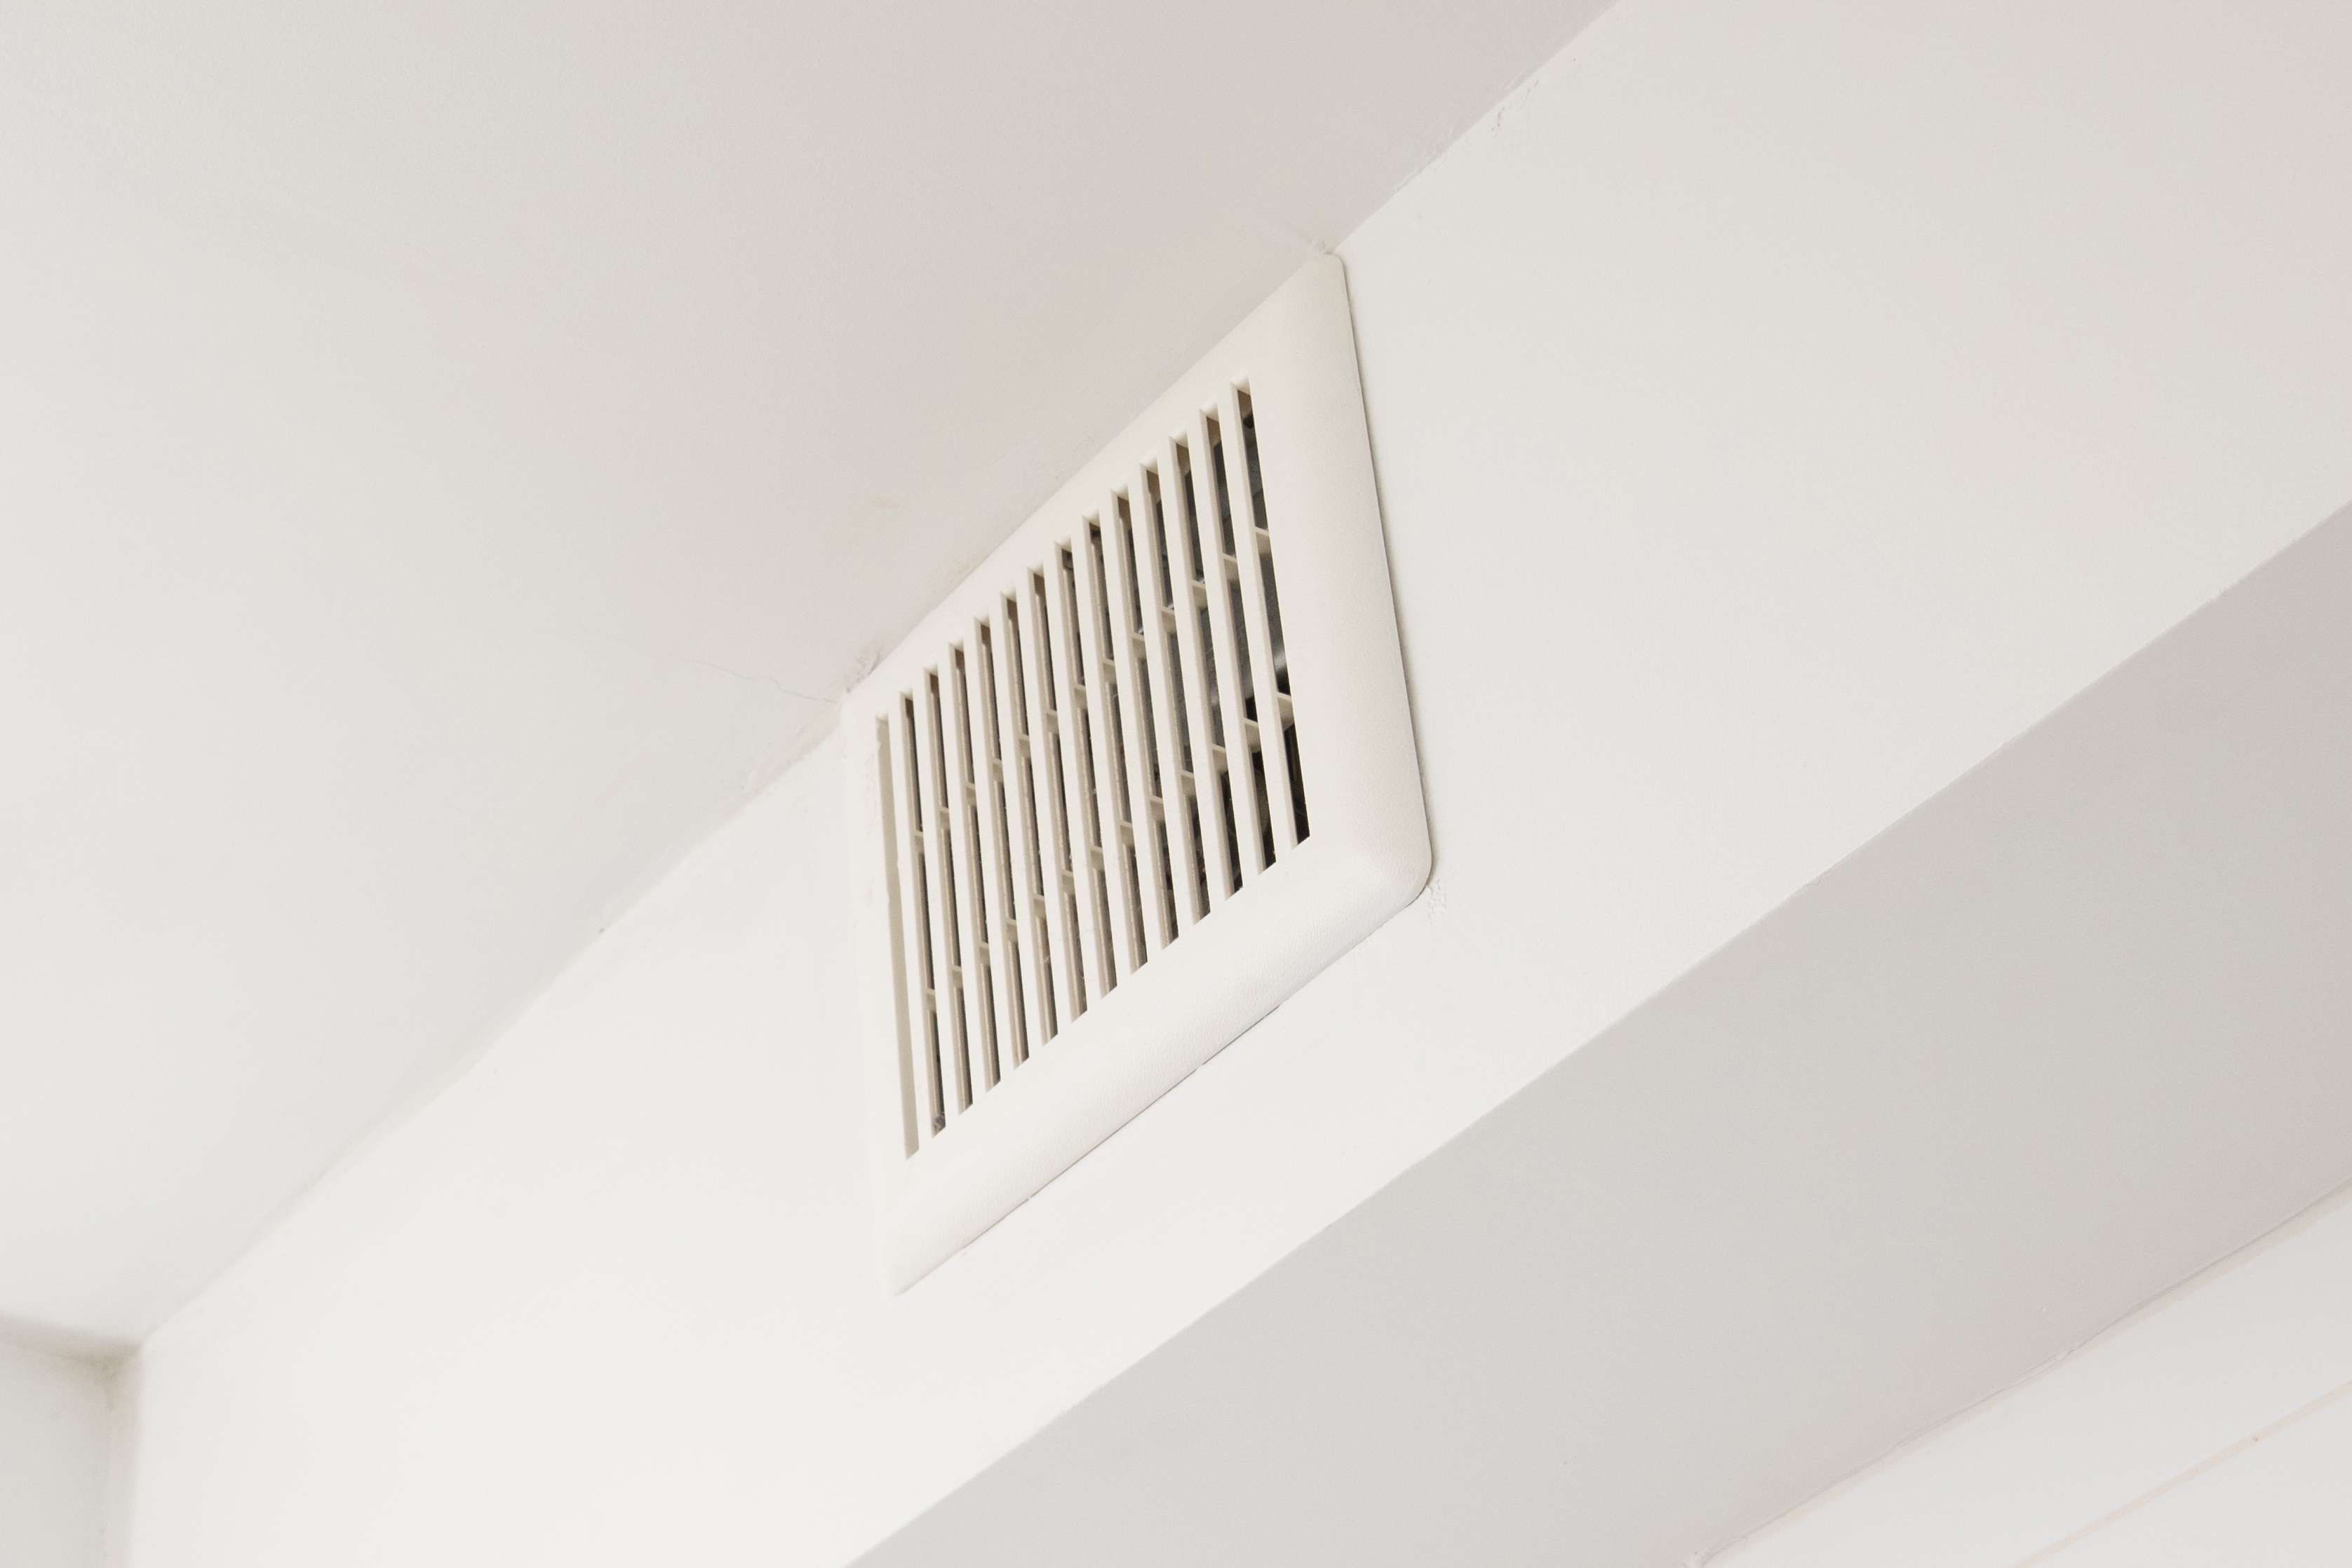
Step 2: Mount the Exhaust Fan
Mounting the exhaust fan is a crucial step in the installation process, as it sets the foundation for proper ventilation in your bathroom. By securely positioning the fan in the designated location, you can ensure efficient airflow and moisture removal. Here's a detailed guide on how to mount the exhaust fan effectively, laying the groundwork for a well-ventilated bathroom space.
-
Select the Installation Location: Begin by identifying the optimal location for mounting the exhaust fan. Ideally, the fan should be placed near the shower or bathtub to effectively remove excess moisture. Additionally, consider the proximity to the exterior wall or roof for venting purposes. Once you've chosen the location, mark the area for the fan's housing unit.
-
Prepare the Mounting Opening: Using the marked area as a guide, carefully cut a hole in the ceiling or wall to accommodate the exhaust fan. Ensure that the dimensions of the opening align with the specifications provided by the fan's manufacturer. This precise preparation will facilitate a seamless installation process and a snug fit for the fan.
-
Secure the Fan Housing: With the mounting opening prepared, position the fan's housing unit into the designated space. Secure the housing in place using appropriate fasteners, ensuring a stable and flush fit against the ceiling or wall. This step is crucial in establishing a solid foundation for the exhaust fan, preventing any unnecessary movement or instability.
-
Connect the Ductwork: If your exhaust fan requires ductwork for ventilation, proceed to connect the duct to the fan's housing unit. Ensure a secure and airtight connection to facilitate the proper flow of air from the bathroom to the exterior. Properly installed ductwork is essential for directing moisture and odors outside, contributing to a healthier indoor environment.
-
Follow Manufacturer's Instructions: Throughout the mounting process, refer to the manufacturer's instructions and guidelines for specific details related to your exhaust fan model. Adhering to the recommended installation procedures provided by the manufacturer will ensure that the fan is mounted correctly and functions optimally.
By following these detailed steps to mount the exhaust fan, you can establish a solid foundation for effective ventilation in your bathroom. A securely installed fan sets the stage for improved air quality and moisture control, contributing to a more comfortable and healthier bathroom environment. With the fan securely in place, you can proceed to the next steps of wiring and testing, bringing you closer to the successful installation of your bathroom exhaust fan with a light.
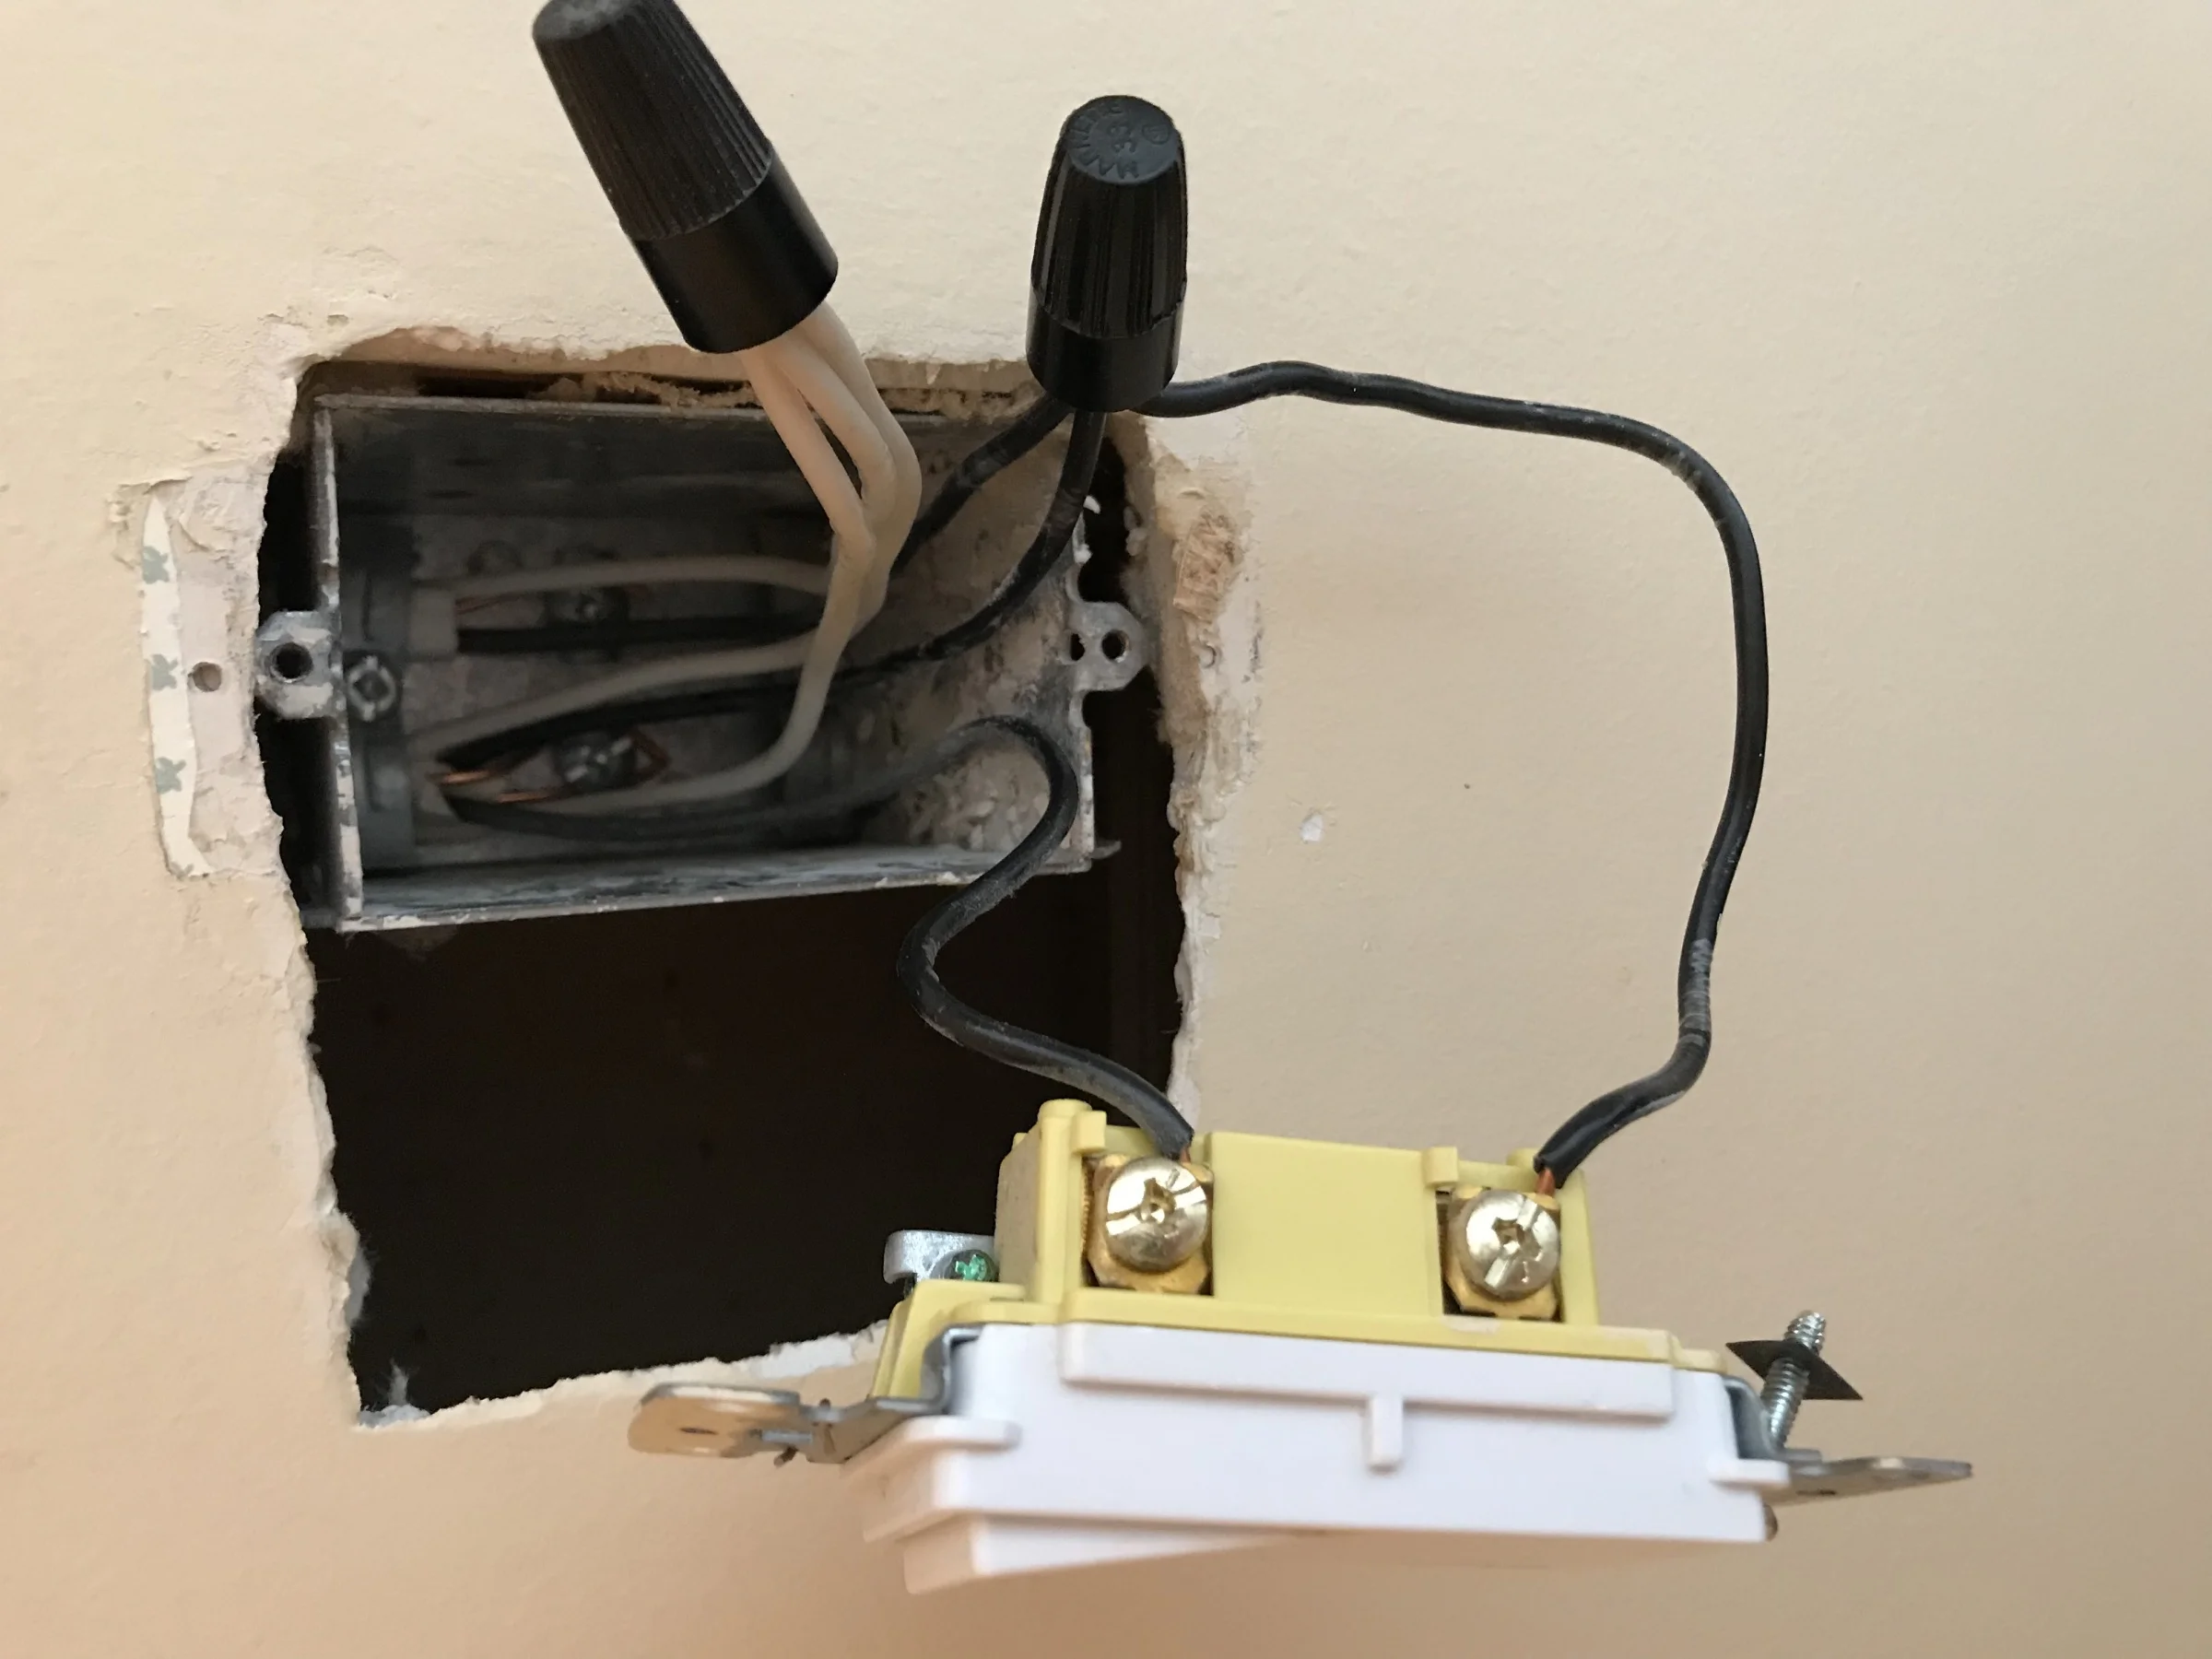
Step 3: Connect the Wires
Connecting the wires is a critical phase in the installation of a bathroom exhaust fan with a light, as it establishes the electrical connections necessary for the unit to function effectively. Properly connecting the wires ensures that both the fan and light components receive the required power supply, enabling them to operate seamlessly. Here's a detailed guide on how to connect the wires, laying the groundwork for the electrical functionality of your bathroom exhaust fan with a light.
-
Prepare the Electrical Wiring: Begin by preparing the electrical wiring for the fan and light installation. Ensure that the power supply wires are safely accessible and free from any damage or wear. If necessary, trim and strip the insulation from the ends of the wires to expose the conductive material, allowing for secure connections.
-
Identify the Wiring Components: Familiarize yourself with the wiring components of the exhaust fan and light fixture. Typically, these components include the black (hot), white (neutral), and green or bare (ground) wires. Understanding the purpose of each wire will facilitate the correct connection process and ensure the safe operation of the unit.
-
Match the Wires: Match the corresponding wires from the fan and light to the power supply wires in the bathroom. Connect the black wires (hot) together, the white wires (neutral) together, and the green or bare wires (ground) together. Secure the connections using wire connectors, ensuring a tight and reliable bond between the wires.
-
Secure the Connections: After matching and connecting the wires, it's crucial to secure the connections to prevent any accidental disconnection or exposure. Utilize electrical tape or wire nuts to encapsulate the connected wires, providing insulation and protection against electrical hazards. Additionally, neatly organize the wires to ensure a tidy and organized installation.
-
Follow Electrical Codes and Regulations: Throughout the wiring process, adhere to local electrical codes and regulations to ensure compliance with safety standards. Following the prescribed guidelines for electrical installations promotes a secure and reliable setup, minimizing the risk of electrical faults or hazards in the future.
-
Test the Connections: Once the wires are connected and secured, perform a preliminary test to ensure that the electrical connections are functioning as intended. Turn on the power supply and verify that both the fan and light components receive power, indicating successful wiring and electrical functionality.
By meticulously connecting the wires according to the specified guidelines, you can establish the essential electrical infrastructure for your bathroom exhaust fan with a light. This phase sets the stage for the seamless operation of the unit, combining ventilation and lighting to enhance the functionality and comfort of your bathroom space. With the wires securely connected, you can proceed to the next steps of installing the light and testing the fan and light, bringing you closer to the completion of this essential home improvement project.
When wiring a bathroom exhaust fan with light, make sure to turn off the power at the circuit breaker before starting. Follow the manufacturer’s instructions and use the appropriate wiring and connectors to ensure safety and proper function.
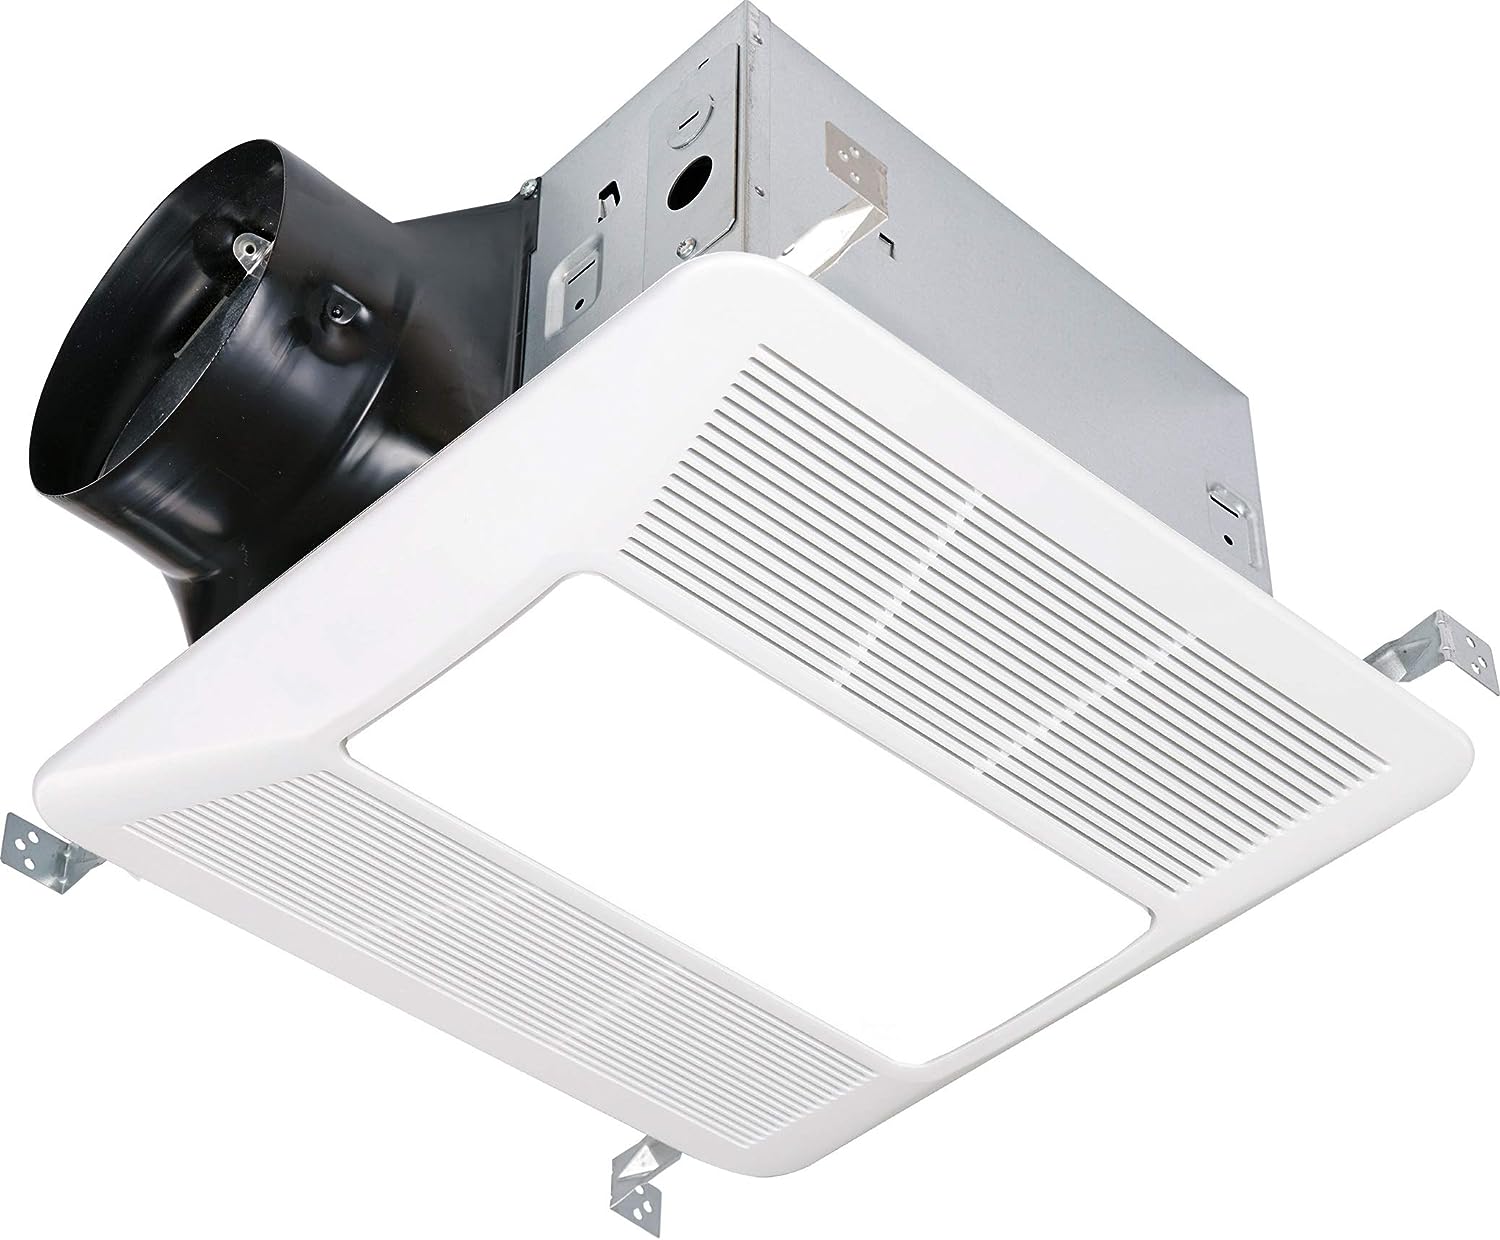
Step 4: Install the Light
Installing the light component of your bathroom exhaust fan is a pivotal step in enhancing the functionality and aesthetics of your bathroom space. The addition of a well-placed light source not only illuminates the area but also contributes to a welcoming ambiance. Here's a detailed guide on how to install the light, seamlessly integrating it with the exhaust fan to create a harmonious and well-lit environment.
-
Position the Light Fixture: Begin by positioning the light fixture in the designated location, ensuring that it complements the overall layout of the bathroom. Whether it's a central placement or strategically positioned to accentuate specific areas, the light fixture should be securely mounted to provide optimal illumination.
-
Connect the Light Wires: Similar to the fan wiring process, carefully connect the wires of the light fixture to the power supply. Match the corresponding wires, such as the black (hot), white (neutral), and green or bare (ground) wires, and secure the connections using wire connectors. This step ensures that the light receives the necessary power supply for operation.
-
Secure the Light Fixture: Once the wires are connected, secure the light fixture in place using the provided mounting hardware. Ensure that the fixture is firmly attached to the ceiling or wall, minimizing any potential movement or instability. A securely installed light fixture contributes to a polished and professional finish.
-
Test the Light: After installing the light fixture, perform a test to verify its functionality. Turn on the power supply and ensure that the light illuminates as expected. This step allows you to confirm that the electrical connections are secure and that the light component operates seamlessly alongside the exhaust fan.
-
Adjust the Lighting Angle: Depending on the type of light fixture, consider adjusting the lighting angle to achieve the desired illumination. Whether it's a directional spotlight or a diffused ambient light, optimizing the lighting angle enhances the overall visibility and ambiance of the bathroom.
By meticulously installing the light component of your bathroom exhaust fan, you can elevate the functionality and visual appeal of your bathroom space. The harmonious integration of ventilation and lighting creates a comfortable and inviting environment, catering to both practical and aesthetic needs. With the light seamlessly installed, you are one step closer to enjoying the enhanced comfort and functionality of your well-lit and well-ventilated bathroom.
Step 5: Test the Fan and Light
After completing the wiring and installation of the bathroom exhaust fan with a light, it's crucial to perform a comprehensive test to ensure that both components function seamlessly. This testing phase allows you to verify the operational efficiency of the fan and light, confirming that the electrical connections are secure and that the fixtures operate as intended. Here's a detailed guide on how to test the fan and light, bringing you closer to the successful completion of this essential home improvement project.
-
Power Supply Activation: Begin by activating the power supply to the bathroom, allowing electricity to flow to the newly installed exhaust fan and light. This step involves returning to the circuit breaker panel and switching the corresponding breaker to the "on" position. Once the power supply is restored, the bathroom's electrical system is ready to energize the fan and light components.
-
Fan Functionality Test: With the power supply activated, initiate a test of the exhaust fan to assess its operational performance. Turn on the fan switch or pull the fan's cord, depending on the specific activation mechanism. As the fan starts, listen for smooth and consistent operation, indicating that the ventilation system is effectively removing moisture and odors from the bathroom. Additionally, feel the airflow near the fan to confirm that it is expelling air as expected.
-
Light Illumination Test: Following the fan test, proceed to test the illumination of the light fixture. Activate the light switch or pull the light cord to turn on the light component. Observe the brightness and coverage of the light, ensuring that it adequately illuminates the bathroom space. Assess the positioning and angle of the light to confirm that it provides the desired level of visibility and ambiance.
-
Simultaneous Operation Test: To further evaluate the functionality of the exhaust fan with a light, perform a test that activates both components simultaneously. This test allows you to observe how the fan and light operate in conjunction, providing ventilation and illumination when needed. Confirm that the fan continues to function smoothly while the light remains illuminated, demonstrating the seamless integration of both components.
-
Safety and Compliance Check: Throughout the testing process, prioritize safety and compliance with electrical standards. Verify that the fan and light fixtures do not exhibit any signs of overheating, abnormal sounds, or flickering, which may indicate underlying issues. Additionally, ensure that the installation adheres to local electrical codes and regulations, promoting a secure and compliant setup.
By meticulously testing the fan and light components, you can confirm the successful installation and functionality of your bathroom exhaust fan with a light. This thorough evaluation ensures that the ventilation and lighting systems operate seamlessly, contributing to a comfortable and well-maintained bathroom environment. With the fan and light components tested and verified, you can confidently conclude the installation process, knowing that your bathroom is equipped with efficient ventilation and effective lighting.
Conclusion
In conclusion, the installation of a bathroom exhaust fan with a light is a significant investment in the functionality and comfort of your bathroom space. By following the step-by-step process outlined in this guide, you have successfully navigated through the essential stages of wiring, mounting, and testing, culminating in the seamless integration of ventilation and lighting systems. As you reflect on the completion of this home improvement project, it's important to recognize the tangible benefits that the exhaust fan with a light brings to your daily life and the overall well-being of your home.
The successful wiring of the fan and light, preceded by the crucial step of turning off the power supply, lays the foundation for a secure and functional electrical setup. By meticulously connecting the wires and adhering to safety protocols, you have established the essential infrastructure for the efficient operation of both components. The subsequent mounting of the exhaust fan and the installation of the light fixture further contribute to the enhancement of your bathroom environment, promoting proper ventilation and well-distributed illumination.
As you proceed to test the fan and light, you have actively engaged in ensuring the operational efficiency and safety of the newly installed components. The comprehensive testing phase allows you to confirm that the fan effectively removes moisture and odors while the light provides the desired level of illumination. By prioritizing safety and compliance throughout the testing process, you have demonstrated a commitment to creating a secure and reliable bathroom environment for yourself and your household.
The successful completion of the installation of a bathroom exhaust fan with a light marks a significant milestone in your home improvement journey. The harmonious integration of ventilation and lighting systems not only enhances the functionality of your bathroom but also contributes to the overall comfort and well-being of your living space. With a well-ventilated and well-lit bathroom, you can enjoy a healthier indoor environment, reduced humidity levels, and an inviting ambiance for your daily routines.
As you reflect on the accomplishment of this project, take pride in the knowledge that your bathroom is now equipped with the essential elements for optimal functionality and comfort. The successful installation of the exhaust fan with a light stands as a testament to your dedication to creating a welcoming and well-maintained home environment. With this essential upgrade in place, you can look forward to enjoying the benefits of improved ventilation and lighting, enhancing your overall living experience.
In closing, the installation of a bathroom exhaust fan with a light represents a meaningful investment in the well-being and functionality of your home. By following the comprehensive guide and embracing the installation process, you have taken a proactive step toward creating a comfortable, well-ventilated, and well-lit bathroom space that enhances your daily life and contributes to the overall quality of your home.
Frequently Asked Questions about How To Wire A Bathroom Exhaust Fan With Light
Was this page helpful?
At Storables.com, we guarantee accurate and reliable information. Our content, validated by Expert Board Contributors, is crafted following stringent Editorial Policies. We're committed to providing you with well-researched, expert-backed insights for all your informational needs.


0 thoughts on “How To Wire A Bathroom Exhaust Fan With Light”