Home>Furniture & Design>Bathroom Accessories>How To Wire A Bathroom Exhaust Fan With Light And Heater
Bathroom Accessories
How To Wire A Bathroom Exhaust Fan With Light And Heater
Modified: March 25, 2024
Learn how to wire a bathroom exhaust fan with light and heater for optimal comfort and functionality. Find expert tips and advice on bathroom accessories installation.
(Many of the links in this article redirect to a specific reviewed product. Your purchase of these products through affiliate links helps to generate commission for Storables.com, at no extra cost. Learn more)
Introduction
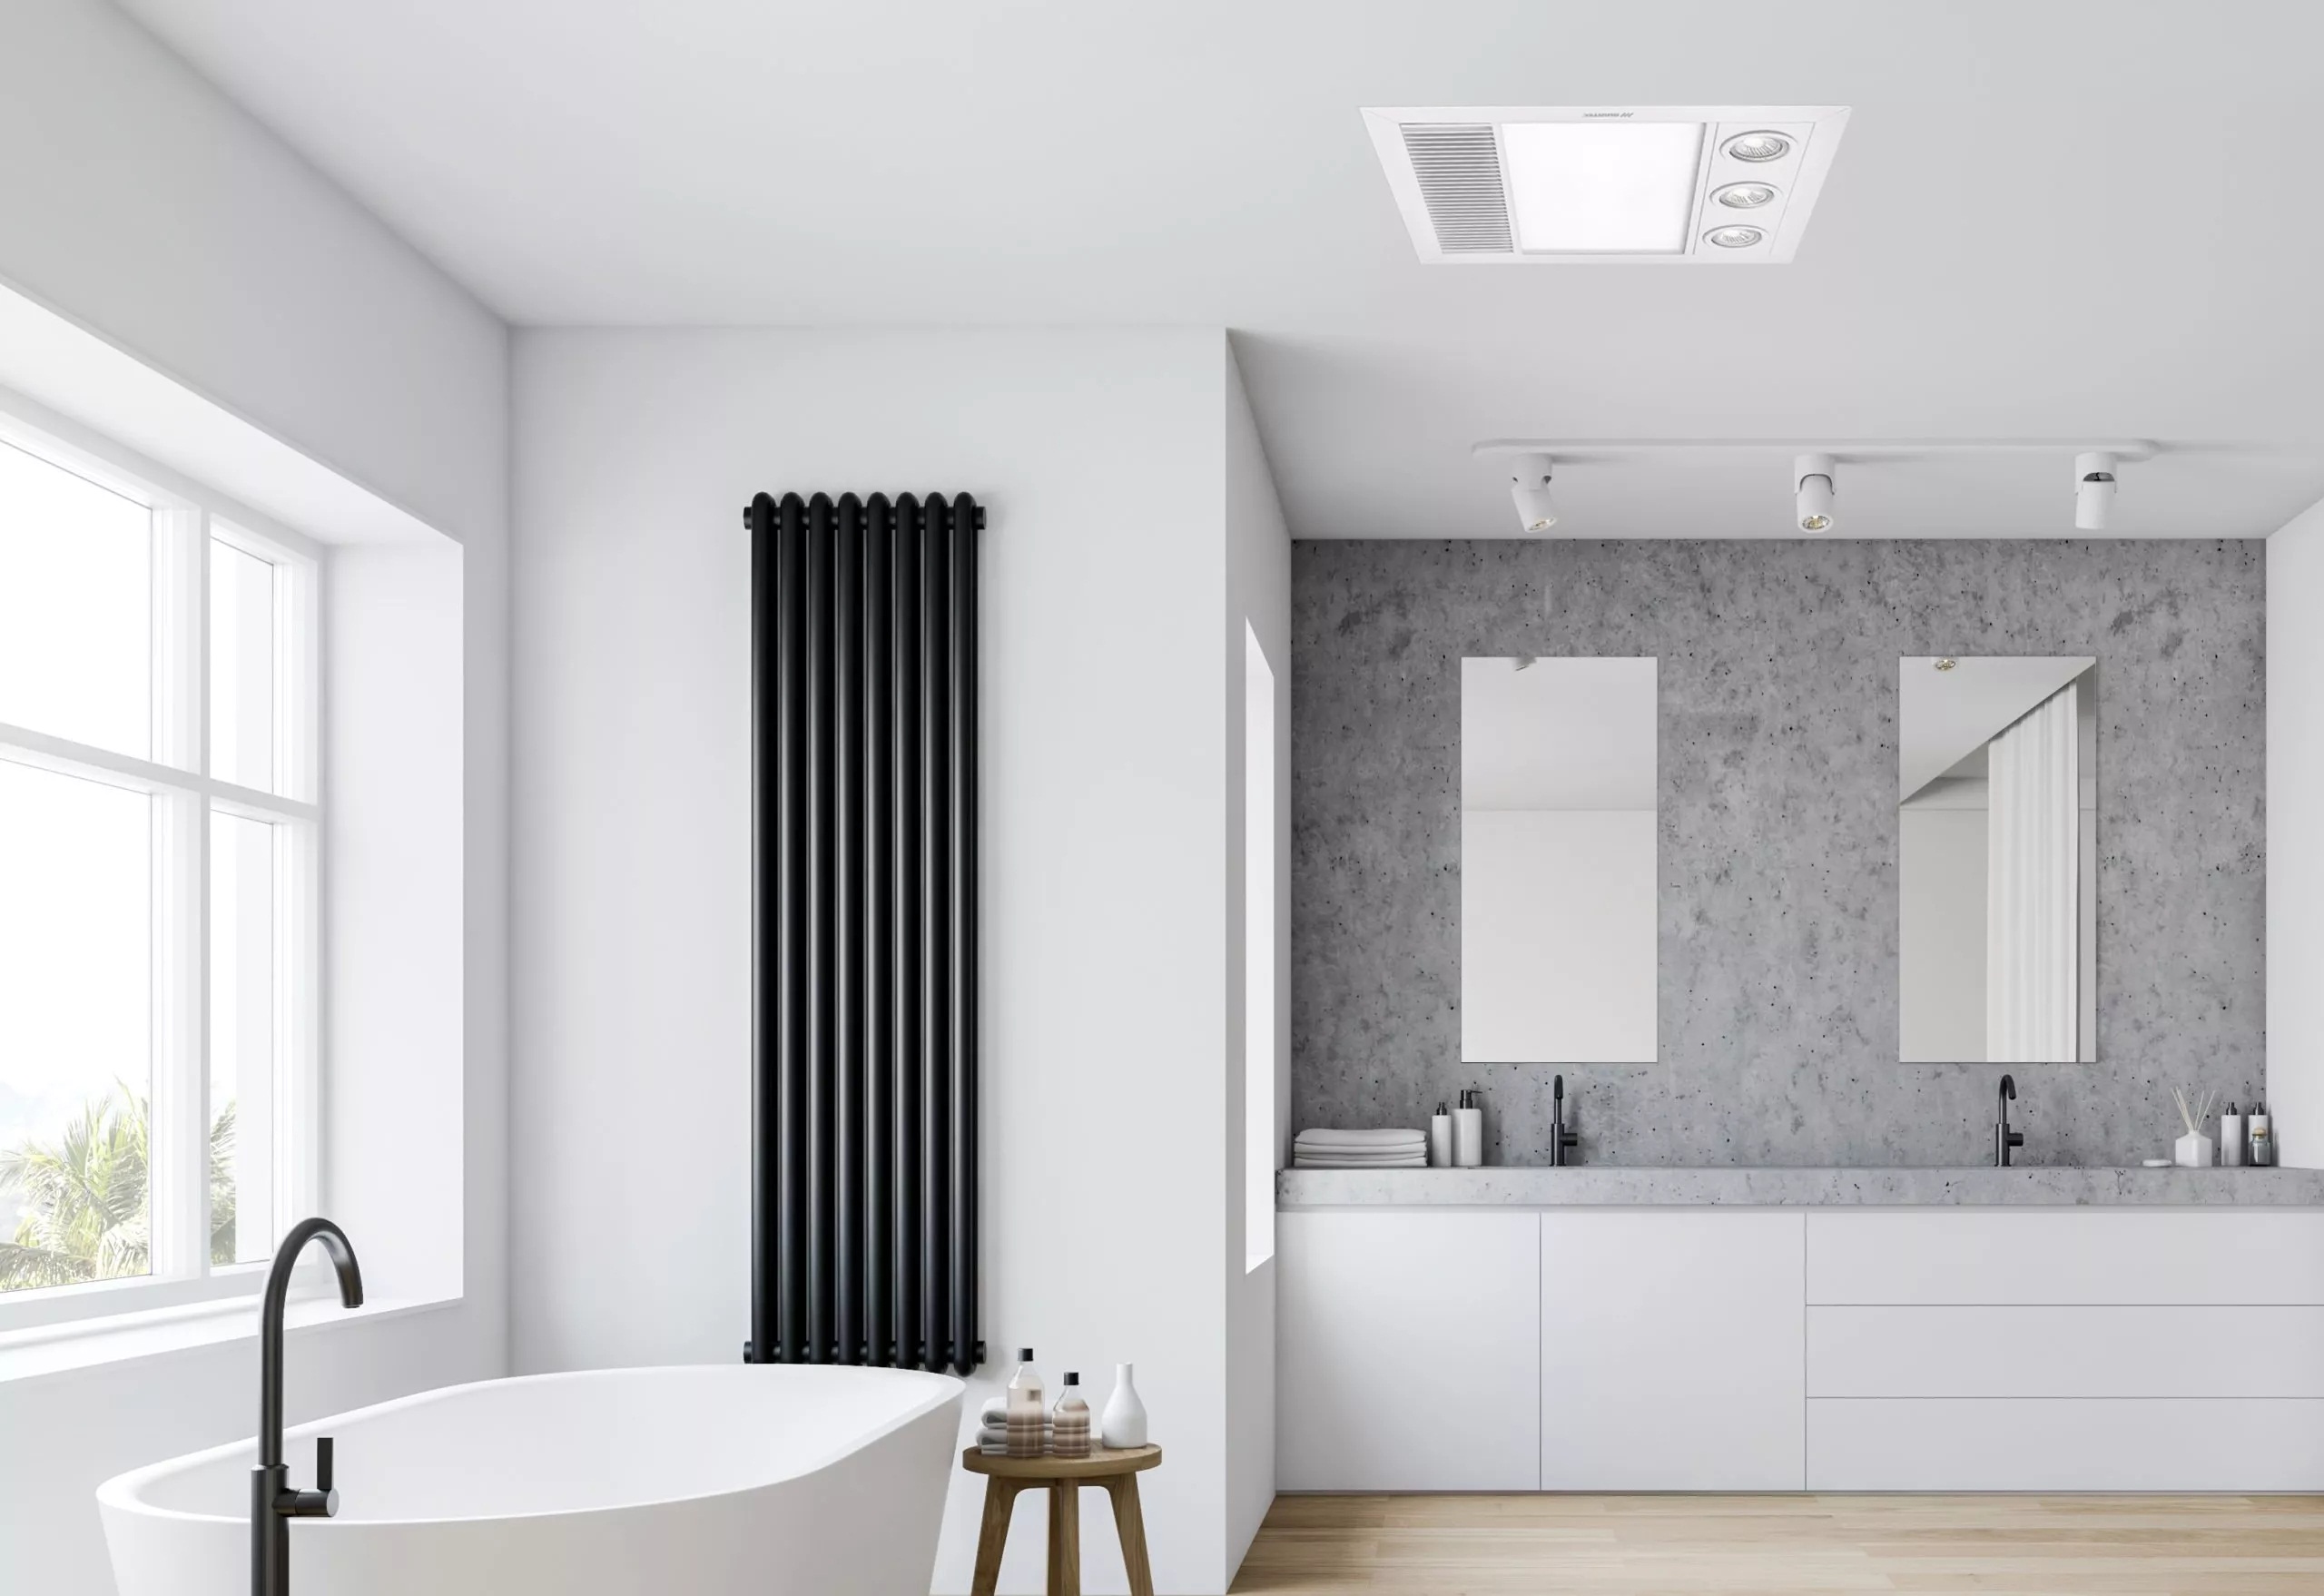
Installing a bathroom exhaust fan with a light and heater can greatly enhance the comfort and functionality of your bathroom. This multifunctional fixture not only helps to eliminate excess moisture and odors but also provides additional lighting and warmth, creating a more pleasant and inviting environment. Whether you're upgrading an existing fan or embarking on a new installation, understanding the process of wiring a bathroom exhaust fan with a light and heater is essential for a successful and safe outcome.
In this comprehensive guide, we will walk you through the step-by-step process of wiring a bathroom exhaust fan with a light and heater. From turning off the power to testing the functionality of the components, each stage is crucial for ensuring a seamless and efficient installation. By following these instructions and safety precautions, you can confidently tackle this project and enjoy the benefits of a well-ventilated, well-lit, and comfortably heated bathroom.
Let's dive into the details of each step, starting with the essential first task of turning off the power to the bathroom circuit.
Key Takeaways:
- Prioritize safety by turning off the power before wiring a bathroom exhaust fan with a light and heater. Use a voltage tester to confirm the circuits are inactive for a safe installation process.
- Carefully mount the exhaust fan, connect the wires, and install the light and heater components to create a well-ventilated, well-lit, and comfortably heated bathroom. Test each component for seamless functionality.
Read more: How To Wire A Bathroom Exhaust Fan
Step 1: Turn off the Power
Before beginning any electrical work, it is crucial to prioritize safety by turning off the power to the bathroom circuit. This step is non-negotiable and serves as a fundamental precaution to prevent the risk of electrical shock or injury. By adhering to this essential safety measure, you can proceed with confidence and peace of mind throughout the installation process.
To turn off the power, locate the circuit breaker or fuse box that controls the bathroom's electrical supply. It is important to identify the specific breaker or fuse dedicated to the bathroom to ensure that the power is completely shut off. Once you have located the appropriate breaker or fuse, switch it to the "off" position or remove the fuse to cut off the electrical supply to the bathroom.
After deactivating the power source, it is advisable to use a voltage tester to confirm that the electrical circuits are indeed inactive. This simple yet crucial step involves using the voltage tester to check the wires and electrical connections in the bathroom to ensure that no live current is present. By verifying the absence of electrical activity, you can proceed with the installation process confidently, knowing that you are working in a safe and controlled environment.
It is important to exercise caution and double-check that the power remains off throughout the entire installation process. This can be achieved by periodically using the voltage tester to confirm the absence of live current at various stages of the wiring and installation. By prioritizing safety and diligently ensuring that the power is off, you can proceed to the subsequent steps with a clear focus on the task at hand, knowing that you have taken the necessary precautions to safeguard yourself and others from potential electrical hazards.
By diligently following the protocol of turning off the power and confirming its deactivation, you are laying a solid foundation for a safe and successful installation of the bathroom exhaust fan with a light and heater. This proactive approach sets the stage for a smooth and secure installation process, allowing you to proceed with confidence and peace of mind as you move on to the subsequent steps of mounting the exhaust fan, connecting the wires, and installing the light and heater.
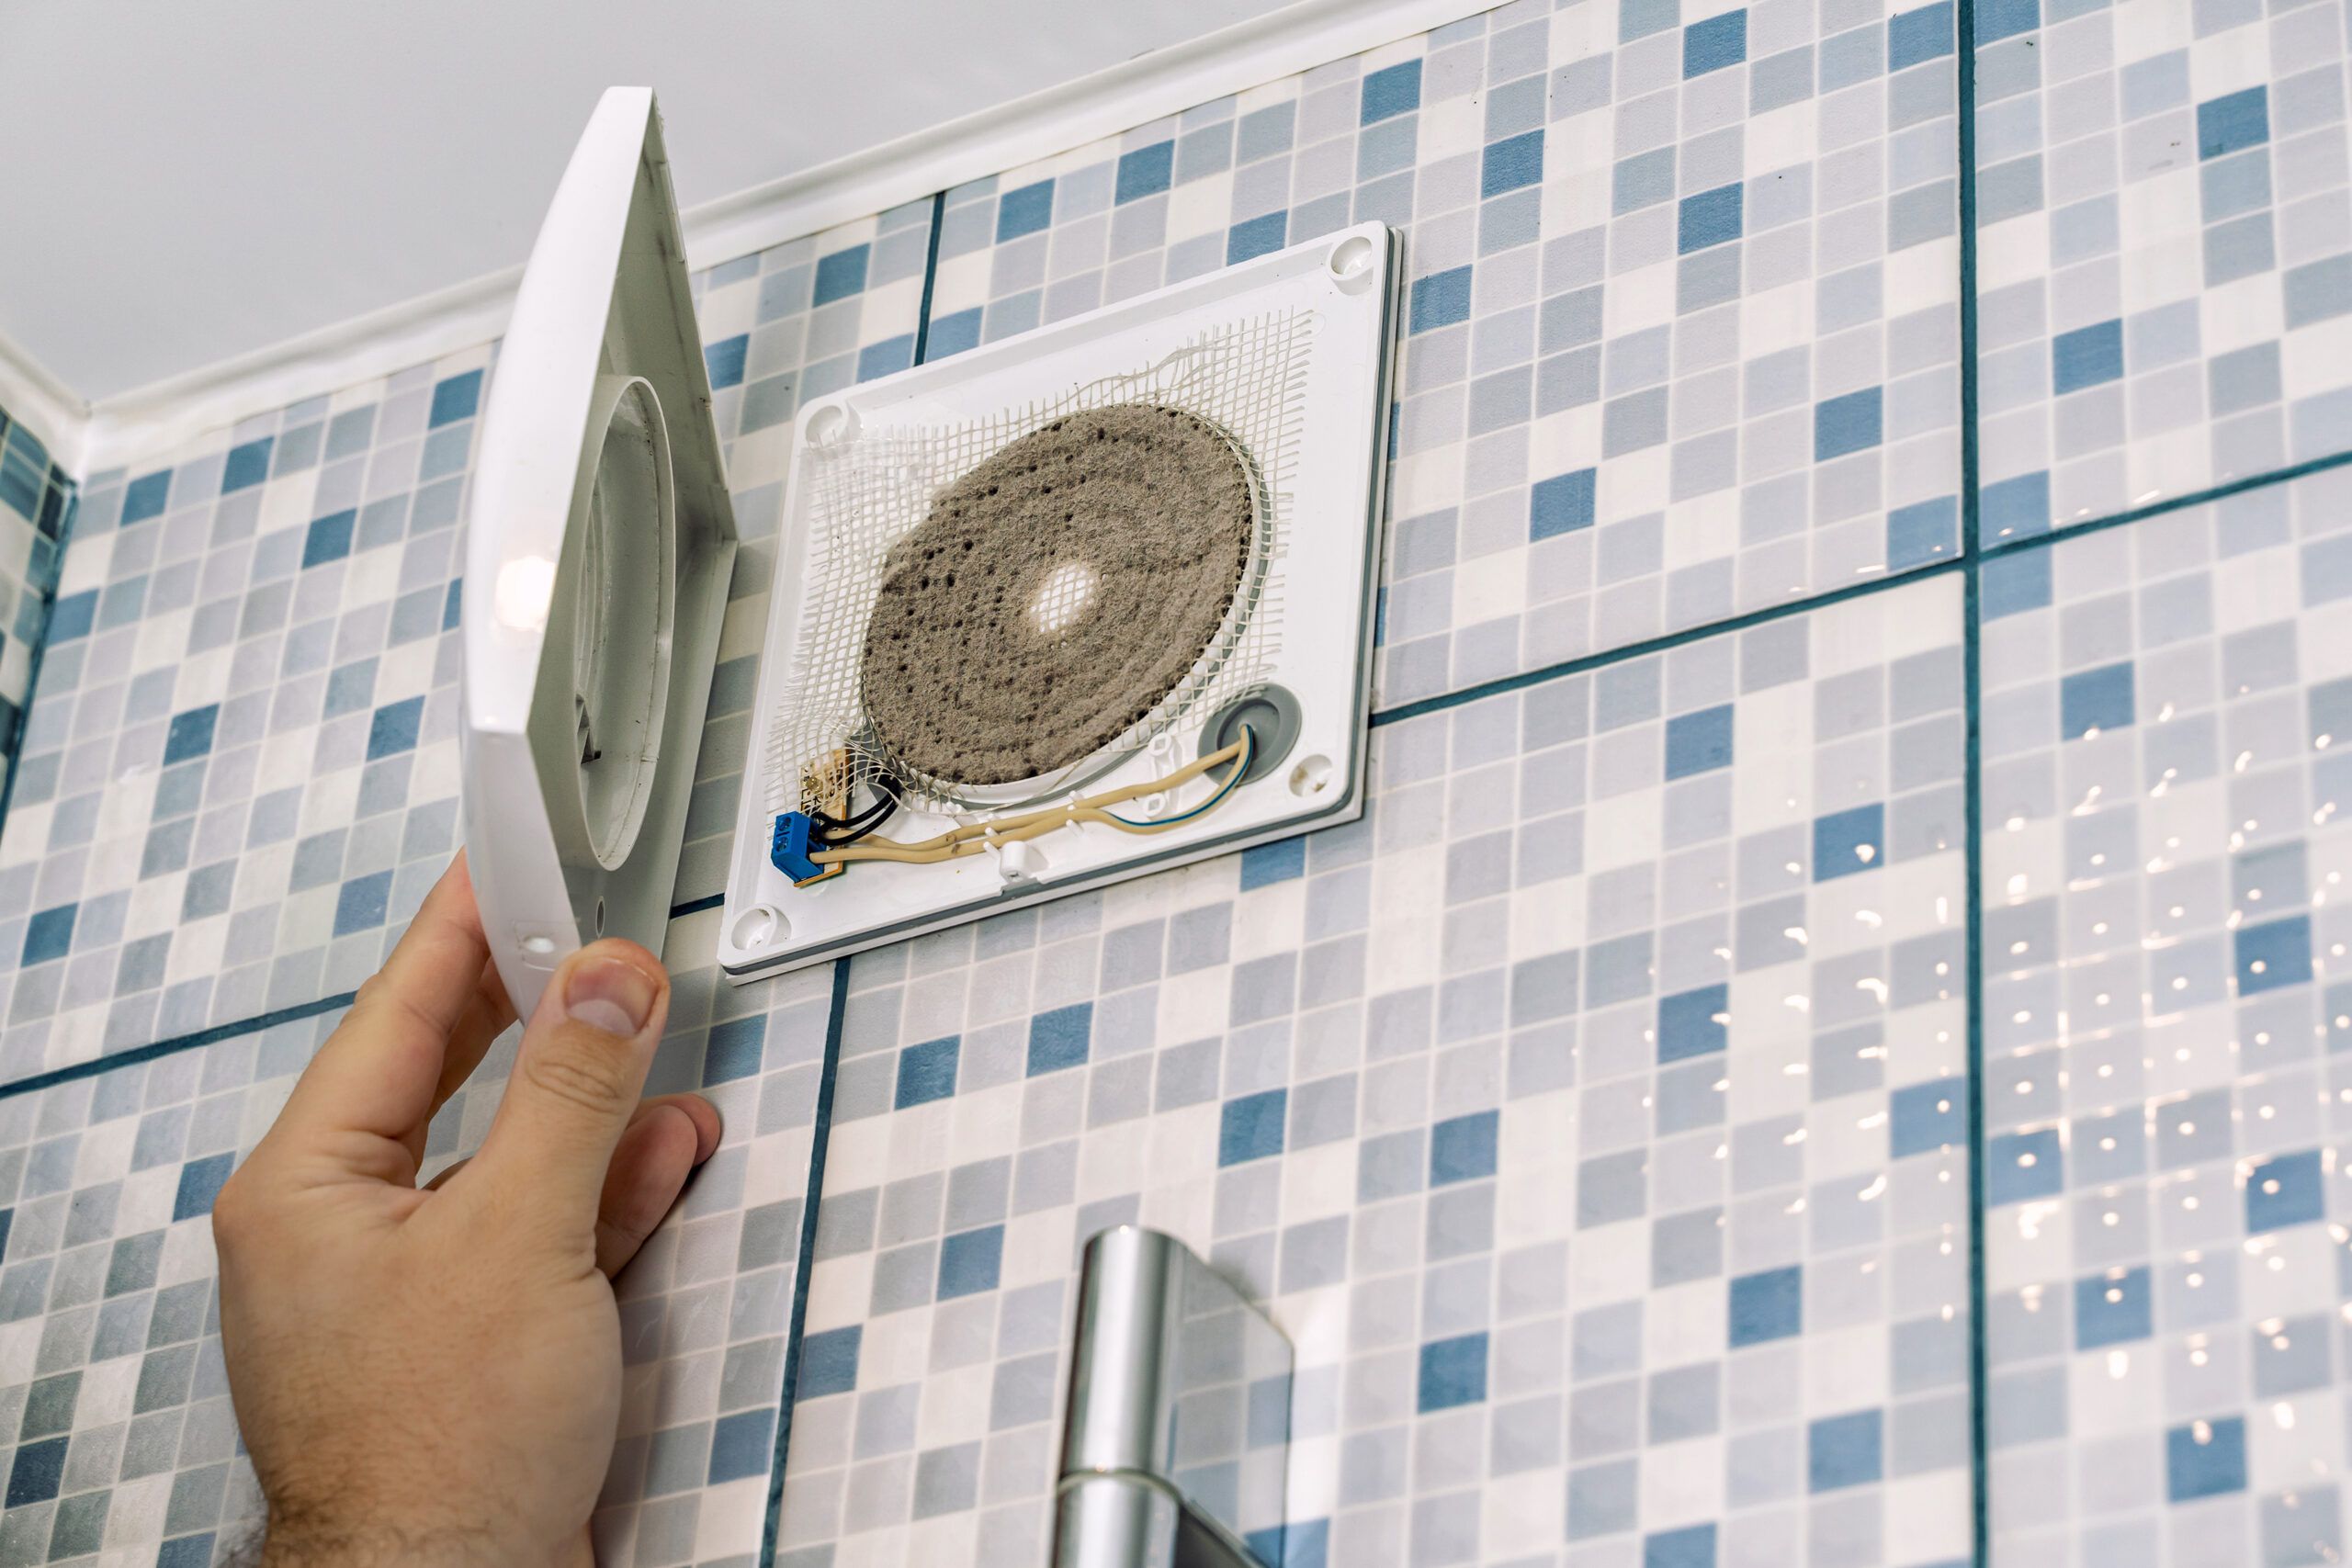
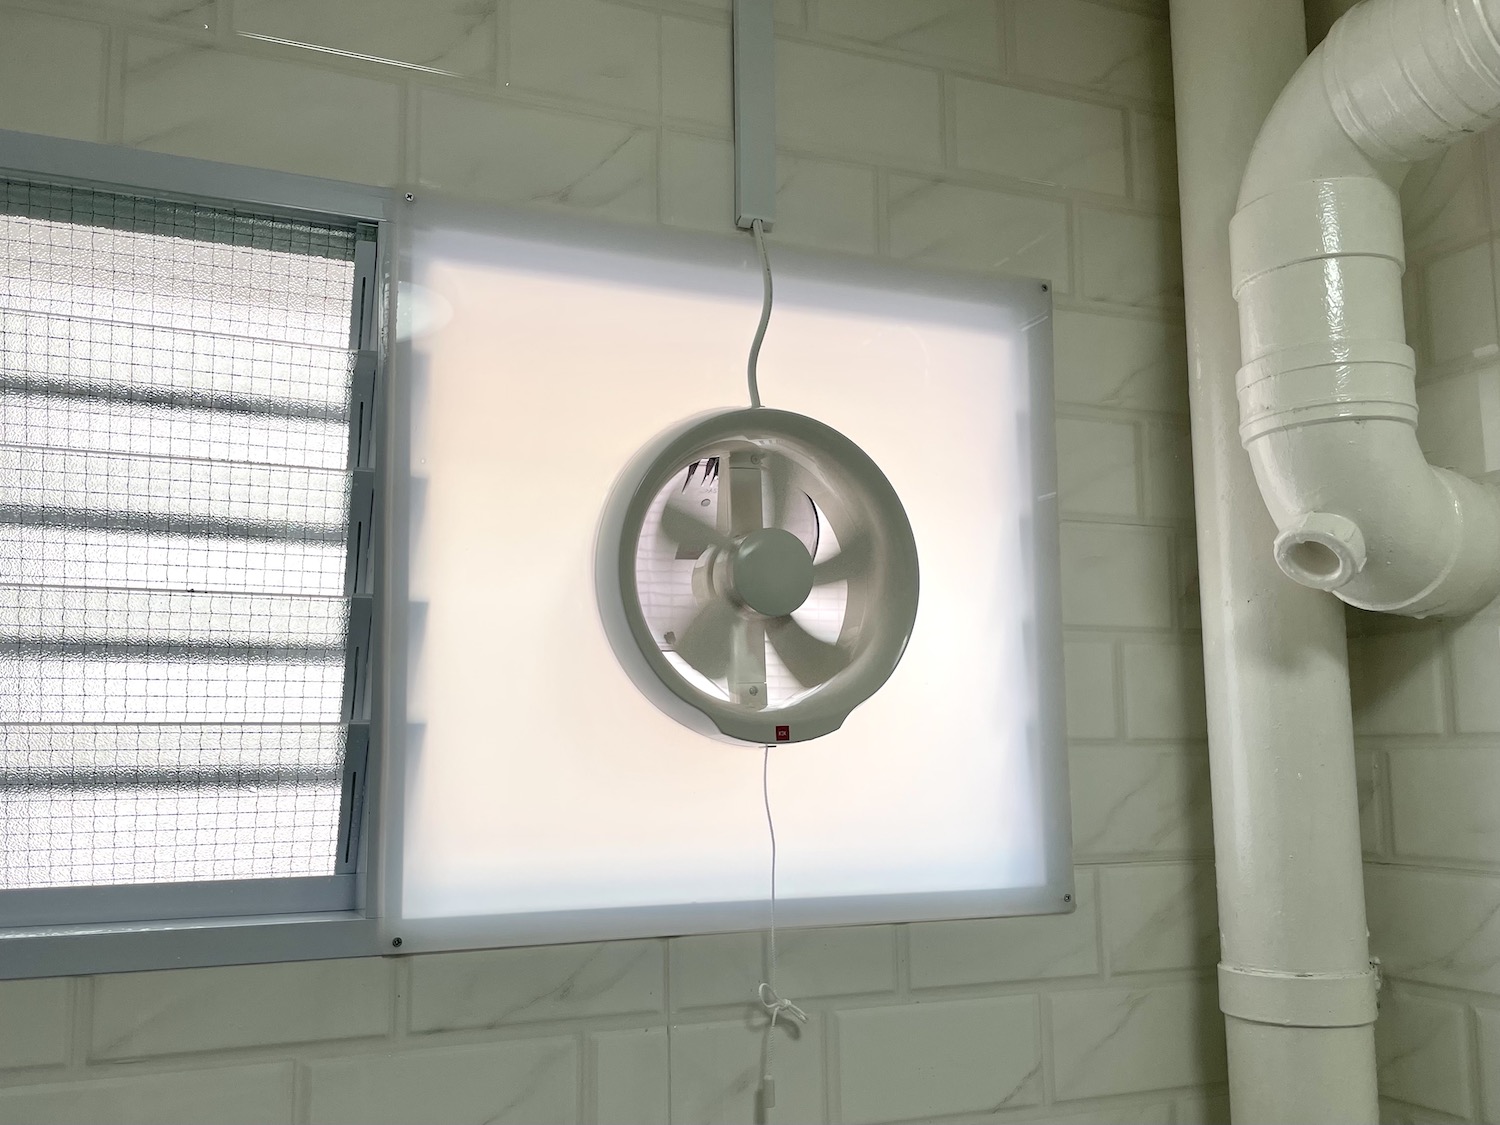
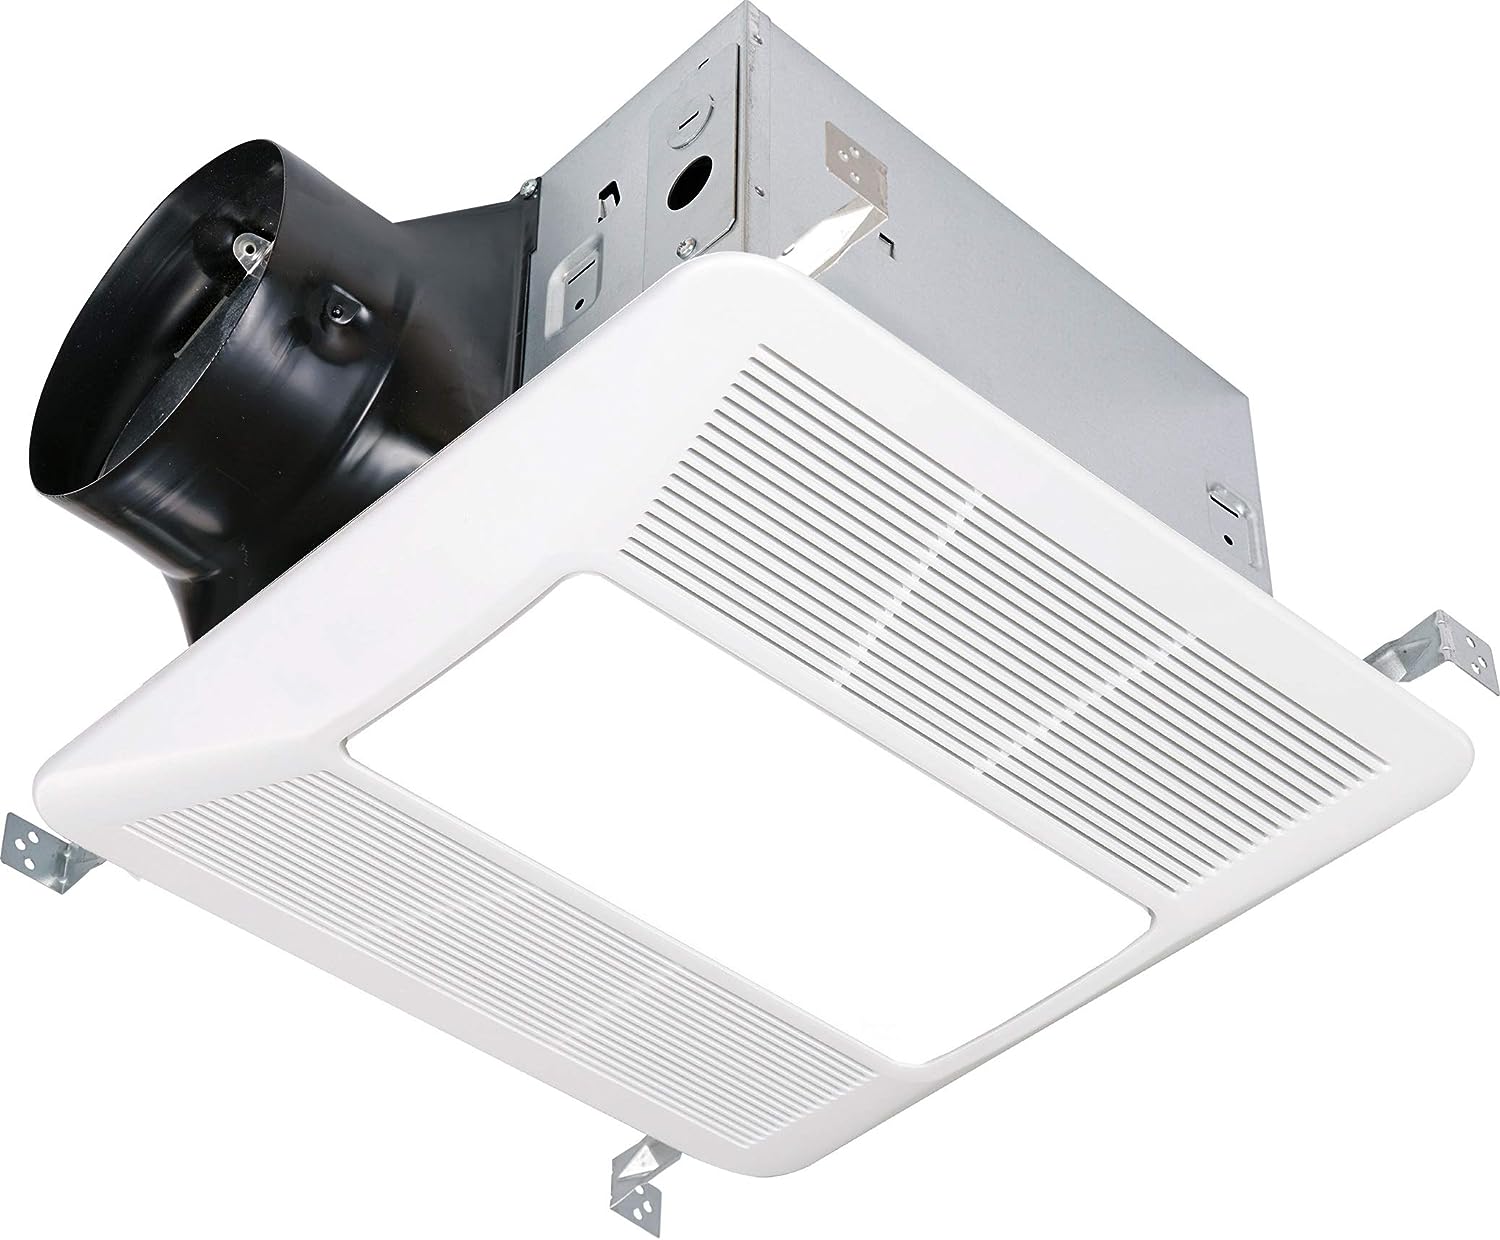
Step 2: Mount the Exhaust Fan
With the power safely turned off and the groundwork for a secure installation laid, the next crucial step is to mount the exhaust fan in the designated location. Proper positioning and secure mounting are essential for ensuring optimal functionality and efficiency of the exhaust fan, as well as the integrated light and heater components.
Begin by selecting an appropriate location for the exhaust fan that allows for efficient ventilation and complements the overall layout of the bathroom. Ideally, the fan should be installed in close proximity to the shower or bathtub to effectively remove excess moisture and odors from the air. Additionally, consider the structural framework of the ceiling to ensure that the chosen location allows for secure attachment and proper ventilation ductwork.
Once the location has been determined, carefully mark the position on the ceiling, ensuring that it aligns with the recommended guidelines provided by the manufacturer. Use a stud finder to locate and mark the positions of the ceiling joists, as these will serve as the primary anchor points for securely mounting the exhaust fan.
With the marking and positioning complete, proceed to cut an appropriately sized opening in the ceiling to accommodate the exhaust fan. Exercise caution and precision during this step to ensure a clean and accurate cut that aligns with the dimensions specified by the manufacturer. Following the manufacturer's guidelines for the cutout dimensions is crucial for a seamless and secure fit during the installation process.
Once the opening has been made, carefully position the exhaust fan in place, ensuring that it aligns with the marked location and the cutout in the ceiling. Secure the fan in position by attaching it to the ceiling joists using the provided mounting brackets or hardware. It is essential to follow the manufacturer's instructions for securing the fan in place, as this will ensure stability and proper alignment for the subsequent wiring and installation steps.
As you mount the exhaust fan, pay close attention to the alignment and levelness of the unit to ensure a professional and aesthetically pleasing installation. Use a level to verify that the fan is positioned correctly and adjust it as needed to achieve a balanced and symmetrical placement within the ceiling opening.
By meticulously following these steps and adhering to the manufacturer's guidelines, you can confidently proceed to the next stage of connecting the wires, knowing that the exhaust fan is securely mounted and poised for seamless integration with the light and heater components. With the fan in place, the installation process gains momentum, bringing you closer to the completion of this multifaceted project.
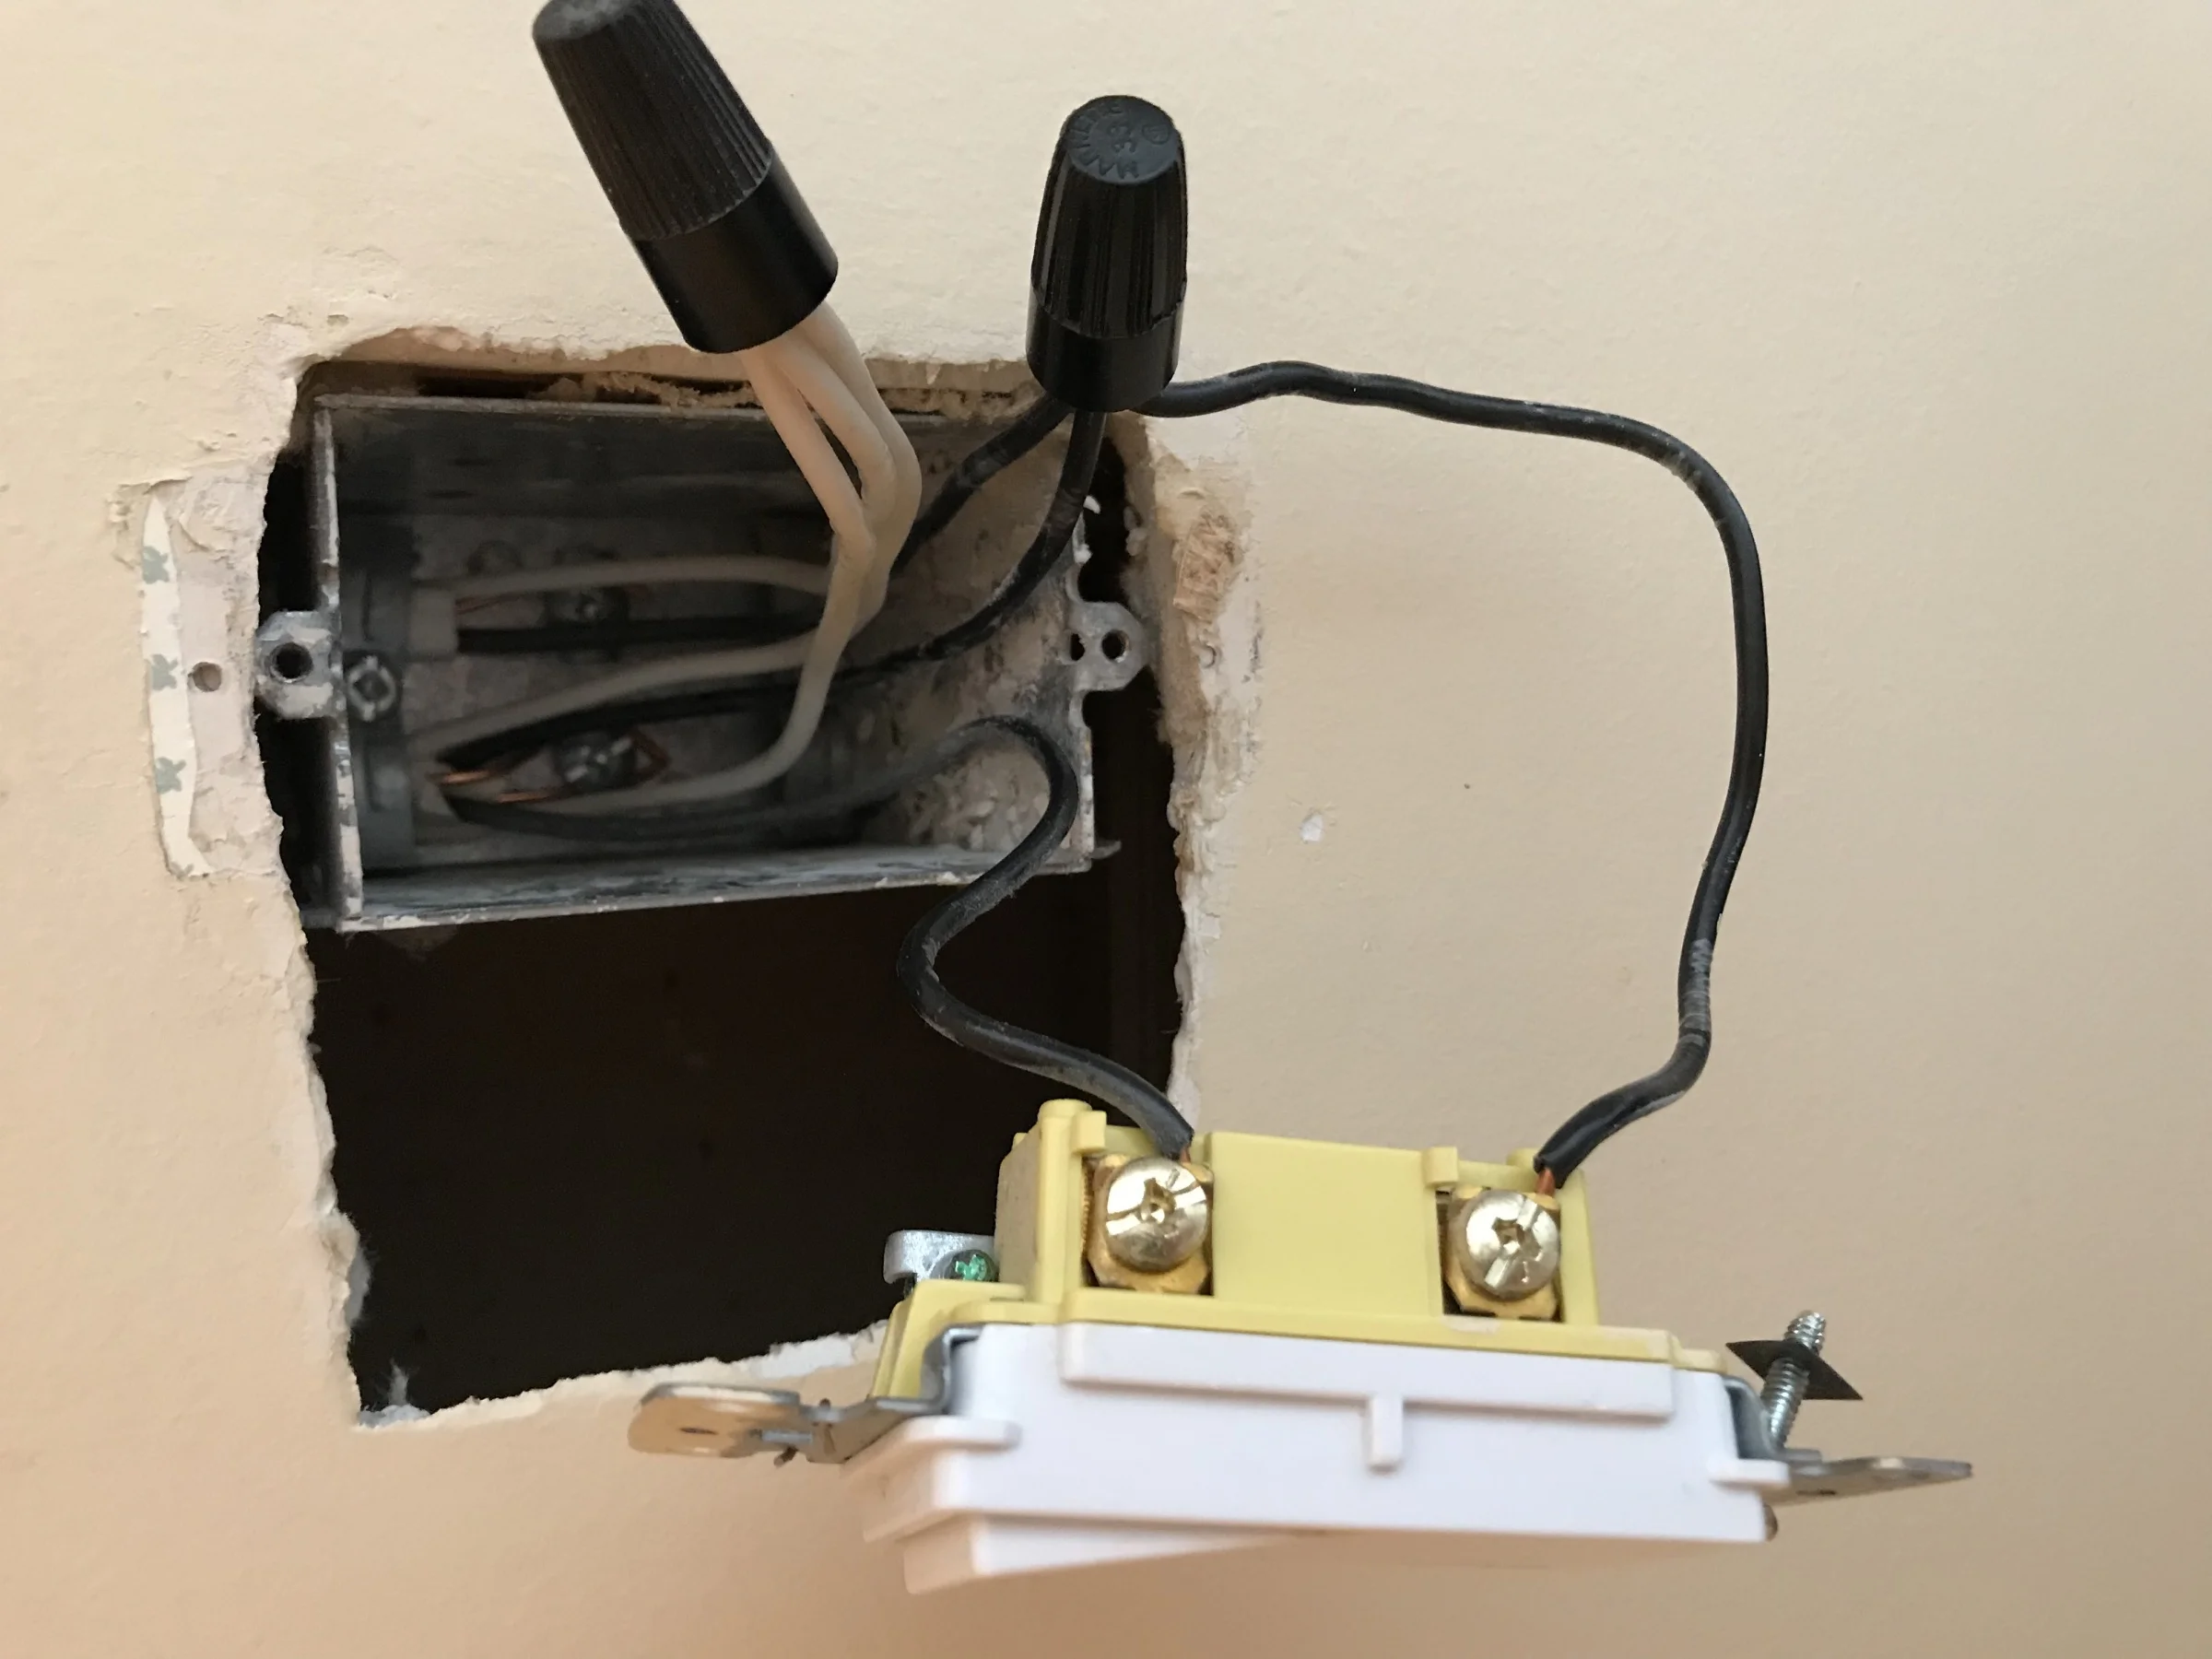
Step 3: Connect the Wires
With the exhaust fan securely mounted in place, the next critical phase of the installation process involves connecting the electrical wires to power the fan, light, and heater components. This step requires meticulous attention to detail and adherence to electrical safety standards to ensure a seamless and secure connection of the wires.
Begin by carefully identifying the specific wires associated with the exhaust fan, light, and heater. These wires typically include the hot (black), neutral (white), and ground (green or bare copper) wires for each component. It is essential to refer to the manufacturer's instructions and wiring diagrams to accurately identify and differentiate the wires, ensuring that the connections are made correctly.
Before proceeding with the wiring, it is crucial to verify that the power remains turned off at the circuit breaker or fuse box. Using a voltage tester, confirm that there is no live current present in the electrical circuits to prevent the risk of electrical shock or injury during the wiring process.
Once the power is confirmed to be off, carefully strip the insulation from the ends of the electrical wires, exposing a sufficient length of conductor for secure connections. Exercise caution and precision during this step to avoid damaging the conductors and ensure clean, undamaged wire ends for the subsequent connections.
Next, proceed to connect the corresponding wires from the exhaust fan, light, and heater to the electrical supply. This typically involves joining the hot, neutral, and ground wires of each component to the corresponding wires in the electrical supply using wire connectors or terminal screws. It is imperative to follow the manufacturer's wiring diagram and instructions for the specific model of the exhaust fan with a light and heater to ensure accurate and secure connections.
As you connect the wires, double-check each connection to verify that it is secure and properly insulated. Ensure that the wire connectors or terminal screws are tightened securely to establish reliable electrical connections and prevent any loose or exposed wiring.
After completing the wiring connections, carefully tuck the wires into the electrical junction box or housing provided with the exhaust fan. Organize the wires neatly within the box to ensure a clean and professional installation while allowing ample space for the components to fit securely in place.
By meticulously following these steps and adhering to the manufacturer's instructions, you can confidently proceed to the subsequent stage of installing the light and heater components, knowing that the electrical connections for the exhaust fan have been accurately and securely established. With the wires connected and the electrical components poised for integration, the installation process advances toward its completion, bringing you closer to enjoying the enhanced functionality and comfort of your bathroom exhaust fan with a light and heater.
When wiring a bathroom exhaust fan with light and heater, make sure to use the appropriate gauge of wire for the electrical load, and always follow the manufacturer’s instructions and local building codes for safe installation.
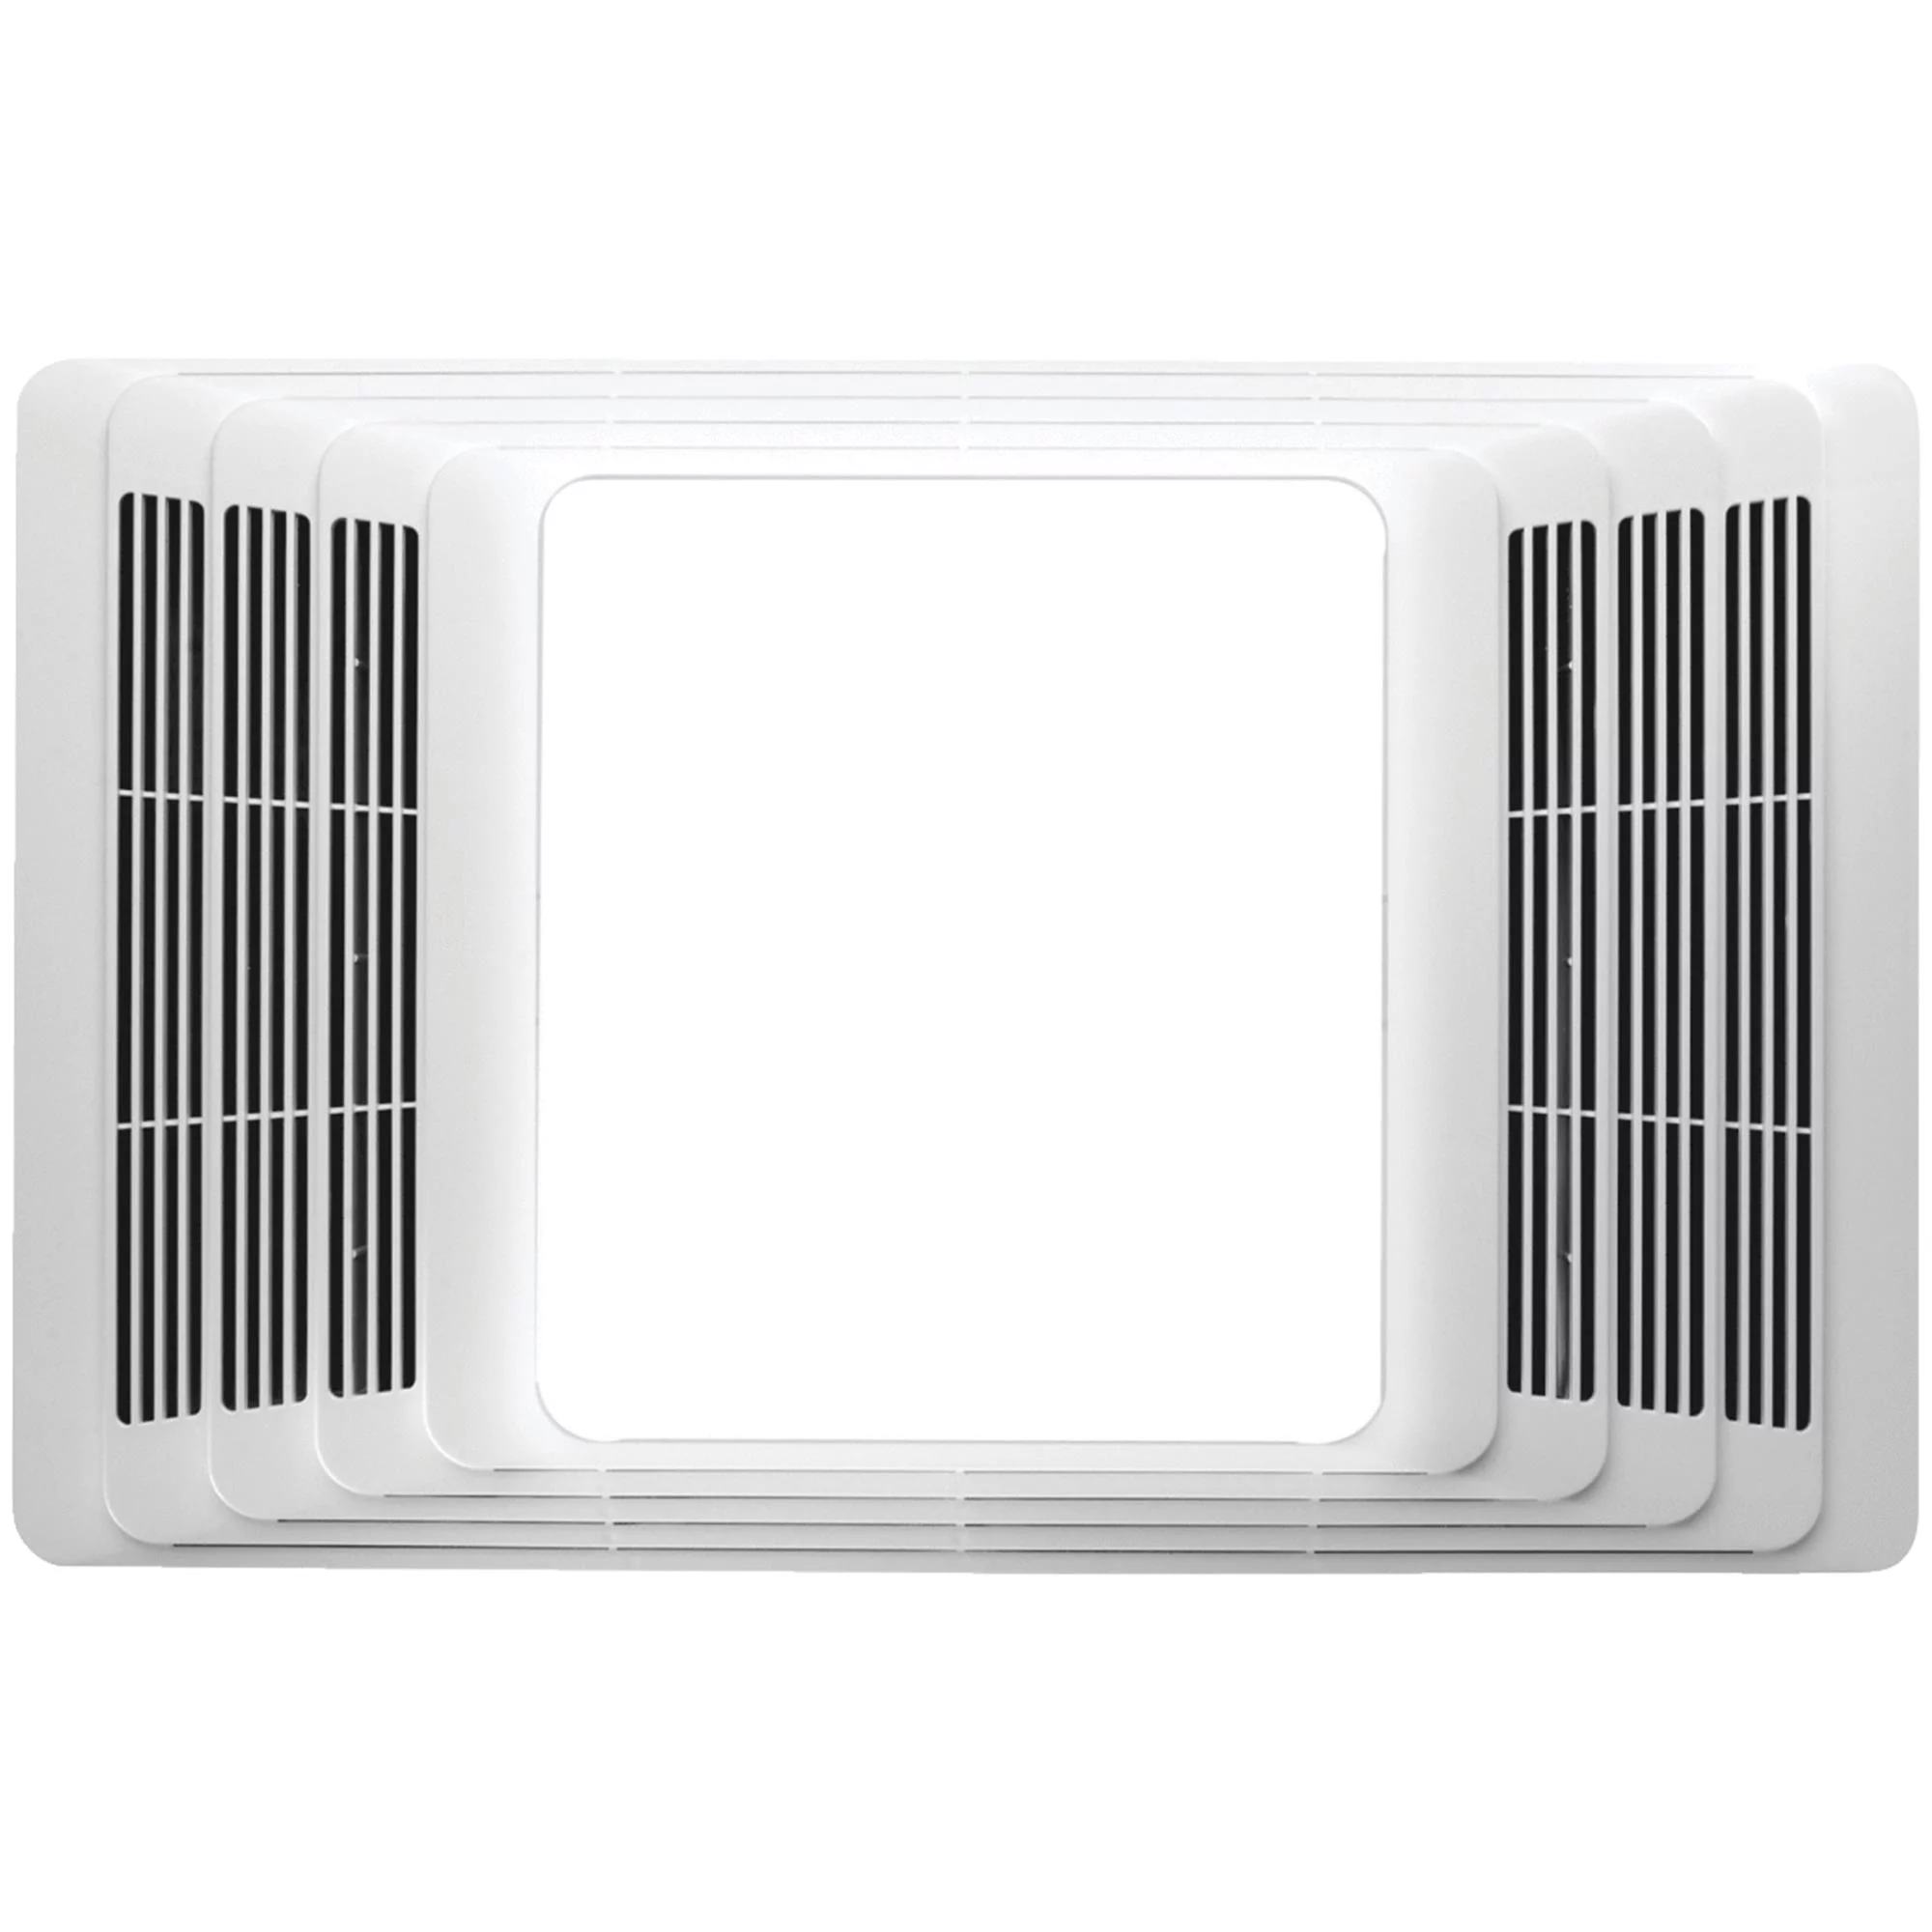
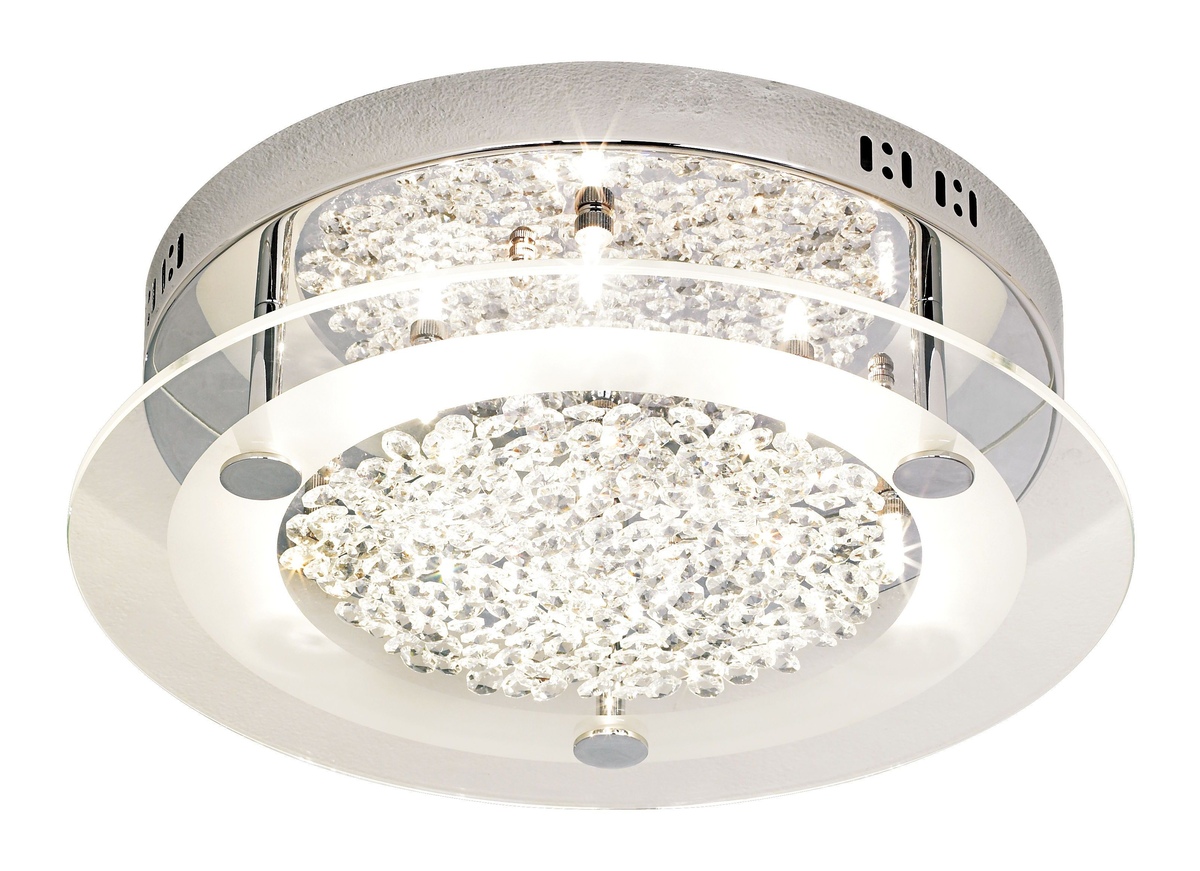
Step 4: Install the Light and Heater
With the exhaust fan securely mounted and the electrical wires meticulously connected, the next pivotal phase of the installation process involves installing the light and heater components. These integral features not only enhance the functionality of the bathroom but also contribute to a more comfortable and inviting environment. The installation of the light and heater requires precision and attention to detail to ensure seamless integration with the exhaust fan and safe, efficient operation.
Begin by carefully positioning the light and heater components in their designated locations, following the manufacturer's guidelines and recommendations. Ensure that the components align with the specified cutout dimensions and securely fit within the allocated space. Proper alignment and placement are essential for a professional and aesthetically pleasing installation that optimizes the functionality and visual appeal of the exhaust fan with a light and heater.
Once the components are positioned, proceed to connect the electrical wires from the light and heater to the corresponding wires in the electrical supply. Exercise caution and precision during this step, ensuring that the connections are made accurately and securely. Follow the manufacturer's wiring diagram and instructions to establish reliable electrical connections, minimizing the risk of loose or exposed wiring.
After connecting the wires, carefully secure the light and heater components in place using the provided mounting hardware or brackets. Verify that the components are firmly anchored and aligned with the ceiling surface, ensuring a stable and balanced installation. Pay close attention to the levelness and symmetry of the components to achieve a cohesive and visually appealing integration with the exhaust fan.
Once the light and heater components are securely installed, proceed to test the functionality of the entire system. Turn on the power at the circuit breaker or fuse box and activate the exhaust fan, light, and heater to ensure that each component operates as intended. Verify that the fan effectively ventilates the bathroom, the light provides adequate illumination, and the heater delivers the desired warmth, confirming that the integrated system functions seamlessly and efficiently.
By meticulously following these steps and adhering to the manufacturer's instructions, you can confidently proceed to the final phase of the installation process, knowing that the light and heater components have been successfully integrated with the exhaust fan. With the components in place and the system tested for functionality, the installation process nears its completion, bringing you closer to enjoying the enhanced comfort and convenience of your fully operational bathroom exhaust fan with a light and heater.
Step 5: Test the Exhaust Fan, Light, and Heater
With the installation process nearing its completion, the crucial final step involves testing the functionality of the exhaust fan, light, and heater components. This pivotal phase serves as the ultimate validation of the installation, ensuring that each element operates seamlessly and efficiently to deliver the intended benefits.
To begin the testing process, turn on the power at the circuit breaker or fuse box to activate the electrical supply to the bathroom. With the power restored, proceed to test each component individually, starting with the exhaust fan. Activate the fan and listen for the sound of the motor, confirming that it is functioning and effectively ventilating the bathroom. Verify that the fan efficiently removes excess moisture and odors, promoting a fresher and more comfortable environment.
Following the successful testing of the exhaust fan, proceed to test the light component. Turn on the light and observe the illumination it provides, ensuring that it delivers the desired level of brightness and enhances the visibility within the bathroom. Verify that the light operates without flickering or irregularities, indicating a stable and reliable electrical connection.
After confirming the functionality of the light, proceed to test the heater component. Activate the heater and feel the warmth it emits, ensuring that it provides the desired level of comfort and supplemental heating within the bathroom. Verify that the heater operates smoothly and consistently, delivering a reliable source of warmth without any fluctuations or malfunctions.
Once each component has been individually tested and verified for functionality, proceed to test the integrated system as a whole. Activate the exhaust fan, light, and heater simultaneously to ensure that they operate harmoniously and complement each other's functions. Verify that the integrated system functions seamlessly, providing efficient ventilation, illumination, and warmth to create a comfortable and inviting bathroom environment.
Throughout the testing process, pay close attention to any irregularities or malfunctions, addressing them promptly to ensure the optimal performance of the exhaust fan with a light and heater. By meticulously testing each component and the integrated system, you can confidently conclude the installation process, knowing that the multifunctional fixture is fully operational and poised to enhance the comfort and functionality of your bathroom.
As the testing phase concludes, take a moment to appreciate the successful installation and the transformative impact it will have on your daily comfort and convenience. With the exhaust fan, light, and heater working in harmony, you can look forward to enjoying a well-ventilated, well-lit, and comfortably heated bathroom, elevating your everyday experiences within this essential space.
Conclusion
In conclusion, the installation of a bathroom exhaust fan with a light and heater represents a significant enhancement to the functionality and comfort of any bathroom. By following the step-by-step process outlined in this guide, you have gained the knowledge and confidence to tackle this multifaceted project with precision and safety at the forefront. From turning off the power to testing the integrated system, each stage of the installation process has been meticulously addressed to ensure a seamless and efficient outcome.
As you reflect on the completion of this installation, it is important to recognize the transformative impact it will have on your daily experiences within the bathroom. The exhaust fan, with its efficient ventilation capabilities, will effectively remove excess moisture and odors, contributing to a fresher and more pleasant environment. The integrated light component will provide enhanced illumination, improving visibility and creating a welcoming ambiance. Additionally, the heater component will offer supplemental warmth, ensuring comfort during colder seasons and elevating the overall comfort of the space.
Furthermore, the successful installation of the exhaust fan with a light and heater serves as a testament to your commitment to safety, precision, and attention to detail. By prioritizing these essential elements throughout the installation process, you have not only achieved a functional and aesthetically pleasing outcome but also established a secure and reliable fixture that will serve you well for years to come.
As you enjoy the benefits of your newly installed bathroom exhaust fan with a light and heater, take pride in the knowledge that you have successfully completed a project that enhances both the functionality and comfort of your home. The seamless integration of these components represents a significant upgrade to your bathroom space, creating an environment that is well-ventilated, well-lit, and comfortably heated, enriching your daily routines and enhancing your overall well-being.
With this comprehensive guide as your companion, you have navigated the intricacies of wiring and installing a bathroom exhaust fan with a light and heater, empowering you to create a more inviting and comfortable bathroom environment. As you revel in the success of this project, may it serve as a testament to your capabilities and dedication to creating a home that prioritizes both functionality and comfort.
Frequently Asked Questions about How To Wire A Bathroom Exhaust Fan With Light And Heater
Was this page helpful?
At Storables.com, we guarantee accurate and reliable information. Our content, validated by Expert Board Contributors, is crafted following stringent Editorial Policies. We're committed to providing you with well-researched, expert-backed insights for all your informational needs.


0 thoughts on “How To Wire A Bathroom Exhaust Fan With Light And Heater”