Articles
How To Replace Bathroom Fan With Light
Modified: October 19, 2024
Looking for articles on how to replace a bathroom fan with light? Find expert guidance and step-by-step instructions in this comprehensive guide.
(Many of the links in this article redirect to a specific reviewed product. Your purchase of these products through affiliate links helps to generate commission for Storables.com, at no extra cost. Learn more)
Introduction
Replacing a bathroom fan with a light can be a great way to improve the functionality and aesthetics of your bathroom. Whether you want to upgrade an outdated fan or simply add a light to an existing fan, this project can enhance the overall ambiance and convenience of your bathroom space.
In this article, we will guide you through the step-by-step process of replacing a bathroom fan with a light. We will provide you with the necessary instructions, tips, and precautions to ensure a successful and safe installation.
Before we begin, it is important to note that working with electrical components can be dangerous if proper precautions are not taken. If you are not comfortable or familiar with electrical work, it is highly recommended to hire a licensed electrician to assist you with the installation.
Now, let’s dive into the process of replacing your bathroom fan with a light, and transform your bathroom into a brighter and more enjoyable space.
Key Takeaways:
- Prioritize safety and gather the necessary tools before replacing your bathroom fan with a light. Turning off the power, disconnecting electrical connections, and following manufacturer’s instructions are crucial for a successful and safe installation.
- Replacing a bathroom fan with a light can enhance functionality and ambiance. By carefully following the step-by-step process and testing the new fan and light, you can create a brighter and more enjoyable bathroom space.
Read more: How To Replace Vanity Lights
Step 1: Gather the necessary tools and materials
Before you begin the installation process, it is important to gather all the necessary tools and materials. Having everything you need at hand will help streamline the installation and prevent unnecessary delays. Here is a list of the tools and materials you will need:
- Measuring tape
- Screwdriver (flathead and Phillips)
- Adjustable wrench
- Wire cutters
- Wire strippers
- Electrical tape
- Pliers
- Utility knife
- Stepladder
- New bathroom fan with light
- Mounting brackets
- Electrical connectors
- Wire nuts
- Mounting screws
Make sure to carefully read the installation instructions provided with your New bathroom fan with light to ensure you have all the required tools and materials specific to that model.
Once you have gathered all the tools and materials, you can proceed to the next step of the installation process, which involves turning off the power to the bathroom.
Step 2: Turn off the power
Before you start working on any electrical installation, it is crucial to turn off the power to the area you will be working on. This ensures your safety and prevents any accidental shock or injury.
To turn off the power, locate the circuit breaker or fuse box that controls the electrical supply to your bathroom. It is typically located in a utility room, basement, or main electrical panel. Take the time to familiarize yourself with the layout of the circuit breakers or fuses, so you know which one is responsible for the bathroom.
Once you have identified the correct circuit breaker or fuse, switch it off. If you’re using a circuit breaker, flip the switch to the “off” position. If you have fuses, remove the fuse that controls the bathroom’s electrical supply. To be extra safe, you may also want to place a small piece of electrical tape over the switch or fuse socket to prevent someone else from accidentally turning it back on while you’re working.
After turning off the power, test the bathroom’s lights and fan switches to make sure they are no longer functioning. You can do this by trying to turn them on. If the lights or fan still operate, you might have turned off the wrong circuit breaker or fuse, and you should double-check your selection.
Remember, always treat electrical components with caution and respect. Turning off the power is an essential safety measure that should never be skipped when working on any electrical project.
Now that the power is off, you can proceed to the next step of removing the old bathroom fan with light.
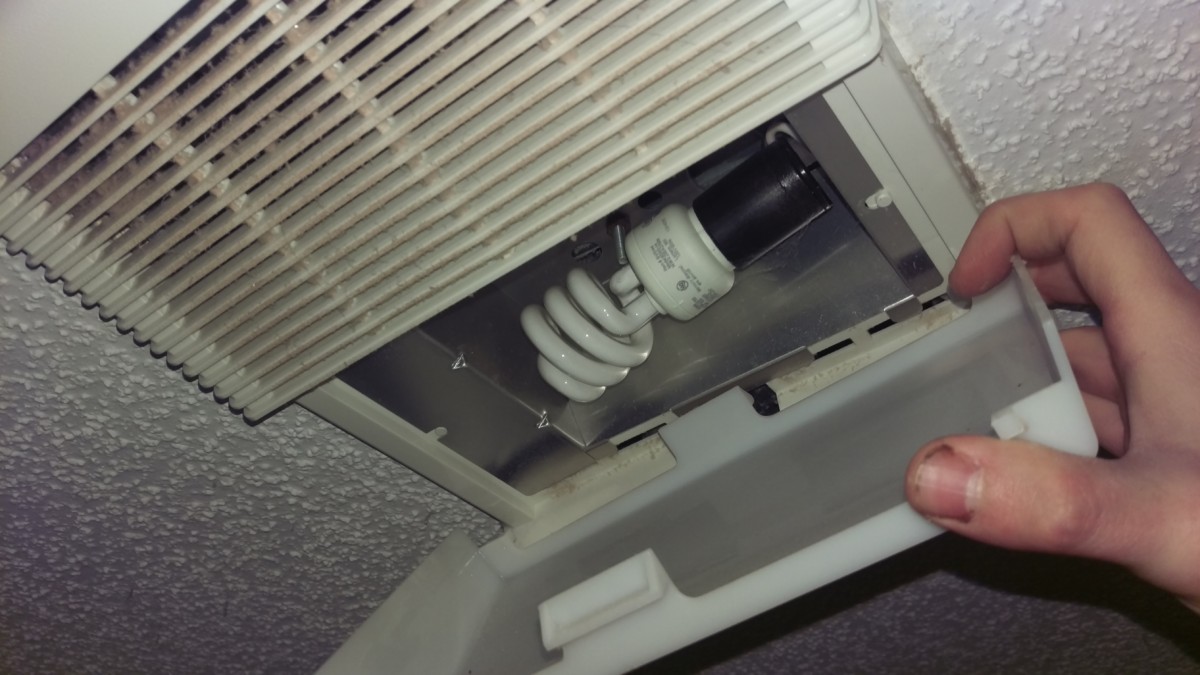
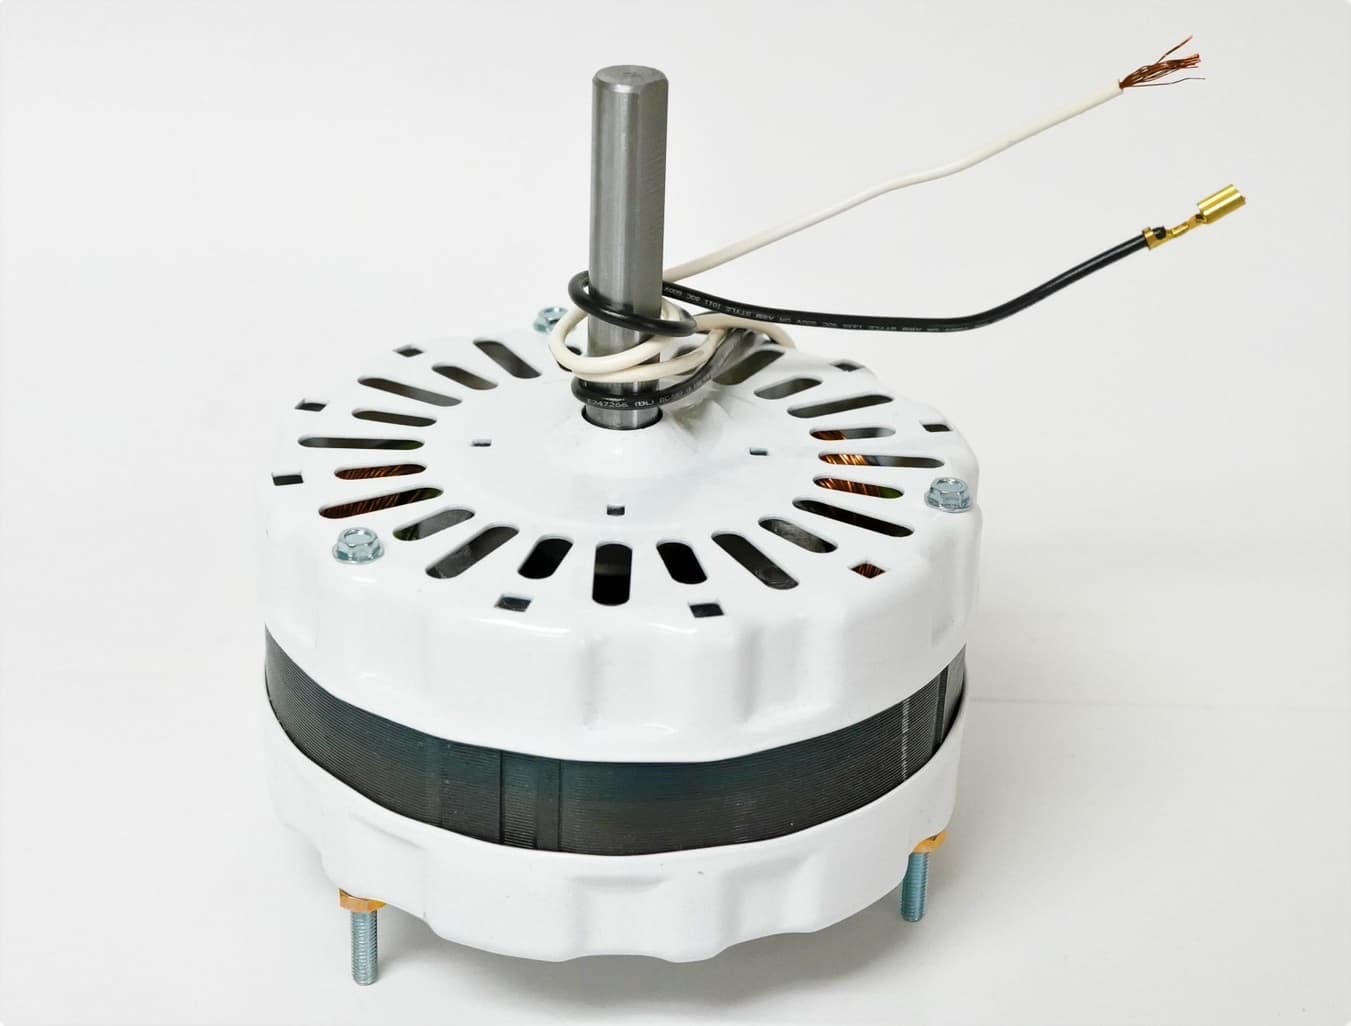
Step 3: Remove the old bathroom fan with light
With the power turned off and safety precautions in place, you can now begin the process of removing the old bathroom fan with light. Follow these steps:
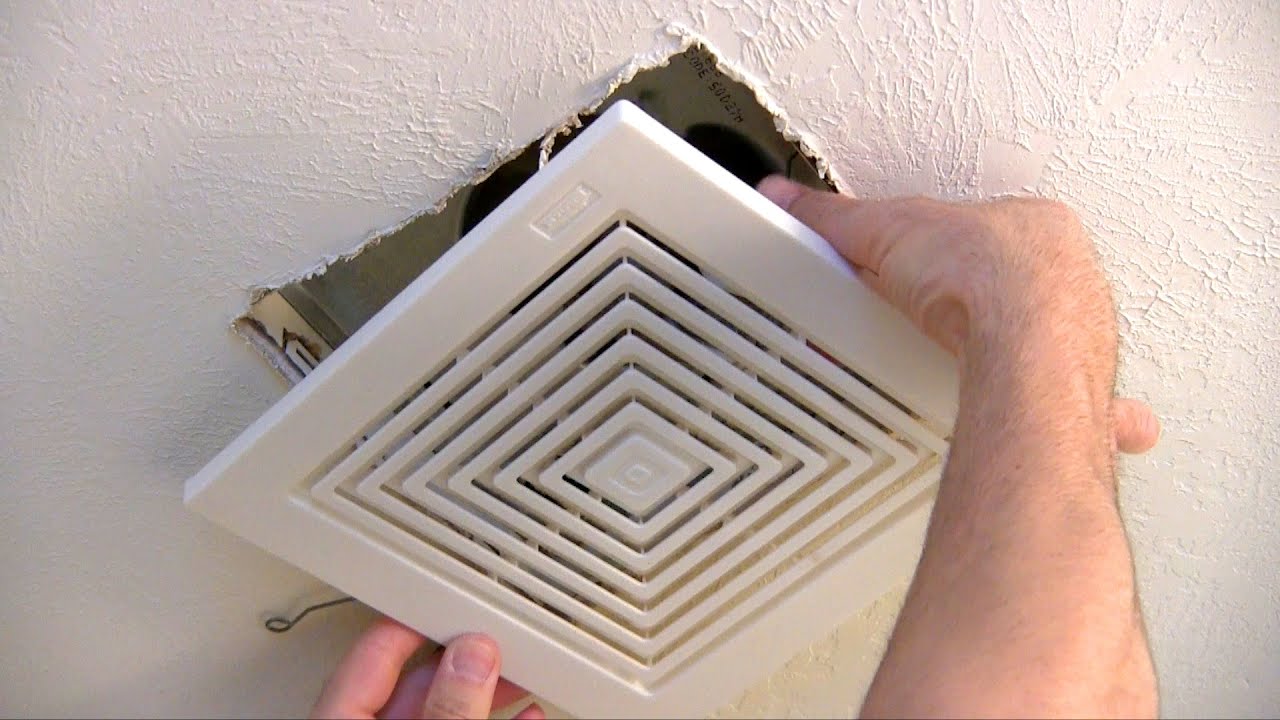
- Access the fan housing: Use a ladder or step stool to reach the ceiling and access the fan housing. You may need to remove a cover or grille to expose the interior components.
- Disconnect electrical connections: Locate the electrical connections that supply power to the fan. Carefully disconnect any wires or connectors. Use wire nuts to secure the exposed ends of the wires to prevent accidental contact.
- Remove mounting screws: Look for screws or brackets that secure the fan to the ceiling or wall. Use a screwdriver to remove these screws and brackets, carefully supporting the weight of the fan as you do so.
- Detach the fan from the housing: Once the mounting screws are removed, carefully detach the fan from the housing. The fan may be connected with screws or clips; refer to the manufacturer’s instructions for specific details.
- Disconnect the light components: If your old fan had a light, disconnect any electrical connections that supply power to the light fixture. Again, securely cap the exposed ends of the wires.
- Remove the old fan and light: Once all electrical connections are detached, you can remove the old fan and light from the bathroom completely. Be mindful of any wiring or ductwork that may still be connected, and remove them as needed.
It is important to note that every bathroom fan installation may vary, so refer to your specific model’s instructions for additional guidance and any unique steps that need to be followed.
Now that the old fan has been successfully removed, you can proceed to the next step of the installation process, which involves connecting the electrical wires of the new bathroom fan with light.
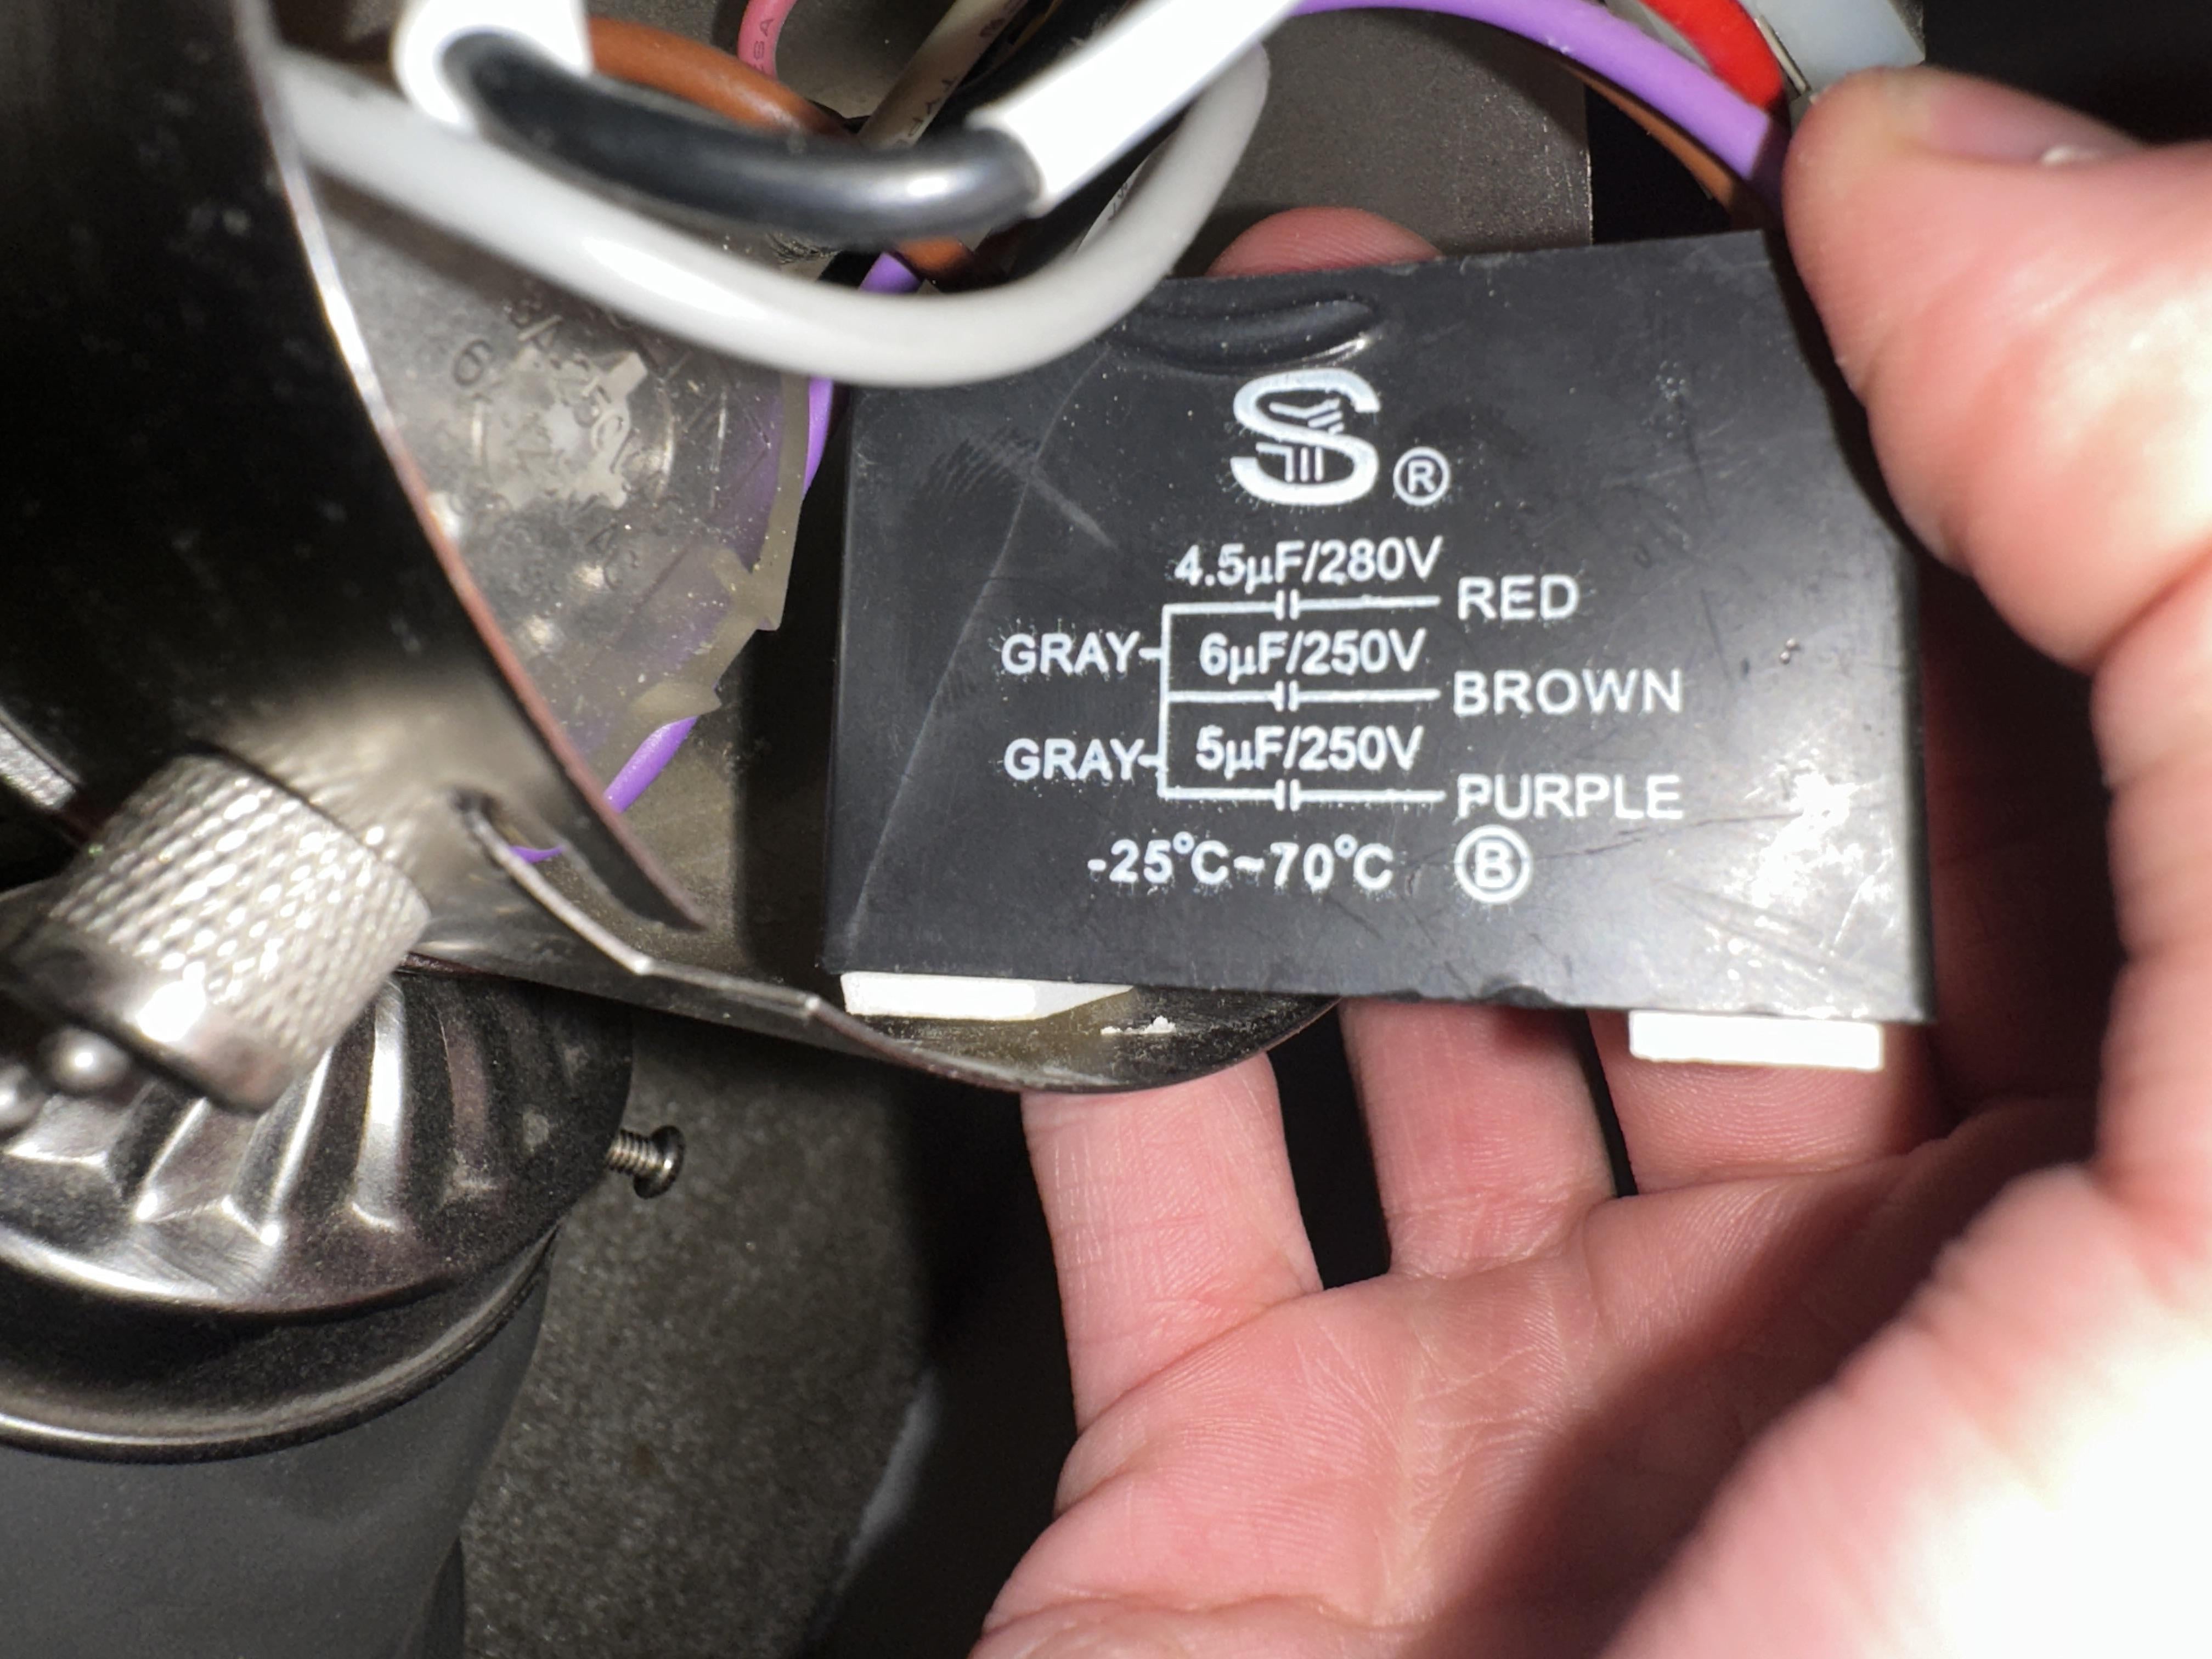
Step 4: Disconnect electrical connections
Before installing the new bathroom fan with light, you will need to disconnect the electrical connections from the old fan. Follow these steps for a safe and successful disconnection:
- Identify the electrical connections: Take a close look at the wires coming from the existing electrical box. Identify the wires that supply power to the fan, light, and any other components.
- Turn off the circuit breaker: As an added safety measure, double-check that the power is turned off at the circuit breaker or fuse box before proceeding with any electrical work. Use a non-contact voltage tester to confirm that there is no live electrical current.
- Remove wire nuts: Find the wire nuts that connect the wires together. These wire nuts are typically screw-on connectors that secure the wires in place. Use a pair of pliers or your fingers to unscrew and remove the wire nuts.
- Separate the wires: Once the wire nuts are removed, gently separate the wires from each other. Pay attention to which wires are connected and take notes or pictures if necessary to help with the reconnection process.
- Cap the exposed wires: To prevent any accidental contact or damage, use electrical tape or wire nuts to cap and secure the exposed ends of the wires. This will ensure that no live wires are exposed during the installation process.
It’s important to handle the electrical connections with care and caution. If you are unsure about any aspect of disconnecting the electrical connections, consult a qualified electrician to assist you.
Now that the electrical connections are safely disconnected, you can move on to the next step of the installation process, which involves installing the new bathroom fan with light.
When replacing a bathroom fan with a light, make sure to turn off the power at the circuit breaker before starting the installation. It’s also important to follow the manufacturer’s instructions carefully to ensure proper installation and safety.
Read more: How To Replace A Light With A Ceiling Fan
Step 5: Install the new bathroom fan with light
Now that you have successfully disconnected the electrical connections from the old fan, it’s time to install the new bathroom fan with light. Follow these steps to ensure a proper installation:
- Position the new fan: Align the new fan with the existing opening in the ceiling or wall. Ensure that it is centered and level, using a level tool if necessary.
- Attach the mounting brackets: Depending on your specific model, the new fan may come with mounting brackets. Carefully attach these brackets to the housing of the fan using the provided screws. These brackets will help secure the fan in place.
- Connect the electrical wires: Referencing your notes or pictures from the previous step, connect the electrical wires from the new fan to the corresponding wires in the electrical box. Twist the matching wires together and secure them with wire nuts, ensuring a tight and secure connection.
- Secure the fan to the ceiling or wall: Depending on your model, there may be screws or clips that need to be used to secure the fan to the ceiling or wall. Follow the manufacturer’s instructions to properly secure the fan in place.
- Attach the light fixture (if applicable): If your new fan includes a light fixture, carefully attach it according to the manufacturer’s instructions. Connect the electrical wires for the light, making sure to match the corresponding wires and secure them with wire nuts.
- Replace the cover or grille: Once the fan and light are properly installed, replace the cover or grille to conceal the internal components.
It’s crucial to follow the manufacturer’s instructions for your specific fan model, as installation methods may vary. If you encounter any difficulties or uncertainties during the installation, consult a professional electrician for guidance.
With the new fan installed, you are ready to move on to the next step of the installation process, which involves connecting the electrical connections.
Step 6: Connect electrical connections
Now that the new bathroom fan with light is properly installed, it’s time to connect the electrical connections. Follow these steps to ensure safe and correct wiring:
- Identify the corresponding wires: Take a close look at the wires coming from the new fan and compare them to the wires in the electrical box. Identify the corresponding wires that need to be connected.
- Strip the wires: Using wire strippers, carefully strip approximately 3/4 inch of insulation from the ends of the corresponding wires.
- Connect the wires: Match the corresponding wires from the fan and the electrical box. Twist the bare ends of the wires together in a clockwise direction, ensuring a tight and secure connection.
- Secure the connections: Once the wires are twisted together, use wire nuts to secure the connections. Twist the wire nut clockwise until it is tight and secure, covering all exposed wire ends.
- Test the connections: Give each wire a gentle tug to ensure that they are properly connected and secured. They should not come loose or disconnect easily.
- Tuck the wires: Carefully tuck the connected wires back into the electrical box, ensuring that they are not pinched or strained.
It’s important to note that there may be additional wires or connections depending on the specific model and features of your bathroom fan with light. Always refer to the manufacturer’s instructions for guidance and follow the recommended wiring procedures.
After successfully connecting the electrical wires, you can move on to the next step of the installation process, which involves securing the new bathroom fan with light.
Step 7: Secure the new bathroom fan with light
Now that the electrical connections are properly made, it’s time to secure the new bathroom fan with light in place. Follow these steps to ensure a secure installation:
- Align the fan: Position the fan in its designated spot, aligning it with the mounting brackets or clips.
- Secure the fan: Use the provided mounting screws or clips to secure the fan to the ceiling or wall. Ensure that the fan is tightly and securely attached.
- Test the fan’s stability: Give the fan a gentle shake or tap to ensure that it is securely mounted. It should not wobble or move excessively.
- Replace the cover or grille: Once the fan is securely mounted, reattach the cover or grille to conceal the internal components.
- Double-check all connections: Take a final look at all the electrical connections to ensure they are properly secured and covered with wire nuts or electrical tape. Verify that the wire nuts are tight and that no exposed wires are visible.
It’s important to follow the manufacturer’s instructions for your specific fan model, as installation methods may vary. If you have any concerns about the stability or security of the fan, consult a professional electrician for assistance.
With the new bathroom fan with light securely in place, you are now ready for the final step of the installation process: turning on the power and testing the fan and light.
Step 8: Turn on the power and test the new fan and light
Before completing the installation process, it is essential to turn on the power and test the new fan and light to ensure they are functioning correctly. Follow these steps:
- Double-check the connections: Before turning the power back on, make sure all the electrical connections are secure and covered.
- Turn on the power: Return to the circuit breaker or fuse box and flip the switch or replace the fuse to restore power to the bathroom.
- Test the fan: Switch on the fan and listen for its operation. It should spin smoothly and quietly, effectively ventilating the bathroom. If it is not functioning properly, double-check the wiring and connections.
- Test the light: Turn on the light switch to check if the light fixture illuminates properly. If the light does not turn on, verify the wiring connections and check the light bulb.
- Check for proper airflow: Stand under the fan and feel for the airflow. The fan should be effectively pulling air out of the bathroom, removing excess moisture and odors.
- Make any necessary adjustments: If you notice any issues with the operation of the fan or light, troubleshoot as needed. Revisit the installation steps and ensure all connections and settings are correct.
If everything is working correctly, congratulations! You have successfully replaced your bathroom fan with a light. Enjoy the improved functionality and ambiance of your bathroom.
However, if you encounter any problems during the testing phase or feel unsure about any aspect of the installation, it is highly recommended to consult a licensed electrician for assistance. They will be able to diagnose any issues and provide the appropriate solutions.
Remember, safety should always be a top priority when working with electrical components. If you are unsure or uncomfortable with any part of the installation process, do not hesitate to seek professional help.
With the new fan and light successfully installed, tested, and operating correctly, you can now take pleasure in the enhanced comfort and illumination of your bathroom space.
Read more: How To Replace Ceiling Fan Light Switch
Conclusion
Replacing a bathroom fan with a light can be a rewarding home improvement project that enhances both the functionality and aesthetics of your bathroom space. By following the step-by-step process outlined in this article, you can successfully replace your old bathroom fan with a new one that includes a light, transforming your bathroom into a brighter and more enjoyable space.
Throughout the installation process, it is crucial to prioritize safety. Always turn off the power at the circuit breaker or fuse box before working with electrical components. If you are unsure or uncomfortable with any aspect of the installation, consider hiring a professional electrician to ensure a safe and proper installation.
Gathering the necessary tools and materials, turning off the power, removing the old fan, disconnecting electrical connections, installing the new fan, connecting electrical wires, securing the fan in place, and finally, testing its operation are the essential steps involved in replacing your bathroom fan with a light fixture.
Remember to carefully follow the manufacturer’s instructions specific to your fan model to ensure a successful installation. If you encounter any difficulties or have questions throughout the process, consult the provided instructions or seek professional assistance.
By taking the time to replace your bathroom fan with a light, you can improve ventilation, enhance the lighting in your bathroom, and create a more comfortable and enjoyable environment. So, go ahead and embark on this project, and enjoy the benefits of a well-lit and properly ventilated bathroom.
Remember, safety should always be your priority, and if you are ever unsure about any aspects of the installation process, it is best to consult with a professional to ensure a safe and successful outcome.
Now, armed with the knowledge from this article, you have the confidence and understanding to replace your bathroom fan with a light and create a more functional and pleasant bathroom space for years to come.
Now that you've mastered replacing a bathroom fan with light, why stop there? Extend your renovation skills with our guide on how long bathroom renovations last, perfect for those planning a full makeover. If you're itching for more hands-on projects, our DIY home improvement tips can set you up for success. And for everyday fixes around the house, don't miss out on our practical home repair advice. Keep your home in top shape with these helpful resources!
Frequently Asked Questions about How To Replace Bathroom Fan With Light
Was this page helpful?
At Storables.com, we guarantee accurate and reliable information. Our content, validated by Expert Board Contributors, is crafted following stringent Editorial Policies. We're committed to providing you with well-researched, expert-backed insights for all your informational needs.


0 thoughts on “How To Replace Bathroom Fan With Light”