Home>Furniture & Design>Bathroom Accessories>How To Clean A Broan Bathroom Exhaust Fan With Light
Bathroom Accessories
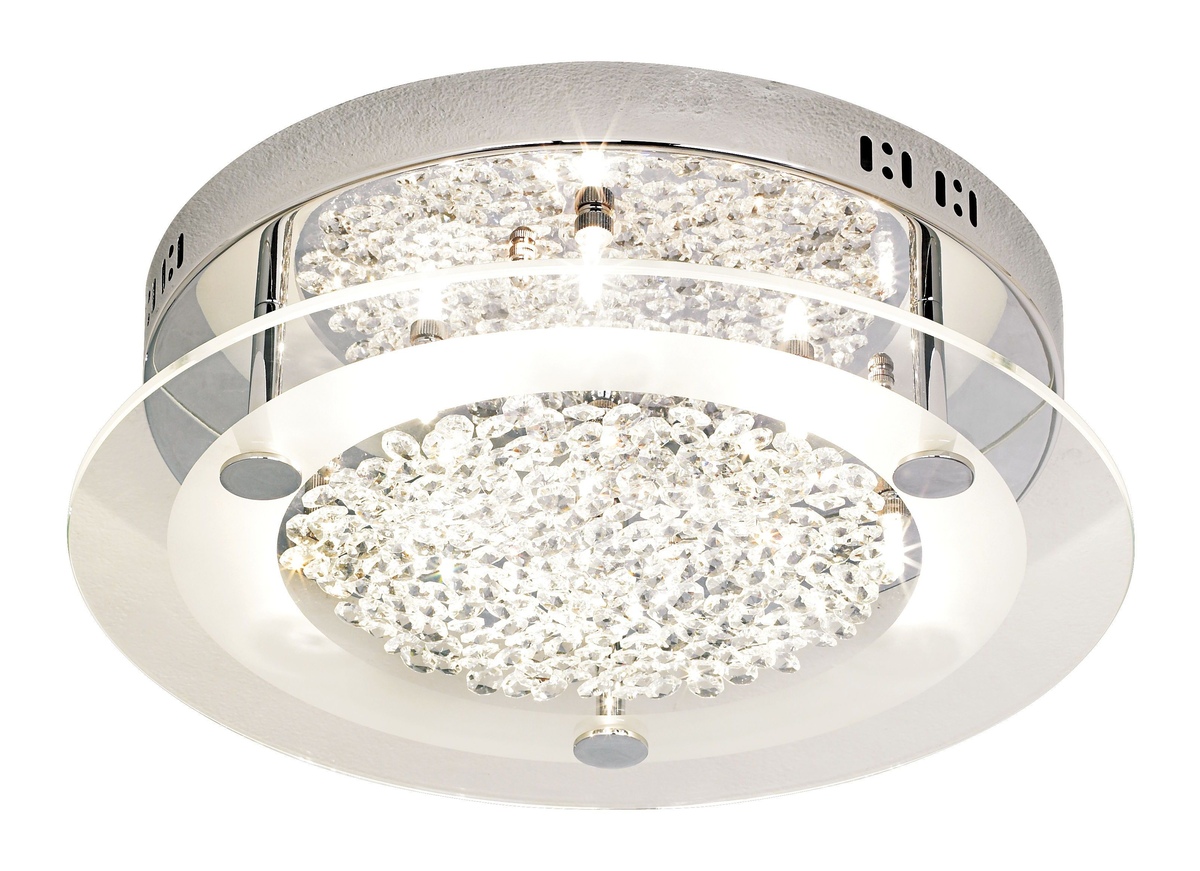
How To Clean A Broan Bathroom Exhaust Fan With Light
Modified: March 25, 2024
Learn how to effectively clean your Broan bathroom exhaust fan with light to keep your bathroom accessories in top condition. Follow our step-by-step guide now!
(Many of the links in this article redirect to a specific reviewed product. Your purchase of these products through affiliate links helps to generate commission for Storables.com, at no extra cost. Learn more)
Introduction
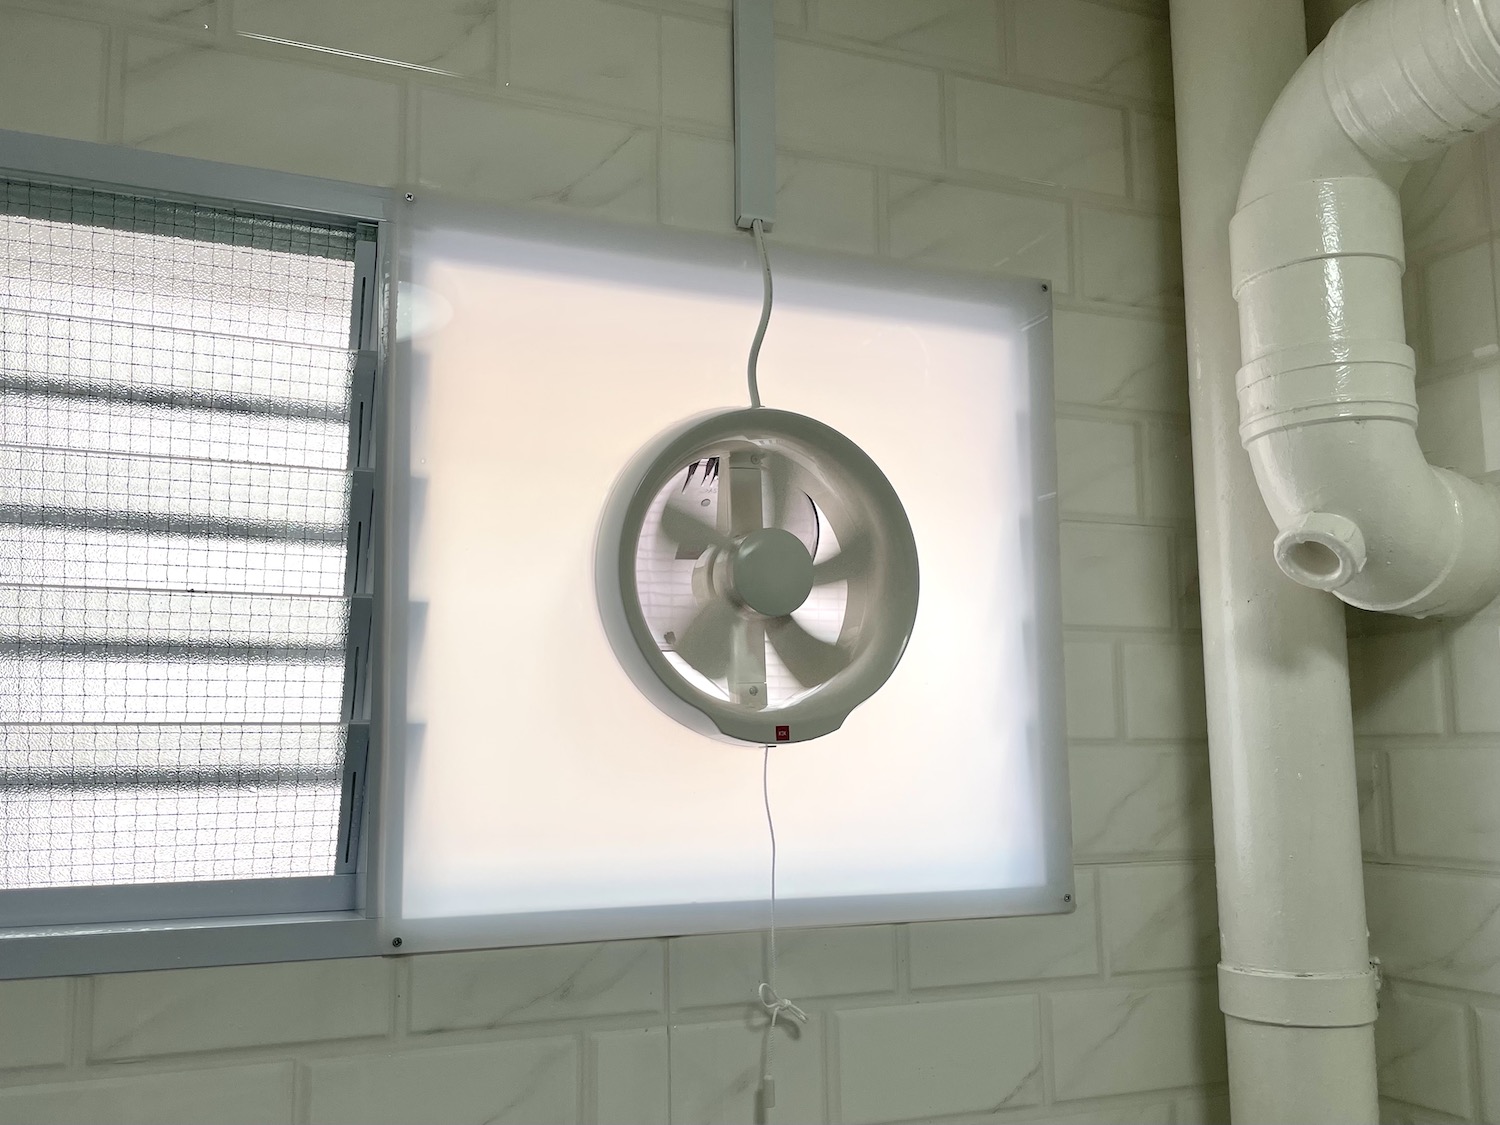
Cleaning a Broan bathroom exhaust fan with a light is an essential maintenance task that often gets overlooked. Over time, dust, dirt, and moisture can accumulate inside the fan, leading to reduced efficiency and potential malfunctions. A clean exhaust fan not only ensures optimal air circulation and moisture removal but also contributes to a healthier indoor environment by preventing the buildup of mold and mildew.
Regular cleaning of your Broan bathroom exhaust fan with a light not only prolongs its lifespan but also helps maintain its performance. By following a few simple steps, you can effectively remove dirt, dust, and grime, restoring your fan to its optimal functionality. In this comprehensive guide, we will walk you through the step-by-step process of cleaning your Broan bathroom exhaust fan with a light, ensuring that you can enjoy a fresh and clean bathroom environment.
Cleaning your bathroom exhaust fan is a straightforward task that can be completed with basic tools and minimal effort. By investing a small amount of time in this maintenance activity, you can prevent potential issues and ensure that your fan operates efficiently for years to come. Whether you are a seasoned DIY enthusiast or a novice homeowner, this guide will equip you with the knowledge and confidence to tackle this essential cleaning task.
Now, let's delve into the specific steps required to clean your Broan bathroom exhaust fan with a light, allowing you to maintain a hygienic and comfortable bathroom environment for yourself and your family.
Key Takeaways:
- Regularly cleaning your Broan bathroom exhaust fan with a light ensures optimal performance, prevents mold and mildew buildup, and contributes to a healthier indoor environment for you and your family.
- Safety first! Always turn off the power before cleaning your bathroom exhaust fan to ensure a secure working environment and prevent any potential electrical hazards.
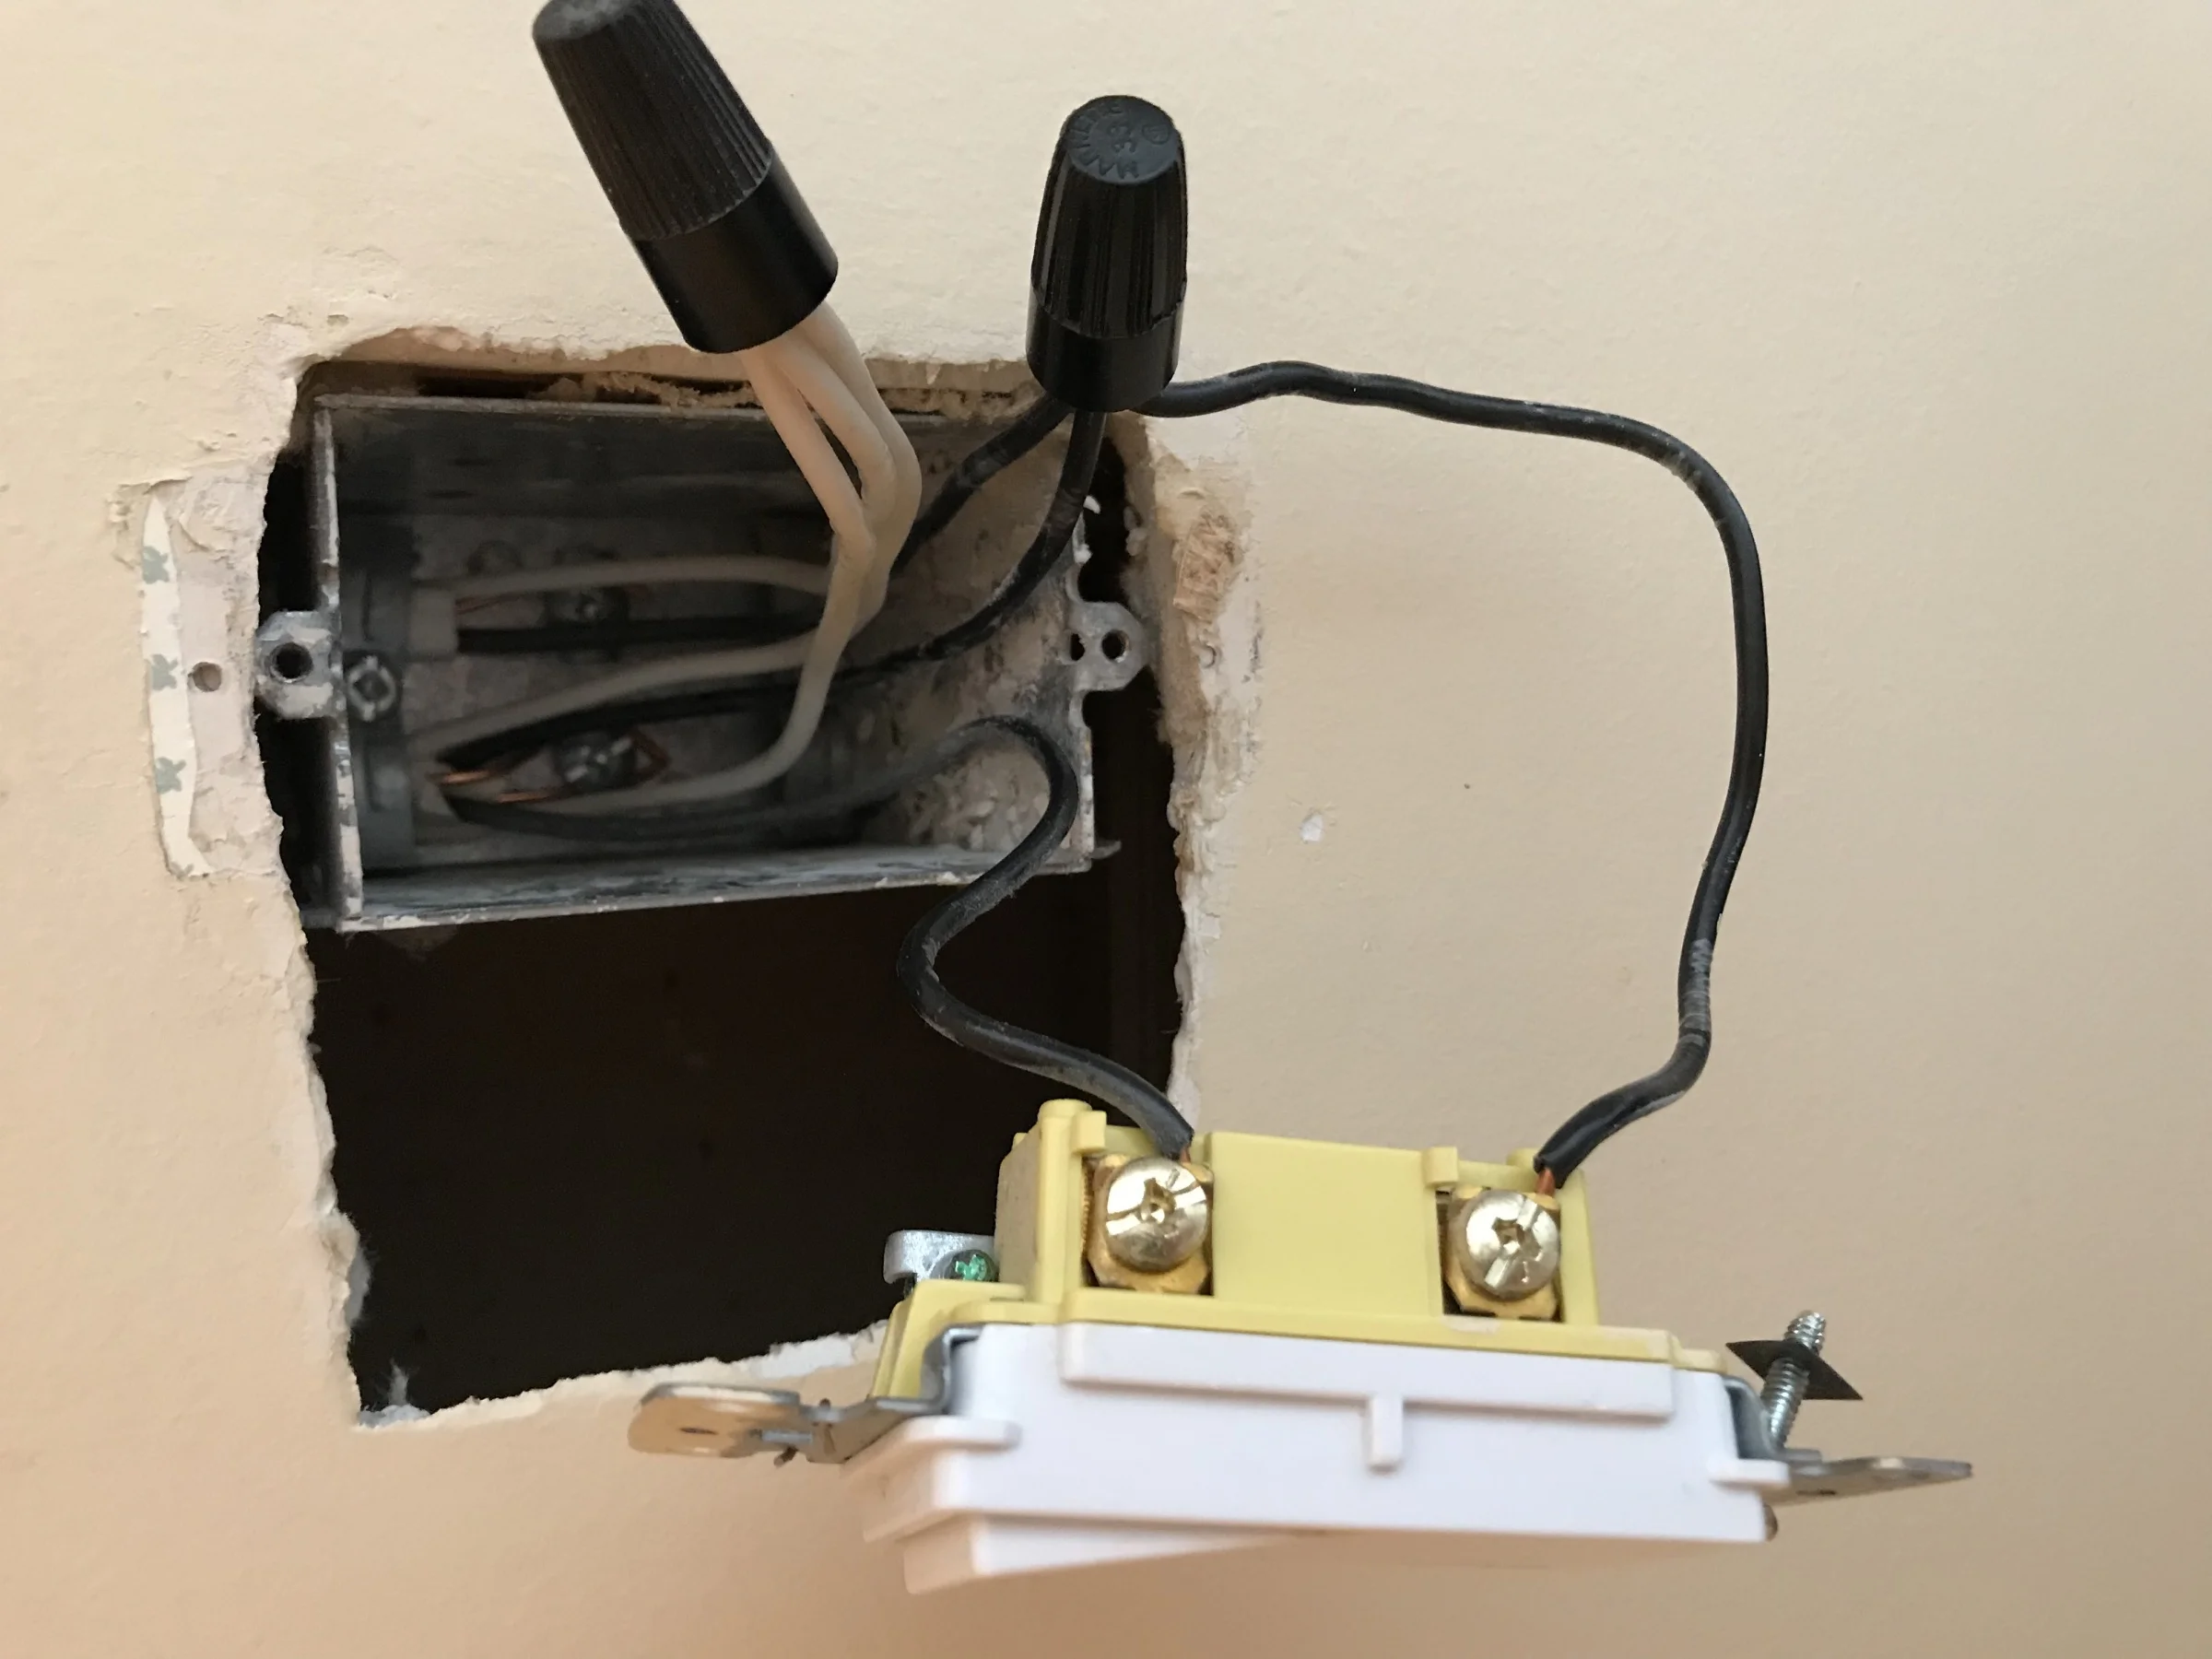
Step 1: Turn off the power
Before beginning the cleaning process, it is crucial to ensure the safety of the electrical system by turning off the power to the bathroom exhaust fan. This step is essential to prevent any potential electrical hazards and ensure a secure working environment.
-
Locate the Circuit Breaker: Start by identifying the circuit breaker that controls the power supply to the bathroom exhaust fan. In most homes, the circuit breaker panel is located in the basement, utility room, or garage. Once you have located the panel, open the cover to reveal the circuit breakers.
-
Identify the Correct Breaker: Look for the breaker that corresponds to the bathroom or exhaust fan. The breakers are typically labeled to indicate the areas or appliances they control. Once you have identified the correct breaker, switch it to the "off" position to cut off the power supply to the fan.
-
Verify the Power Supply: After switching off the breaker, it is essential to verify that the power to the bathroom exhaust fan has been successfully disconnected. You can do this by using a voltage tester or simply by attempting to turn on the fan's light or motor. If the fan does not respond, it indicates that the power has been effectively turned off.
Turning off the power supply to the bathroom exhaust fan is a critical safety measure that should not be overlooked. By following this initial step, you can ensure a secure working environment as you proceed with the subsequent cleaning tasks. Remember to exercise caution and double-check the power supply before proceeding to the next step.
This step sets the foundation for a safe and efficient cleaning process, allowing you to proceed with confidence and peace of mind. Now that the power has been turned off, we can move on to the next step in the cleaning process.
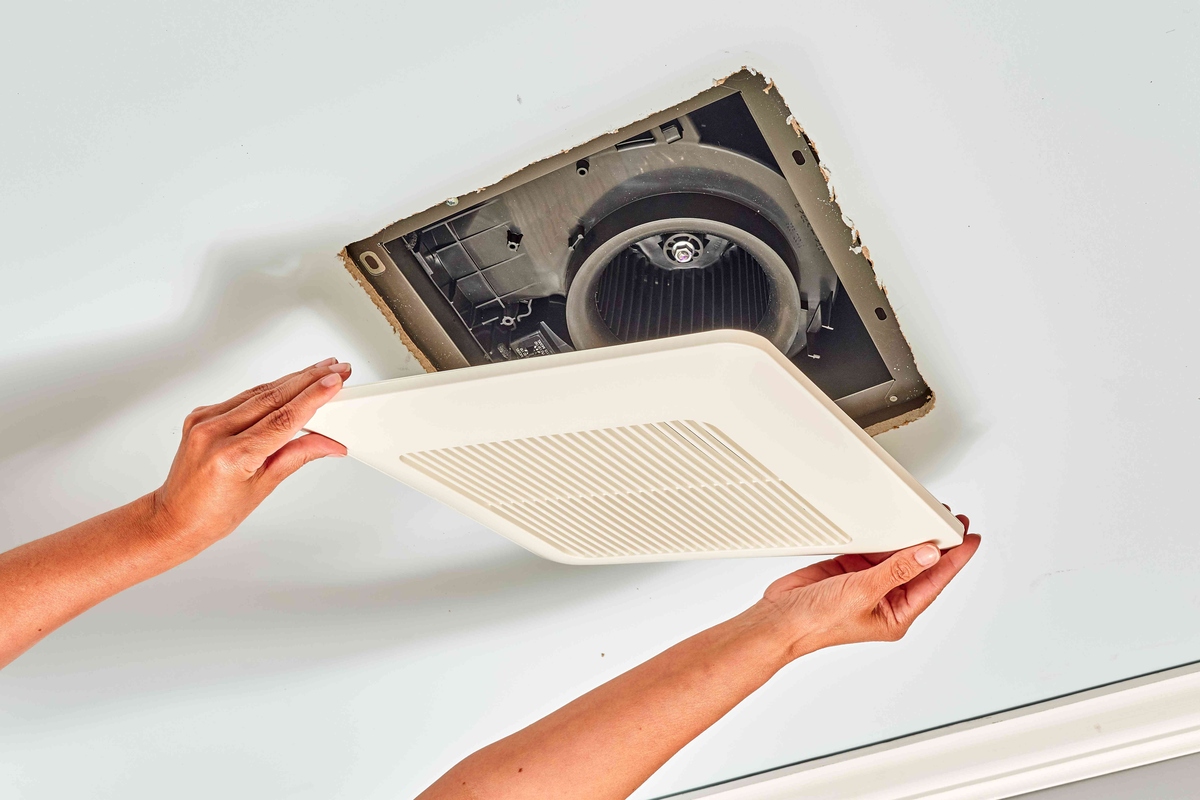
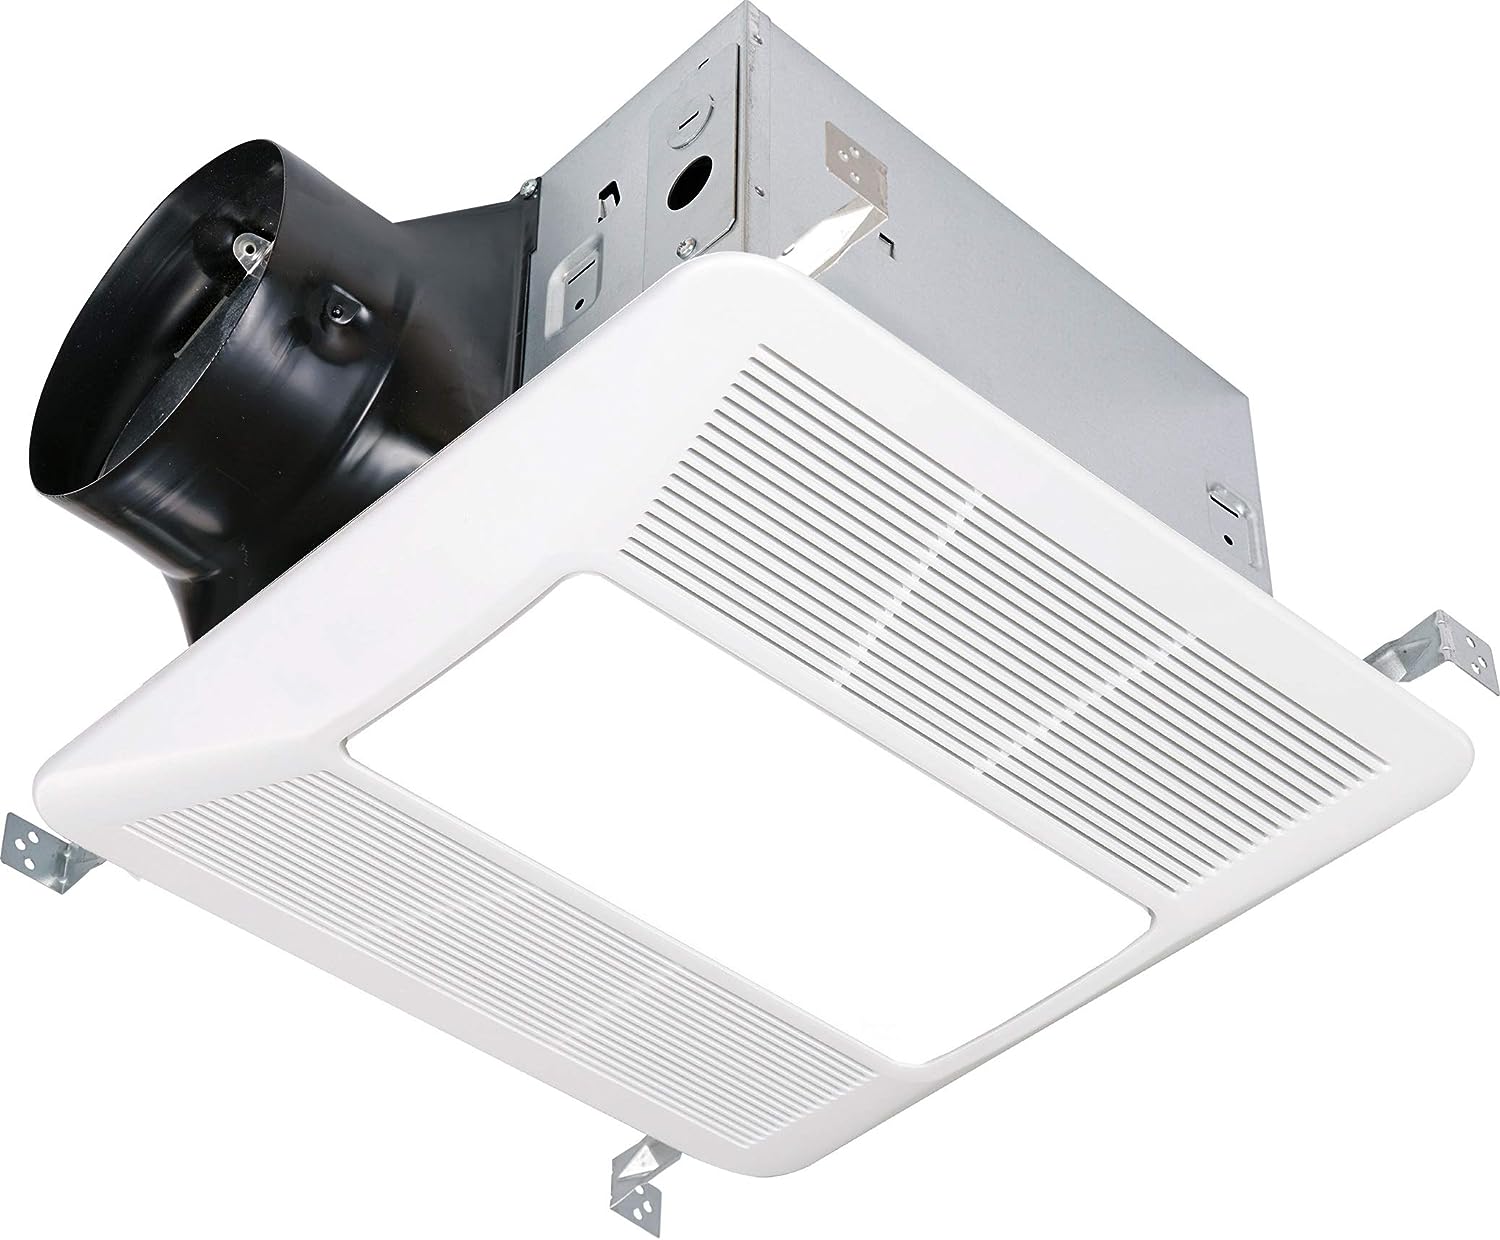
Step 2: Remove the cover
Removing the cover of your Broan bathroom exhaust fan is the next crucial step in the cleaning process. The cover not only protects the internal components but also accumulates dust and grime over time. By carefully removing the cover, you can access the fan blades and housing for thorough cleaning, ensuring that the entire unit is free from dirt and debris.
-
Identify the Fastening Mechanism: Most Broan bathroom exhaust fan covers are secured in place using either spring clips or screws. Begin by inspecting the perimeter of the cover to determine the type of fastening mechanism used. Spring clips are commonly found on newer models, while older units may have screws holding the cover in place.
-
Release the Spring Clips or Unscrew the Cover: If your fan cover is equipped with spring clips, gently squeeze and release them to disengage the cover from the housing. For covers secured with screws, use a suitable screwdriver to carefully remove the screws, ensuring that they are safely set aside for reassembly.
-
Handle the Cover with Care: Once the fastening mechanism has been disengaged, carefully lift the cover away from the fan housing. It's essential to handle the cover with care to prevent any damage or distortion, especially if it's made of plastic or fragile material.
-
Inspect the Cover and Ventilation Openings: While the cover is removed, take a moment to inspect it for any signs of damage or excessive dirt buildup. Additionally, check the ventilation openings on the cover for accumulated dust and debris, as these can hinder the fan's performance.
-
Set the Cover Aside for Cleaning: After removing the cover, place it on a flat surface in a well-ventilated area. This will allow you to clean the cover thoroughly before reattaching it to the fan housing.
By following these steps, you can safely and effectively remove the cover of your Broan bathroom exhaust fan, preparing it for a comprehensive cleaning process. With the cover removed, you can proceed to the next steps, which involve cleaning the fan blades, housing, and motor to restore optimal functionality and efficiency to your bathroom exhaust fan.
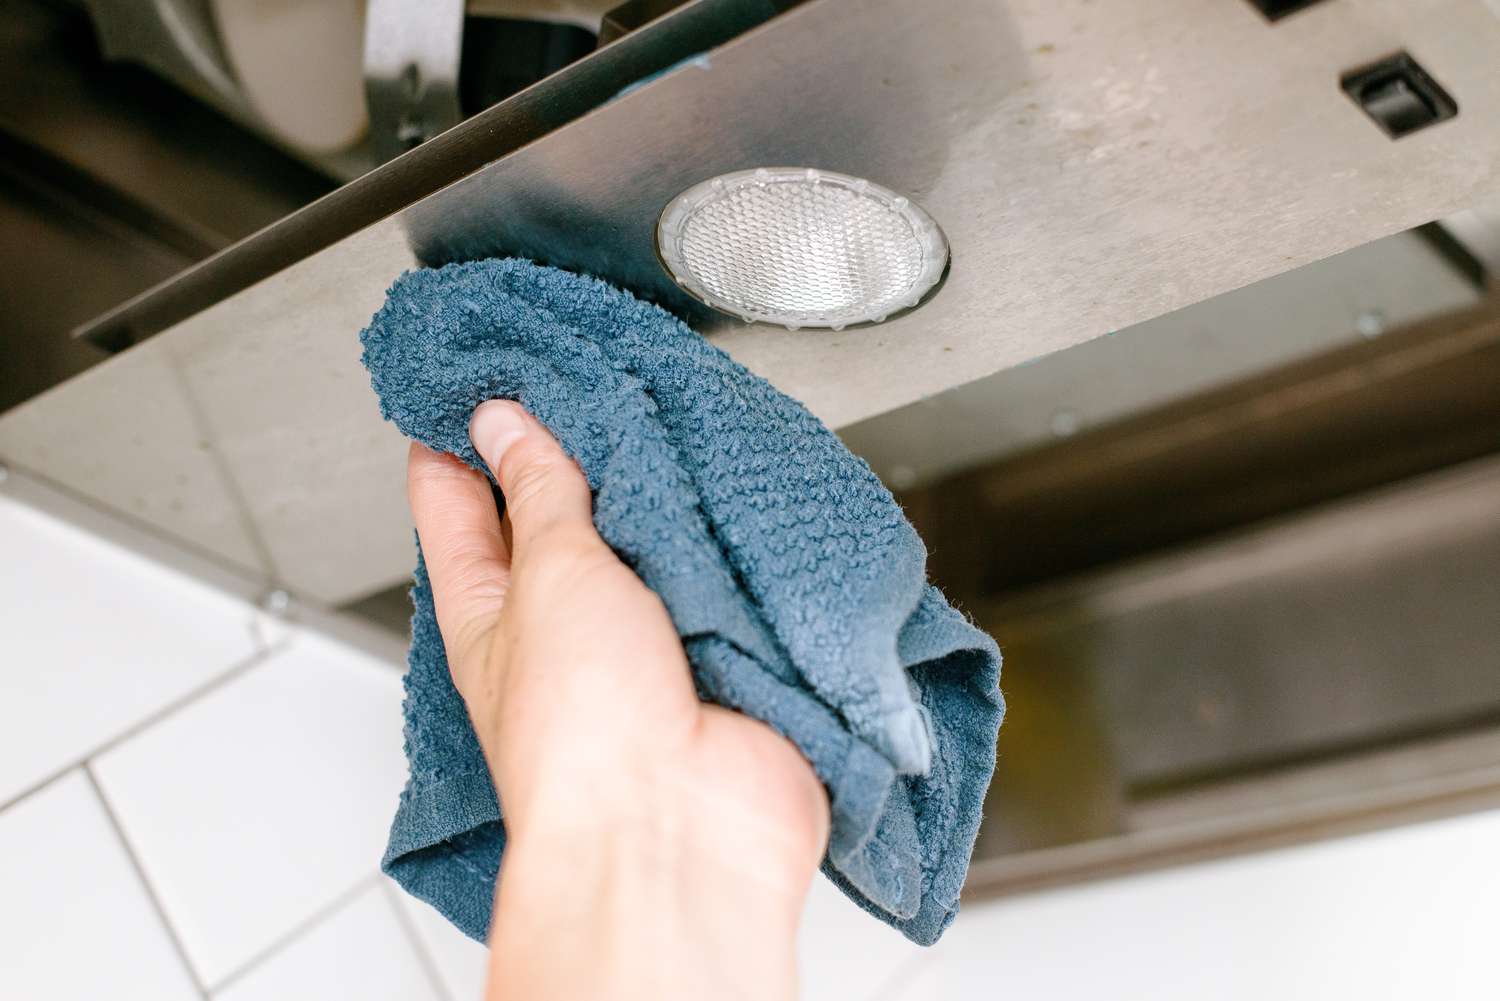
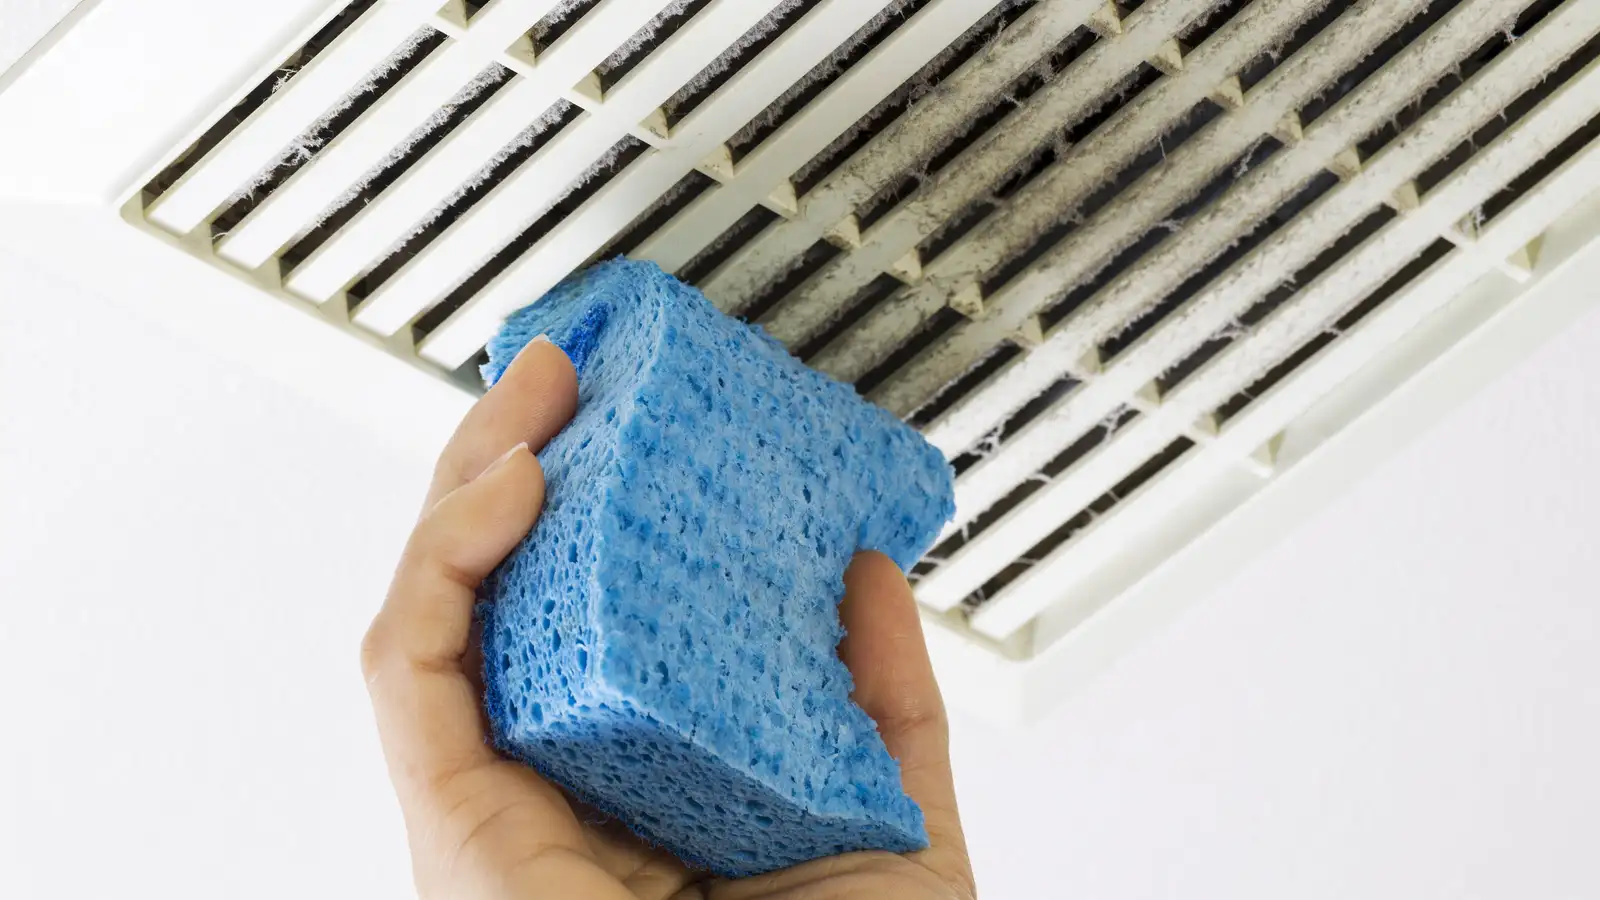
Step 3: Clean the cover and fan blades
Cleaning the cover and fan blades of your Broan bathroom exhaust fan is a crucial step in maintaining optimal air circulation and preventing the buildup of dust and debris. Over time, the cover and fan blades can accumulate dirt, grease, and other particles, which can hinder the fan's performance. By thoroughly cleaning these components, you can ensure that your bathroom exhaust fan operates efficiently and effectively.
Cleaning the Cover:
-
Dust Removal: Begin by using a soft-bristled brush or a vacuum cleaner with a brush attachment to remove any loose dust and debris from the cover. Gently brush or vacuum both the interior and exterior surfaces of the cover to dislodge and collect the accumulated particles.
-
Washing the Cover: Prepare a solution of mild dish soap or a gentle household cleaner and warm water. Dip a soft cloth or sponge into the soapy solution and gently wash the cover, paying attention to any stubborn spots or stains. Avoid using abrasive cleaners or harsh chemicals, as these can damage the cover's finish.
-
Rinsing and Drying: After washing the cover, rinse it thoroughly with clean water to remove any soapy residue. Once rinsed, use a clean, dry cloth to carefully dry the cover, ensuring that no moisture remains. Allow the cover to air dry completely before reattaching it to the fan housing.
Read more: How To Clean Broan Bathroom Fan
Cleaning the Fan Blades:
-
Dust and Debris Removal: Use a soft-bristled brush or a vacuum cleaner with a brush attachment to gently remove dust and debris from the fan blades. Take care to remove any buildup on both the leading and trailing edges of the blades, as well as the areas near the hub.
-
Wiping the Blades: Dampen a soft cloth with a mild cleaning solution and carefully wipe the fan blades to remove any remaining dirt or grime. Ensure that the cloth is not overly wet to prevent moisture from entering the fan motor or housing.
-
Final Inspection: Once the fan blades are cleaned, visually inspect them to ensure that they are free from any remaining debris or residue. This step is essential to guarantee that the fan blades are thoroughly cleaned and ready for reassembly.
By following these detailed steps, you can effectively clean the cover and fan blades of your Broan bathroom exhaust fan, ensuring that it operates at its best. With these components cleaned, you are ready to proceed to the next step of cleaning the housing and motor, bringing your bathroom exhaust fan one step closer to optimal performance and efficiency.
Step 4: Clean the housing and motor
Cleaning the housing and motor of your Broan bathroom exhaust fan is a critical step in ensuring the overall efficiency and longevity of the unit. Over time, dust, moisture, and airborne particles can accumulate inside the housing, potentially impacting the motor's performance and the fan's ability to effectively remove moisture and odors from your bathroom. By thoroughly cleaning the housing and motor, you can maintain optimal functionality and prevent potential issues down the line.
Cleaning the Housing:
-
Dust and Debris Removal: Begin by using a vacuum cleaner with a brush attachment to carefully remove any accumulated dust and debris from the interior of the fan housing. Pay close attention to the fan's motor and the surrounding areas, ensuring that all visible dirt and particles are effectively removed.
-
Wiping the Interior Surfaces: Dampen a soft cloth with a mild cleaning solution and gently wipe the interior surfaces of the housing. Take care to reach all areas, including the corners and edges, to ensure thorough cleaning. Avoid using excessive moisture, as this can potentially damage the motor or electrical components.
-
Inspecting for Buildup: After wiping the interior surfaces, visually inspect the housing for any signs of stubborn buildup or residue. If necessary, use a gentle cleaning brush or cotton swab to address any hard-to-reach areas or persistent dirt.
Cleaning the Motor:
-
Dust and Dirt Removal: Use a soft-bristled brush or a can of compressed air to carefully remove dust and dirt from the motor and its surrounding components. Take caution to avoid applying excessive force or causing any damage to the motor's delicate parts.
-
Inspecting for Debris: After removing visible dust and dirt, inspect the motor for any remaining debris or obstructions. It's essential to ensure that the motor and its components are free from any hindrances that could affect its performance.
-
Reassembling the Fan: Once the housing and motor are thoroughly cleaned and inspected, carefully reassemble the fan by following the reverse of the disassembly process. Ensure that all components are securely in place and that the cover is properly reattached.
By following these detailed steps, you can effectively clean the housing and motor of your Broan bathroom exhaust fan, contributing to its optimal functionality and longevity. With these components cleaned and reassembled, your bathroom exhaust fan is ready to operate at its best, providing efficient air circulation and moisture removal for a fresh and comfortable bathroom environment.
Read more: How To Fix Bathroom Exhaust Fan
Step 5: Reassemble the fan
After completing the thorough cleaning of your Broan bathroom exhaust fan with a light, the final step involves reassembling the fan to restore it to full functionality. Proper reassembly is crucial to ensure that all components are securely in place and that the fan operates efficiently. By following the reassembly process carefully, you can guarantee that your exhaust fan is ready to effectively circulate air and remove moisture from your bathroom.
Reattaching the Cover:
-
Aligning the Cover: Position the clean cover over the fan housing, ensuring that it is correctly aligned with the fastening mechanism. Take care to align any tabs or slots to ensure a proper fit.
-
Securing the Cover: If your fan cover is secured with spring clips, gently press it into place, ensuring that each clip engages securely. For covers secured with screws, carefully reinsert and tighten the screws, ensuring that the cover is firmly attached to the housing.
-
Testing the Attachment: Once the cover is reattached, gently test its stability by applying light pressure to ensure that it is securely in place. This step is essential to confirm that the cover is properly fastened and will not dislodge during operation.
Restoring Power and Testing:
-
Turning on the Power: Return to the circuit breaker panel and switch the breaker corresponding to the bathroom exhaust fan back to the "on" position. This step restores power to the fan, allowing you to test its functionality.
-
Testing the Fan and Light: Switch on the fan and light to verify that both components operate as expected. Listen for any unusual noises or vibrations, which could indicate a reassembly issue or the need for further inspection.
-
Observing the Operation: Observe the fan and light in action, ensuring that the fan blades rotate smoothly and that the light functions properly. This step allows you to confirm that the reassembly process has been completed successfully.
Final Checks:
-
Inspecting for Proper Alignment: Visually inspect the fan cover to ensure that it is aligned evenly and sits flush against the housing. Proper alignment is essential for optimal performance and aesthetic appeal.
-
Verifying Secure Fastening: Double-check that the cover is securely fastened and that there are no loose or protruding components. This final inspection ensures that the fan is safe and ready for regular use.
By following these detailed reassembly steps, you can effectively restore your Broan bathroom exhaust fan with a light to full functionality. With the fan reassembled and operating smoothly, you can enjoy a fresh and comfortable bathroom environment, free from excess moisture and odors. Regular maintenance and cleaning will help ensure that your exhaust fan continues to operate efficiently, contributing to a healthier indoor environment for you and your family.
Read more: What Is An Exhaust Fan
Conclusion
In conclusion, the process of cleaning a Broan bathroom exhaust fan with a light is a vital aspect of home maintenance that should not be overlooked. By following the step-by-step guide outlined in this comprehensive article, you have gained the knowledge and confidence to effectively clean and maintain your bathroom exhaust fan, ensuring optimal performance and longevity.
Regular cleaning of the fan cover, blades, housing, and motor not only contributes to the efficient operation of the exhaust fan but also promotes a healthier indoor environment by preventing the buildup of mold, mildew, and airborne particles. By investing a small amount of time and effort in cleaning your Broan bathroom exhaust fan, you can enjoy a fresh and comfortable bathroom environment while prolonging the lifespan of the fan.
It is essential to emphasize the importance of safety when undertaking any maintenance task, particularly when working with electrical components. The initial step of turning off the power to the bathroom exhaust fan sets the foundation for a secure and risk-free cleaning process. By following this crucial safety measure, you can ensure a safe working environment as you proceed with the subsequent cleaning tasks.
Furthermore, the reassembly process, which involves securely reattaching the fan cover and testing the fan and light, is a critical final step in the cleaning process. Proper reassembly ensures that all components are securely in place and that the fan operates efficiently, providing optimal air circulation and moisture removal for a fresh and comfortable bathroom environment.
By incorporating regular cleaning and maintenance into your home care routine, you can prolong the lifespan of your Broan bathroom exhaust fan with a light and ensure that it continues to operate at its best. Additionally, maintaining a clean and well-functioning exhaust fan contributes to a more pleasant and hygienic bathroom environment for you and your family.
In summary, the process of cleaning a Broan bathroom exhaust fan with a light is a straightforward yet essential task that can significantly impact the functionality and longevity of the fan. By following the guidelines provided in this article, you are equipped to maintain a fresh and comfortable bathroom environment while preserving the efficiency of your exhaust fan for years to come.
Frequently Asked Questions about How To Clean A Broan Bathroom Exhaust Fan With Light
Was this page helpful?
At Storables.com, we guarantee accurate and reliable information. Our content, validated by Expert Board Contributors, is crafted following stringent Editorial Policies. We're committed to providing you with well-researched, expert-backed insights for all your informational needs.


0 thoughts on “How To Clean A Broan Bathroom Exhaust Fan With Light”