
Articles
How To Wire A Bathroom Exhaust Fan
Modified: October 18, 2024
Learn how to properly wire a bathroom exhaust fan with this helpful article. Step-by-step instructions and expert tips ensure a safe installation process.
(Many of the links in this article redirect to a specific reviewed product. Your purchase of these products through affiliate links helps to generate commission for Storables.com, at no extra cost. Learn more)
Introduction
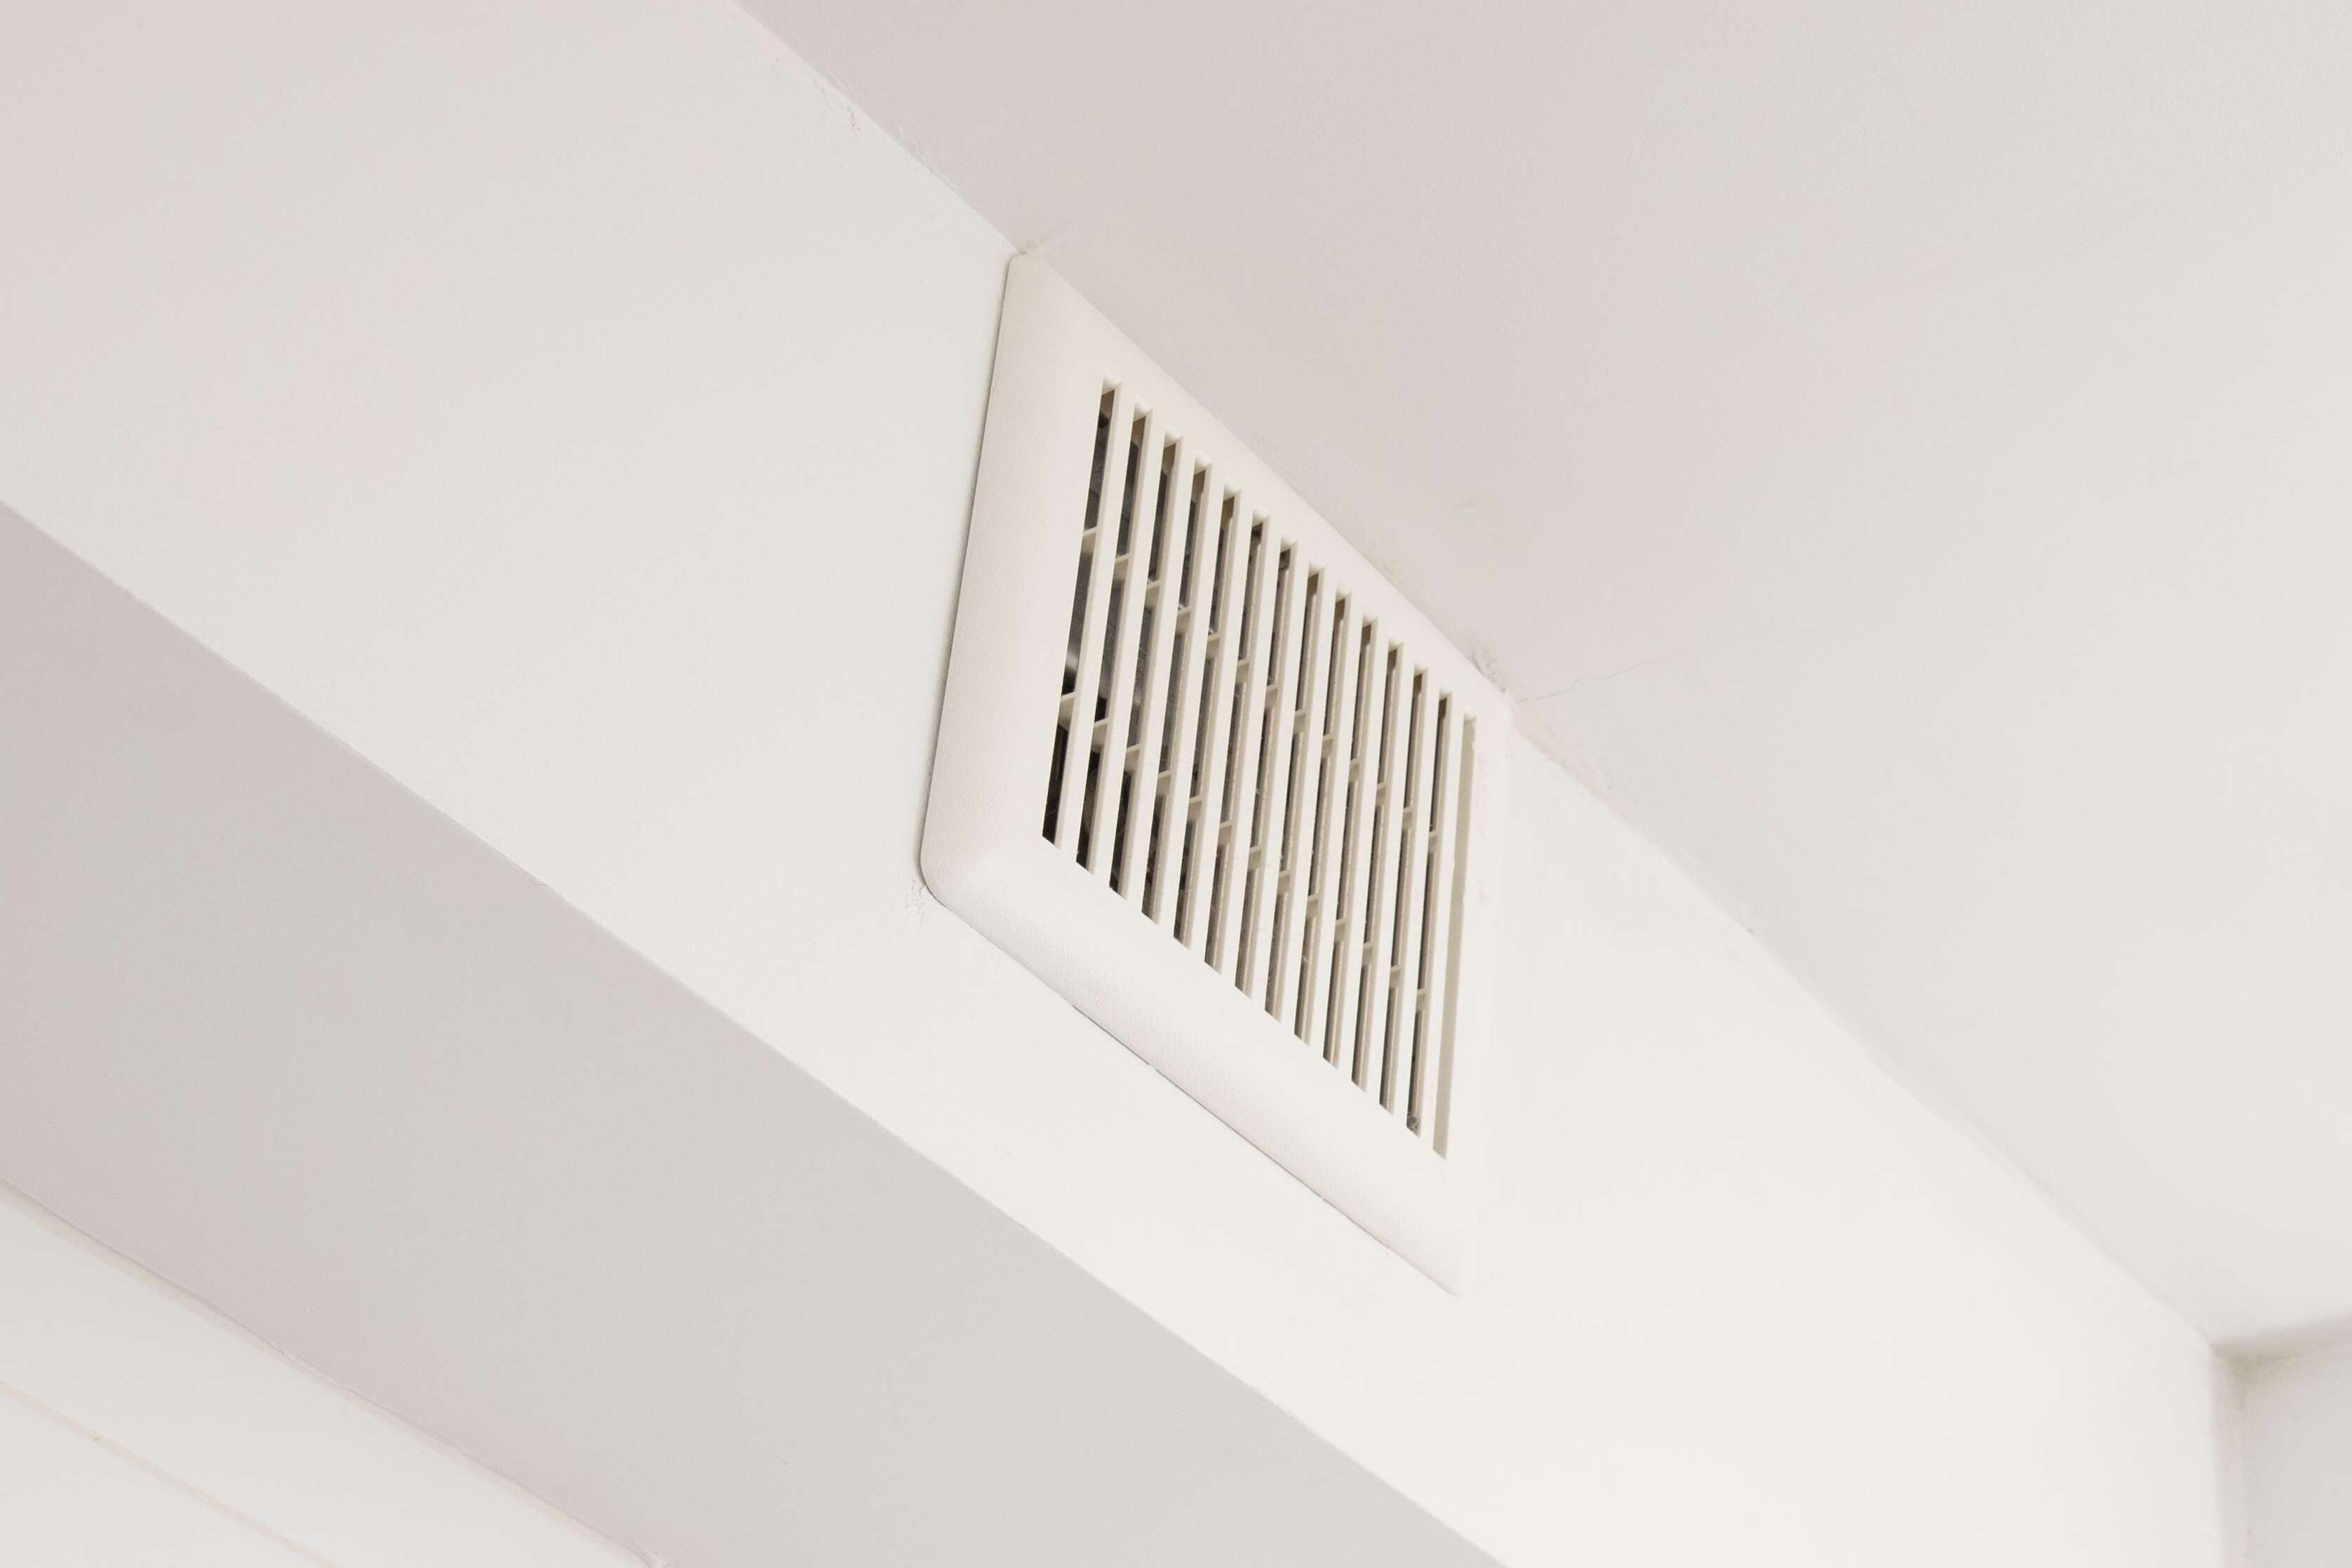
An exhaust fan plays a crucial role in maintaining air quality and ventilation in a bathroom. It helps to remove odors, excess moisture, and improve overall comfort in the space. Wiring a bathroom exhaust fan may seem like a daunting task, but with the right tools and knowledge, it can be a straightforward process.
In this article, we will guide you through the steps to wire a bathroom exhaust fan. From gathering the necessary tools to connecting the wires and testing the fan, we will cover everything you need to know to complete this project successfully.
Before we begin, it’s important to note that working with electricity can be dangerous, so always prioritize safety. Make sure to turn off the power to the circuit you’ll be working on and follow any local building codes or regulations when performing electrical work in your home.
Now, without further ado, let’s dive into the step-by-step process of wiring a bathroom exhaust fan!
Key Takeaways:
- Prioritize safety by turning off the power, following local building codes, and consulting professionals when wiring a bathroom exhaust fan. Proper preparation and testing ensure a smooth and efficient installation process.
- Choosing the right exhaust fan, preparing and connecting the wiring, and securing the fan in place are crucial steps for successful installation. Regular testing and maintenance ensure optimal functionality and a comfortable bathroom environment.
Read more: How To Fix Bathroom Exhaust Fan
Step 1: Gather the Necessary Tools and Materials
Before you start wiring your bathroom exhaust fan, it’s important to gather all the tools and materials you’ll need. Here’s a list of the essentials:
- Wire cutters/strippers
- Screwdrivers (both Phillips and flathead)
- Electrical tape
- Wire nuts
- Circuit tester
- Fish tape (if needed for routing the wiring)
- Measuring tape
- Pencil or marker
- Utility knife
- Drill and drill bits
- Drywall saw (if venting through a wall)
- Ventilation ducting and clamps
- Bathroom exhaust fan (with required specifications for your bathroom size)
Having these tools and materials ready will ensure a smooth and efficient installation process. It’s always a good idea to double-check that you have everything you need before starting the project.
Additionally, it’s important to familiarize yourself with the manufacturer’s instructions that come with your specific exhaust fan model. This will provide you with any additional tools or materials that may be required for your particular fan.
Once you have gathered all the necessary tools and materials, you’re ready to move on to the next step: turning off the power.
Step 2: Turn Off the Power
Before you begin any electrical work, it is essential to turn off the power to the circuit you’ll be working on. This step is crucial for your safety and to avoid any potential electrical hazards.
To turn off the power, locate the circuit breaker or fuse box for the area where the bathroom exhaust fan will be installed. Identify the circuit that controls the bathroom’s electrical supply and switch it off. If you’re unsure which circuit is the correct one, you can use a circuit tester to ensure that the power is turned off.
Once you have verified that the power is off, it is recommended to place a note or a sign on the circuit breaker or fuse box, indicating that work is being done and that the power should not be turned back on until the installation is complete.
Remember, safety should always be the top priority when working with electricity. If you are uncomfortable or unsure about any step of the process, it’s best to consult a professional electrician to ensure the job is done correctly.
With the power turned off, you’re ready to move on to the next step: locating an appropriate circuit for the bathroom exhaust fan.
Step 3: Locate an Appropriate Circuit
When wiring a bathroom exhaust fan, it’s important to connect it to an appropriate circuit. The circuit you choose should have enough capacity to handle the fan’s power requirements and should not be overloaded with other electrical devices.
Here are a few considerations to keep in mind when selecting the circuit:
- Amperage Rating: Check the amperage rating of the bathroom exhaust fan to determine the appropriate circuit. Ensure that the circuit can handle the fan’s power requirements without exceeding its capacity.
- Dedicated Circuit: It’s recommended to install the bathroom exhaust fan on a dedicated circuit to avoid overloading. This means that the circuit will be solely dedicated to powering the fan without any other electrical devices connected to it.
- Location: Locate the circuit that is closest to the bathroom or is specifically designated for bathroom outlets. This will make the wiring process more convenient and efficient.
- Existing Wiring: If there is already existing wiring in place for a previous exhaust fan or other bathroom fixtures, you can use that circuit if it meets the necessary requirements.
It’s important to consult your local building codes to ensure compliance with any regulations or requirements regarding bathroom exhaust fan wiring. These codes may specify specific circuit requirements or restrictions.
Once you have identified the appropriate circuit, you can move on to the next step: installing a dedicated circuit if needed.
Step 4: Install a Dedicated Circuit
If you have determined that a dedicated circuit is necessary for your bathroom exhaust fan, you will need to install one. A dedicated circuit ensures that the fan has its own electrical supply and prevents overloading of other circuits in the bathroom.
Here’s a step-by-step guide on how to install a dedicated circuit for your bathroom exhaust fan:
- Plan the Circuit: Determine the path of the circuit from the electrical panel to the fan location. Consider factors such as accessibility, distance, and any obstacles that may require wiring to be hidden or protected.
- Gather the Materials: Collect the necessary materials for the circuit installation, including electrical wiring, junction boxes, conduit (if required), and any other components specified by local building codes.
- Turn Off the Power: Before starting any electrical work, ensure that the power to the circuit is turned off at the main electrical panel.
- Route the Wiring: Carefully route the wiring from the electrical panel to the location of the bathroom exhaust fan. Use appropriate methods to secure and protect the wiring, such as conduit or cable staples, as required by local codes.
- Install Junction Boxes: Install junction boxes at appropriate intervals along the wiring path. These boxes will serve as connection points for the fan and provide a safe and accessible location for the wiring connections.
- Connect the Wiring: Follow the manufacturer’s instructions to make the necessary wiring connections at each junction box. This typically involves connecting the appropriate wires (hot, neutral, and ground) using wire nuts or other approved connectors.
- Test the Circuit: Once the wiring connections are made, use a circuit tester to verify that the circuit is properly functioning before proceeding with the installation of the exhaust fan. If any issues are detected, troubleshoot and resolve them before continuing.
It’s important to consult a professional electrician if you are not experienced in handling electrical work. They can ensure that the dedicated circuit is installed safely and up to code.
With the dedicated circuit in place, you’re ready to move on to the next step: choosing the right exhaust fan for your bathroom.
Read more: What Is An Exhaust Fan
Step 5: Choose the Right Exhaust Fan
Choosing the right exhaust fan for your bathroom is crucial for efficient ventilation and maintaining air quality. There are several factors to consider when selecting an exhaust fan:
- Bathroom Size: Consider the size of your bathroom to determine the appropriate fan size and airflow capacity. A larger bathroom may require a fan with higher airflow to effectively remove moisture and odors.
- Noise Level: Look for an exhaust fan that operates at a low noise level, especially if your bathroom is located near bedrooms or living spaces. Check the fan’s noise rating in sones to ensure it meets your desired comfort level.
- Energy Efficiency: Opt for an energy-efficient exhaust fan that will help reduce energy consumption and lower utility costs. Look for ENERGY STAR certified models that meet energy efficiency guidelines.
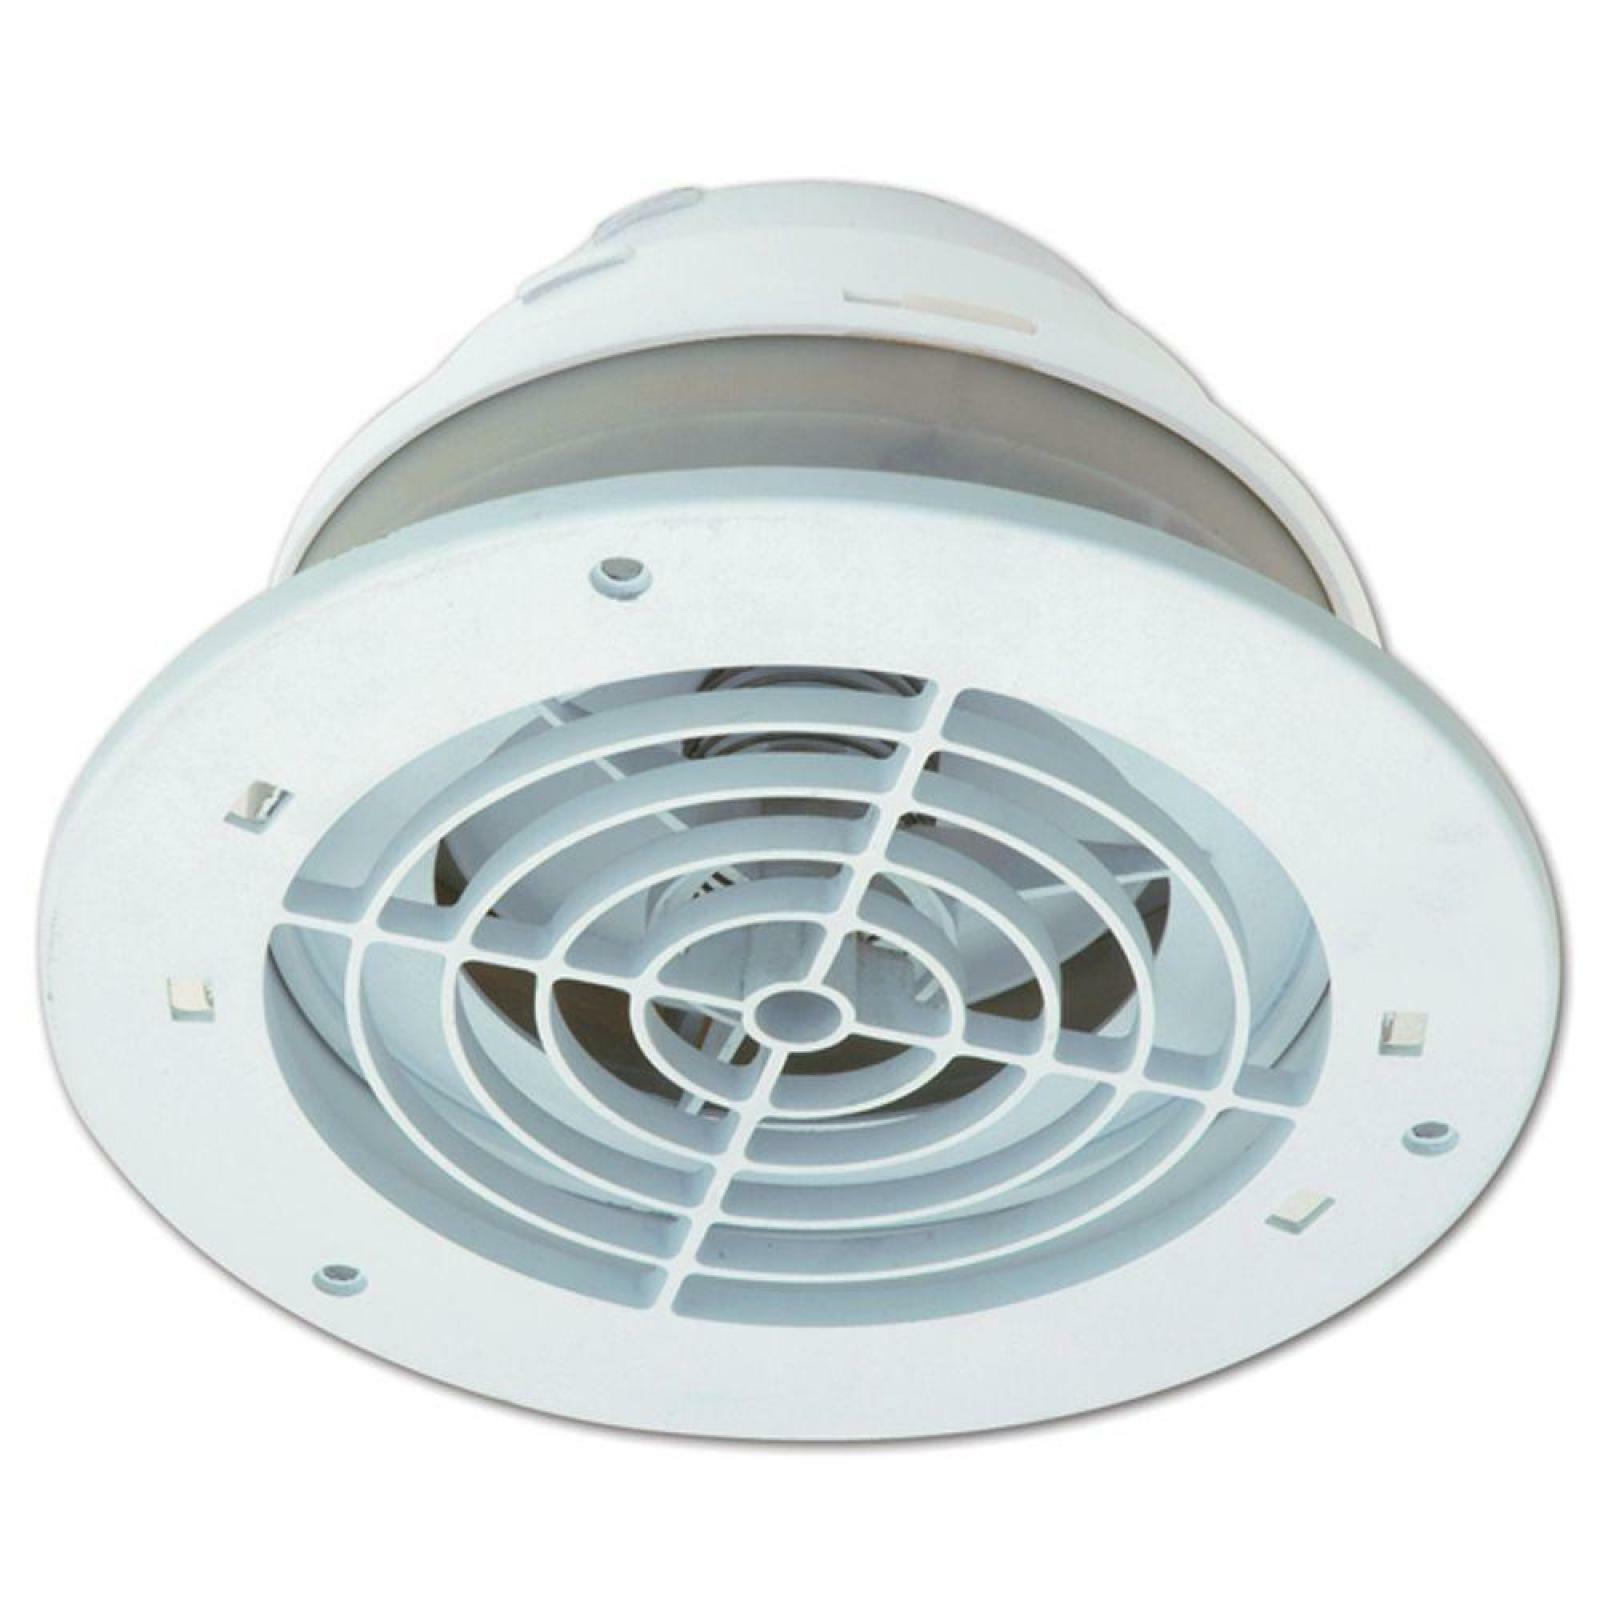
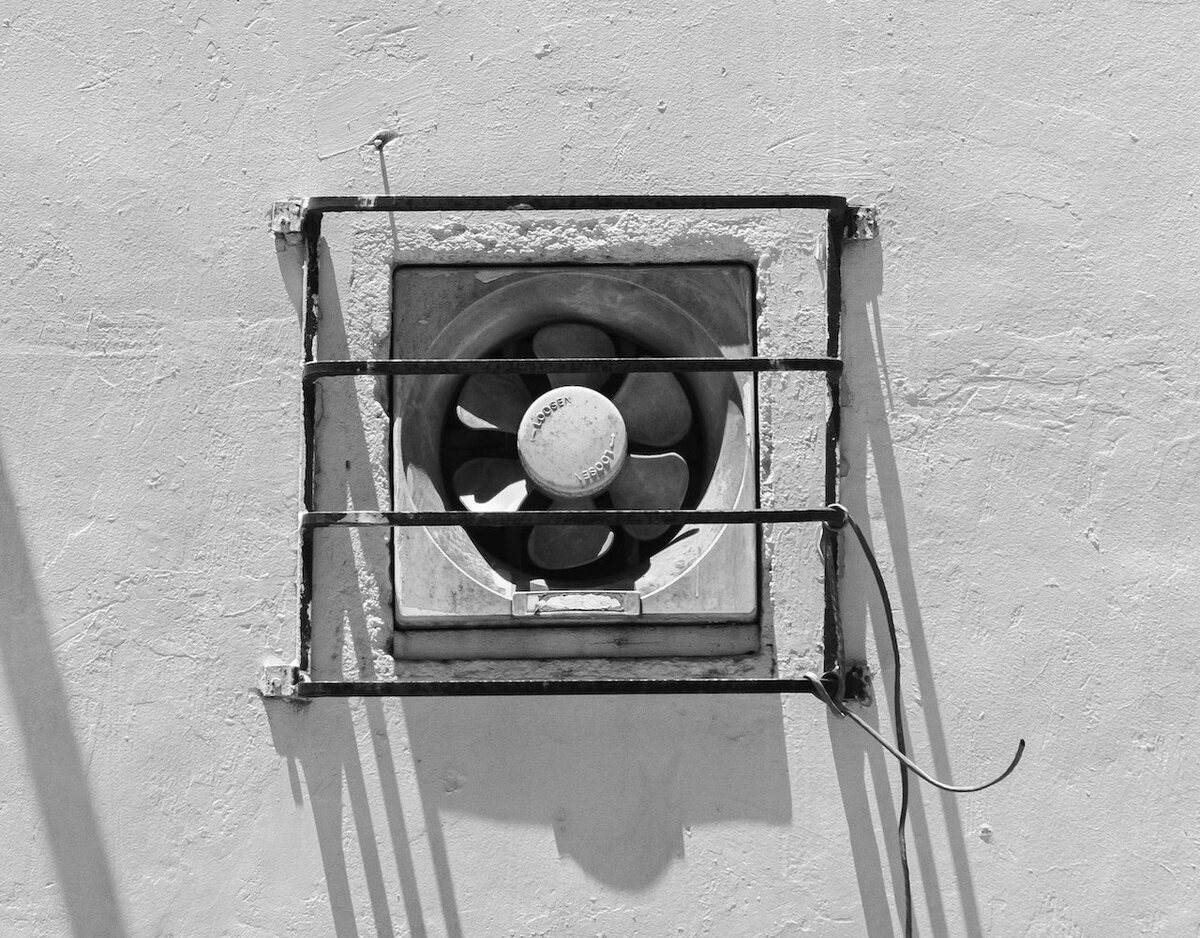
- Installation Type: Consider the installation type that is suitable for your bathroom. There are various options available, including ceiling-mounted fans, wall-mounted fans, and inline fans that can be placed in the attic or crawl space.
- Additional Features: Some exhaust fans come with additional features such as built-in lights, humidity sensors, and timers. Determine if these features are necessary for your bathroom and choose a fan accordingly.
Once you have determined the specifications and features you need, research different brands and models to find the best exhaust fan that meets your requirements and fits your budget. Consider reading customer reviews and seeking recommendations from professionals to make an informed decision.
Remember that proper ventilation is essential for maintaining a healthy and comfortable bathroom environment, so choosing the right exhaust fan is crucial. Once you have selected the fan, you’re ready to move on to preparing the wiring.
When wiring a bathroom exhaust fan, make sure to use the correct gauge of wire for the fan’s power requirements and to connect it to a dedicated circuit to avoid overloading the existing electrical system.
Step 6: Prepare the Wiring
Before installing your bathroom exhaust fan, it’s important to prepare the wiring for the connection. Proper preparation ensures that the wiring is organized, secure, and ready for the installation process.
Here are the steps to prepare the wiring for your bathroom exhaust fan:
- Review the Manufacturer’s Instructions: Refer to the manufacturer’s instructions that come with your exhaust fan. They will provide specific guidelines for preparing the wiring, including the wire types, lengths, and connections.
- Measure and Cut the Wiring: Using a measuring tape, determine the required length of the wiring to connect the exhaust fan to the nearest junction box. Add a few extra inches for flexibility during installation. Be sure to use the appropriate gauge wiring for the electrical load.
- Strip the Wire Insulation: Use wire cutters/strippers to carefully strip approximately ½ inch of insulation from the ends of the wires. This will expose the conductors for proper connections.
- Label the Wires: To ensure proper identification and connection, label each wire with the corresponding functions (e.g., hot, neutral, ground). This step is particularly important if you are dealing with multiple sets of wires or a complex wiring setup.
- Bundle the Wires: Gather the labeled wires together and secure them using electrical tape or wire nuts. This will keep the wires organized and prevent them from tangling or getting damaged during installation.
- Route the Wiring: Determine the most suitable path for routing the wiring from the junction box to the exhaust fan location. Take into consideration any obstructions or obstacles that may require the use of conduit or protective coverings.
- Secure the Wiring: Use appropriate hardware, such as cable staples or clamps, to secure the wiring along its route. Ensure that the wiring is properly protected and kept away from sharp edges or potential damage sources.
By following these steps, you will ensure that the wiring is well-prepared and ready for a seamless installation. It’s important to be thorough and pay attention to detail during this stage to avoid any complications during the wiring process.
With the wiring prepared, you’re now ready to move on to the actual installation of the bathroom exhaust fan.
Step 7: Install the Exhaust Fan
Now that the wiring is prepared, it’s time to install the bathroom exhaust fan. Follow these steps to ensure a successful installation:
- Refer to the Manufacturer’s Instructions: Carefully review the manufacturer’s instructions that come with your exhaust fan. They will provide specific guidelines on how to install the fan correctly.
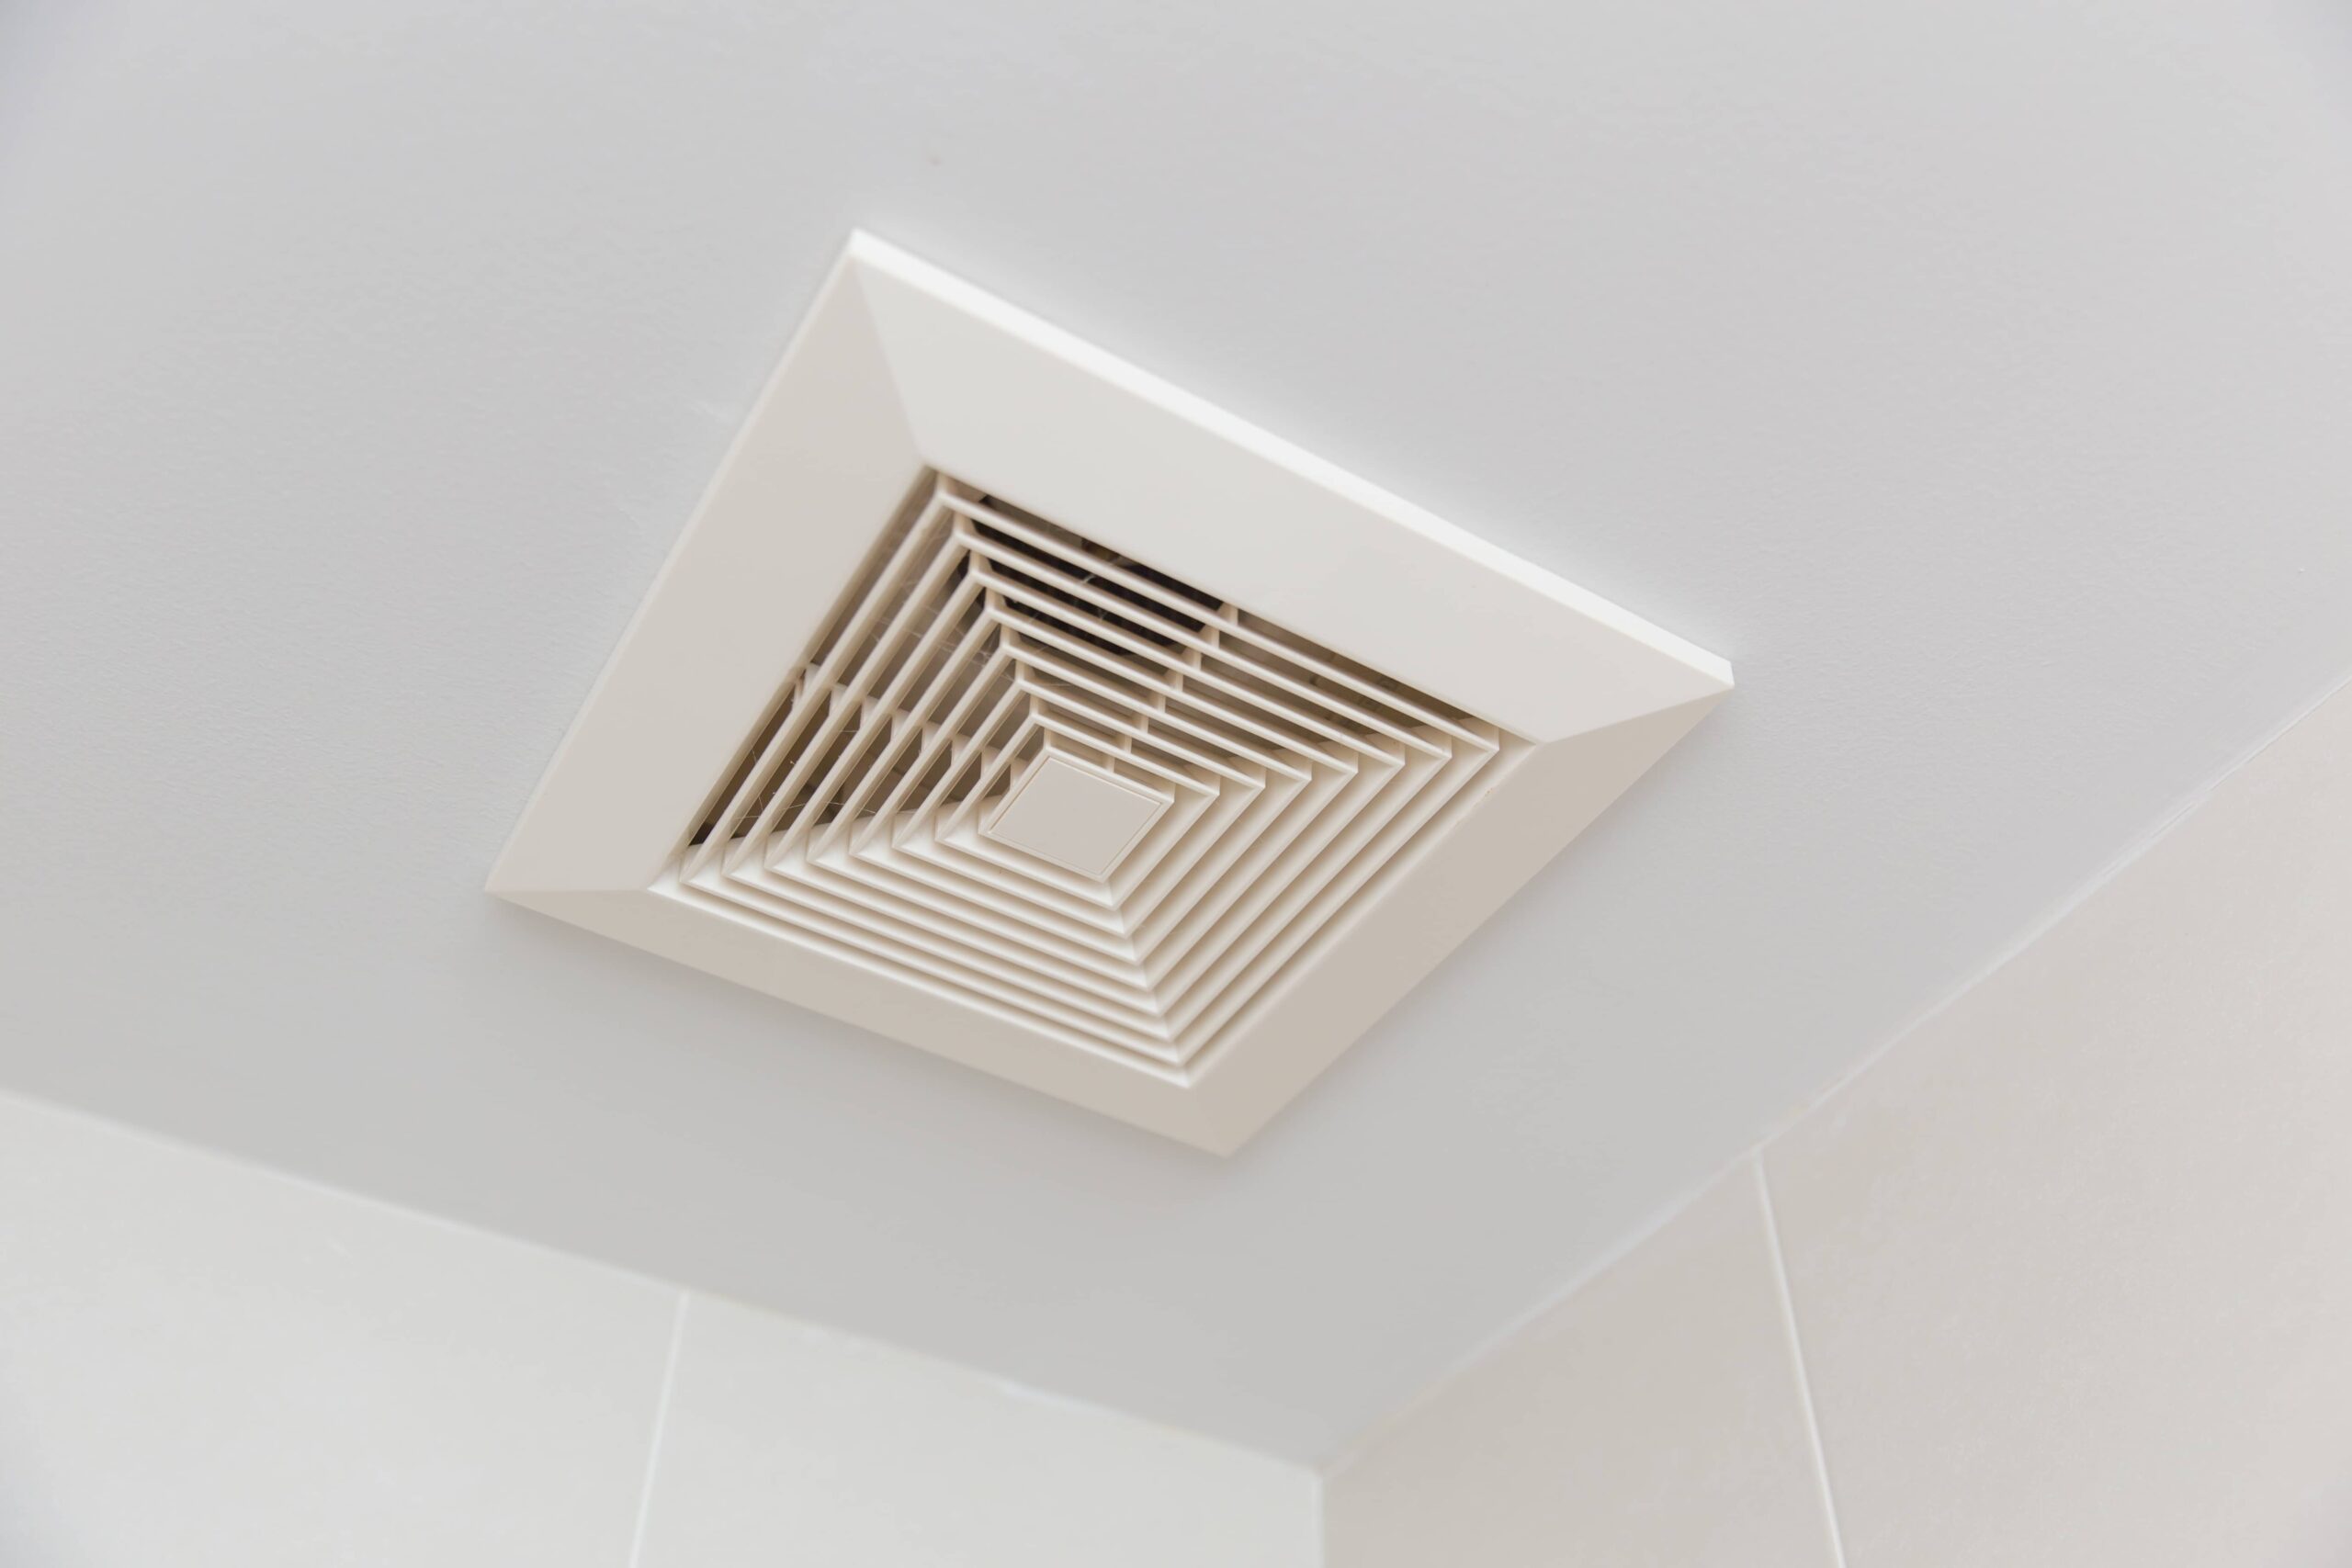
- Position the Fan: Determine the ideal location for the fan based on its size and the ventilation needs of your bathroom. In most cases, it is recommended to install the fan in the center of the bathroom or above the shower area.
- Mark the Mounting Holes: Once you have decided on the fan’s position, hold it against the ceiling or wall and use a pencil or marker to mark the locations of the mounting holes.
- Prep the Mounting Surface: If necessary, use a stud finder to locate any nearby studs or joists in the ceiling or wall. This will help provide extra stability when mounting the fan. If there are no studs or joists, you may need to use drywall anchors or additional support brackets.
- Mount the Fan: Drill pilot holes at the marked locations and secure the fan in place using screws or mounting brackets provided with the fan. Make sure the fan is level and securely attached to the surface.
- Connect the Ductwork: Attach the ventilation ductwork to the fan using duct clamps or approved connectors. Ensure that the ductwork is securely connected and directed to the outside of the building to allow proper air flow and ventilation.
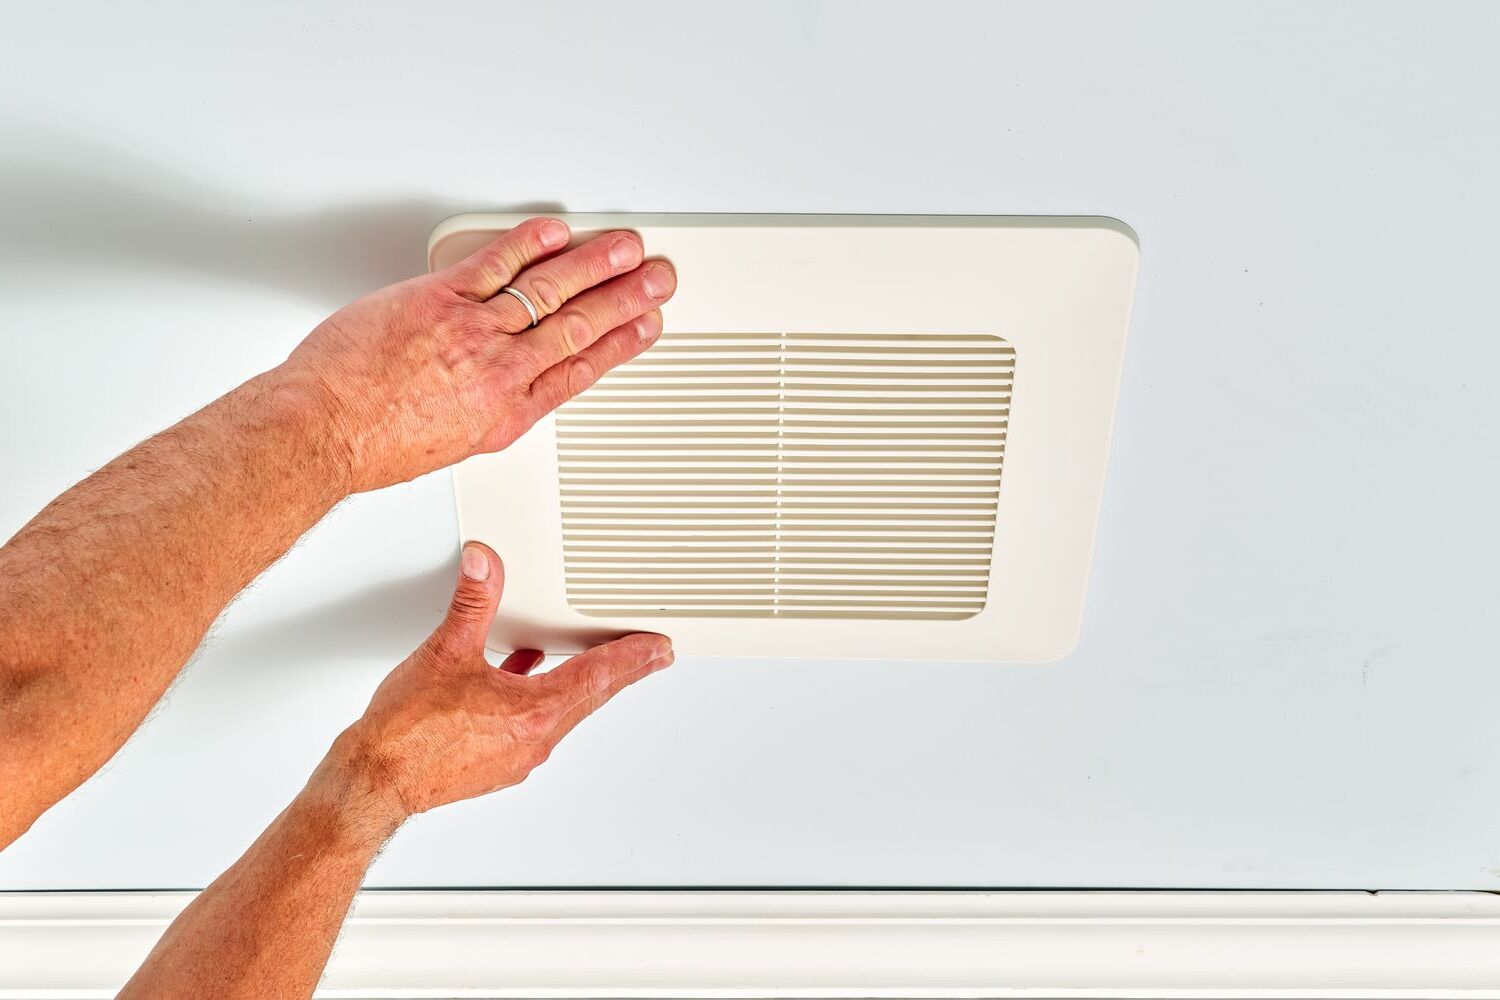
- Complete the Installation: Follow the manufacturer’s instructions to complete the installation process. This may include attaching any additional components, such as grilles or covers, and securing them in place.
Throughout the installation process, take care to handle the fan with caution and avoid damaging any electrical or mechanical components. If you’re uncertain about any step or encounter challenges during the installation, consult the manufacturer’s instructions or seek assistance from a professional electrician or contractor.
Once the fan is securely installed, you’re ready to move on to the next step: connecting the wires.
Step 8: Connect the Wires
With the fan installed, it’s time to connect the wires to ensure proper operation. Follow these steps to connect the wires of your bathroom exhaust fan:
- Refer to the Manufacturer’s Instructions: Again, consult the manufacturer’s instructions for specific guidance on connecting the wires. Different fan models may have slightly different wiring configurations.
- Identify the Wires: Locate the corresponding wires from the fan and the house wiring. Typically, there will be three wires: a black (hot), white (neutral), and green or bare copper (ground).
- Match the Wire Functions: Match the functions of the wires together. Connect the black wire from the fan to the black wire from the house wiring. Connect the white wire from the fan to the white wire from the house wiring. Connect the green or bare copper wire from the fan to the ground wire from the house wiring.
- Secure the Wires: Use wire nuts to connect the wires together. Twist the corresponding wires together clockwise, insert them into a wire nut, and twist the nut clockwise until it is firmly secured. Make sure there is no exposed wire showing and that the connections are tight.
- Wrap with Electrical Tape: After connecting the wires, wrap the wire nuts with electrical tape to provide additional protection and to ensure the connections stay secure.
- Tuck the Wires: Carefully tuck the connected wires into the electrical box or designated wire space within the fan housing. Ensure that the wires do not interfere with the fan’s operation or impede the installation of any covers or grilles.
- Test the Connections: Once the connections are made, restore the power to the circuit and test the fan to ensure it is functioning properly. Use the fan’s switch or control mechanism to turn it on and off. Verify that the fan is operating smoothly and there are no electrical issues.
Always exercise caution when working with electrical connections to prevent electrical shocks or hazards. If you are unsure about any aspect of the wiring process, consult a qualified electrician for assistance.
With the wires connected, it’s time to secure the fan in place.
Read more: How To Change Bathroom Exhaust Fan
Step 9: Secure the Fan in Place
After connecting the wires, it’s important to secure the bathroom exhaust fan in its final position to ensure stability and proper operation. Here are the steps to securely mount the fan:
- Double-Check the Alignment: Before securing the fan, ensure that it is properly aligned with the mounting holes and the ventilation duct. Make any necessary adjustments to ensure a straight and level installation.
- Tighten Mounting Screws: Using a screwdriver or a drill, tighten the mounting screws or brackets that hold the fan in place. Ensure that the fan is securely attached to the ceiling or wall, and there is no wobbling or movement.
- Check for Proper Clearance: Verify that there is sufficient clearance between the fan and any nearby objects, such as ceilings, walls, or other fixtures. This allows for adequate airflow and prevents any obstructions that could affect the fan’s performance.
- Secure Ventilation Duct: If applicable, secure the ventilation duct to the fan using duct clamps or approved connectors. Make sure the connection is tight and secure to prevent any air leaks or disconnections.
- Install Grille or Cover: Attach the grille or cover provided with the fan to complete the installation. Follow the manufacturer’s instructions for the specific method of attachment.
- Inspect the Installation: After securing the fan in place, visually inspect the installation to ensure everything is properly aligned and connected. Check for any loose screws or connections that may need tightening.
Properly securing the fan is crucial for its efficiency and longevity. A securely mounted fan will operate smoothly and minimize any noise or vibrations. It’s important to follow the manufacturer’s instructions for your specific exhaust fan model to ensure a correct and secure installation.
Once the fan is securely in place, it’s time to move on to the final step: testing the exhaust fan.
Step 10: Test the Exhaust Fan
After completing the installation of your bathroom exhaust fan, it’s important to test its functionality before considering the project complete. Testing the fan ensures that it is operating correctly and effectively removes moisture and odors from the bathroom. Follow these steps to test the exhaust fan:
- Restore Power: Turn on the power to the circuit that the exhaust fan is connected to at the main electrical panel. Ensure the circuit breaker or fuse is in the “on” position.
- Turn on the Fan: Use the switch or control mechanism provided with the fan to turn it on. Listen for the sound of the fan motor running and verify that the blades are spinning smoothly.
- Observe Airflow: Stand in the bathroom and feel the airflow coming from the fan. It should be noticeably pulling air out of the room, helping to remove moisture and odors. Check if any nearby steam or fumes are being efficiently removed.
- Check for Proper Ventilation: Go outside and check the ventilation outlet where the exhaust duct expels the air. Ensure there is strong airflow and that the air is being expelled away from the building, preventing any moisture from re-entering.
- Listen for Noise and Vibration: Pay attention to any noise or excessive vibration coming from the fan. While some sound is normal, excessive noise or vibrations may indicate an issue with the installation or fan motor.
- Test Additional Features: If your exhaust fan has additional features such as built-in lights, humidity sensors, or timers, test those functionalities to ensure they are working as intended.
If you notice any issues during the testing process, such as inadequate airflow, excessive noise, or malfunctioning features, refer to the manufacturer’s instructions to troubleshoot or contact a professional for assistance.
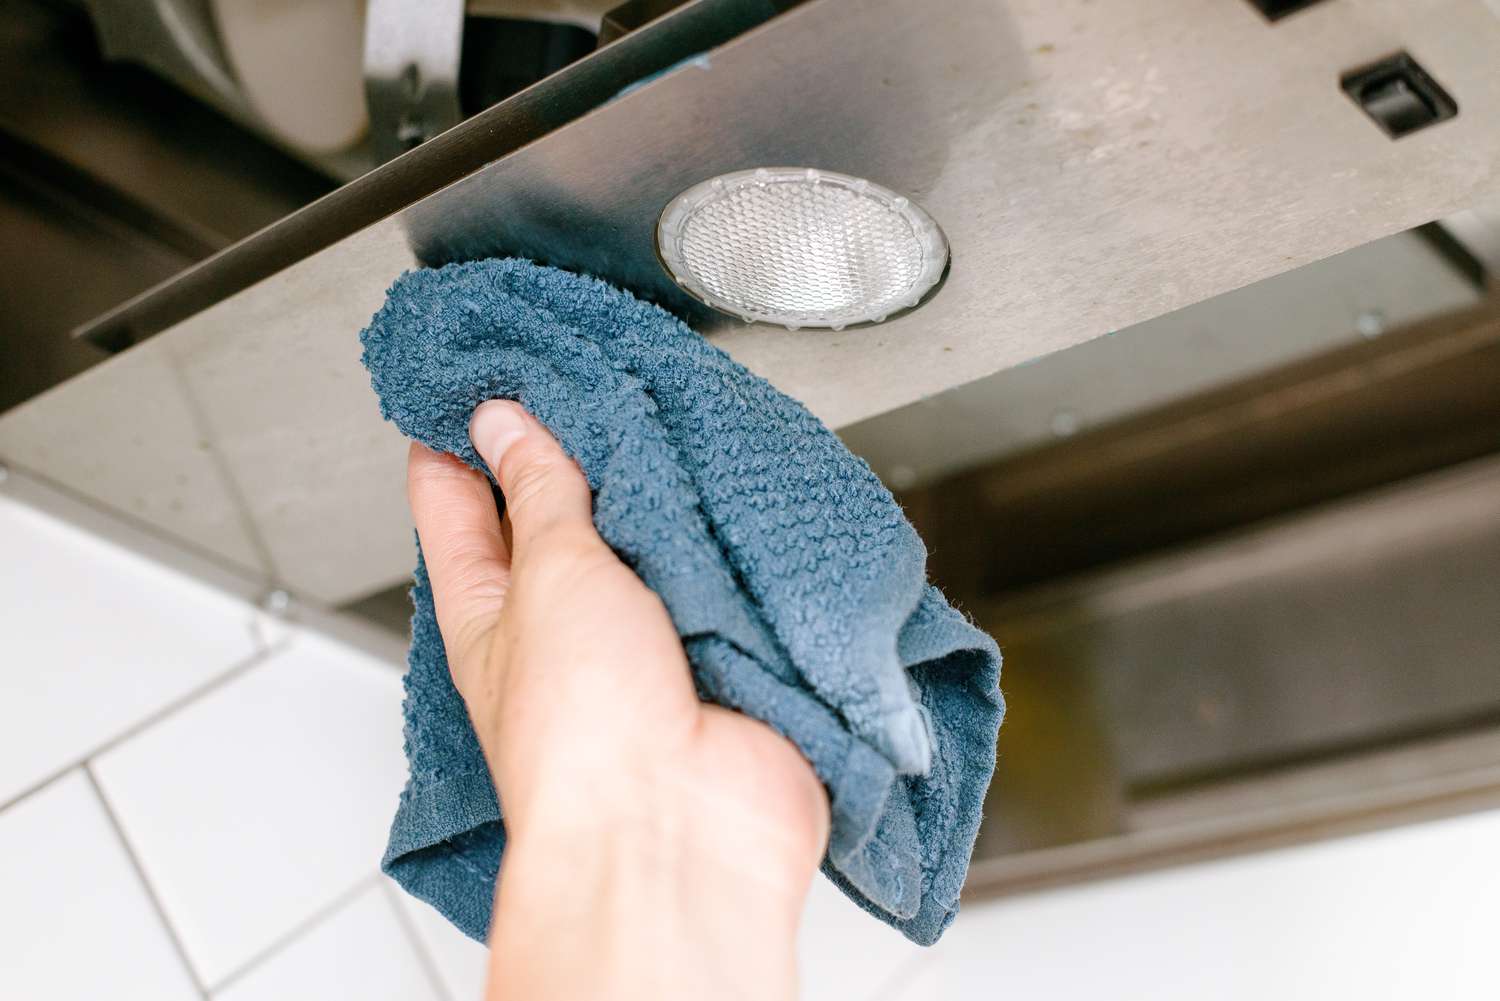
Regularly test your bathroom exhaust fan to ensure it remains in optimal working condition. Regular maintenance, such as cleaning the fan blades and checking for any obstructions in the ductwork, will help keep your exhaust fan running efficiently.
With the exhaust fan successfully installed and tested, you have completed the wiring and installation process. Congratulations on a job well done!
Conclusion
Wiring and installing a bathroom exhaust fan is a practical and important project that helps to improve the air quality and ventilation in your bathroom. By following the steps outlined in this guide, you can successfully complete this project and enjoy the benefits of a well-ventilated and comfortable bathroom environment.
Throughout the process, it’s crucial to prioritize safety by turning off the power to the circuit, following local building codes, and consulting professionals when necessary. Taking the time to gather the necessary tools, choose the right exhaust fan, and properly prepare and connect the wiring ensures a smooth and efficient installation.
Remember to test the exhaust fan to verify its functionality and address any potential issues. Regular maintenance and cleaning will help keep the fan operating at its best and prolong its lifespan.
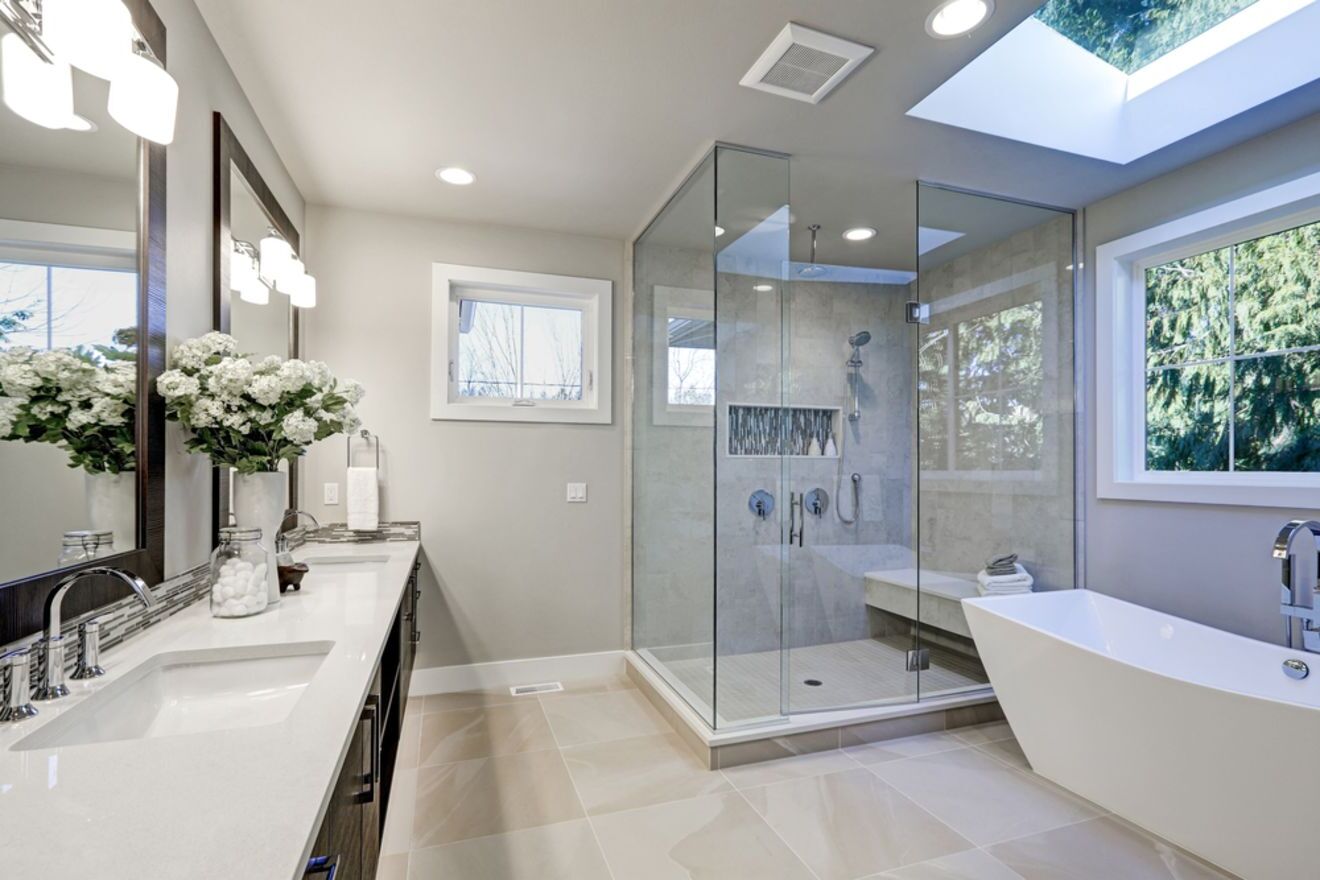
By wiring and installing a bathroom exhaust fan, you not only enhance the air quality but also create a more comfortable and enjoyable space. Proper ventilation reduces excess moisture, prevents the growth of mold and mildew, and eliminates unpleasant odors.
Whether you’re undertaking this project as a DIY enthusiast or seeking the assistance of a professional, the importance of a properly installed exhaust fan cannot be overstated. Take pride in knowing that you’ve made a significant improvement to your bathroom’s environment and your overall home comfort.
Now that you have completed the installation of your bathroom exhaust fan, take a moment to appreciate the benefits it will provide. Breathe easy and enjoy a fresh and well-ventilated bathroom for years to come.
Ready to expand your DIY skills further? If wiring that bathroom exhaust fan felt rewarding, imagine powering up your garage. Our guide on how to run overhead electrical wire to a garage shows you how to do it safely and effectively. Thinking about a bigger project? Find out how long a bathroom renovation takes to plan your remodel efficiently. Lastly, if you're considering another fan installation, check our detailed guide on how to install an exhaust fan.
Frequently Asked Questions about How To Wire A Bathroom Exhaust Fan
Was this page helpful?
At Storables.com, we guarantee accurate and reliable information. Our content, validated by Expert Board Contributors, is crafted following stringent Editorial Policies. We're committed to providing you with well-researched, expert-backed insights for all your informational needs.


0 thoughts on “How To Wire A Bathroom Exhaust Fan”