Home>Furniture & Design>Bathroom Fixtures>How To Clean Soap Scum Off A Shower Tile
Bathroom Fixtures
How To Clean Soap Scum Off A Shower Tile
Modified: August 27, 2024
Learn effective techniques for removing soap scum from shower tiles and bathroom fixtures. Keep your bathroom sparkling clean with our expert tips and tricks.
(Many of the links in this article redirect to a specific reviewed product. Your purchase of these products through affiliate links helps to generate commission for Storables.com, at no extra cost. Learn more)
Introduction
Welcome to the ultimate guide on how to effectively clean soap scum off your shower tiles. Soap scum can quickly build up on shower tiles, causing them to look dull, dingy, and unappealing. This unsightly residue is a result of the combination of soap, hard water minerals, body oils, and dirt, which can form a stubborn film on the tile surfaces. However, fear not! With the right materials and techniques, you can restore your shower tiles to their sparkling clean state.
In this comprehensive guide, we will delve into the nitty-gritty of understanding soap scum, the materials needed for the cleaning process, and a step-by-step walkthrough of the cleaning process. By the end of this article, you will be equipped with the knowledge and confidence to tackle soap scum buildup on your shower tiles with ease.
So, roll up your sleeves, gather your cleaning supplies, and let's bid farewell to soap scum and hello to gleaming shower tiles!
Key Takeaways:
- Say goodbye to soap scum! Use vinegar, baking soda, and dish soap to create a powerful cleaning solution. Scrub tiles gently and rinse thoroughly for sparkling, scum-free shower tiles.
- Fight soap scum buildup with the right materials and techniques. Prepare a potent cleaning solution, apply it generously, and scrub diligently to reveal the lustrous beauty of your shower tiles.
Read more: How To Clean Soap Scum Off Glass
Understanding Soap Scum
Before diving into the cleaning process, it’s essential to understand the nature of soap scum and how it forms on shower tiles. Soap scum is a stubborn residue that results from the interaction between soap, hard water minerals, and other impurities present in the water. When soap comes into contact with water, it forms a sticky film that adheres to the surfaces it touches, including shower tiles.
Hard water, which contains high levels of minerals such as calcium and magnesium, exacerbates the formation of soap scum. These minerals react with the fatty acids in soap, leading to the formation of insoluble compounds that adhere to the tile surfaces. Over time, this buildup can become increasingly difficult to remove, resulting in a dull and unattractive appearance.
Furthermore, body oils, dirt, and skin cells can contribute to the accumulation of soap scum, creating an environment where bacteria and mildew can thrive. This not only affects the visual appeal of the shower tiles but also poses potential health hazards.
Understanding the composition and formation of soap scum is crucial in determining the most effective cleaning approach. By targeting the specific elements that contribute to soap scum buildup, you can implement a cleaning strategy that effectively eliminates the residue and prevents its recurrence.
Now that we’ve gained insight into the nature of soap scum, let’s explore the materials needed to combat this stubborn foe and restore the luster of your shower tiles.
Materials Needed
Before embarking on the mission to banish soap scum from your shower tiles, it’s essential to gather the necessary materials. Having the right tools and cleaning agents at your disposal will streamline the process and ensure effective results. Here’s a list of the materials you’ll need:
- Vinegar: A versatile and eco-friendly cleaning agent, vinegar is highly effective in breaking down soap scum and mineral deposits. Its acidic nature makes it a powerful ally in the battle against stubborn residue.
- Baking Soda: This household staple serves as a gentle abrasive, aiding in the removal of soap scum without causing damage to the tile surfaces. It also helps neutralize odors and acts as a natural deodorizer.
- Dish Soap: Opt for a mild dish soap that can cut through grease and grime without leaving behind a residue. Look for a formula that is gentle on surfaces and safe for regular use.
- Spray Bottle: A clean spray bottle will be used to mix and apply the cleaning solution effectively. Ensure the bottle is labeled and dedicated for cleaning purposes.
- Microfiber Cloth or Sponge: These soft, non-abrasive cleaning tools are ideal for scrubbing shower tiles without causing scratches or damage. They are highly absorbent and can effectively lift away dirt and residue.
- Old Toothbrush: A small, soft-bristled toothbrush will come in handy for tackling hard-to-reach areas and grout lines where soap scum tends to accumulate.
- Rubber Gloves: Protect your hands with durable rubber gloves to shield your skin from the cleaning solution and potential allergens present in soap scum.
- Warm Water: Having access to warm water for rinsing and diluting cleaning agents is essential for achieving thorough and effective cleaning results.
By ensuring you have these materials on hand, you’ll be well-prepared to take on the task of eradicating soap scum from your shower tiles. With the arsenal of cleaning supplies ready, it’s time to delve into the step-by-step process of restoring the pristine condition of your shower tiles.
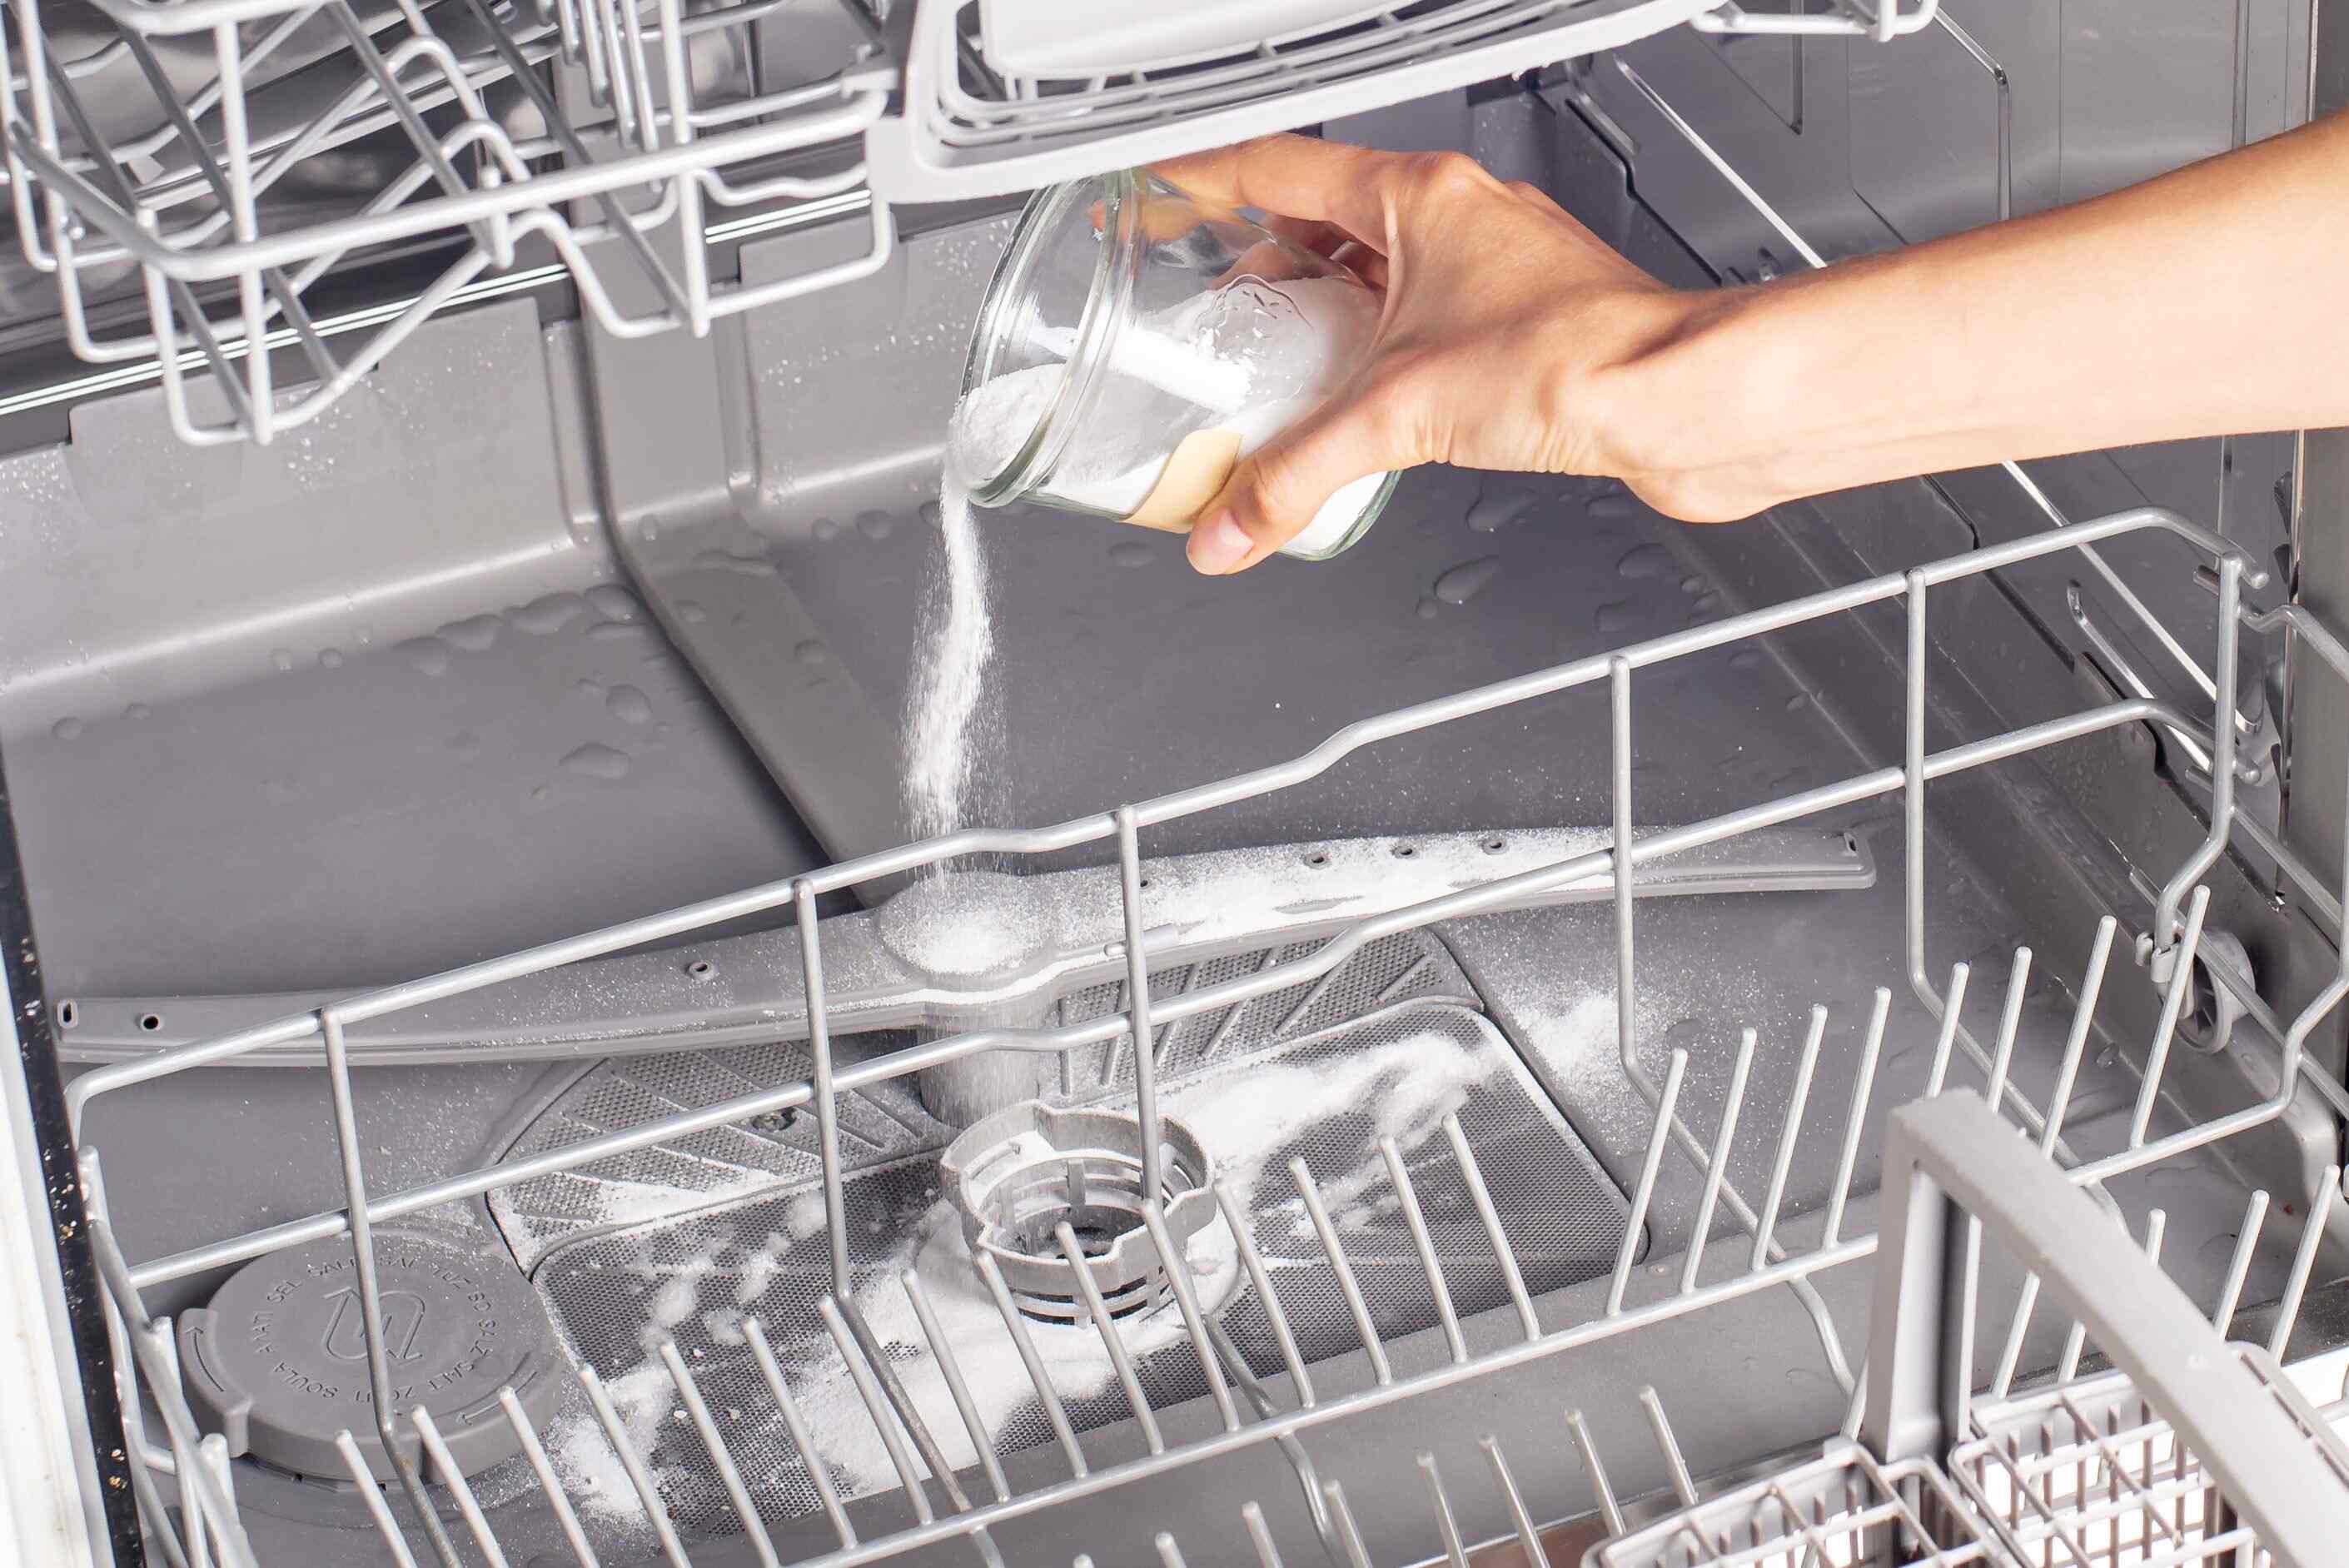
Step 1: Preparing the Cleaning Solution
Now that you’ve assembled the necessary materials, it’s time to concoct a potent cleaning solution that will effectively combat soap scum and restore the brilliance of your shower tiles. The following steps outline the process of preparing the cleaning solution:
- Fill the Spray Bottle: Begin by filling a clean spray bottle with white vinegar. The acidic properties of vinegar make it an excellent agent for dissolving soap scum and mineral deposits on the tiles.
- Add Dish Soap: Next, add a small amount of mild dish soap to the spray bottle. The dish soap will enhance the cleaning power of the solution by cutting through grease and grime while leaving a streak-free finish.
- Optional Baking Soda Boost: For an extra boost in tackling stubborn soap scum, consider adding a tablespoon of baking soda to the cleaning solution. Baking soda’s gentle abrasive properties aid in lifting away residue without causing damage to the tile surfaces.
- Shake Well: After adding the ingredients, securely fasten the spray bottle’s nozzle and shake the bottle vigorously to ensure thorough mixing of the components. This will create a potent cleaning solution ready for application.
By combining the cleaning power of vinegar, dish soap, and optionally, baking soda, you’ll create a formidable weapon against soap scum buildup. The acidic and cleansing properties of the solution will work synergistically to break down and dislodge the stubborn residue from your shower tiles.
With the cleaning solution prepared, you’re now equipped to move on to the next crucial step: applying the solution to the shower tiles and initiating the battle against soap scum.
Mix equal parts of white vinegar and dish soap in a spray bottle. Spray the solution onto the soap scum, let it sit for 15 minutes, then scrub with a brush and rinse. Repeat if necessary.
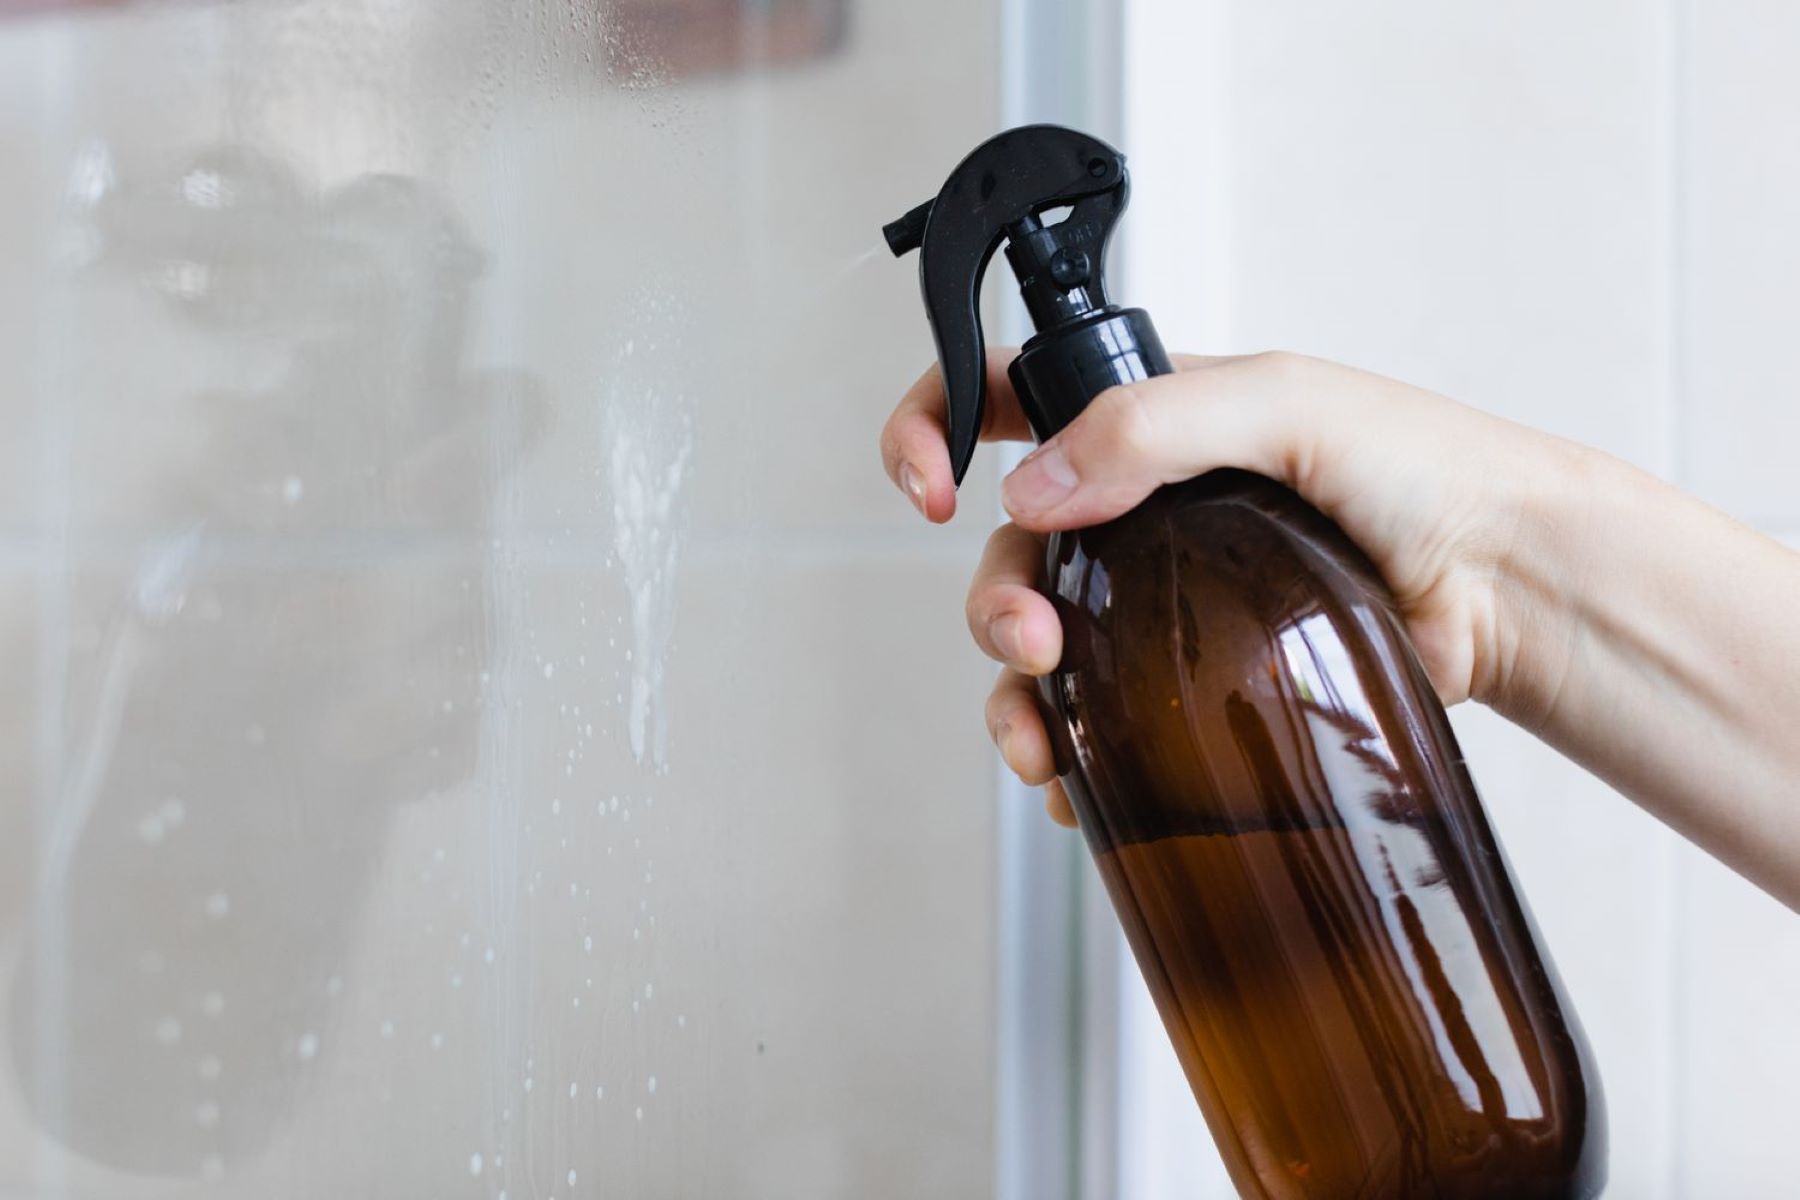
Step 2: Applying the Cleaning Solution
With the potent cleaning solution in hand, it’s time to take the offensive against the resilient soap scum clinging to your shower tiles. The following steps outline the process of applying the cleaning solution effectively:
- Spray the Solution: Begin by generously spraying the prepared cleaning solution onto the affected areas of the shower tiles. Ensure thorough coverage of the soap scum-encrusted surfaces, allowing the solution to penetrate and loosen the stubborn residue.
- Focus on Problem Areas: Pay particular attention to areas where soap scum buildup is most pronounced, such as the bottom edges of tiles and around fixtures. These regions often harbor the most substantial accumulation of residue and require extra attention during the cleaning process.
- Allow Dwell Time: After applying the cleaning solution, allow it to dwell on the tiles for approximately 10-15 minutes. This dwell time is crucial as it gives the solution ample opportunity to break down the soap scum and mineral deposits, making them easier to remove during the scrubbing phase.
- Precautions for Grout: If your shower tiles feature grout lines, exercise caution when applying the cleaning solution to avoid saturating the grout excessively. Prolonged exposure to acidic solutions can compromise grout integrity, so aim to minimize direct contact with the grout during the application process.
By methodically applying the cleaning solution and allowing it to dwell on the tiles, you’re setting the stage for a thorough and effective assault on the resilient soap scum. The solution’s active ingredients will work diligently to weaken the grip of the residue, preparing it for the next crucial step in the cleaning process: scrubbing the tiles to banish soap scum once and for all.
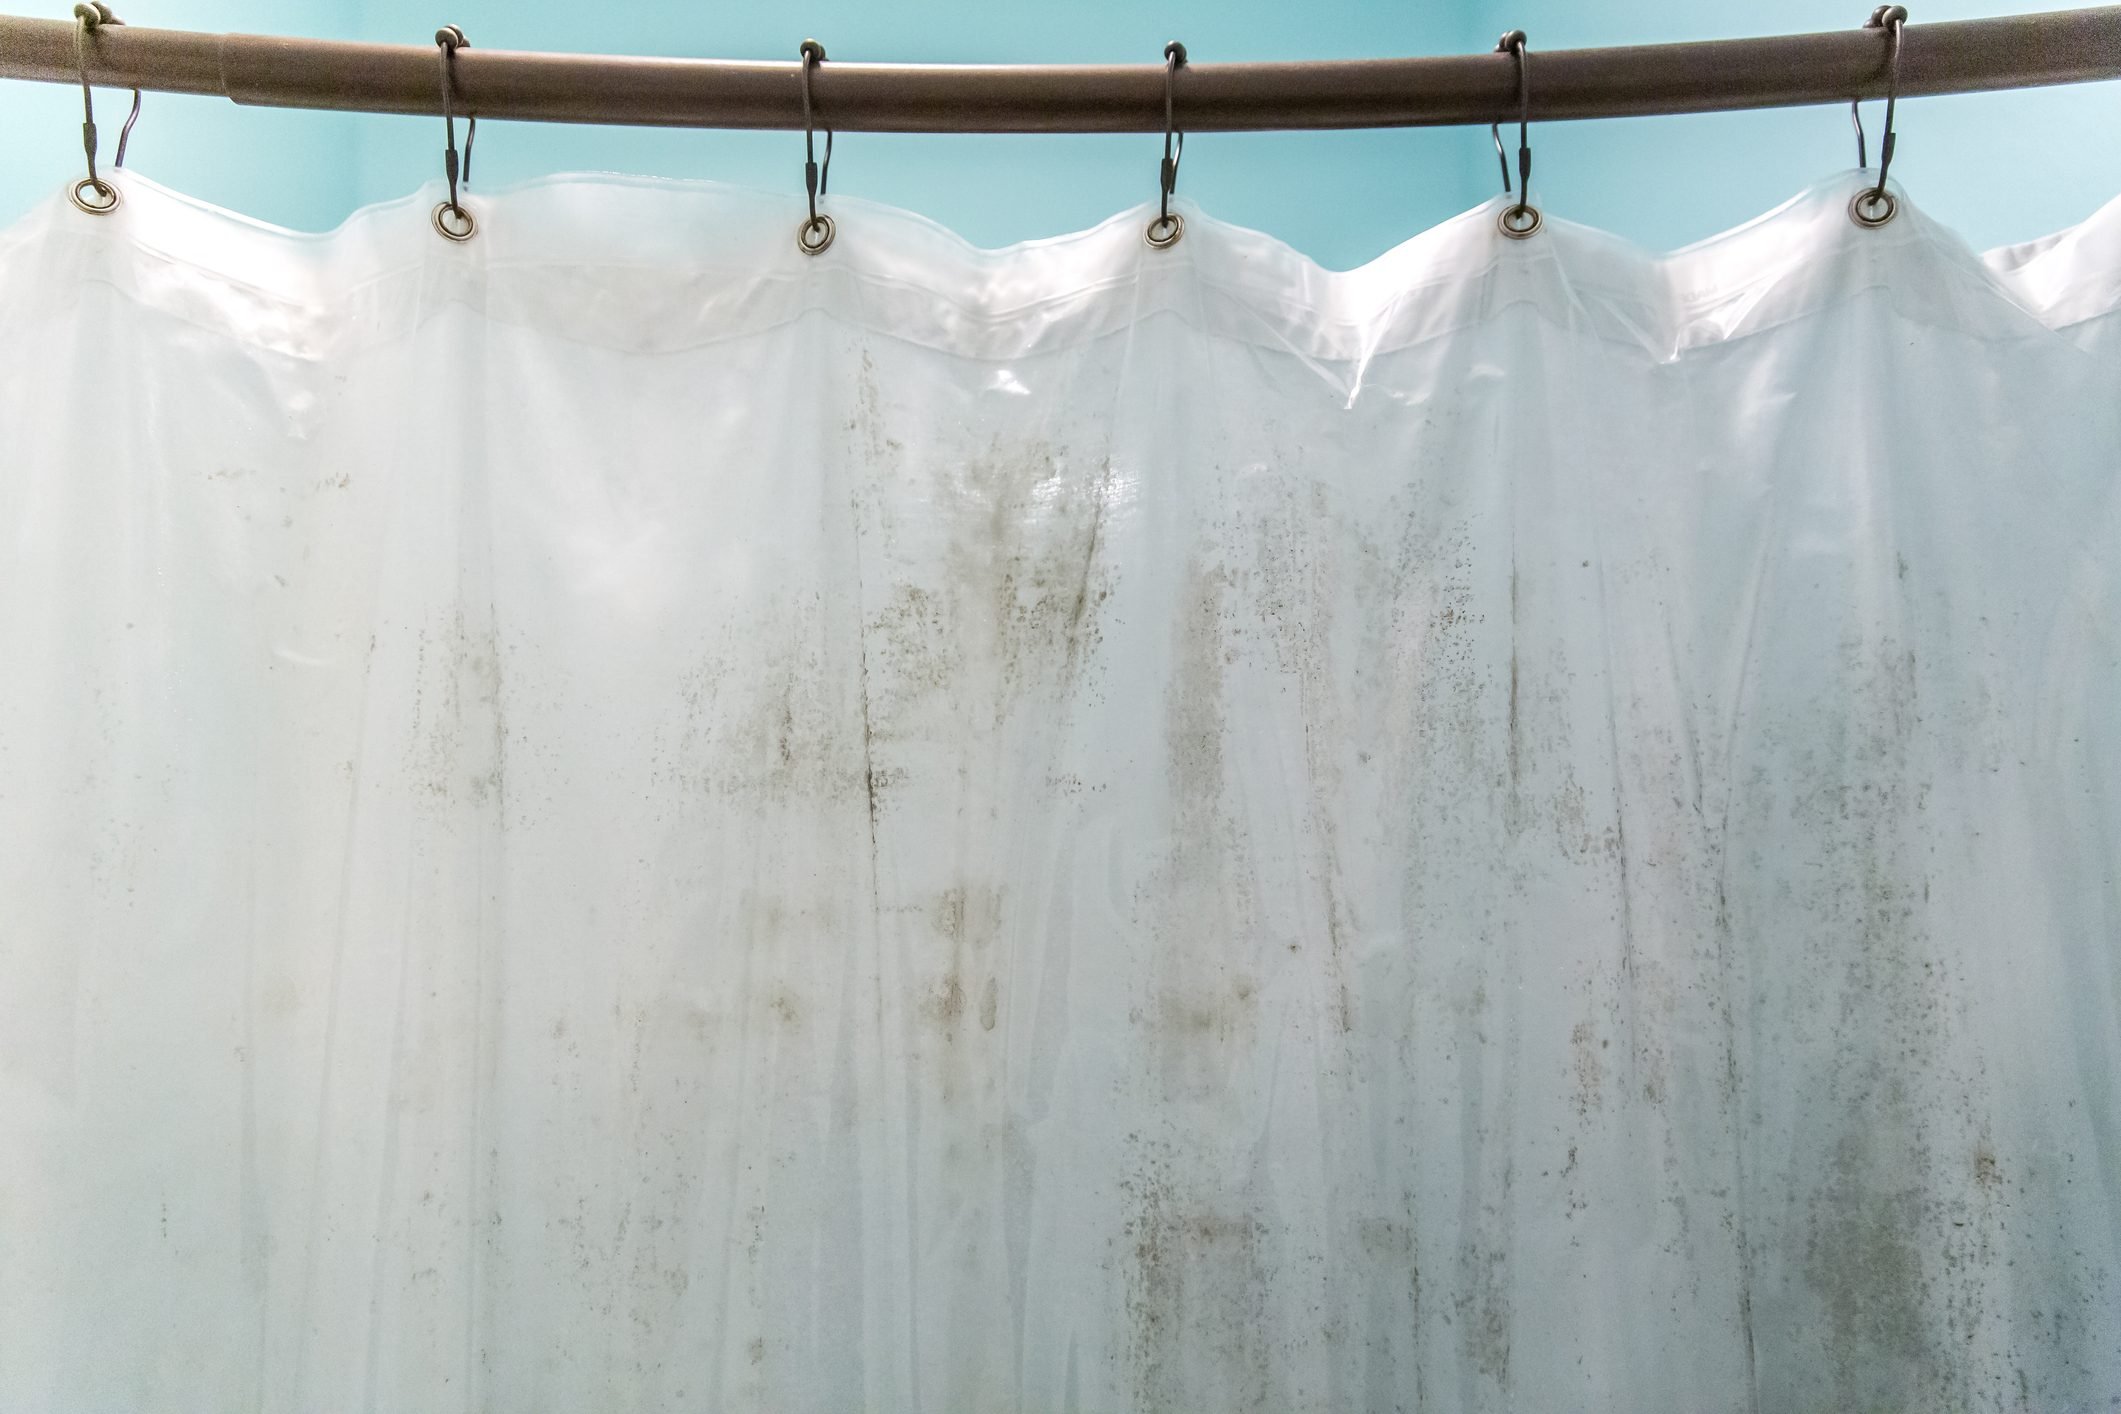
Read more: How To Get Soap Scum Off A Shower Curtain
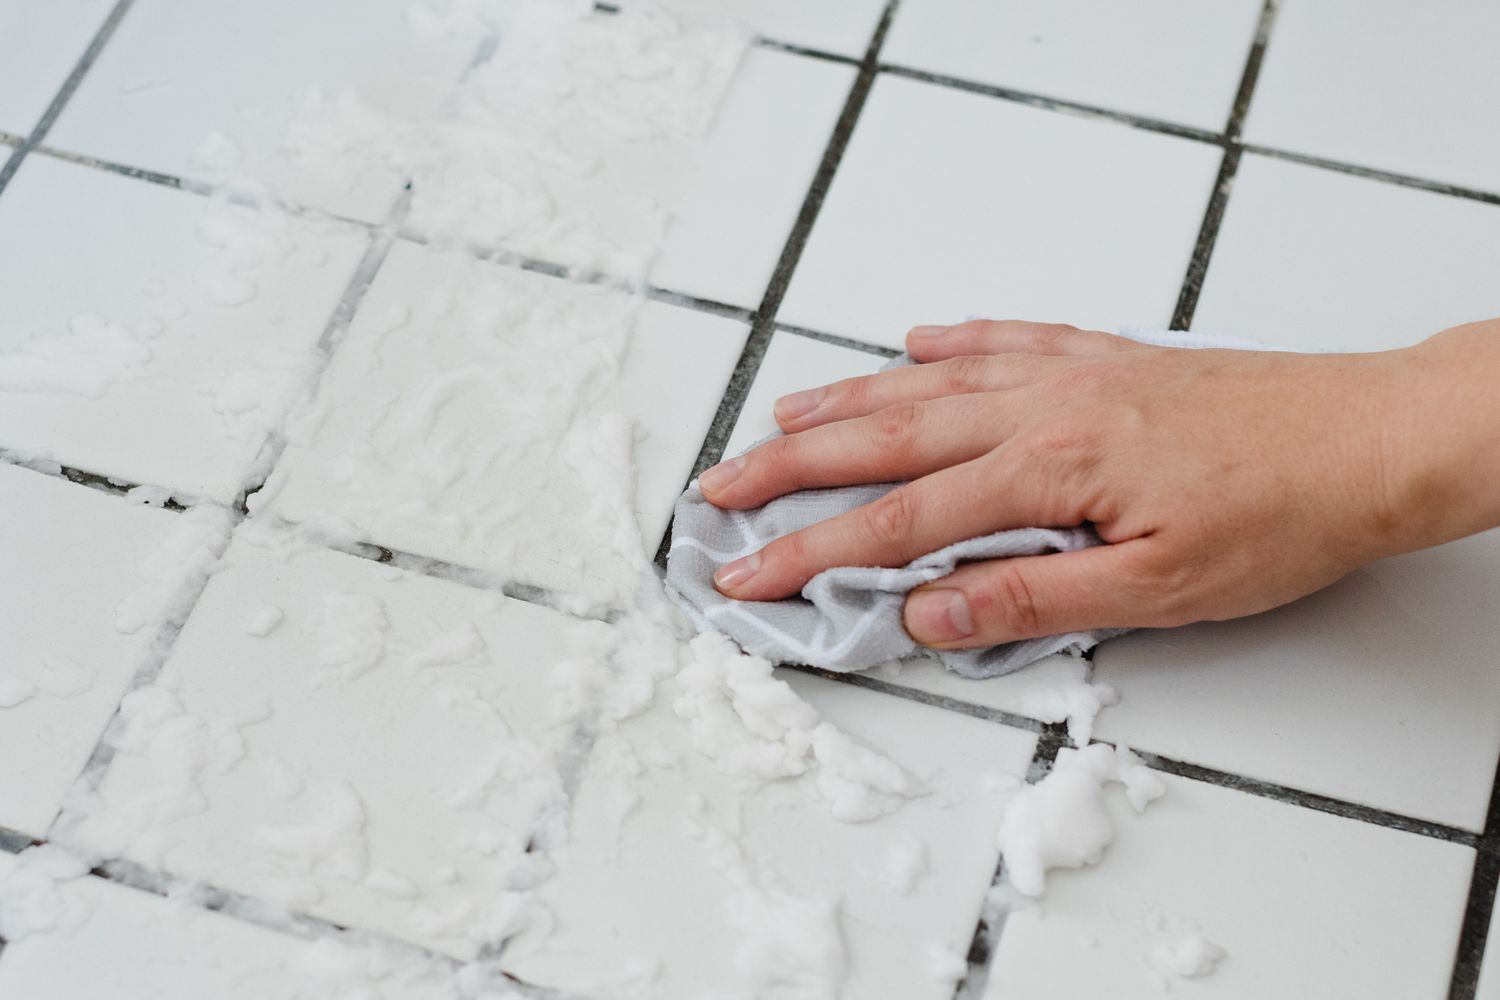
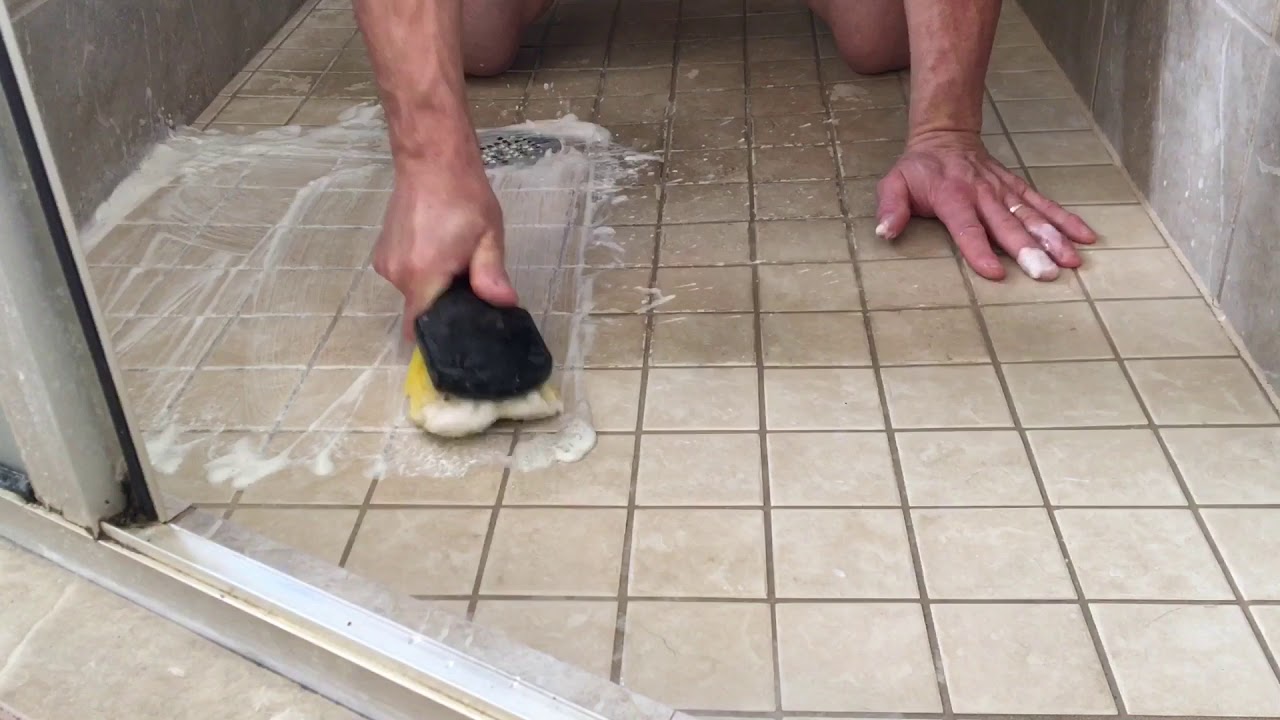
Step 3: Scrubbing the Tiles
With the cleaning solution having loosened the grip of soap scum on your shower tiles, it’s time to roll up your sleeves and engage in the transformative act of scrubbing. The following steps outline the process of scrubbing the tiles effectively to eradicate the lingering residue:
- Utilize a Microfiber Cloth or Sponge: Armed with a soft microfiber cloth or sponge, begin the scrubbing process by gently working the cleaning solution into the tiles. Employ circular or back-and-forth motions to dislodge the softened soap scum and mineral deposits from the tile surfaces.
- Target Problematic Areas: Concentrate on areas where soap scum buildup is most prevalent, such as the lower sections of the tiles and areas surrounding fixtures. Apply focused pressure to effectively lift away the residue, revealing the pristine tile surfaces beneath.
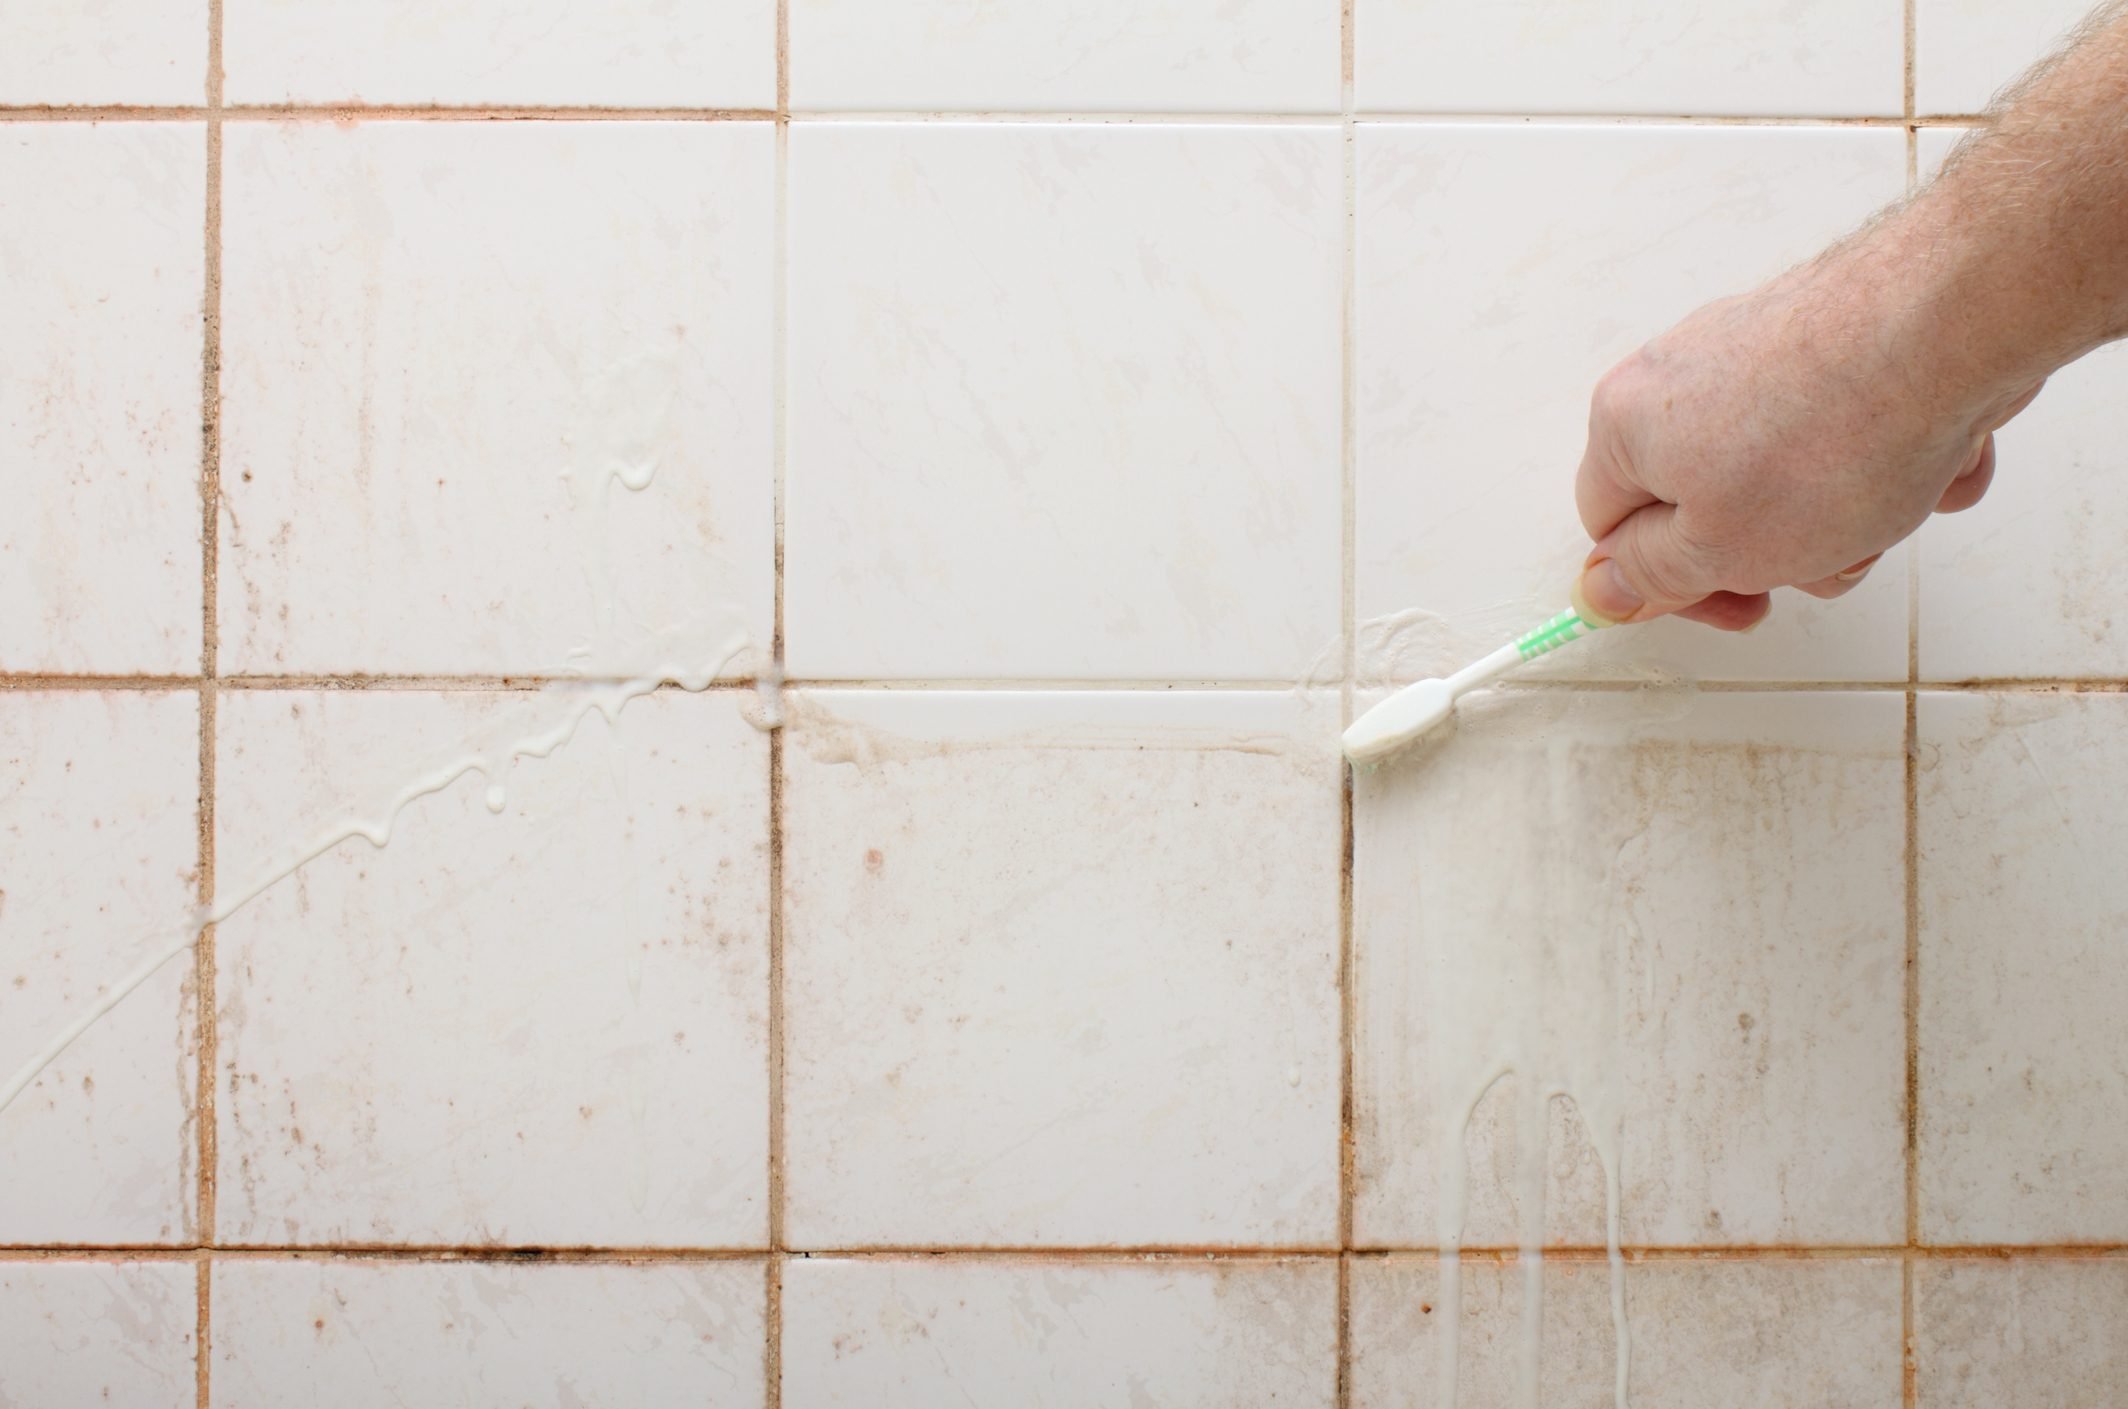
- Grout Line Attention: If your shower tiles feature grout lines, use an old toothbrush to delicately scrub along the grout, targeting any embedded soap scum. The soft bristles of the toothbrush will aid in dislodging residue without causing damage to the grout.
- Rinse and Assess: Periodically rinse the cloth or sponge in warm water to remove dislodged soap scum and residue, ensuring that the cleaning process remains effective. As you scrub, periodically assess the tiles to gauge the progress and identify any areas requiring additional attention.
By methodically scrubbing the tiles with a focus on problem areas and grout lines, you’re actively reclaiming the pristine condition of your shower tiles. The combined efforts of the cleaning solution and your dedicated scrubbing will result in the gradual disappearance of soap scum, unveiling the lustrous tiles beneath.
With the tiles scrubbed and the residue vanquished, it’s time to proceed to the final phase of the cleaning process: rinsing and drying the tiles to complete the transformation.
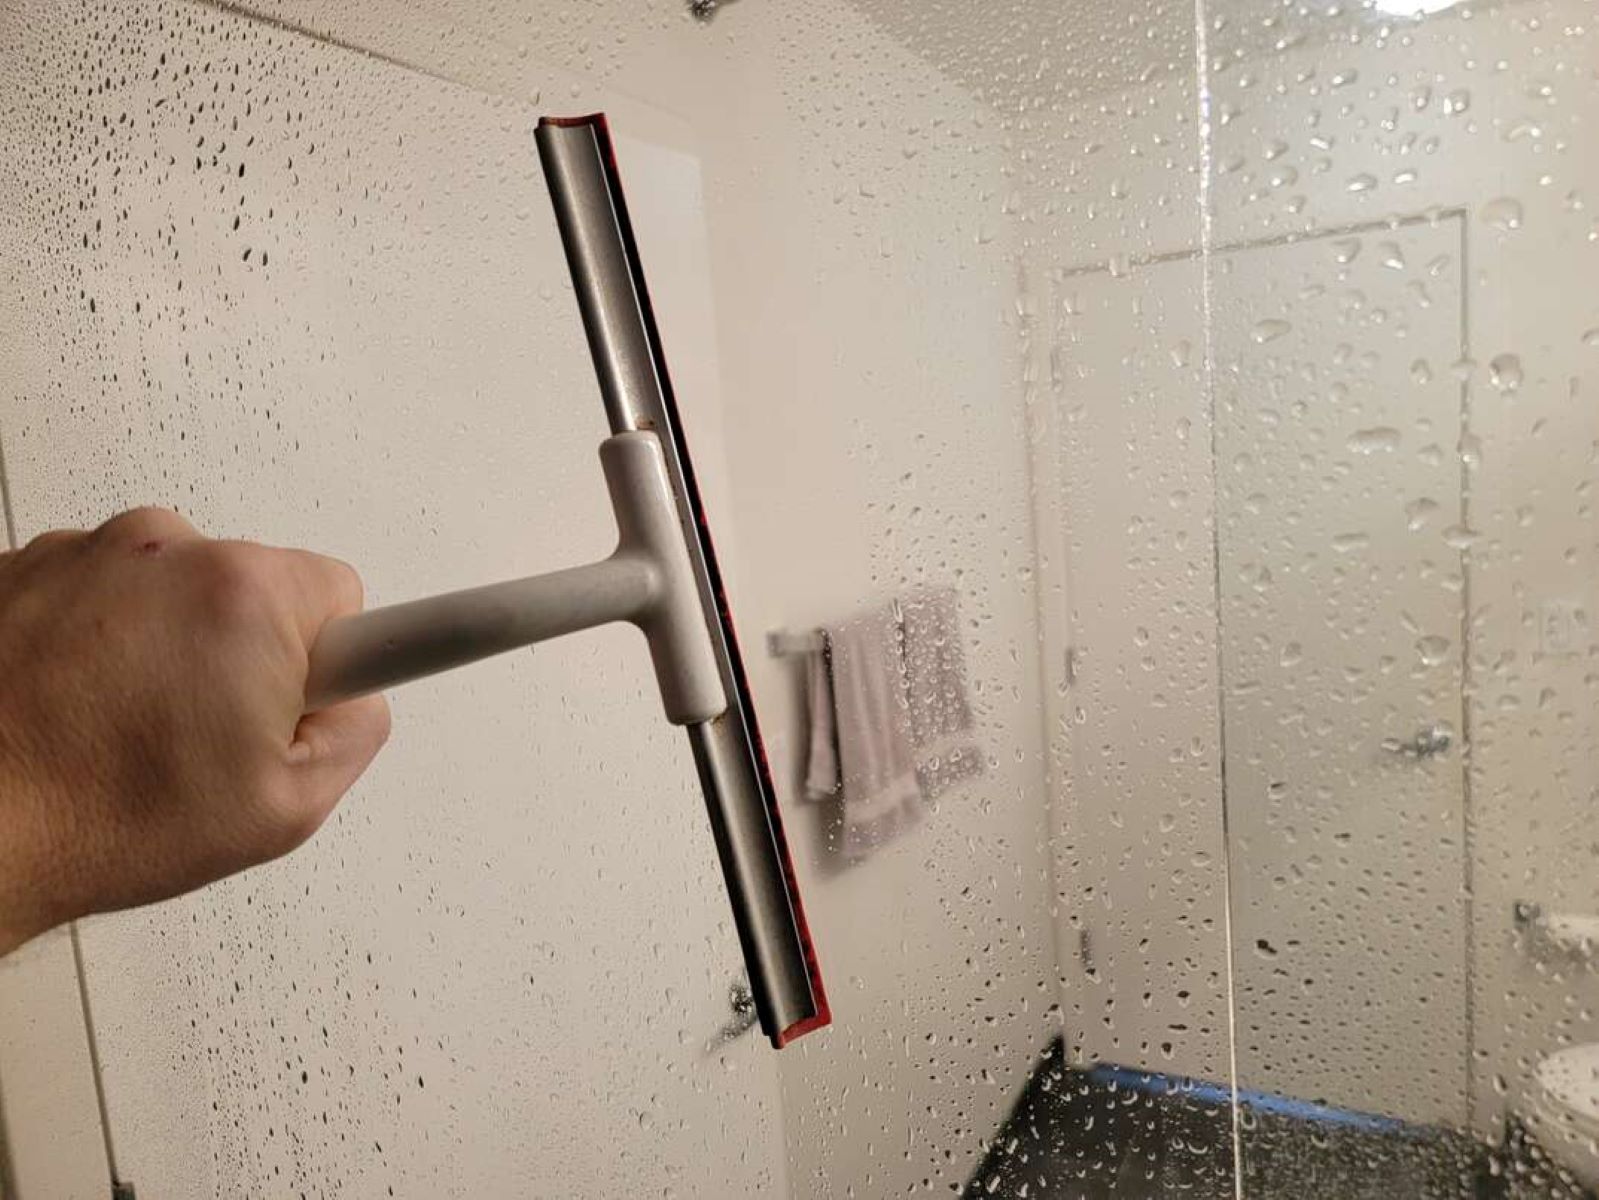
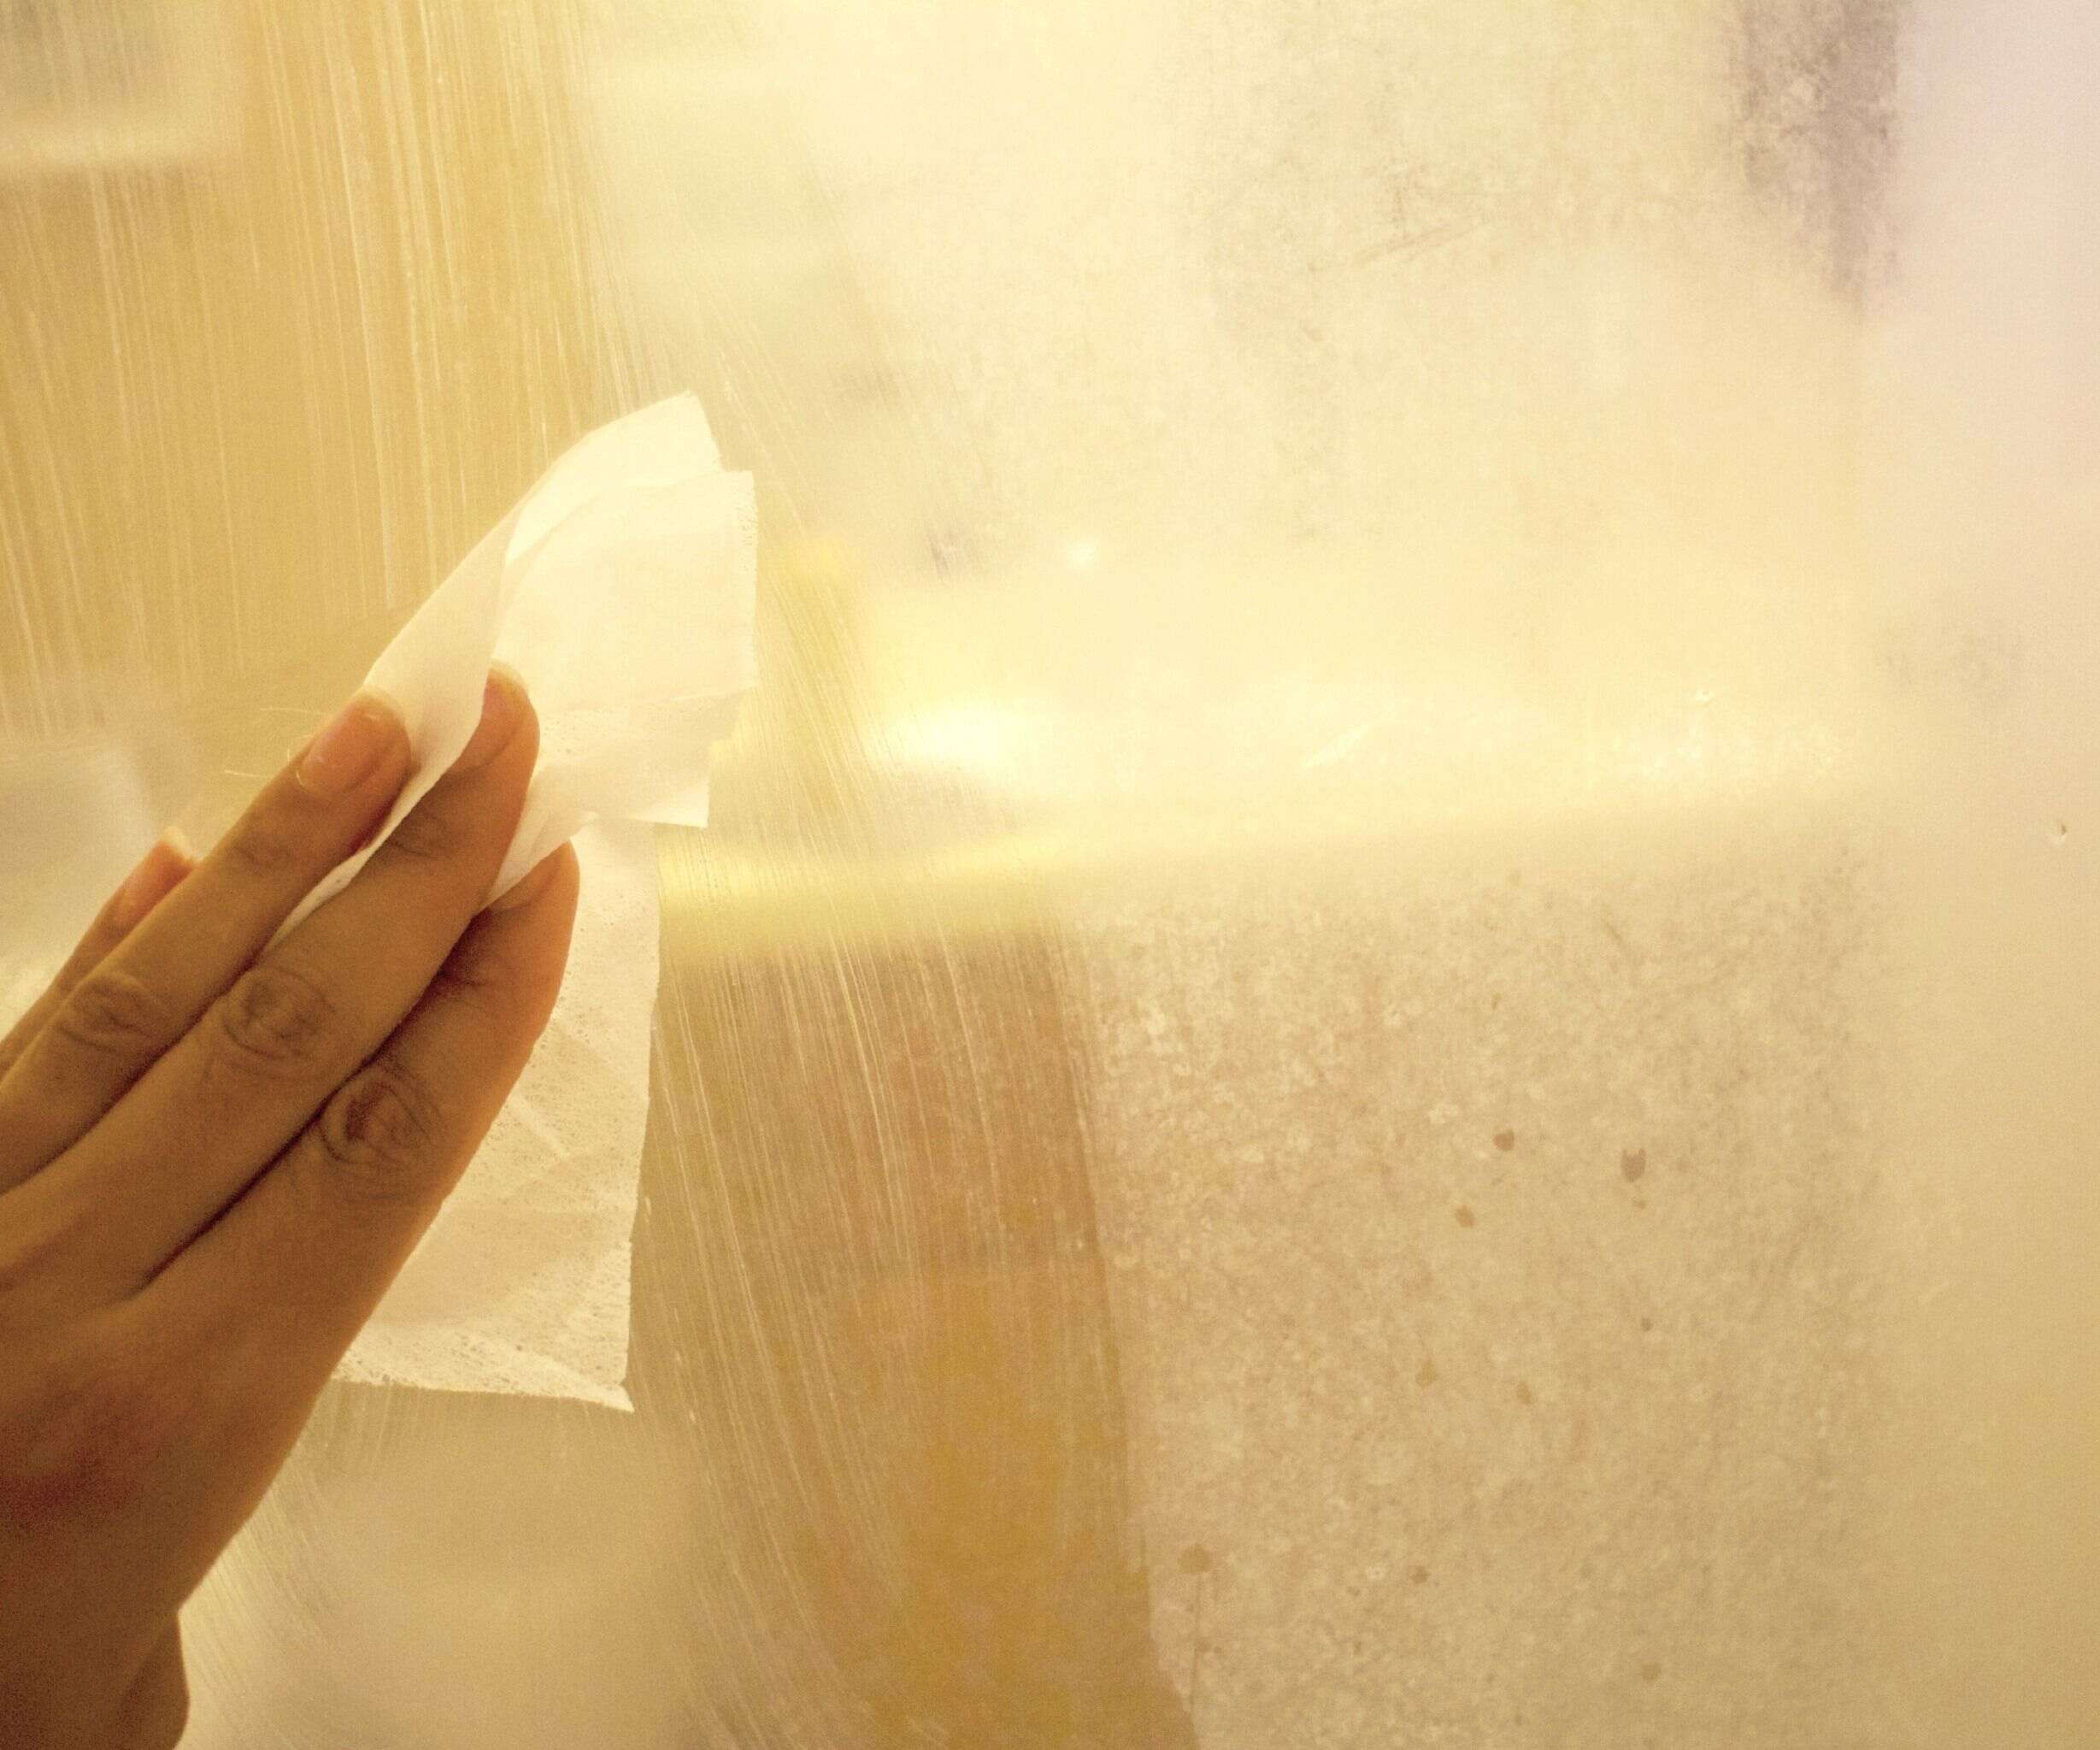
Step 4: Rinsing and Drying
As the triumphant scrubbing phase draws to a close, it’s crucial to ensure that your shower tiles receive the proper care and attention during the final steps of the cleaning process. The following steps outline the process of rinsing and drying the tiles to complete the transformation and reveal their radiant splendor:
- Rinse Thoroughly: Using a handheld showerhead or a clean, damp cloth, thoroughly rinse the tiles with warm water to remove any residual cleaning solution and dislodged soap scum. Ensure that all traces of the cleaning solution are effectively rinsed away, leaving behind immaculate tiles.
- Inspect for Residue: After rinsing, inspect the tiles closely to verify that all soap scum and cleaning solution residue have been completely removed. Address any lingering traces of residue by gently scrubbing the affected areas with a clean, damp cloth until the tiles are free from any remaining film.
- Dry the Tiles: Once the tiles are pristine and free from residue, use a dry microfiber cloth to gently dry the surfaces. This step is essential for preventing water spots and maintaining the gleaming appearance of the tiles. Thoroughly dry the tiles, paying attention to grout lines and crevices.
- Admire the Transformation: Step back and admire the transformative results of your efforts. Revel in the radiant luster of your shower tiles, now liberated from the clutches of soap scum and restored to their original glory.
By diligently rinsing and drying the tiles, you’re ensuring that the cleaning process culminates in a flawless finish, free from any lingering residue or water spots. The tiles are now primed to showcase their renewed brilliance, ready to elevate the ambiance of your shower space.
With the completion of the rinsing and drying phase, you’ve successfully conquered the battle against soap scum, emerging victorious with gleaming shower tiles that exude cleanliness and allure. It’s time to revel in the satisfaction of a job well done and bask in the revitalized beauty of your shower tiles.
Conclusion
Congratulations on embarking on the journey to restore the lustrous beauty of your shower tiles by conquering the persistent foe of soap scum. Through the understanding of soap scum’s composition and the meticulous application of the cleaning process, you’ve successfully revitalized your shower space, unveiling tiles that radiate cleanliness and allure.
By comprehending the nature of soap scum and the materials needed for effective cleaning, you’ve armed yourself with the knowledge and tools to combat this stubborn residue. The preparation of a potent cleaning solution, coupled with the strategic application and diligent scrubbing, has resulted in the triumphant eradication of soap scum from your shower tiles.
As you meticulously rinsed and dried the tiles, ensuring a flawless finish, you’ve not only banished soap scum but also elevated the ambiance of your shower space. The renewed brilliance of your tiles stands as a testament to your dedication and perseverance in the pursuit of a sparkling, inviting shower environment.
Remember, regular maintenance and proactive cleaning practices can help prevent the reemergence of soap scum, preserving the pristine condition of your shower tiles. By incorporating these measures into your cleaning routine, you can prolong the radiance of your tiles and enjoy a consistently inviting shower space.
As you revel in the revitalized beauty of your shower tiles, take pride in your accomplishment and the transformative impact of your efforts. Your commitment to cleanliness and the meticulous execution of the cleaning process have yielded a space that exudes freshness and charm, creating an inviting sanctuary for relaxation and rejuvenation.
With your newfound knowledge and expertise in combating soap scum, you’re well-equipped to maintain the allure of your shower tiles and inspire others to embark on their own transformative cleaning endeavors. Embrace the radiance of your revitalized shower space and celebrate the triumph over soap scum, knowing that your dedication has yielded a space that beckons with pristine allure and revitalized splendor.
Now that your shower tiles are sparkling clean, why not extend that freshness throughout your home? For those who dread refrigerator messes, our cleaning tips will show you efficient ways to tackle every nook and cranny, ensuring your fridge looks and smells great. If your bathroom needs a little extra attention, don’t miss our comprehensive bathroom cleaning guide for a spotless space. And for eco-friendly enthusiasts, our list of natural cleaners provides top selections that are tough on dirt but gentle on the planet. Refresh your cleaning routine with these helpful insights!
Frequently Asked Questions about How To Clean Soap Scum Off A Shower Tile
Was this page helpful?
At Storables.com, we guarantee accurate and reliable information. Our content, validated by Expert Board Contributors, is crafted following stringent Editorial Policies. We're committed to providing you with well-researched, expert-backed insights for all your informational needs.


0 thoughts on “How To Clean Soap Scum Off A Shower Tile”