
Articles
How To Tile A Shower Ceiling
Modified: August 26, 2024
Learn the step-by-step process of tiling a shower ceiling with our informative articles. Discover expert tips and techniques to achieve a flawless tiled ceiling.
(Many of the links in this article redirect to a specific reviewed product. Your purchase of these products through affiliate links helps to generate commission for Storables.com, at no extra cost. Learn more)
Introduction
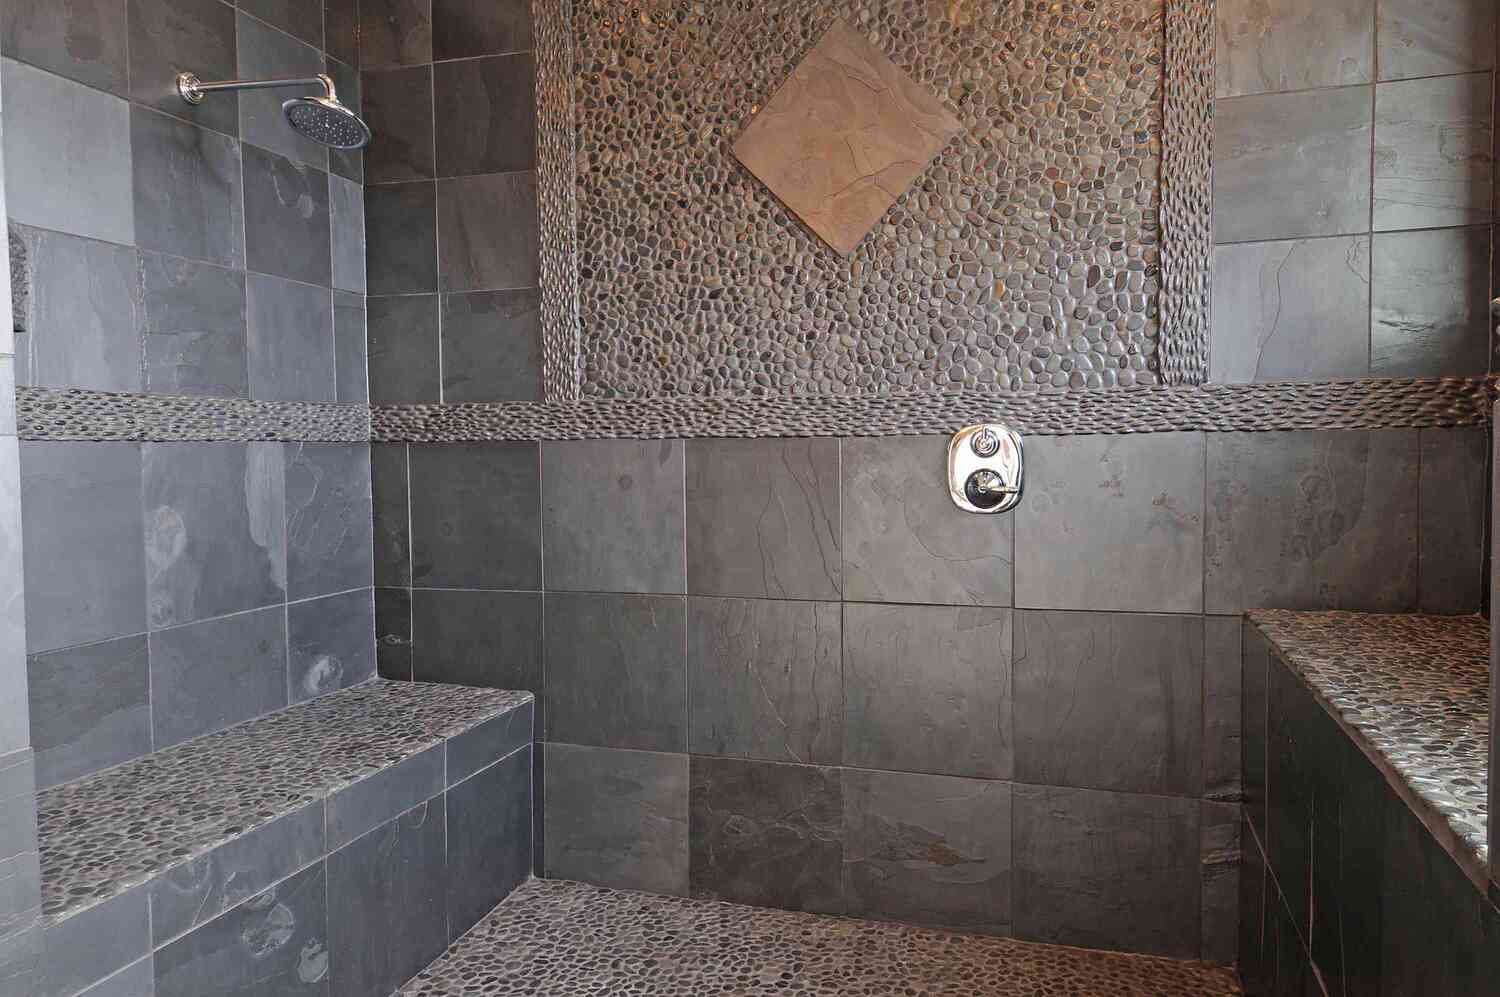
Tiling a shower ceiling is an important step in creating a functional and visually appealing bathroom. While it may seem like a daunting task, with the right materials, tools, and techniques, you can successfully tile your shower ceiling and transform it into a stunning focal point. Whether you’re remodeling your bathroom or just want to refresh its look, tiling the shower ceiling can add a touch of elegance and sophistication.
In this article, we will guide you through the step-by-step process of tiling a shower ceiling. We will cover everything from the necessary safety precautions to the materials you’ll need and the techniques for proper installation. With our comprehensive instructions, you’ll be able to complete this project with confidence and achieve professional-looking results.
Before we dive into the details, it’s important to note that tiling a shower ceiling requires some level of experience and expertise. If you’re new to tiling or feel unsure about your abilities, it might be a good idea to consult a professional for assistance. On the other hand, if you’re comfortable with DIY projects and have some basic knowledge of tiling, then let’s get started!
Key Takeaways:
- Safety First
Prioritize safety by wearing protective gear, working in well-ventilated areas, and following manufacturer’s instructions. Proper preparation and adherence to safety measures are crucial for a successful shower ceiling tiling project. - Attention to Detail
From measuring and marking to applying adhesive, installing tiles, grouting, and cleaning, attention to detail is key. Take your time, follow the steps meticulously, and consider applying a sealant for added protection and longevity.
Safety Precautions
Before embarking on any home improvement project, it’s essential to prioritize safety. Tiling a shower ceiling involves working at heights and handling sharp tools, so it’s important to take proper precautions to prevent accidents and injuries. Here are some safety measures you should follow:
- Wear Protective Gear: Always wear safety goggles, gloves, and a dust mask to protect your eyes, hands, and respiratory system from debris, dust, and chemicals.
- Use a Sturdy Ladder: If you need to access the ceiling, make sure to use a stable and secure ladder. Ensure it is on a level surface and fully extended before climbing.
- Work in Well-Ventilated Areas: Proper ventilation is important when working with adhesive and grout. Ensure there is good airflow to prevent inhaling fumes.
- Follow Manufacturer’s Instructions: Read and understand the instructions on all the products you’re using, including adhesive, grout, and sealant. Adhere to safety guidelines and use proper ventilation when required.
- Use Tools Safely: Handle tiling tools, such as tile cutters and trowels, with care. Keep them sharp and clean to avoid accidents and ensure optimal performance.
- Take Breaks: Tiling can be physically demanding, so remember to take regular breaks to avoid fatigue and prevent strains or injuries.
- Keep the Area Clean: Minimize the risk of slips and falls by keeping the work area clean and free from debris or excess adhesive.
- Turn off the Power: If you need to work near electrical outlets or switches, turn off the power to those areas to avoid the risk of electric shocks.
By following these safety precautions, you’ll be able to minimize risks and create a safe working environment for yourself during the tiling process.
Materials Needed
Before starting the tiling project, it’s essential to gather all the necessary materials to ensure a smooth and efficient workflow. Here’s a list of the materials you’ll need for tiling a shower ceiling:
- Tiles: Choose tiles specifically designed for wet areas like bathrooms. Opt for a material that is durable and waterproof, such as ceramic, porcelain, or stone.
- Adhesive: Select a high-quality tile adhesive suitable for use on vertical surfaces. Check the manufacturer’s instructions for the correct adhesive type and coverage area.
- Grout: Pick grout that matches the color of your tiles. Opt for a waterproof or epoxy grout to prevent moisture penetration and mold growth.
- Tile Spacers: These plastic or rubber spacers maintain consistent grout lines between tiles.
- Trowel: A notched trowel helps ensure even distribution of adhesive on the ceiling surface.
- Grout Float: This tool is used to apply and spread the grout across the tiled surface.
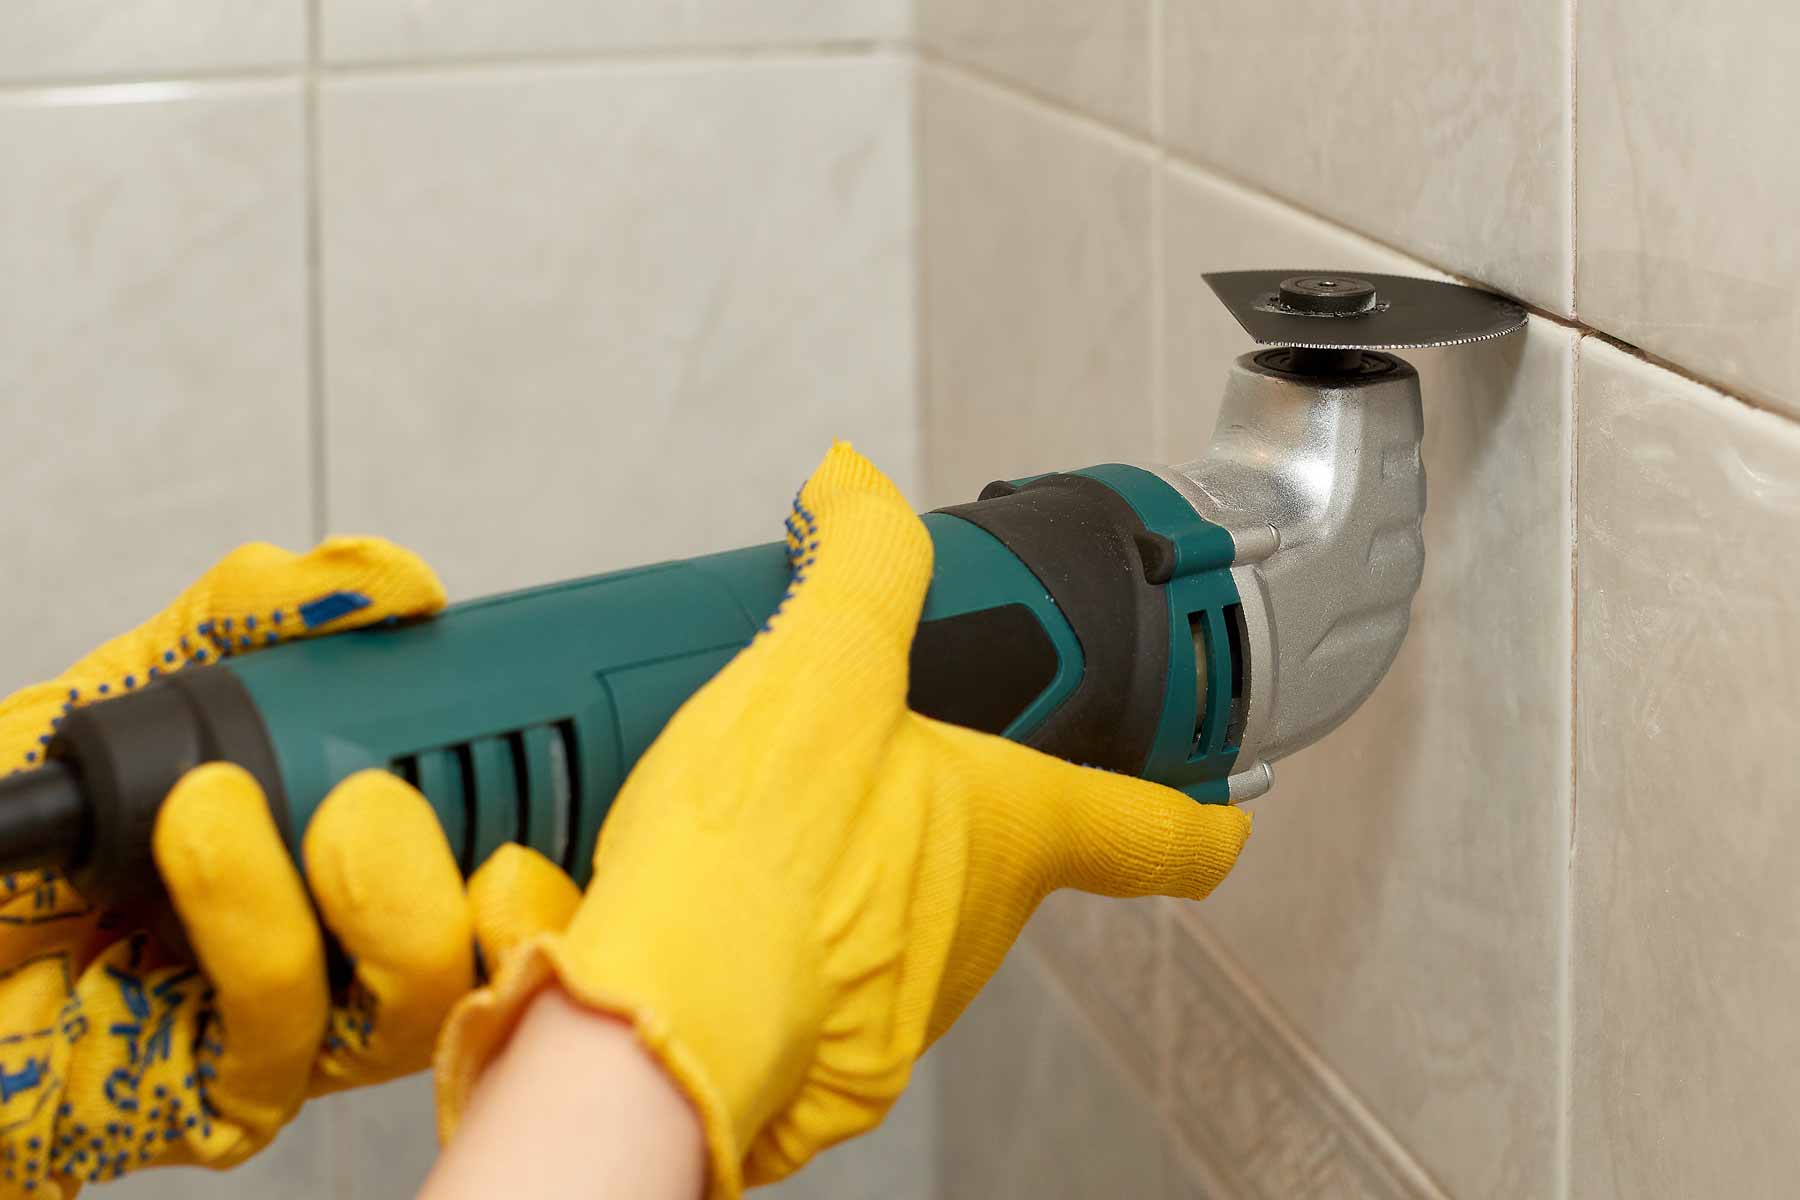
- Tile Cutter/Tile Saw: Depending on the complexity of your shower ceiling, you may need a tile cutter or tile saw to cut tiles to fit around corners and edges.
- Level: A spirit level helps ensure the tiles are installed straight and level.
- Sponge: Use a sponge for cleaning excess grout from tiles.
- Buckets: You’ll need buckets for mixing adhesive and grout.
- Tape Measure: Measure and mark the ceiling to ensure accurate tile placement.
- Pencil or Marker: Use these to mark positioning and cutting lines on the tiles.
- Safety Gear: Don’t forget to wear safety goggles, gloves, and a dust mask to protect yourself during the tiling process.
These are the essential materials you’ll need to successfully tile a shower ceiling. Ensure you have everything on hand before starting the project to prevent unnecessary delays.
Step 1: Prepare the Ceiling
Proper preparation is crucial for achieving a successful tiling project. Before you can start tiling the shower ceiling, you need to ensure the surface is clean, smooth, and ready to receive the tiles. Here’s how to prepare the ceiling:
- Clear the area: Remove any objects or fixtures that may obstruct your work area, such as shower rods, light fixtures, or ventilation covers. This will give you unobstructed access to the ceiling.
- Clean the ceiling: Use a mild detergent and warm water to clean the ceiling surface. Remove any dirt, dust, or grease. Ensure it is completely dry before moving on to the next step.
- Repair any damage: Inspect the ceiling for any cracks, dents, or holes. Fill them with a suitable patching compound and allow it to dry thoroughly. Sand down any rough patches or ridges until the surface is smooth.
- Prime the ceiling (optional): If the ceiling is made of a porous material or has stains or discoloration, it’s recommended to apply a primer. This will create a smooth, uniform surface and improve the adhesion of the tiles.
- Protect surrounding areas: Cover the walls and the shower area with plastic sheets or drop cloths to prevent damage from adhesive or grout splatters.
- Ensure proper ventilation: Open windows or use fans to ensure good airflow and assist with the drying process of the adhesive and grout.
By properly preparing the ceiling, you will create an ideal surface for the tile installation and ensure a long-lasting and visually appealing result.
Step 2: Measure and Mark
Accurate measurements and precise markings are essential for a seamless and professional-looking tile installation. Before applying adhesive and placing the tiles on the shower ceiling, follow these steps to measure and mark the area:
- Measure the ceiling: Use a tape measure to measure the length and width of the ceiling. Multiply these measurements to find the square footage, which will help you determine the number of tiles needed.
- Plan the layout: Consider the size and shape of your tiles and decide on the desired layout. It’s common to align the ceiling tiles with the ones on the walls for a cohesive and visually appealing look.
- Find the center: Locate the center point of the ceiling by dividing the length and width measurements in half. This will be your starting point for tile installation.
- Make reference lines: Use a pencil or marker to create horizontal and vertical lines that intersect at the center point. These lines will act as a reference and guide for proper tile placement.
- Measure for tile cuts: If your shower ceiling requires cutting tiles to fit along the edges or around fixtures, measure and mark these areas accordingly. Use a tile cutter or tile saw to make precise cuts.
- Check the layout: Before applying adhesive, dry-fit the tiles along the reference lines to ensure they fit properly and make any necessary adjustments.
Taking the time to measure and mark accurately is crucial for achieving a symmetrical and visually pleasing tile installation. It will also help you avoid potential issues and reduce tile wastage during the installation process.
Read more: How To Replace A Shower Tile
Step 3: Apply Adhesive
Once you have prepared the shower ceiling and measured and marked the area, it’s time to apply adhesive. The adhesive will ensure the tiles bond securely to the ceiling and create a durable installation. Follow these steps to apply adhesive:
- Mix the adhesive: Read the manufacturer’s instructions on the adhesive packaging to determine the appropriate mixing ratio. Using a clean bucket and a mixing paddle, combine the adhesive powder and water until you achieve a smooth, lump-free consistency.
- Start in small sections: It’s best to work in small manageable areas to ensure the adhesive doesn’t dry out before you can place the tiles. Apply a liberal amount of adhesive to the back of each tile using a notched trowel.
- Spread the adhesive: Hold the trowel at a 45-degree angle and spread the adhesive evenly across the ceiling surface, following the reference lines you marked earlier. Make sure the adhesive covers the area where you will be placing the tiles.
- Create ridges: After spreading the adhesive, hold the notched edge of the trowel at a 45-degree angle and comb through the adhesive to create ridges. This helps create better adhesion between the tiles and the ceiling.
- Place the tiles: Begin placing the tiles on the ceiling, pressing them firmly into the adhesive. Use the reference lines to ensure they are aligned correctly. Insert tile spacers between the tiles to maintain uniform grout lines.
- Check for levelness: Use a spirit level to make sure the tiles are level and aligned. Make any adjustments as needed by gently tapping the tiles with a rubber mallet.
- Clean excess adhesive: As you work, regularly check for any adhesive that may have dripped or squeezed out from between the tiles. Clean it off promptly with a damp sponge or cloth.
- Allow the adhesive to dry: Follow the manufacturer’s instructions for the recommended drying time. Avoid any disturbances or weight on the tiles during this period to ensure a strong bond.
Applying adhesive correctly is crucial for a successful tile installation. Take your time and work in small sections to ensure the adhesive remains workable as you place the tiles. Be sure to clean off any excess adhesive to achieve a polished and professional result.
When tiling a shower ceiling, make sure to use a waterproof adhesive and grout to prevent water damage. Also, consider using smaller tiles to make the installation process easier and to ensure a better fit on the ceiling surface.
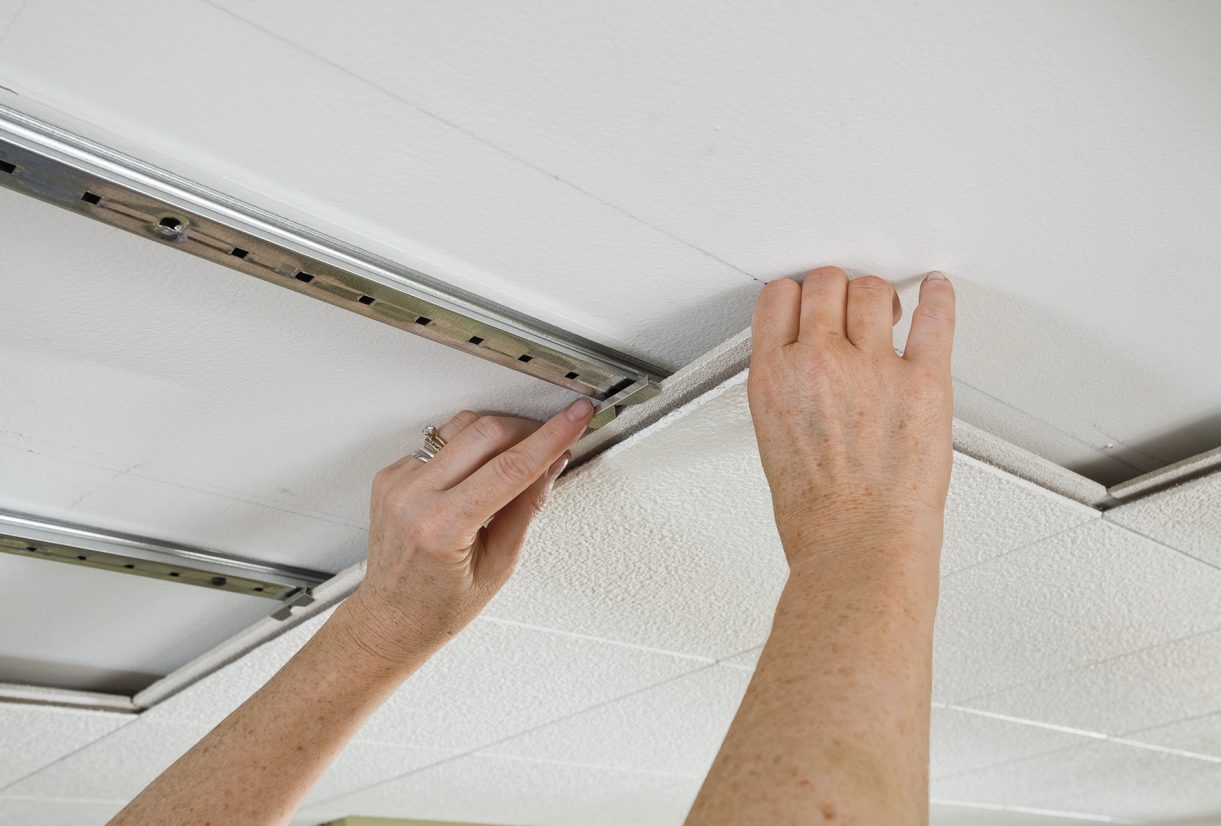
Step 4: Install the Tiles
With the adhesive dried and the surface prepared, it’s time to install the tiles on the shower ceiling. Proper installation ensures a secure and visually pleasing finish. Follow these steps to install the tiles:
- Apply adhesive to the back of the tile: Using a notched trowel, apply a layer of adhesive to the back of each tile. Ensure full coverage to maximize adhesion.
- Place the tiles: Starting from the center of the ceiling, press each tile firmly into the adhesive. Use the reference lines you marked earlier to ensure the tiles are aligned correctly.
- Use spacers: Insert tile spacers between the tiles to maintain consistent grout lines. Adjust the spacers as needed to ensure equal spacing between all tiles.
- Check for levelness: Use a spirit level to confirm that the tiles are level and aligned with the reference lines. Make any necessary adjustments by lightly tapping the tiles with a rubber mallet.
- Continue the installation: Work in small sections, applying adhesive and placing the tiles until the entire ceiling is covered. Cut tiles as needed to fit around edges or fixtures using a tile cutter or tile saw.
- Check for alignment: Periodically check that the rows of tiles are aligned horizontally and vertically. Use a level and adjust the tiles if necessary to maintain a straight and uniform appearance.
- Allow the adhesive to cure: Follow the manufacturer’s instructions for the recommended curing time. Avoid placing any weight or pressure on the tiles during this period.
Remember to work carefully and take your time during the tile installation process. Proper alignment and placement are key to achieving a professional and visually pleasing result. Keep a sponge or damp cloth handy to clean any excess adhesive from the surface of the tiles as you work.
Step 5: Grout the Tiles
Once the tiles are installed and the adhesive has fully cured, it’s time to grout the shower ceiling. Grout not only fills the gaps between the tiles but also adds strength and stability to the installation. Follow these steps to grout the tiles:
- Mix the grout: Read the manufacturer’s instructions to determine the proper mixing ratio for the grout. Mix the grout thoroughly in a clean bucket until it reaches a smooth, creamy consistency.
- Prepare the grout lines: Use a grout float or a rubber-tipped grout applicator to push the grout into the gaps between the tiles. Hold the float at a 45-degree angle and swipe it diagonally across the tile surface to remove excess grout.
- Work in small sections: Grout a small section of the ceiling at a time to prevent the grout from drying out before you can clean it. Apply the grout diagonally across the tiles, working it into the gaps until they are completely filled.
- Clean off excess grout: Use a damp sponge or cloth to gently wipe away any excess grout from the tile surface. Rinse the sponge frequently to ensure a clean finish. Avoid pressing too hard on the tiles to prevent dislodging the grout.
- Cure the grout: Allow the grout to cure for the amount of time specified by the manufacturer. This will ensure that it sets properly and becomes firm.
- Buff the tiles: Use a clean, dry cloth to buff the tiles and remove any remaining grout haze. This will leave the tiles looking clean and shiny.
Grouting can be a messy process, so it’s important to work carefully and clean off excess grout promptly. Take your time and ensure the grout lines are filled evenly for a professional finish. For a seamless appearance, select a grout color that complements the tiles and blends well with the overall design of the shower.
Step 6: Clean the Tiles
After grouting the shower ceiling, it’s crucial to clean the tiles thoroughly to remove any grout residue and achieve a polished, finished look. Follow these steps to clean the tiles:
- Wait for the grout to dry: Give the grout ample time to dry and cure completely before attempting to clean the tiles. Refer to the manufacturer’s instructions for the recommended drying time.
- Prepare a cleaning solution: Fill a bucket with warm water and add a small amount of mild detergent. Stir the solution gently to create a soapy mixture.
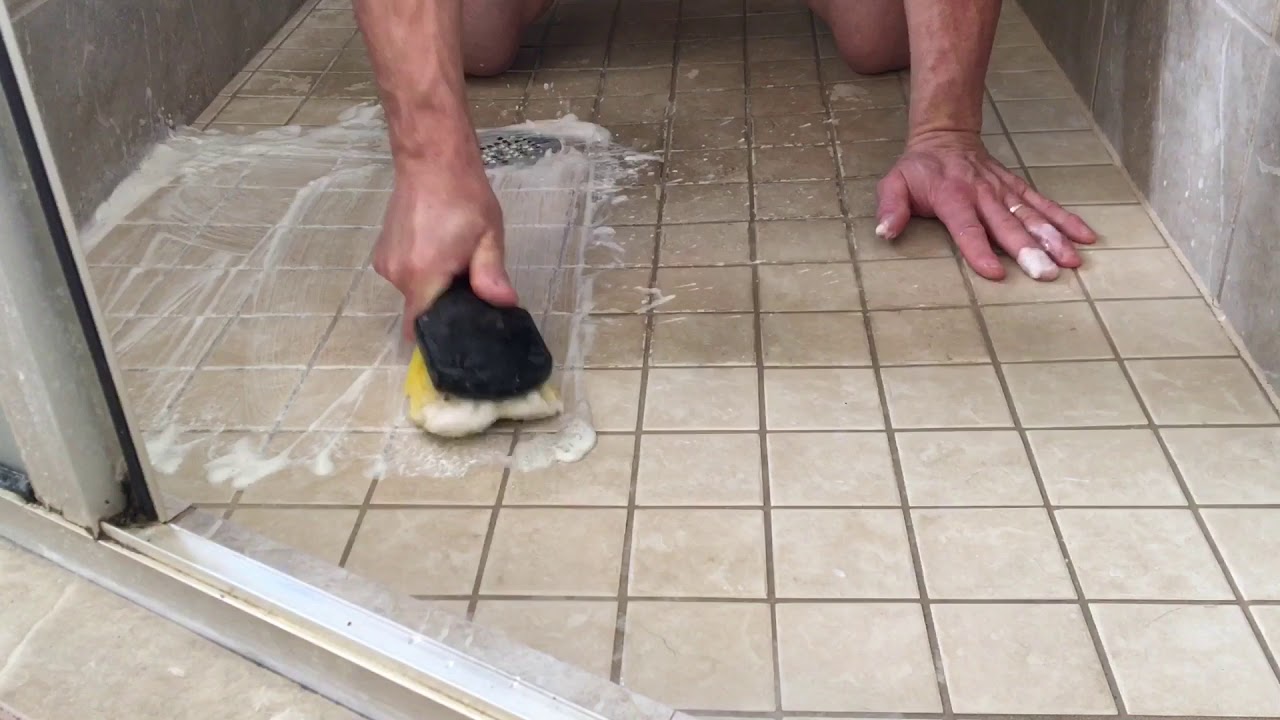
- Dampen a sponge or cloth: Dip a clean sponge or cloth into the soapy water, ensuring it is only slightly damp, not soaking wet.
- Wipe the tiles: Gently wipe the tiles with the damp sponge or cloth, focusing on any areas with grout residue. Avoid scrubbing too vigorously, as this can potentially damage the grout or tiles.
- Rinse the sponge or cloth: Rinse the sponge or cloth frequently to remove excess grout residue and dirt. This will prevent streaks or smears from appearing on the tiles during the cleaning process.
- Inspect for remaining residue: After wiping the tiles, inspect them from different angles and lighting to ensure there is no leftover grout or residue. If needed, repeat the cleaning process in stubborn areas.
- Dry the tiles: Once the tiles are clean, use a dry microfiber cloth or towel to remove any remaining moisture. This will prevent water spots and promote a streak-free finish.
It’s important to clean the tiles promptly after grouting to prevent the grout residue from hardening and becoming more difficult to remove. By properly cleaning the tiles, you’ll achieve a beautiful, pristine appearance and protect the longevity of your shower ceiling.
Read more: How To Drill A Shower Tile
Step 7: Apply Sealant (Optional)
Applying a sealant to the shower ceiling tiles is an optional but highly recommended step. The sealant provides an additional layer of protection against moisture, stains, and mildew. Follow these steps to apply sealant to the tiles:
- Choose the right sealant: Select a sealant specifically designed for your tile material and shower environment. Read the manufacturer’s instructions to ensure compatibility and proper application.
- Ensure the tiles are clean and dry: Before applying the sealant, make sure the tiles are free from any dirt, grime, or moisture. Use a mild detergent and warm water to clean the tiles and allow them to dry completely.
- Protect surrounding areas: Cover the walls, fixtures, and other surfaces adjacent to the tiles with plastic sheets or painter’s tape to prevent accidental sealant contact.
- Apply the sealant: Using a small brush or applicator, apply the sealant evenly to the surface of the tiles. Be sure to cover all the grout lines as well. Work in small sections to ensure thorough coverage and avoid excess build-up.
- Follow drying time instructions: Allow the sealant to dry according to the manufacturer’s instructions. This may take several hours or even a day, depending on the specific product.
- Inspect for any missed spots: Once the initial layer of sealant is dry, inspect the tiles for any missed spots or areas that may require additional sealing. Apply a second coat, if necessary, to ensure comprehensive protection.
- Clean up excess sealant: If any excess sealant has dripped onto the tiles or surrounding areas, clean it up promptly using a suitable solvent recommended by the manufacturer.
Applying a sealant can help prolong the lifespan of your shower ceiling tiles and maintain their appearance over time. It provides an extra layer of protection against moisture damage and makes cleaning and maintenance easier. While it may be an optional step, it is certainly worth considering for the long-term durability and aesthetics of your shower.
Conclusion
Tiling a shower ceiling may seem like a challenging task, but with the right preparation, materials, and techniques, it can be accomplished successfully. By following the step-by-step guide outlined in this article, you can transform your shower ceiling into a stunning focal point that enhances the overall aesthetic of your bathroom.
Remember to prioritize safety throughout the process by wearing protective gear, working in well-ventilated areas, and using tools correctly. Taking the necessary safety precautions will help ensure a smooth and accident-free tiling experience.
Proper preparation is key to achieving professional-looking results. Clear the work area, clean the ceiling surface, repair any damage, and protect the surrounding areas before starting the tiling process. Taking the time to measure, mark, and plan the layout will help you achieve a symmetrical and visually pleasing tile installation.
Once the preparation is complete, follow the steps to apply the adhesive, install the tiles, grout the joints, and clean the tiles thoroughly. Pay attention to details and take your time to achieve the desired outcome. Adding a sealant is optional, but it provides an additional layer of protection and prolongs the lifespan of your shower ceiling tiles.
In conclusion, tiling a shower ceiling is a rewarding project that can elevate the look and functionality of your bathroom. With proper planning, safety precautions, and attention to detail, you can create a stunning and durable tiled ceiling that adds beauty and value to your space.
If you’re unsure of your abilities or would rather leave this task to professionals, don’t hesitate to seek assistance. Consulting a professional tile installer can ensure the job is done to perfection.
Now, armed with the knowledge and guidance provided in this article, it’s time for you to embark on your tiling journey and transform your shower ceiling into a masterpiece!
Frequently Asked Questions about How To Tile A Shower Ceiling
Was this page helpful?
At Storables.com, we guarantee accurate and reliable information. Our content, validated by Expert Board Contributors, is crafted following stringent Editorial Policies. We're committed to providing you with well-researched, expert-backed insights for all your informational needs.


0 thoughts on “How To Tile A Shower Ceiling”