Home>Furniture & Design>Interior Design Trends>How To Clean Glass Top Range
Interior Design Trends
How To Clean Glass Top Range
Modified: November 2, 2024
Learn the best interior design trends for cleaning glass top ranges. Discover effective tips and techniques for a sparkling clean kitchen.
(Many of the links in this article redirect to a specific reviewed product. Your purchase of these products through affiliate links helps to generate commission for Storables.com, at no extra cost. Learn more)
Introduction
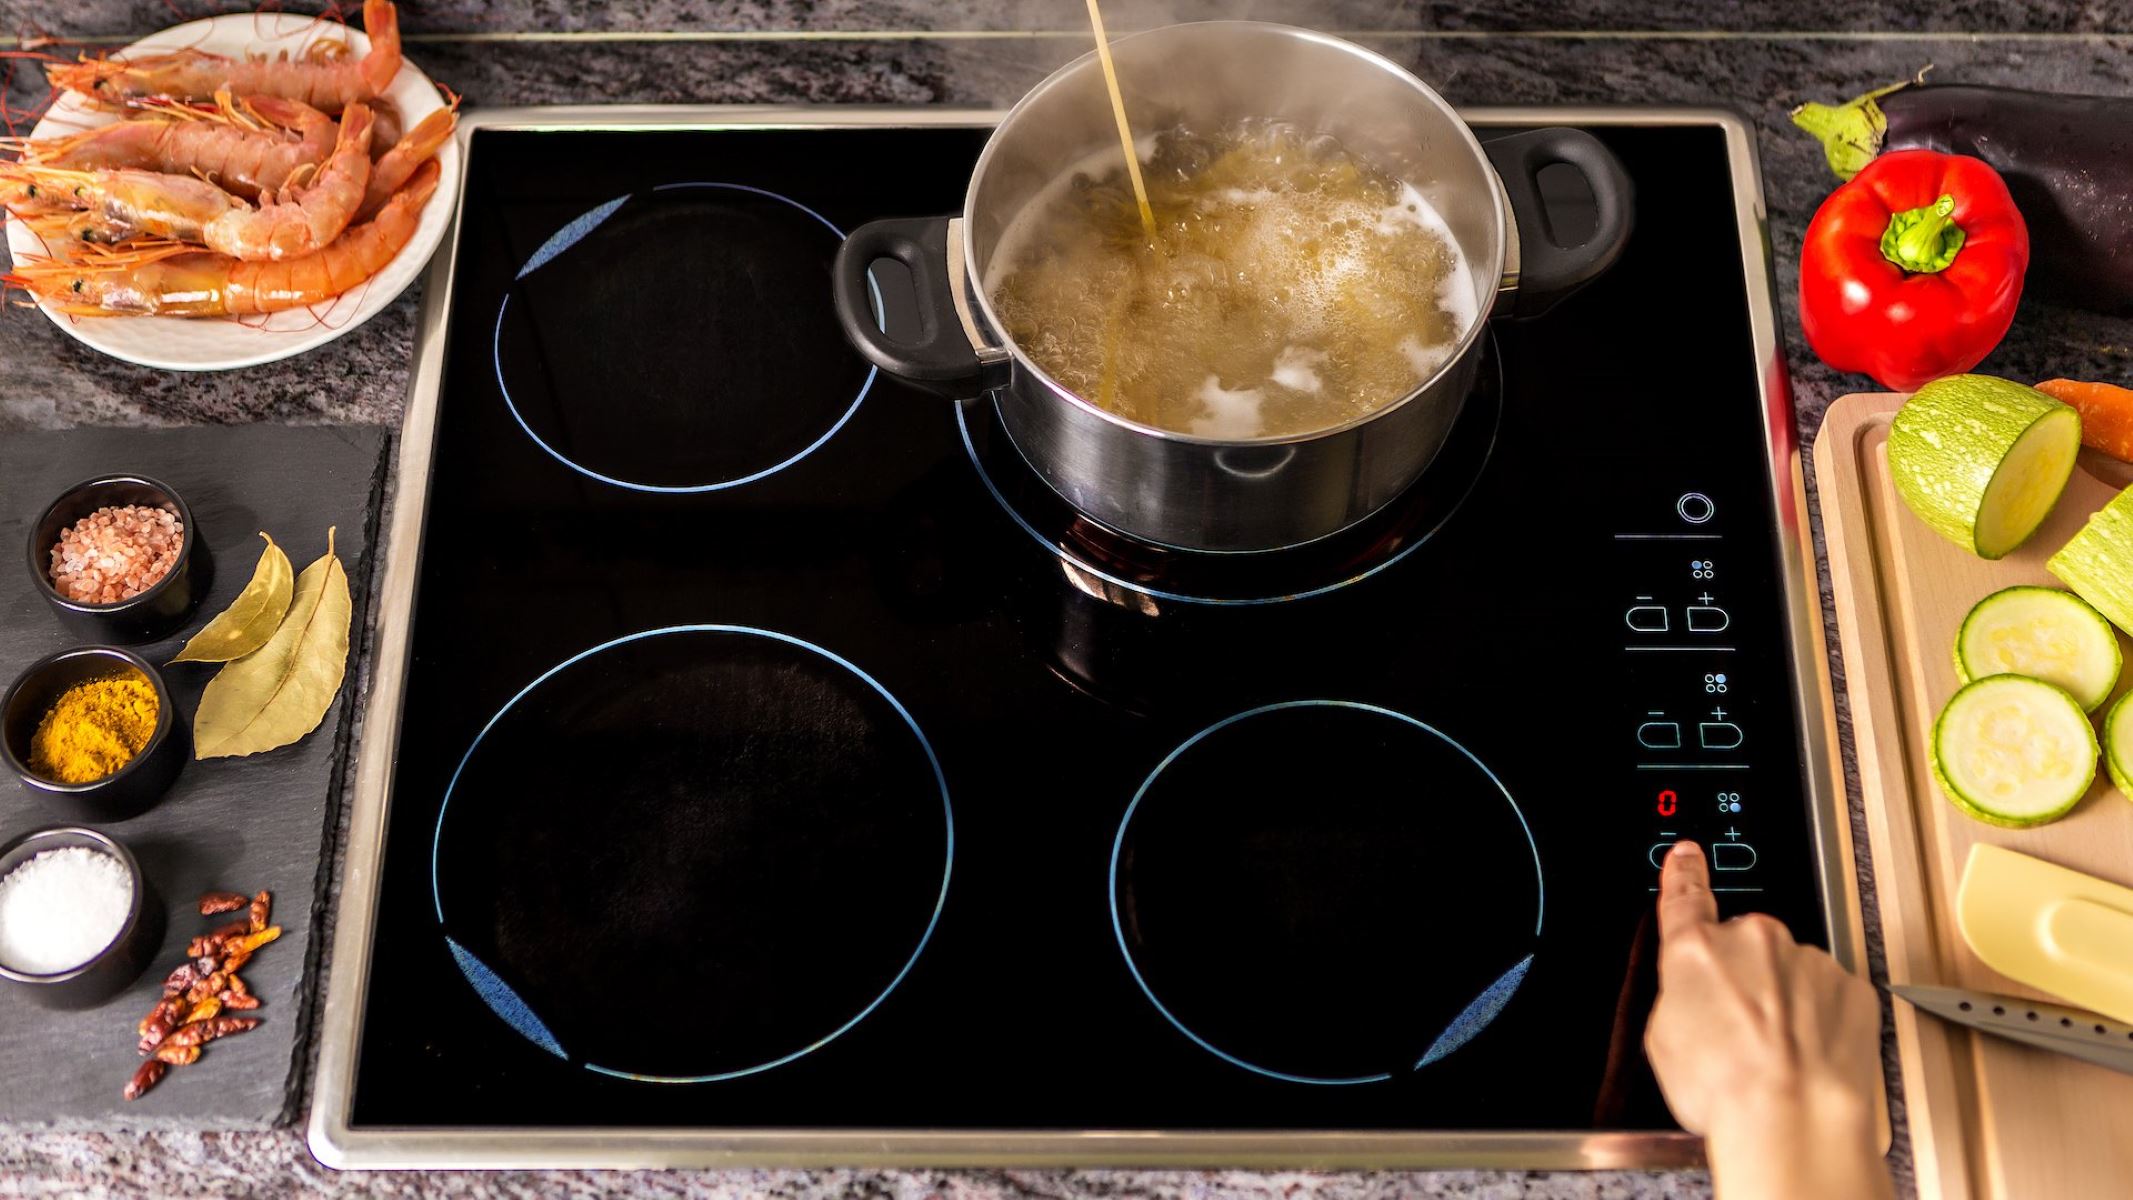
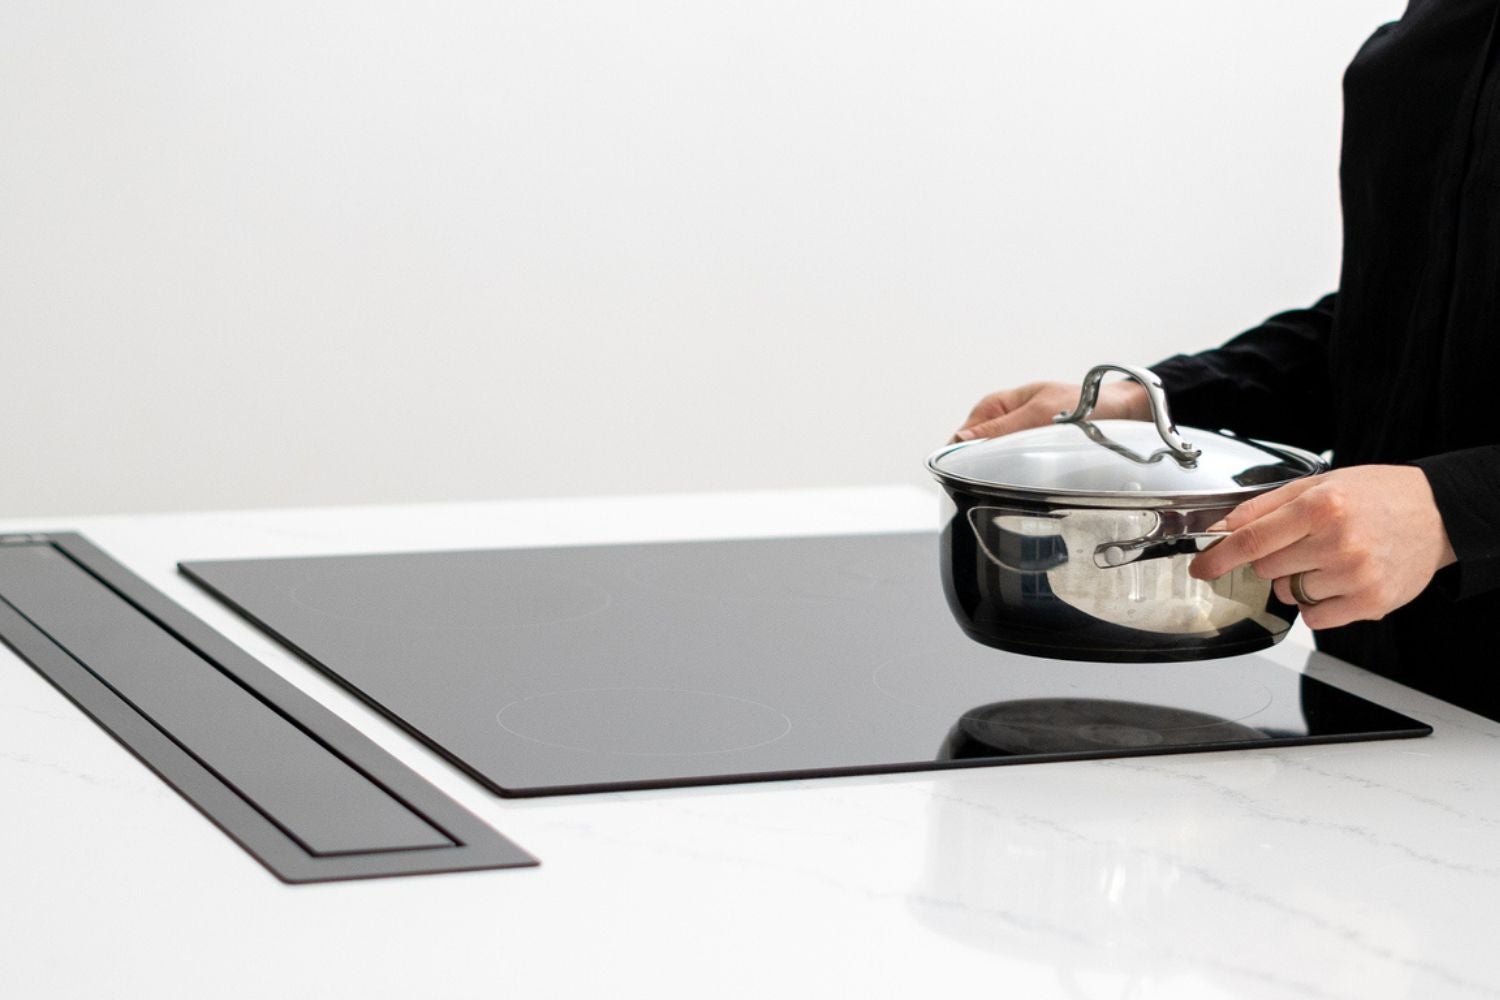
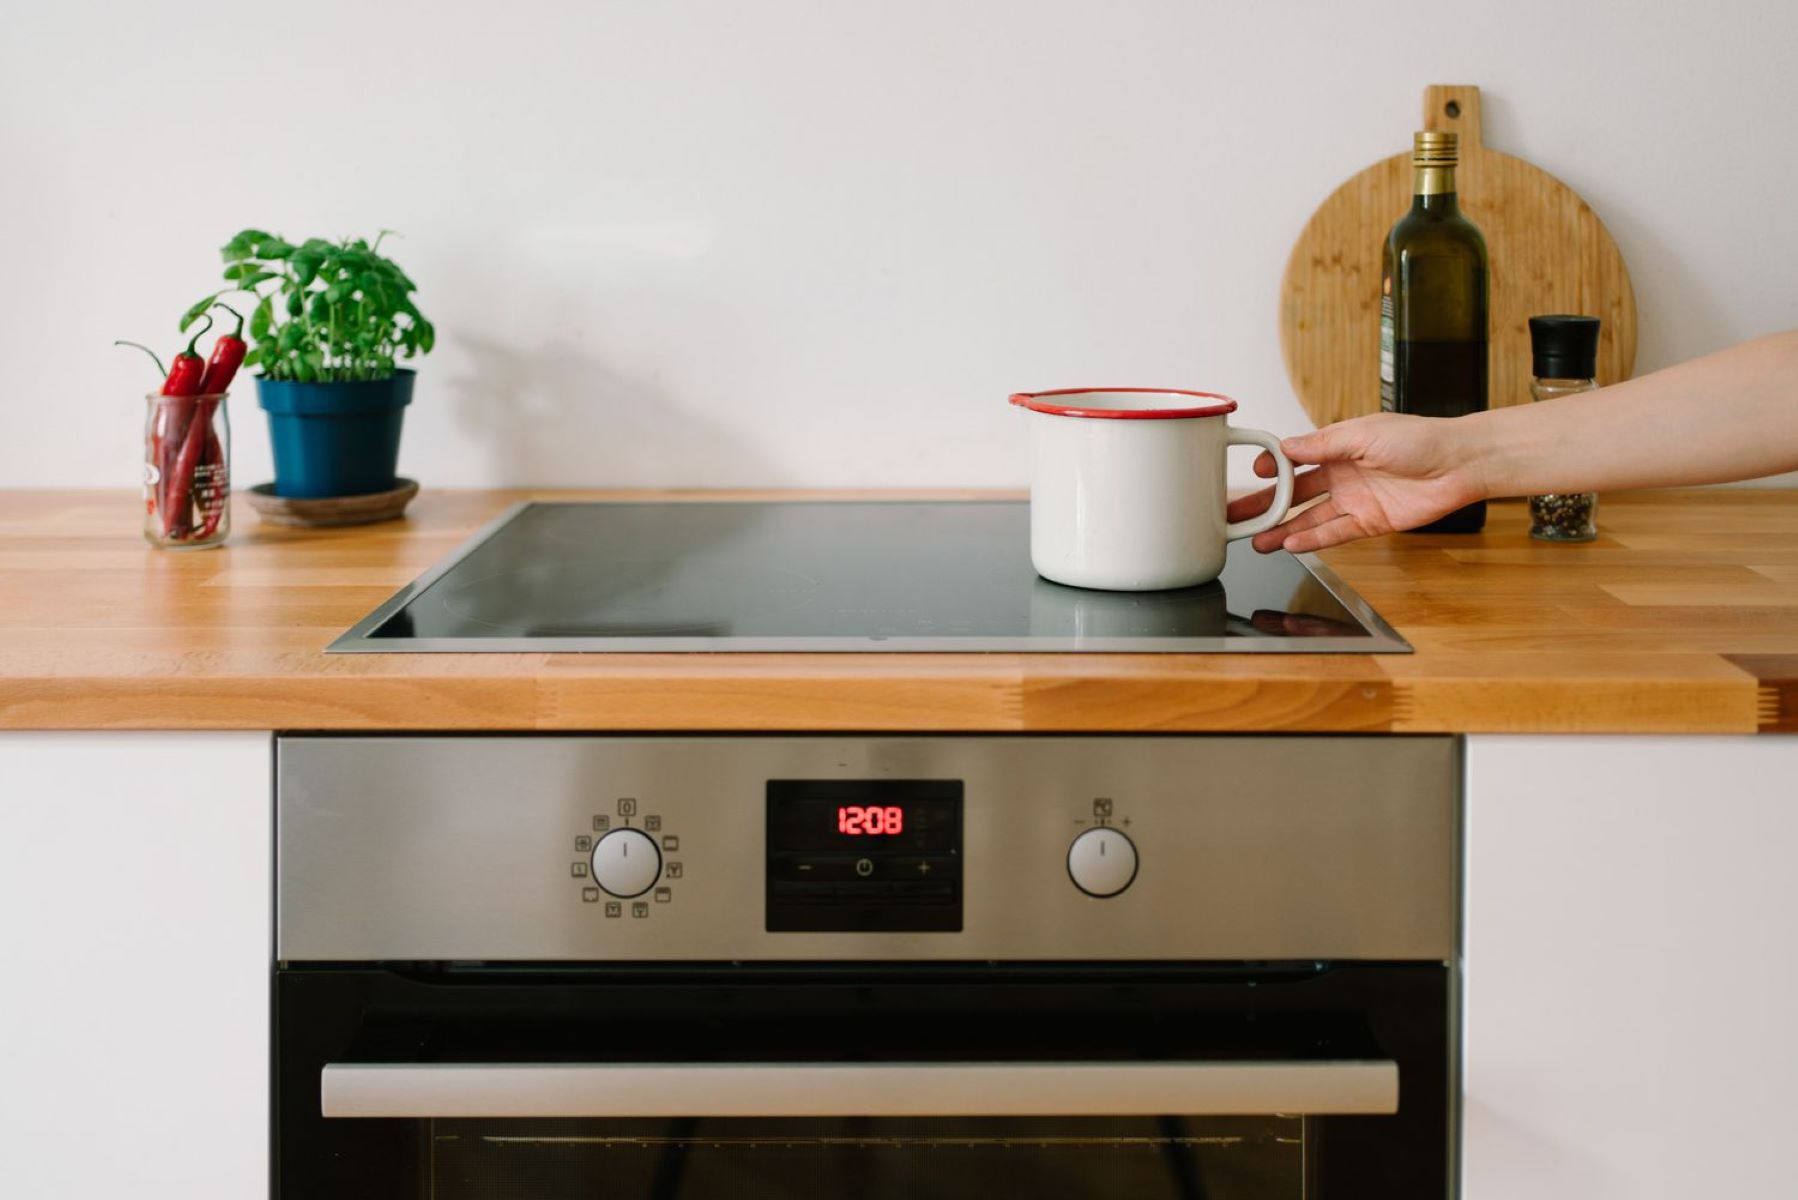
Cleaning a glass top range is an essential task to maintain its pristine appearance and ensure its longevity. A sparkling, spotless glass top not only enhances the aesthetic appeal of your kitchen but also contributes to the overall hygiene and functionality of your cooking space. Whether you are a seasoned homemaker or a novice in the realm of household chores, mastering the art of cleaning a glass top range is a valuable skill that can elevate the ambiance of your kitchen.
A glass top range, with its sleek and modern design, has become a popular choice in many households due to its ease of use and maintenance. However, the smooth surface is prone to accumulating grease, food spills, and stubborn stains, which can detract from its elegance if not addressed promptly. By following a few simple steps and using the right materials, you can restore the luster of your glass top range and keep it looking as good as new.
In this comprehensive guide, we will walk you through the step-by-step process of cleaning a glass top range, from removing the grates and burner caps to polishing the glass surface. By the end of this tutorial, you will have the knowledge and confidence to tackle this cleaning task with ease, ensuring that your glass top range remains a focal point of cleanliness and sophistication in your kitchen.
So, gather your cleaning supplies and let's embark on this journey to revive the radiance of your glass top range. With a little effort and the right techniques, you can transform a dull and grimy surface into a gleaming showcase of cleanliness and elegance. Let's dive into the materials needed and get ready to make your glass top range shine!
Key Takeaways:
- Transform your glass top range into a sparkling showcase of cleanliness and elegance by following a step-by-step cleaning process. Restore its radiance and functionality with simple materials and techniques.
- Elevate the luster of your glass top range by polishing it to a radiant, streak-free finish. Reassemble the components with care, and admire the gleaming result as a testament to your dedication to cleanliness and sophistication.
Read more: How To Clean A Smooth Top Range Or Cooktop
Materials Needed
To embark on the mission of restoring your glass top range to its former glory, you will need a few essential materials to ensure a thorough and effective cleaning process. These items are readily available and will equip you with the tools necessary to tackle stubborn stains and grime, leaving your glass top range sparkling clean. Here's a comprehensive list of the materials you'll need:
-
Cooktop Cleaner: A specialized cooktop cleaner is designed to effectively remove tough stains, grease, and residue without scratching the glass surface. Look for a cleaner specifically formulated for glass top ranges to achieve optimal results.
-
Soft Cleaning Cloth or Sponge: Opt for a non-abrasive, soft cleaning cloth or sponge to avoid scratching the glass surface. Microfiber cloths are an excellent choice for gently lifting and trapping dirt and grime without leaving lint behind.
-
Razor Scraper: A razor scraper with a retractable blade is a handy tool for safely removing stubborn, burnt-on food particles and residue from the glass surface. Ensure that the blade is sharp and free from rust to prevent any damage to the glass.
-
White Vinegar: This versatile household staple serves as a natural and effective cleaning agent. Its acidic properties help dissolve mineral deposits and stains, making it an excellent addition to your cleaning arsenal.
-
Baking Soda: Known for its mild abrasive properties, baking soda is a gentle yet effective cleaner that can help tackle tough stains and grease buildup on the glass top range.
-
Cooktop Razor Blade Scraper: This specialized scraper is designed for cooktop cleaning and is equipped with a blade that can safely remove stubborn residues without scratching the glass surface.
-
Cooktop Cleaning Pads: These specially designed cleaning pads are ideal for gently scrubbing and removing tough stains and residues from the glass top surface without causing damage.
-
Rubber Gloves: Protect your hands from harsh chemicals and hot surfaces by wearing rubber gloves during the cleaning process. Opt for durable, waterproof gloves to ensure maximum protection.
-
Lint-Free Cloth: A lint-free cloth is essential for drying and polishing the glass top surface after cleaning. Choose a cloth that is soft and absorbent to achieve a streak-free, polished finish.
By gathering these essential materials, you will be well-prepared to tackle the cleaning process with confidence and precision. With the right tools at your disposal, you can effectively combat dirt, grime, and stains, restoring the brilliance of your glass top range with ease. Now that you have assembled the necessary materials, let's proceed to the next step and delve into the detailed process of cleaning your glass top range.
Step 1: Remove Grates and Burner Caps
Before embarking on the cleaning process, it is essential to prepare the glass top range by removing the grates and burner caps. This initial step allows for unobstructed access to the glass surface, ensuring a thorough and efficient cleaning process. Here's a detailed guide on how to safely remove the grates and burner caps from your glass top range:
-
Allow the Range to Cool: Before handling any components of the glass top range, ensure that the surface has cooled down completely. Attempting to remove the grates and burner caps while the range is still hot can pose a safety hazard and increase the risk of accidental burns.
-
Lift and Remove the Grates: Carefully lift the grates from the surface of the glass top range and set them aside in a safe and designated area. Grates are typically designed to be easily lifted, allowing for effortless removal without the need for excessive force.
-
Detach the Burner Caps: Once the grates have been removed, proceed to detach the burner caps from the burners. Depending on the model of your glass top range, the burner caps may either lift off easily or require a simple twisting motion to release them from the burners.
-
Inspect and Clean the Removed Components: While the grates and burner caps are removed, take the opportunity to inspect them for any signs of food residue, grease, or debris. If necessary, wipe them down with a damp cloth or sponge to remove any surface buildup before proceeding with the cleaning of the glass top surface.
By following these steps to remove the grates and burner caps, you have effectively prepared the glass top range for the subsequent cleaning process. This initial preparation sets the stage for a thorough and meticulous cleaning, allowing you to focus on restoring the pristine condition of the glass surface without any obstructions. With the grates and burner caps safely removed, you are now ready to proceed to the next step and delve into the process of cleaning these components to ensure a comprehensive maintenance routine for your glass top range.
Step 2: Clean the Grates and Burner Caps
Once the grates and burner caps have been safely removed from the glass top range, it's time to focus on cleaning these essential components to ensure a thorough maintenance routine. Over time, grates and burner caps can accumulate grease, food residue, and stubborn stains, detracting from their functionality and visual appeal. By following a systematic cleaning process, you can effectively restore these components to their pristine condition, contributing to the overall cleanliness and efficiency of your glass top range.
Submerge in Soapy Water
Begin the cleaning process by filling a sink or large basin with warm water and adding a generous amount of dish soap. Submerge the grates and burner caps in the soapy water, ensuring that they are fully immersed. Allowing the components to soak in the soapy solution helps to loosen and dissolve stubborn grease and food residue, making the cleaning process more manageable.
Scrubbing and Rinsing
After allowing the grates and burner caps to soak for a sufficient period, use a non-abrasive sponge or brush to gently scrub away any remaining residue. Pay special attention to areas with built-up grease or stubborn stains, applying gentle pressure to dislodge the debris. Rinse the components thoroughly with clean water to remove any soapy residue and ensure that they are free from any lingering grime.
Baking Soda Paste
For particularly stubborn stains or hardened residue, create a paste using baking soda and water. Apply the paste to the affected areas of the grates and burner caps, allowing it to sit for a few minutes to penetrate the stubborn buildup. The mild abrasive properties of baking soda help to lift and dissolve tough stains without causing damage to the surfaces.
Drying and Inspection
Once the grates and burner caps have been thoroughly cleaned and rinsed, use a lint-free cloth to dry them completely. Inspect the components to ensure that all traces of grease and residue have been effectively removed. Any remaining stains or buildup can be addressed with a cooktop cleaner or vinegar solution for an extra level of cleanliness.
By following these detailed steps to clean the grates and burner caps, you can ensure that these essential components are free from dirt, grease, and stains, contributing to the overall maintenance and functionality of your glass top range. With the grates and burner caps restored to their pristine condition, you are now ready to proceed to the next step and focus on the meticulous cleaning of the glass top surface.
Step 3: Clean the Glass Top Surface
Cleaning the glass top surface of your range is a crucial step in maintaining its pristine appearance and ensuring a hygienic cooking environment. The smooth glass surface is susceptible to accumulating grease, food spills, and stubborn stains, which can diminish its visual appeal and pose challenges during cooking. By following a systematic approach and utilizing the right cleaning techniques, you can effectively restore the luster of the glass top surface, transforming it into a gleaming showcase of cleanliness and elegance.
Clearing Surface Debris
Begin the cleaning process by ensuring that the glass top surface is free from any loose debris or food particles. Using a soft, dry cloth or paper towel, gently remove any surface debris, crumbs, or loose particles that may have accumulated on the glass surface. This initial step helps prevent the spread of dirt and ensures that the subsequent cleaning efforts are focused on addressing stubborn stains and grease buildup.
Applying Cooktop Cleaner
Select a specialized cooktop cleaner designed for glass surfaces and apply it directly to the soiled areas of the glass top range. The cooktop cleaner is formulated to effectively dissolve grease, lift stubborn stains, and remove residue without scratching the glass surface. Follow the manufacturer's instructions for the application and use of the cleaner, ensuring that it is evenly distributed across the soiled areas.
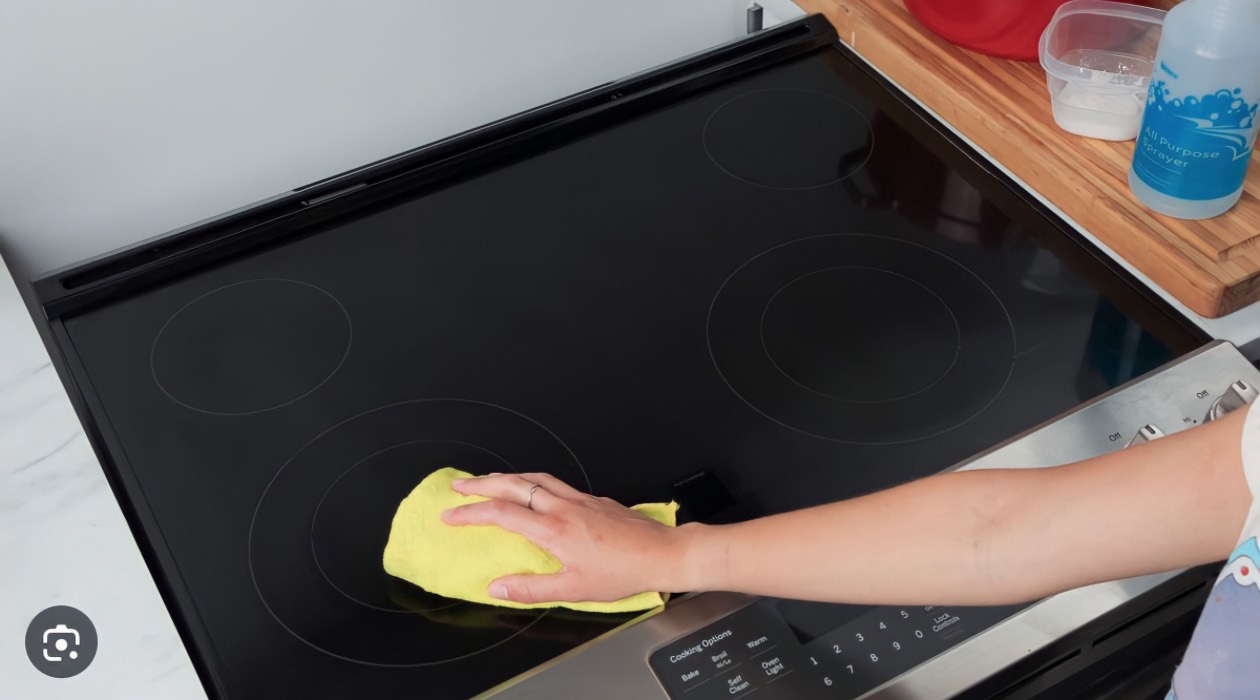
Gentle Scrubbing and Removal of Stains
Using a non-abrasive cleaning pad or soft sponge, gently scrub the glass surface in circular motions, focusing on areas with visible stains or grease buildup. Exercise caution to avoid applying excessive pressure, as aggressive scrubbing can potentially scratch the glass surface. The gentle scrubbing action helps to dislodge and lift stubborn stains, allowing the cooktop cleaner to effectively penetrate and dissolve the residue.
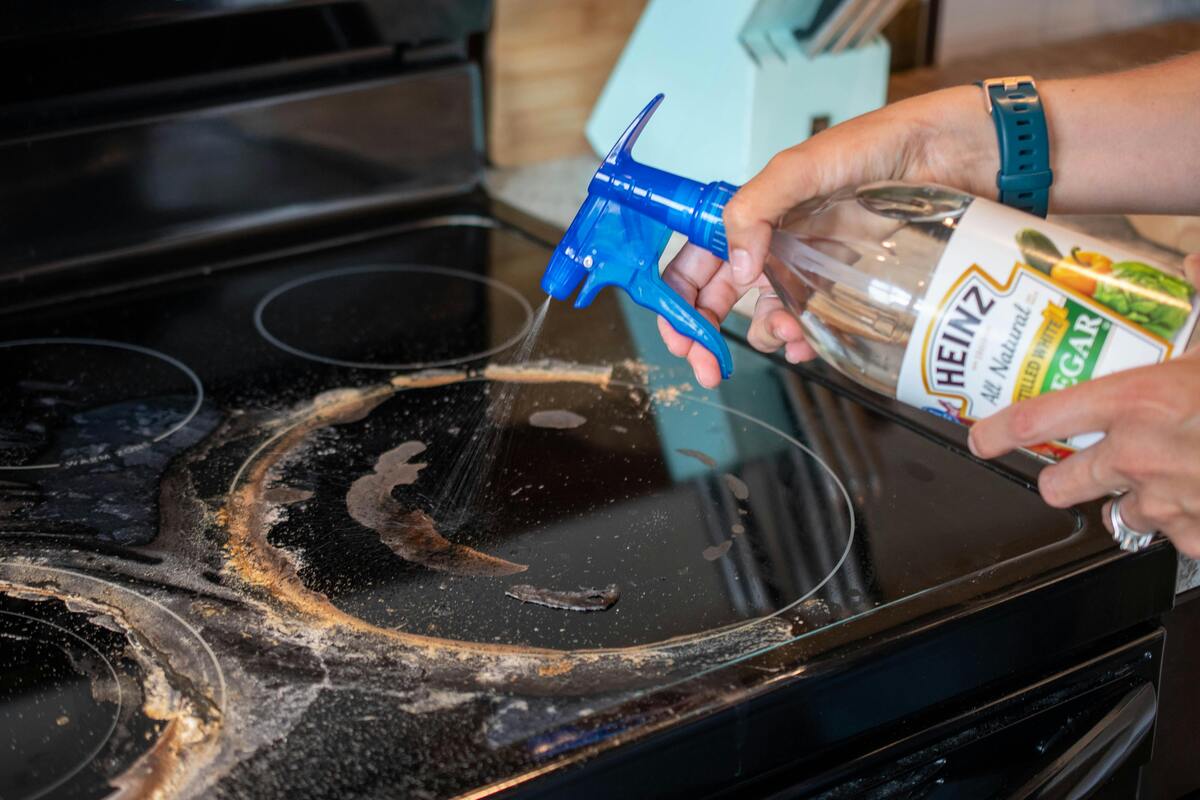
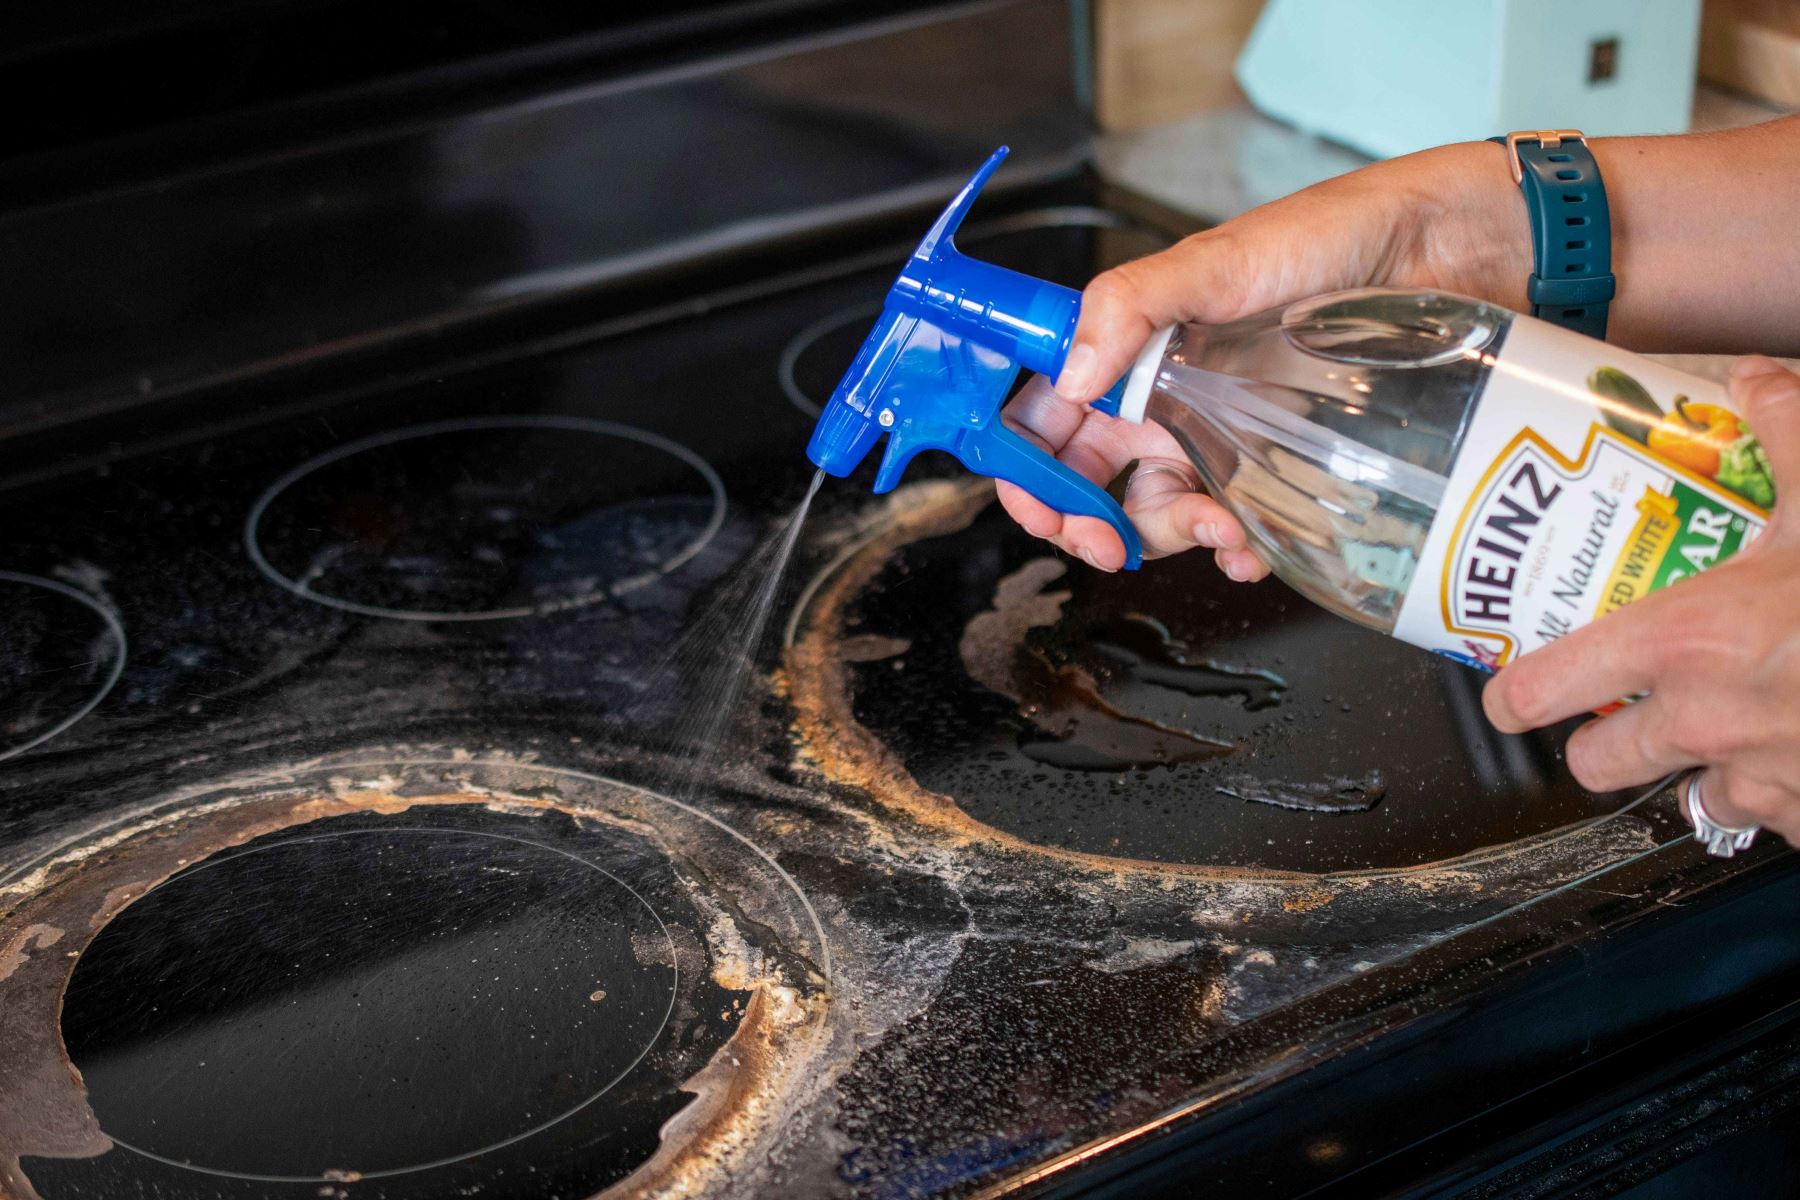
Addressing Stubborn Stains with Vinegar Solution
For particularly stubborn or dried-on stains, a solution of white vinegar and water can be used to further enhance the cleaning process. Mix equal parts of white vinegar and water in a spray bottle and apply the solution to the affected areas of the glass top surface. Allow the vinegar solution to sit for a few minutes to help loosen and dissolve the stubborn stains before gently wiping the surface with a soft cloth or sponge.
Drying and Polishing
Once the glass top surface has been thoroughly cleaned and any stubborn stains have been addressed, use a lint-free cloth to dry the surface completely. Ensure that all traces of the cooktop cleaner and vinegar solution are removed, leaving the glass surface clean and streak-free. To achieve a polished finish, use a separate dry lint-free cloth to gently buff the glass surface, enhancing its luster and visual appeal.
By following these detailed steps to clean the glass top surface of your range, you can effectively remove grease, stains, and residue, restoring its pristine condition and enhancing the overall cleanliness of your kitchen. With the glass top surface now sparkling clean and free from stubborn stains, you are ready to proceed to the next step and focus on the final polishing to achieve a radiant and gleaming finish.
Step 4: Polish the Glass Top Surface
Polishing the glass top surface is the final step in the comprehensive cleaning process, aimed at enhancing its visual appeal and restoring a radiant, streak-free finish. A polished glass surface not only exudes a sense of cleanliness and sophistication but also contributes to the overall aesthetic of your kitchen. By following a systematic approach and utilizing the right techniques, you can elevate the luster of the glass top surface, ensuring that it remains a focal point of elegance and cleanliness in your culinary space.
Applying Glass Cooktop Polish
Select a high-quality glass cooktop polish specifically formulated for glass surfaces and apply a small amount to the cleaned and dried glass top surface. The polish is designed to create a protective barrier, enhance the shine, and provide a streak-free finish, elevating the overall appearance of the glass surface. Using a soft, lint-free cloth, evenly spread the polish across the glass surface, ensuring complete coverage for a uniform and radiant finish.
Buffing for Brilliance
Once the glass cooktop polish has been applied, use a clean and dry lint-free cloth to gently buff the surface in circular motions. The buffing action helps to evenly distribute the polish, remove any remaining streaks, and enhance the luster of the glass top surface. Exercise gentle pressure during the buffing process to achieve a brilliant and reflective finish, elevating the visual appeal of the glass surface to its full potential.
Read more: How To Clean A Zephyr Range Hood
Inspecting for Perfection
After buffing the glass top surface, take a moment to inspect the entire surface for any remaining streaks or uneven polish distribution. Address any areas that may require additional buffing or polish application to ensure a flawless and radiant finish. A thorough inspection allows you to fine-tune the polishing process, ensuring that the glass surface achieves a pristine and gleaming appearance that enhances the overall ambiance of your kitchen.
Admiring the Radiance
Upon completing the polishing process, step back and admire the radiant and gleaming finish of the glass top surface. The polished glass exudes a sense of cleanliness and elegance, elevating the visual appeal of your kitchen and serving as a testament to your meticulous maintenance efforts. The reflective and pristine surface not only enhances the aesthetic of your cooking space but also signifies a commitment to cleanliness and attention to detail.
By following these detailed steps to polish the glass top surface, you can elevate its luster and visual appeal, ensuring that it remains a shining centerpiece in your kitchen. With the glass top surface now polished to perfection, your cleaning journey culminates in a radiant and gleaming finish that adds a touch of sophistication to your culinary environment.
Step 5: Reassemble the Grates and Burner Caps
With the glass top surface sparkling clean and the grates and burner caps meticulously restored, it's time to reassemble these essential components to complete the cleaning process. Proper reassembly ensures that the glass top range is fully functional and visually appealing, allowing you to resume your culinary endeavors with a renewed sense of cleanliness and efficiency.
Begin by carefully placing the clean and dry burner caps back onto their respective burners, ensuring that they are securely positioned and aligned for a snug fit. Depending on the design of your glass top range, the burner caps may either snap into place or require a simple twisting motion to lock them securely onto the burners. Take care to position the burner caps accurately, ensuring that they are seated properly to facilitate optimal heat distribution during cooking.
Next, gently lower the clean and dry grates onto the designated area of the glass top surface, aligning them with the burners and ensuring that they rest securely in place. The grates are designed to fit snugly onto the glass surface, providing stable support for your cookware and ensuring a seamless cooking experience. Take a moment to verify that the grates are positioned correctly, allowing for unrestricted movement and stability during cooking activities.
Once the grates and burner caps have been reassembled, take a moment to inspect the entire glass top range to ensure that all components are securely in place and aligned for optimal functionality. Verify that the grates and burner caps are positioned correctly, with no obstructions or misalignments that could impede their performance during cooking.
With the grates and burner caps successfully reassembled, your glass top range is now ready to resume its role as a centerpiece of cleanliness and functionality in your kitchen. The meticulous cleaning and reassembly process have not only restored the visual appeal of your glass top range but also contributed to a hygienic and efficient cooking environment.
By following these detailed steps to reassemble the grates and burner caps, you have completed the comprehensive cleaning journey, ensuring that your glass top range remains a shining example of cleanliness and sophistication in your culinary space. With the grates and burner caps securely in place, you can now enjoy the radiant and gleaming presence of your glass top range, ready to embark on culinary adventures with a renewed sense of pride and cleanliness.
Conclusion
In conclusion, the process of cleaning a glass top range is a transformative journey that goes beyond mere maintenance; it is a testament to the dedication to cleanliness and the pursuit of culinary excellence. By following the comprehensive steps outlined in this guide, you have embarked on a mission to restore the radiance and functionality of your glass top range, elevating it to a shining centerpiece in your kitchen.
The meticulous removal of grates and burner caps, coupled with the thorough cleaning and polishing of the glass top surface, has resulted in a transformation that transcends mere cleanliness. The gleaming and radiant finish of the glass top range serves as a visual representation of your commitment to a hygienic and inviting cooking environment.
As you reassemble the grates and burner caps, you are not just completing a task; you are reinstating the functionality and efficiency of your glass top range, ensuring that it stands ready to support your culinary endeavors with unwavering reliability.
The culmination of this cleaning journey signifies more than just a pristine glass surface; it represents a dedication to the art of maintaining a clean and inviting kitchen, where culinary creativity and cleanliness harmoniously coexist. The polished and gleaming glass top range is a reflection of your attention to detail and your desire to create a space where cleanliness and elegance converge seamlessly.
As you stand back and admire the radiant finish of your glass top range, take pride in the transformation you have achieved. The journey from a dull and soiled surface to a sparkling showcase of cleanliness is a testament to your commitment to maintaining a kitchen environment that exudes sophistication and hygiene.
With the glass top range now restored to its former glory, you can embark on your culinary adventures with renewed enthusiasm, knowing that your kitchen is not only a space for creativity and nourishment but also a testament to your dedication to cleanliness and elegance. The gleaming glass top range stands as a beacon of your meticulous maintenance efforts, inviting you to create culinary masterpieces in a space that radiates cleanliness and sophistication.
In the end, the process of cleaning a glass top range transcends the act of maintenance; it is a journey that culminates in the creation of a pristine and inviting culinary environment, where the pursuit of cleanliness and the art of cooking converge in perfect harmony.
Frequently Asked Questions about How To Clean Glass Top Range
Was this page helpful?
At Storables.com, we guarantee accurate and reliable information. Our content, validated by Expert Board Contributors, is crafted following stringent Editorial Policies. We're committed to providing you with well-researched, expert-backed insights for all your informational needs.

0 thoughts on “How To Clean Glass Top Range”