Articles
How To Fix A Glass Stove Top
Modified: October 20, 2024
Learn effective techniques for fixing a glass stove top in this comprehensive article. Find step-by-step instructions and expert tips to ensure a successful repair.
(Many of the links in this article redirect to a specific reviewed product. Your purchase of these products through affiliate links helps to generate commission for Storables.com, at no extra cost. Learn more)
Introduction
A glass stove top can be a beautiful and sleek addition to any kitchen. It adds a modern touch and its smooth surface makes cooking and cleaning a breeze. However, like any appliance, glass stove tops can encounter problems or sustain damage over time. Whether you’re dealing with a cracked glass top, scratches, or malfunctioning burner elements, knowing how to fix a glass stove top can save you both time and money.
In this article, we will provide you with a step-by-step guide on how to fix common issues that can occur with a glass stove top. We’ll cover everything from basic cleaning techniques to more advanced repairs such as replacing a cracked glass top or repairing scratches. So, grab your tools and let’s get started!
Key Takeaways:
- Safety first! Prioritize safety by turning off power, wearing protective gear, and handling delicate components with care. Regular cleaning and maintenance can prevent issues and prolong the lifespan of your glass stove top.
- From cleaning to replacing burner elements, you can tackle common glass stove top issues with the right tools and precautions. When in doubt, don’t hesitate to seek professional assistance for more complex repairs.
Read more: How To Fix Samsung Glass Top Stove Burners
Tools and Materials Needed
Before diving into the process of fixing your glass stove top, it’s important to gather all the necessary tools and materials. Here’s a comprehensive list of what you’ll need:
- Glass stove top cleaner
- Microfiber cloth or soft sponge
- Scraper or razor blade
- Cooktop cleaner and polish
- Replacement glass top (if necessary)
- Heat-resistant adhesive (if necessary)
- Multimeter (for diagnosing electrical issues)
- Screwdriver (matching the size of your stove’s screws)
- Replacement burner elements
- Gloves
- Protective eyewear
- Soft cloth or felt pads for scratch repair
Having these tools and materials on hand will ensure that you are well-equipped to tackle any issues you may encounter during the repair process.
Step 1: Safety Precautions
Before you start fixing your glass stove top, it’s crucial to prioritize safety. Follow these precautions to avoid accidents or injuries:
- Turn off the power: Make sure to turn off the power supply to the stove before beginning any repairs. This will prevent any electrical mishaps.
- Allow the stove top to cool down: Give the stove top enough time to cool down completely before handling it. This will prevent burns or injuries caused by the hot surface.
- Wear gloves and protective eyewear: When working with tools and chemicals, it’s important to protect your hands and eyes. Wear gloves and safety goggles throughout the repair process.
- Provide adequate ventilation: Ensure that the kitchen area is well-ventilated by opening windows or using the exhaust fan. This will help dissipate any fumes from cleaning products.
- Be mindful of delicate components: Glass stove tops are delicate, so handle them with care. Avoid applying excessive force or pressure that could cause further damage.
By taking these safety precautions, you can minimize risks and make the repair process safer and more efficient.
Step 2: Cleaning the Stove Top
Before diving into more complex repairs, it’s essential to start with a clean surface. Follow these steps to effectively clean your glass stove top:
- Remove any loose debris: Use a soft cloth or paper towel to gently wipe away any loose dirt or debris from the surface of the stove top.
- Apply a glass stove top cleaner: Squirt a small amount of glass stove top cleaner onto the surface. Make sure to use a cleaner specifically designed for glass stove tops to avoid scratching or damaging the glass.
- Gently scrub the surface: Use a microfiber cloth or a soft sponge to gently scrub the entire surface of the stove top. Apply light pressure while scrubbing to avoid scratching the glass. Focus on any stubborn stains or spills, giving them a little extra attention.
- Rinse and dry: Once you’ve finished scrubbing, rinse the stove top with warm water to remove any cleaner residue. Wipe it dry with a clean, dry cloth or paper towel.
- Apply a cooktop cleaner and polish: For an even deeper clean and shine, apply a cooktop cleaner and polish to the glass surface. Follow the instructions on the product and use a clean cloth to gently buff the stove top.
Cleaning your glass stove top regularly not only keeps it looking great but also helps prevent the buildup of stubborn stains and grime. By starting with a clean surface, you’ll have a better view of any underlying issues that may need repair.
Step 3: Diagnosing the Issue
Before proceeding with any repairs, it’s important to accurately diagnose the issue with your glass stove top. Here are some common problems and how to determine the cause:
- Cracked glass top: Inspect the surface of your stove top for any visible cracks or damage. If you notice a crack, it’s likely that you’ll need to replace the glass top altogether.
- Scratches: Examine the surface for any scratches. Run your finger over the scratch to determine if it’s a surface-level scratch or a deeper one. Surface-level scratches can often be repaired, while deeper scratches may require more extensive measures.
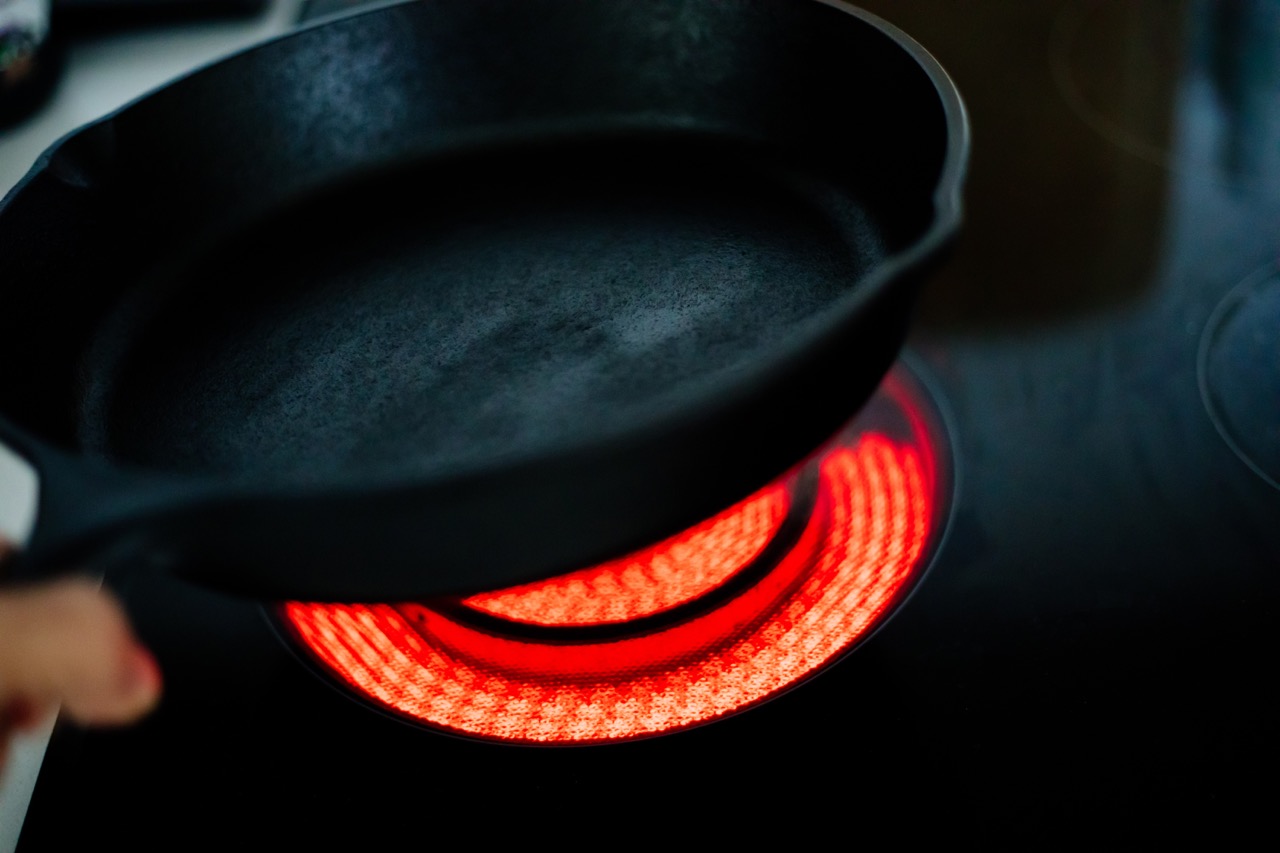
- Malfunctioning burner elements: Turn on each burner individually and check if they’re heating up properly. If one or more burners are not working as expected, it could indicate a faulty burner element that needs replacing.
- Electrical issues: If the stove top is not receiving power or the control knobs are unresponsive, there may be electrical issues. Use a multimeter to test the electrical connections and determine if there’s a problem with the wiring or control board.
By thoroughly inspecting and diagnosing the issue, you’ll be able to determine the appropriate course of action for fixing your glass stove top.
Use a non-abrasive cleaner and a soft cloth to remove any spills or stains from the glass stove top. Avoid using harsh scrubbers or abrasive cleaners that can scratch the surface.
Read more: How To Set Clock On GE Glass Top Stove
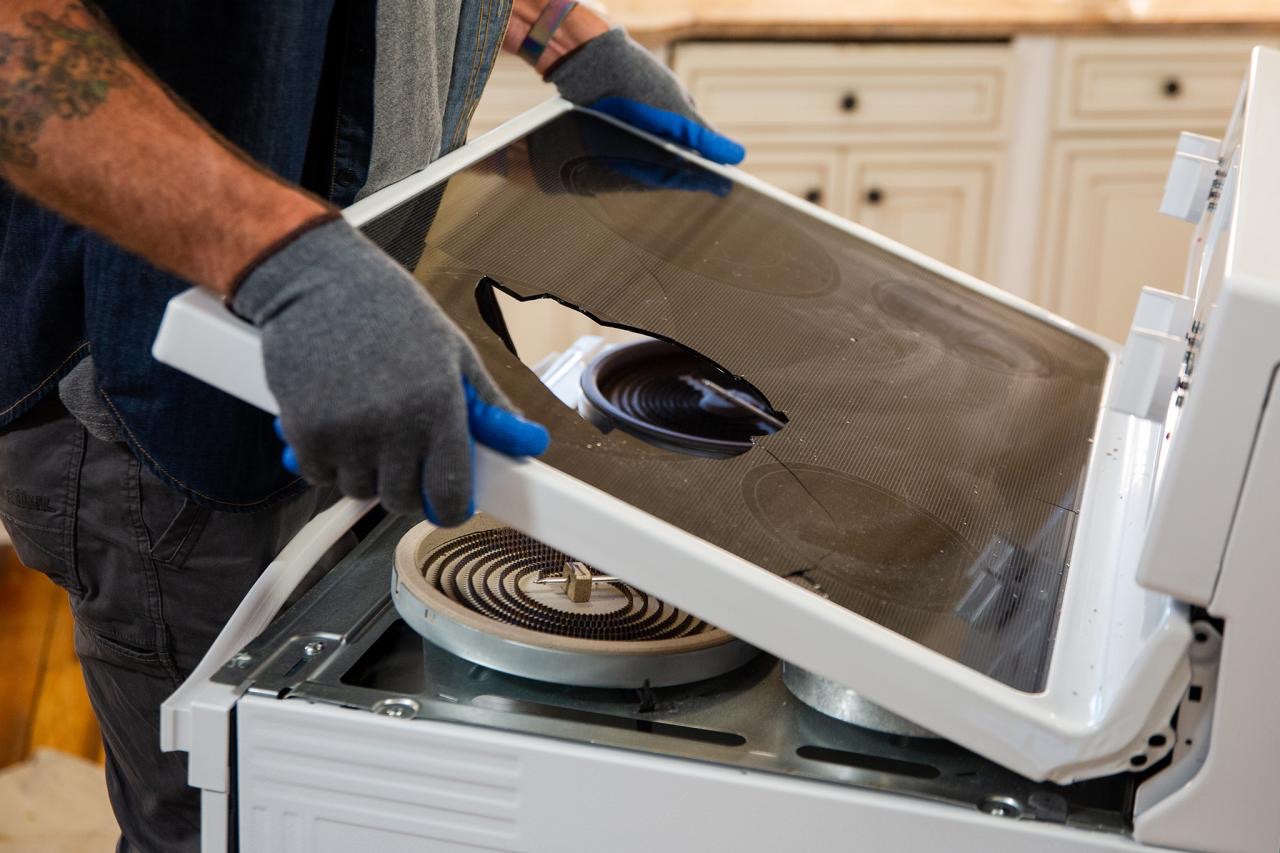
Step 4: Replacing a Cracked Glass Top
If your glass stove top is cracked, it’s best to replace it to ensure safe and efficient cooking. Here’s how you can go about replacing a cracked glass top:
- Disconnect the power: Before starting any repairs, make sure to turn off the power supply to the stove and unplug it from the electrical outlet.
- Remove the burner elements: Carefully lift and remove the burner elements from the cracked glass top. Set them aside in a safe place.
- Remove the control knobs: Gently pull off the control knobs from the front of the stove top. Keep them in a secure location.
- Unfasten the screws: Use a screwdriver that matches the size of the screws holding the glass top in place. Unscrew these screws and keep them safely aside.
- Lift and remove the cracked glass top: With the screws removed, carefully lift the cracked glass top from the stove. It may be helpful to have someone assist you during this step to ensure the glass is lifted and maneuvered safely.
- Prepare the new glass top: Place the new glass top on a stable, flat surface. Ensure that it matches the make and model of your stove.
- Apply heat-resistant adhesive (if necessary): If your replacement glass top does not come with pre-applied adhesive, apply a heat-resistant adhesive along the perimeter of the new glass top.
- Position the new glass top: Gently lower the new glass top onto the stove, aligning it with the burner elements and control knobs. Ensure that it sits securely and snugly.
- Secure the new glass top: Reattach the screws to secure the new glass top in place. Use caution not to overtighten the screws, as this could risk damaging the glass or the stove.
- Reattach the control knobs and burner elements: Put the control knobs back in their respective positions. Carefully reattach the burner elements to the new glass top.
- Restore power and test: Plug the stove back into the electrical outlet and turn on the power. Test each burner element to ensure they’re heating up properly.
Replacing a cracked glass top may require some technical skill and caution. If you’re unsure or uncomfortable with this process, it’s best to call a professional for assistance.
Step 5: Repairing Scratches
If your glass stove top has minor scratches, you may be able to repair them and restore its appearance. Follow these steps to repair scratches on your glass stove top:
- Clean the area: Before attempting to repair the scratches, make sure the surface is clean and free from any dirt or debris. Use a glass stove top cleaner and a soft cloth to thoroughly clean the scratched area.
- Apply a scratch repair solution: There are several commercial scratch repair kits available specifically designed for glass stove tops. Follow the instructions provided with the kit to apply the scratch repair solution to the scratched area.
- Buff the area: After applying the scratch repair solution, use a soft cloth or a polishing pad to gently buff the scratched area. Apply light pressure and make circular motions to help blend the repaired area with the surrounding glass.
- Inspect and repeat if necessary: Once the area is buffed, inspect the scratch to see if it has been minimized or eliminated. If the scratch is still noticeable, you may need to repeat the process and apply the scratch repair solution again.
It’s important to note that deep or extensive scratches may not be fully repairable using DIY methods. In such cases, it may be best to consult a professional for advice or consider replacing the glass top altogether.
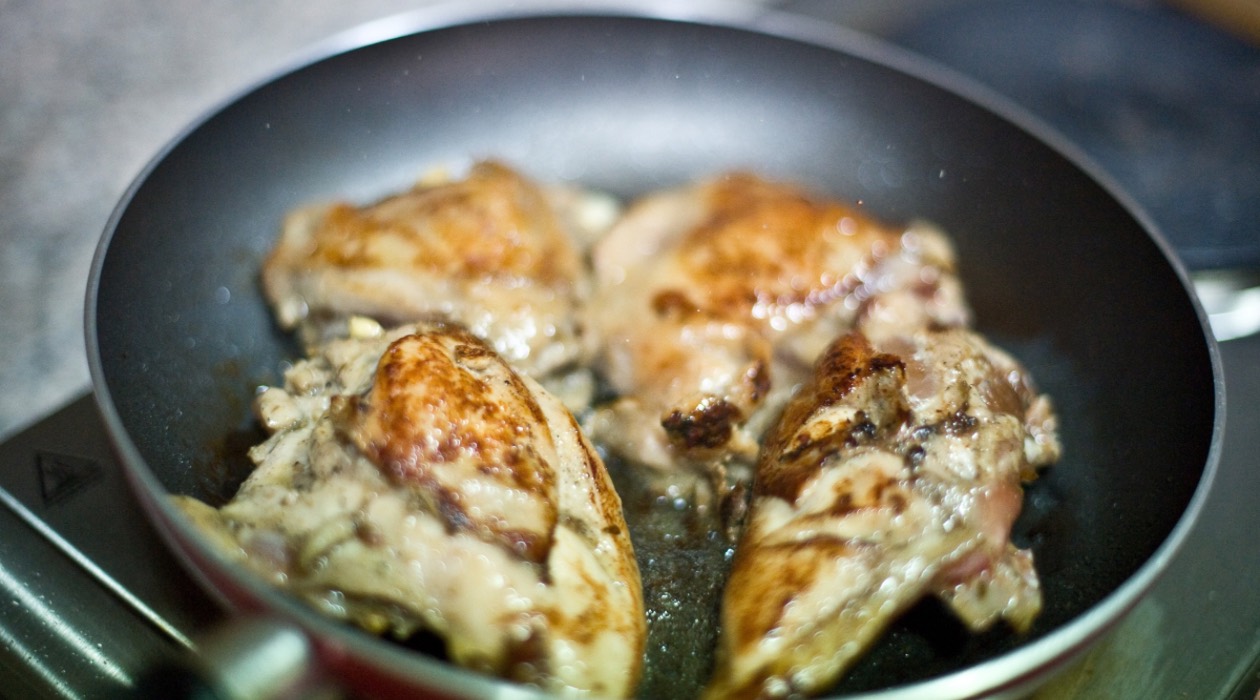
Remember, prevention is key to avoiding scratches on your glass stove top. Always use appropriate cookware and avoid sliding pots and pans across the surface. Additionally, regular cleaning and maintenance can help keep your glass stove top looking its best.
Step 6: Replacing Burner Elements
If one or more burner elements on your glass stove top are malfunctioning or not heating up properly, it may be necessary to replace them. Follow these steps to replace the burner elements:
- Turn off the power: Before starting any repairs, ensure that the power supply to the stove is turned off and unplugged.
- Identify the faulty burner element: Determine which burner element is causing the issue. You can do this by turning on each burner individually and observing which one is not functioning correctly.
- Remove the burner element: Carefully lift and remove the faulty burner element from its socket. Some burner elements may require twisting or pulling to remove, while others may have screws that need to be loosened first.
- Disconnect the electrical connections: Once the burner element is removed, disconnect the electrical connections. These connections may be attached using screws, clips, or wire harnesses.
- Connect the new burner element: Take the new burner element and connect it to the electrical connections in the same manner as the old one. Ensure that the connections are secure and properly aligned.
- Place the new burner element in the socket: Carefully insert the new burner element into the socket, making sure it sits flush and securely. If required, twist or tighten any screws to secure the element.
- Repeat for other faulty burner elements (if applicable): If you have multiple faulty burner elements, repeat the process for each one, ensuring that you disconnect and connect the electrical connections correctly.
- Restore power and test: Plug the stove back into the electrical outlet and turn on the power. Test each burner element to ensure they’re heating up properly. If the new elements are functioning correctly, you’ve successfully replaced them.
Replacing burner elements on a glass stove top is relatively straightforward, but it’s important to follow safety precautions and ensure the power is turned off before starting any repairs. If you’re unsure or uncomfortable with this process, it’s best to consult a professional for assistance.
Step 7: Reassembling the Stove Top
Once you’ve completed the necessary repairs or replacements on your glass stove top, it’s time to reassemble it. Follow these steps to properly reassemble the stove top:
- Replace the control knobs: Take the control knobs that you removed earlier and place them back in their respective positions. Ensure they are properly aligned and securely attached.
- Reattach the burner elements: Carefully reattach the burner elements to the sockets on the glass top. Make sure they are properly aligned and firmly in place.
- Secure the screws: If there were screws holding the burner elements in place, tighten them to secure the elements. Use caution not to overtighten and risk damaging the glass top.
- Clean the surface: Give the glass stove top a final wipe-down using a clean, soft cloth and a glass stove top cleaner. This will ensure that the surface is clean and free from any smudges or residues.
- Restore power and test: Plug the stove back into the electrical outlet and turn on the power. Test each burner element to ensure they’re heating up properly. Verify that the control knobs are functioning correctly as well.
- Double-check for any issues: Take a final look at the stove top and make sure everything is in proper working order. Check for any loose connections or abnormalities in heating. Address any issues or contact a professional if needed.
By following these steps and reassembling your glass stove top correctly, you can ensure that it functions properly and looks presentable. Remember to exercise caution and follow safety precautions throughout the reassembly process.
Read more: Why Can’t You Can On A Glass Top Stove
Conclusion
A glass stove top can add a touch of elegance and functionality to any kitchen, but as with any appliance, it may encounter issues that require repair. By following the steps outlined in this guide, you can effectively fix common problems such as cracked glass tops, scratches, malfunctioning burner elements, and more.
Remember to prioritize safety throughout the repair process by following safety precautions, disconnecting the power, and wearing protective gear. Taking these precautions will help prevent accidents and injuries.
Regular cleaning and maintenance of your glass stove top can also help prevent issues from arising and prolong its lifespan. Clean spills promptly, use appropriate cookware, and avoid sliding pots and pans across the surface to minimize potential damage.
If you’re ever unsure or uncomfortable with any repair tasks, don’t hesitate to consult a professional for assistance. They have the expertise and experience to handle more complex repairs and ensure that your glass stove top is restored to its optimal condition.
By taking the time to fix and maintain your glass stove top, you can enjoy its beauty and functionality for years to come. So, roll up your sleeves, gather your tools, and get ready to tackle any issues that come your way!
Frequently Asked Questions about How To Fix A Glass Stove Top
Was this page helpful?
At Storables.com, we guarantee accurate and reliable information. Our content, validated by Expert Board Contributors, is crafted following stringent Editorial Policies. We're committed to providing you with well-researched, expert-backed insights for all your informational needs.


0 thoughts on “How To Fix A Glass Stove Top”