Articles
How To Clean Range Hood Motor
Modified: August 27, 2024
Learn how to clean your range hood motor with these helpful articles. Keep your kitchen clean and free from grease buildup for optimal performance.
(Many of the links in this article redirect to a specific reviewed product. Your purchase of these products through affiliate links helps to generate commission for Storables.com, at no extra cost. Learn more)
Introduction
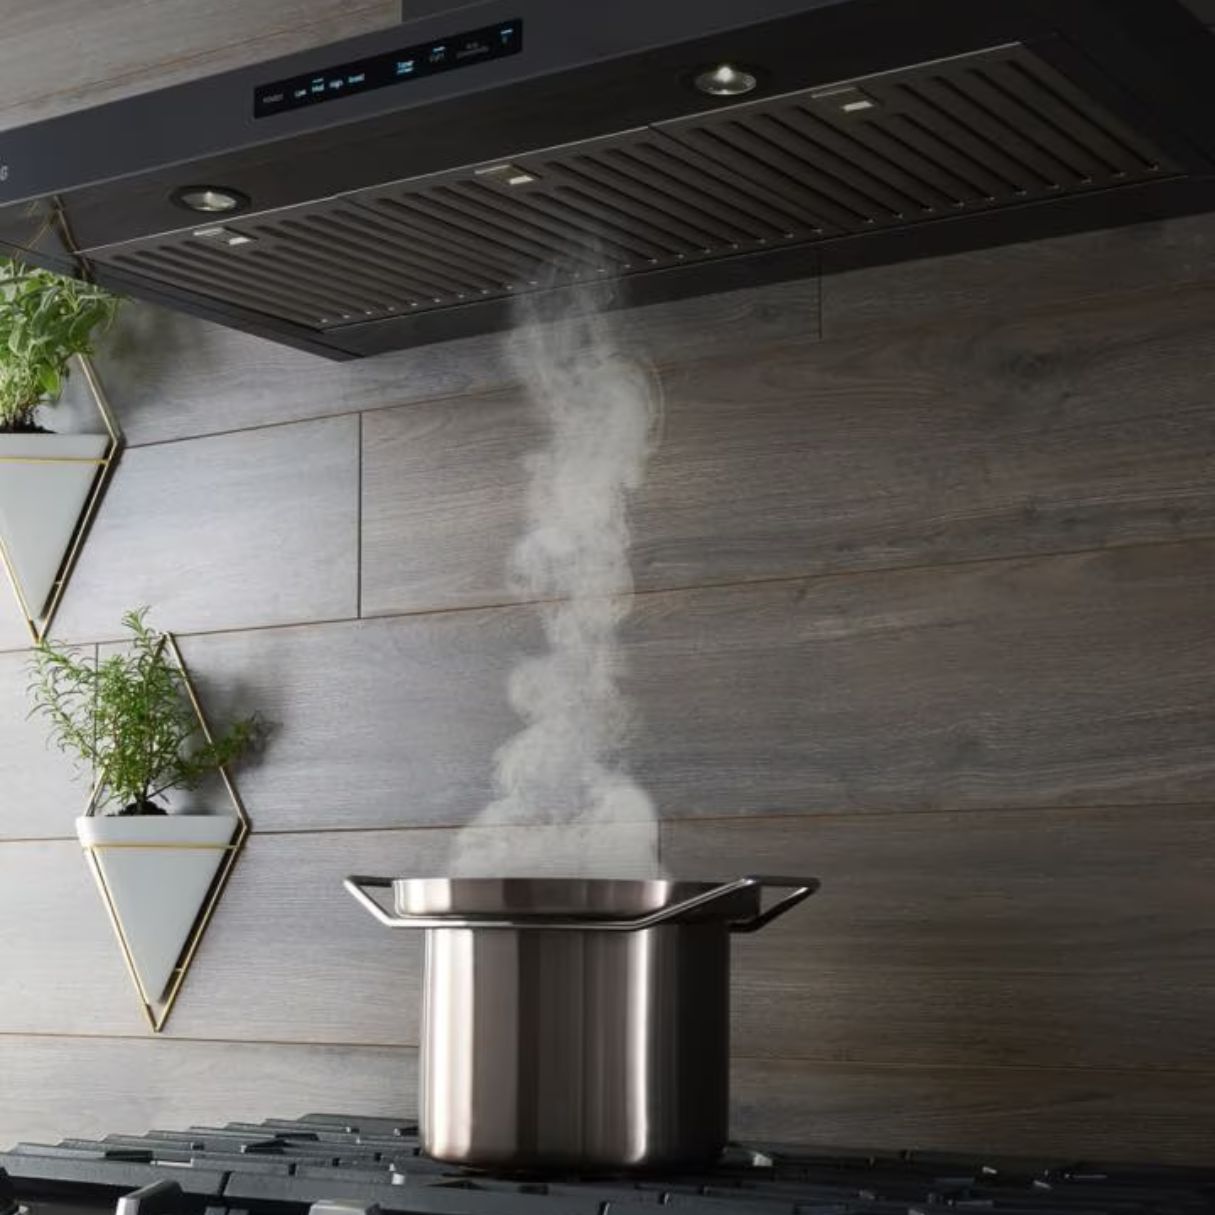
Keeping your range hood motor clean is essential for ensuring optimal performance and preventing any potential issues. Over time, the motor can accumulate grease, dirt, and debris, which can affect its efficiency and lifespan. Regular cleaning of the range hood motor not only helps to maintain its functionality but also improves the quality of air circulation in your kitchen.
In this article, we will provide you with a step-by-step guide on how to clean your range hood motor effectively. By following these instructions, you can easily tackle this task and keep your range hood working efficiently.
Key Takeaways:
- Regularly cleaning your range hood motor is crucial for optimal performance and air quality in your kitchen. Follow the step-by-step guide to ensure efficient ventilation and a healthier cooking environment.
- Prioritize safety by disconnecting the power before cleaning. Clean the fan blades and motor thoroughly, reassemble the hood, and test the motor to ensure smooth operation. Regular maintenance leads to a cleaner and healthier kitchen.
Read more: How To Clean A Zephyr Range Hood
Step 1: Disconnect the Power
The first and most crucial step in cleaning your range hood motor is to ensure that the power supply is disconnected. This is essential for your safety and to prevent any electrical accidents. Here’s how you can do it:
- Locate the power switch or circuit breaker for your range hood and turn it off. This will cut off the electricity supply to the motor.
- It’s always a good idea to double-check if the power is truly disconnected. You can use a voltage tester to ensure that there is no electrical current flowing to the motor.
- For added precaution, you can also unplug the range hood from the power source if it has a detachable cord.
Once you have confirmed that the power is completely disconnected, you can proceed to the next step of removing the fan cover.
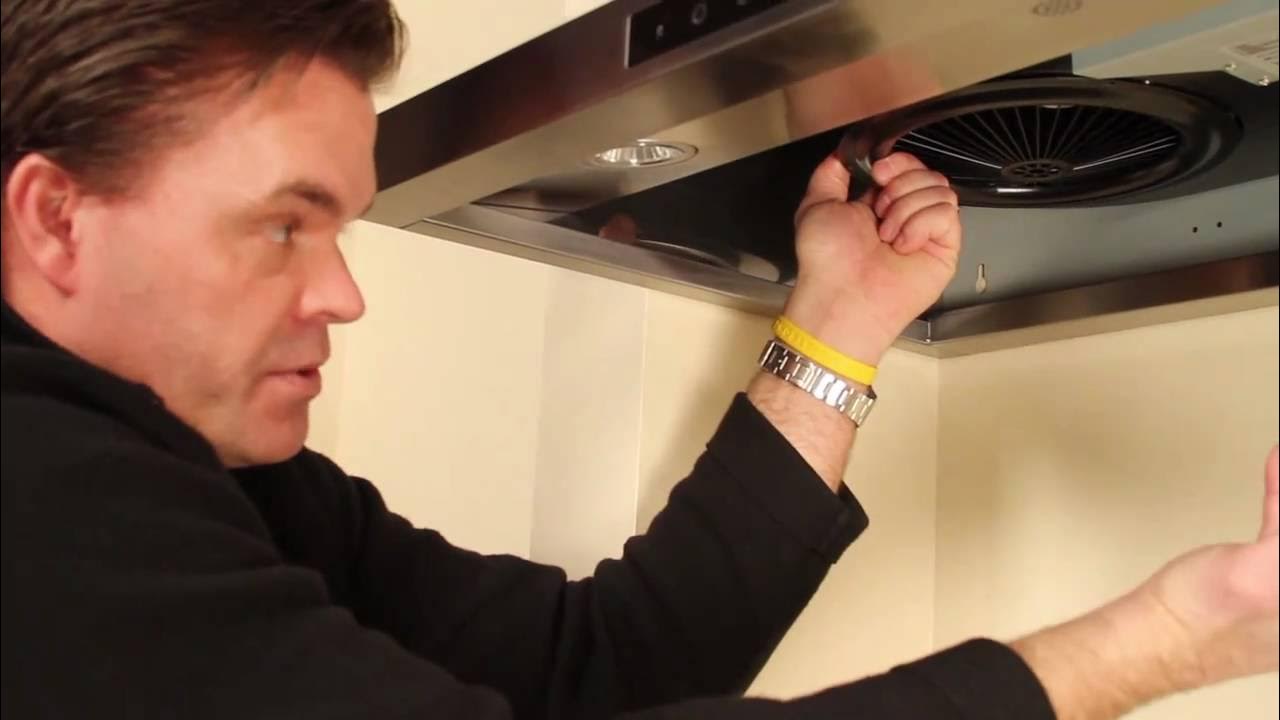
Step 2: Remove the Fan Cover
After disconnecting the power, the next step is to remove the fan cover. This will allow you access to the fan blades and the motor. Follow these steps:
- Depending on the type of range hood you have, the fan cover might be held in place with screws or clips. Look for these fasteners and remove them using a screwdriver or by releasing the clips.
- Gently pull or slide the fan cover out of its housing. Be careful not to force it or damage any surrounding components.
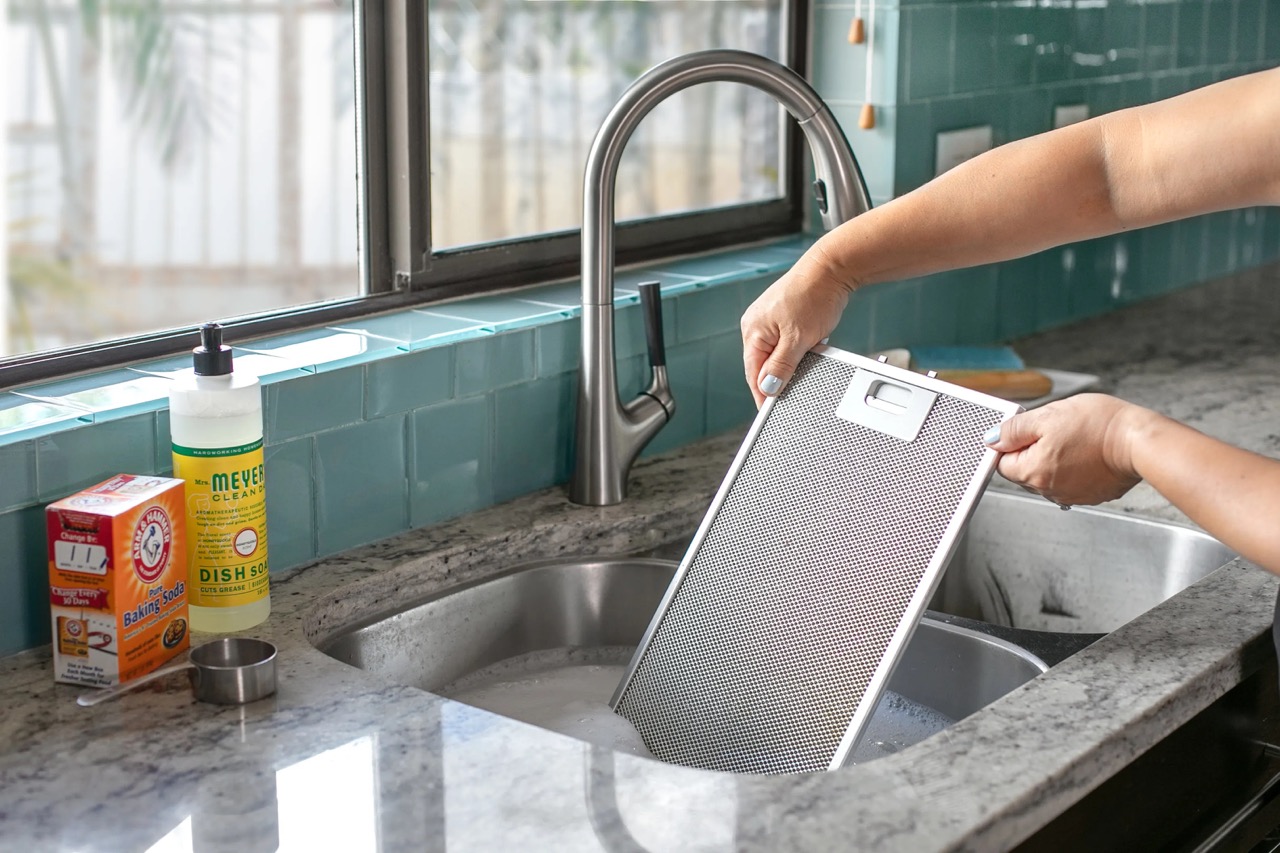
- Set the fan cover aside and inspect it for any accumulated grease or dirt. If necessary, you can clean the fan cover separately using a mild dish soap and warm water.
With the fan cover removed, you now have a clear view of the fan blades and the motor. The next step is to clean these components thoroughly to ensure optimal performance.
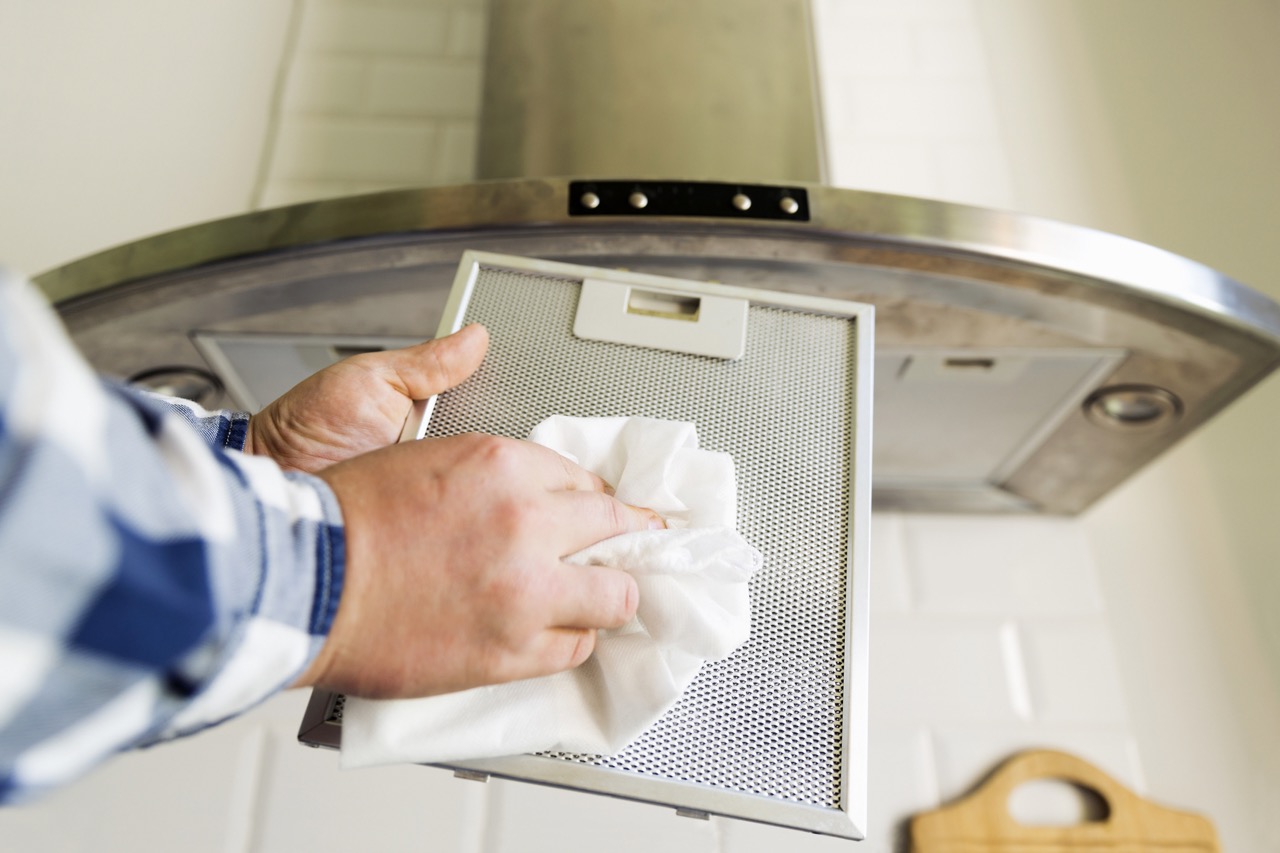
Step 3: Clean the Fan Blades
Once you have removed the fan cover, it’s time to clean the fan blades. Over time, these blades can accumulate grease and dirt, which can hinder their performance and airflow. Here’s how you can clean them:
- Start by preparing a cleaning solution. You can mix a mild dish soap with warm water in a bucket or basin.
- Dip a soft cloth or sponge into the cleaning solution and wring out any excess liquid.
- Gently wipe each fan blade, removing any grease or dirt. Take care not to apply too much pressure or bend the blades.
- If the fan blades have stubborn grease buildup, you can use a non-abrasive brush or toothbrush to scrub them gently.
- Once you have cleaned the fan blades, rinse the cloth or sponge in clean water and wipe down the blades again to remove any remaining soap residue.
After cleaning the fan blades, inspect them for any damage or signs of wear. If you notice any cracks or warped blades, it may be necessary to replace them. Otherwise, proceed to the next step of removing and cleaning the motor.
To clean a range hood motor, first turn off the power. Remove the motor and use a vacuum to remove dust and debris. Wipe the motor with a damp cloth and mild detergent. Allow it to dry completely before reinstalling.
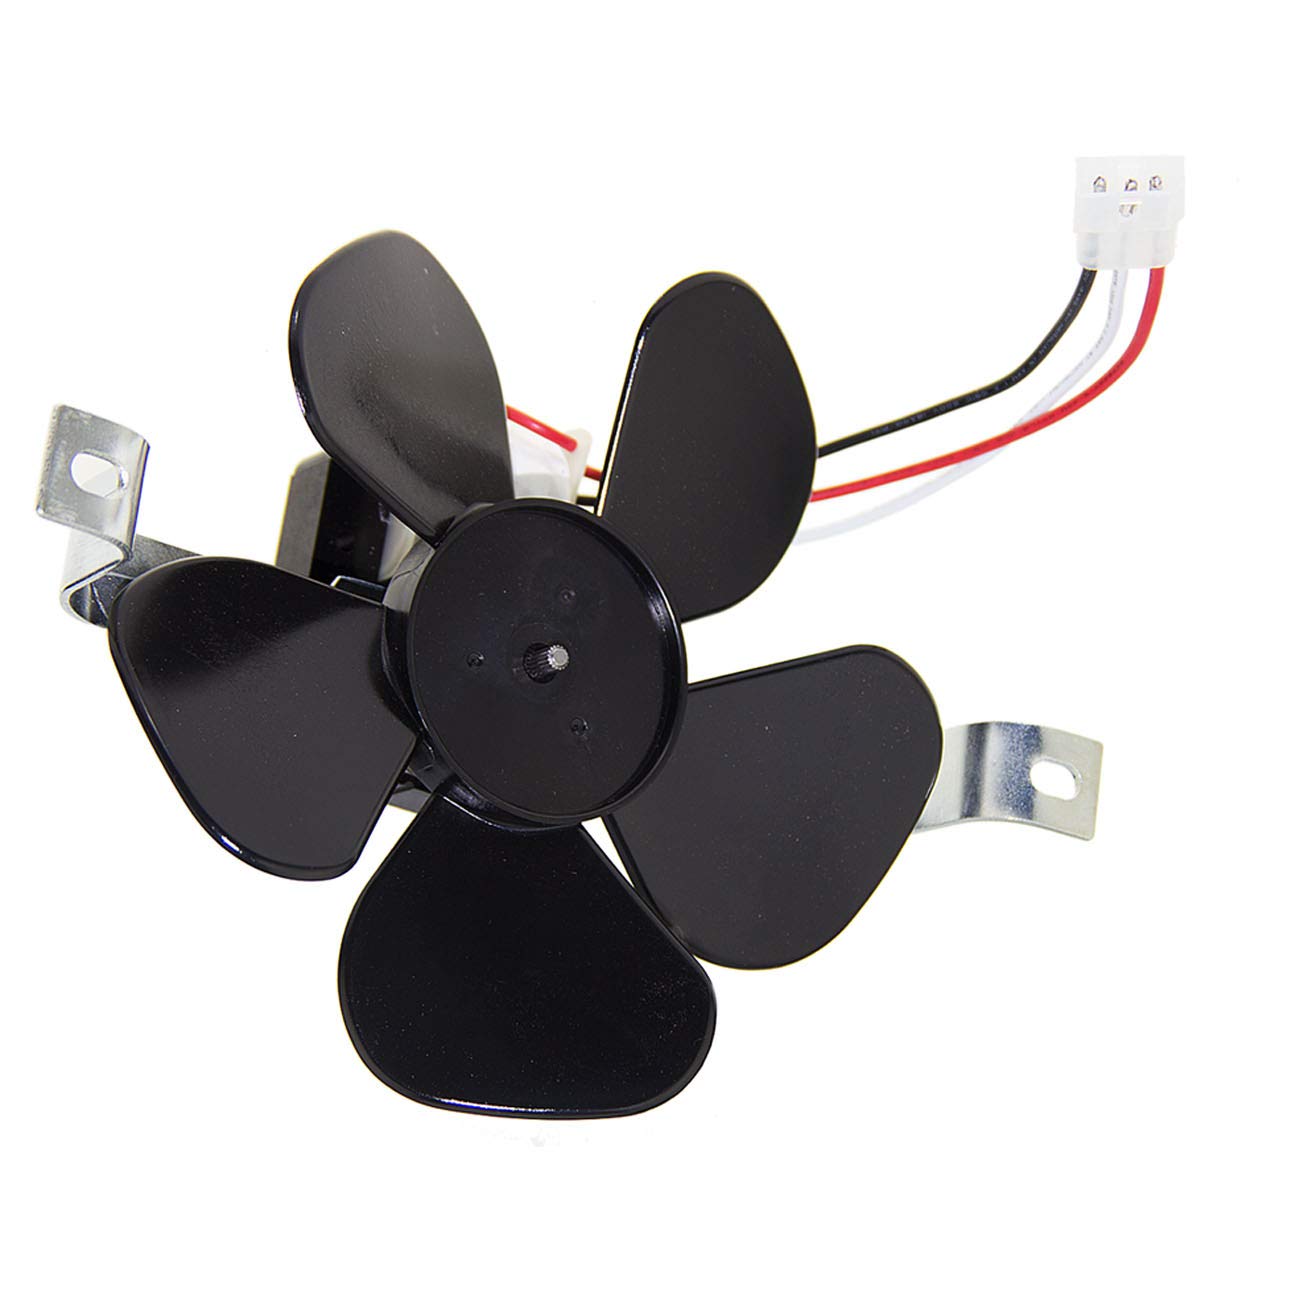
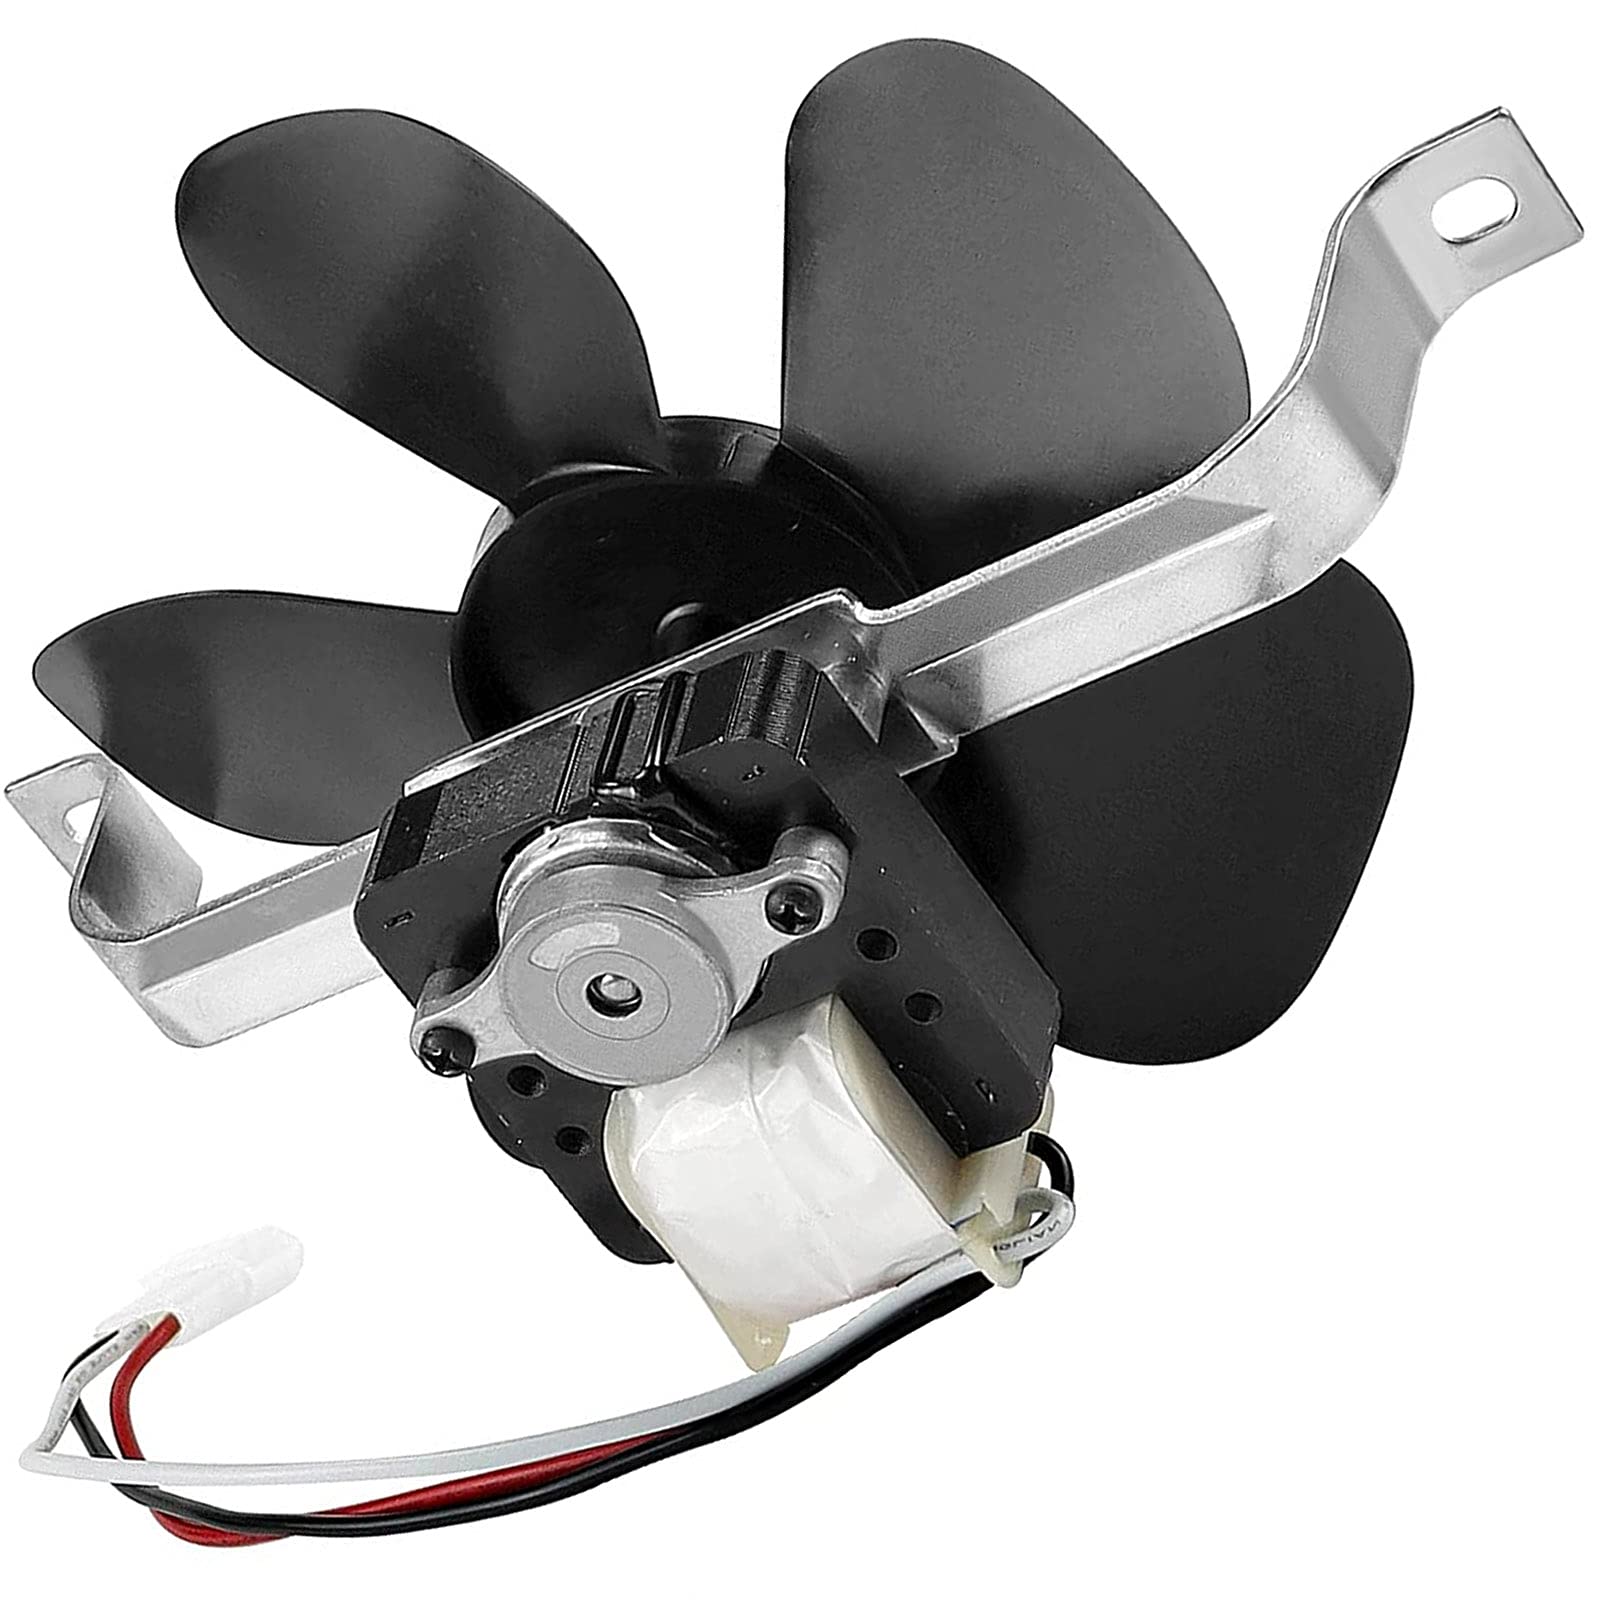
Step 4: Remove and Clean the Motor
With the fan blades cleaned, the next step is to remove and clean the motor itself. The motor is located behind the fan blades and is responsible for powering the ventilation system. Follow these steps to remove and clean the motor:
- Start by disconnecting any electrical connections or wires that are connected to the motor. Take note of the connections or take pictures beforehand to ensure proper reconnection later.
- Next, locate the screws or fasteners that secure the motor in place. Use a screwdriver to remove these screws and carefully detach the motor from the hood.
- Once the motor is removed, inspect it for any visible dirt or debris. You can use a soft brush or compressed air to remove any loose particles.
- For a more thorough cleaning, you can dampen a cloth or sponge with a mild cleaning solution and gently wipe down the motor. Be careful not to get the motor excessively wet or damage any electrical components.
- Take note of any specific cleaning instructions provided by the manufacturer, as some motors may require specialized care.
After cleaning the motor, allow it to dry completely before reassembling the range hood.
Read more: How To Clean Fotile Range Hood
Step 5: Reassemble the Hood
After cleaning the motor, it’s time to reassemble the range hood. Follow these steps to ensure proper reassembly:
- Begin by carefully placing the cleaned motor back into its original position in the hood. Make sure it aligns correctly with the mounting holes.
- Secure the motor in place by tightening the screws or fasteners that were removed earlier. Ensure that the motor is firmly attached and stable.
- Reconnect any electrical connections or wires to the motor, following the notes or pictures taken during the disassembly process.
- Double-check all connections to ensure that everything is properly aligned and secured.
- Retrieve the fan cover that was set aside earlier and insert it back into its housing. Use the screws or clips to secure it in place.
With the hood reassembled, you are one step away from completing the cleaning process.
Step 6: Test the Motor
Once you have reassembled the range hood, it’s important to test the motor to ensure that it is functioning properly. Follow these steps to test the motor:
- Ensure that the power supply to the range hood is restored. Turn on the power switch or flip the circuit breaker back to the “on” position.
- Switch on the range hood and observe the motor’s performance. Pay attention to any unusual sounds, vibrations, or irregularities in its operation.
- Check that the fan blades are spinning smoothly and that there is proper air circulation. If you notice any issues, such as a noisy motor or poor airflow, it may indicate that further maintenance or repairs are needed.
- If the motor is running smoothly, allow it to operate for a few minutes to ensure its stability.
- Finally, check for any signs of overheating or electrical malfunctions. Carefully feel the motor to ensure that it is not excessively hot and inspect the wiring connections for any signs of damage or loose connections.
If you encounter any problems or have concerns about the motor’s performance, it may be best to consult a professional technician for further assistance.
Conclusion
Cleaning the range hood motor is a vital maintenance task that ensures the optimal performance of your kitchen ventilation system. By following the steps outlined in this guide, you can easily clean and maintain your range hood motor.
Remember to prioritize safety by disconnecting the power supply before starting the cleaning process. Remove the fan cover and clean the fan blades to eliminate any grease or dirt buildup. Take caution when removing and cleaning the motor, being mindful of electrical connections and following manufacturer instructions.
After cleaning the motor, reassemble the hood carefully, securing the motor and reconnecting any electrical connections. Finally, test the motor to ensure it is functioning correctly, paying attention to any irregularities or signs of malfunction.
Regular maintenance, including cleaning the range hood motor, not only improves its performance but also contributes to a cleaner and healthier kitchen environment. By keeping your range hood motor clean, you can enjoy efficient ventilation and effectively remove cooking odors, smoke, and airborne particles from your kitchen.
With a well-maintained range hood motor, you can cook with confidence, knowing that your kitchen is properly ventilated. So, don’t neglect this important maintenance task and make it a regular part of your cleaning routine.
Frequently Asked Questions about How To Clean Range Hood Motor
Was this page helpful?
At Storables.com, we guarantee accurate and reliable information. Our content, validated by Expert Board Contributors, is crafted following stringent Editorial Policies. We're committed to providing you with well-researched, expert-backed insights for all your informational needs.


0 thoughts on “How To Clean Range Hood Motor”