Home>Renovation & DIY>Home Renovation Guides>How To Install A Pella Storm Door
Home Renovation Guides
How To Install A Pella Storm Door
Modified: March 1, 2024
Learn how to install a Pella storm door with our comprehensive home renovation guide. Follow our step-by-step instructions for a hassle-free installation.
(Many of the links in this article redirect to a specific reviewed product. Your purchase of these products through affiliate links helps to generate commission for Storables.com, at no extra cost. Learn more)
Introduction
Welcome to the comprehensive guide on installing a Pella storm door! Whether you're a seasoned DIY enthusiast or a novice looking to enhance your home, this step-by-step tutorial will equip you with the knowledge and confidence to tackle this project with ease.
Installing a Pella storm door not only adds an extra layer of protection to your home but also enhances its aesthetic appeal. With the right tools, materials, and a clear understanding of the process, you'll be able to transform your entrance while enjoying the satisfaction of a job well done.
In this guide, we'll walk you through each stage of the installation, from preparing the door frame to adjusting and testing the final product. By following these instructions, you'll be able to seamlessly integrate a Pella storm door into your home, reaping the benefits of improved energy efficiency, enhanced security, and a touch of style.
So, roll up your sleeves, gather your tools, and let's embark on this home improvement journey together. With a little effort and the guidance provided here, you'll soon be enjoying the many advantages that come with a professionally installed Pella storm door.
Key Takeaways:
- Upgrade your home with a Pella storm door for added protection, energy efficiency, and style. Follow the step-by-step guide to confidently install and enjoy the benefits of a secure and welcoming entryway.
- With the right tools and materials, anyone can successfully install a Pella storm door. From preparing the frame to adjusting and testing, this DIY project enhances your home with improved insulation and security.
Read more: Installing A Storm Door
Tools and Materials
Before diving into the installation process, it's essential to ensure that you have the necessary tools and materials at your disposal. Here's a comprehensive list to help you prepare for the project:
Tools:
- Measuring tape
- Power drill
- Screwdriver
- Level
- Hacksaw (for optional cutting of the Z-bar)
- Utility knife
- Hammer
- Adjustable wrench
- Phillips and flathead screwdrivers
- Safety glasses
- Work gloves
Materials:
- Pella storm door
- Mounting screws
- Wood shims
- Expanding foam sealant
- Finishing nails
- Exterior caulk
- Touch-up paint (if needed)
- Weather-resistant screws
- Door hardware (handle, lockset, etc.)
Having these tools and materials on hand will streamline the installation process and ensure that you’re well-equipped to handle any challenges that may arise. With everything ready to go, you can proceed with confidence, knowing that you have what you need to complete the project efficiently and effectively.
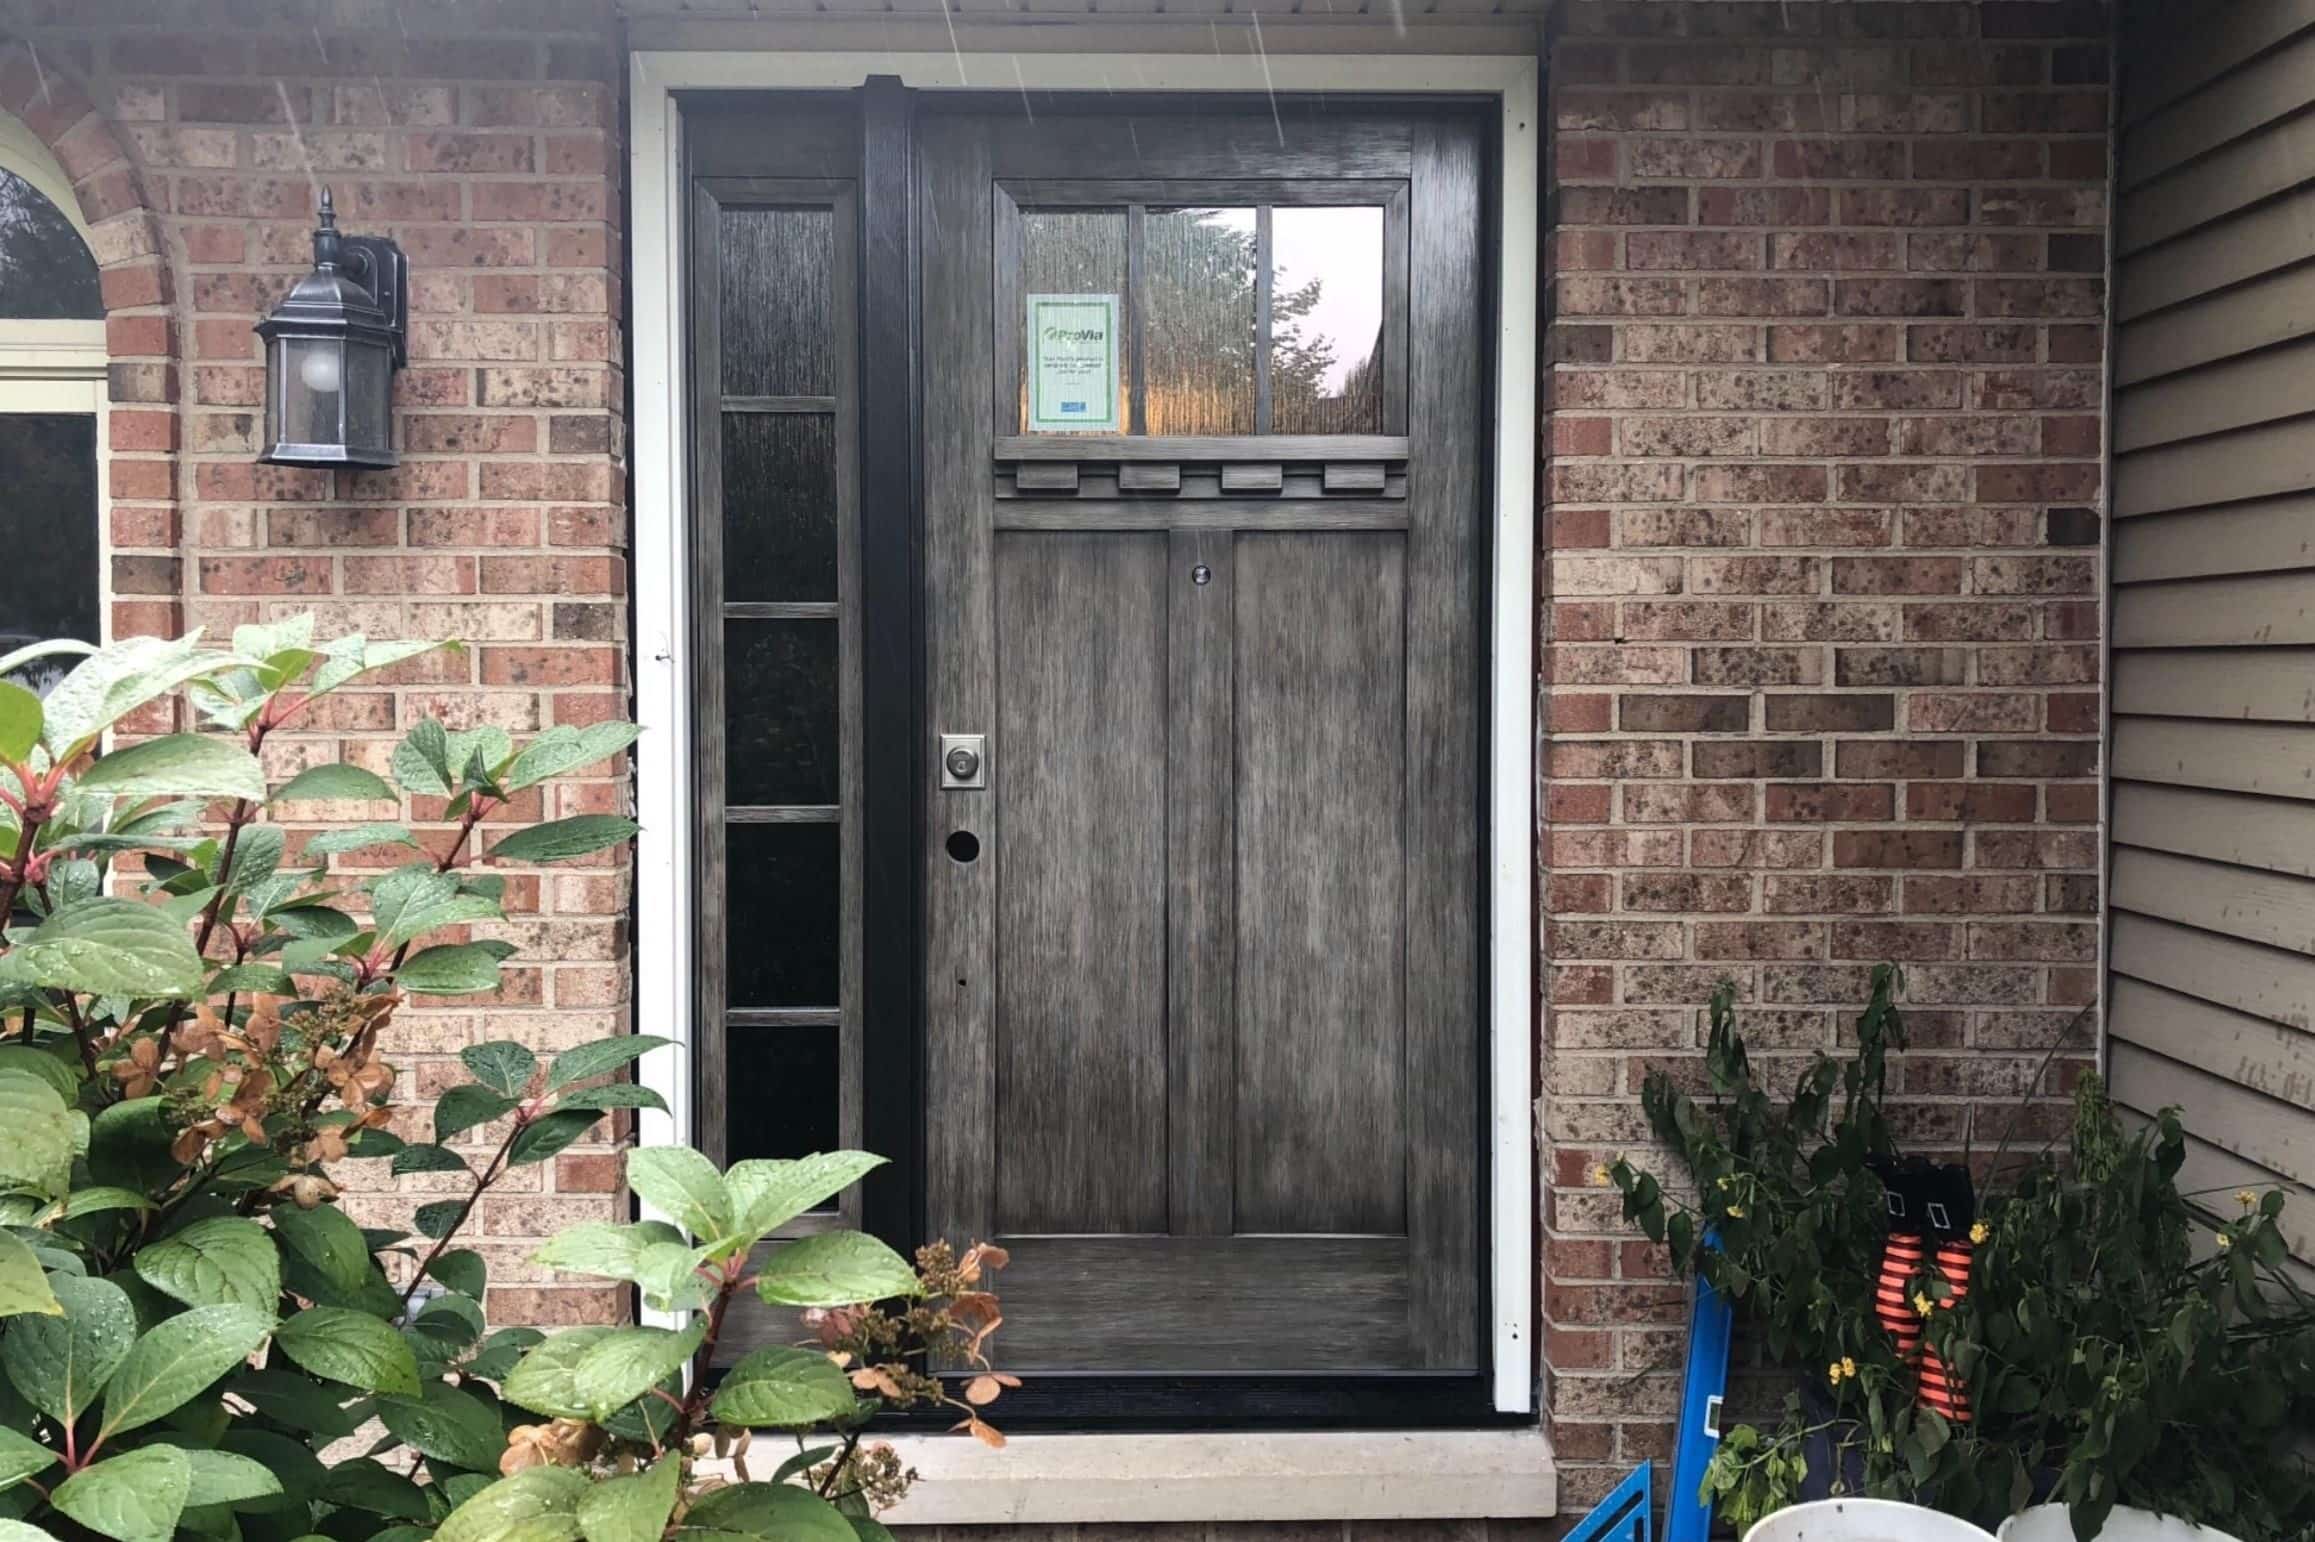
Preparing the Door Frame
Before installing your Pella storm door, it’s crucial to prepare the door frame to ensure a seamless and secure fit. Follow these steps to ready the frame for the installation:
- Measure and Assess: Begin by measuring the opening where the storm door will be installed. Check for any irregularities or obstructions that may impede the installation process.
- Remove the Existing Door (if applicable): If there is an existing door in place, carefully remove it, taking care to preserve any hardware or components that may be reused.
- Clean and Repair: Thoroughly clean the door frame, removing any debris, dirt, or old caulk. Inspect the frame for any damage or rot, and make any necessary repairs before proceeding.
- Check for Level and Plumb: Use a level to ensure that the door frame is plumb and level. Make any adjustments as needed, using shims to correct any discrepancies.
- Apply Exterior Caulk: Seal any gaps or cracks around the frame with exterior caulk, creating a weather-resistant barrier that will help prevent drafts and moisture infiltration.
By thoroughly preparing the door frame, you’ll create a solid foundation for the installation of your Pella storm door. Taking the time to assess, clean, and repair the frame will contribute to a smooth and successful installation process, setting the stage for a secure and well-sealed entryway.
Read more: How To Install A Door Closer On A Storm Door
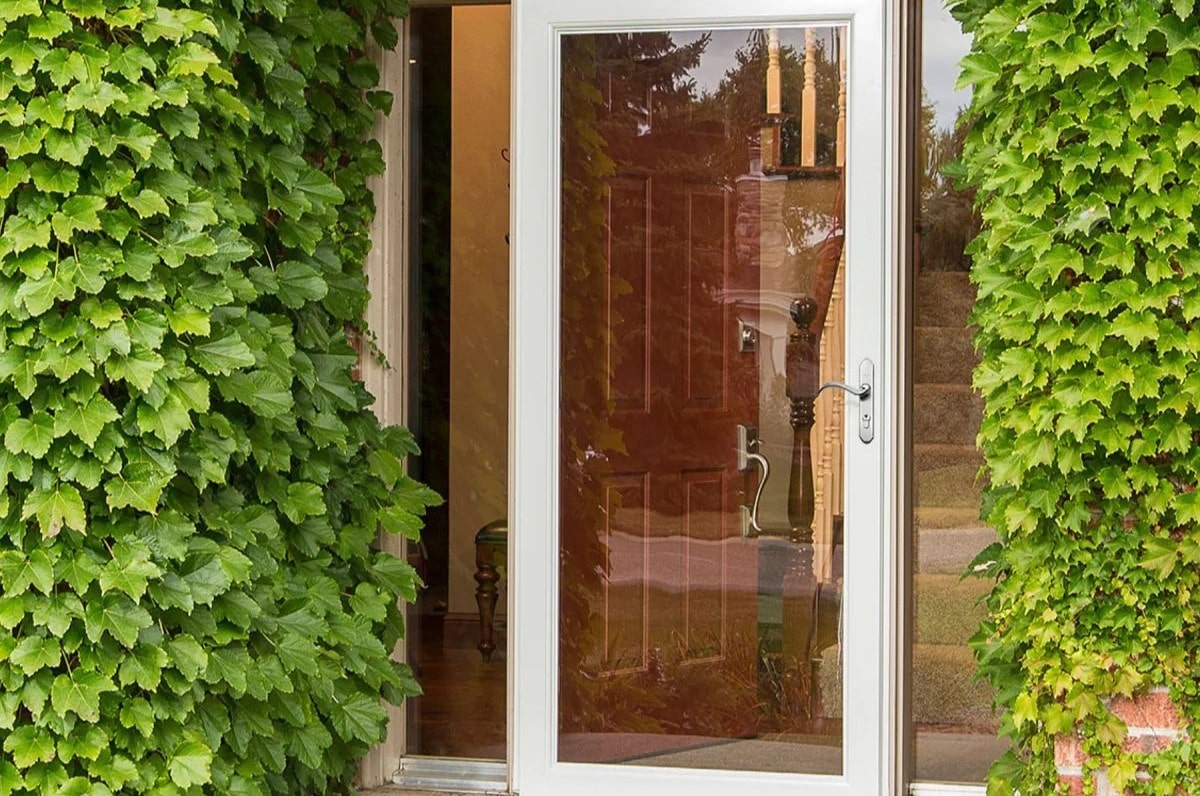
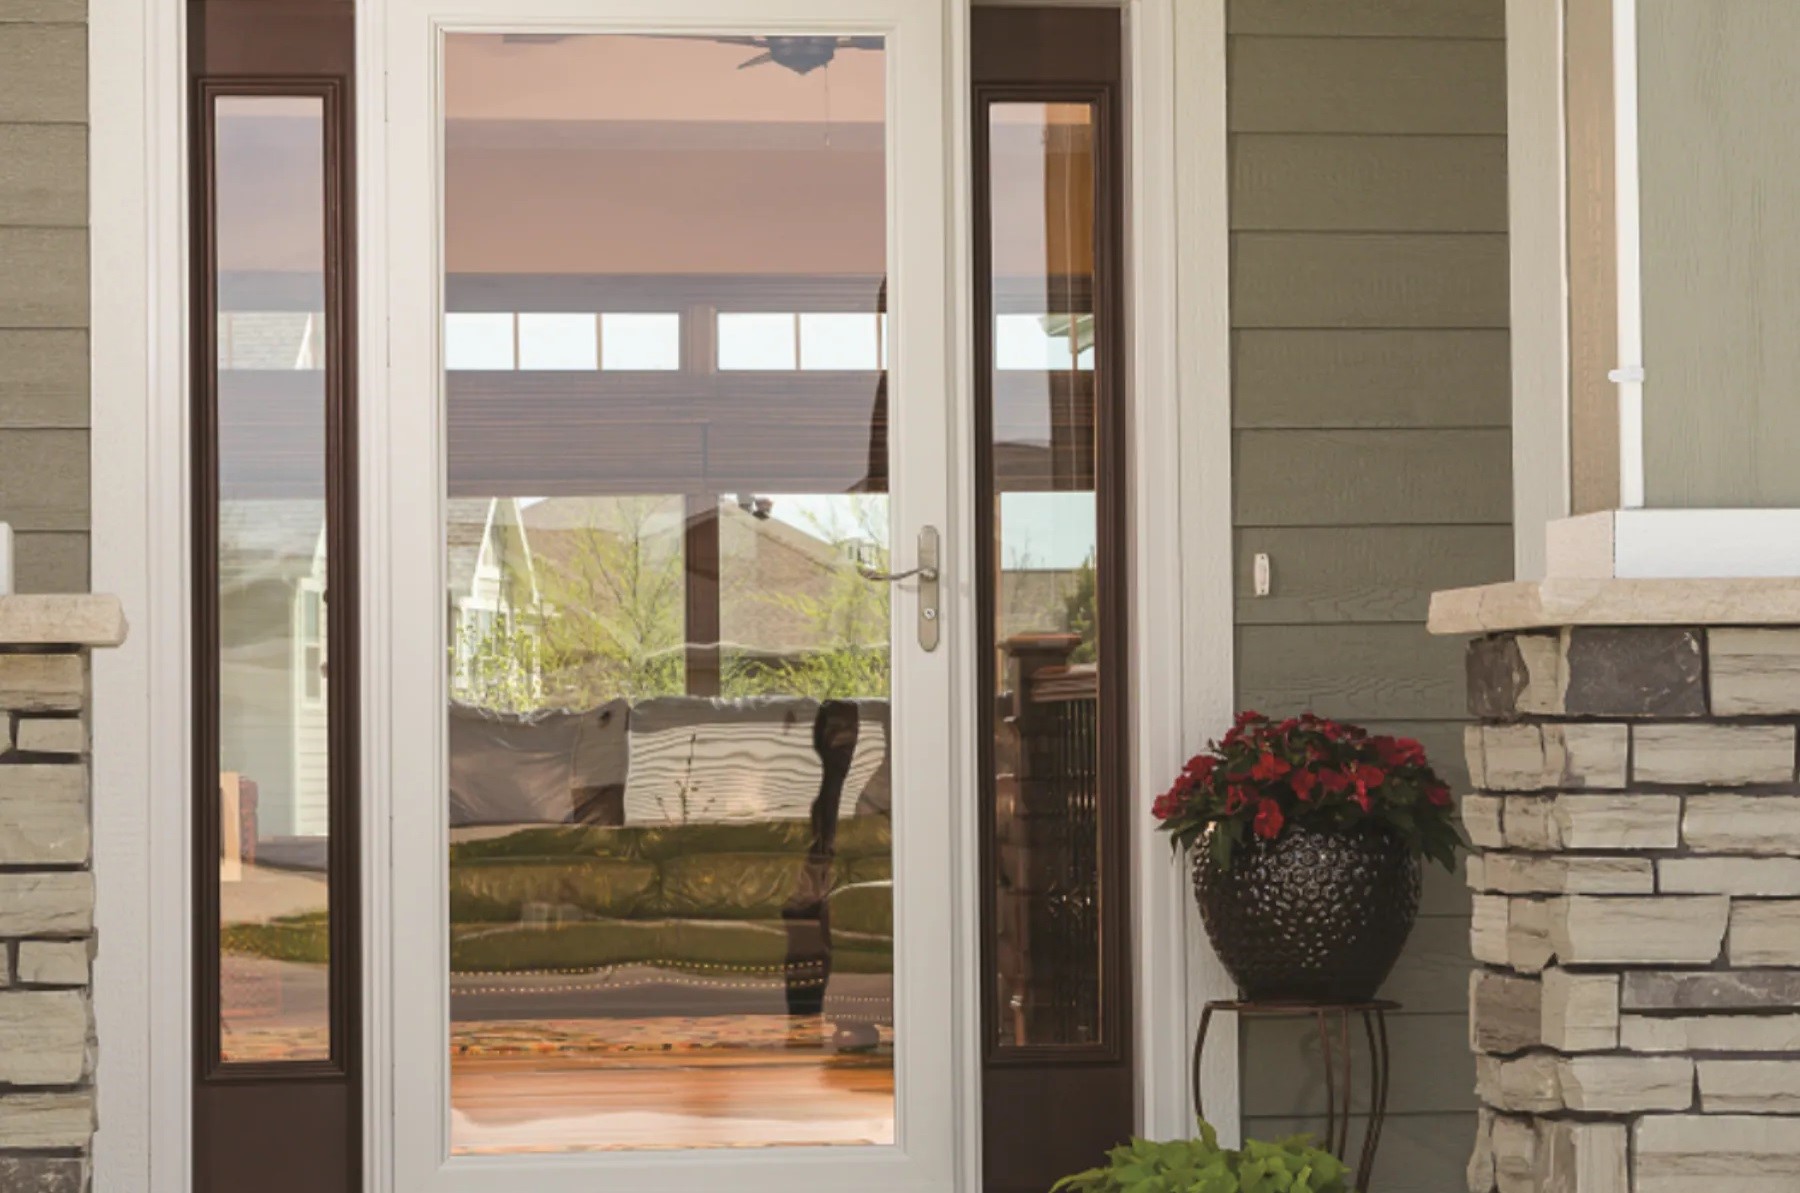
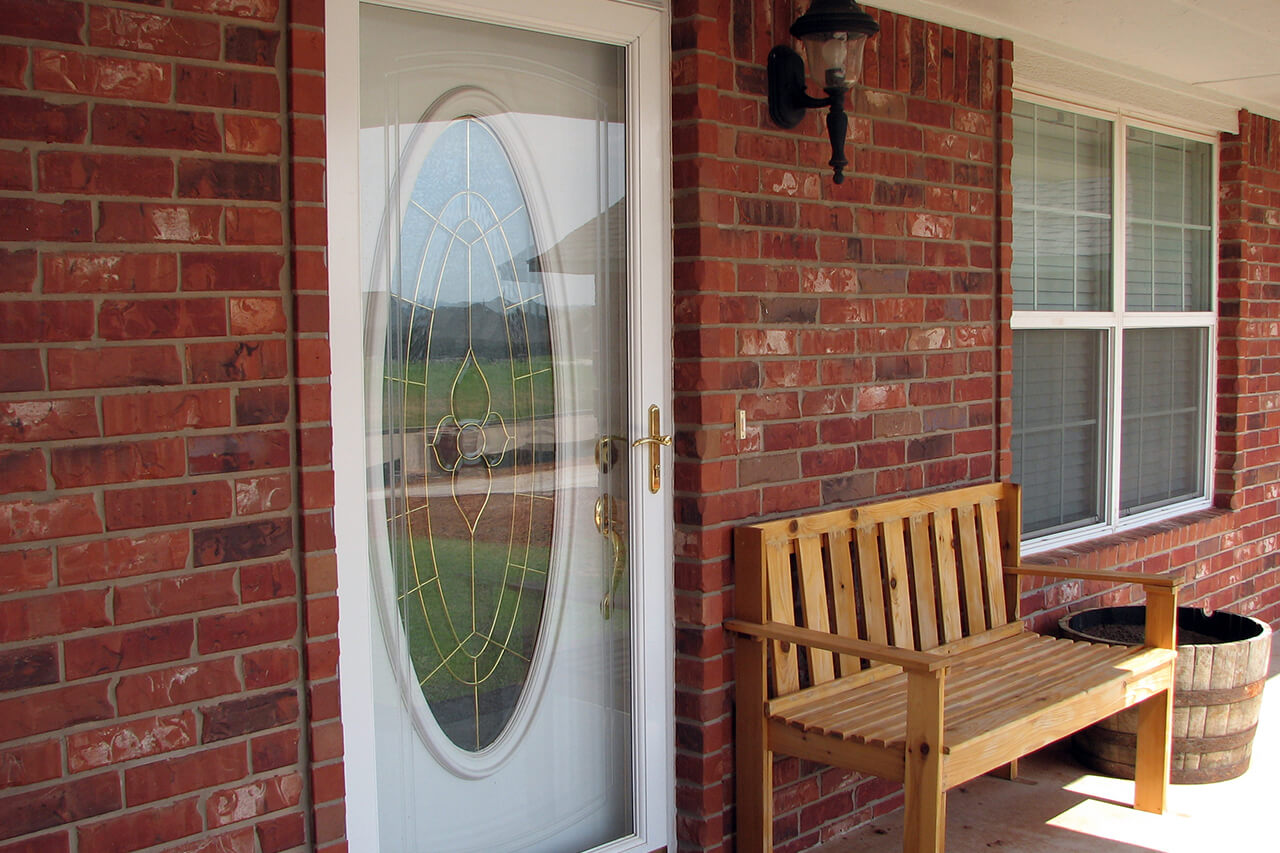
Installing the Door
With the door frame prepared, it’s time to proceed with the installation of your Pella storm door. Follow these steps to ensure a secure and professional installation:
- Position the Door: Carefully place the storm door in the opening, ensuring that it is aligned and centered within the frame.
- Secure the Hinge Rail: Using mounting screws, secure the hinge rail to the door frame, ensuring that it is firmly attached and properly aligned.
- Attach the Z-bar: If your storm door features a Z-bar, attach it to the exterior side of the door frame, following the manufacturer’s instructions. This component provides additional protection and structural support.
- Check for Smooth Operation: Open and close the door to ensure that it operates smoothly and without any obstructions. Make any necessary adjustments to the positioning or alignment as needed.
- Secure the Door: Once the door is properly positioned and aligned, secure it in place using mounting screws, taking care to maintain its alignment throughout the process.
By following these steps, you’ll be well on your way to completing the installation of your Pella storm door. Ensuring that the door is securely positioned and aligned within the frame is essential for its functionality and longevity, so take the time to complete this step with care and precision.
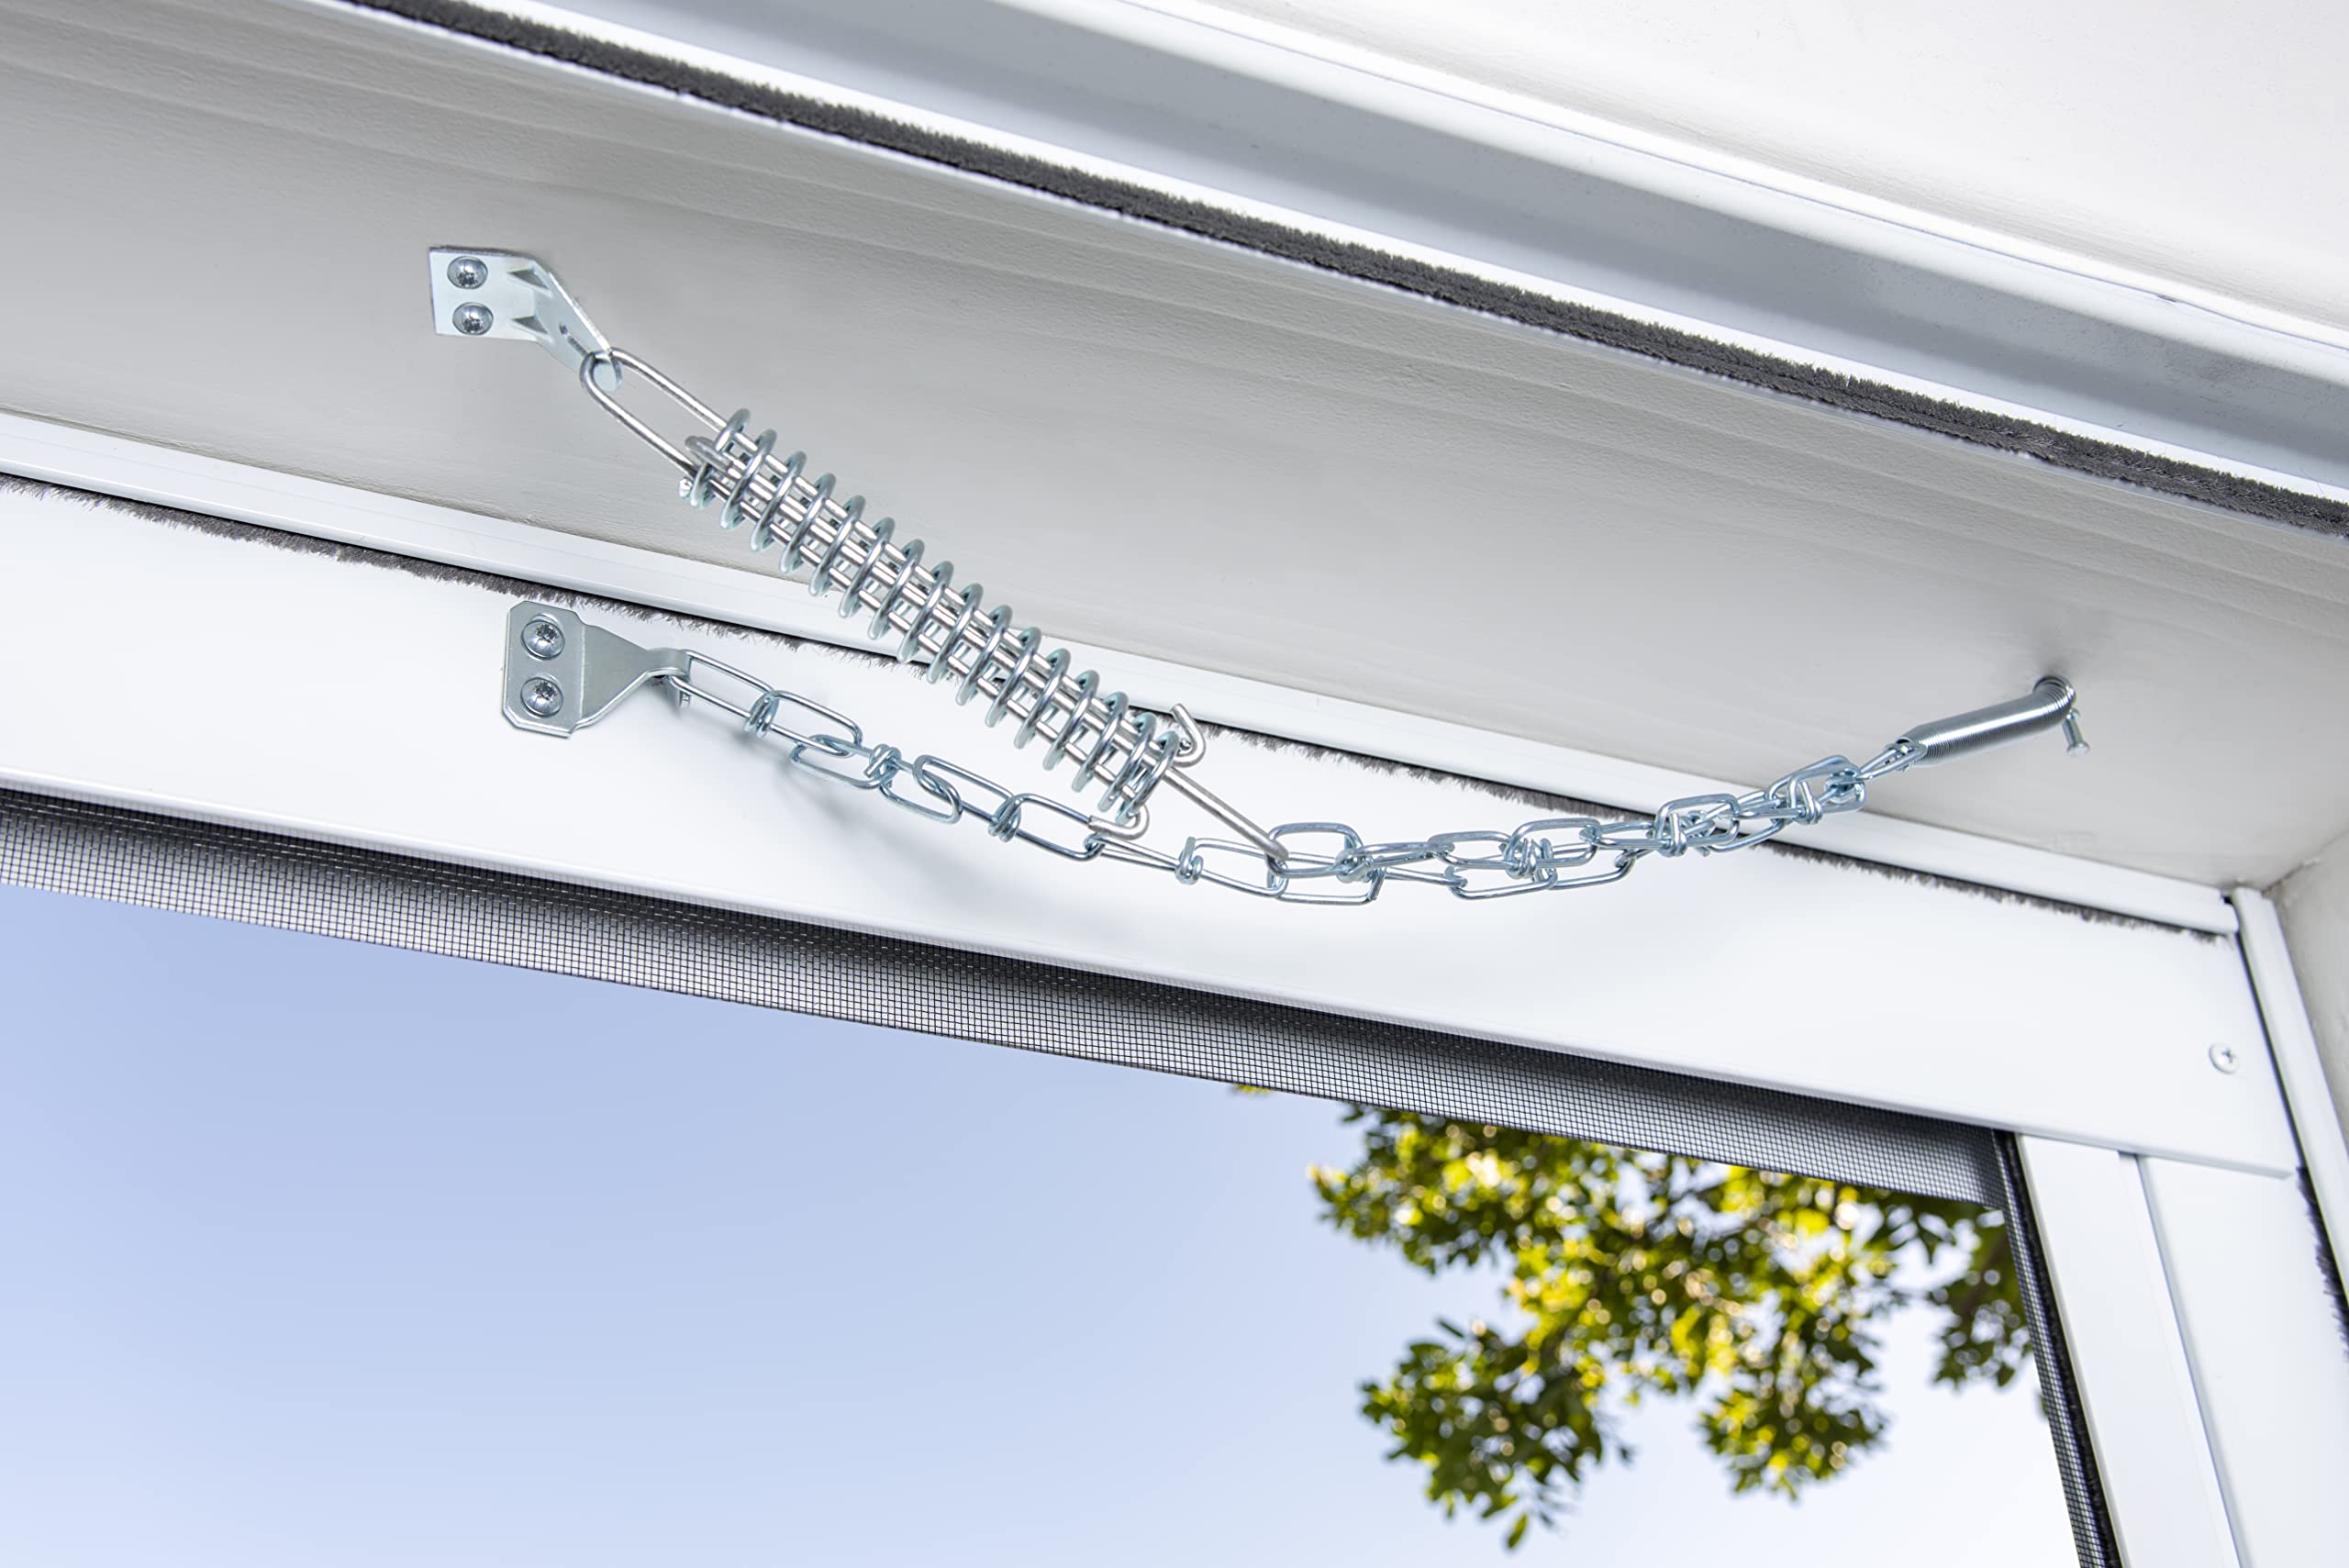
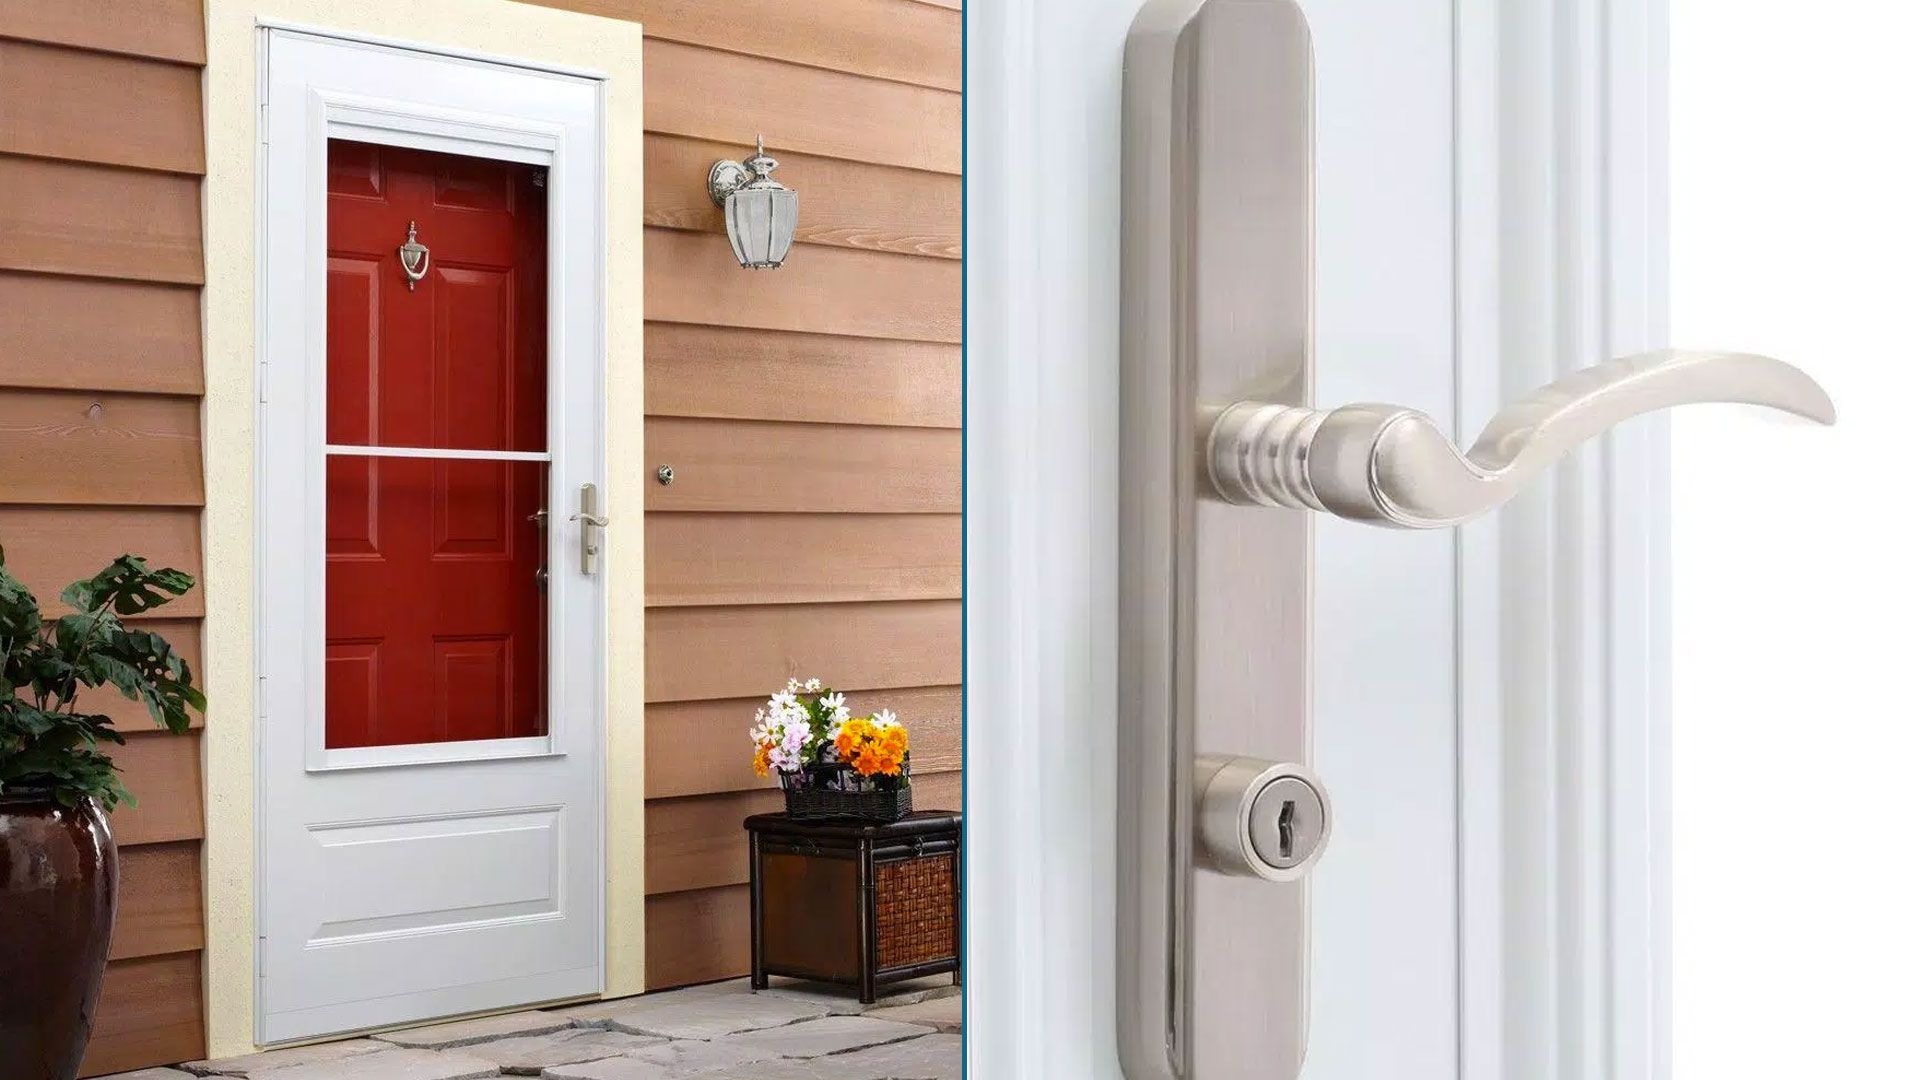
Attaching Hardware
With the Pella storm door securely installed, the next step is to attach the necessary hardware to complete the functionality and security of the door. Follow these steps to ensure that the hardware is properly installed and integrated:
- Install the Handle and Lockset: Begin by installing the handle and lockset according to the manufacturer’s instructions. Ensure that they are securely attached and aligned for smooth operation.
- Adjust the Closer: If your storm door features a pneumatic closer, follow the provided instructions to install and adjust it for optimal closing and latching functionality.
- Attach the Kickplate (if applicable): If your storm door includes a kickplate, attach it to the lower portion of the door, providing added protection and durability.
- Test the Hardware: Once all the hardware is installed, test each component to ensure that it functions smoothly and securely. Check the handle, lockset, closer, and any other hardware to confirm proper operation.
Attaching the hardware is a critical step in completing the installation of your Pella storm door. Taking the time to ensure that each component is properly installed and functioning as intended will contribute to the door’s overall performance and longevity, providing you with peace of mind and added security for your home.
Before installing a Pella storm door, make sure to measure the opening accurately to ensure a proper fit. This will help avoid any issues during the installation process.
Adjusting and Testing
With the Pella storm door installed and the hardware attached, it’s essential to perform a series of adjustments and tests to ensure that the door operates smoothly and provides the desired level of security and protection. Follow these steps to fine-tune the door’s functionality:
- Check Alignment and Operation: Verify that the door is properly aligned within the frame and that it opens and closes smoothly without any obstructions or sticking points.
- Adjust the Closer: If necessary, make adjustments to the pneumatic closer to regulate the door’s closing speed and ensure that it latches securely without slamming or bouncing back.
- Test the Lockset: Verify that the lockset operates smoothly, engaging and disengaging the lock without any difficulty. Ensure that the key cylinder, if applicable, functions properly.
- Check for Weather Stripping Effectiveness: Assess the effectiveness of the weather stripping by running a hand around the perimeter of the door to detect any drafts or air leaks. Make adjustments as needed to improve the seal.
- Perform Security Checks: Test the security features of the door, ensuring that the lockset provides a secure and reliable locking mechanism for your home.
By carefully adjusting and testing the Pella storm door, you can fine-tune its operation and ensure that it provides the desired level of security, energy efficiency, and functionality. Taking the time to complete these checks will contribute to a successful installation and long-term satisfaction with your new storm door.
Conclusion
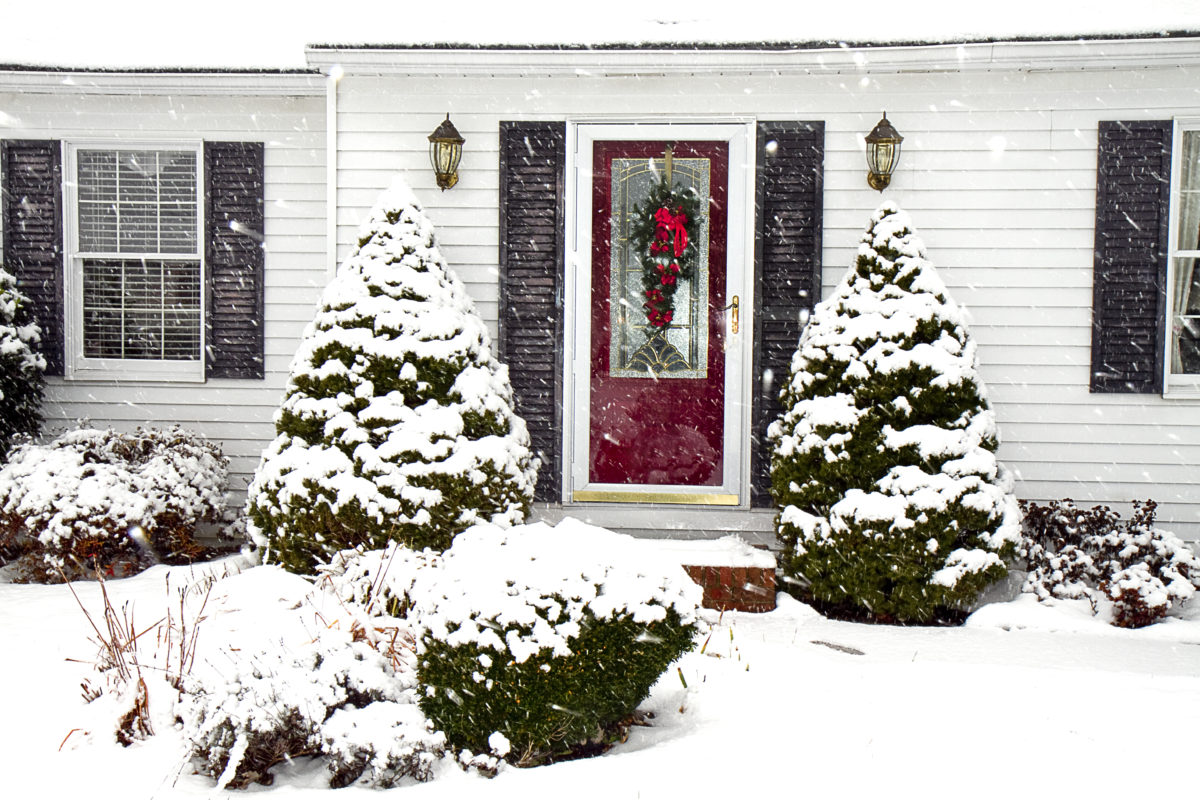
Congratulations on successfully installing your Pella storm door! By following the steps outlined in this guide, you’ve not only enhanced the security and energy efficiency of your home but also added a touch of style to your entryway. As you stand back and admire your handiwork, take pride in the fact that you’ve completed a significant home improvement project that will benefit you for years to come.
With your new Pella storm door in place, you can look forward to improved insulation, reduced energy costs, and enhanced protection against the elements. Additionally, the added security features and stylish design elements will undoubtedly elevate the overall aesthetic appeal of your home’s exterior.
As you enjoy the benefits of your newly installed storm door, take a moment to appreciate the effort you’ve put into this project. From preparing the door frame to fine-tuning the hardware and conducting thorough tests, you’ve demonstrated your dedication to creating a secure and welcoming home environment.
Should you encounter any challenges during the installation process or have questions about maintaining your storm door in the future, don’t hesitate to reach out to Pella’s customer support or consult additional resources to ensure that your investment continues to serve you well.
Thank you for entrusting us with the guidance and expertise needed to install your Pella storm door. We hope this comprehensive guide has empowered you to take on future home improvement projects with confidence and enthusiasm. Here’s to a more secure, energy-efficient, and stylish home!
Frequently Asked Questions about How To Install A Pella Storm Door
Was this page helpful?
At Storables.com, we guarantee accurate and reliable information. Our content, validated by Expert Board Contributors, is crafted following stringent Editorial Policies. We're committed to providing you with well-researched, expert-backed insights for all your informational needs.


0 thoughts on “How To Install A Pella Storm Door”