Home>Furniture>Outdoor Furniture>How To Install Sliding Patio Doors
Outdoor Furniture
How To Install Sliding Patio Doors
Modified: August 27, 2024
Learn how to install sliding patio doors to enhance your outdoor space. Get step-by-step instructions and tips on choosing the right outdoor furniture for a stylish and functional setup.
(Many of the links in this article redirect to a specific reviewed product. Your purchase of these products through affiliate links helps to generate commission for Storables.com, at no extra cost. Learn more)
Introduction
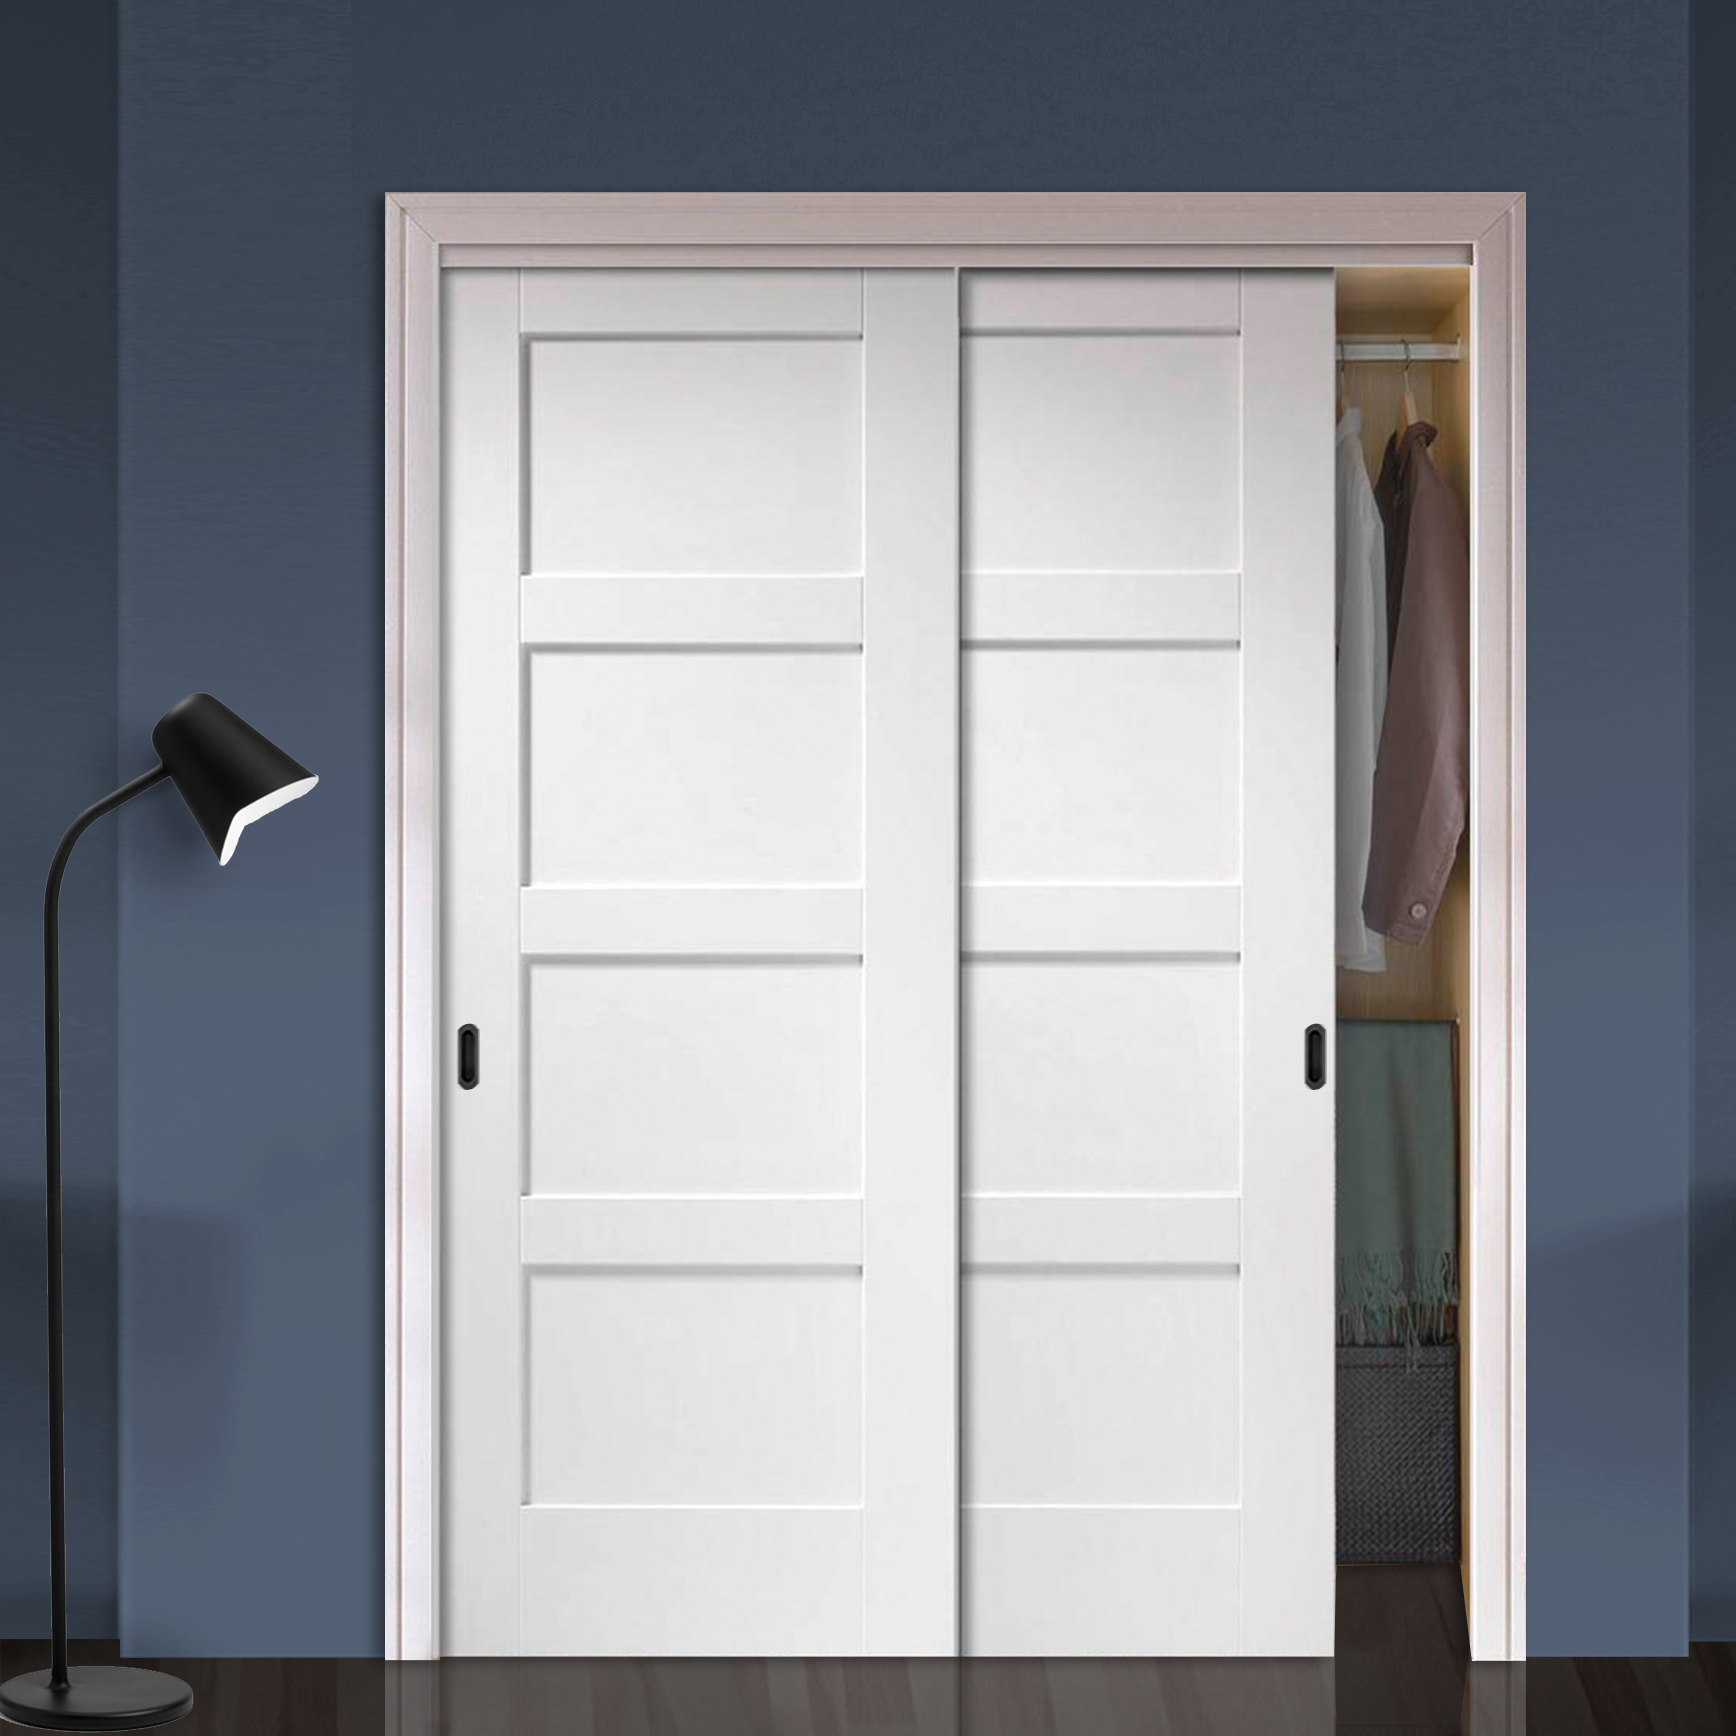
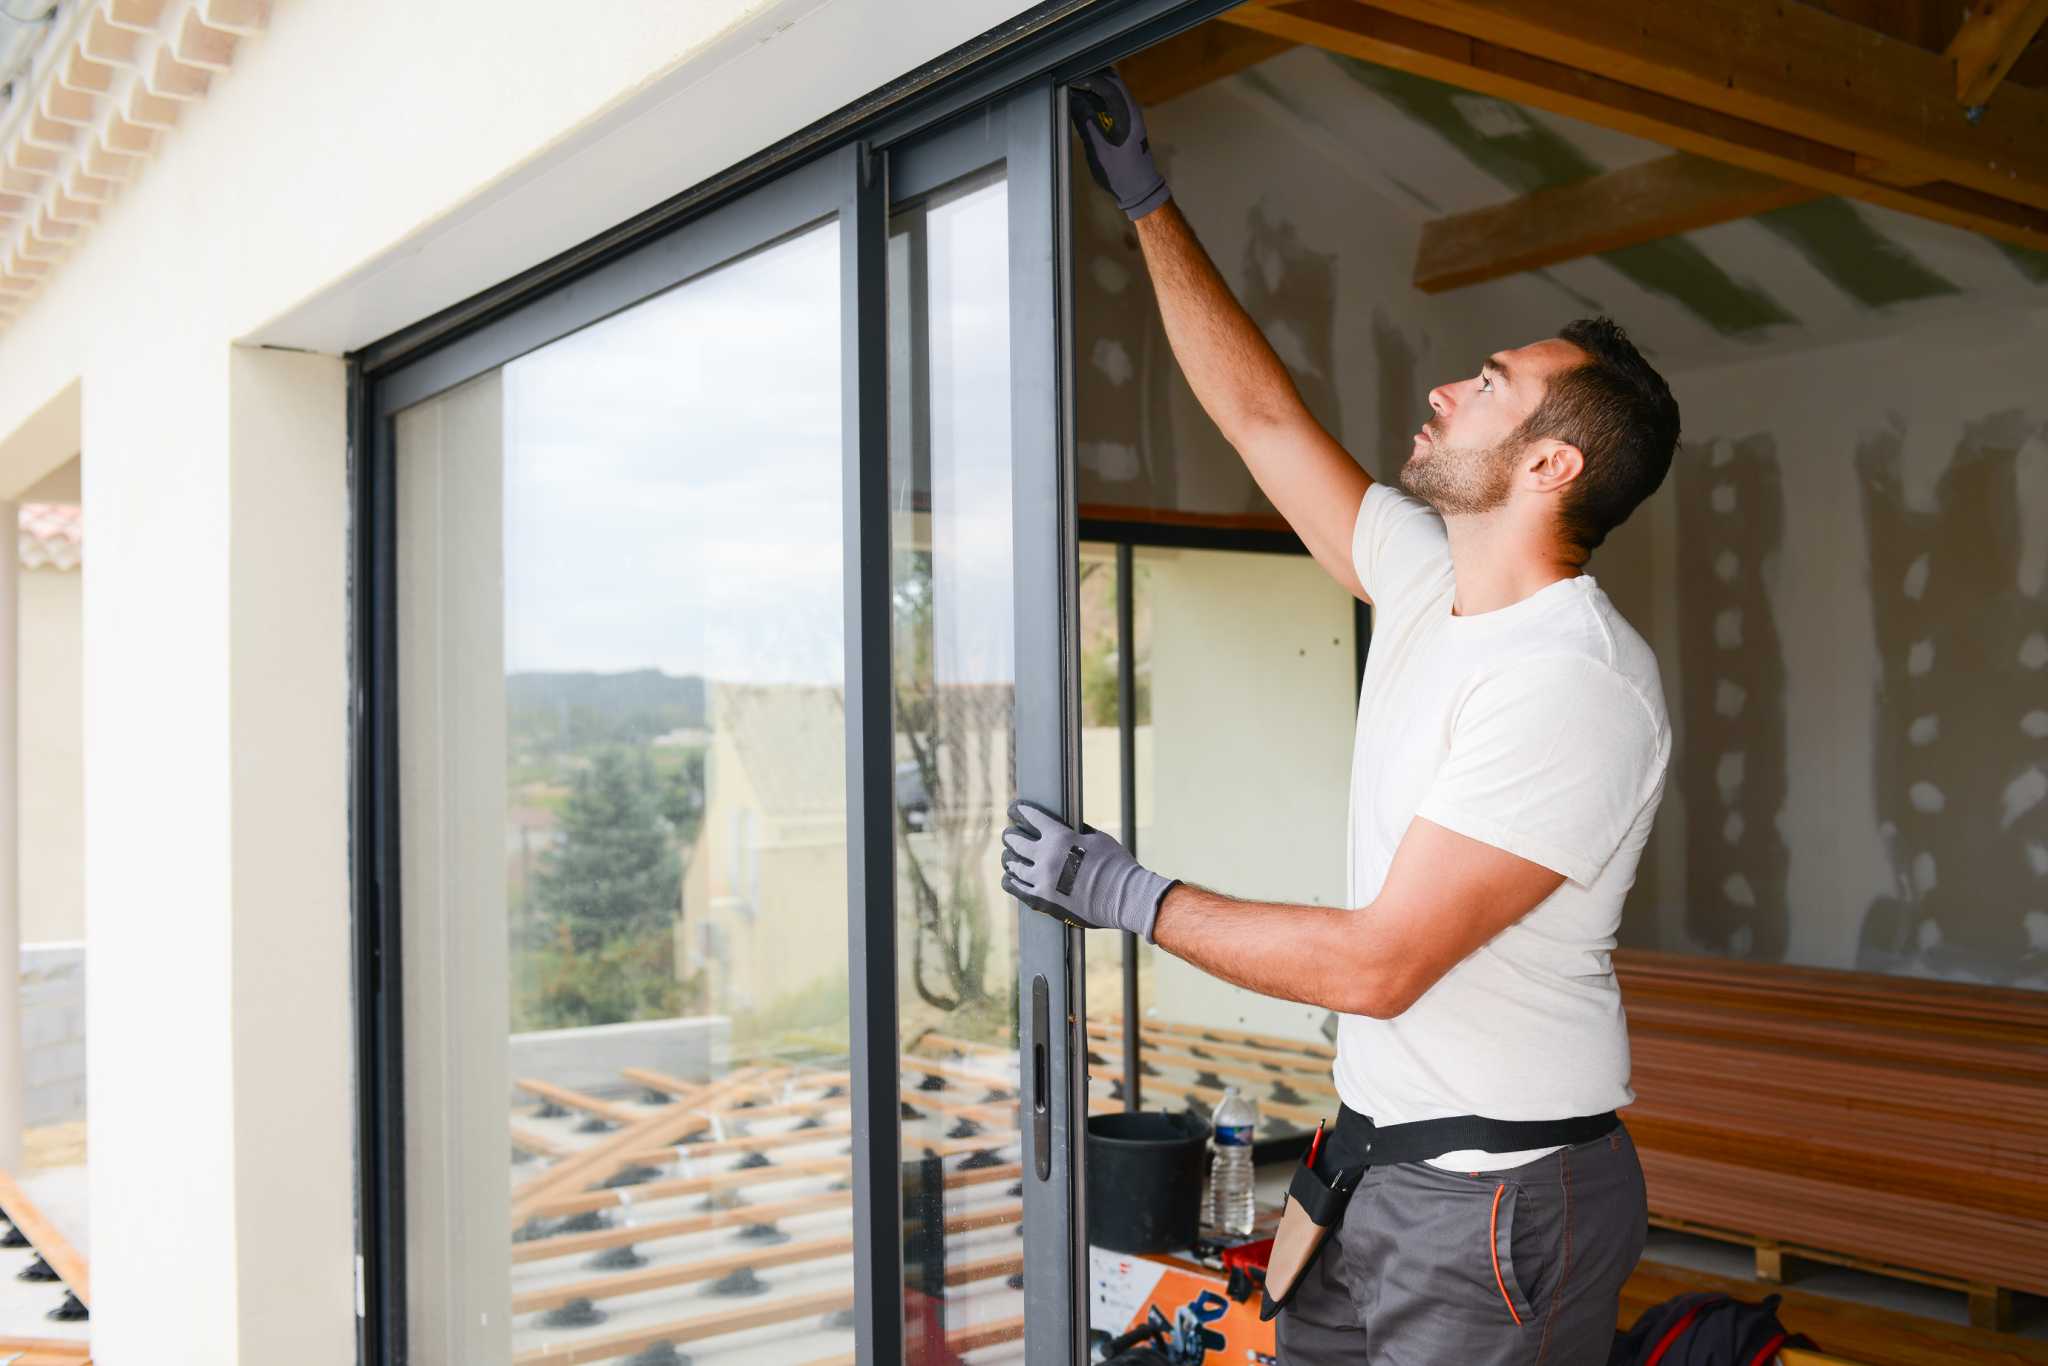
Welcome to our comprehensive guide on how to install sliding patio doors. Sliding patio doors are a popular choice for outdoor spaces, as they offer a seamless transition between your interior and outdoor living areas while allowing an abundance of natural light to enter your home. Whether you are replacing old doors or installing new ones, this step-by-step tutorial will provide you with all the information you need to successfully complete the installation process.
Before you begin, it’s important to gather all the necessary tools and materials. This will ensure that you have everything on hand and can work efficiently. Once you have everything ready, you can dive into the installation process.
Key Takeaways:
- Installing sliding patio doors requires gathering tools, measuring the door opening, removing the existing door, and carefully inserting and securing the sliding panels to ensure a seamless and functional transition between indoor and outdoor spaces.
- After installing sliding patio doors, it’s important to adjust and test the doors, install the door handle and lock, and seal and insulate the doors to ensure energy efficiency, security, and a well-insulated living space.
Read more: How To Install A Pella Sliding Patio Door
Step 1: Gather Necessary Tools and Materials
Before you start installing your sliding patio doors, make sure you have all the necessary tools and materials ready. Here’s a list of what you’ll need:
- Tape measure
- Screwdriver
- Level
- Drill
- Safety glasses
- Utility knife
- Silicone sealant
- Hammer
- Shims
- Weatherstripping
Having these tools and materials on hand will help streamline the installation process and ensure you have everything you need to complete the job.
Step 2: Measure and Prepare the Door Opening
The next step in installing sliding patio doors is to measure and prepare the door opening. Follow these steps:
- Measure the width and height of the door opening. This will determine the size of the sliding door panels you need to purchase.
- Check the opening for squareness. Use a level to ensure that the sides and top of the opening are perfectly vertical and horizontal, respectively. If there are any discrepancies, you may need to make adjustments before proceeding.
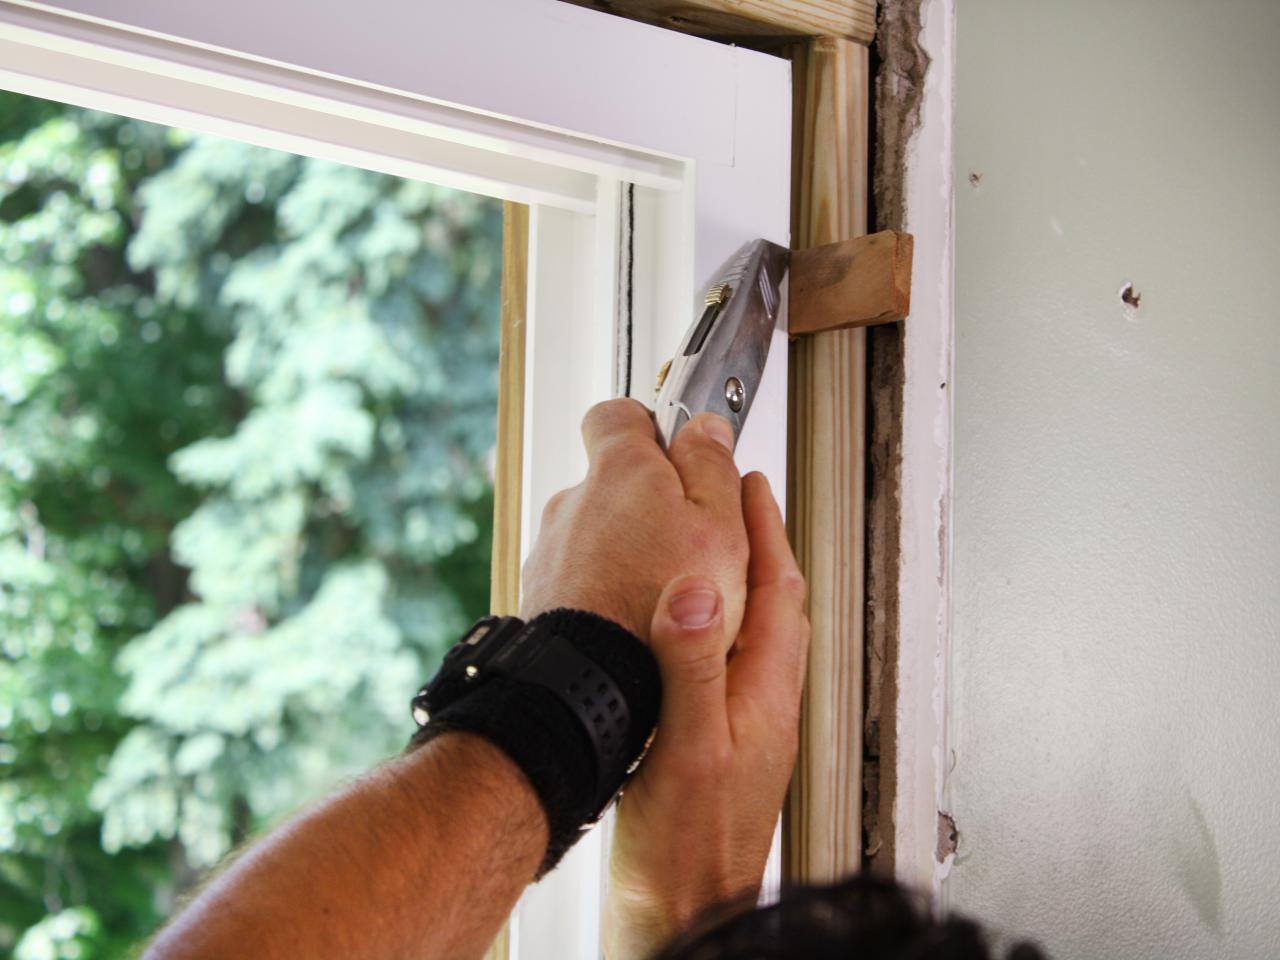
- Remove any trim or molding around the door opening. This will create a clean and unobstructed space for the new patio doors.
- Inspect the door sill for any damage or rot. If necessary, replace or repair the sill to ensure a solid foundation for the sliding doors.
- Apply a generous amount of silicone sealant to the bottom of the door opening. This will create a watertight seal and prevent any moisture from seeping in.
By carefully measuring and preparing the door opening, you will ensure that the installation process goes smoothly and that your sliding patio doors fit perfectly.
Step 3: Remove the Existing Door
Now that you have measured and prepared the door opening, it’s time to remove the existing door. Follow these steps:
- Start by removing any screws or nails securing the door frame to the surrounding walls.
- With the help of a partner, carefully lift and remove the door from its frame. Be cautious, as doors can be heavy and bulky.
- Once the door is removed, inspect the frame for any damage or rot. If necessary, repair or replace the frame to ensure a sturdy foundation for your new sliding patio doors.
- Use a utility knife to cut away any caulking or adhesive holding the frame in place. This will make it easier to remove the frame without causing any damage to the surrounding walls.
- Gently pry the door frame away from the opening using a screwdriver or pry bar. Take your time to avoid any unnecessary force or damage.
- Remove any remaining screws or nails from the frame and set them aside for future use or disposal.
By carefully removing the existing door and frame, you create a clean slate for the installation of your sliding patio doors. Take your time and be mindful of any delicate areas to avoid any unnecessary damage.
Step 4: Install the Bottom Track
With the existing door removed, it’s time to install the bottom track for your sliding patio doors. Follow these steps:
- Measure the width of the door opening and mark the center point.
- Place the bottom track on the floor, aligning it with the center point.
- Ensure that the bottom track is level using a level. Make any adjustments as needed.
- Secure the bottom track to the floor using screws or nails. Be sure to use the appropriate fasteners for your flooring material.
- Repeat the process for the opposite end of the bottom track, ensuring it is level and securely fastened.
The bottom track provides a smooth and stable surface for the sliding door panels to glide on. It is important to ensure that the bottom track is installed level to avoid any issues with the operation of the doors.
Read more: How To Buy A Sliding Patio Door
Step 5: Insert the Sliding Panels
Now that the bottom track is installed, it’s time to insert the sliding panels into the track. Follow these steps:
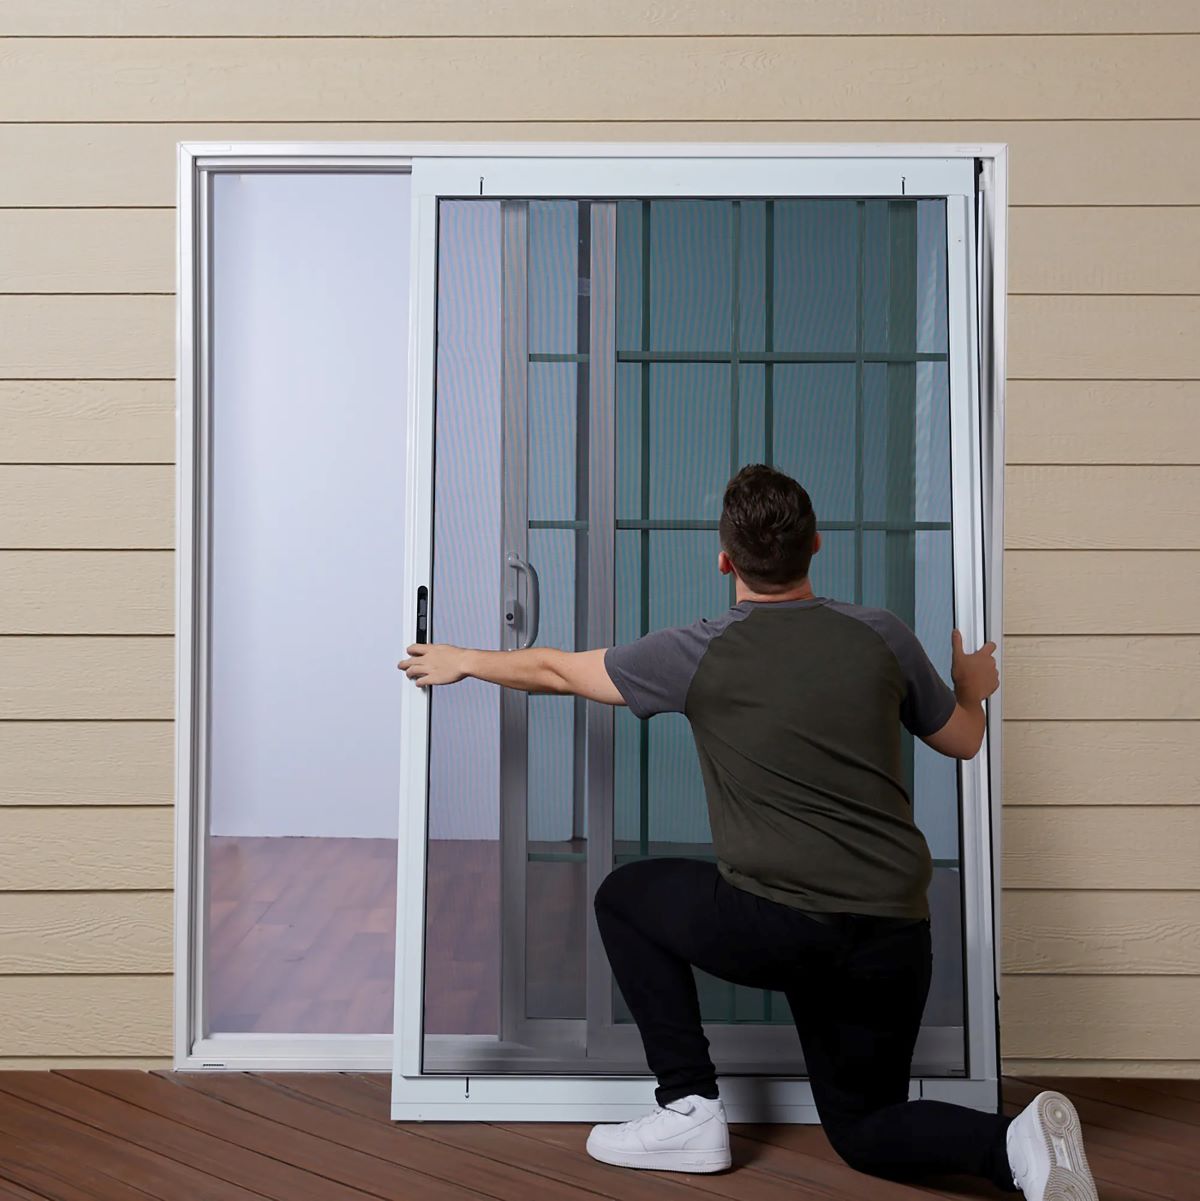
- Start by inserting the first sliding panel into the bottom track. Tilt the panel slightly to align the wheels with the track, then gently lower it down.
- Slide the panel back and forth to ensure it moves smoothly along the track. If there is any resistance, adjust the panel or track as necessary.
- Repeat the process for the second sliding panel, inserting it into the track and checking for smooth movement.
- Ensure that the panels fit snugly against each other and leave no gaps in-between.
It’s important to handle the sliding panels with care to avoid any damage or misalignment. If at any point the panels do not move smoothly or appear misaligned, make necessary adjustments to ensure proper installation.
When installing sliding patio doors, make sure to accurately measure the opening and level the track before placing the doors. This will ensure smooth operation and a proper fit.
Step 6: Secure the Sliding Panels
With the sliding panels inserted into the bottom track, the next step is to secure them in place. This will ensure the stability and proper functioning of your sliding patio doors. Follow these steps:
- Locate the adjustment screws on the top edge of each sliding panel. These screws allow you to fine-tune the height and level of the doors.
- Using a screwdriver, adjust the screws as needed to align the panels and ensure they are level.
- Once the panels are properly aligned, secure them in place using the screws provided with your door kit. This will prevent the panels from coming out of the track.
- Verify that the sliding panels move smoothly along the track without any obstructions or sticking points. Make any necessary adjustments to ensure smooth operation.
Securing the sliding panels is crucial to maintaining the stability and functionality of your patio doors. Take the time to adjust and secure the panels properly, as this will prevent any issues or damage down the line.
Step 7: Install the Top Track
Once the sliding panels are securely in place, it’s time to install the top track. The top track provides additional support and helps guide the sliding doors along their desired path. Follow these steps to install the top track:
- Measure the width of the door opening and mark the center point at the top.
- Position the top track above the center point and align it with the bottom track.
- Ensure that the top track is level using a level. Make any necessary adjustments to ensure proper alignment.
- Secure the top track to the header or door frame using screws or nails. Check the manufacturer’s instructions for the recommended fastening method.
Proper installation of the top track is essential for the smooth and safe operation of your sliding patio doors. Take your time to ensure that the track is level and securely fastened to provide a stable and reliable support for the doors.
Step 8: Adjust and Test the Doors
After installing the top track, it’s important to adjust and test the doors to ensure they operate smoothly and efficiently. Follow these steps:
- Check the alignment of the sliding panels by opening and closing them a few times. Observe if they glide smoothly along the tracks without any sticking points or obstructions.
- If you notice any issues with the door’s movement, use the adjustment screws on the top and bottom of the panels to make necessary adjustments. This will help align the doors properly and ensure smooth operation.
- Test the locking mechanism of the doors to ensure it engages securely. If the lock doesn’t align properly, adjust the strike plate or latch as needed.
- Check the weatherstripping along the door edges to ensure a tight seal. Replace any worn or damaged weatherstripping to prevent drafts and enhance energy efficiency.
- Once you have adjusted and tested the doors, open and close them multiple times to confirm smooth operation and proper alignment.
Take the time to fine-tune the adjustment of your sliding patio doors to ensure optimal functionality and performance. This step is essential for creating a seamless and enjoyable experience when using your doors.
Read more: How To Install Sliding Door Lock
Step 9: Install the Door Handle and Lock
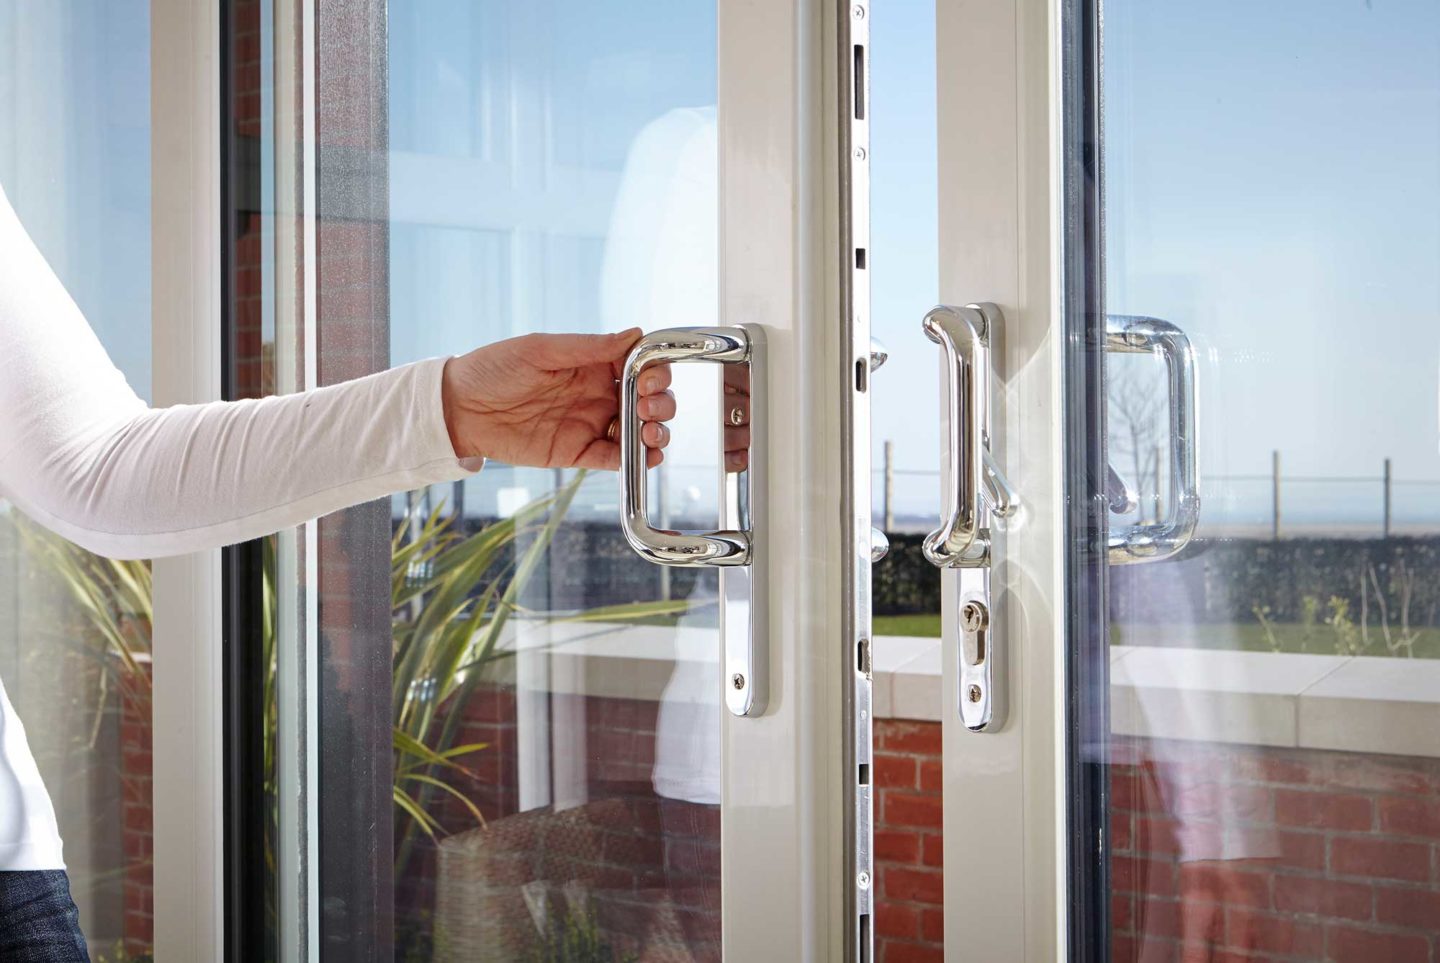
With the adjustment and testing complete, the next step is to install the door handle and lock. Follow these steps to properly install the hardware:
- Choose a suitable location for the door handle on the fixed panel of the sliding door. Ensure it is easily accessible and at a comfortable height.
- Measure and mark the location for the handle, taking into account the manufacturer’s instructions for proper positioning.
- Use a drill to create holes for the handle’s mounting screws. Be mindful of the door material and use the appropriate drill bit.
- Secure the handle to the door using the provided screws, tightening them appropriately to ensure a secure attachment.
- Install the lock mechanism on the edge of the sliding panel, following the manufacturer’s instructions.
- Test the handle and lock to ensure they function smoothly and securely. Ensure the lock engages properly and provides the desired level of security.
Proper installation of the door handle and lock is essential for the safety and security of your sliding patio doors. Take the time to accurately position and securely attach the hardware to ensure optimal functionality.
Step 10: Seal and Insulate the Doors
The final step in installing sliding patio doors is to seal and insulate them. This helps improve energy efficiency, reduce drafts, and create a weather-resistant barrier. Follow these steps to properly seal and insulate your doors:
- Inspect the perimeter of the door and identify any gaps or openings between the door frame and the surrounding walls.
- Apply weatherstripping along the edges of the door panels to create a tight seal when closed. Cut the weatherstripping to fit the length of the panels and adhere it firmly in place.
- Use silicone sealant to fill any gaps or cracks around the door frame. Apply the sealant evenly and ensure it completely seals the area.
- Inspect the threshold or bottom track for any gaps. If necessary, install a door sweep or threshold seal to prevent air and water infiltration.
- Check the sides and top of the door frame for any gaps. Use expanding foam insulation to fill these gaps, ensuring a proper seal.
Sealing and insulating your sliding patio doors not only improves energy efficiency but also helps in keeping out drafts and external elements. It’s an important step for maintaining a comfortable and well-insulated living space.
With the completion of these steps, your sliding patio doors are now properly installed and ready to enjoy. Take the time to admire your work and ensure that the doors operate smoothly and securely. If you encounter any issues or have concerns, consult a professional for assistance.
Enjoy the beauty and functionality of your newly installed sliding patio doors, and embrace the seamless transition between your interior and outdoor living spaces!
Conclusion
Congratulations! You have successfully completed the installation of your sliding patio doors. By following these step-by-step instructions, you have created a seamless transition between your indoor and outdoor living spaces, while allowing an abundance of natural light to enter your home.
Throughout the installation process, you gathered the necessary tools and materials, prepared the door opening, removed the existing door, installed the bottom and top tracks, inserted and secured the sliding panels, adjusted and tested the doors, installed the door handle and lock, and finally sealed and insulated the doors for optimal energy efficiency.
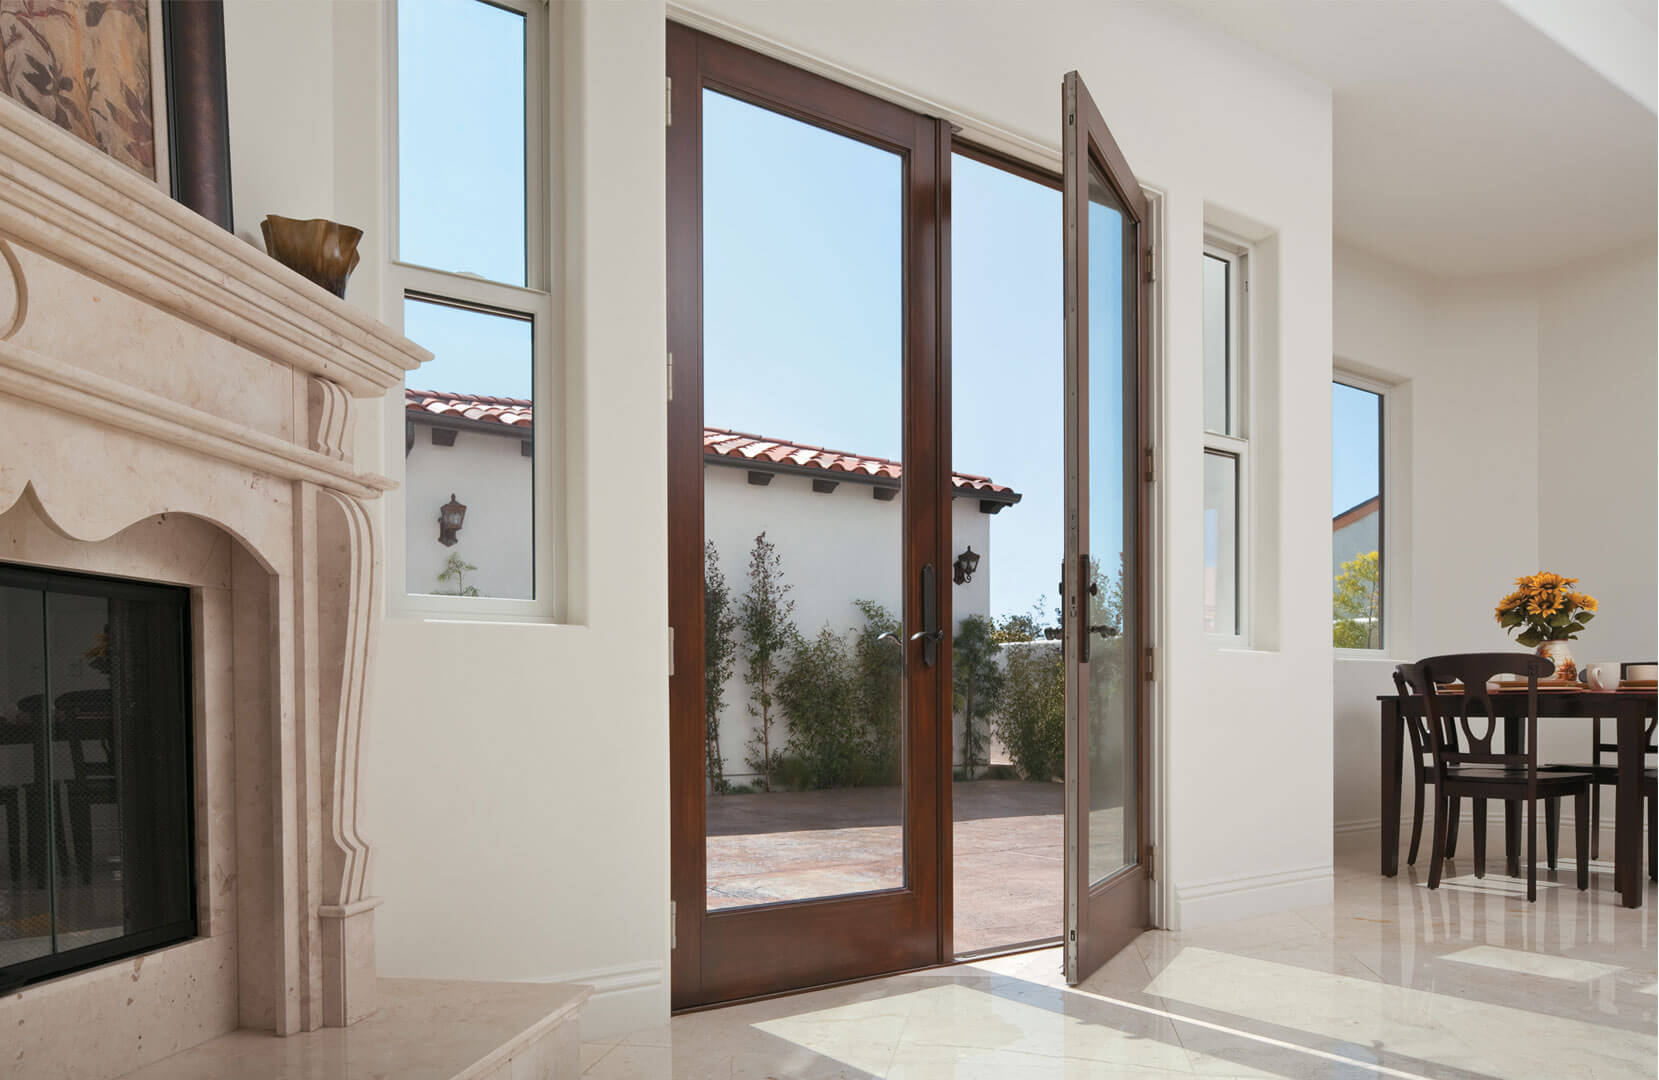
Having proper sliding patio doors not only enhances the aesthetic appeal of your home but also provides functionality and convenience. Your new doors will allow you to enjoy stunning views, create an inviting atmosphere for entertaining guests, and improve the overall value of your property.
Remember to conduct regular maintenance on your sliding patio doors to ensure their longevity and smooth operation. Clean the tracks, lubricate the rollers, and periodically check for any signs of wear or damage. This will help preserve the functionality and appearance of your doors for years to come.
We hope that this comprehensive guide has provided you with the knowledge and confidence to install sliding patio doors. Enjoy the benefits of your newly installed doors and embrace the beauty of your outdoor living space!
Frequently Asked Questions about How To Install Sliding Patio Doors
Was this page helpful?
At Storables.com, we guarantee accurate and reliable information. Our content, validated by Expert Board Contributors, is crafted following stringent Editorial Policies. We're committed to providing you with well-researched, expert-backed insights for all your informational needs.


0 thoughts on “How To Install Sliding Patio Doors”