Home>Furniture>Outdoor Furniture>How To Replace Patio Screen Door Rollers
Outdoor Furniture
How To Replace Patio Screen Door Rollers
Modified: August 27, 2024
Learn how to replace patio screen door rollers and keep your outdoor furniture in top shape with this detailed guide.
(Many of the links in this article redirect to a specific reviewed product. Your purchase of these products through affiliate links helps to generate commission for Storables.com, at no extra cost. Learn more)
Introduction
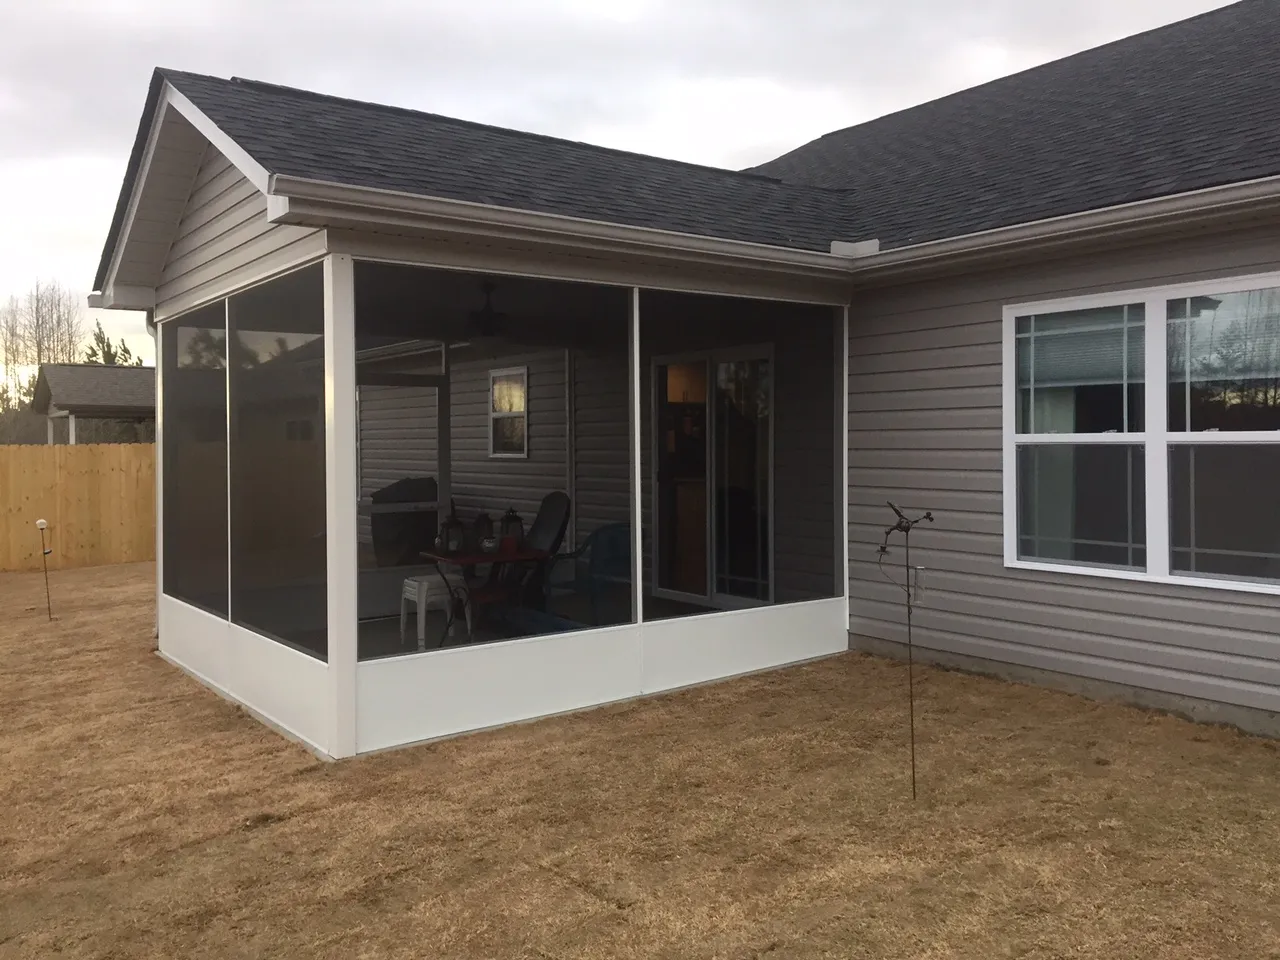
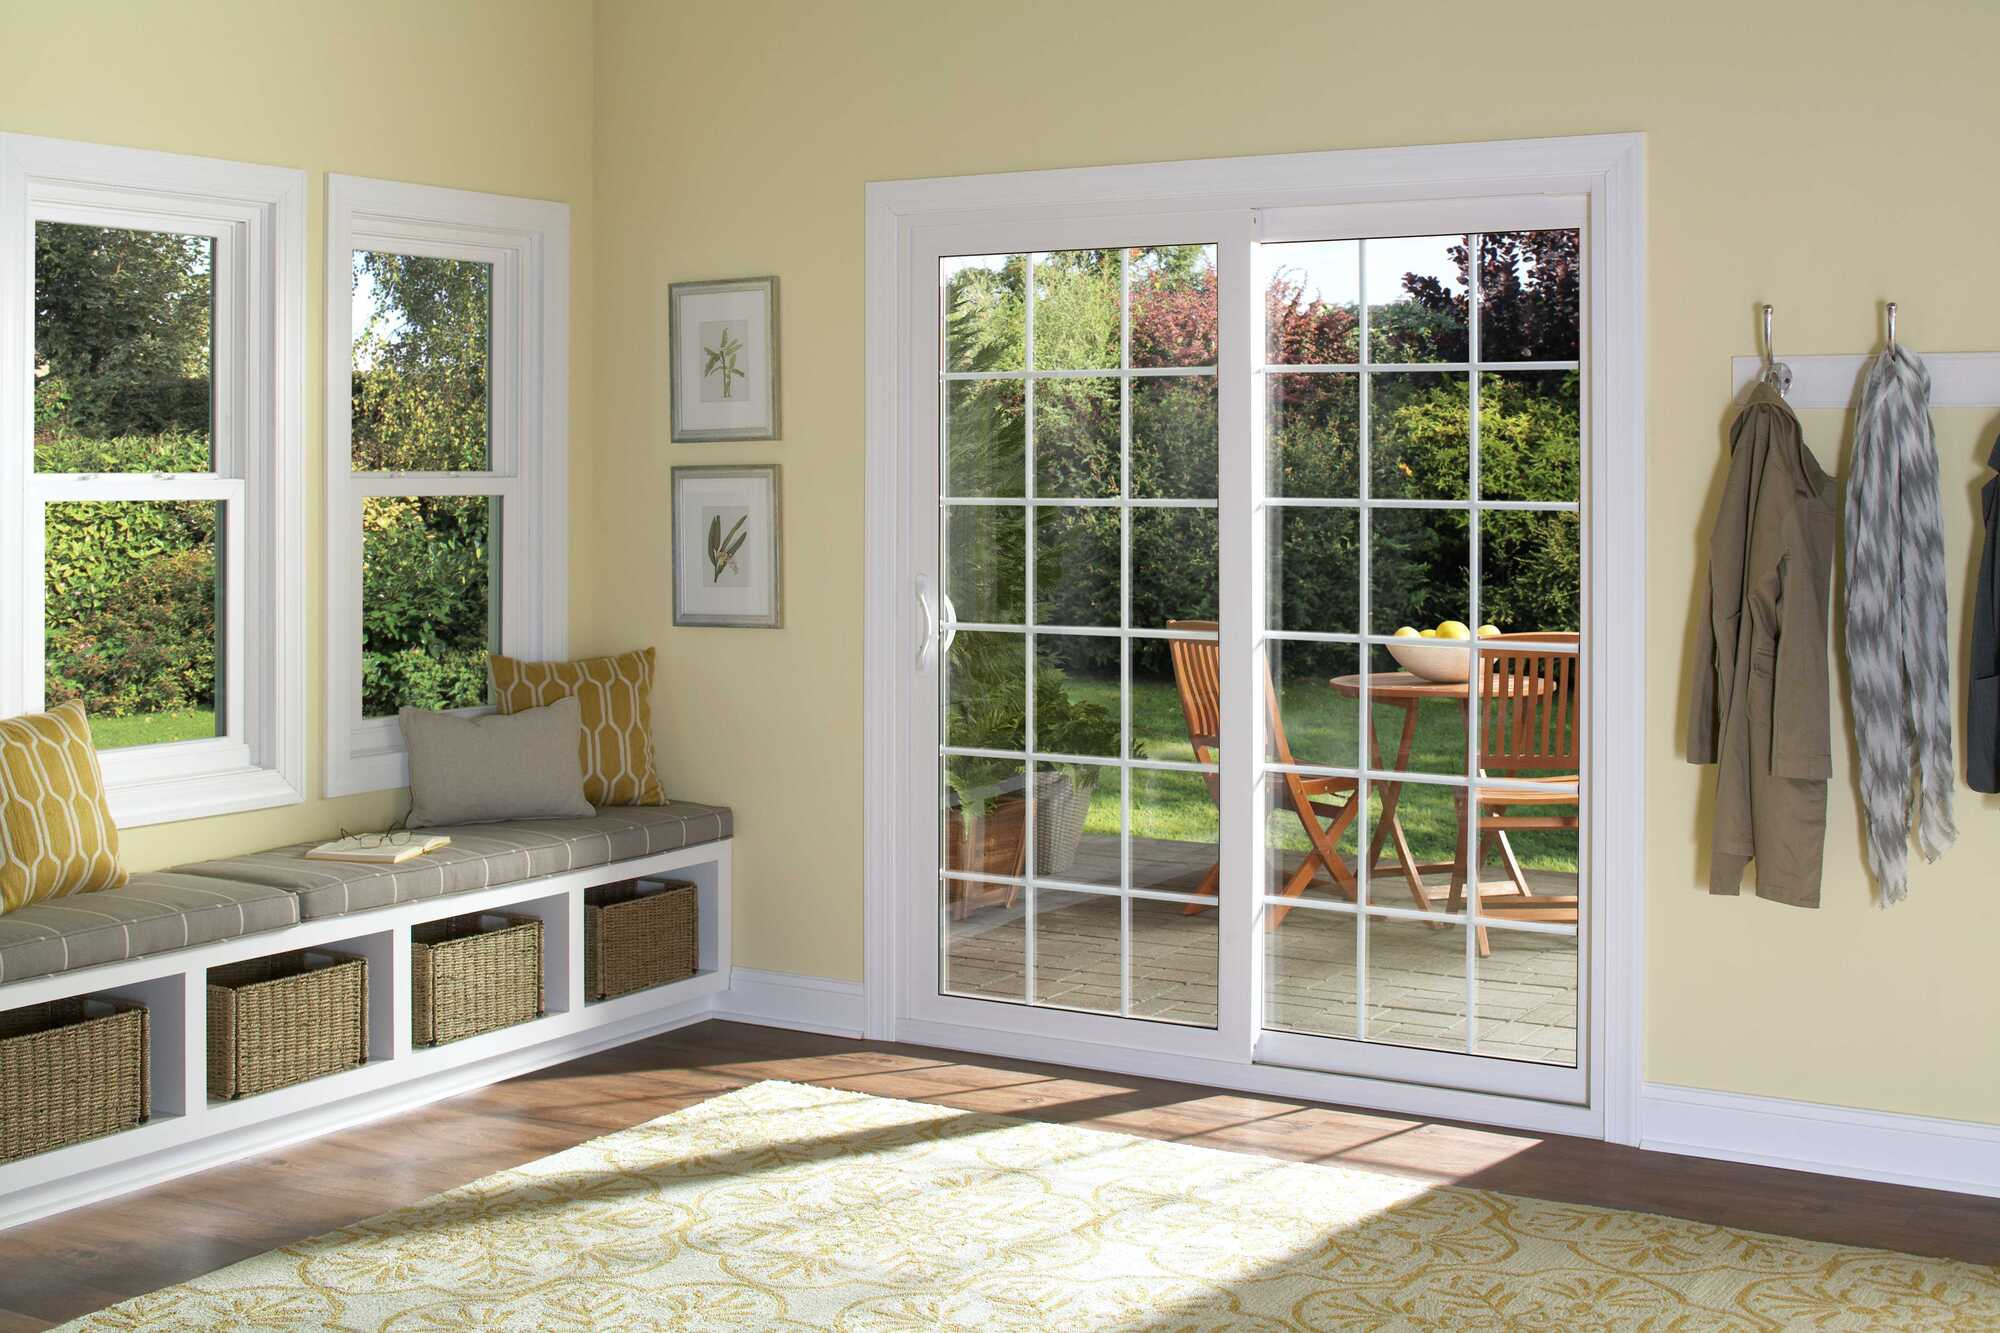
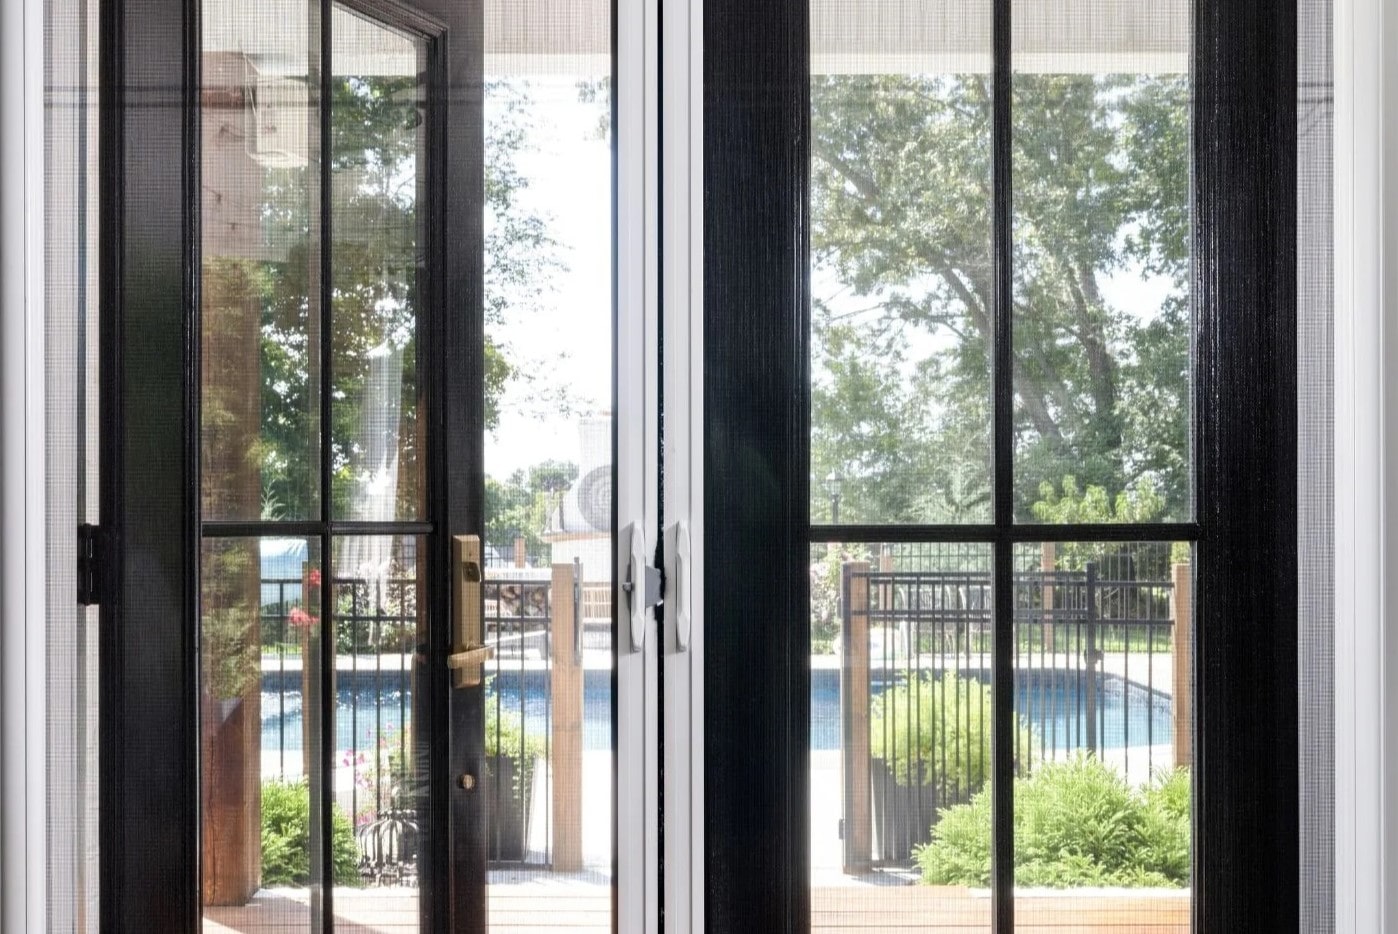
Welcome to our comprehensive guide on how to replace patio screen door rollers. If you’ve noticed that your patio screen door is not sliding smoothly or making a grinding noise, it may be time to replace the rollers. This common issue can be easily fixed with a few simple steps and some basic tools.
A properly functioning patio screen door is essential for enjoying your outdoor space while keeping bugs and debris out. By replacing the worn-out rollers, you can ensure smooth and effortless operation of your screen door, prolonging its lifespan.
In this guide, we will walk you through the process of replacing your patio screen door rollers step by step. We will provide a list of the necessary tools and materials, as well as detailed instructions to help you successfully complete the task.
Before we begin, please note that the specific steps and techniques may vary depending on the type and model of your patio screen door. It’s always a good idea to consult the manufacturer’s instructions or seek professional help if needed.
Now, let’s gather our tools and materials and get started on replacing those patio screen door rollers!
Key Takeaways:
- Keep your patio screen door in top condition by replacing worn-out rollers. Smooth operation ensures a bug-free outdoor experience and prolongs the door’s lifespan.
- Gather the right tools, measure carefully, and follow step-by-step instructions for a successful patio screen door roller replacement. Enjoy a hassle-free outdoor space!
Read more: How To Replace A Screen Patio Door
Tools and Materials Needed
Before we dive into the process of replacing patio screen door rollers, let’s first gather all the necessary tools and materials. Having everything on hand will ensure a smooth and efficient repair. Here’s what you’ll need:
- Flathead screwdriver
- Phillips head screwdriver
- Adjustable wrench
- Tape measure
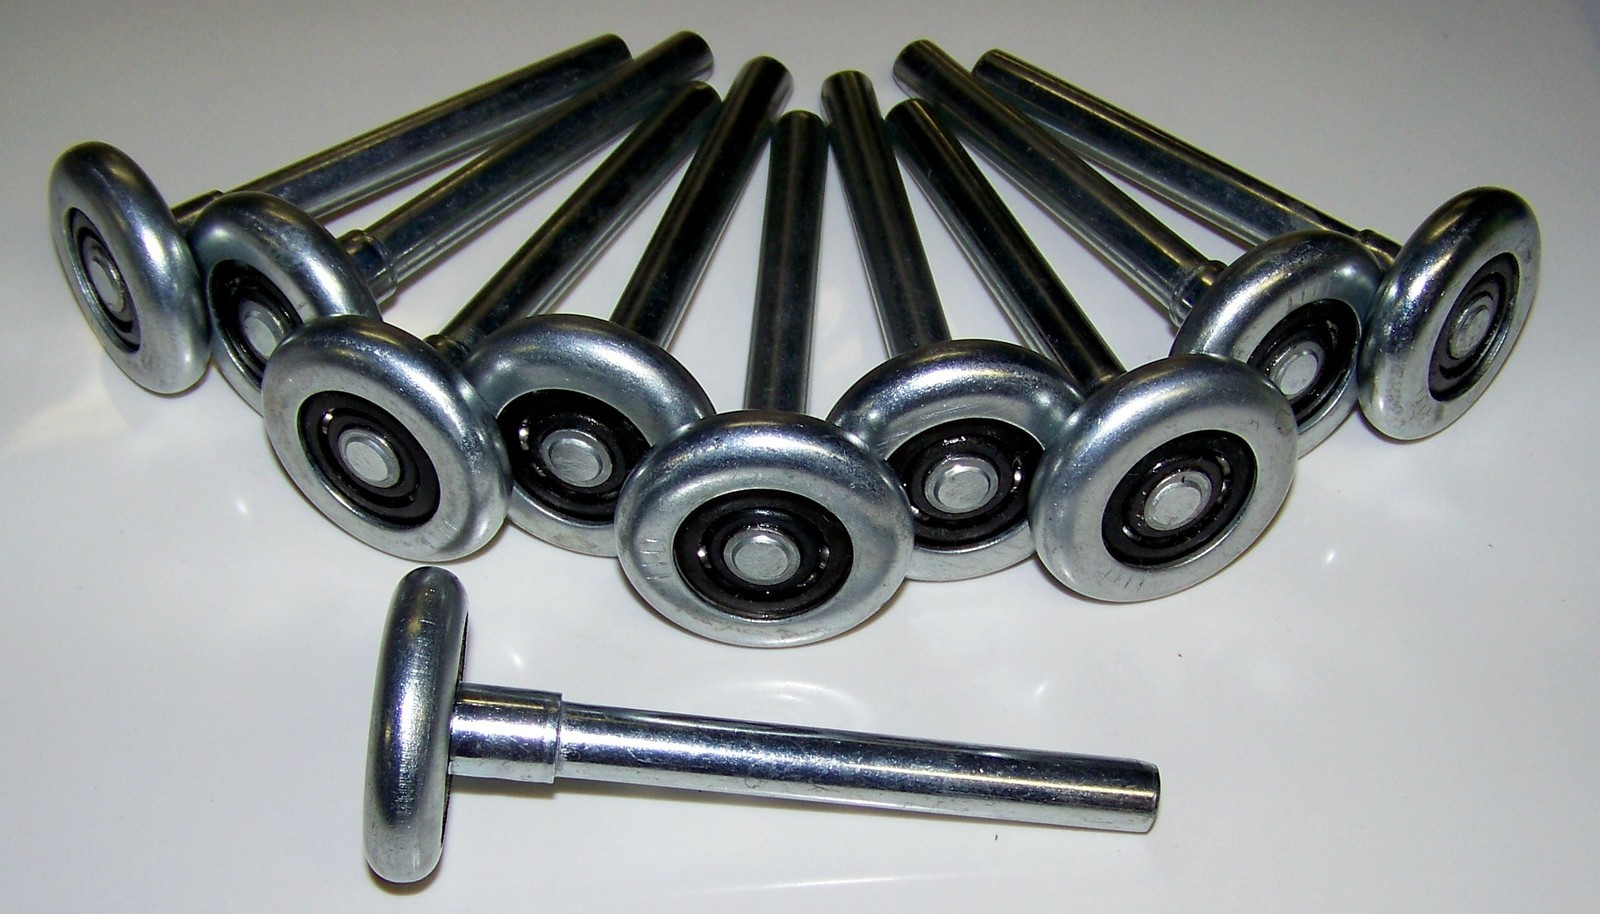
- Patio screen door roller kit (available at hardware stores or online)
- Replacement screen door track (if damaged or worn out)
- Rubber mallet
- Work gloves
- Safety glasses
These tools and materials will cover the basic requirements for most patio screen door roller replacements. However, depending on the specific design of your screen door, you may need additional tools or accessories. It’s always a good idea to assess your individual situation and gather any extra items that may be required.
Also, ensure that you have a clean and well-lit work area to make the process easier. Clear any obstacles around the screen door and remove any debris that may interfere with the repair.
With all the necessary tools and materials gathered, you are now ready to proceed with the replacement of your patio screen door rollers. Let’s move on to the step-by-step instructions for a successful repair.
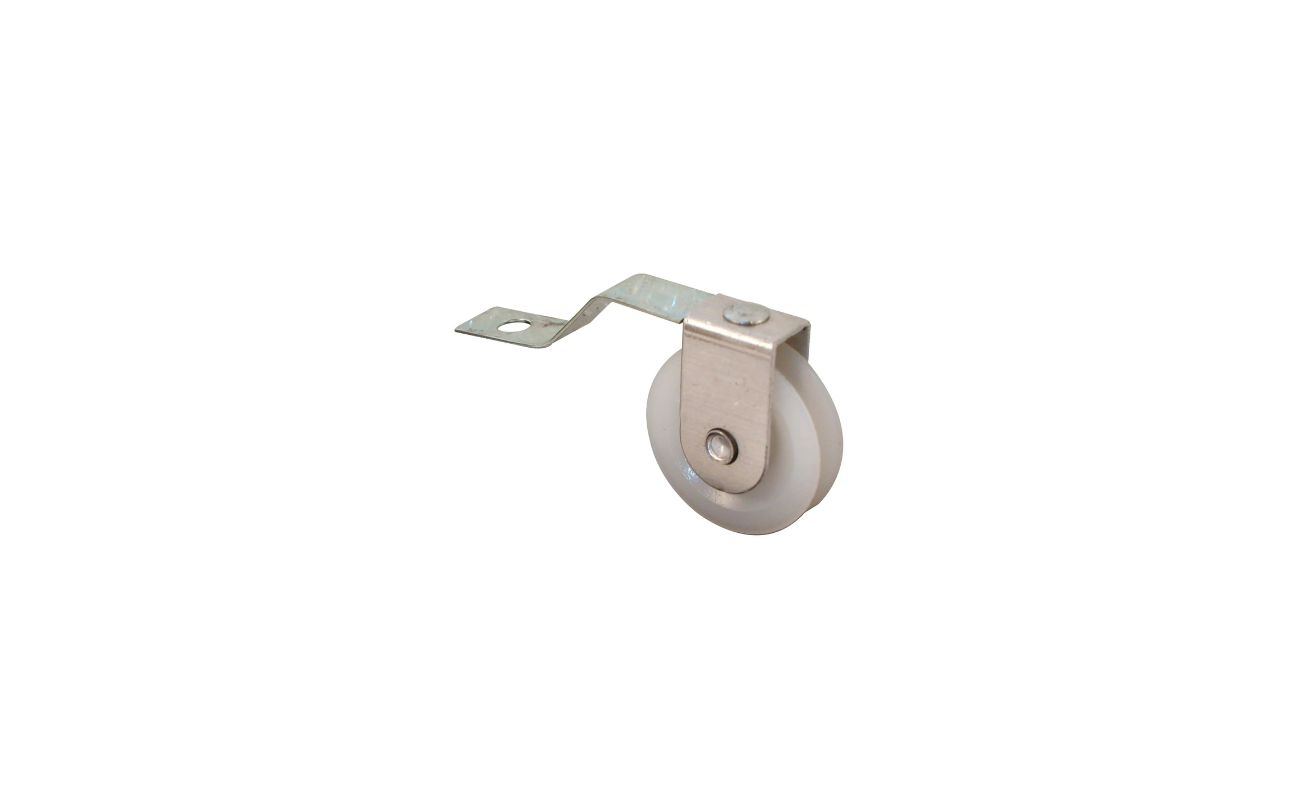
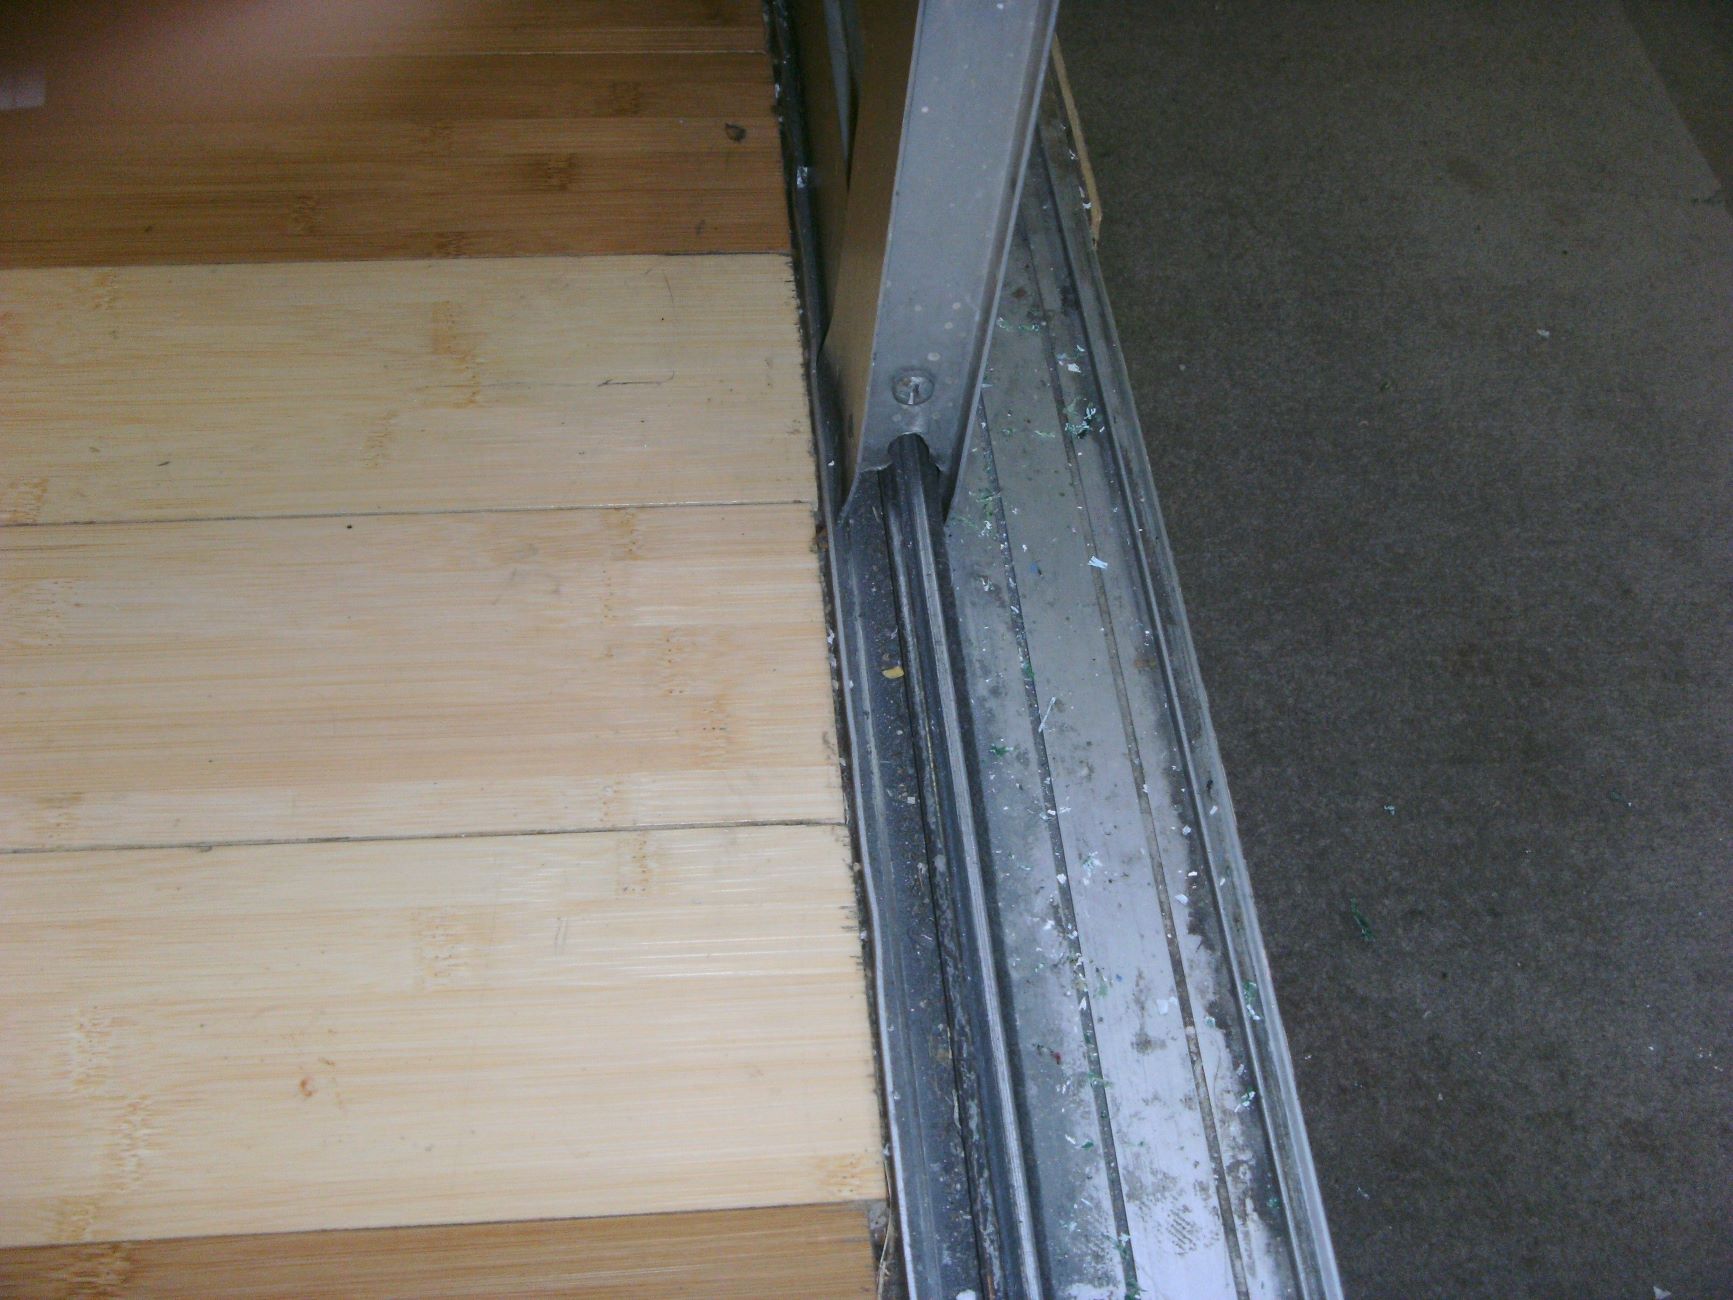
Step 1: Remove the Old Rollers
The first step in replacing your patio screen door rollers is to remove the old ones. Follow these instructions carefully:
- Open the screen door fully to expose the rollers.
- Locate the adjustment screws or tabs on the bottom of the screen door. These are usually located near the rollers.
- Use a screwdriver or wrench to adjust the screws or tabs. This will release the rollers from the track.
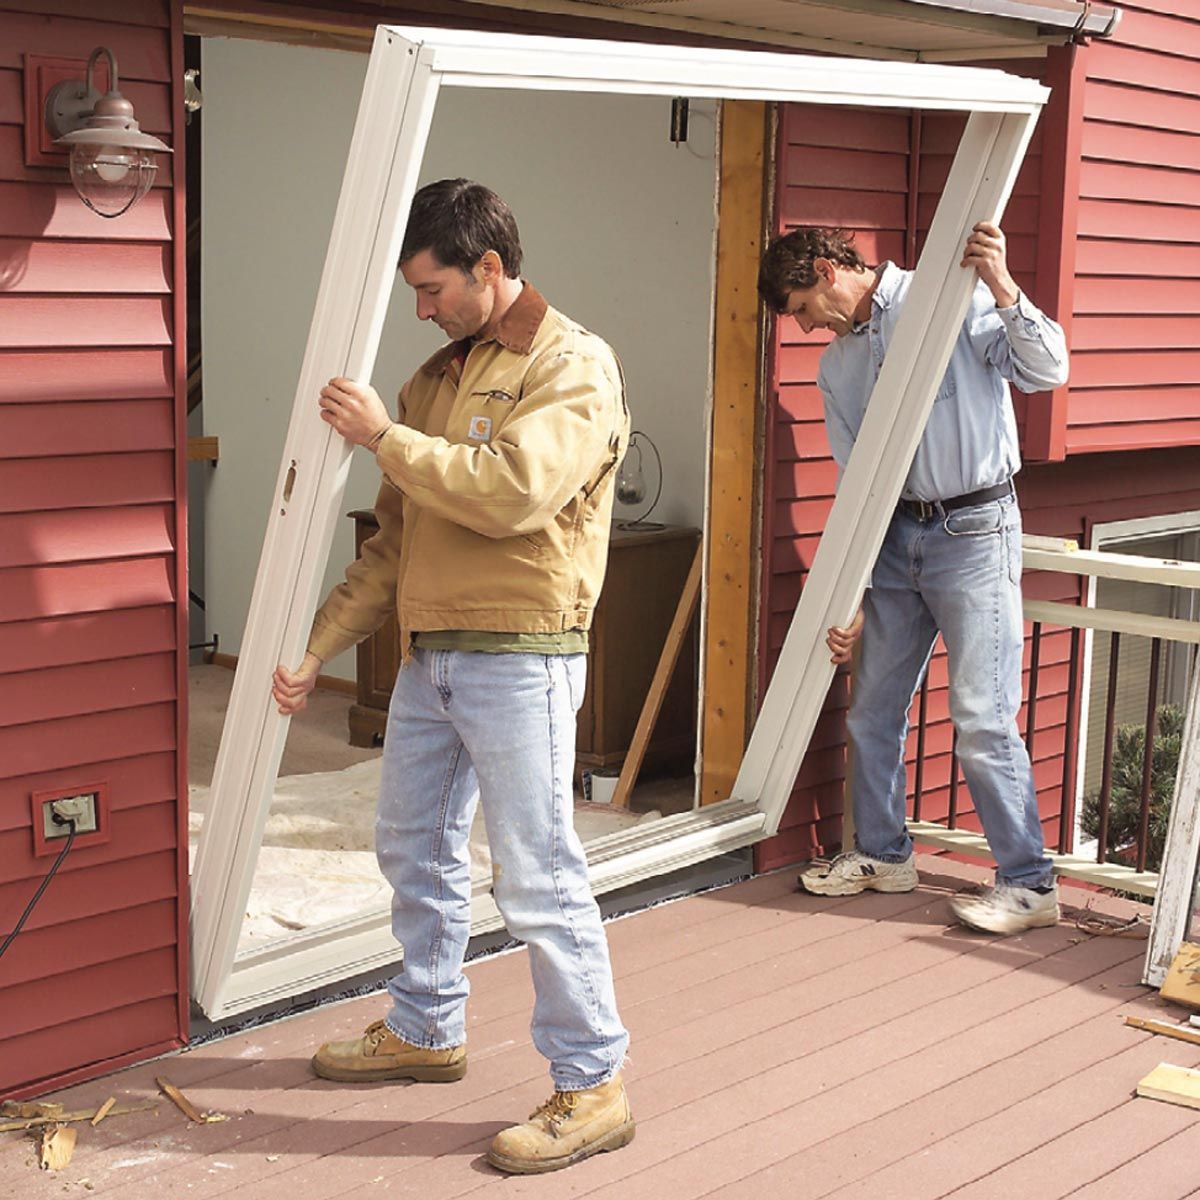
- Next, lift the screen door off the track. It’s a good idea to have a helper assist you during this step to prevent any accidents.
- Once the screen door is off the track, place it on a stable surface, such as a workbench or sawhorses.
- Inspect the rollers to determine how they are attached to the screen door. Some rollers may be secured with screws, while others may have rivets or pins.
- Using the appropriate tools, carefully remove the screws, rivets, or pins that are holding the rollers in place.
- Gently pull the old rollers out of their housing. They may be worn or damaged, so be careful not to cut yourself on any sharp edges.
- Once the old rollers have been removed, take a moment to clean the roller housing and remove any debris or buildup.
Congratulations! You’ve successfully removed the old rollers from your patio screen door. Now, it’s time to measure and purchase the replacement rollers. Moving on to the next step, let’s gather the necessary information to ensure you get the right rollers for your screen door.
Step 2: Measure and Purchase Replacement Rollers
Now that you have removed the old rollers from your patio screen door, it’s time to measure and purchase the appropriate replacement rollers. Follow these steps to ensure a proper fit:
- Measure the width of your screen door. Use a tape measure to determine the distance between the inner edges of the vertical frame members of the screen door.
- Next, measure the height of the screen door. Measure from the bottom edge to the top of the screen door frame.
- Check the type of rollers you have removed. There are various types of rollers, including flat-edge, concave, and convex rollers. Make a note of the specific type.
- Take note of any brand or model information on the old rollers if available. This can be helpful when searching for replacements.
- Visit your local hardware store or search online for replacement patio screen door rollers. Ensure that the rollers you select match the dimensions and type you have measured and noted.
- Consider purchasing a patio screen door roller kit, which often includes new rollers, screws, and other necessary hardware for installation.
- If your screen door track is also worn or damaged, consider purchasing a replacement track to ensure smooth operation.
- Consult with a knowledgeable salesperson or check the product descriptions to confirm that the replacement rollers are compatible with your specific screen door model and brand.
- Purchase the replacement rollers and any additional items you may need.
By carefully measuring and selecting the correct replacement rollers, you can ensure a smooth and hassle-free installation. Once you have your new rollers, you’re ready to move on to the next step – installing them. We’ll guide you through the process in the following step.
When replacing patio screen door rollers, make sure to measure the existing rollers before purchasing new ones to ensure a proper fit. Also, clean the tracks and lubricate the new rollers for smooth operation.
Step 3: Install the New Rollers
With the replacement rollers in hand, it’s time to install them onto your patio screen door. This step will require some attention to detail and precision. Follow these steps carefully:
- Place the new rollers into the roller housing on the screen door. Ensure they are positioned correctly and align with the holes or slots provided.
- Using the appropriate screws, rivets, or pins, secure the new rollers to the screen door. Make sure they are firmly attached and do not wobble or move excessively.
- Test the movement of the rollers by manually sliding the screen door along the track. Ensure that the rollers glide smoothly and without any resistance.
- If necessary, make adjustments to the roller height or position. Some rollers may have adjustment screws or tabs that can be used to fine-tune the alignment.
- Continue adjusting and testing until you are satisfied with the smooth operation of the screen door.
It’s important to note that the installation process may vary depending on the type and model of your patio screen door. Some doors may require additional steps or adjustments. Consult the manufacturer’s instructions or seek professional assistance if needed.
Once you have successfully installed the new rollers onto your patio screen door and ensured their proper functioning, you’re ready to move on to the next step – testing and adjusting the rollers. We’ll guide you through this process in the following step.
Step 4: Test and Adjust the Rollers
With the new rollers installed on your patio screen door, it’s time to test their functionality and make any necessary adjustments for optimal performance. Follow these steps to ensure the smooth operation of your screen door:
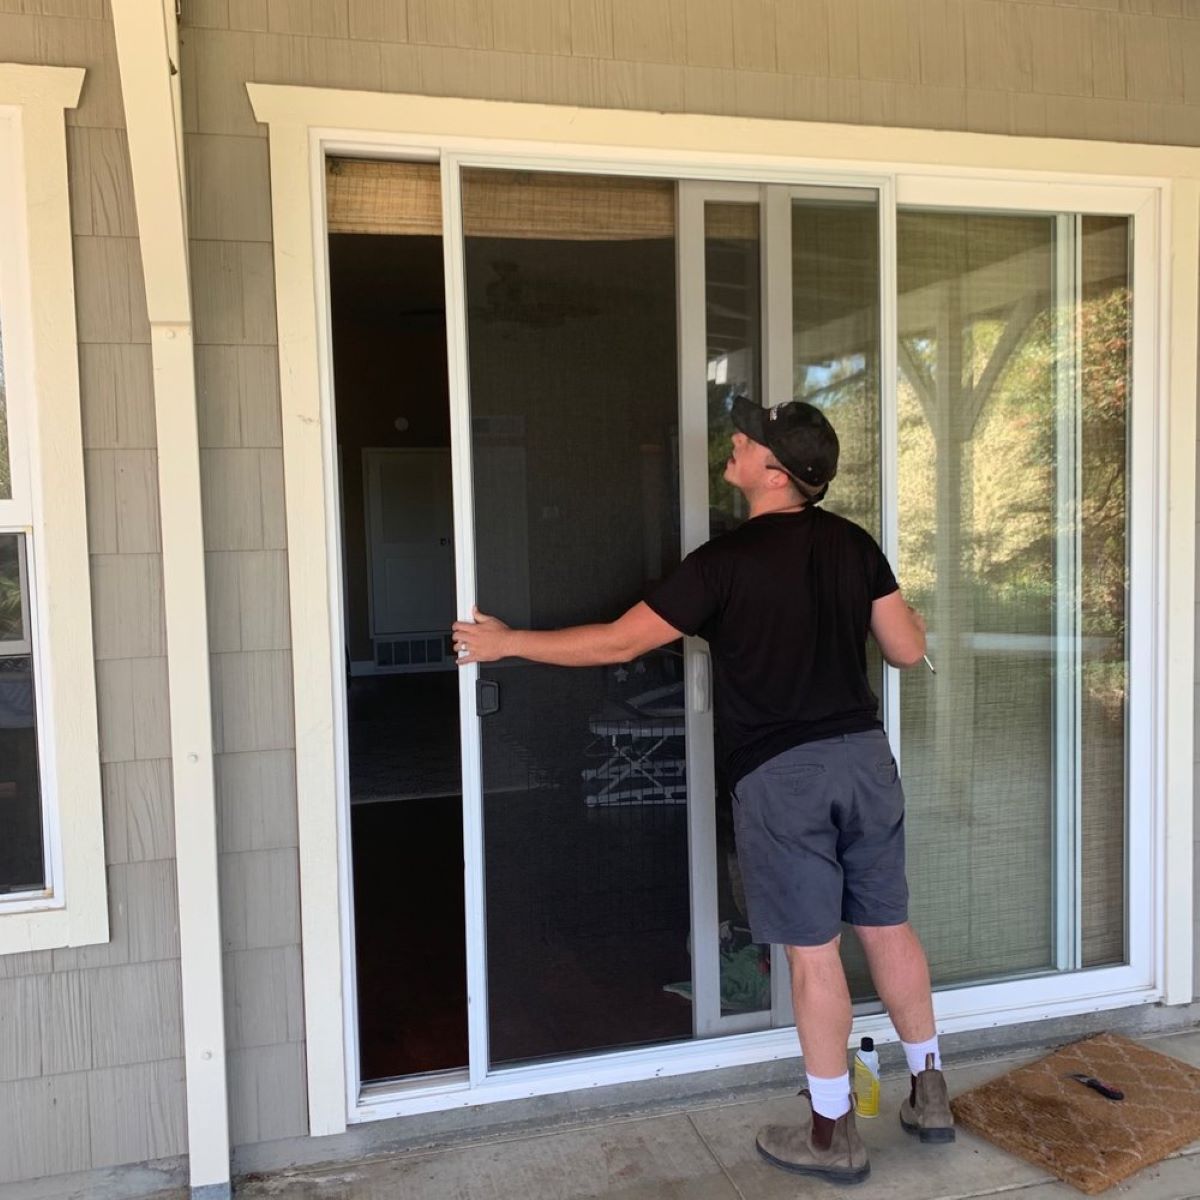
- Place the screen door back on the track, ensuring that the rollers are properly aligned with the track.
- Gently slide the screen door along the track to test its movement. Pay attention to any areas of resistance or uneven sliding.
- If the screen door does not slide smoothly, use a screwdriver or wrench to adjust the roller height or position. Some doors have adjustment screws or tabs that can be used for this purpose.
- Make incremental adjustments and test the door’s movement after each adjustment. Continue making adjustments until the screen door glides effortlessly along the track without any resistance.
- If the rollers are still not functioning optimally or if the screen door is misaligned, it may be necessary to consult the manufacturer’s instructions or seek professional assistance for further adjustments or repairs.
It’s important to ensure that the screen door operates smoothly and evenly to prevent any damage to the rollers or track. Regular maintenance and periodic adjustments may be required to keep the rollers in good condition and extend the lifespan of your screen door.
Once you are satisfied with the functionality and adjustments of the rollers, you’re ready to move on to the final step – reattaching the screen door. We’ll guide you through this process in the following step.
Step 5: Reattach the Screen Door
Now that you have successfully replaced and adjusted the patio screen door rollers, it’s time to reattach the screen door to complete the repair. Follow these steps to ensure a secure and proper reattachment:
- Lift the screen door and position it back onto the track. Make sure that the rollers fit securely into the track groove.
- Gently slide the screen door along the track to ensure that it glides smoothly and without any resistance.
- If necessary, make any final adjustments to the roller height or position to achieve optimal alignment and operation.
- Once you are satisfied with the fit and performance of the screen door, secure it in place. Depending on your screen door design, this may involve tightening adjustment screws or securing locking mechanisms.
- Test the screen door by opening and closing it multiple times to ensure that it operates smoothly and without any issues.
It’s important to note that each screen door model may have specific reattachment instructions. Refer to the manufacturer’s guidelines if you are unsure of the proper procedure.
Congratulations! You have successfully reattached your patio screen door after replacing the rollers. By following these steps, you have ensured the smooth and effortless operation of your screen door, providing you with a more enjoyable outdoor experience.
Remember to regularly clean and maintain your patio screen door to prevent dirt buildup and prolong the lifespan of the new rollers. Additionally, periodic lubrication of the rollers can help maintain their smooth operation.
If you encounter any issues during the reattachment or if the screen door continues to have difficulty sliding, it may be necessary to seek professional assistance or consult the manufacturer for further guidance.
Thank you for following our guide on how to replace patio screen door rollers. We hope this has been helpful, and we wish you many years of smooth and trouble-free operation with your newly replaced rollers!
Conclusion
Replacing the rollers on your patio screen door is a relatively simple yet highly beneficial maintenance task. By following the steps outlined in this guide, you can ensure that your screen door operates smoothly, prolonging its lifespan and enhancing your outdoor experience.
Throughout the process, we have discussed the necessary tools and materials, the steps to remove the old rollers, how to measure and purchase the replacement rollers, the installation process, testing and adjusting the rollers, and finally, reattaching the screen door.
Remember, proper measurement and selection of the replacement rollers are crucial for a successful replacement. Take your time to ensure that you choose the correct rollers that fit your screen door’s specifications.
Regular maintenance and periodic adjustment of the rollers will also help maintain the functionality of your patio screen door. Keep an eye out for signs of wear and tear, such as grinding noises or difficulty sliding, and address them promptly to avoid further damage.
If you encounter any challenges during the process or if you are unsure about any specific steps, it’s always a good idea to consult the manufacturer’s instructions or seek professional assistance.
We hope that this comprehensive guide has been helpful to you in replacing your patio screen door rollers. Enjoy the smooth operation of your screen door and make the most of your outdoor space!
Frequently Asked Questions about How To Replace Patio Screen Door Rollers
Was this page helpful?
At Storables.com, we guarantee accurate and reliable information. Our content, validated by Expert Board Contributors, is crafted following stringent Editorial Policies. We're committed to providing you with well-researched, expert-backed insights for all your informational needs.


0 thoughts on “How To Replace Patio Screen Door Rollers”