Home>Furniture>Outdoor Furniture>How To Replace Glass In A Sliding Patio Door
Outdoor Furniture
How To Replace Glass In A Sliding Patio Door
Modified: October 19, 2024
Learn how to easily replace the glass in your sliding patio door with our step-by-step guide. Upgrade your outdoor furniture with this simple DIY project.
(Many of the links in this article redirect to a specific reviewed product. Your purchase of these products through affiliate links helps to generate commission for Storables.com, at no extra cost. Learn more)
Introduction
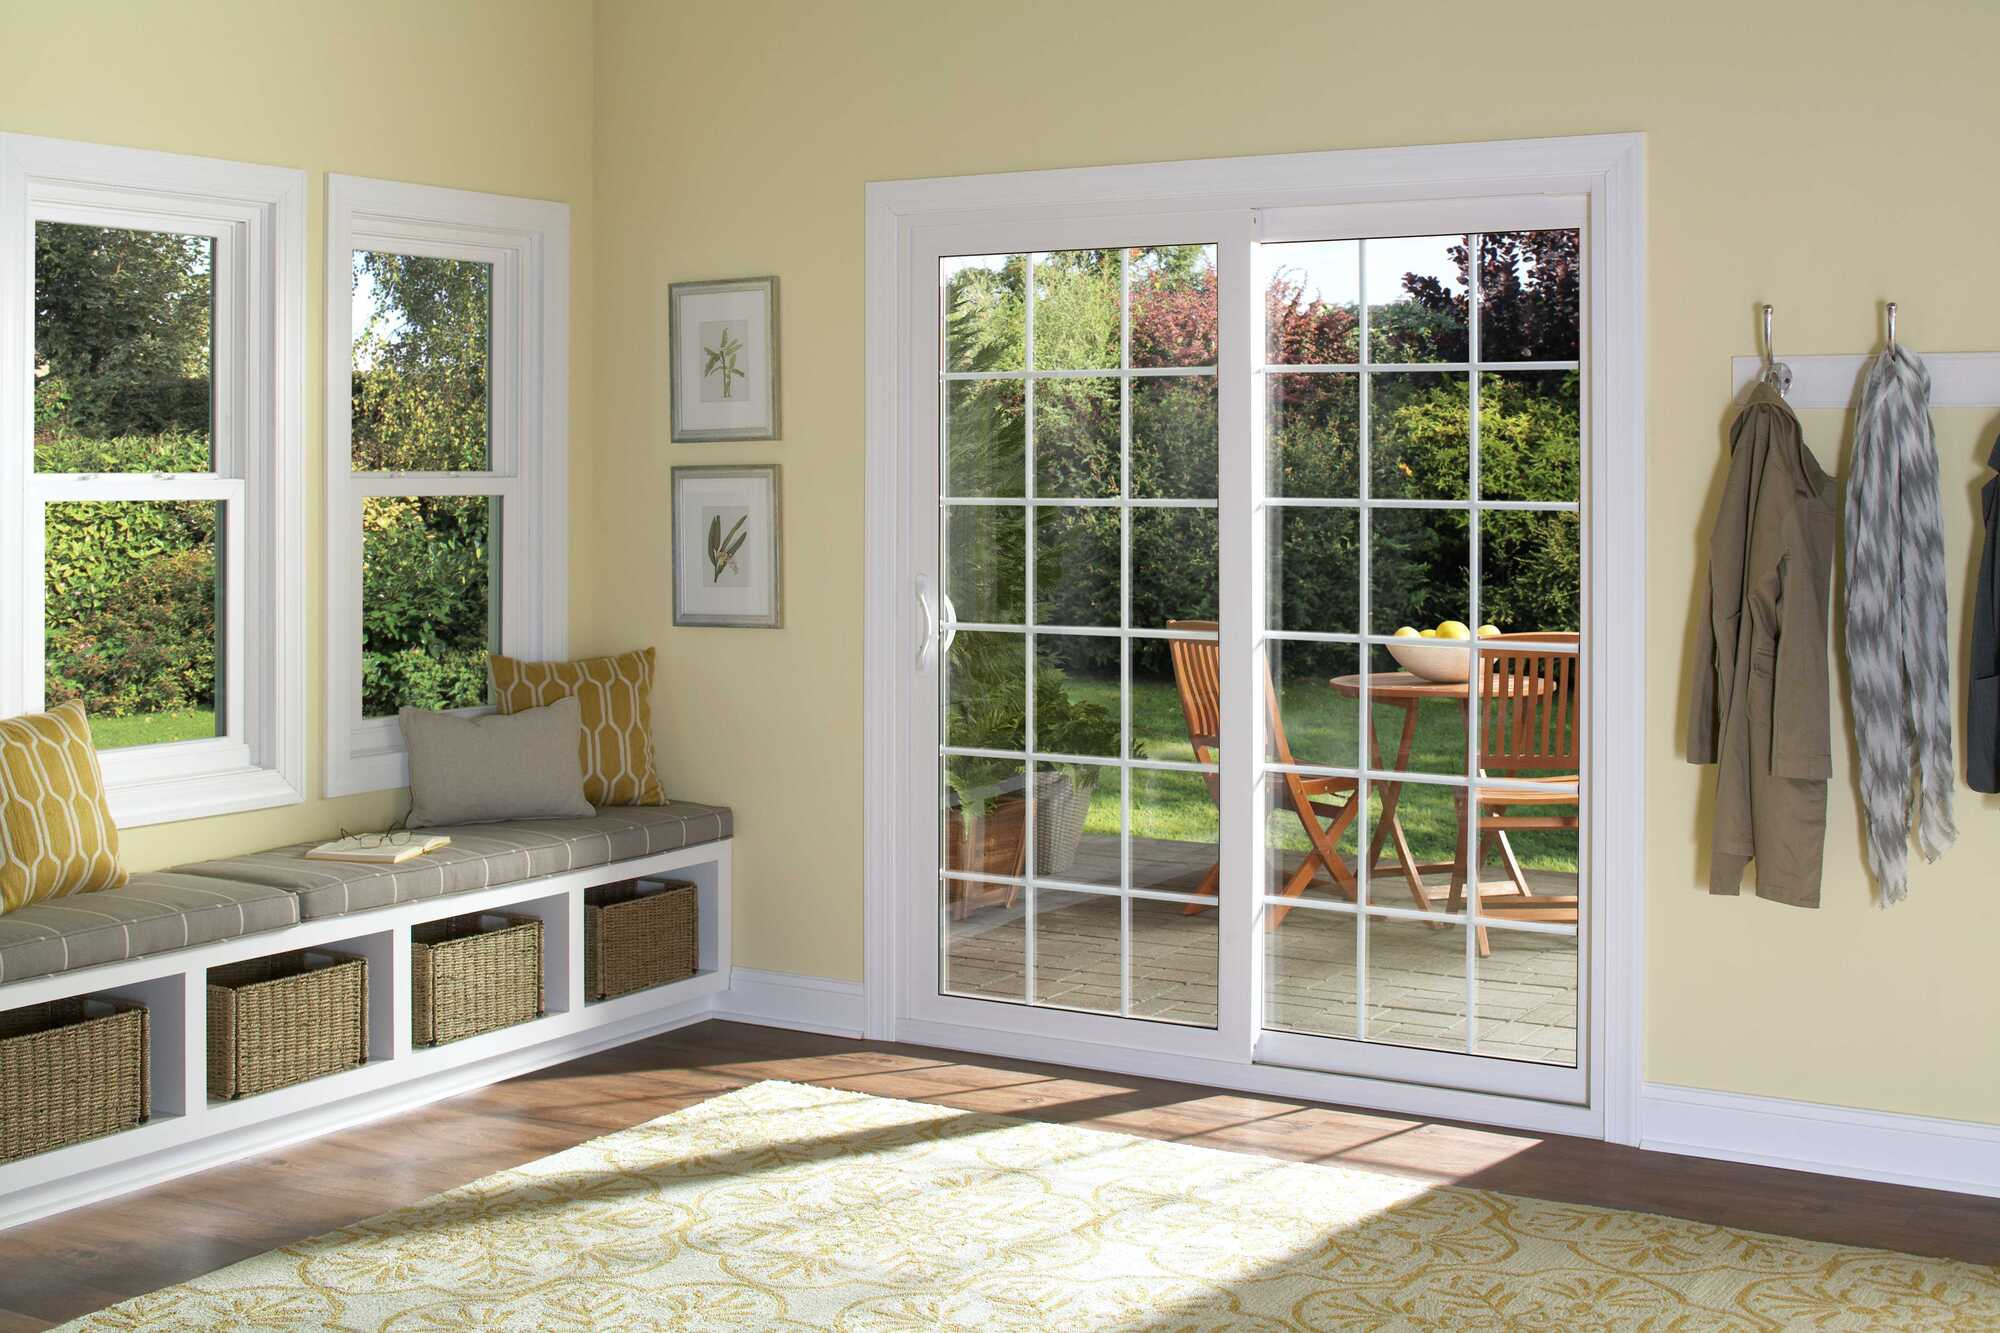
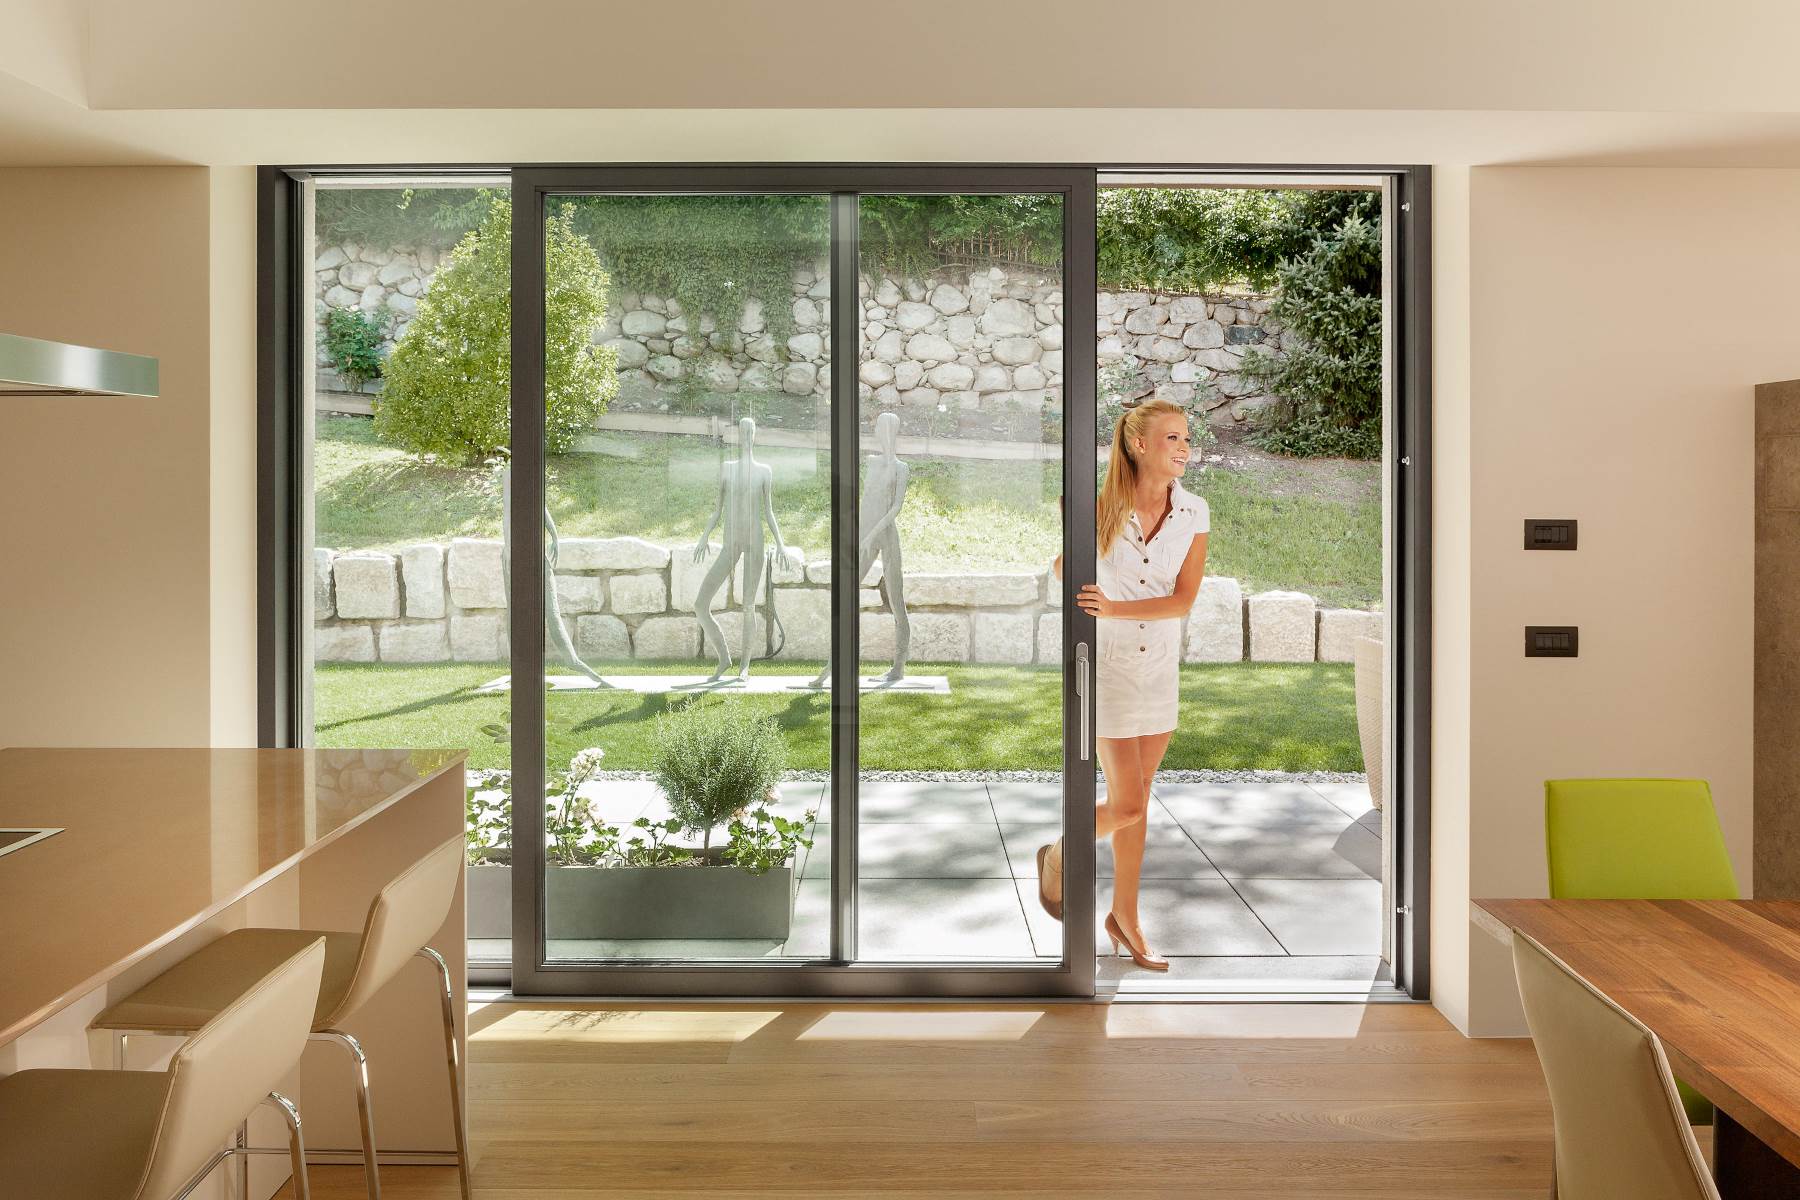
Welcome to our comprehensive guide on how to replace the glass in a sliding patio door. Your patio is a wonderful space to enjoy the outdoors, relax, and entertain guests. A sliding patio door not only adds convenience but also provides a beautiful view of your surroundings.
Unfortunately, accidents happen and glass can become damaged or broken. Whether it’s due to a foul ball during a backyard game or a mishap while moving furniture, a broken glass pane in your sliding patio door can be an eyesore and compromise the security and insulation of your home.
But don’t worry, replacing the glass in your sliding patio door is a task that can be done with a little bit of time, effort, and the right tools. In this guide, we will take you through the steps necessary to replace the glass and get your sliding patio door looking and functioning as good as new.
Before we dive into the process, it’s important to note that if you’re uncomfortable working with glass or have a complex or large-scale project, it’s always best to consult a professional. They have the experience and expertise to ensure the job is done safely and effectively.
Now, let’s get started on replacing the glass in your sliding patio door!
Key Takeaways:
- Replacing glass in a sliding patio door is doable with the right tools and precautions. Always prioritize safety and consider professional help for complex projects.
- Properly measuring, preparing, and securing the replacement glass is crucial for a successful installation. Testing the door’s functionality ensures a job well done.
Step 1: Gather the Necessary Tools and Materials
Before you begin the glass replacement process, it’s important to gather all the necessary tools and materials. Having everything prepared beforehand will make the process smoother and more efficient. Here’s a list of what you’ll need:
- Protective gloves and safety glasses
- Tape measure
- Putty knife or scraper
- Glass suction cups or handles
- Glass cleaner and lint-free cloth
- Butyl rubber sealant
- Glass cutter (if you need to cut the replacement glass to size)
- Glass cutter oil
- Replacement glass pane
- Caulking gun
- Paint scraper
- Silicone caulk
Make sure to have all these items readily available before you start the glass replacement process. This will save you time and prevent any unnecessary interruptions during the project.
Additionally, it’s vital to prioritize safety throughout the process. Wear protective gloves and safety glasses to protect yourself from any potential injuries. Glass shards can be hazardous, so it’s important to take precautions.
Once you have gathered all the necessary tools and materials, you’re ready to move on to the next step: removing the damaged glass from the sliding patio door.
Step 2: Remove the Damaged Glass
Before you can install the replacement glass, you need to remove the damaged or broken glass from the sliding patio door. Follow these steps to safely and effectively remove the glass:
- Start by placing a protective covering, such as a dropcloth, below the sliding patio door. This will prevent any glass shards or debris from falling onto the floor or ground.
- Wearing gloves and safety glasses, carefully use a putty knife or scraper to remove any old putty or glazing around the edges of the glass. Be cautious to avoid damaging the door frame or any surrounding components.
- If the damaged glass is held in place with glass stops or molding, gently pry it away from the door frame using a putty knife or scraper. Take your time and work slowly to avoid any accidental breakage.
- If the glass is sealed in place with caulk or adhesive, carefully cut through the seal using a paint scraper or utility knife. Take care not to damage the door frame or surrounding surfaces.
- Once the glass is free from any attachments, it’s time to remove it from the door frame. If the glass is broken, take extra precautions by wearing gloves and using glass suction cups or handles to lift and remove the broken pieces.
- If you’re removing a whole, intact piece of glass, gently slide it out of the door frame while being mindful of its size and weight.
- Place the removed glass in a safe location away from foot traffic or other hazards. Dispose of broken glass properly by placing it in a sturdy box or container and labeling it as “broken glass” for safe disposal.
By following these steps, you will be able to safely and effectively remove the damaged glass from your sliding patio door. Once this is done, you can proceed to the next step of measuring the replacement glass.
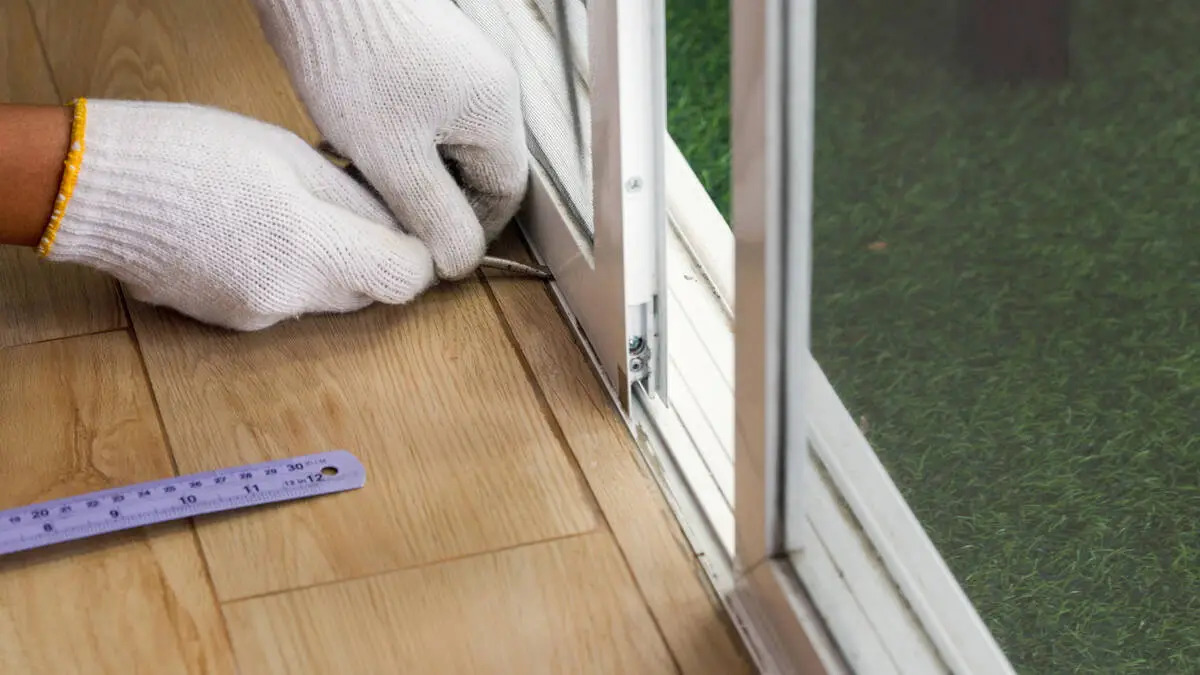
Step 3: Measure the Replacement Glass
Now that you have removed the damaged glass from your sliding patio door, it’s time to measure the dimensions of the replacement glass. Accurate measurements are crucial to ensure that the replacement glass fits perfectly within the door frame. Here’s how you can measure the replacement glass:
- Begin by measuring the width of the opening where the glass will be installed. Measure from one side of the door frame to the opposite side, ensuring that you measure the inside width of the frame.
- Next, measure the height of the opening from the top of the frame to the bottom. Again, measure the inside height of the frame.
- If the glass pane needs to fit into a groove or channel within the door frame, measure the depth of the groove as well.
- It’s important to double-check your measurements to ensure accuracy. Take multiple measurements to confirm the width, height, and depth of the glass pane needed for replacement. This will help avoid any errors in sizing.
When measuring the dimensions, be sure to account for any necessary allowances. Leave a small gap, typically around 1/8 inch, to allow for expansion and contraction due to temperature changes. This will prevent the glass from cracking or breaking in extreme weather conditions.
If you need to cut the replacement glass to size, make sure to subtract the necessary allowance from your measurements before cutting. Additionally, consider seeking the assistance of a professional glass cutter if you’re not confident in your skills.
Once you have the accurate measurements for your replacement glass, you’re ready to move on to the next step: purchasing the replacement glass.
Step 4: Purchase the Replacement Glass
With the precise measurements in hand, it’s time to purchase the replacement glass for your sliding patio door. Here are a few considerations to keep in mind:
- Look for a reputable supplier or glass company that specializes in providing replacement glass for sliding patio doors. They will have a variety of options to choose from and can assist you in finding the right type of glass for your specific needs.
- Consider the type of glass you want to use. There are different options available, such as tempered glass, laminated glass, or low-E glass. Each type has its own benefits in terms of durability, safety, and energy efficiency. Choose the one that best suits your requirements and budget.
- Provide the supplier with the accurate measurements of the replacement glass. This will ensure that you receive a custom-cut piece that fits perfectly within your sliding patio door frame.
- Inquire about any special features or additional services offered by the supplier. For example, some suppliers may offer edge polishing or custom tinting services to enhance the appearance and functionality of the replacement glass.
- Compare pricing from different suppliers to ensure you’re getting the best value for your money. However, keep in mind that quality should be prioritized over the lowest price. Investing in a high-quality replacement glass will result in better performance and longevity.
- Once you have made your selection and completed the purchase, confirm the delivery timeframe with the supplier. It’s essential to have the replacement glass ready before proceeding to the next steps of the installation process.
By carefully considering these factors and selecting the right replacement glass, you will ensure a seamless and successful glass replacement for your sliding patio door.
Now that you have purchased the replacement glass, you can move on to the next step: preparing the replacement glass for installation.
When replacing the glass in a sliding patio door, be sure to measure the dimensions accurately before ordering the new glass. It’s important to use safety equipment and follow the manufacturer’s instructions carefully during the replacement process.
Step 5: Prepare the Replacement Glass
Before installing the replacement glass into your sliding patio door, it’s important to prepare it properly. This will help ensure a secure and long-lasting installation. Follow these steps to prepare the replacement glass:
- Inspect the replacement glass for any defects or imperfections. Look for any chips, cracks, or scratches that may have occurred during transportation or handling. If you notice any issues, contact the supplier to arrange a replacement.
- If the replacement glass needs to be resized to fit your specific measurements, use a glass cutter to trim it down. Follow the manufacturer’s instructions on how to use the glass cutter effectively. Remember to measure and mark the glass accurately before making any cuts.
- Apply glass cutter oil to the cutting wheel or blade of the glass cutter. This will lubricate the tool and make the cutting process smoother. Be sure to follow the instructions provided with your glass cutter oil.
- Place the replacement glass on a clean, flat surface protected by a soft cloth or padding. This will prevent any scratches or damage to the glass during the preparation process.
- If necessary, use a glass grinder or sandpaper to smooth out any rough edges or sharp corners on the replacement glass. Be gentle and work slowly to avoid overheating or cracking the glass.
- Clean the replacement glass using a glass cleaner and a lint-free cloth. Ensure that the glass is completely free from dust, fingerprints, or any other debris. A clean surface will facilitate a better seal and enhance the overall appearance of the sliding patio door.
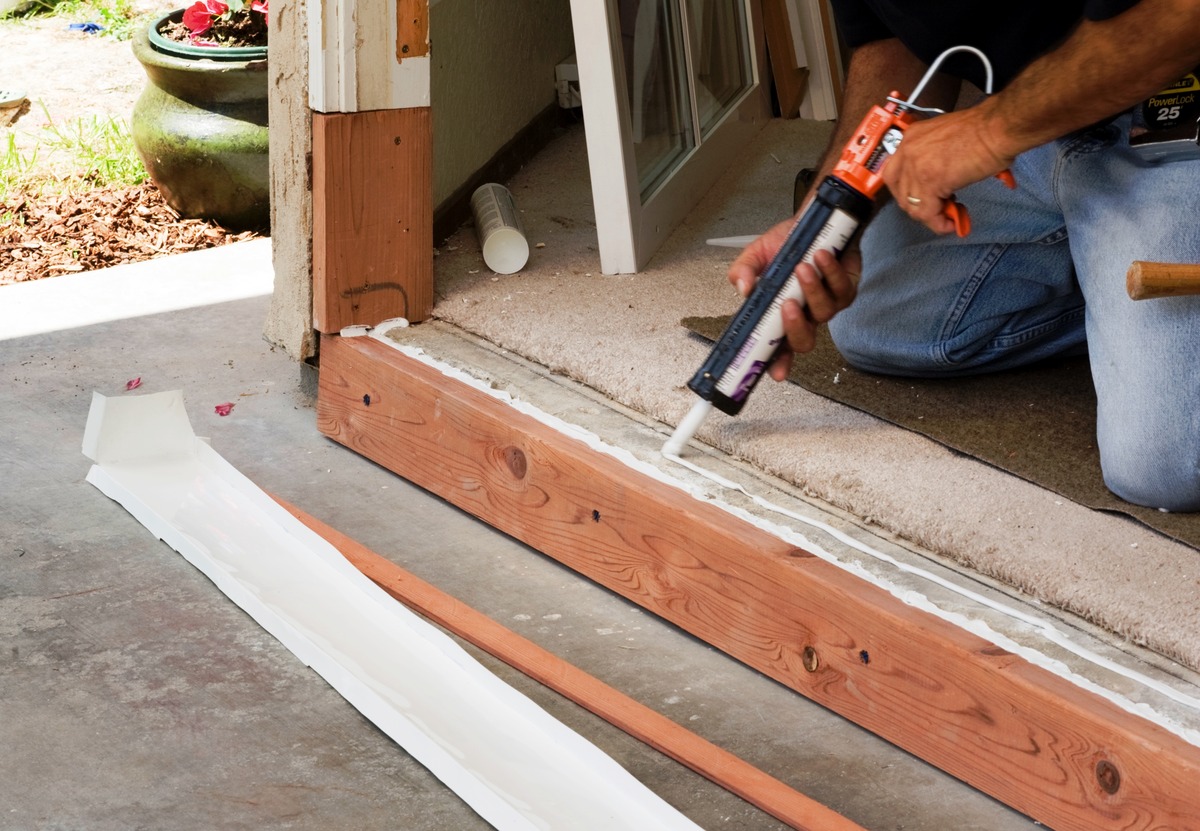
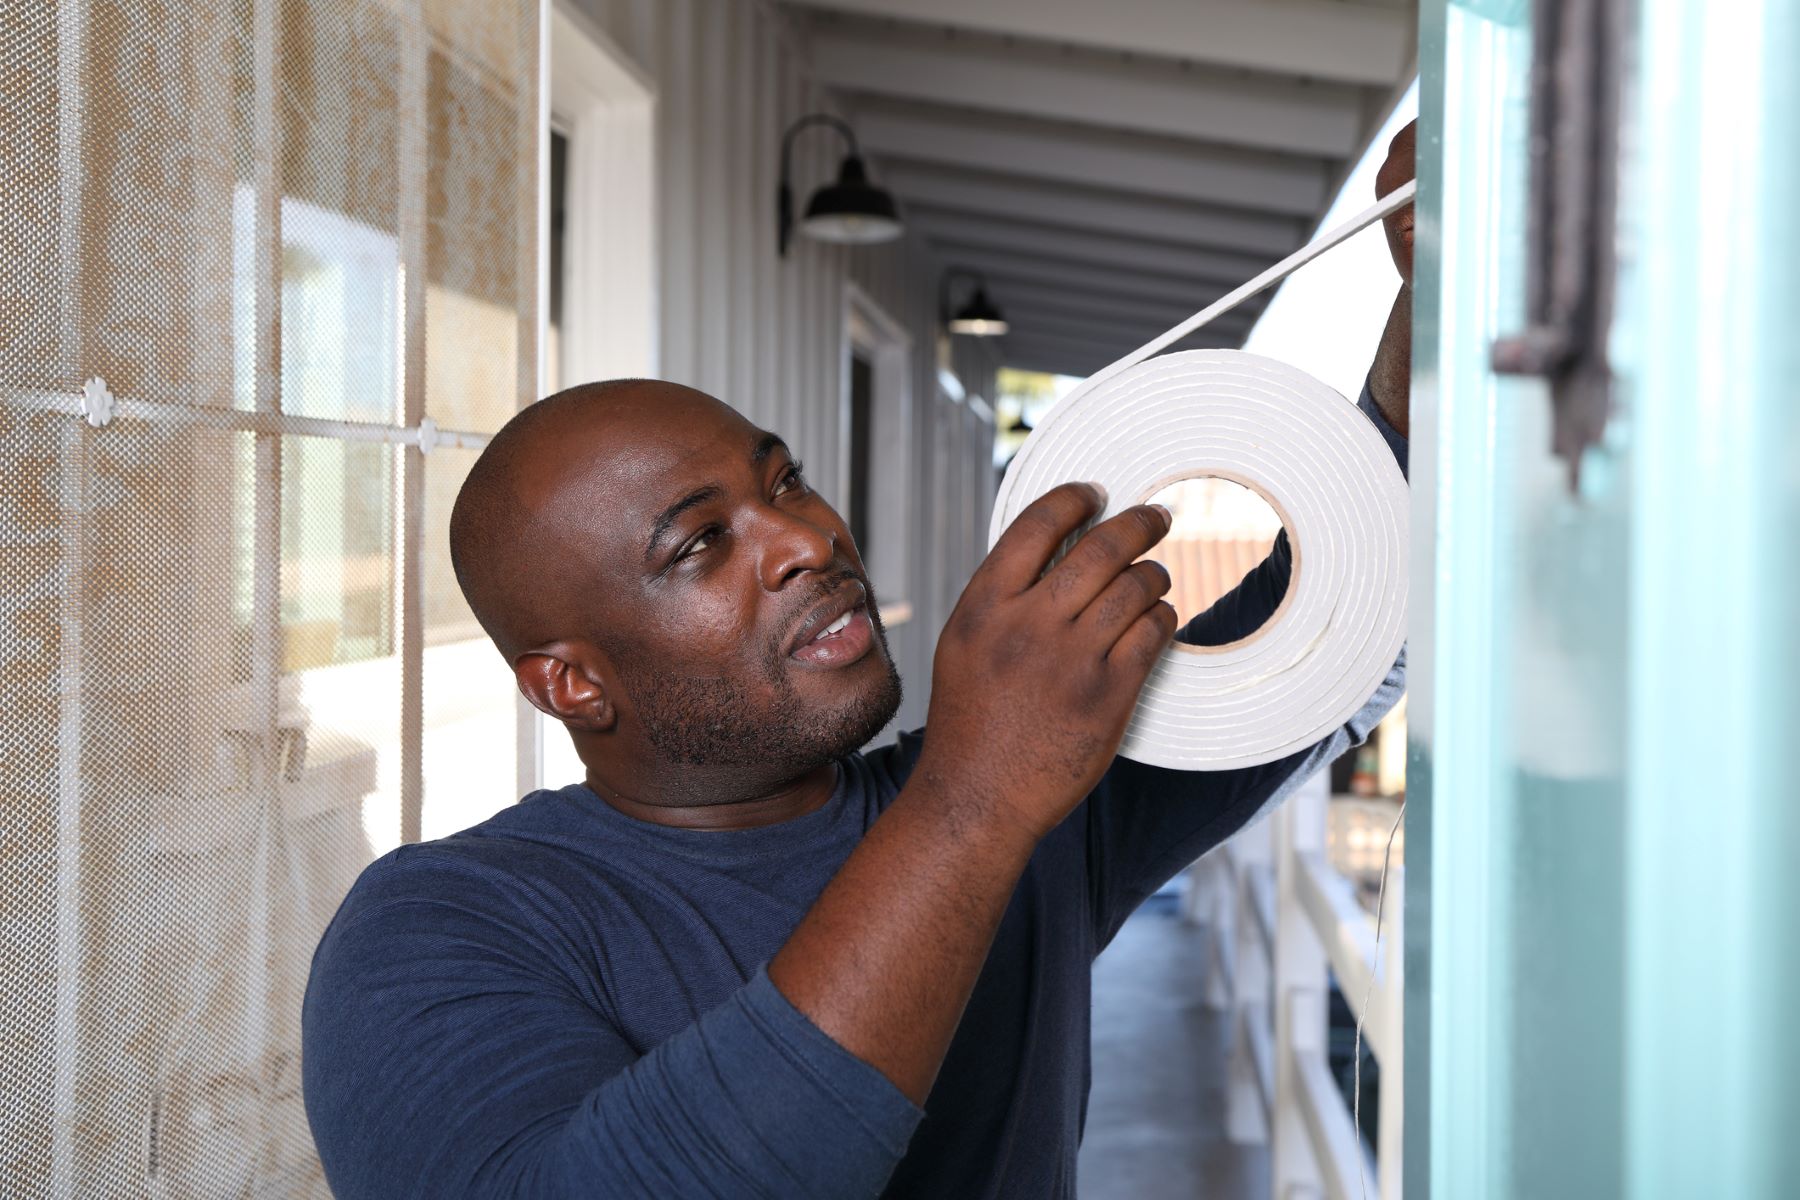
- Apply a thin layer of butyl rubber sealant around the edges of the replacement glass. This will help create a watertight seal and prevent any air or water leaks. Load a caulk gun with the butyl rubber sealant and carefully apply it in a continuous bead along the perimeter of the glass.
By following these steps, you will properly prepare the replacement glass for installation. Taking the time to ensure that the glass is in good condition and properly sized will result in a successful and secure replacement.
Now that you have prepared the replacement glass, you can proceed to the next step: installing the replacement glass into your sliding patio door.
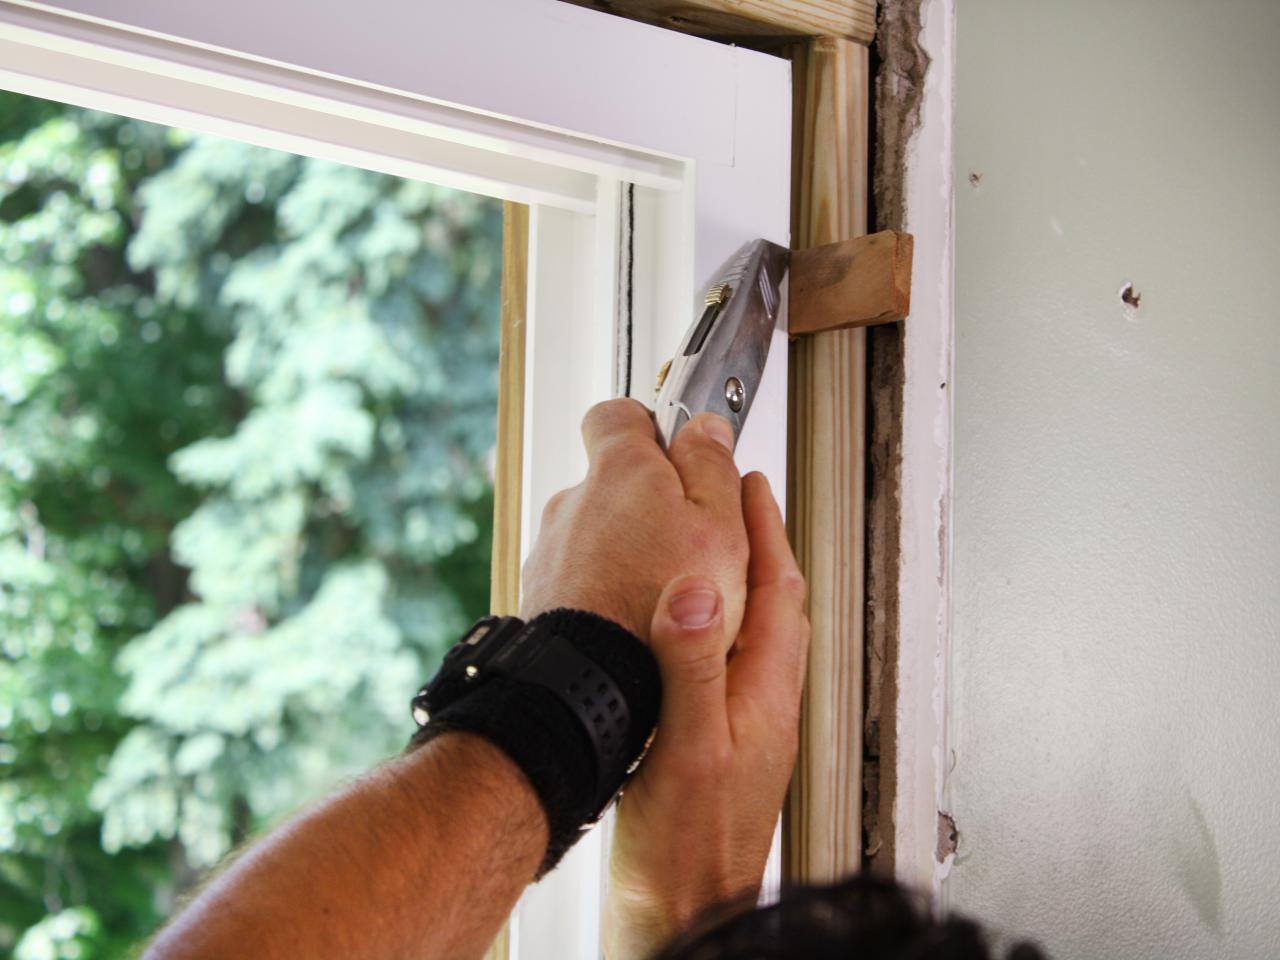
Step 6: Install the Replacement Glass
Now that you have prepared the replacement glass, it’s time to install it into your sliding patio door. Follow these steps to ensure a proper and secure installation:
- With the help of another person, carefully lift the replacement glass and position it into the door frame. Be cautious not to apply too much pressure or force, as it can cause damage to the glass or the door frame.
- Align the edges of the replacement glass with the edges of the door frame, ensuring a snug fit. If necessary, adjust the position of the glass until it is centered and properly aligned.
- Press the replacement glass gently against the door frame to create a seal with the butyl rubber sealant. The sealant should evenly distribute and provide a watertight barrier.
- If the door has channels or grooves to hold the glass in place, ensure that the replacement glass fits securely within them. Use a putty knife or scraper to push any protruding sealant into the channel, creating a smoother finish.
- Double-check the alignment and position of the replacement glass to ensure it is level and properly seated in the door frame. Make any necessary adjustments before proceeding.
- Once the replacement glass is securely in place, use a lint-free cloth to wipe away any excess sealant or smudges on the glass surface. This step will help achieve a clean and polished look.
It is important to take your time during the installation process to ensure the replacement glass is properly seated and sealed. Any gaps or improper alignment can compromise the performance and security of the sliding patio door.
With the replacement glass successfully installed, you can move on to the next step: securing the glass in place.
Step 7: Secure the Glass in Place
After installing the replacement glass in your sliding patio door, it’s crucial to properly secure it in place. This step ensures that the glass remains stable and prevents any movement or potential hazards. Follow these steps to secure the glass:
- Inspect the edges of the glass to ensure that the butyl rubber sealant is evenly distributed and properly seals the glass to the door frame. If you notice any gaps or areas that are not sealed properly, apply additional sealant as needed.
- For added security, you can apply a small bead of silicone caulk along the outer edges of the glass and the door frame. This provides an extra layer of protection against air and water infiltration.
- If your sliding patio door has glass stops or molding, reattach them to secure the replacement glass. Carefully align the stops or molding with the door frame and use a hammer or rubber mallet to gently tap them into place.
- Ensure that the glass stops or molding are firmly seated against the glass and the door frame. This will hold the glass securely in place and prevent it from shifting or falling out.
- Inspect the entire door frame to make sure there are no loose or damaged components. Tighten any screws or bolts if necessary, and replace any damaged parts to maintain the structural integrity of the sliding patio door.
By securing the glass properly, you will provide added stability and ensure that the replacement glass remains in place. This step is important for both the functionality and safety of your sliding patio door.
With the glass securely fastened in the door frame, you are ready to move on to the final step: testing the sliding patio door.
Step 8: Test the Sliding Patio Door
After completing the glass replacement process, it’s essential to test the functionality of your sliding patio door to ensure that everything is in working order. Testing the door will help identify any potential issues and allow you to address them promptly. Follow these steps to test your sliding patio door:
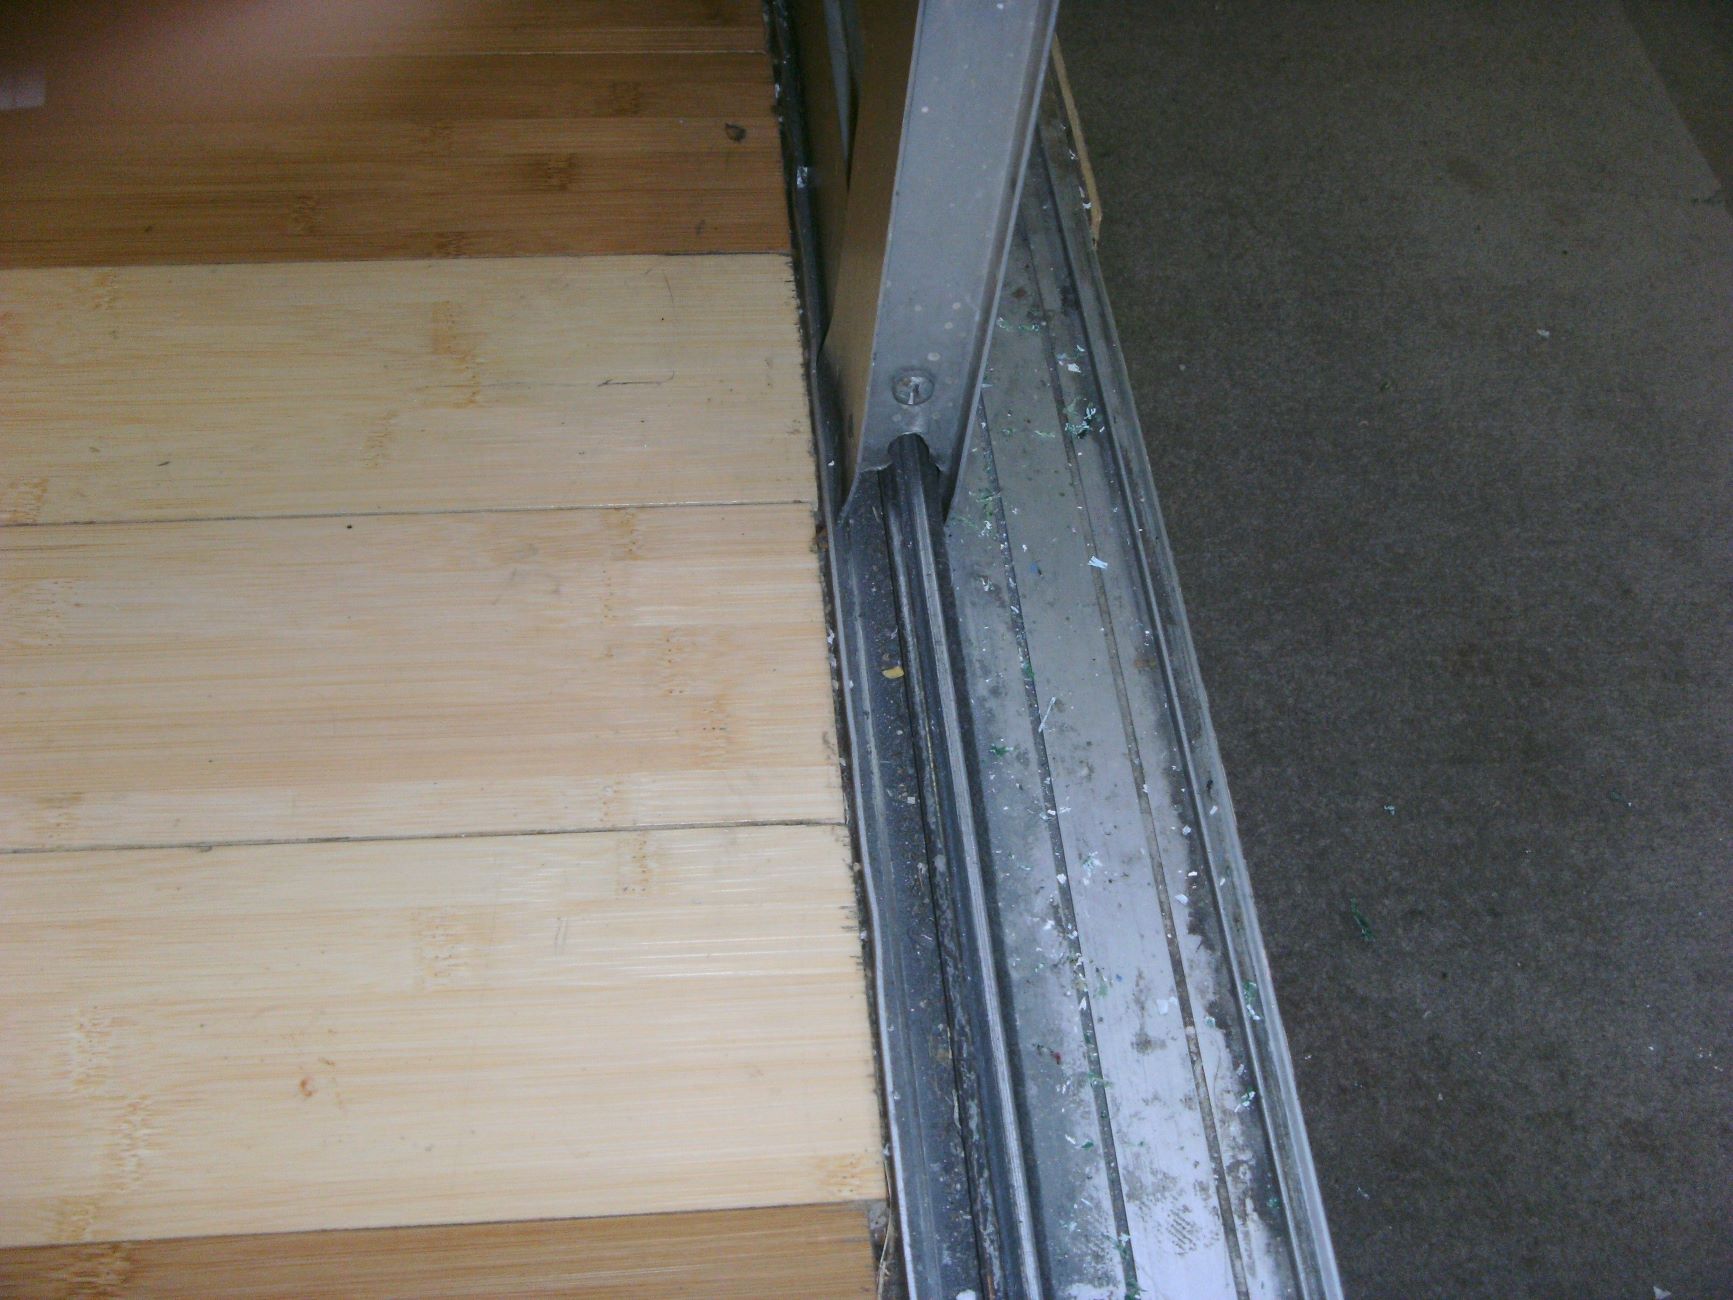
- Unlock the sliding patio door and carefully slide it open and closed. Pay attention to any resistance or difficulties in movement. The door should glide smoothly along its tracks without getting stuck.
- Check the alignment of the door as it closes. It should fit securely within the door frame and create a tight seal. If there are any gaps or spaces, it may indicate that the glass or door frame needs adjustment.
- Observe the operation of the door lock and latch mechanism. Ensure that it engages correctly and securely locks the door in place. Test the lock from both the inside and outside to confirm its functionality.
- Listen for any unusual sounds or noises while operating the sliding patio door. Squeaking or scraping sounds may indicate a need for lubrication or adjustment. Apply a silicone-based lubricant to the tracks and rollers as needed.
- Inspect the surrounding areas of the sliding patio door, including the door frame, weatherstripping, and seals. Look for any gaps or signs of air or water leakage. If necessary, add or replace weatherstripping to enhance insulation and prevent drafts.
- Repeat the sliding and locking tests multiple times to ensure consistent results. This will help identify any intermittent issues or abnormalities that may need further attention.
By thoroughly testing the sliding patio door, you can confirm that the glass replacement process has been successful and that the door is functioning as intended. Any discovered issues can be addressed promptly, ensuring the long-term performance and durability of your sliding patio door.
Congratulations! With the completion of Step 8, you have successfully replaced the glass in your sliding patio door. Enjoy the beautiful view and the enhanced functionality of your patio door.
Always remember that if you encounter any challenges or feel unsure about any step of the process, it’s wise to seek professional assistance to ensure the job is done safely and effectively.
Thank you for utilizing our comprehensive guide to replacing the glass in a sliding patio door. We hope it has been helpful and that you now have a fully restored and functional sliding patio door to enjoy for years to come!
Conclusion
Replacing the glass in a sliding patio door may seem like a daunting task, but with the right tools, materials, and guidance, it can be successfully accomplished. This comprehensive guide has taken you through each step of the process, from gathering the necessary tools to testing the functionality of the door.
By following these steps and taking the time to carefully measure, prepare, and install the replacement glass, you can restore the beauty and functionality of your sliding patio door. The result will be a secure and visually appealing door that allows for unobstructed views and seamless outdoor access.
Remember to prioritize safety throughout the glass replacement process and seek professional assistance if you have any concerns or encounter challenges beyond your skill level. Professionals have the expertise and experience to handle complex installations and ensure your sliding patio door is in optimal condition.
Regular maintenance, such as cleaning the glass and lubricating the tracks, will help prolong the lifespan of your sliding patio door and maximize its performance. Inspecting for any signs of damage or wear and addressing them promptly will also help prevent further issues and maintain the door’s functionality over time.
We hope this guide has been informative and has equipped you with the knowledge and confidence to tackle the replacement of the glass in your sliding patio door. Enjoy the refreshed look and improved functionality of your patio space, and may your sliding patio door bring you years of comfort and enjoyment.
Frequently Asked Questions about How To Replace Glass In A Sliding Patio Door
Was this page helpful?
At Storables.com, we guarantee accurate and reliable information. Our content, validated by Expert Board Contributors, is crafted following stringent Editorial Policies. We're committed to providing you with well-researched, expert-backed insights for all your informational needs.


0 thoughts on “How To Replace Glass In A Sliding Patio Door”