Home>Furniture & Design>Interior Design Trends>How To Sandblast Glass

Interior Design Trends
How To Sandblast Glass
Modified: August 16, 2024
Learn the latest interior design trends with our guide on how to sandblast glass. Elevate your space with this unique and stylish technique. Discover more today!
(Many of the links in this article redirect to a specific reviewed product. Your purchase of these products through affiliate links helps to generate commission for Storables.com, at no extra cost. Learn more)
Introduction
Sandblasting glass is a versatile and creative technique that allows for the transformation of plain glass into stunning works of art. Whether you're looking to add a personalized touch to glassware, create intricate designs on windows, or enhance the aesthetic appeal of mirrors, sandblasting offers a myriad of possibilities. This process involves using compressed air to propel abrasive materials at high velocity onto the surface of the glass, resulting in a frosted or etched appearance.
The art of sandblasting glass has gained popularity in the realm of interior design and DIY projects due to its ability to add a touch of elegance and uniqueness to various items. From customizing glass vases and tumblers to embellishing shower doors and decorative panels, the possibilities are endless. By mastering the art of sandblasting, individuals can unleash their creativity and bring their design visions to life.
In this comprehensive guide, we will delve into the intricacies of sandblasting glass, providing step-by-step instructions and valuable insights to help you embark on your own sandblasting journey. From safety precautions and equipment requirements to the meticulous process of preparing and executing the sandblasting technique, this guide will equip you with the knowledge and confidence to engage in this captivating art form.
Embarking on a sandblasting project offers a fulfilling and rewarding experience, allowing individuals to express their creativity and add a personal touch to their living spaces. Whether you're a seasoned artisan or a novice enthusiast, the art of sandblasting glass is a captivating endeavor that promises to elevate the aesthetic appeal of glass surfaces and unleash your artistic flair. So, let's dive into the world of sandblasting and unlock the potential of transforming ordinary glass into extraordinary works of art.
Key Takeaways:
- Unleash Your Creativity: Sandblasting glass allows you to transform plain glass into stunning works of art, adding a personalized touch to your living spaces and unleashing your artistic flair.
- Safety First, Art Second: Prioritize safety by wearing protective gear, ensuring ventilation, and inspecting equipment before embarking on the captivating journey of sandblasting glass.
Safety Precautions
Before embarking on a sandblasting project, it is crucial to prioritize safety to ensure a secure and hazard-free working environment. Sandblasting involves the use of abrasive materials and high-pressure equipment, making it essential to adhere to stringent safety measures. By implementing the following precautions, you can safeguard yourself and others while engaging in the art of sandblasting glass.
-
Protective Gear: Prior to commencing any sandblasting activities, it is imperative to don appropriate protective gear. This includes wearing a respirator to shield against inhaling abrasive particles and dust. Additionally, safety goggles or a face shield should be worn to safeguard the eyes from potential debris and particles propelled during the sandblasting process. Furthermore, durable gloves are essential to shield the hands from abrasive materials and ensure a secure grip on the equipment.
-
Ventilation: Adequate ventilation is paramount when engaging in sandblasting activities. It is recommended to conduct sandblasting projects in a well-ventilated area or utilize specialized ventilation systems to mitigate the accumulation of airborne particles. This precaution is vital in minimizing the inhalation of abrasive materials and maintaining a safe breathing environment.
-
Protective Clothing: Wearing appropriate clothing is essential to prevent skin exposure to abrasive materials. Long-sleeved shirts, full-length pants, and closed-toe shoes should be worn to minimize direct contact with abrasive particles. Additionally, it is advisable to wear a protective apron to further shield the body from potential abrasion.
-
Equipment Inspection: Thoroughly inspect all sandblasting equipment, including the compressor, hoses, and nozzles, to ensure they are in optimal working condition. Any signs of wear, damage, or malfunction should be addressed promptly to prevent potential accidents or equipment failure during the sandblasting process.
-
Work Area Preparation: Prior to commencing sandblasting, it is essential to prepare the work area meticulously. Clear the space of any unnecessary items and ensure that surrounding surfaces are adequately protected from abrasive particles. This includes covering nearby objects and surfaces with protective materials to prevent inadvertent damage during the sandblasting process.
By adhering to these safety precautions, individuals can mitigate potential risks and create a secure environment for engaging in the art of sandblasting glass. Prioritizing safety not only safeguards against potential hazards but also ensures a smooth and enjoyable sandblasting experience, allowing individuals to unleash their creativity with peace of mind.
Equipment and Materials Needed
When embarking on a sandblasting project, it is essential to gather the necessary equipment and materials to ensure a seamless and successful undertaking. The following items are fundamental for executing the sandblasting process effectively:
-
Sandblasting Cabinet or Enclosure: A sandblasting cabinet or enclosure provides a controlled environment for conducting sandblasting activities. It contains the abrasive materials and allows for efficient containment of particles, minimizing the dispersion of debris into the surrounding area.
-
Air Compressor: An air compressor is a vital component for generating the high-pressure air stream required to propel abrasive materials onto the glass surface. It is essential to select a compressor with adequate power and airflow capacity to facilitate the sandblasting process effectively.
-
Abrasive Materials: Various abrasive materials can be utilized for sandblasting, including aluminum oxide, silicon carbide, and glass beads. The selection of abrasive material depends on the desired level of abrasion and the specific effects to be achieved on the glass surface.
-
Sandblasting Nozzle and Gun: A high-quality sandblasting nozzle and gun are essential for directing the abrasive stream onto the glass surface with precision and control. These components play a crucial role in determining the accuracy and consistency of the sandblasting process.
-
Protective Gear: As mentioned in the safety precautions section, protective gear is indispensable for ensuring personal safety during sandblasting. This includes a respirator, safety goggles or face shield, durable gloves, and protective clothing to shield against abrasive particles and potential hazards.
-
Masking Materials: Masking materials such as vinyl stencils, masking tape, and adhesive vinyl are utilized to create patterns and designs on the glass surface. These materials enable precise masking of areas to be protected from the abrasive stream, allowing for the creation of intricate and customized designs.
-
Cleaning Supplies: After the sandblasting process, cleaning supplies such as glass cleaner, microfiber cloths, and rubbing alcohol are essential for removing residual abrasive particles and achieving a pristine finish on the glass surface.
-
Ventilation System: Adequate ventilation is crucial for maintaining a safe working environment during sandblasting. Utilizing a ventilation system or working in a well-ventilated area helps minimize the accumulation of airborne particles and ensures a breathable atmosphere.
By acquiring the aforementioned equipment and materials, individuals can set the stage for a successful sandblasting endeavor, equipped with the essential tools to unleash their creativity and achieve stunning results on glass surfaces. Each component plays a pivotal role in facilitating the sandblasting process, from generating the abrasive stream to ensuring safety and precision throughout the artistic journey.
Setting Up the Sandblasting Area
Setting up the sandblasting area is a critical preparatory step that lays the foundation for a successful and efficient sandblasting process. By creating a well-organized and secure workspace, individuals can optimize their environment for precision, safety, and creativity. The following steps outline the essential considerations for setting up the sandblasting area:
-
Selecting an Appropriate Location: Choose a designated area for sandblasting that offers ample space and adequate ventilation. Ideally, the location should be well-ventilated to minimize the accumulation of airborne particles and provide a comfortable working environment. Additionally, ensure that the chosen space allows for the installation of a sandblasting cabinet or enclosure, providing a controlled environment for the sandblasting process.
-
Installing a Sandblasting Cabinet or Enclosure: If utilizing a sandblasting cabinet or enclosure, carefully install the unit in the designated area. The cabinet serves as a contained workspace, effectively confining abrasive materials and minimizing the dispersion of particles. This controlled environment not only enhances safety but also facilitates the efficient containment and disposal of abrasive debris.
-
Implementing Protective Measures: Prior to commencing sandblasting activities, it is essential to implement protective measures to safeguard the surrounding area. Cover nearby surfaces and objects with protective materials, such as drop cloths or plastic sheeting, to prevent inadvertent damage from abrasive particles. Additionally, ensure that the surrounding area is clear of any unnecessary items to create a focused and unobstructed workspace.
-
Establishing Ventilation: Adequate ventilation is paramount for maintaining a safe and breathable environment during sandblasting. If working in an enclosed space, consider utilizing a specialized ventilation system to expel airborne particles and ensure optimal air quality. Alternatively, conduct sandblasting in an outdoor area with natural ventilation to minimize the concentration of abrasive materials in the air.
-
Organizing Equipment and Materials: Arrange the necessary sandblasting equipment and materials in a systematic and accessible manner within the designated area. This includes positioning the air compressor, abrasive materials, sandblasting nozzles, and protective gear for convenient access during the sandblasting process. Organizing the workspace streamlines the sandblasting workflow and enhances efficiency.
By meticulously setting up the sandblasting area, individuals can establish a conducive environment for executing the sandblasting process with precision, safety, and ease. This preparatory phase lays the groundwork for a seamless and rewarding sandblasting experience, empowering individuals to unleash their creativity and achieve remarkable results on glass surfaces.
Preparing the Glass Surface
Preparing the glass surface is a crucial step that sets the stage for a successful sandblasting process. By meticulously attending to the preparation of the glass, individuals can ensure optimal adhesion of designs, precise execution of patterns, and a flawless frosted or etched finish. The following detailed steps outline the essential considerations for preparing the glass surface:
-
Cleaning the Glass: Begin by thoroughly cleaning the glass surface to remove any dirt, dust, or residues that may impede the sandblasting process. Utilize a gentle glass cleaner and a lint-free microfiber cloth to achieve a pristine and debris-free surface. Additionally, wiping the glass with rubbing alcohol helps eliminate any lingering contaminants and promotes optimal adhesion of masking materials.
-
Masking the Design Area: Determine the specific areas of the glass surface where the design or pattern will be applied. Utilize masking materials such as vinyl stencils, adhesive vinyl, or masking tape to meticulously mask off the areas that are intended to remain transparent. This step is crucial for creating precise and intricate designs, as the masked areas will be protected from the abrasive stream during sandblasting.
-
Securing the Masking Materials: Ensure that the masking materials are firmly adhered to the glass surface, leaving no gaps or loose edges that may compromise the integrity of the design. Smooth out the masking materials to eliminate air bubbles and ensure a tight seal against the glass. This meticulous approach is essential for achieving clean and well-defined design elements post-sandblasting.
-
Inspecting the Masked Design: Thoroughly inspect the masked design area to verify the accuracy and completeness of the masking. Any overlooked gaps or imperfections in the masking materials should be addressed promptly to prevent unintended abrasion of the glass surface during the sandblasting process. Attention to detail at this stage is instrumental in achieving the desired design outcome.
-
Final Surface Inspection: Conduct a final inspection of the glass surface to ensure that it is impeccably clean and that the masking materials are securely in place. Any residual debris or imperfections on the glass should be addressed before proceeding with the sandblasting process. This meticulous scrutiny guarantees a pristine canvas for the application of the sandblasting technique.
By meticulously preparing the glass surface, individuals can lay the groundwork for a precise and visually striking sandblasting outcome. This preparatory phase not only ensures the integrity of the design but also sets the stage for a seamless and rewarding sandblasting experience, enabling individuals to bring their creative visions to life on glass surfaces.
Read more: How To Glue Glass To Glass Permanently
Sandblasting Process
Once the glass surface is meticulously prepared, the sandblasting process can commence, unleashing the transformative potential of this captivating technique. The following steps outline the intricacies of the sandblasting process, guiding individuals through the precise execution of this art form.
-
Adjusting the Air Pressure: Begin by adjusting the air pressure of the compressor to achieve the desired intensity for the sandblasting process. The optimal air pressure depends on the specific abrasive material being used and the intricacy of the design. It is essential to strike a balance between sufficient force to propel the abrasive stream and precision in controlling the abrasion level on the glass surface.
-
Positioning the Nozzle: Position the sandblasting nozzle at a suitable distance from the glass surface, ensuring an optimal angle for directing the abrasive stream. The nozzle should be held steadily, allowing for controlled and consistent application of the abrasive material. This precision is crucial for achieving uniform abrasion and maintaining the integrity of the design elements.
-
Commencing the Sandblasting: With the equipment and materials in position, initiate the sandblasting process by activating the compressor and directing the abrasive stream onto the glass surface. Employ smooth and deliberate movements to ensure even coverage and precise execution of the design. It is essential to maintain a steady hand and a consistent distance from the glass to achieve uniform abrasion and desired design outcomes.
-
Monitoring the Progress: Continuously monitor the progress of the sandblasting process, assessing the depth of abrasion and the clarity of the design as it unfolds. This vigilance allows for real-time adjustments to the air pressure, nozzle positioning, and sandblasting technique, ensuring that the desired aesthetic effects are achieved with precision.
-
Achieving the Desired Effect: As the sandblasting process progresses, observe the gradual transformation of the glass surface, from transparency to a frosted or etched appearance. Exercise patience and attentiveness to achieve the desired level of abrasion and design clarity. This phase demands a delicate balance of artistry and technical proficiency to bring the envisioned design to fruition.
-
Halting the Sandblasting: Once the desired effect is achieved, halt the sandblasting process and deactivate the compressor. Carefully inspect the glass surface to ensure that the design has been executed to satisfaction. If necessary, make minor adjustments or touch-ups to refine the design and address any areas that require further attention.
By meticulously navigating through the sandblasting process, individuals can harness the transformative power of this technique, bringing their creative visions to life on glass surfaces with precision and artistry. The sandblasting process represents a harmonious blend of technical proficiency and artistic expression, culminating in the creation of stunning and personalized glass artworks.
Cleaning and Finishing the Glass
After the completion of the sandblasting process, meticulous cleaning and finishing techniques are essential to unveil the full splendor of the transformed glass surface. This phase not only removes residual abrasive particles but also enhances the visual impact of the design, resulting in a pristine and captivating finish.
Removing Masking Materials
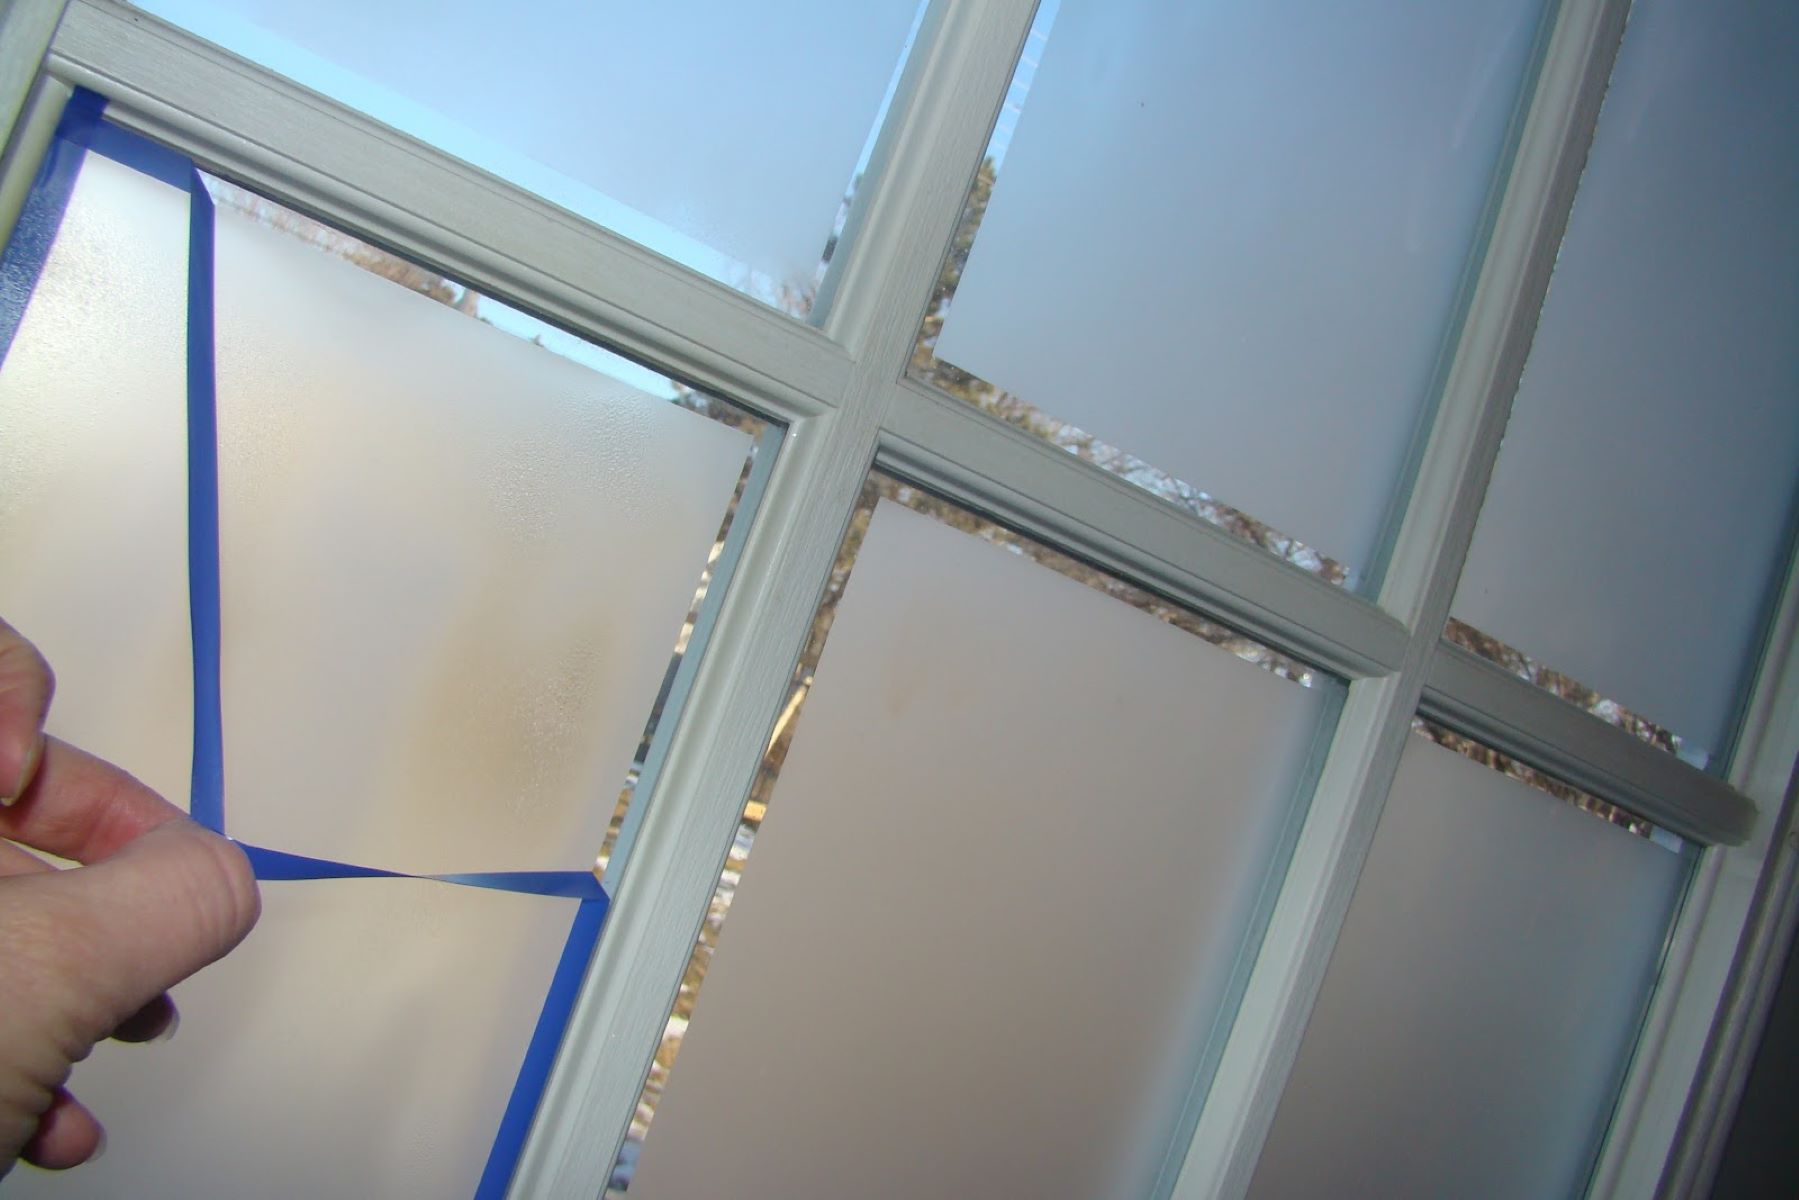
Carefully remove the masking materials from the glass surface, ensuring gentle and deliberate peeling to prevent any unintended damage to the newly sandblasted design. Take the time to meticulously lift and discard the masking materials, unveiling the intricately crafted frosted or etched patterns with precision.
Cleaning Residual Abrasive Particles
Utilize a gentle glass cleaner and a lint-free microfiber cloth to meticulously clean the sandblasted glass surface, removing any residual abrasive particles and debris. This meticulous cleaning process ensures that the design is showcased in its full clarity, free from any remnants of the sandblasting process.
Read more: How To Sublimate On Glass
Final Inspection and Touch-Ups
Conduct a thorough inspection of the glass surface to verify the pristine finish and the clarity of the sandblasted design. Address any minor imperfections or residual particles by employing gentle touch-up techniques, ensuring that the glass surface exudes a flawless and polished appearance.
Applying a Protective Finish (Optional)
For added durability and longevity, consider applying a protective finish to the sandblasted glass surface. This optional step involves the application of a clear sealant or protective coating, enhancing the resilience of the design and safeguarding it against potential wear and environmental factors.
Showcasing the Transformed Glass
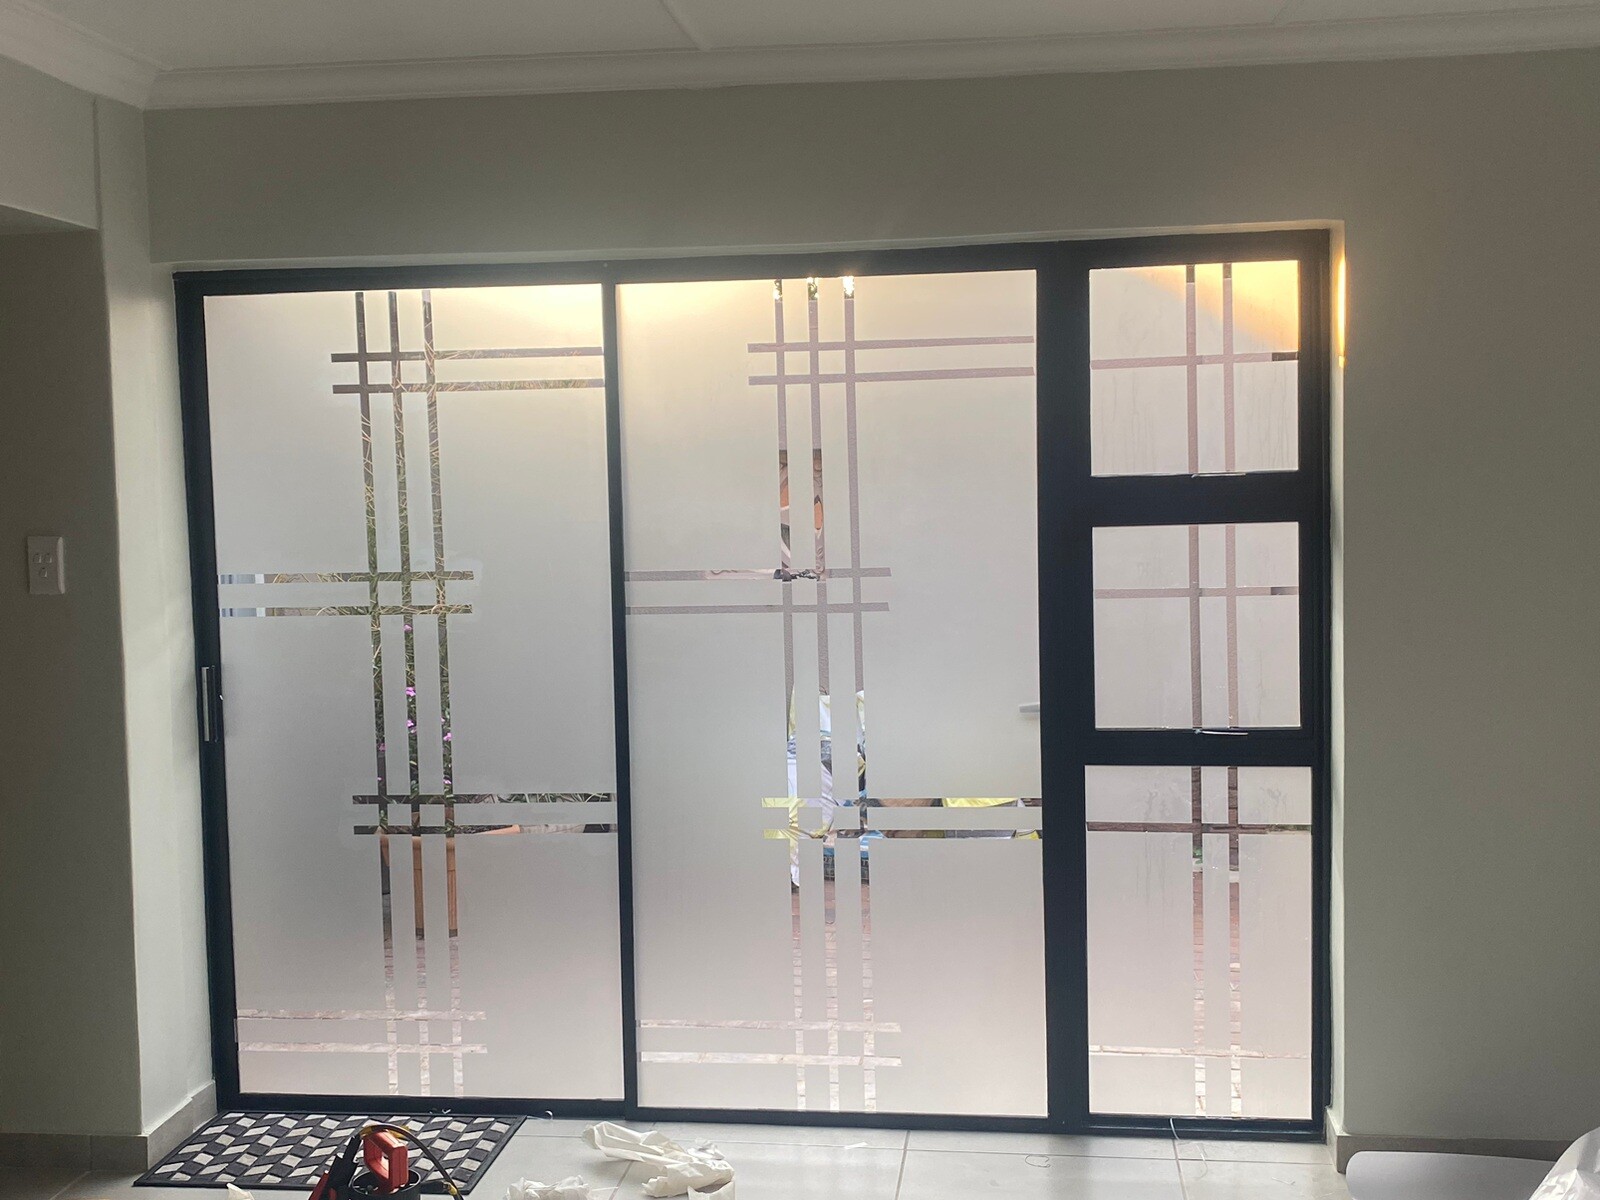
Once the cleaning and finishing process is complete, proudly showcase the transformed glass in its newfound splendor. Whether it's a personalized glassware item, an embellished window, or a decorative glass panel, the finished piece serves as a testament to the artistry and creativity unleashed through the captivating technique of sandblasting.
By meticulously attending to the cleaning and finishing of the sandblasted glass, individuals can elevate the visual impact of the design and ensure a lasting impression. This final phase of the sandblasting journey culminates in the unveiling of a stunning and personalized glass artwork, ready to adorn living spaces with elegance and individuality.
When sandblasting glass, always wear protective gear such as goggles and a respirator to avoid inhaling glass particles. It’s also important to work in a well-ventilated area to prevent exposure to harmful dust.
Conclusion
In conclusion, the art of sandblasting glass represents a captivating fusion of creativity, precision, and transformative potential. From personalized glassware to embellished windows and decorative panels, the versatility of sandblasting offers boundless opportunities for individuals to infuse their living spaces with elegance and individuality. By meticulously adhering to safety precautions, acquiring the essential equipment and materials, and navigating through the intricacies of the sandblasting process, individuals can unleash their artistic flair and bring their design visions to life on glass surfaces.
The journey of sandblasting glass begins with meticulous preparation, encompassing the cleaning of the glass surface and the precise application of masking materials to delineate intricate designs. As the sandblasting process unfolds, individuals embark on a harmonious blend of technical proficiency and artistic expression, guiding the abrasive stream to achieve the desired frosted or etched effects with precision and artistry. The culmination of the sandblasting process unveils stunning designs that exude a captivating allure, showcasing the transformative power of this captivating technique.
Furthermore, the meticulous cleaning and finishing of the sandblasted glass surface elevate the visual impact of the designs, ensuring a flawless and polished appearance that is ready to adorn living spaces with elegance. Whether it's a personalized glassware item, an embellished window, or a decorative glass panel, the finished pieces serve as testaments to the artistry and creativity unleashed through the captivating technique of sandblasting.
Embarking on a sandblasting project offers a fulfilling and rewarding experience, allowing individuals to express their creativity and add a personal touch to their living spaces. The art of sandblasting glass is a testament to the transformative potential of this technique, empowering individuals to unleash their artistic visions and create stunning works of art that captivate the eye and elevate the aesthetic appeal of glass surfaces.
In essence, the art of sandblasting glass transcends the realm of interior design, offering a medium for individuals to channel their creativity and bring their design aspirations to fruition. Through meticulous preparation, precise execution, and meticulous finishing, the art of sandblasting glass unfolds as a captivating journey of artistic expression and visual transformation, culminating in the creation of personalized and captivating glass artworks that enrich living spaces with elegance and individuality.
If you've mastered the art of sandblasting glass and are hungry for more creative techniques, why not learn about frosted glass next? This method offers another stylish way to enhance your home decor. You'll find practical insights and inventive ideas to make your living spaces uniquely yours. Dive into our detailed guide and find out just how versatile glass can be!
Frequently Asked Questions about How To Sandblast Glass
Was this page helpful?
At Storables.com, we guarantee accurate and reliable information. Our content, validated by Expert Board Contributors, is crafted following stringent Editorial Policies. We're committed to providing you with well-researched, expert-backed insights for all your informational needs.








0 thoughts on “How To Sandblast Glass”