Home>Furniture & Design>Kitchen Furniture>How To Build Your Own Buffet Table
Kitchen Furniture
How To Build Your Own Buffet Table
Published: January 31, 2024
Learn how to design and build your own buffet table with our expert tips and ideas. Create the perfect kitchen furniture with our step-by-step guide. Explore kitchen furniture and design now!
(Many of the links in this article redirect to a specific reviewed product. Your purchase of these products through affiliate links helps to generate commission for Storables.com, at no extra cost. Learn more)
Introduction
So, you've decided to build your own buffet table. Congratulations! This is an exciting project that allows you to showcase your creativity while adding a practical and stylish piece of furniture to your home. Whether you're an experienced DIY enthusiast or just getting started with woodworking, building a buffet table can be a rewarding and fulfilling endeavor.
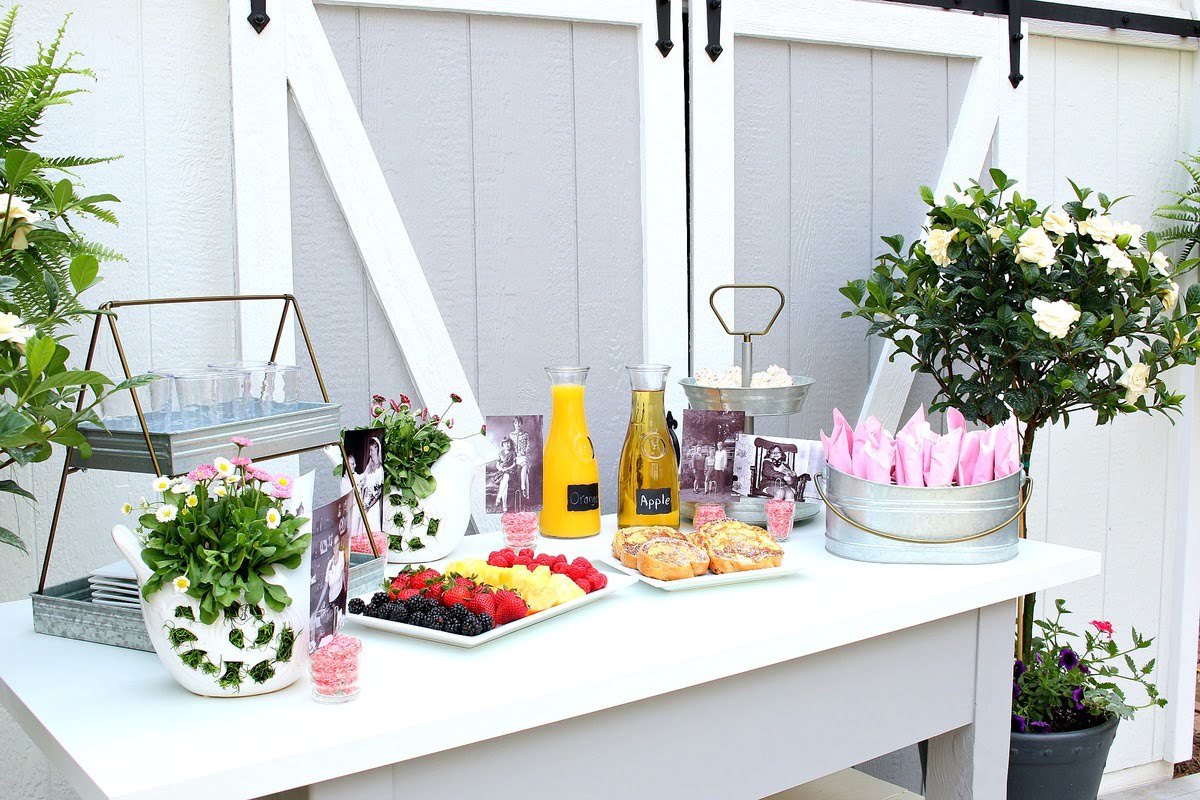
A buffet table is a versatile piece of furniture that can serve as a functional storage solution and a decorative element in your home. It's perfect for storing and displaying dishes, glassware, and other dining essentials, making it an ideal addition to your dining room, kitchen, or any entertaining space. By customizing your own buffet table, you have the freedom to tailor it to your specific needs and personal style, ensuring that it complements your existing decor while serving its intended purpose.
In this comprehensive guide, we'll walk through the step-by-step process of designing and building your own buffet table. From selecting the right materials to adding the finishing touches, we'll cover everything you need to know to bring your vision to life. Whether you prefer a rustic farmhouse look, a sleek modern design, or a timeless classic style, we'll provide tips and techniques to help you achieve the perfect buffet table for your home.
Before we dive into the nitty-gritty details, it's important to approach this project with enthusiasm and a willingness to learn. Building furniture is a skill that can be honed over time, and this project presents an excellent opportunity to expand your DIY repertoire. Remember, mistakes are part of the learning process, so don't be discouraged if everything doesn't go perfectly the first time. With patience, perseverance, and a can-do attitude, you'll be well on your way to creating a stunning buffet table that you can proudly call your own. So, roll up your sleeves, gather your tools, and let's embark on this exciting journey to build the buffet table of your dreams!
Key Takeaways:
- Building a buffet table allows you to unleash your creativity and woodworking skills, resulting in a practical and stylish furniture piece that complements your home decor and serves your specific needs.
- By carefully designing, constructing, and adding finishing touches to your DIY buffet table, you not only create a functional piece of furniture but also gain valuable woodworking experience and a sense of accomplishment.
Read more: How To Build Your Own Dining Table
Materials and Tools Needed
Before you begin building your buffet table, it’s essential to gather all the necessary materials and tools. Having everything at your disposal will streamline the construction process and ensure that you can work efficiently. Here’s a comprehensive list of the items you’ll need to get started:
Materials:
- Wood: Select high-quality lumber for the construction of the buffet table. The type of wood you choose will influence the overall look and durability of the finished piece. Common options include oak, maple, cherry, and pine.
- Wood Screws: Choose screws that are appropriate for woodworking projects. Ensure that you have a variety of sizes to accommodate different parts of the table.
- Wood Glue: Opt for a high-strength wood glue to reinforce joints and ensure the stability of the buffet table.
- Sandpaper: Invest in sandpaper of varying grits to smooth the wood surfaces and achieve a professional finish.
- Stain or Paint: Depending on your design preferences, you'll need either wood stain or paint to add color and protection to the buffet table.
- Finish: Consider using a protective finish, such as polyurethane, to safeguard the wood from moisture, stains, and scratches.
- Hardware: Select knobs, handles, or pulls that complement the style of your buffet table. These details can enhance the overall aesthetic and functionality of the piece.
Tools:
- Measuring Tape: Accurate measurements are crucial for ensuring that the buffet table components fit together perfectly.
- Saw: A table saw or circular saw will be essential for cutting the wood to the desired dimensions.
- Drill and Bits: A power drill with a selection of drill bits is necessary for creating holes and driving screws into the wood.
- Screwdriver: Have both flat-head and Phillips-head screwdrivers on hand for assembling the table.
- Clamps: Clamps are invaluable for holding wood pieces together securely during assembly and glue drying.
- Sanding Block: A sanding block or sanding machine will help you achieve smooth and even surfaces on the wood.
- Paintbrushes or Stain Applicators: If you're finishing the buffet table with paint or stain, appropriate applicators will be needed.
- Safety Gear: Always prioritize safety by wearing protective eyewear, a dust mask, and hearing protection when operating power tools.
By ensuring that you have all the necessary materials and tools, you’ll be well-prepared to tackle the construction of your buffet table with confidence and precision.
Designing Your Buffet Table
Before diving into the construction phase, it’s crucial to establish a clear vision for your buffet table. The design stage sets the foundation for the entire project, guiding your material choices, dimensions, and overall aesthetic. Here are essential steps to consider when designing your buffet table:
Read more: How To Build Your Own C-Style End Table
1. Determine the Purpose:
Consider how you intend to use the buffet table. Will it primarily serve as a storage unit for dinnerware, a display surface for decorative items, or a combination of both? Understanding its intended purpose will influence the design and layout of the table.
2. Style and Aesthetic:
Define the style that best complements your existing decor. Whether you prefer a rustic, industrial, modern, or traditional look, aligning the buffet table’s design with your overall aesthetic will ensure a cohesive and harmonious appearance in your space.
3. Dimensions and Layout:
Determine the ideal size and layout of the buffet table based on the available space and your specific requirements. Consider the height, width, and depth, as well as the number and arrangement of shelves, drawers, and compartments.
4. Storage Features:
If storage is a primary consideration, decide on the types of storage features you’d like to incorporate. This could include open shelves for easy access, closed cabinets for concealed storage, or a combination of both to accommodate different items.
Read more: What Is A Buffet Table
5. Functional Details:
Pay attention to functional details such as hardware, drawer pulls, and knobs. These elements not only contribute to the overall aesthetic but also impact the ease of use and functionality of the buffet table.
6. Material Selection:
Choose the type of wood and finish that align with your design preferences. Consider the durability, grain pattern, and color of the wood to ensure it complements your desired style.
During the design phase, it’s helpful to sketch out your ideas or create a digital mockup to visualize the final product. This process allows you to refine the details and make informed decisions before proceeding to the construction phase. By carefully considering these design aspects, you’ll be well-equipped to create a buffet table that not only meets your practical needs but also enhances the visual appeal of your living space.
Building the Frame
With the design plan in place, it’s time to embark on the construction of the buffet table. Building the frame serves as the foundational step, providing the structure and support for the entire piece. Follow these essential guidelines to construct a sturdy and well-built frame for your buffet table:
1. Cut the Wood to Size:
Begin by cutting the wood pieces to the specified dimensions according to your design plan. Use a table saw or circular saw to ensure precise cuts, and double-check the measurements to guarantee accuracy.
Read more: How To Design And Build Your Own Home
2. Assemble the Legs and Rails:
If your buffet table includes legs and horizontal rails, assemble these components first. Use wood glue and screws to securely attach the rails to the legs, creating a stable base for the table.
3. Construct the Side and Back Panels:
If your design incorporates side and back panels, assemble these sections next. Ensure that the panels are square and level during assembly, and use clamps to hold the pieces in place while the glue dries.
4. Install the Center Support:
For longer buffet tables, a center support beam may be necessary to prevent sagging and provide additional strength. Install the center support using wood screws and ensure it’s positioned evenly along the length of the table.
5. Add Cross Bracing (if needed):
Depending on the design and dimensions of your buffet table, cross bracing may be required to reinforce the frame and prevent wobbling. Install cross braces between the legs or along the back panel as needed.
Read more: How To Start Building Your Own Home
6. Check for Squareness:
Throughout the assembly process, regularly check for squareness and alignment to ensure that the frame is level and true. This step is crucial for the overall stability and appearance of the buffet table.
7. Sand the Frame:
Once the frame is fully assembled, use sandpaper to smooth any rough edges and surfaces. Pay attention to the areas where wood pieces join to create seamless transitions.
By meticulously constructing the frame of the buffet table, you’ll establish a solid foundation for the subsequent steps of the build. Taking the time to ensure precise measurements and secure assembly will contribute to the overall durability and longevity of the finished piece.
Adding Shelves and Surfaces
With the frame of the buffet table in place, the next crucial step is to add shelves and surfaces that provide functional storage and display areas. This phase of the construction process requires careful attention to detail and precision to ensure that the components fit seamlessly within the frame. Here’s a comprehensive guide to adding shelves and surfaces to your buffet table:
1. Measure and Cut Shelf Boards:
Begin by measuring and cutting the boards for the shelves according to the predetermined dimensions in your design plan. Use a saw to achieve precise cuts, and verify that the shelves fit accurately within the frame.
Read more: How To Build Your Own Outdoor Kitchen
2. Install Shelf Supports:
Determine the placement of the shelf supports within the frame. Depending on your design, these supports may be attached to the side panels or integrated as part of the frame itself. Use a level to ensure that the supports are installed evenly.
3. Attach the Shelves:
Once the supports are in place, carefully position the shelves on top of them. Secure the shelves to the supports using wood screws, ensuring that they are level and stable. Double-check the alignment and adjust as needed.
4. Consider Adjustable Shelving:
If you prefer the flexibility of adjustable shelves, incorporate shelf pins or adjustable shelf hardware. This allows you to customize the spacing between shelves to accommodate items of varying heights.
5. Add a Countertop or Surface:
If your buffet table design includes a countertop or additional surface, carefully install this component on top of the frame. Use wood glue and screws to secure the surface, ensuring that it’s level and flush with the edges of the frame.
Read more: How To Build Your Own Bathroom Vanity
6. Sand and Finish:
Once the shelves and surfaces are installed, thoroughly sand the wood to achieve smooth and uniform surfaces. Pay attention to the edges and corners, as well as any areas where the wood components join.
7. Apply Stain or Paint:
If you plan to stain or paint the buffet table, this is the ideal time to apply the finish. Follow the manufacturer’s instructions for the chosen stain or paint, and allow adequate drying time before proceeding to the next steps.
By meticulously adding shelves and surfaces to your buffet table, you’ll create a versatile and functional piece of furniture that meets your storage and display needs. Attention to detail and precision during this phase will contribute to the overall quality and visual appeal of the finished buffet table.
Finishing Touches
As you near the completion of your DIY buffet table, it’s time to focus on the finishing touches that will enhance its appearance and functionality. These final details add character, protection, and a polished look to the piece, elevating it from a simple construction project to a stunning furniture centerpiece. Here are the essential finishing touches to consider for your buffet table:
1. Hardware Installation:
Install the chosen hardware, such as drawer pulls, knobs, or handles, to the drawers and cabinet doors. Select hardware that complements the style of the buffet table and ensures ease of use.
Read more: How To Build Your Own Steam Shower
2. Drawer and Door Alignment:
If your buffet table includes drawers or doors, ensure that they are aligned correctly and operate smoothly. Make any necessary adjustments to the hardware to achieve seamless functionality.
3. Apply Protective Finish:
Consider applying a protective finish, such as polyurethane or lacquer, to safeguard the wood from moisture, stains, and scratches. This step not only provides durability but also enhances the natural beauty of the wood grain.
4. Final Sanding and Detailing:
Perform a final round of sanding to address any imperfections or rough spots. Pay attention to the edges, corners, and surfaces to achieve a flawless finish.
5. Clean and Inspect:
Thoroughly clean the buffet table to remove any dust or debris. Inspect the entire piece to ensure that all components are securely attached and that the finish is consistent and blemish-free.
Read more: How To Build Your Own Patio Furniture
6. Personalized Touches:
Consider adding personalized touches, such as decorative accents or embellishments, to infuse the buffet table with your unique style. This could include hand-painted designs, stenciled patterns, or custom engravings.
7. Quality Assurance:
Before declaring the buffet table complete, conduct a comprehensive quality assurance check. Test the functionality of drawers, doors, and any moving parts to guarantee smooth operation.
8. Final Inspection:
Step back and visually inspect the buffet table from various angles. Ensure that it aligns with your initial design vision and meets your expectations in terms of craftsmanship and aesthetics.
By meticulously attending to the finishing touches, you’ll elevate your DIY buffet table to a level of refinement and sophistication. These details not only contribute to the overall appeal of the piece but also demonstrate your dedication to creating a high-quality and visually striking furniture item.
Conclusion
Congratulations on completing the construction of your own buffet table! This hands-on project has allowed you to channel your creativity, woodworking skills, and design vision into a practical and stylish piece of furniture. As you admire the finished buffet table gracing your home, take pride in the craftsmanship and attention to detail that have gone into its creation.
Building a buffet table from scratch is a rewarding endeavor that offers numerous benefits. Not only have you tailored the design to suit your specific needs and aesthetic preferences, but you’ve also gained valuable experience in woodworking and furniture construction. Each step of the process, from the initial design phase to the finishing touches, has contributed to your growth as a DIY enthusiast and furniture maker.
By incorporating high-quality materials, precise construction techniques, and thoughtful design elements, you’ve created a buffet table that not only serves a functional purpose but also stands as a testament to your dedication and craftsmanship. Whether it’s proudly displaying cherished dinnerware, organizing everyday essentials, or serving as a focal point in your living space, your DIY buffet table embodies both practicality and artistry.
Furthermore, the skills and knowledge you’ve gained from this project can be applied to future woodworking endeavors, empowering you to take on more complex and ambitious creations with confidence. The buffet table serves as a tangible representation of your capabilities and serves as a source of inspiration for future DIY projects.
As you reflect on the journey from raw materials to a finished buffet table, remember that the process itself is as valuable as the end result. Embrace the learning experiences, the moments of problem-solving, and the sense of accomplishment that come with bringing your vision to life. Whether this is your first foray into furniture construction or one of many projects, the buffet table stands as a testament to your creativity and determination.
Now, as you enjoy the presence of your newly built buffet table, take a moment to appreciate the craftsmanship, the memories created during the construction process, and the sense of fulfillment that comes from making something with your own hands. Let this project fuel your passion for DIY endeavors and serve as a constant reminder of the incredible things you can achieve through dedication and creativity.
So, here’s to your DIY buffet table – a stunning manifestation of your skills, vision, and unwavering commitment to craftsmanship. May it continue to inspire and bring joy to your home for years to come!
Frequently Asked Questions about How To Build Your Own Buffet Table
Was this page helpful?
At Storables.com, we guarantee accurate and reliable information. Our content, validated by Expert Board Contributors, is crafted following stringent Editorial Policies. We're committed to providing you with well-researched, expert-backed insights for all your informational needs.


0 thoughts on “How To Build Your Own Buffet Table”