Home>Furniture & Design>Living Room Furniture>How To Build A Room Divider
Living Room Furniture
How To Build A Room Divider
Modified: November 1, 2024
Discover how to build a stylish and functional room divider with our living room furniture and design tips. Transform your space with this versatile DIY project.
(Many of the links in this article redirect to a specific reviewed product. Your purchase of these products through affiliate links helps to generate commission for Storables.com, at no extra cost. Learn more)
Introduction
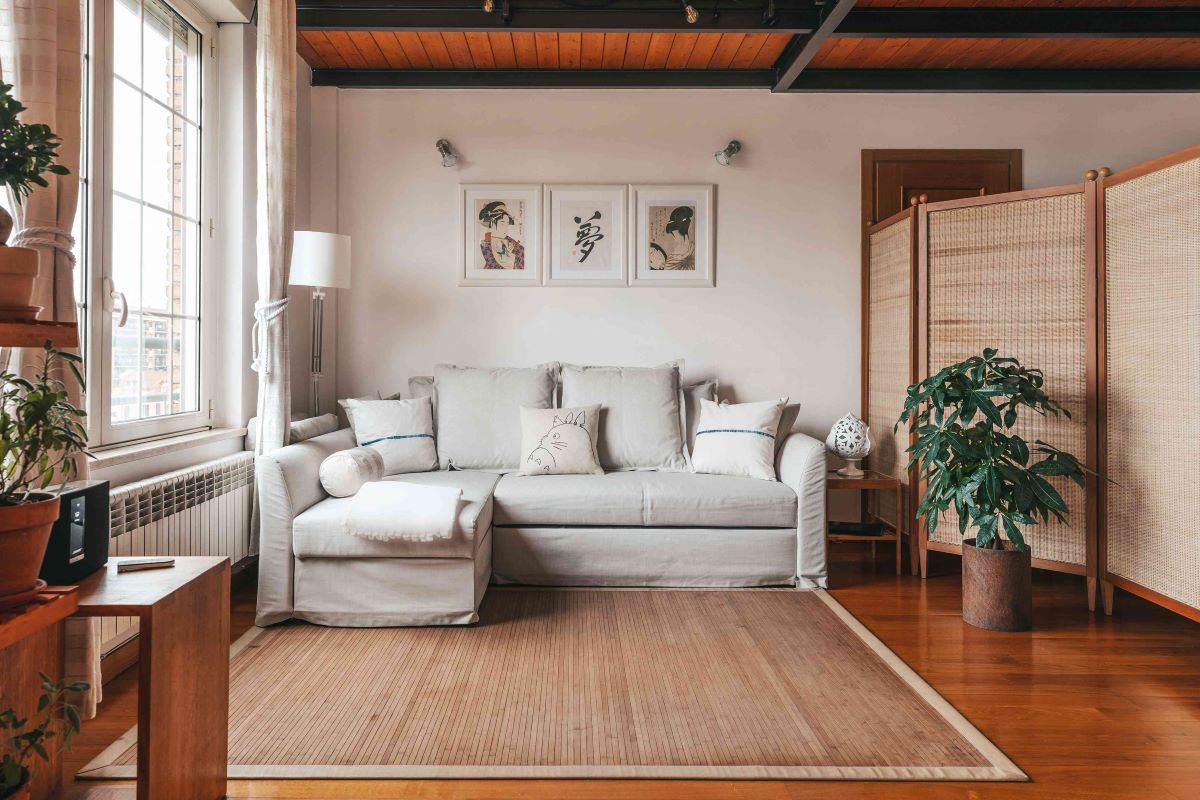
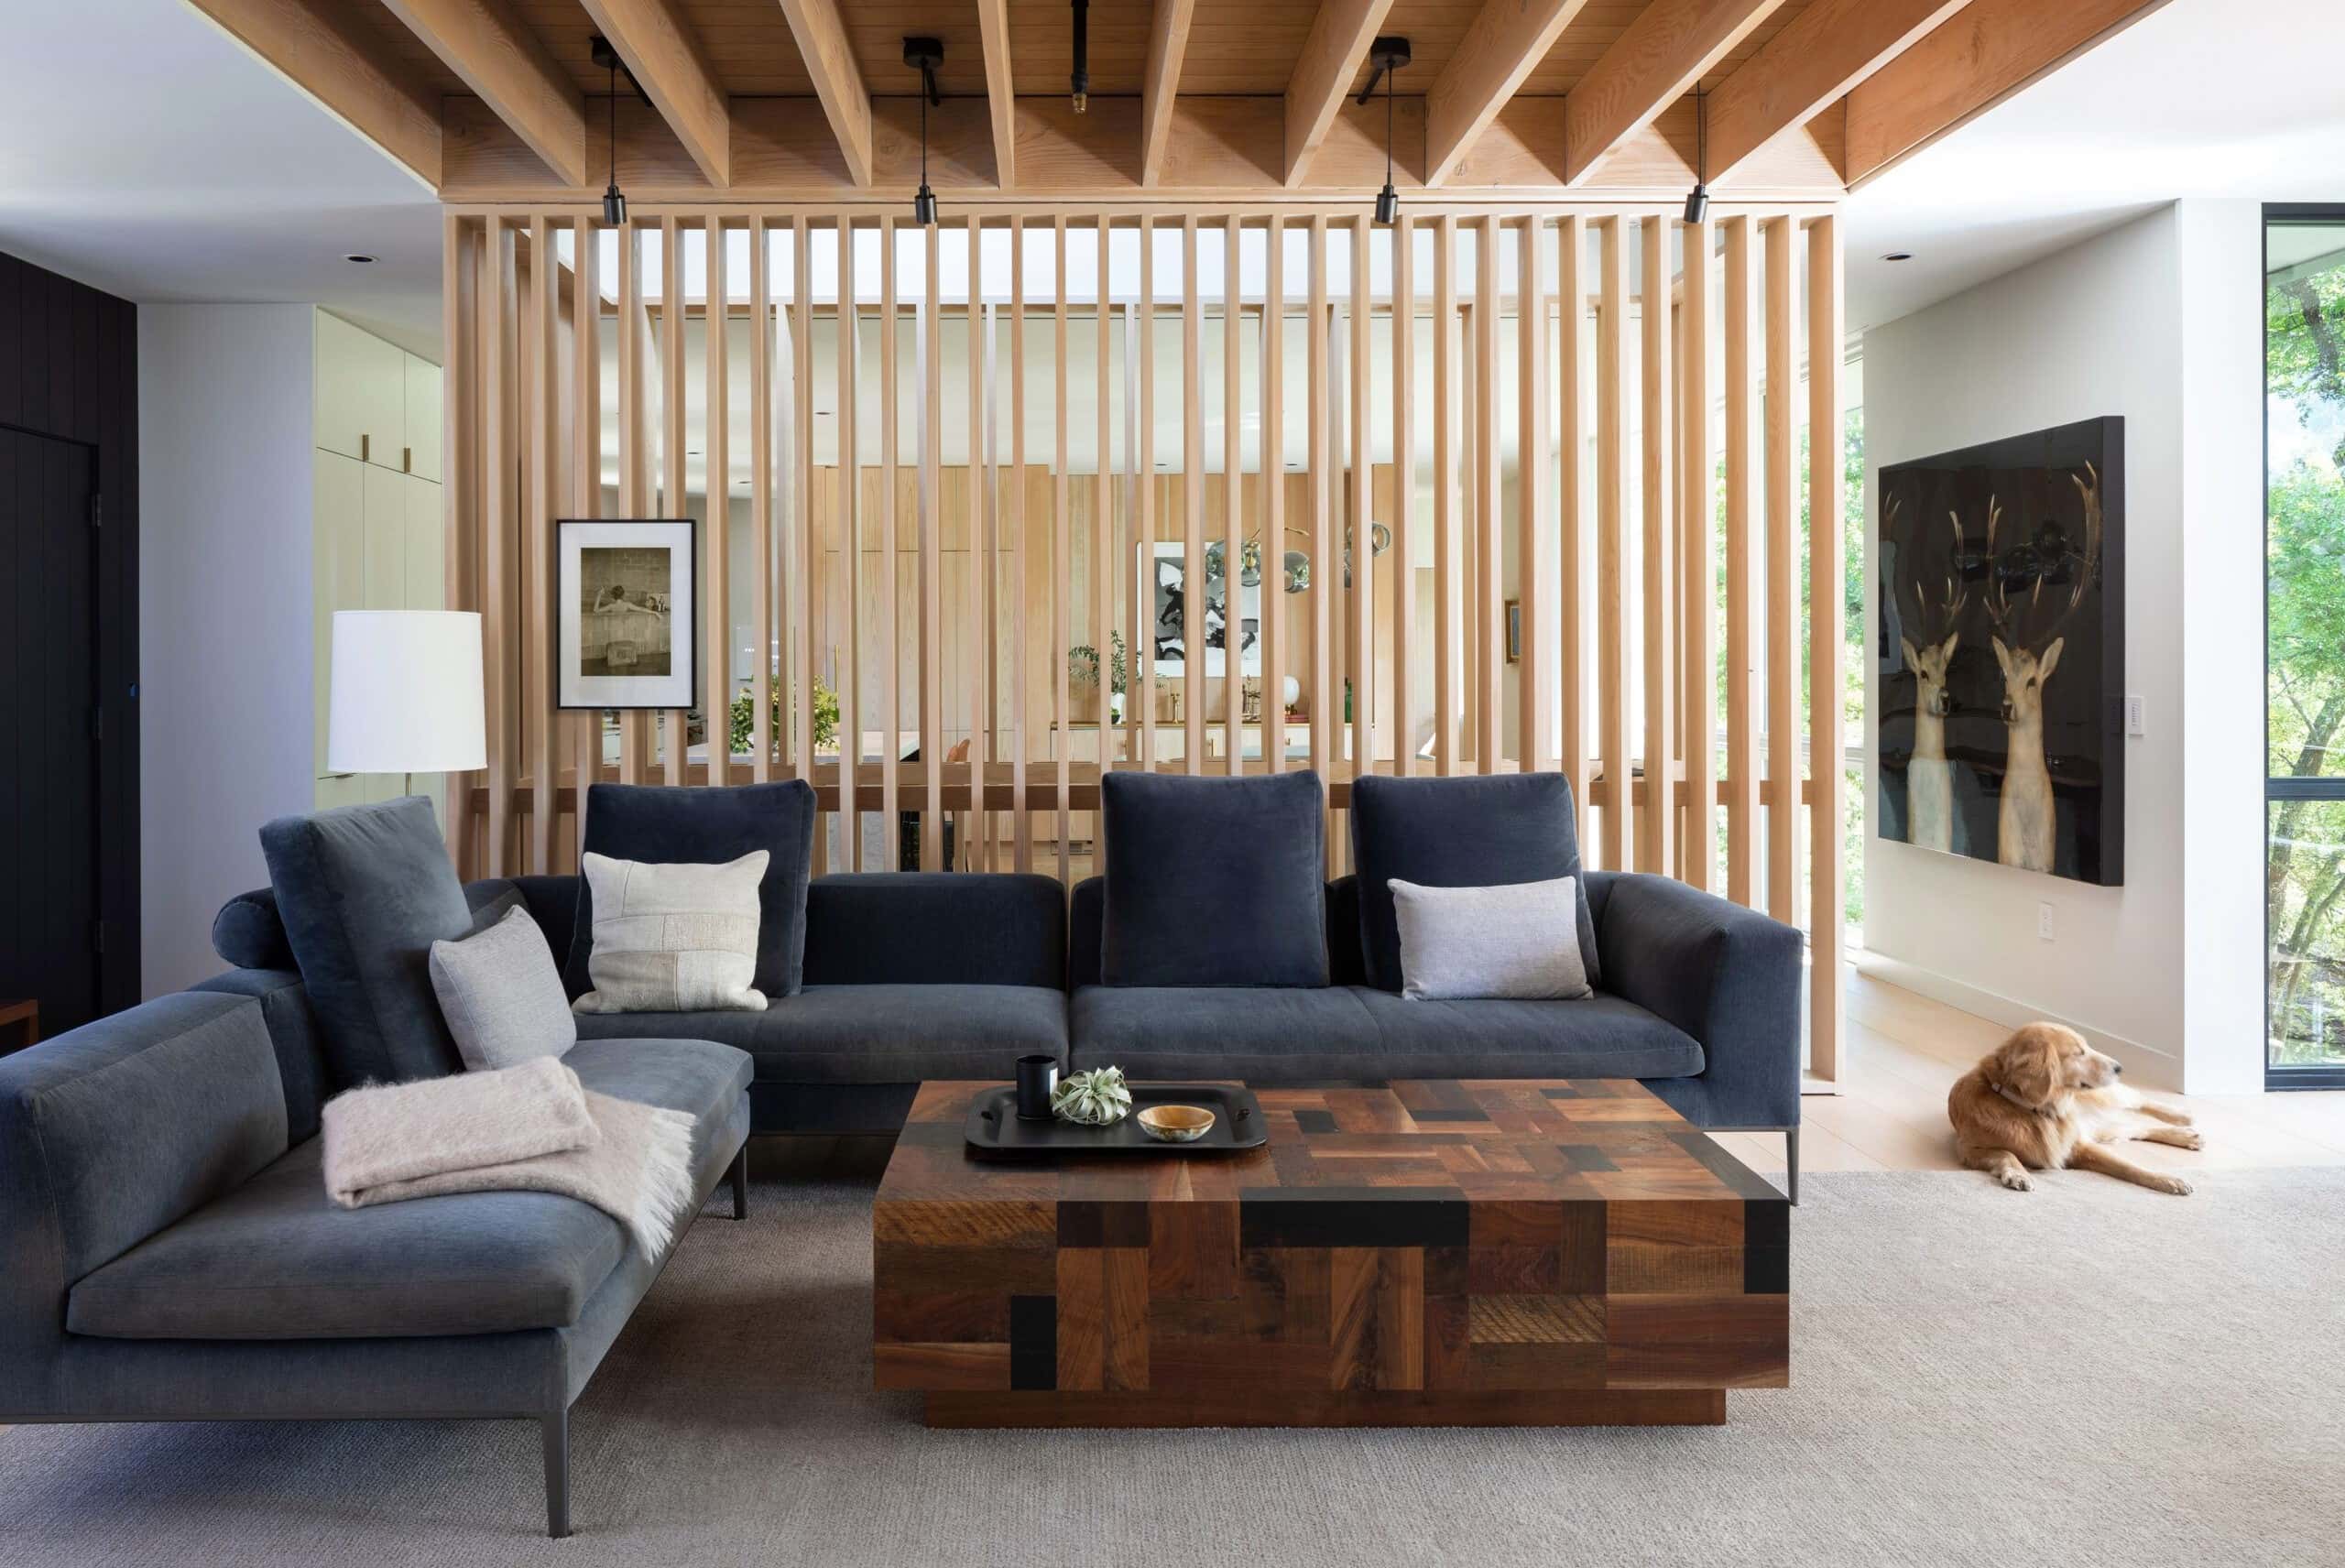
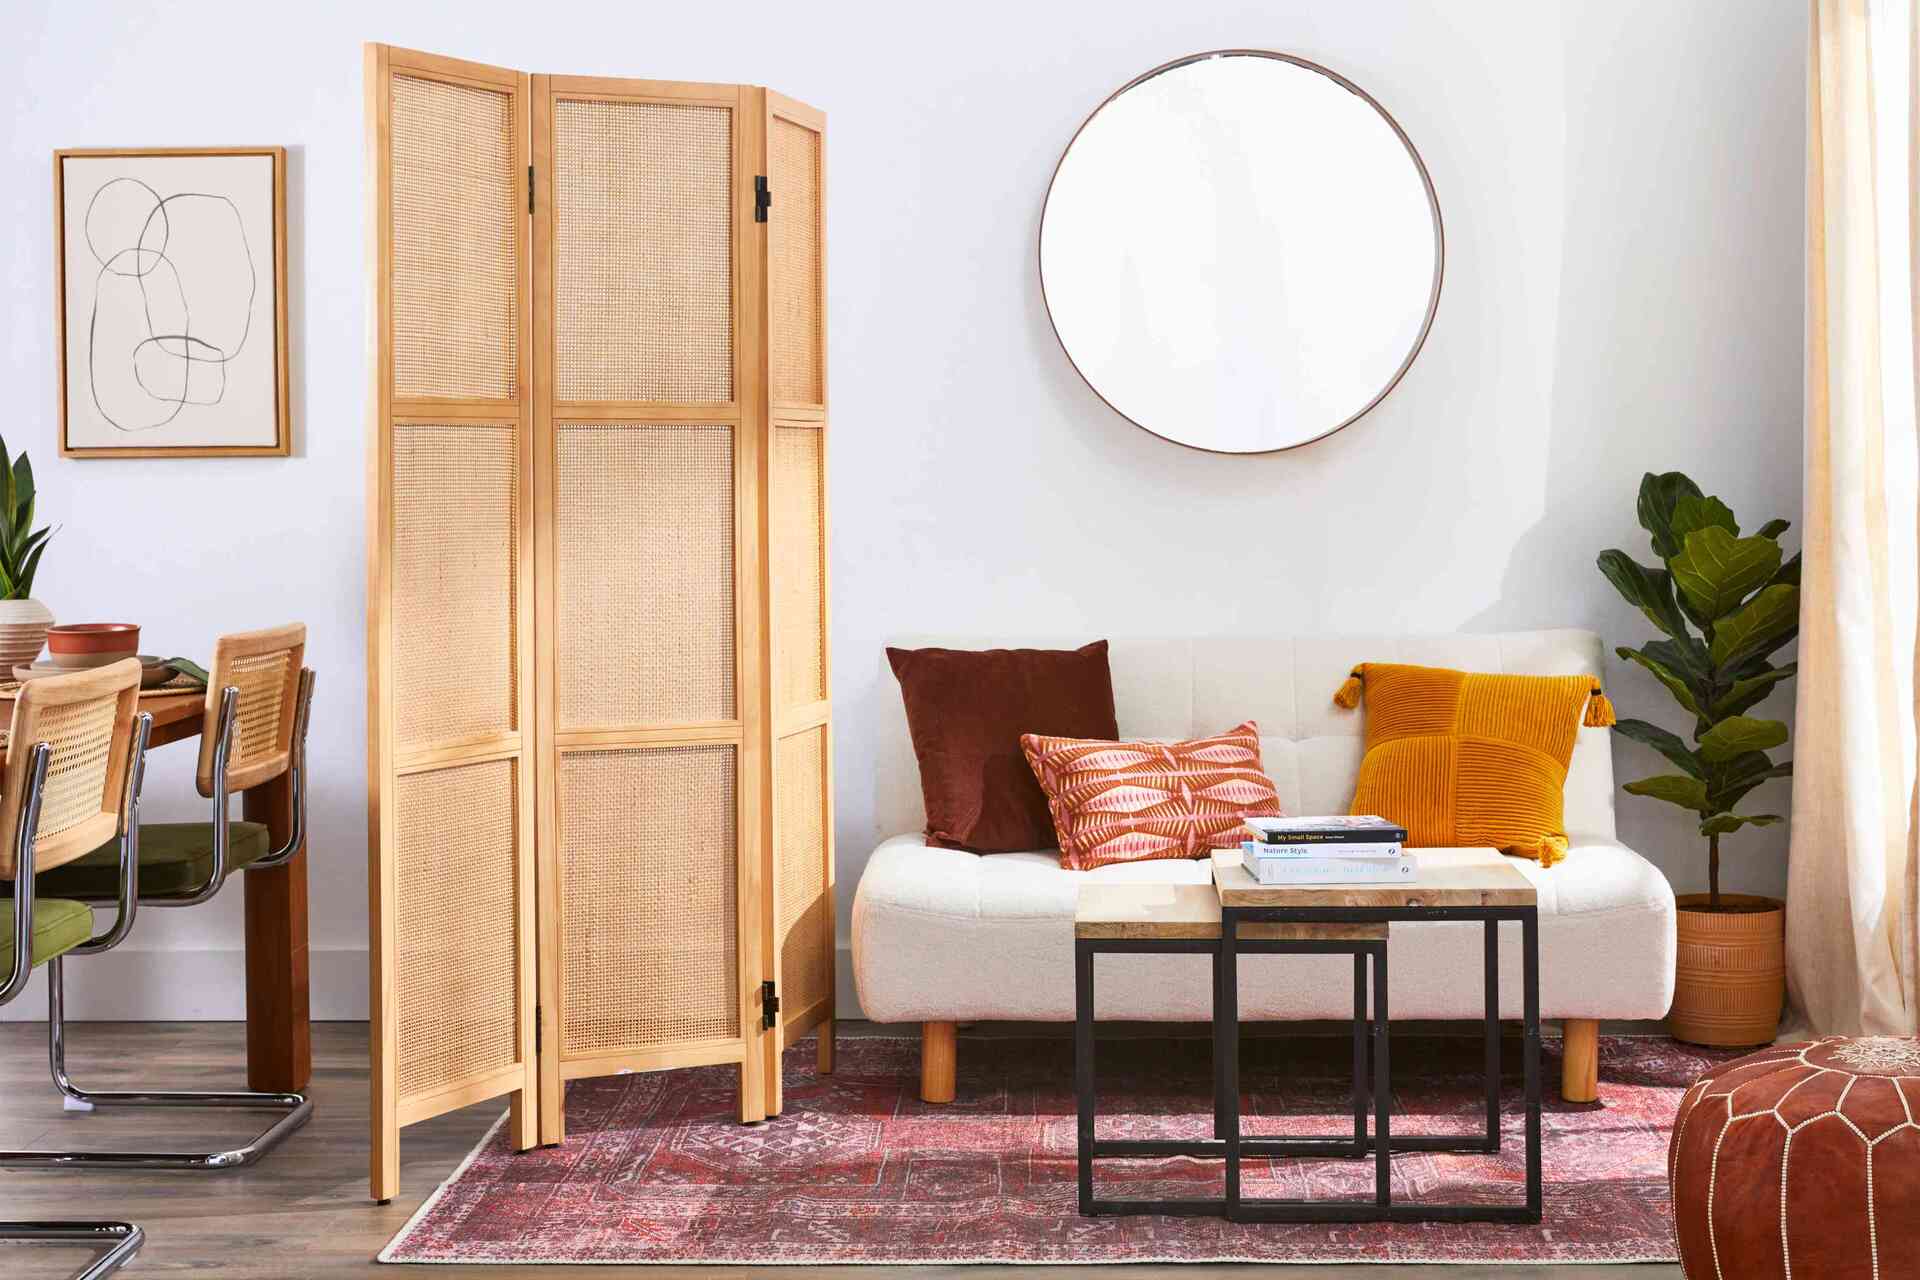
Are you looking for a way to create a separate space within your living room? A room divider can be the perfect solution. Not only does it provide functionality by dividing the room into separate zones, but it can also add a touch of style and design to your living space.
Building a room divider may seem like a daunting task, but with the right materials and a little bit of creativity, you can easily create a custom divider that suits your needs. In this article, we will guide you through the step-by-step process of building a room divider that will not only provide functionality but also enhance the aesthetics of your living room.
Before diving into the construction process, it is important to consider the purpose and design of your room divider. Are you looking for a solid divider for complete privacy, or a more open and decorative option? How do you want it to fit into the overall design of your living room? By answering these questions, you can better plan and design your room divider.
Now, let’s begin our journey on how to build a room divider that will be both functional and visually appealing.
Key Takeaways:
- Create a custom room divider to enhance your living room’s functionality and style. Follow the step-by-step guide to gather materials, measure, cut, assemble, and add decorative touches for a personalized touch.
- Whether you seek privacy or decorative flair, building a room divider allows you to express your creativity and craftsmanship while adding character and functionality to your living space.
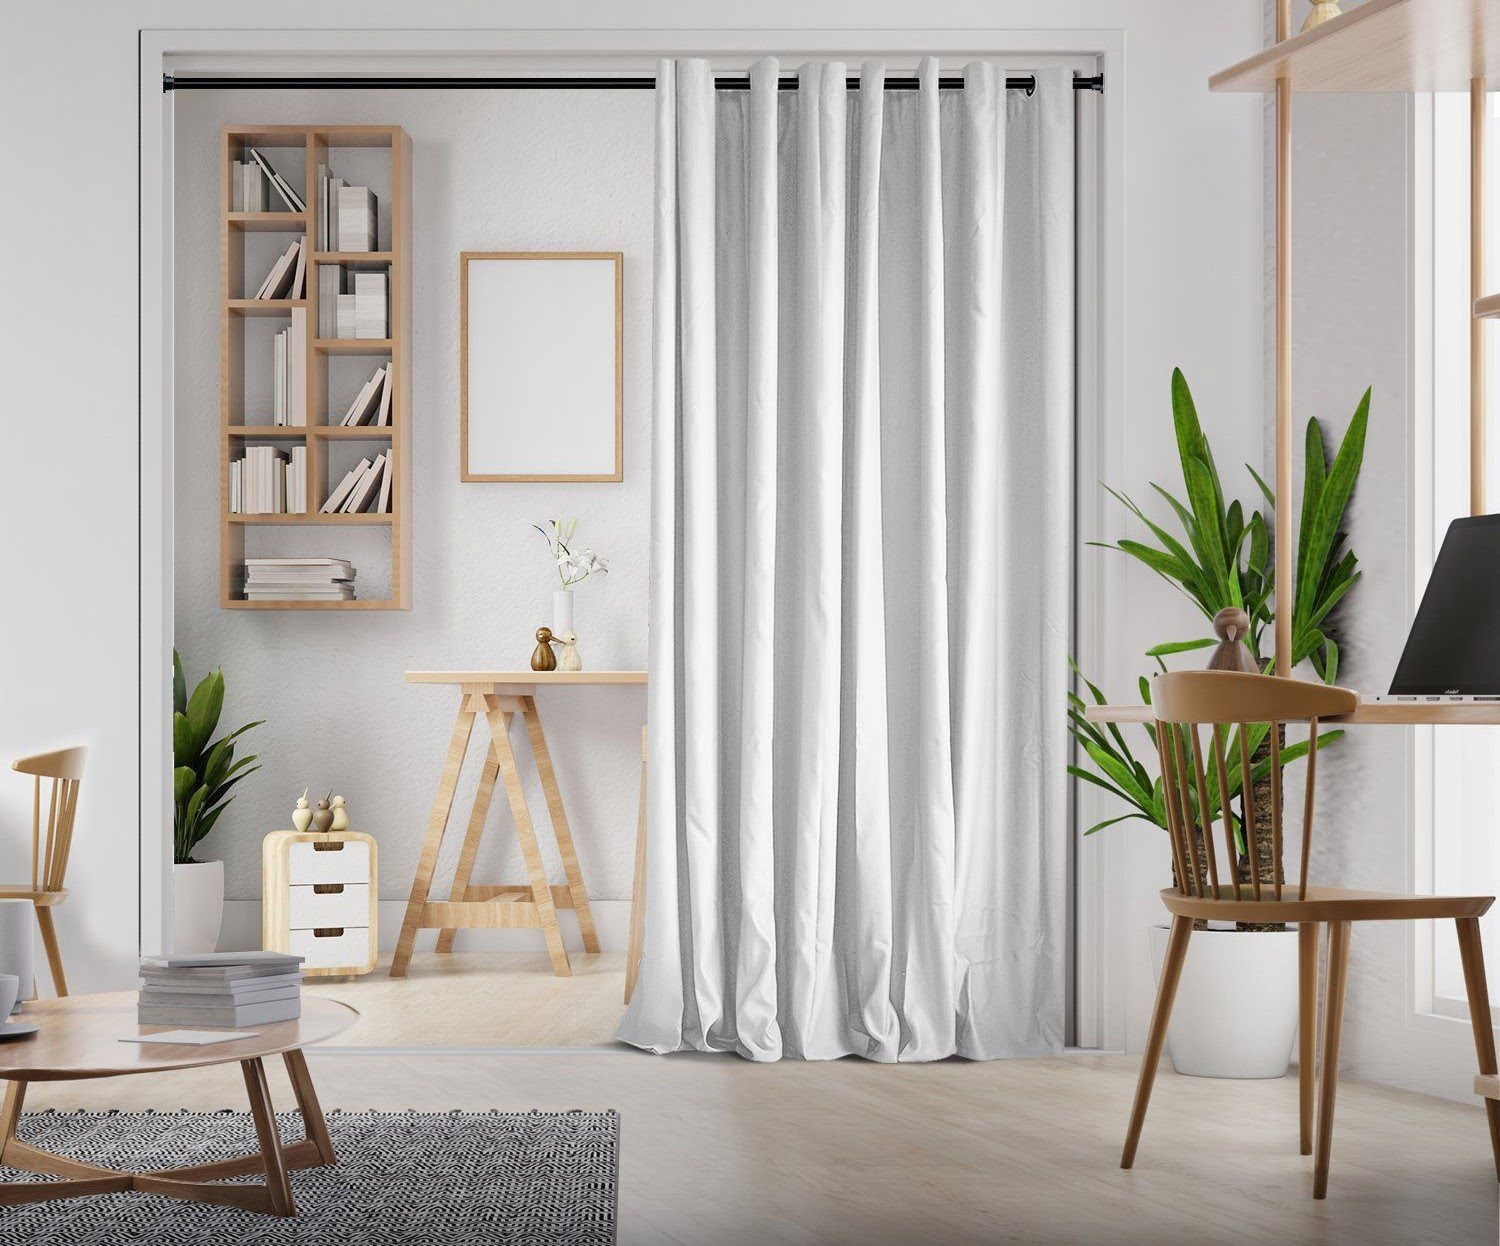
Read more: How To Build A Room Divider Curtain
Step 1: Gather Materials
Before you start building your room divider, you will need to gather all the necessary materials. Here’s a list of the materials you will need:
- Wooden boards: Choose boards that are sturdy and suitable for constructing the frame and panels of the room divider. The size and quantity of boards will depend on the dimensions of the divider you plan to build.
- Screws or nails: You will need these to secure the boards together.
- Saw: A saw will be necessary for cutting the boards to the desired lengths.
- Sandpaper: To smooth out any rough edges.
- Paint or stain (optional): If you want to add color or finish to the divider, you will need paint or stain of your choice.
- Paintbrush or roller: For applying the paint or stain.
- Drill: If you choose to use screws, a drill will be necessary for driving them into the boards.
Once you have gathered all the necessary materials, you can move on to the next step of the construction process.
Step 2: Measure and Mark
Now that you have all your materials ready, it’s time to measure and mark the dimensions for your room divider. This step is crucial to ensure that your divider fits perfectly and functions as desired.
Start by measuring the height and width of the area where you plan to install the room divider. Take accurate measurements and make note of them. Keep in mind that room dividers can be freestanding or attached to the ceiling or walls, so consider the installation method you prefer.
Next, transfer the measurements onto the wooden boards. Use a pencil or a marking tool to mark the appropriate lengths for the frame and panels of the divider. Double-check your measurements to ensure accuracy. Precision is key to creating a sturdy and well-fitting room divider.
If you plan to create multiple panels within the divider, mark the measurements accordingly. Decide on the number of panels and their widths based on your design preferences.
Once you have marked all the necessary measurements on the boards, you are ready to move on to the next step of the construction process.
Step 3: Cut the Boards
With the measurements and markings in place, it’s time to cut the wooden boards to the desired lengths. This step will bring your room divider one step closer to completion.
First, ensure you have the necessary safety equipment, such as gloves and safety goggles, to protect yourself during the cutting process.
Using a saw, carefully cut the boards according to the marked measurements. Take your time and make smooth, straight cuts. It’s important to follow the lines precisely for a professional-looking divider.
If you are building a room divider with multiple panels, cut each board accordingly, making sure they are all the same length and width. Double-check the measurements and compare each piece to ensure uniformity.
Once all the boards are cut to the correct lengths, set aside any unused pieces for future projects. It’s always handy to have spare materials for small repairs or other DIY projects.
Now that you have successfully cut all the boards, you can move on to the next step in building your room divider.
Step 4: Assemble the Frame
With the boards cut to the proper lengths, it’s time to assemble the frame of your room divider. The frame provides the structure and stability for the panels, ensuring that your divider stands strong.
Begin by laying out the boards according to your design plan. Place the vertical boards (if any) upright and parallel to each other. Then, position the horizontal boards at the top and bottom to connect the verticals.
Next, use screws or nails to attach the horizontal boards to the vertical boards. Make sure to align the edges and corners properly before fastening them together. A drill or hammer will come in handy for this step, depending on the type of fasteners you choose to use.
As you assemble the frame, periodically check for stability and adjust if needed. Ensure that all joints are secure and tight to prevent wobbling or shifting.
If you are constructing a room divider with multiple panels, repeat this process for each individual panel. It’s important to ensure that each panel is assembled properly and securely.
Once the frame is fully assembled and sturdy, you’re ready to move on to the next step of the construction process.
When building a room divider, make sure to measure the space accurately and choose sturdy materials that will provide stability and privacy. Consider the design and functionality of the divider to ensure it meets your needs.
Read more: How To Build A Half Wall Room Divider
Step 5: Attach the Boards
Now that you have completed the frame of your room divider, it’s time to attach the boards that will form the panels. This step will bring your divider closer to its final form, creating the visual separation you desire.
Start by placing the cut boards vertically or horizontally between the frame’s vertical supports. Make sure to space them evenly, using your preferred design aesthetic. You can choose to have boards placed close together for a solid panel or leave gaps for a more open and decorative look.
Once the boards are positioned, use screws or nails to secure them to the frame. Place the fasteners at the top and bottom of each board, ensuring they are firmly attached. If you prefer a clean finish, countersink the screws or choose nails with small heads to minimize visibility.
As you attach each board, check for any unevenness or gaps. Adjust the placement as needed to maintain a cohesive and visually pleasing appearance.
If desired, you can add a decorative touch by alternating the orientation of the boards or creating a pattern. Experiment with different layouts to find what best suits your style and complements your living room’s design.
Continue attaching the boards until all panels are installed. Take a step back and admire your progress as your room divider starts to take shape.
With the boards securely attached, your room divider is becoming a functional and stylish addition to your living space. You’re now ready to move on to the next step of the construction process.
Step 6: Sand and Finish
Now that the structure of your room divider is complete, it’s time to give it a polished and refined look. Step 6 involves sanding and finishing the divider, ensuring a smooth surface and enhancing its overall appearance.
Begin by using sandpaper to smooth out any rough edges or surfaces on the wooden boards. Start with a coarse grit sandpaper and gradually move to finer grits to achieve a sleek finish. Sand in the direction of the wood grain for the best results.
Be thorough in your sanding process, paying attention to all the visible surfaces, including the frame and the panels. This step not only improves the appearance but also prevents any potential splinters or rough spots that could harm you or your furniture.
Once the sanding is complete, remove any dust or debris from the surface. A soft cloth or a vacuum cleaner can help you achieve a clean surface, ready for the finishing touches.
If you desire a natural look, you can choose to leave the wood unfinished. However, for added protection and aesthetic appeal, you may opt to apply a coat of paint, stain, or varnish.
To apply the finish, follow the manufacturer’s instructions for the specific product you have chosen. Use a paintbrush or a roller to evenly coat the surfaces, ensuring thorough coverage. Allow the finish to dry completely before moving on to the next step.
As the finish dries, take a moment to appreciate the transformation of your room divider. The sanding and finishing process adds a professional touch and elevates its overall appearance.
With step 6 completed, your room divider is almost ready for installation. Let’s move on to the next step to add some optional decorative touches.
Step 7: Optional Decorative Touches
Now that your room divider is sanded and finished, it’s time to add some optional decorative touches to enhance its visual appeal. This step allows you to personalize your divider and make it a standout feature in your living room.
Consider the following decorative ideas:
- Paint or Stencil: If you opted for an unfinished look, you can paint the panels with a design or stencil to add color and pattern. Choose colors that reflect your style and complement your existing decor.
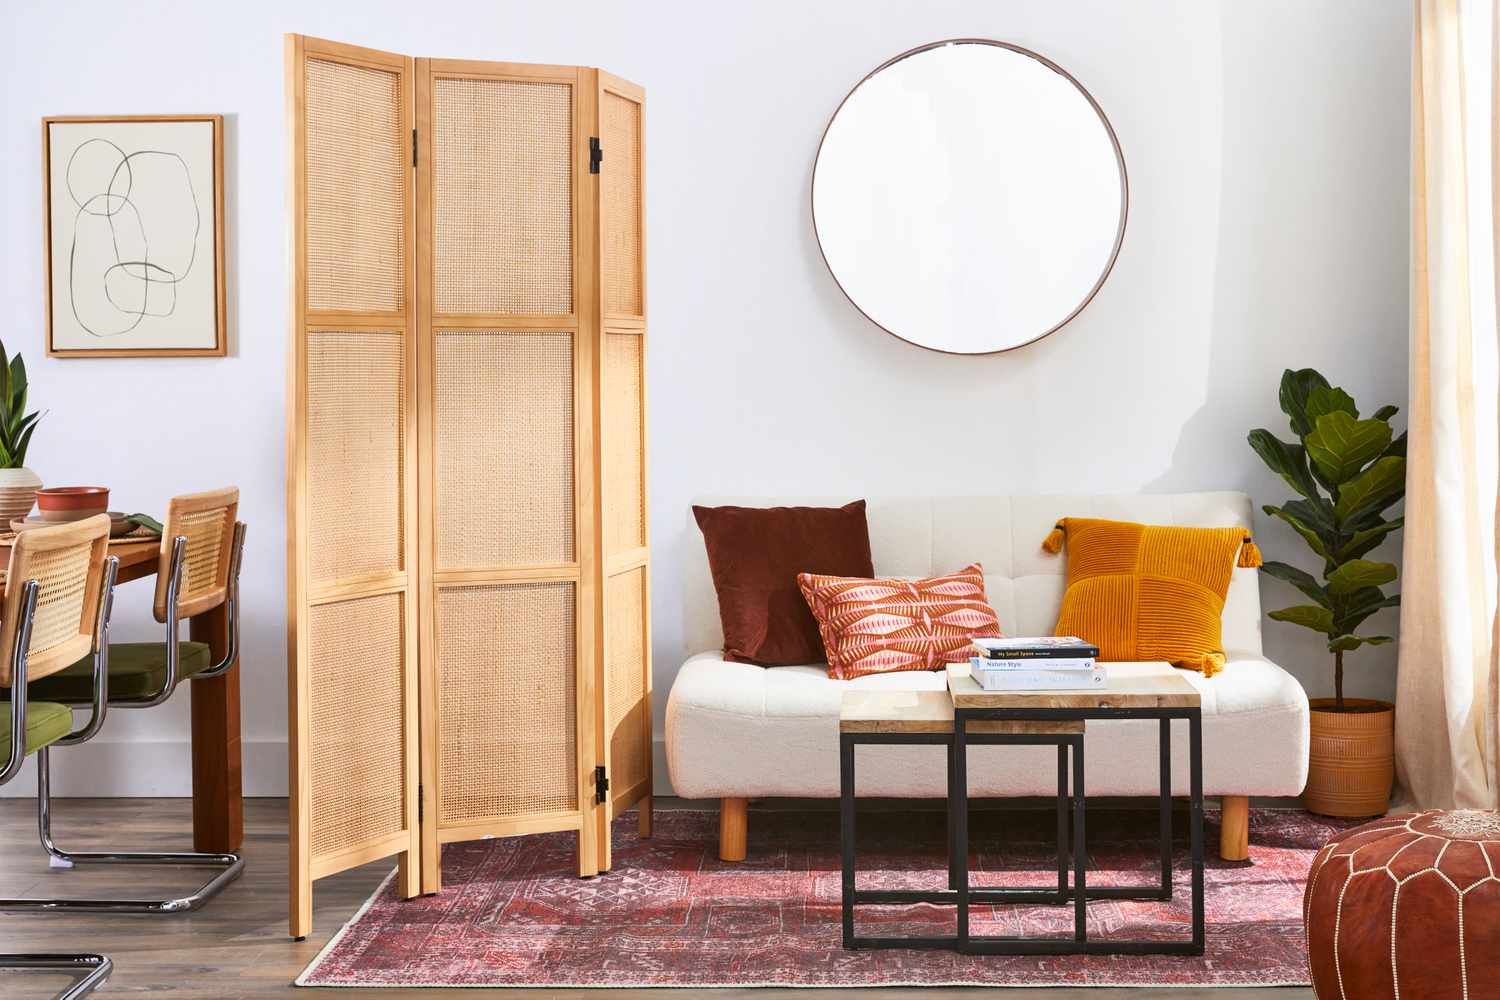
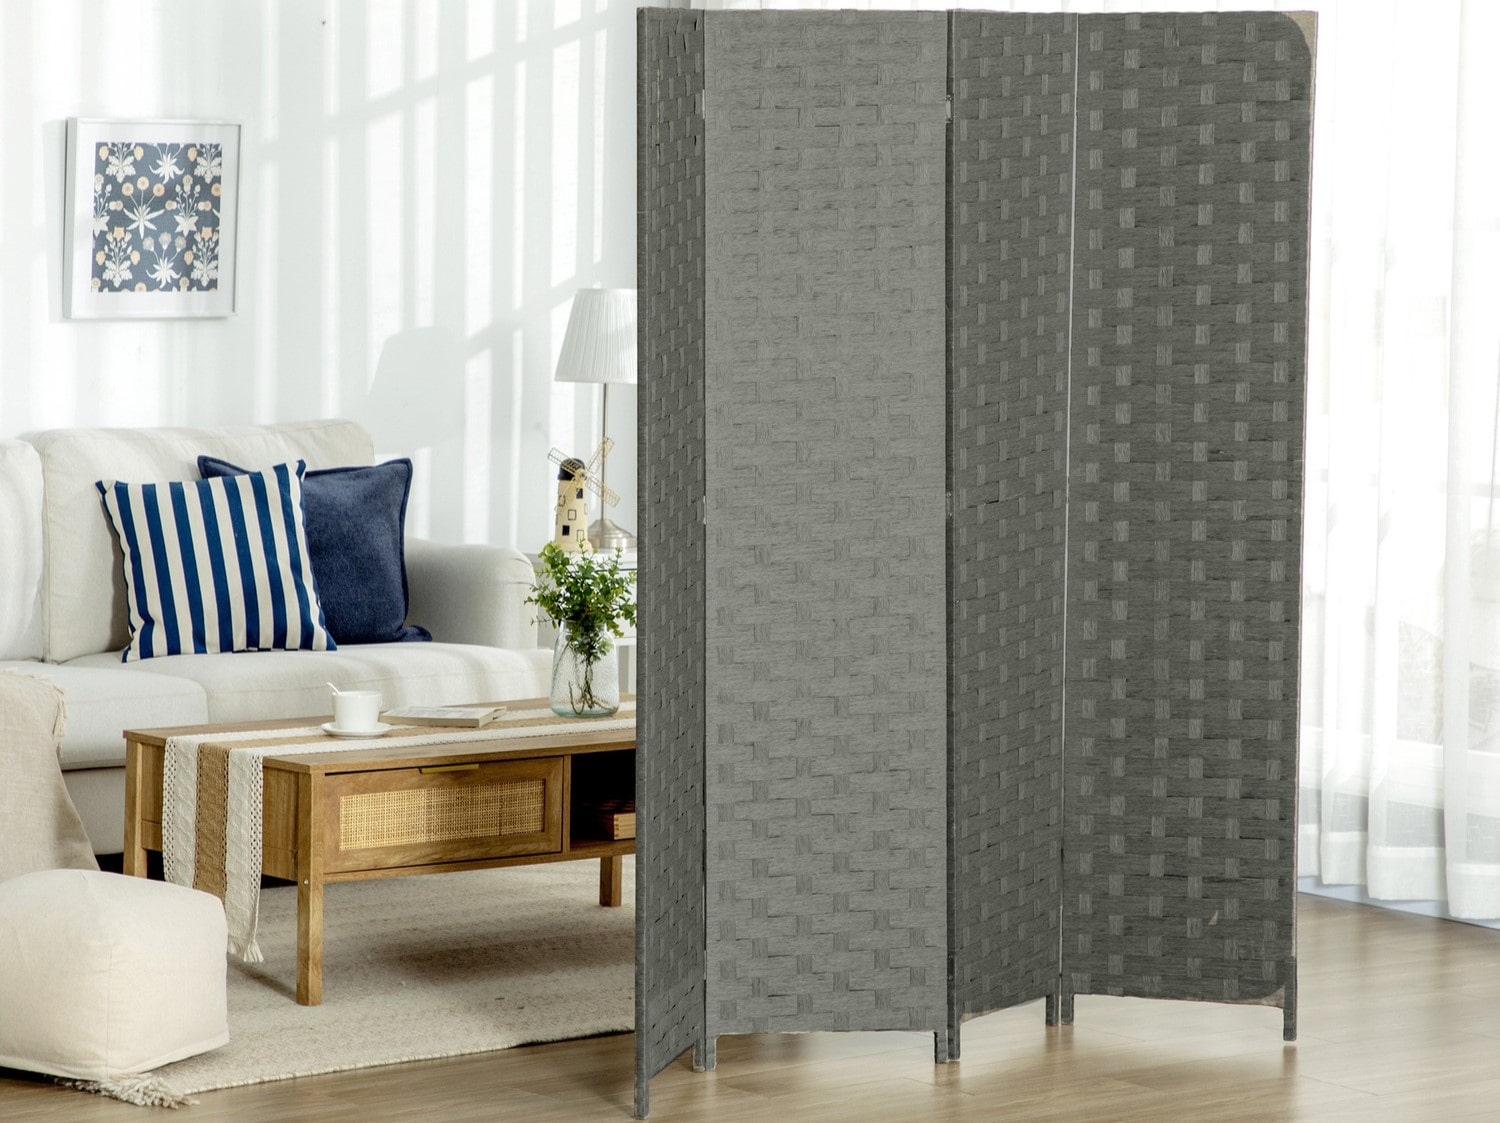
- Fabric or Wallpaper: Another way to add a pop of color or texture is by attaching fabric or wallpaper to the panels. Choose a pattern or texture that adds visual interest and fits your interior design theme.
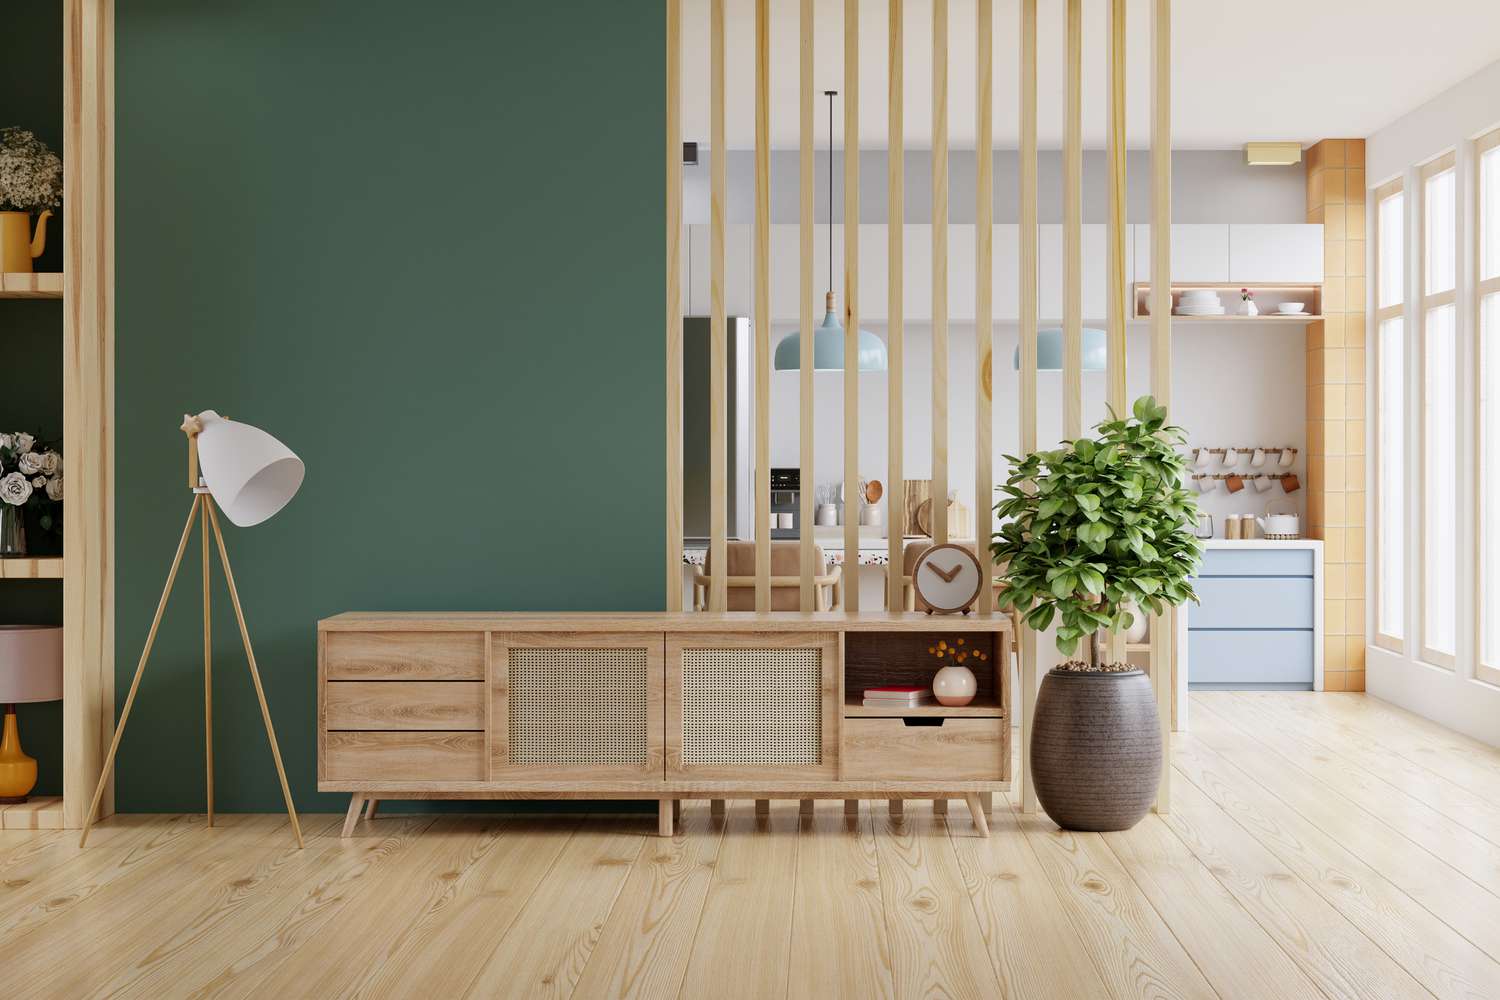
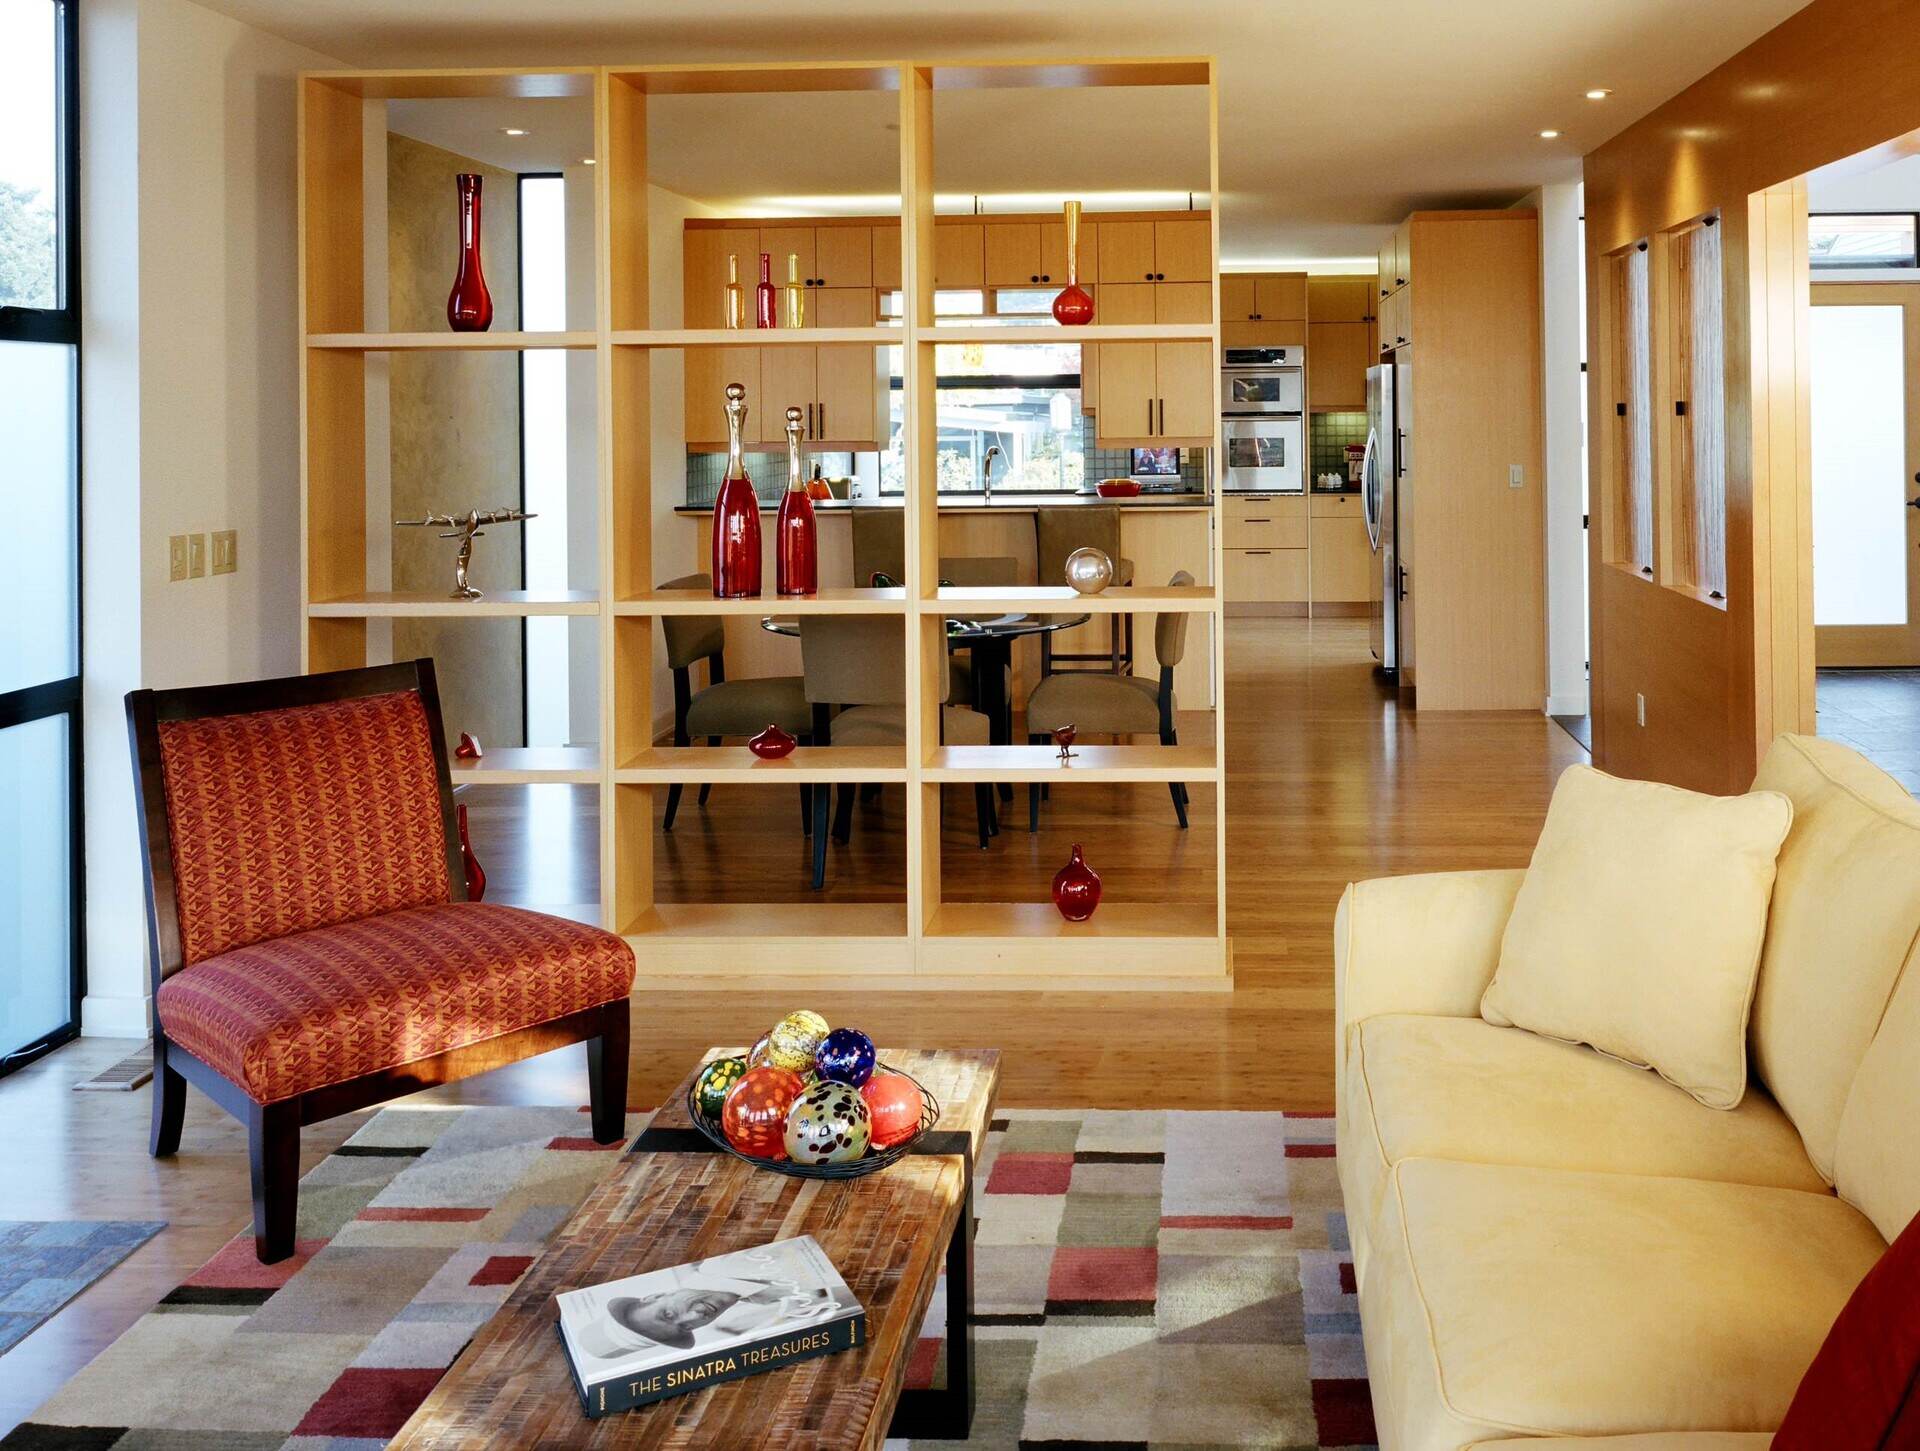
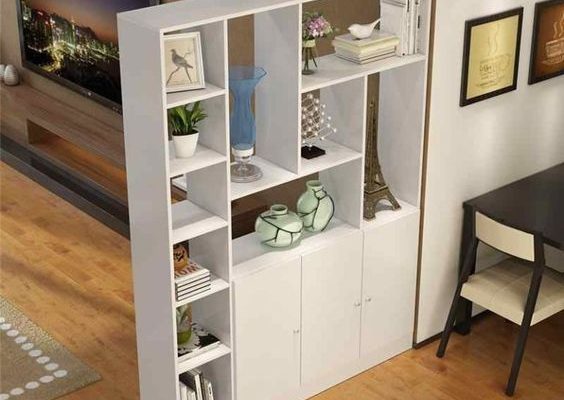
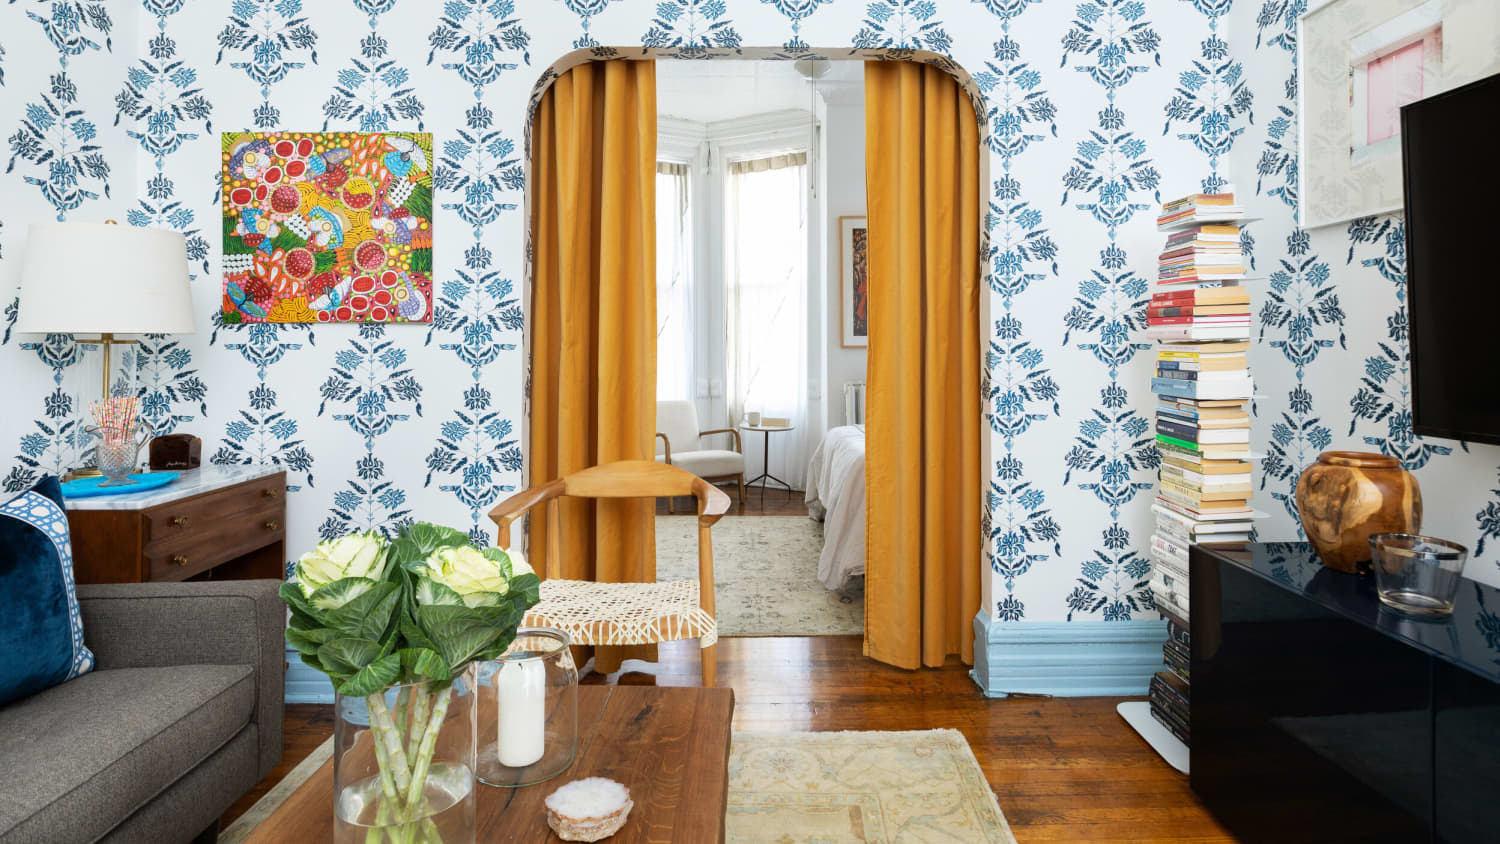
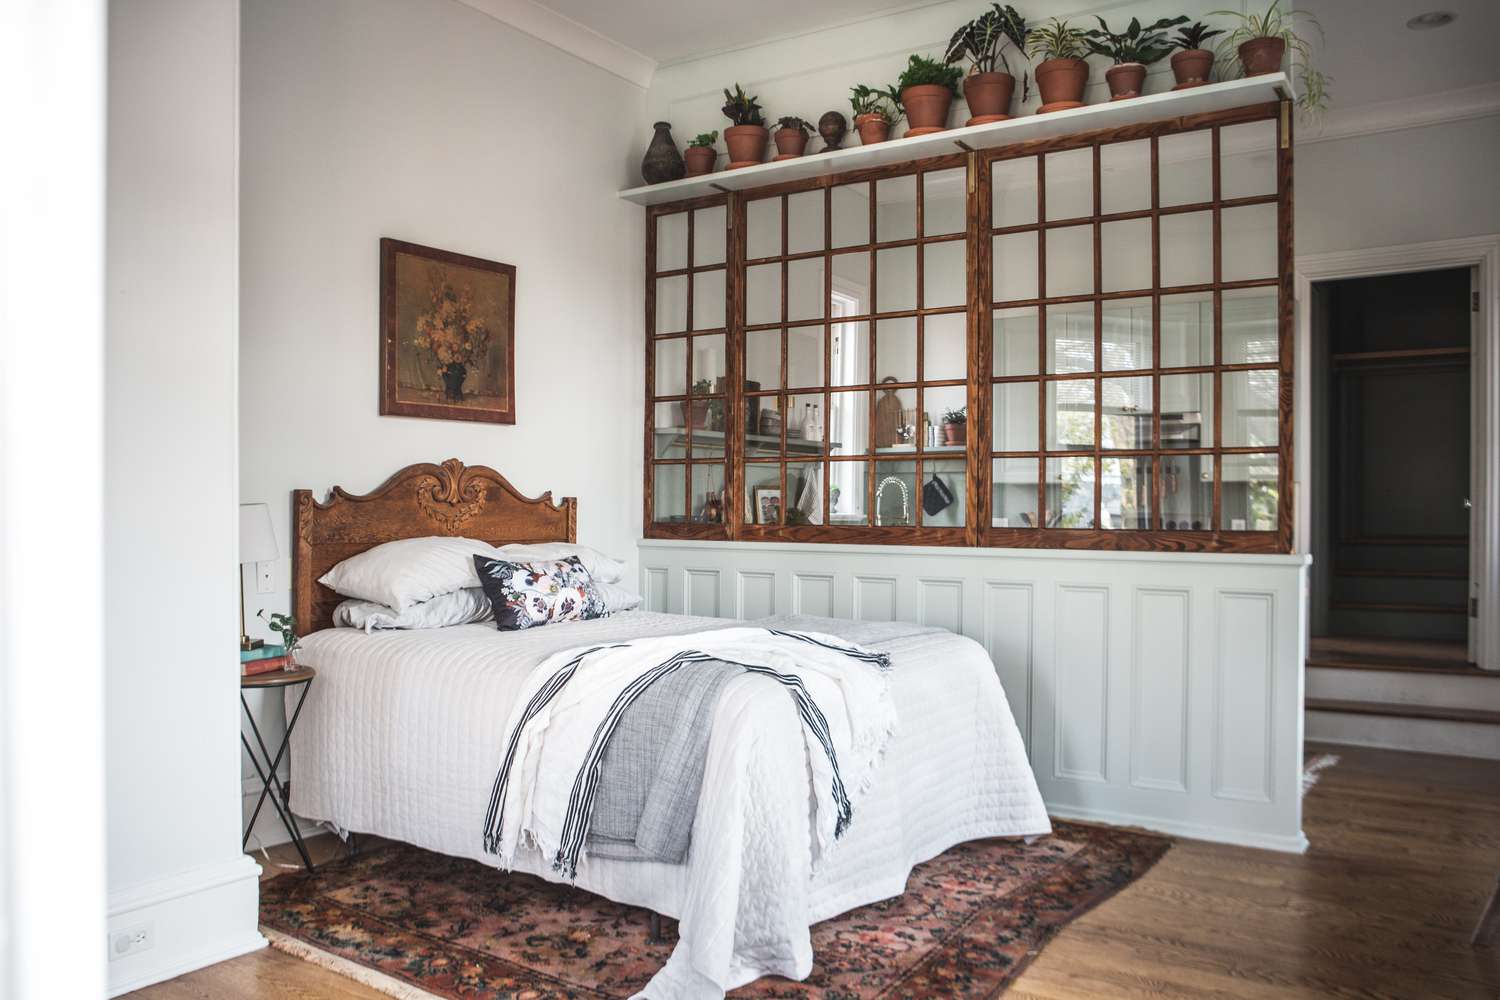
- Mirror Panels: If you want to create a sense of openness and light within your living room, consider replacing some of the wooden panels with mirrors. This will not only act as a decorative element but also create the illusion of more space.
- Shelving: If you need additional storage or display space, you can incorporate shelves into the design of the room divider. This allows you to showcase decorative items or store books and other belongings.
- Greenery: Add a touch of nature by incorporating plants or hanging planters onto your room divider. This brings life and freshness into the space while creating a visually pleasing atmosphere.
Remember, the decorative touches you choose will depend on your personal style and the overall design of your living room. Don’t be afraid to get creative and think outside the box to make your room divider truly unique.
With the optional decorative touches complete, your room divider is now a stunning focal point in your living room. Let’s move on to the final step of installing the divider.
Step 8: Install the Room Divider
Congratulations! You have reached the final step in building your room divider. Step 8 involves installing the divider in your living room, bringing the project to completion and enjoying the benefits of your hard work.
Before proceeding with the installation, decide on the placement and positioning of the room divider. Consider factors such as the functionality, aesthetic appeal, and flow of your living space.
If you have a freestanding room divider, simply position it in the desired location and adjust it to ensure stability. Make sure it is straight and secure, and use furniture or decorative items to anchor it if necessary. Take a step back and assess the placement to ensure it meets your vision.
If you have chosen to attach the divider to the ceiling or walls, follow the manufacturer’s instructions for the installation process. Use appropriate hardware such as screws, brackets, or anchors to securely fasten the divider. Take measurements and use a level to ensure proper alignment.
Once the room divider is installed, step back and admire the transformation it has brought to your living room. Take a moment to appreciate the functionality and design impact it adds to the space.
Remember to consider maintenance and cleaning of your room divider. Depending on the materials used, periodic dusting or wiping may be necessary to keep it looking its best.
Now, sit back, relax, and enjoy your newly built room divider. Whether it serves as a functional partition, a decorative element, or both, it has undoubtedly added character and functionality to your living space.
Congratulations once again on completing all the steps to build your own room divider. You can take pride in your creativity and craftsmanship as you enjoy the benefits it brings to your living room.
Thank you for following our guide, and we hope this project has inspired you to embark on more DIY endeavors in the future. Happy decorating!
Read more: How To Divide Room With Curtains
Conclusion
Building a room divider is a rewarding project that not only increases the functionality of your living room but also allows you to express your personal style. Throughout the step-by-step process, you have learned how to gather materials, measure and mark, cut the boards, assemble the frame, attach the boards, sand and finish, add optional decorative touches, and finally, install the room divider.
By following these steps and infusing your own creativity and design preferences, you have created a custom room divider that perfectly fits your living space. Whether you opted for a solid partition for privacy or an open and decorative design, your room divider stands as a testament to your craftsmanship.
Remember to consider both the functionality and aesthetic appeal when planning and building your room divider. This versatile piece can serve as a partition to create separate zones, provide storage or display space, add color and pattern, or even act as a backdrop for a striking focal point.
With proper installation and maintenance, your room divider will continue to serve you for years to come. Regular cleaning and occasional touch-ups will help preserve its beauty and functionality.
We hope this guide has empowered you to embark on your own room divider project and unleash your creativity. Building furniture and design elements not only adds a personal touch to your living space but also gives you a sense of accomplishment and satisfaction.
So don’t be afraid to take on more DIY projects. Let your imagination run wild and transform your living room into a space that truly reflects your style and personality.
Thank you for joining us on this journey of building a room divider. Happy decorating!
Frequently Asked Questions about How To Build A Room Divider
Was this page helpful?
At Storables.com, we guarantee accurate and reliable information. Our content, validated by Expert Board Contributors, is crafted following stringent Editorial Policies. We're committed to providing you with well-researched, expert-backed insights for all your informational needs.


0 thoughts on “How To Build A Room Divider”