Home>Furniture & Design>Living Room Furniture>How To Make A Folding Screen Room Divider
Living Room Furniture
How To Make A Folding Screen Room Divider
Modified: August 28, 2024
Learn how to make a stylish folding screen room divider to enhance your living room furniture and design. Create privacy and elegance with this DIY project.
(Many of the links in this article redirect to a specific reviewed product. Your purchase of these products through affiliate links helps to generate commission for Storables.com, at no extra cost. Learn more)
Introduction
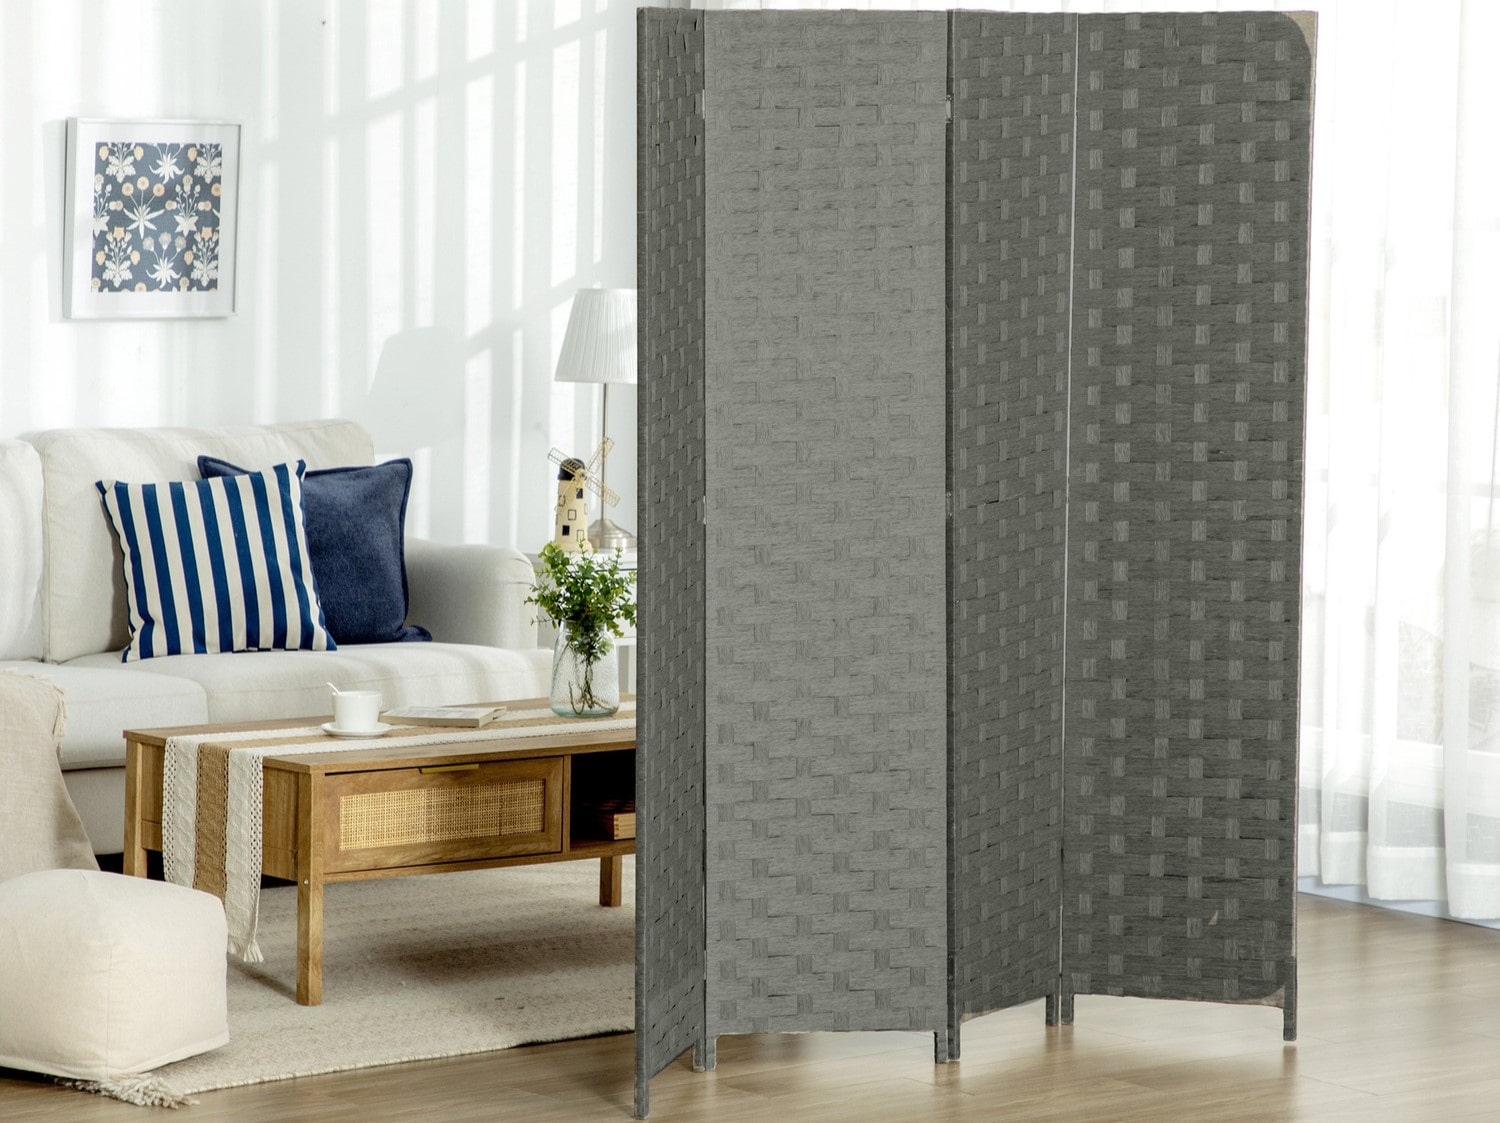
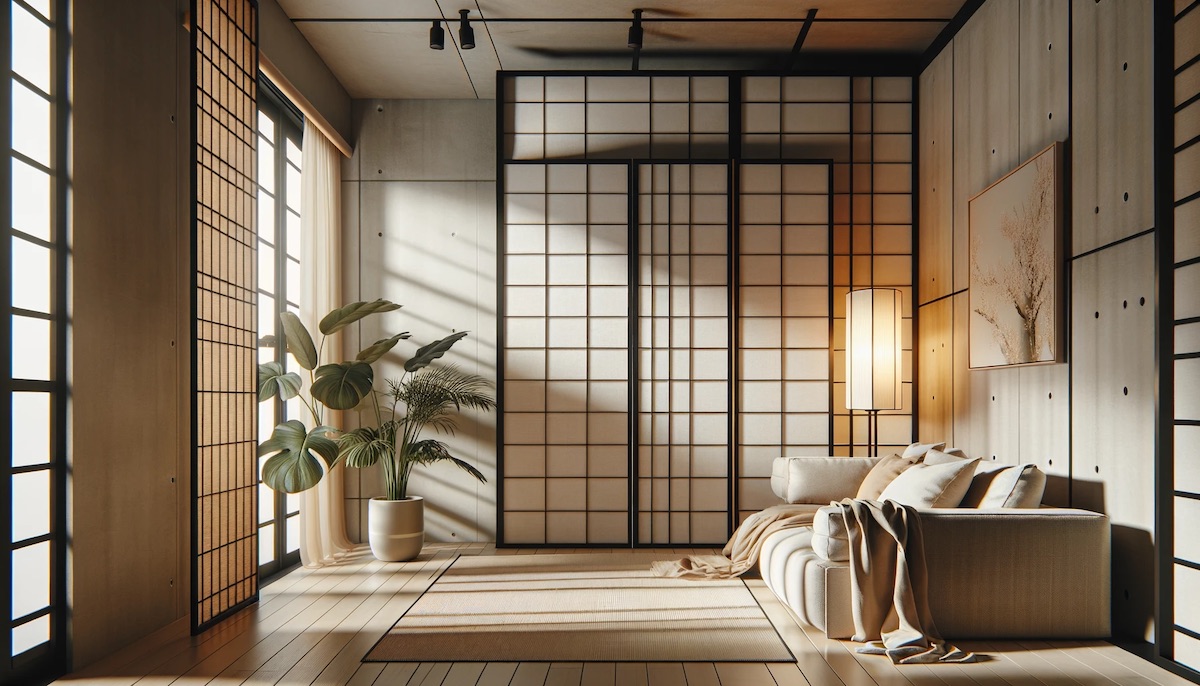
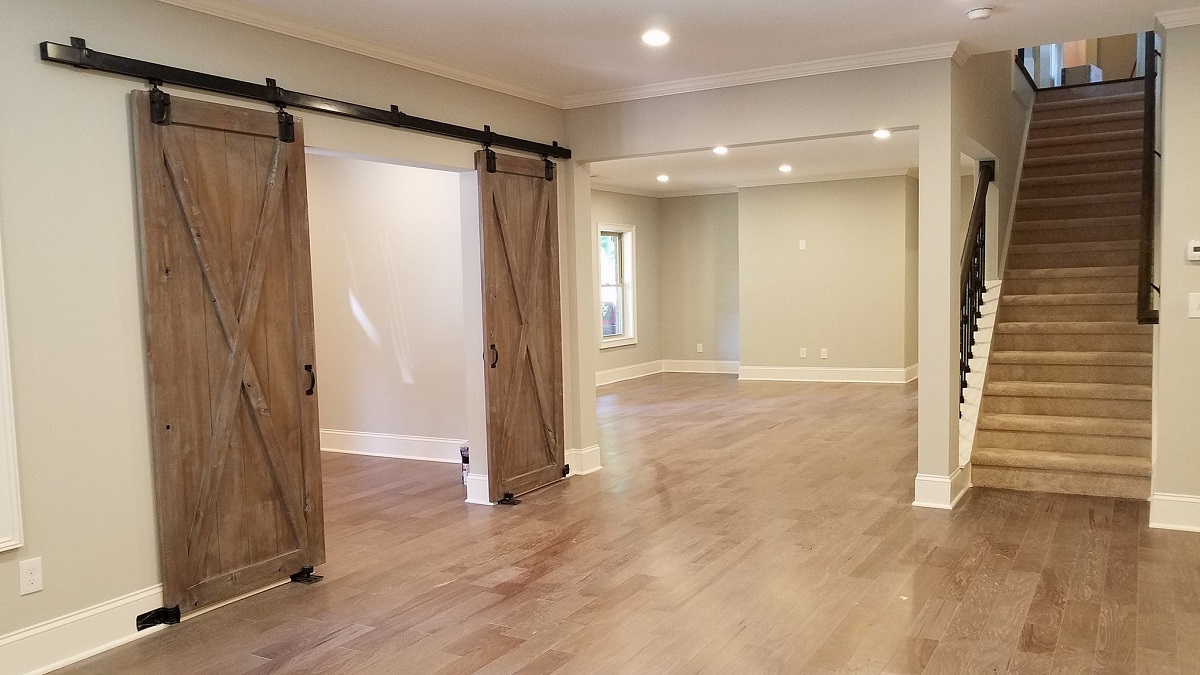
Welcome to the world of versatile and stylish room dividers! Whether you’re looking to add a touch of elegance to your living space or seeking a practical way to create privacy in a shared area, a folding screen room divider is a fantastic solution. This DIY project allows you to unleash your creativity and customize a room divider that perfectly complements your decor and meets your specific needs.
With a few basic materials and some handy tools, you can craft a folding screen room divider that not only serves a functional purpose but also becomes a stunning focal point in your home. The beauty of this project lies in its flexibility – you can tailor the design to match your interior style, whether it’s modern, bohemian, minimalist, or eclectic. Plus, the satisfaction of creating a custom piece that enhances your living space is truly rewarding.
In this guide, we’ll walk you through the step-by-step process of making a folding screen room divider, from measuring and cutting the wood to adding the finishing touches. By the end of this journey, you’ll have a beautiful and practical addition to your home that reflects your unique taste and craftsmanship. So, roll up your sleeves, gather your materials, and let’s bring this stylish and functional room divider to life!
Key Takeaways:
- Create a personalized folding screen room divider to add style and privacy to your living space. With basic materials and tools, unleash your creativity and enjoy the satisfaction of crafting a functional and stunning home addition.
- Transform wood panels into a versatile and elegant room divider. Add color, fabric, or decorative panels to customize the divider, and revel in the beauty and practicality it brings to your home.
Read also: 9 Best Folding Room Divider For 2025
Materials and Tools
Before diving into the construction of your folding screen room divider, it’s essential to gather all the necessary materials and tools. Here’s what you’ll need:
Materials:
- Wooden panels or bi-fold doors
- Hinges
- Sandpaper
- Primer and paint or wood stain
- Fabric or decorative panels
- Wood glue
- Screws
- Decorative knobs or handles (optional)
Tools:
- Saw
- Measuring tape
- Sandpaper or electric sander
- Paintbrushes or foam rollers
- Screwdriver
- Staple gun (if using fabric)
- Clamps
- Drop cloth or old sheets for painting
These materials and tools will set the stage for the construction of your folding screen room divider. Once you have everything on hand, you’re ready to embark on this exciting DIY journey. Now, let’s move on to the first step: measuring and cutting the wood.
Step 1: Measure and Cut the Wood
The first step in creating your folding screen room divider is to measure and cut the wood or bi-fold doors to the desired size. Start by determining the height and width you want for your room divider. Keep in mind that the number of panels you have will affect the overall width when fully extended.
Using a measuring tape and a pencil, mark the measurements on the wood or doors, ensuring accuracy and precision. If you’re using multiple panels, make sure they are all cut to the same dimensions to ensure a uniform appearance when the divider is extended.
Once you have marked the measurements, carefully cut the wood or doors using a saw. If you’re using bi-fold doors, you can remove any unnecessary hardware before cutting. Take your time with this step to achieve clean and straight cuts, as they will contribute to the professional look of your finished room divider.
After cutting the wood to size, double-check the panels to ensure they fit together seamlessly when fully extended. Making any necessary adjustments at this stage will save you time and effort later in the process.
With the wood or doors cut to the correct dimensions, you’re now ready to move on to the next step: sanding the wood to create a smooth and polished surface.
Step 2: Sand the Wood
Once you have cut the wood or bi-fold doors to the desired size, the next crucial step is to sand the surfaces to create a smooth and refined finish. Sanding not only enhances the visual appeal of the room divider but also ensures that the wood is free from any rough edges or imperfections.
Begin by using sandpaper or an electric sander to gently sand the entire surface of each panel. Pay close attention to the edges and corners, as these areas tend to have sharper edges after cutting. The goal is to achieve a uniform and silky texture across the wood, making it pleasant to the touch and visually appealing.
When sanding, start with a coarse-grit sandpaper to remove any rough spots or irregularities. Then, progress to a finer-grit sandpaper to smoothen the surface further and prepare it for painting or staining. Be thorough in this process, as the quality of the sanding will significantly impact the final look and feel of your folding screen room divider.
After sanding, use a clean, dry cloth to wipe away any dust or debris from the surfaces of the panels. This will ensure that the wood is clean and ready for the next phase of the project. If you’re using bi-fold doors, pay particular attention to the areas around the hinges and hardware, ensuring that they are smooth and free from any obstructions.
With the wood panels now beautifully sanded and prepped, you’re one step closer to bringing your folding screen room divider to life. The next step will involve adding a touch of color or stain to the wood, allowing you to personalize the divider to suit your interior decor. Let’s move on to step 3: painting or staining the wood.
Step 3: Paint or Stain the Wood
With the wood panels now perfectly sized and smoothly sanded, it’s time to infuse your personal style into the folding screen room divider by adding color or stain. Whether you prefer a bold and vibrant look, a natural and rustic finish, or anything in between, this step allows you to customize the divider to seamlessly integrate with your living space.
If you opt for paint, consider using a high-quality primer to prepare the wood for the paint application. This will help the paint adhere better and ensure a more durable finish. Once the primer is dry, apply your chosen paint color using a paintbrush or foam roller, ensuring even coverage across the entire surface of the panels. Multiple thin coats may be necessary to achieve the desired depth of color.
On the other hand, if you prefer the natural beauty of the wood grain, staining is an excellent option. Choose a wood stain that complements your decor and follow the manufacturer’s instructions for application. Whether you prefer a light, medium, or dark stain, the richness and warmth of the wood will shine through, adding a touch of timeless elegance to your room divider.
Whichever finish you choose, allow the paint or stain to dry completely according to the product’s recommended drying time. This patience will ensure that the finish sets properly and withstands the test of time, maintaining its allure for years to come.
Once the paint or stain has dried, step back and admire the transformation of the wood panels. The infusion of color or the enhancement of the natural wood grain marks a significant milestone in the creation of your folding screen room divider. The next step will involve adding hinges to bring the panels together, allowing the divider to gracefully fold and unfold as needed. Let’s move on to step 4: attaching hinges.
When making a folding screen room divider, ensure that the hinges are strong and secure to support the weight of the panels. Use high-quality materials to ensure durability and stability.
Step 4: Attach Hinges
As you venture further into the construction of your folding screen room divider, the addition of hinges is a pivotal step that brings the individual panels together, allowing them to function as a cohesive unit. Hinges not only facilitate the folding and unfolding of the divider but also contribute to its structural stability and durability.
Begin by positioning the wood panels on a flat surface, ensuring that they are aligned precisely as you envision them in their fully extended form. Place the hinges at the points where the panels meet, marking the locations for the screws with a pencil. It’s essential to distribute the hinges evenly along the height of the panels to maintain balance and stability.
Using a screwdriver, attach the hinges to the panels securely, ensuring that they are flush with the wood and allow smooth movement between the panels. Depending on the design of your room divider, you may opt for traditional hinges or decorative hinges that complement your interior decor, adding a touch of elegance to the finished piece.
Once the hinges are in place, carefully test the folding and unfolding of the panels to ensure that they move smoothly without any resistance. This step allows you to make any necessary adjustments before proceeding, guaranteeing that the functionality of your folding screen room divider meets your expectations.
With the hinges successfully installed, your room divider is now taking shape, ready to add the final touches that will elevate its aesthetic appeal and practical functionality. The next step will involve adding fabric or decorative panels to infuse character and charm into the divider. Let’s move on to step 5: adding fabric or panels.
Step 5: Add Fabric or Panels
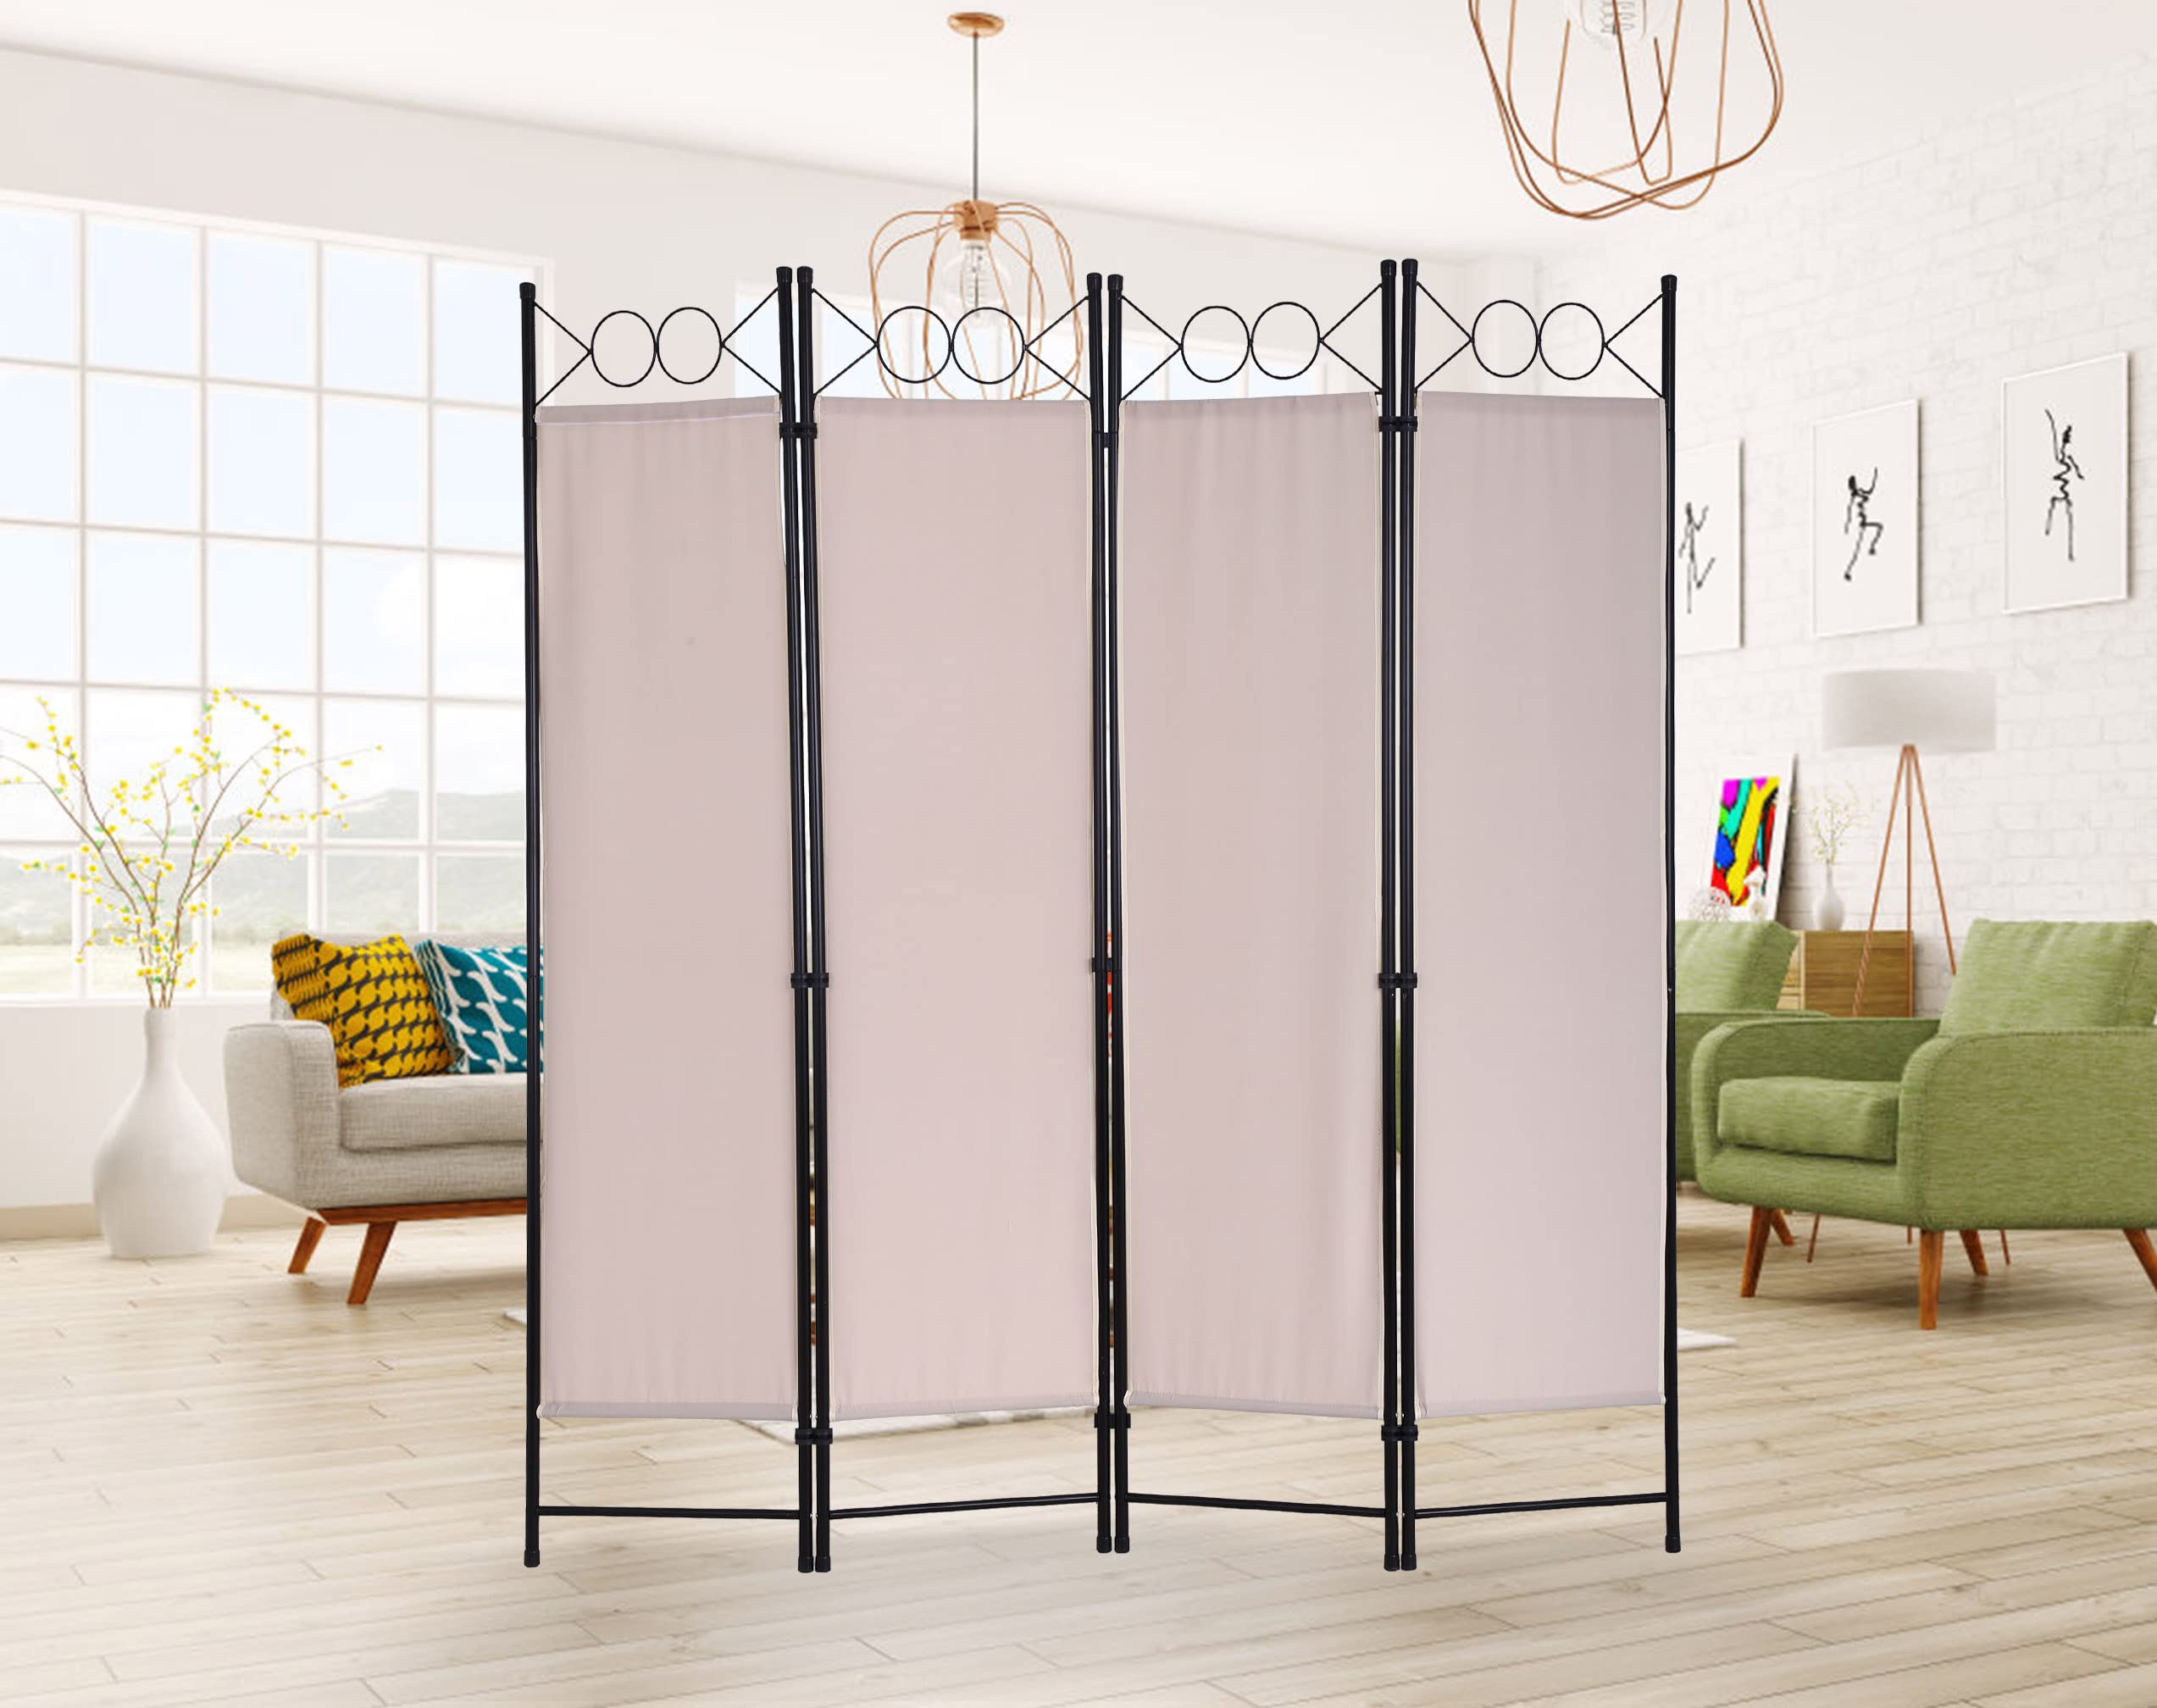
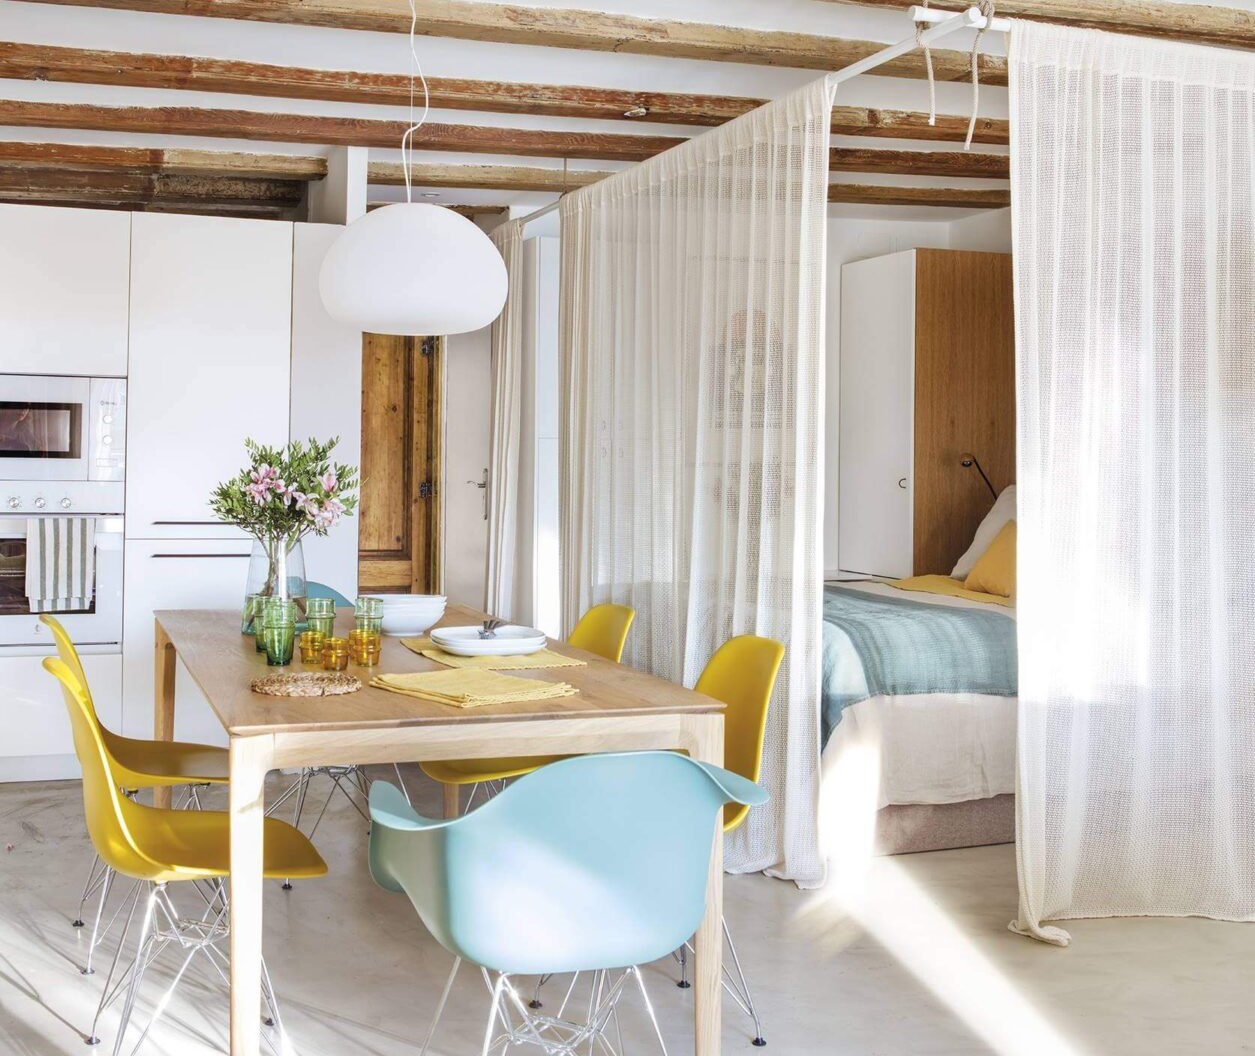
As you approach the final stages of creating your folding screen room divider, the addition of fabric or decorative panels presents an exciting opportunity to infuse personality and flair into the design. Whether you prefer the soft elegance of fabric or the striking allure of decorative panels, this step allows you to further customize the divider to harmonize with your interior aesthetic.
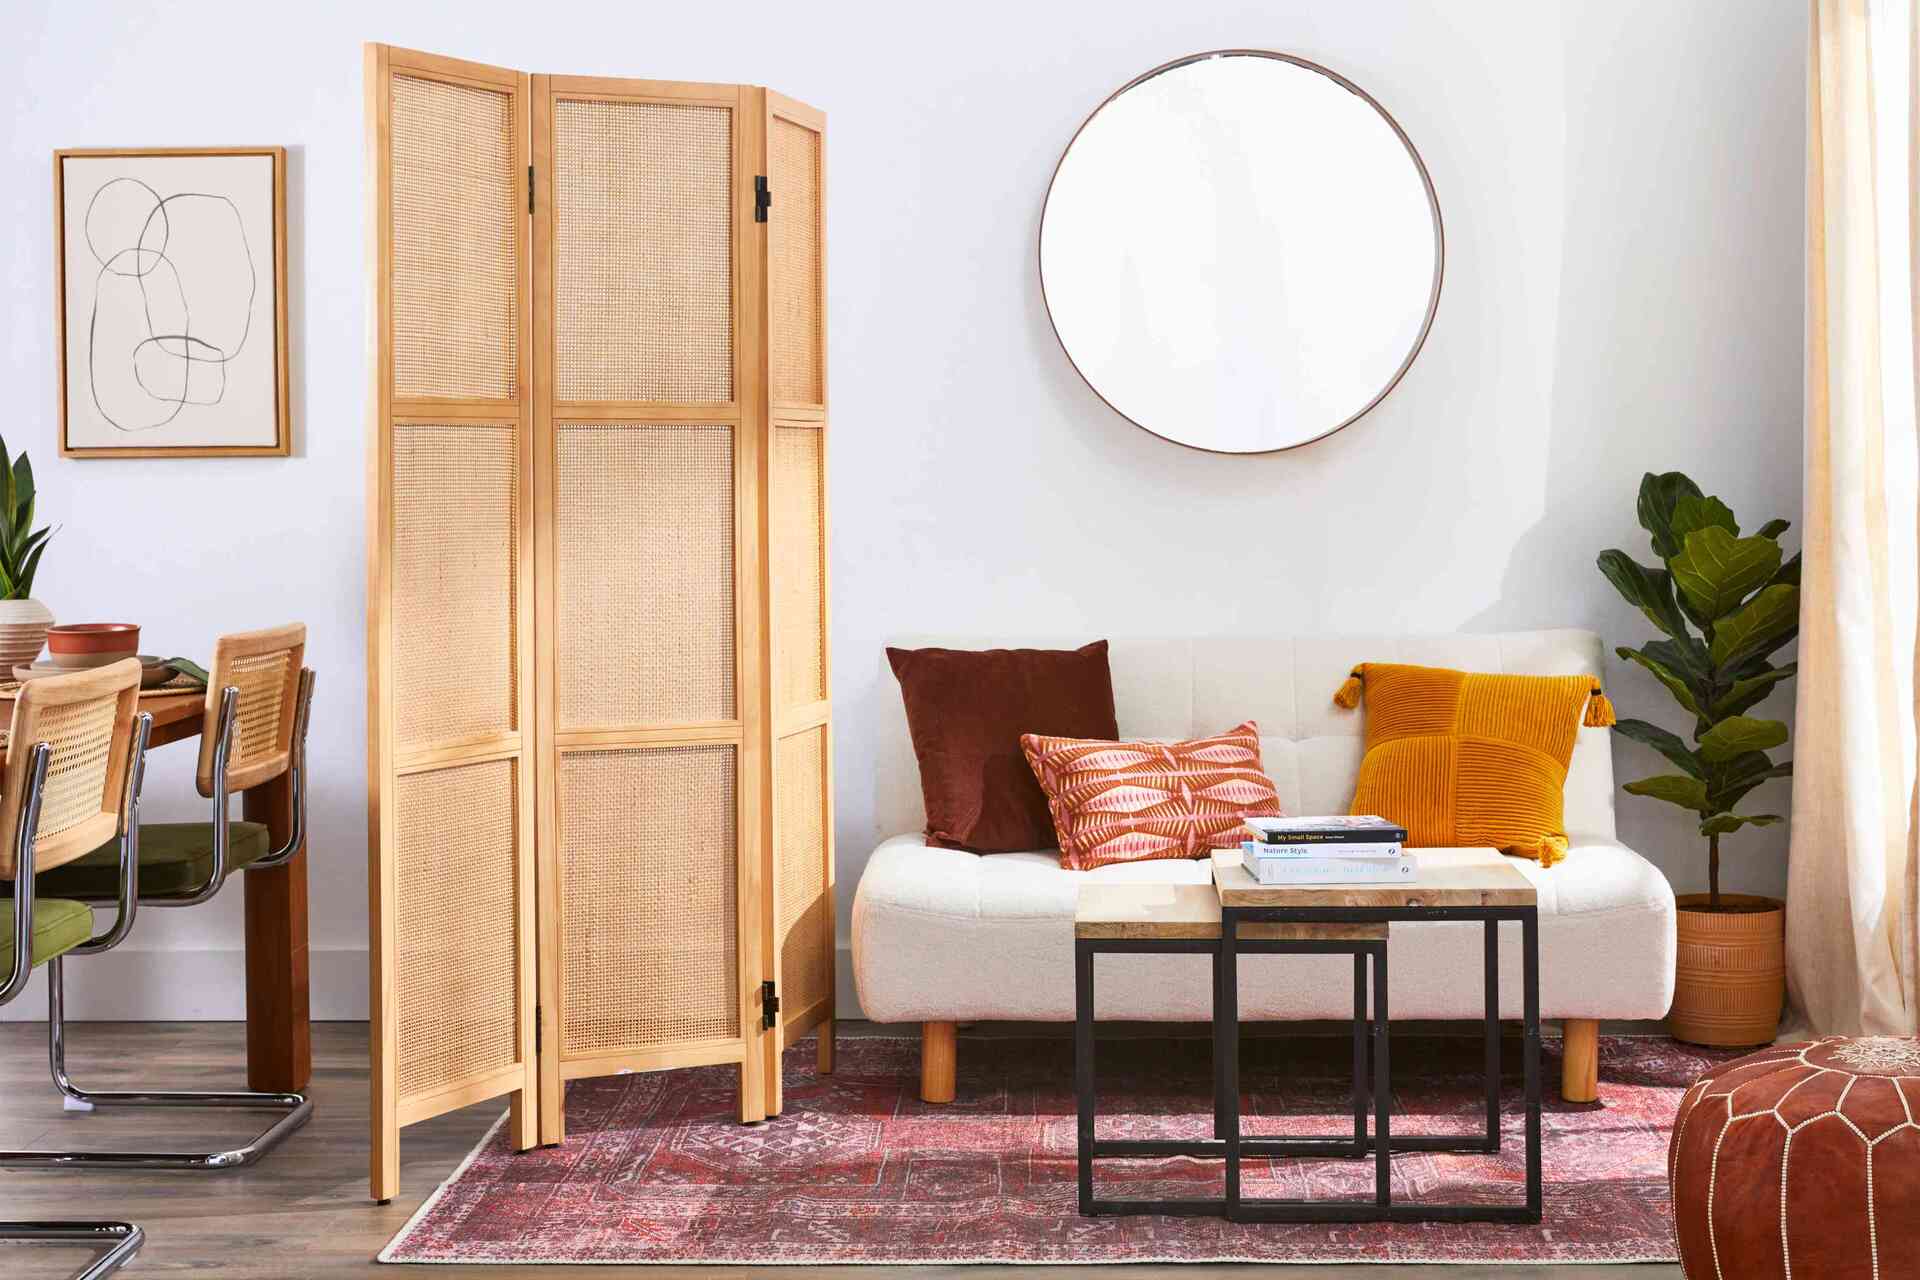
If you choose to adorn the panels with fabric, select a fabric that complements your decor and adds visual interest to the room divider. Using a staple gun, carefully attach the fabric to the back of each panel, ensuring a snug and smooth fit. Be mindful of the fabric’s pattern and texture, as they can significantly impact the overall look and feel of the divider.
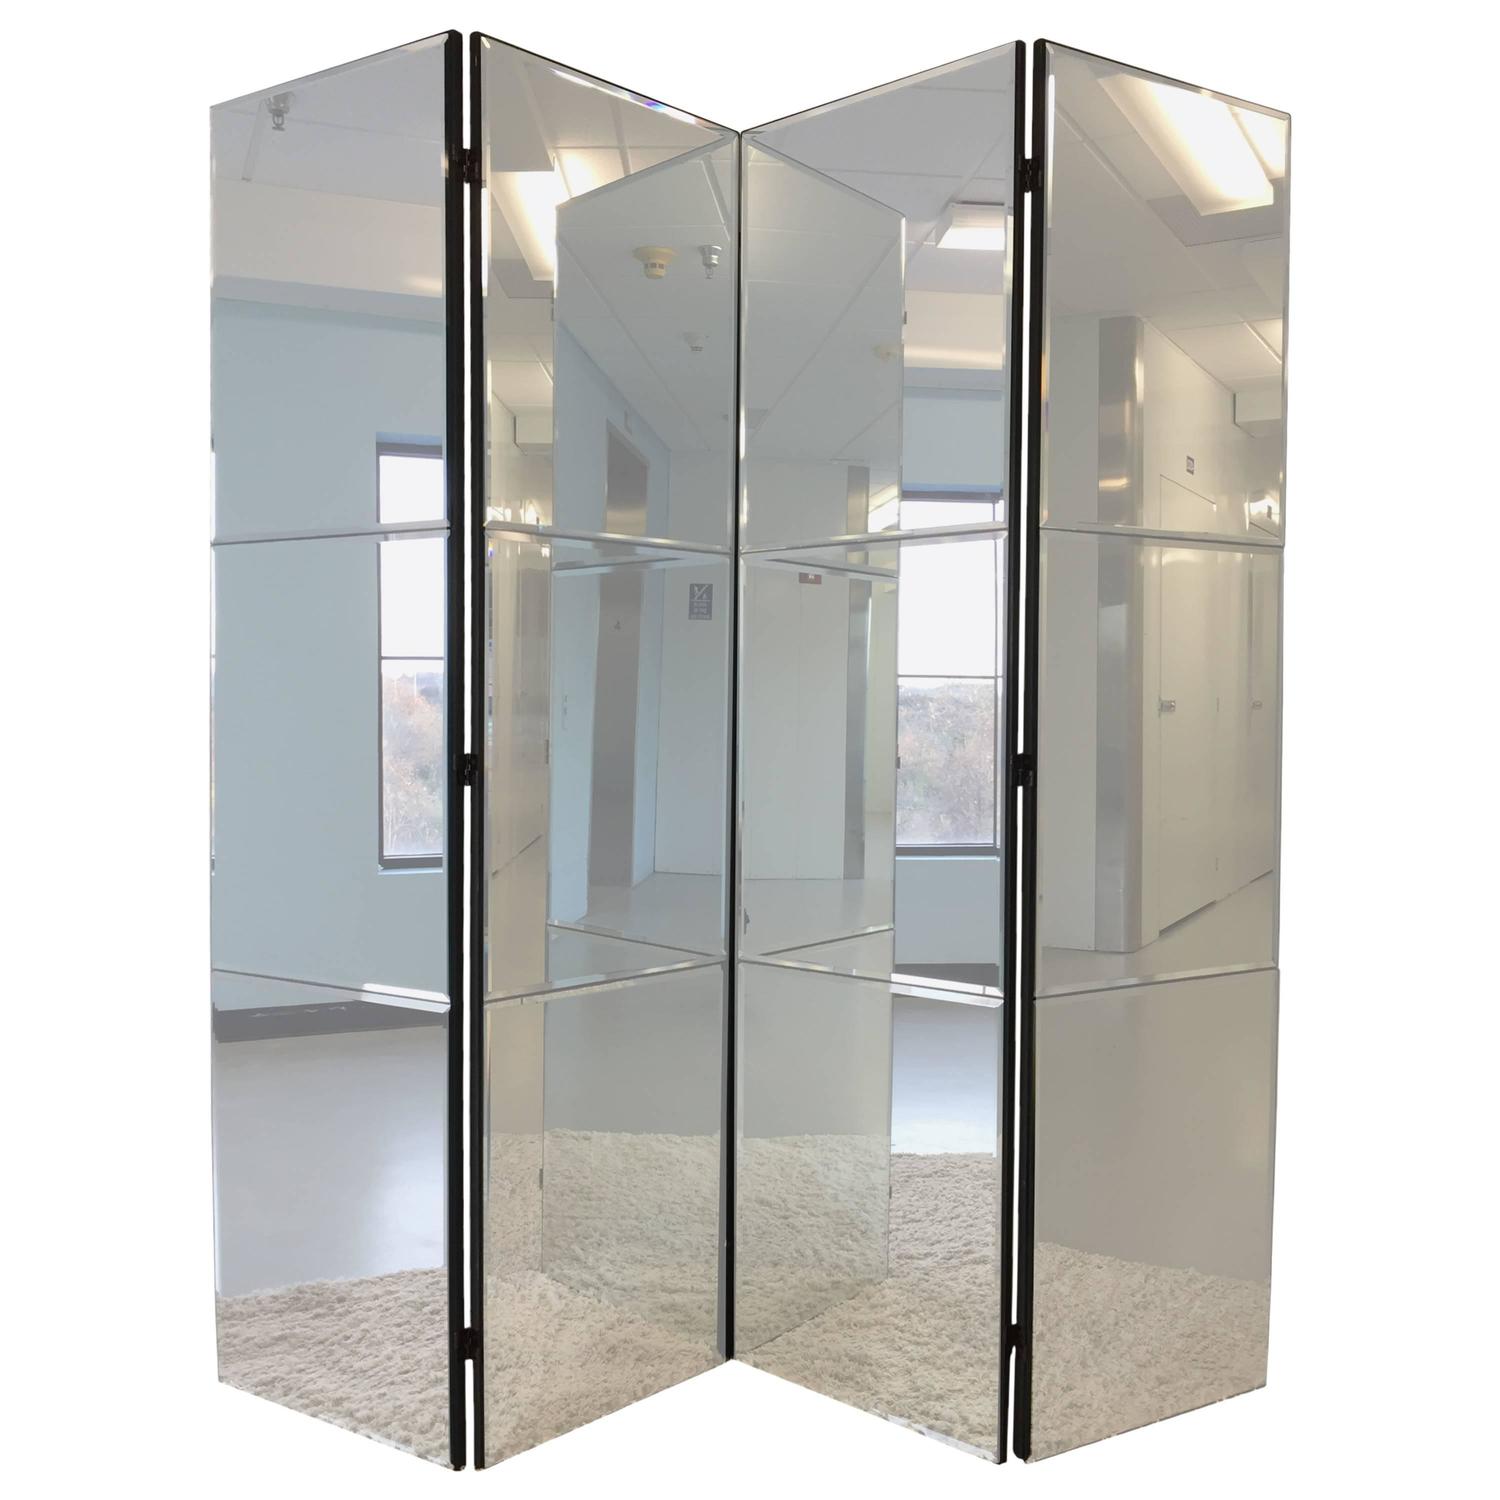
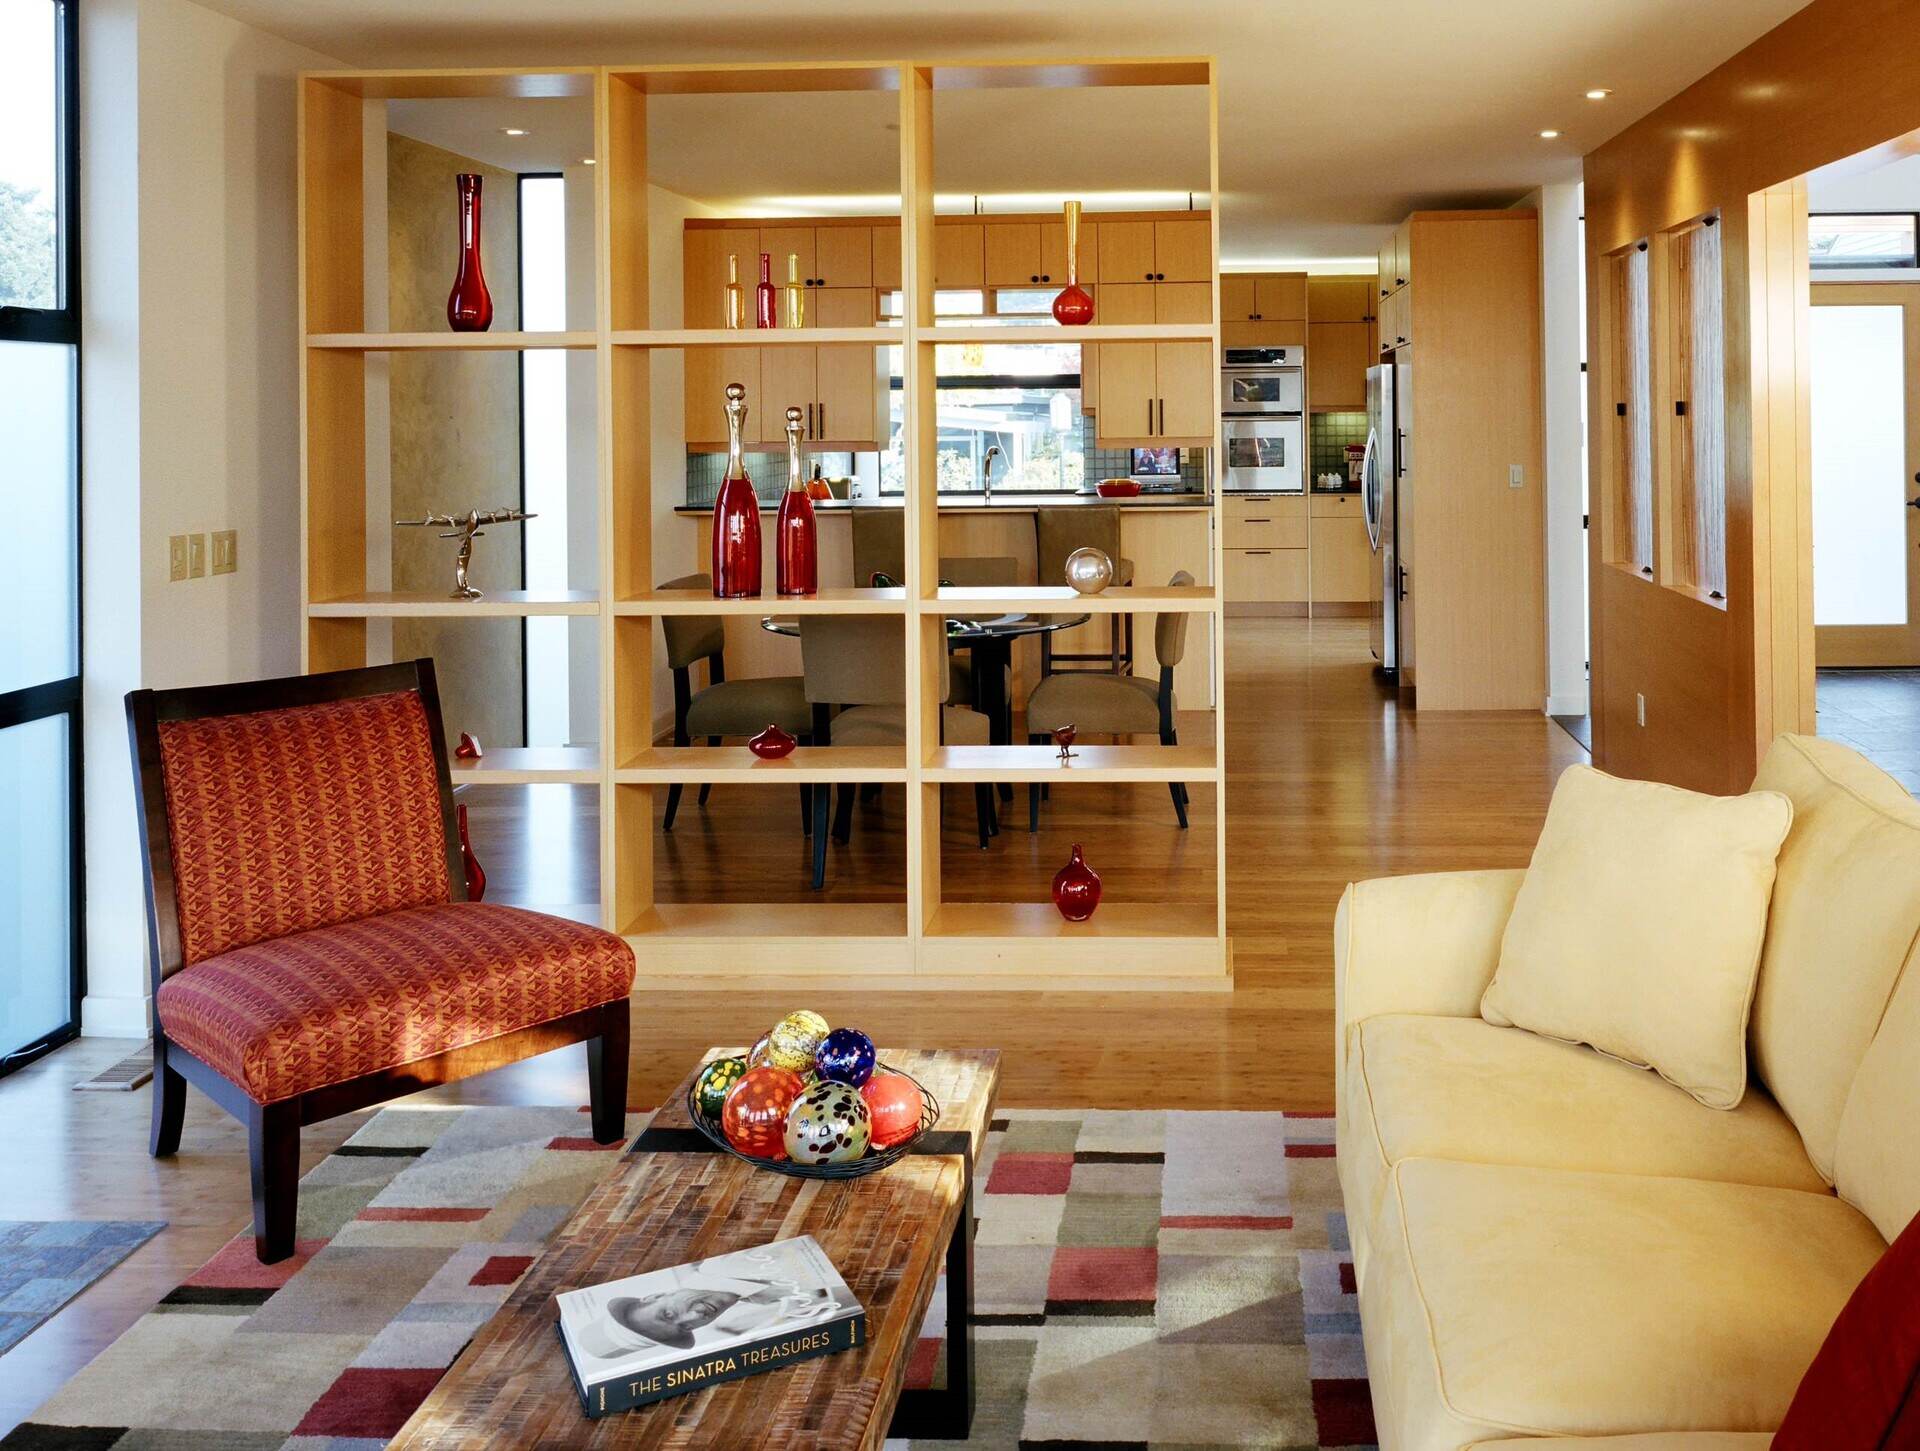
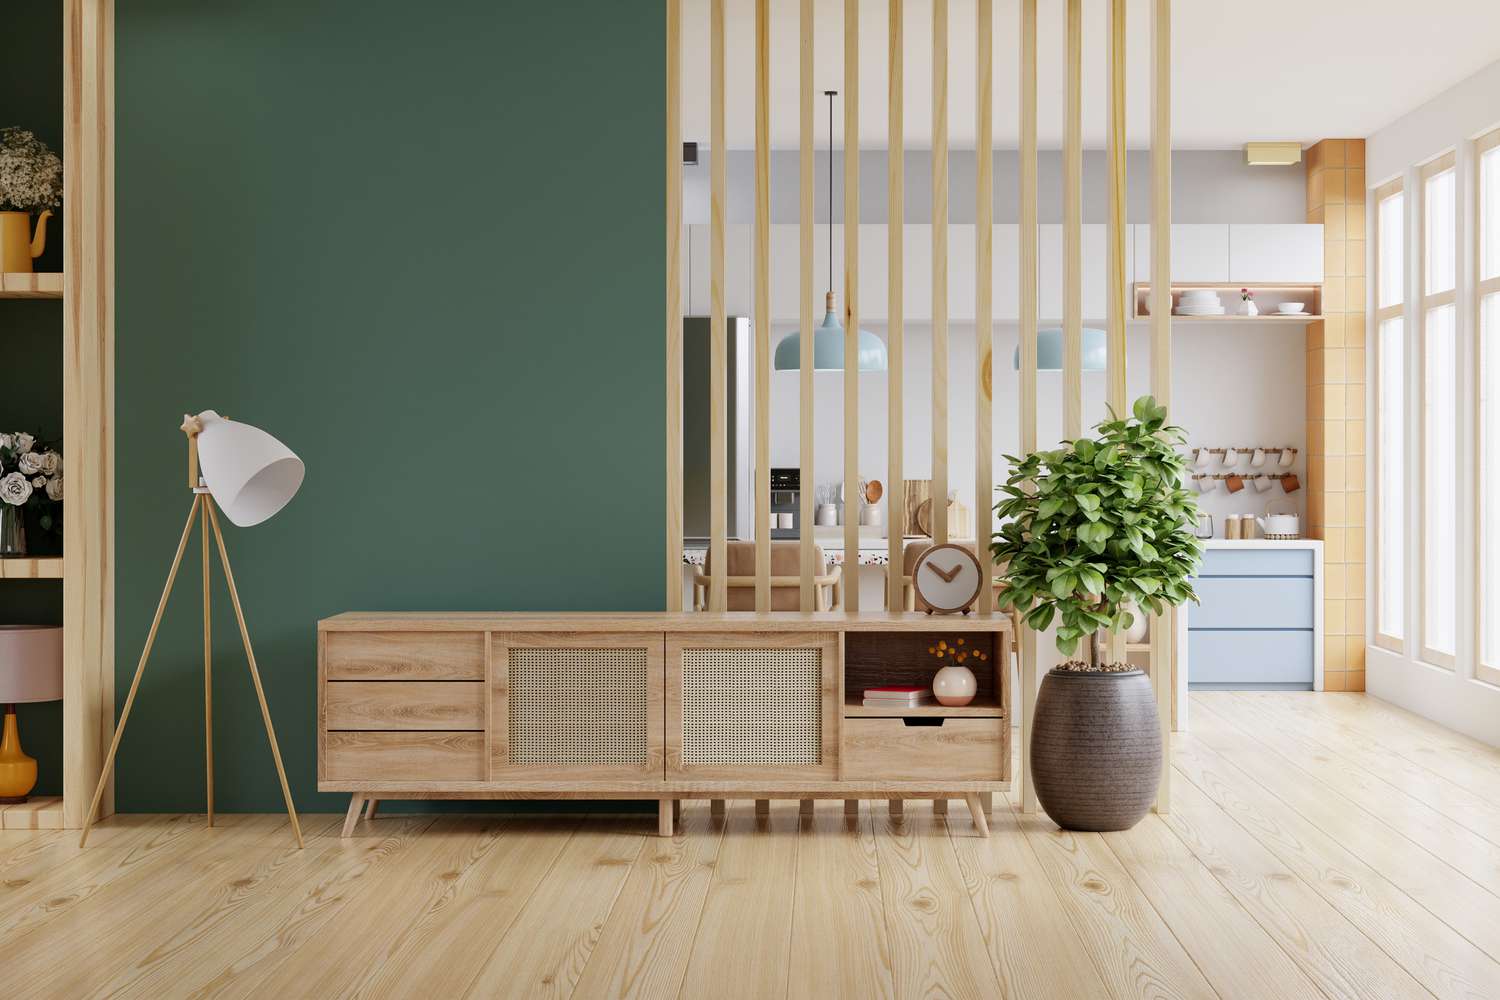
On the other hand, if you opt for decorative panels, consider materials such as rattan, bamboo, or intricately designed wood panels to create a captivating visual effect. These panels can be attached to the wood frames using wood glue or screws, depending on the specific design and your preference for permanence.
Whichever option you choose, the addition of fabric or decorative panels will transform your folding screen room divider into a stunning piece of functional art. The fabric can introduce softness and warmth, while decorative panels can add depth and character to the divider, elevating its presence in the room.
With the fabric or decorative panels in place, step back and admire the transformation of the wood panels into a personalized and visually captivating room divider. The final step will involve standing up the divider and reveling in the beauty and functionality it brings to your living space. Let’s move on to step 6: standing up and enjoying your folding screen room divider.
Step 6: Stand Up and Enjoy Your Folding Screen Room Divider
Congratulations on reaching the final step of your folding screen room divider creation journey! As you stand up your completed divider, you’re about to witness the transformation of a few basic materials into a stunning and functional piece that enhances your living space in more ways than one.
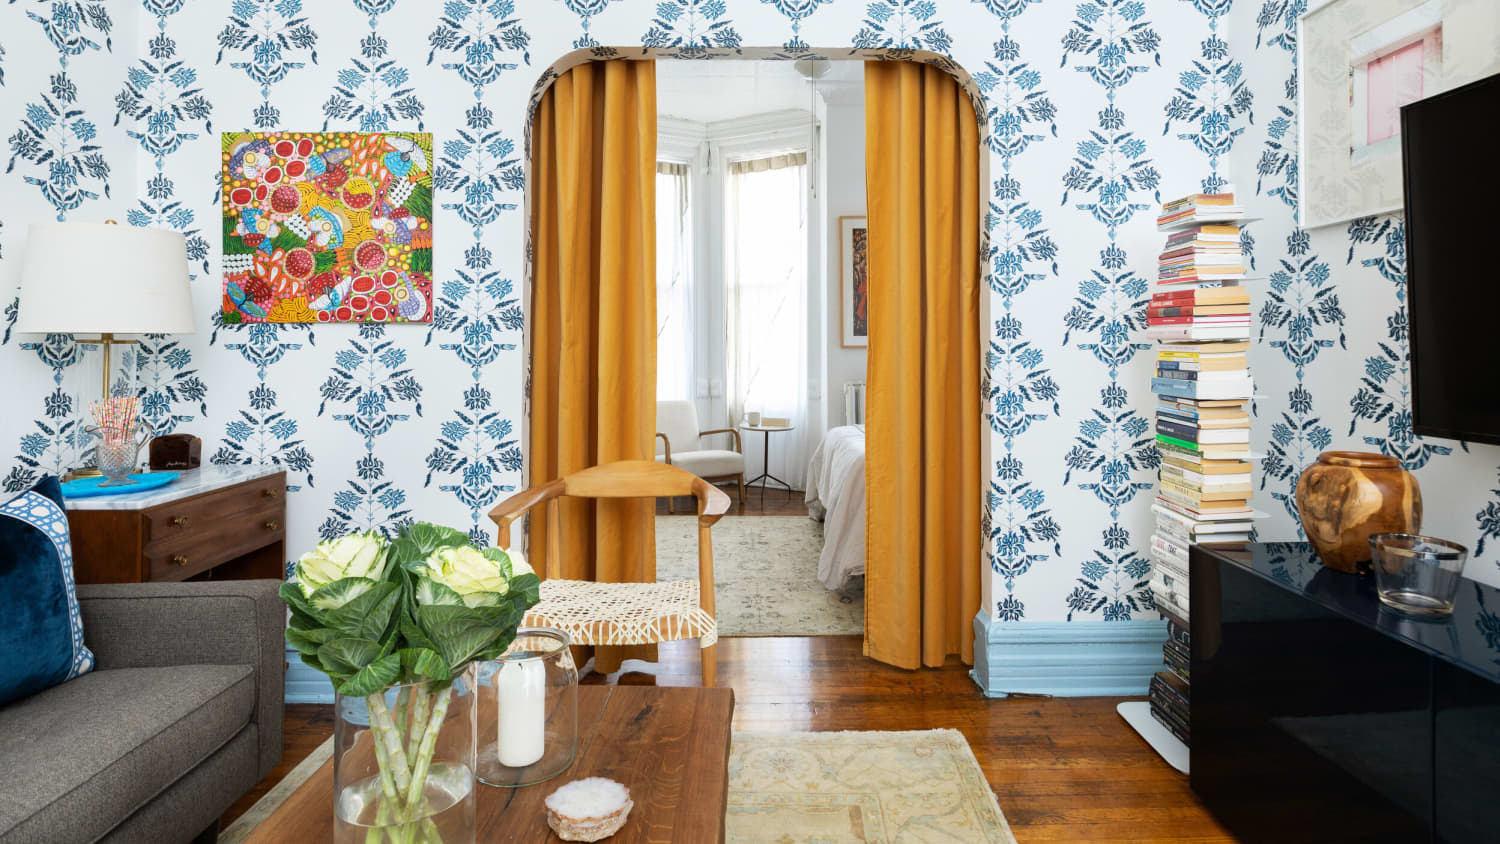
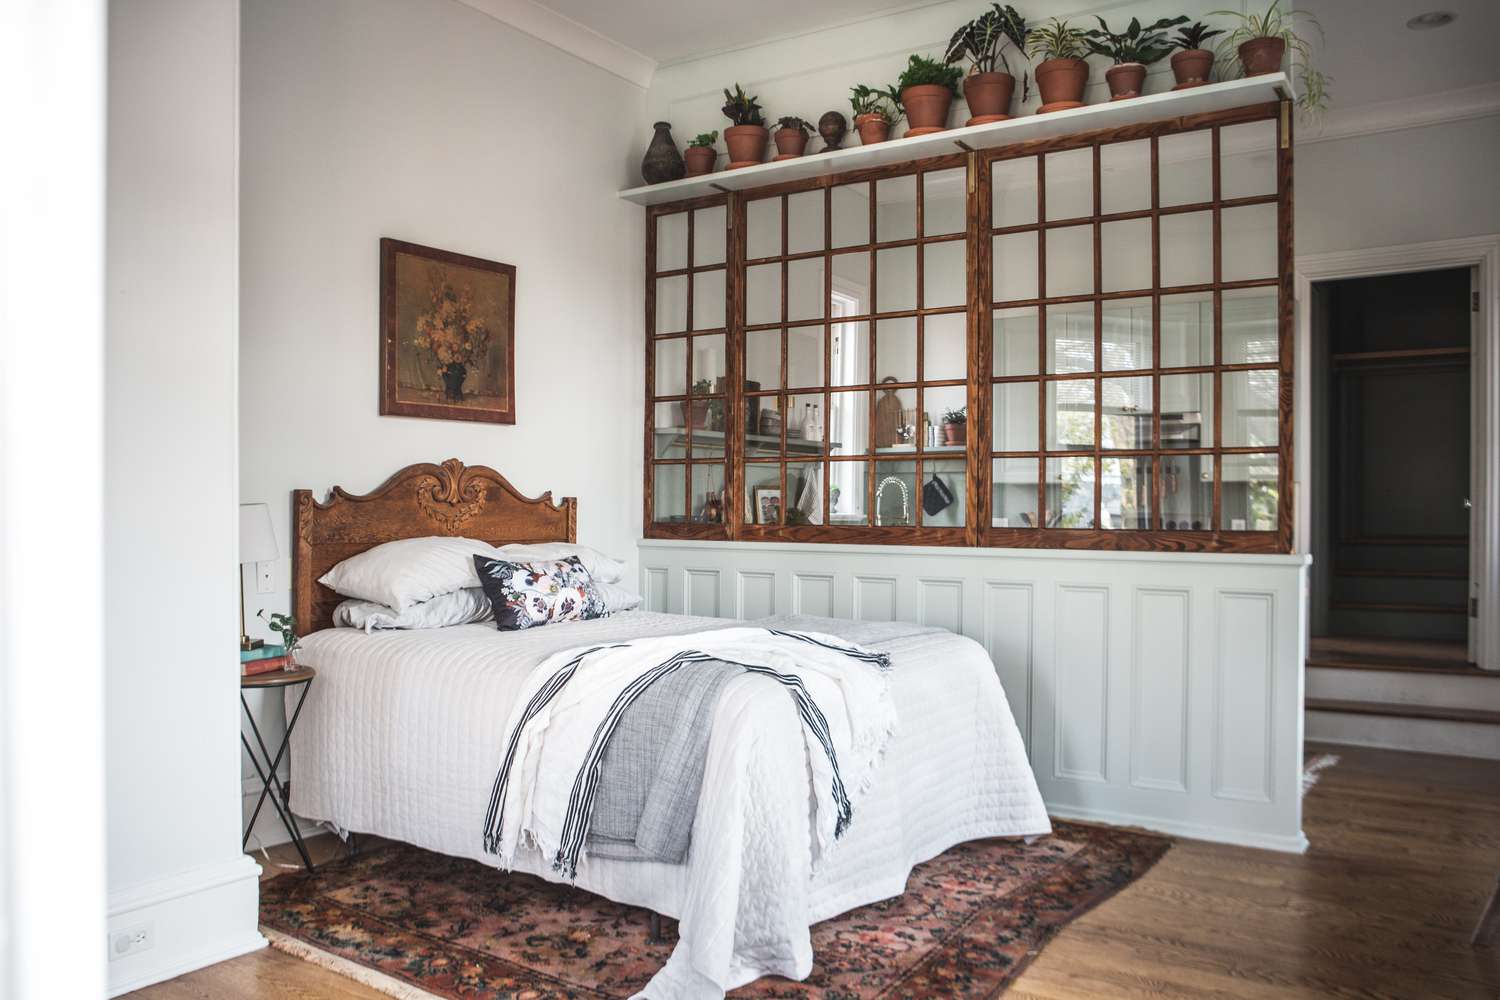
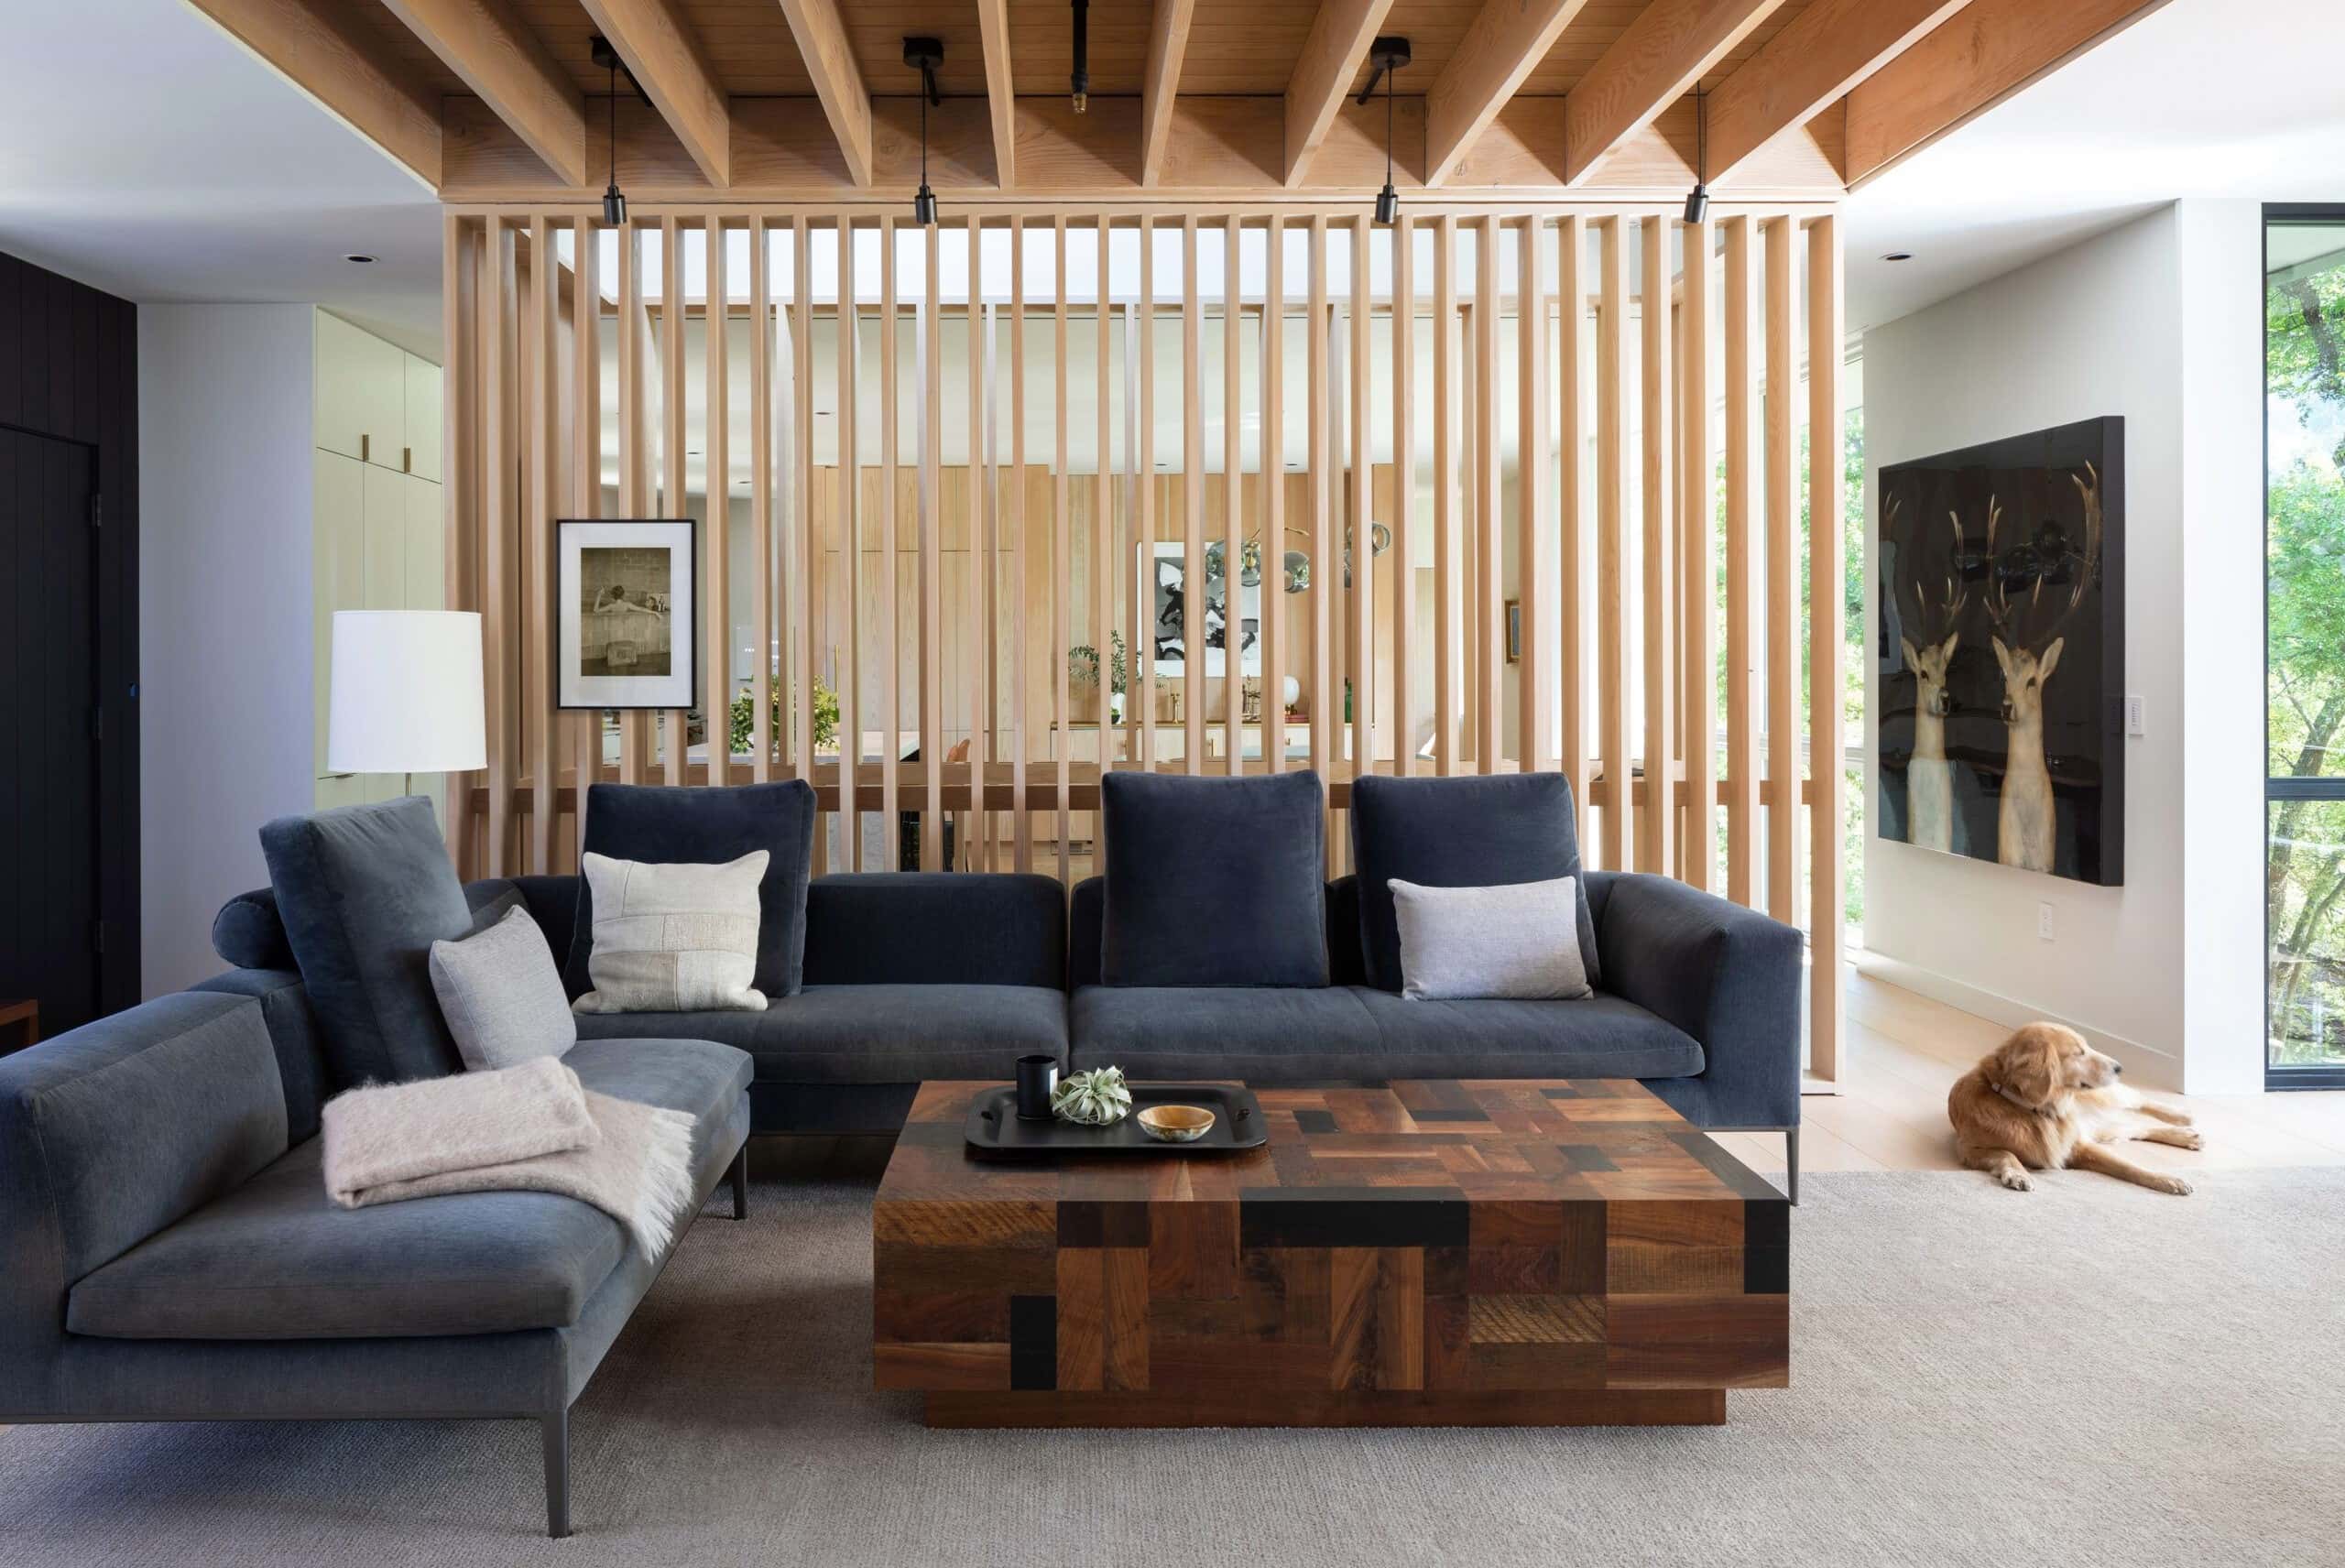
Once the divider is upright, take a moment to appreciate how it effortlessly adds a touch of elegance and practicality to the room. Whether it’s creating a private nook, hiding clutter, or serving as a stylish backdrop, your custom-made room divider is a versatile addition that reflects your creativity and craftsmanship.
As you revel in the presence of your folding screen room divider, take the opportunity to experiment with its placement within your living space. Whether it’s separating a living area from a dining space, concealing an unsightly corner, or serving as a decorative backdrop, the possibilities are endless. Embrace the flexibility and visual impact that your room divider brings to your home.
Moreover, consider how the addition of this personalized piece has elevated the overall ambiance of the room. The infusion of color, texture, and design elements has not only created a functional partition but also contributed to the room’s aesthetic appeal, making it a more inviting and dynamic space.
Lastly, share your accomplishment with friends and family, inviting them to admire and appreciate the beauty and functionality of your folding screen room divider. Your creation is a testament to your creativity and dedication, and it’s sure to spark inspiration in others who see it.
With your folding screen room divider now standing tall and making a statement in your living space, you’ve successfully completed this DIY project, showcasing your ability to transform basic materials into a striking and practical addition to your home. Well done!
Frequently Asked Questions about How To Make A Folding Screen Room Divider
Was this page helpful?
At Storables.com, we guarantee accurate and reliable information. Our content, validated by Expert Board Contributors, is crafted following stringent Editorial Policies. We're committed to providing you with well-researched, expert-backed insights for all your informational needs.


0 thoughts on “How To Make A Folding Screen Room Divider”