Home>Furniture & Design>Living Room Furniture>How To Build A Half Wall Room Divider
Living Room Furniture
How To Build A Half Wall Room Divider
Modified: March 2, 2024
Learn how to create a stylish and functional half wall room divider for your living room with our expert tips and design ideas. Enhance your living room furniture and design with this versatile and practical solution.
(Many of the links in this article redirect to a specific reviewed product. Your purchase of these products through affiliate links helps to generate commission for Storables.com, at no extra cost. Learn more)
Introduction
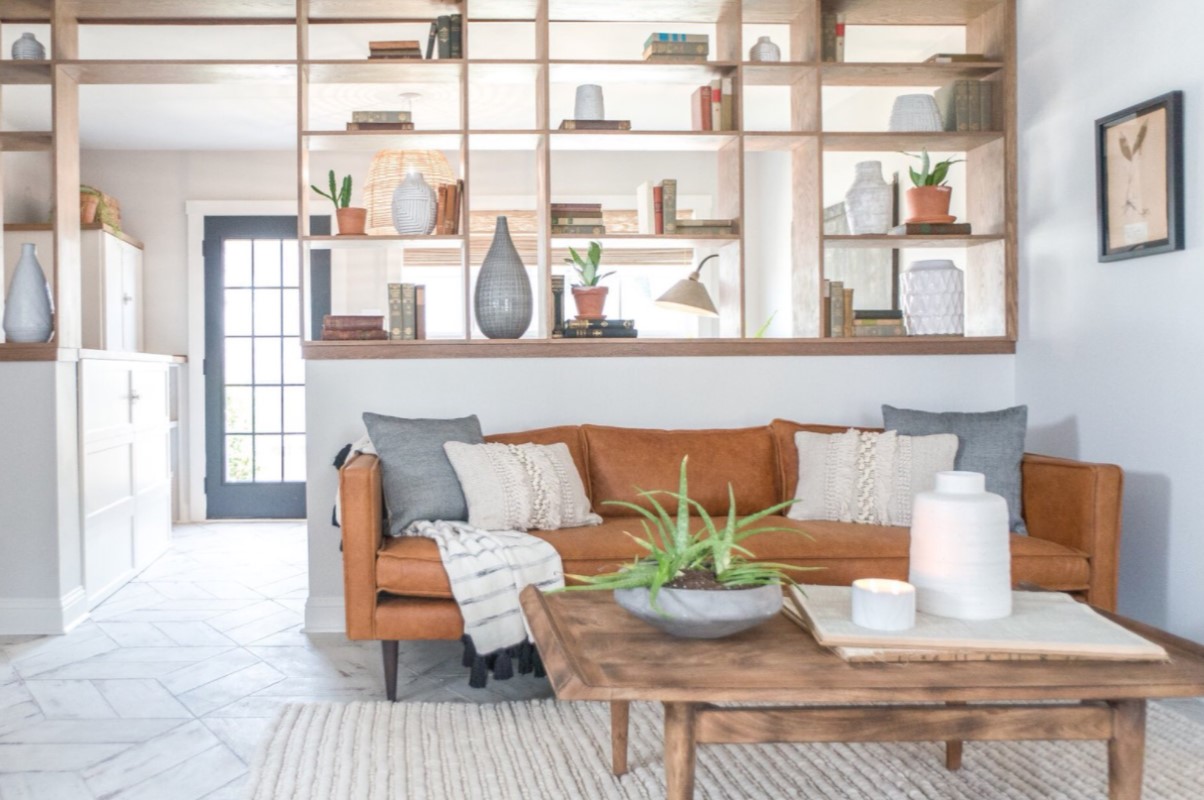
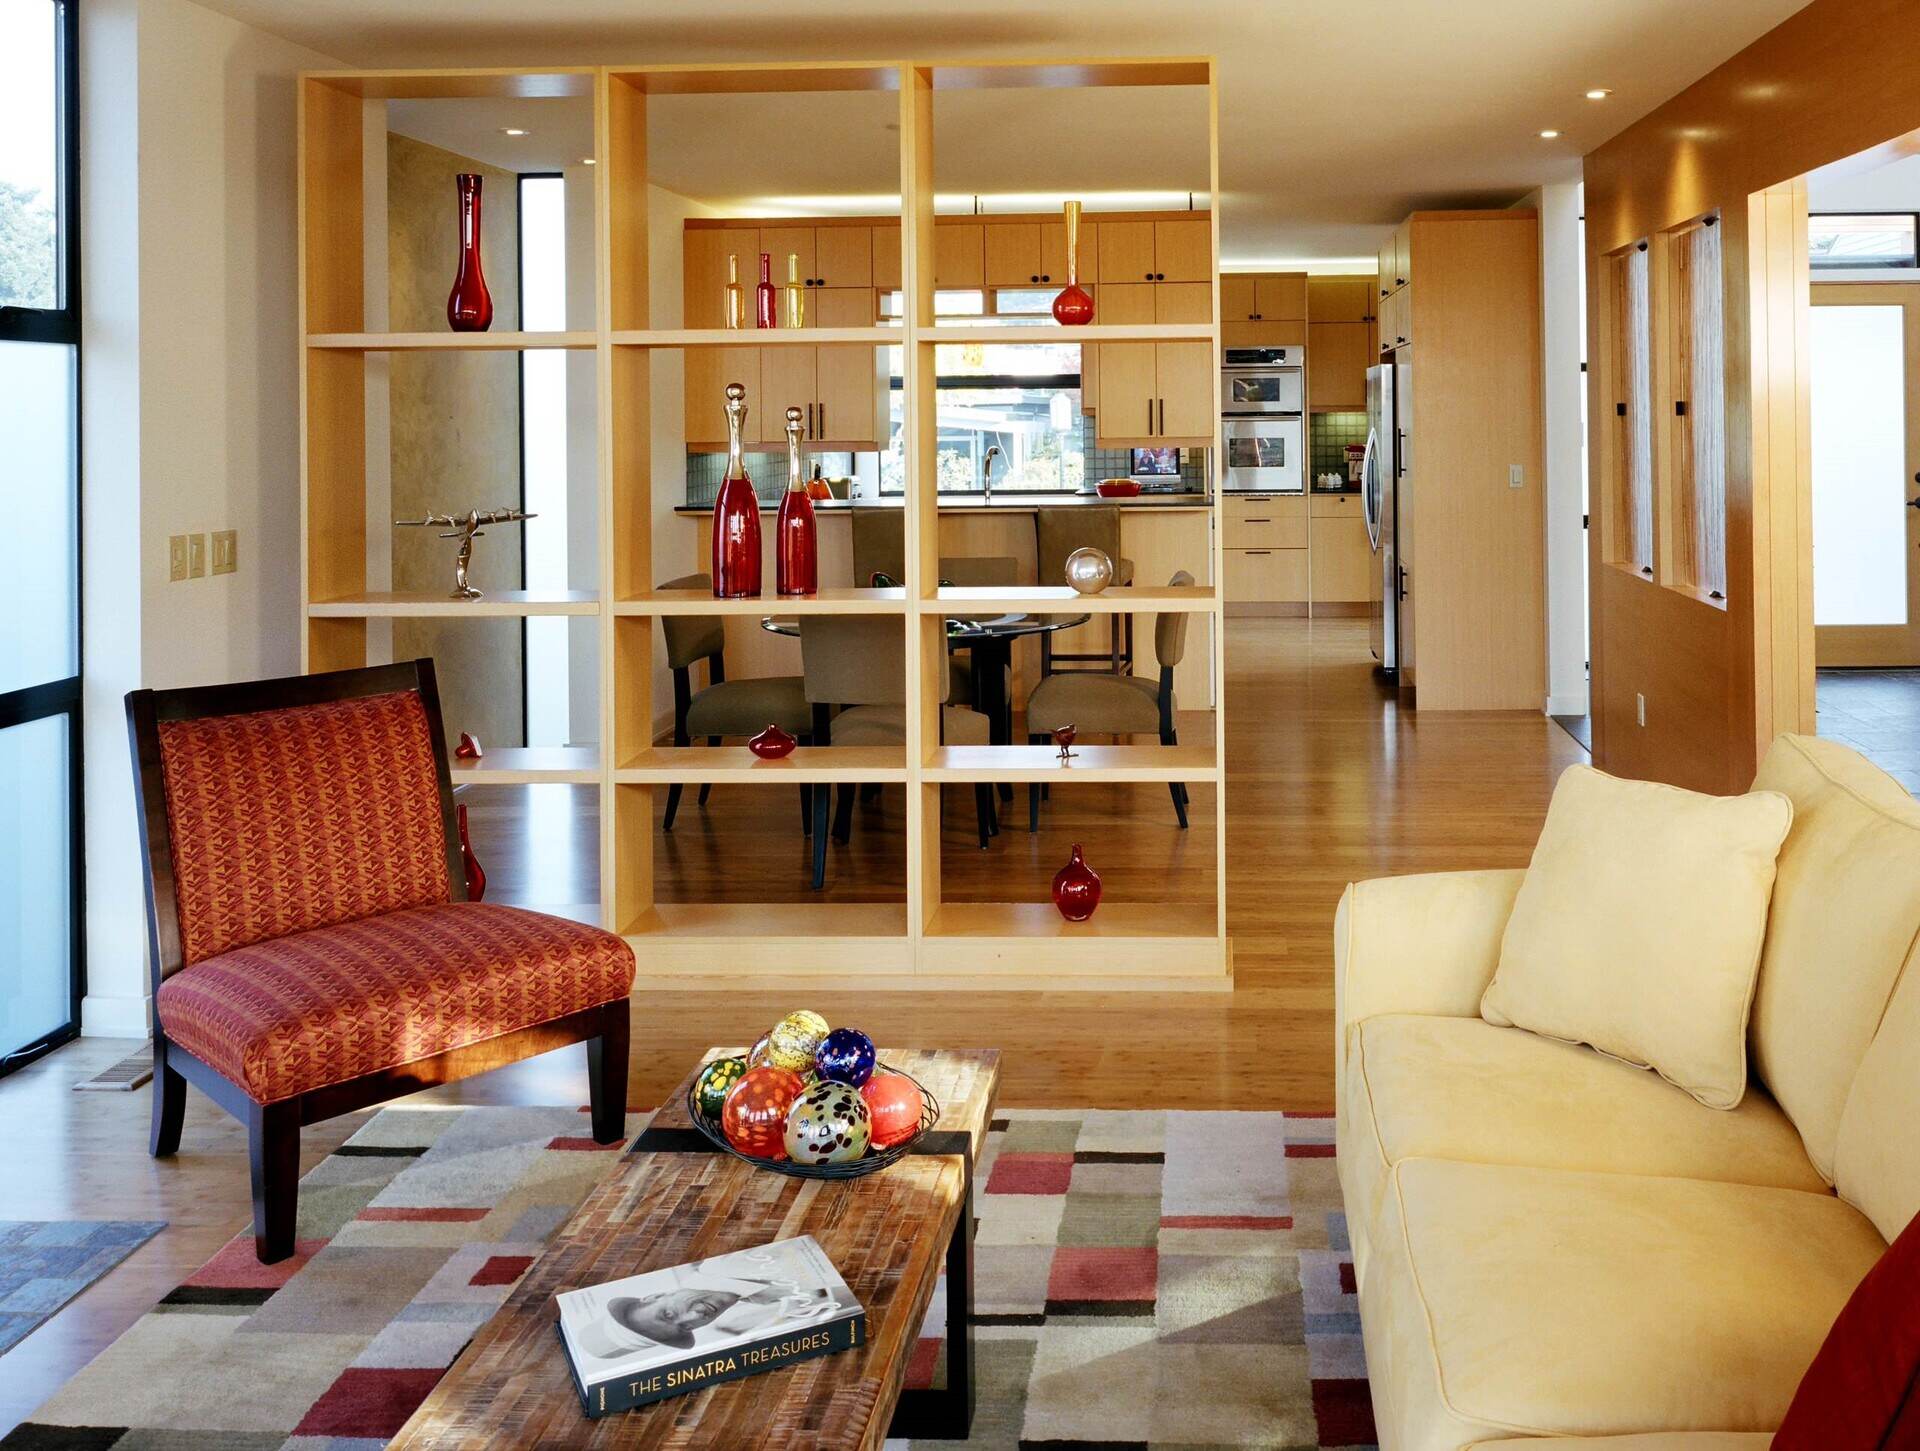
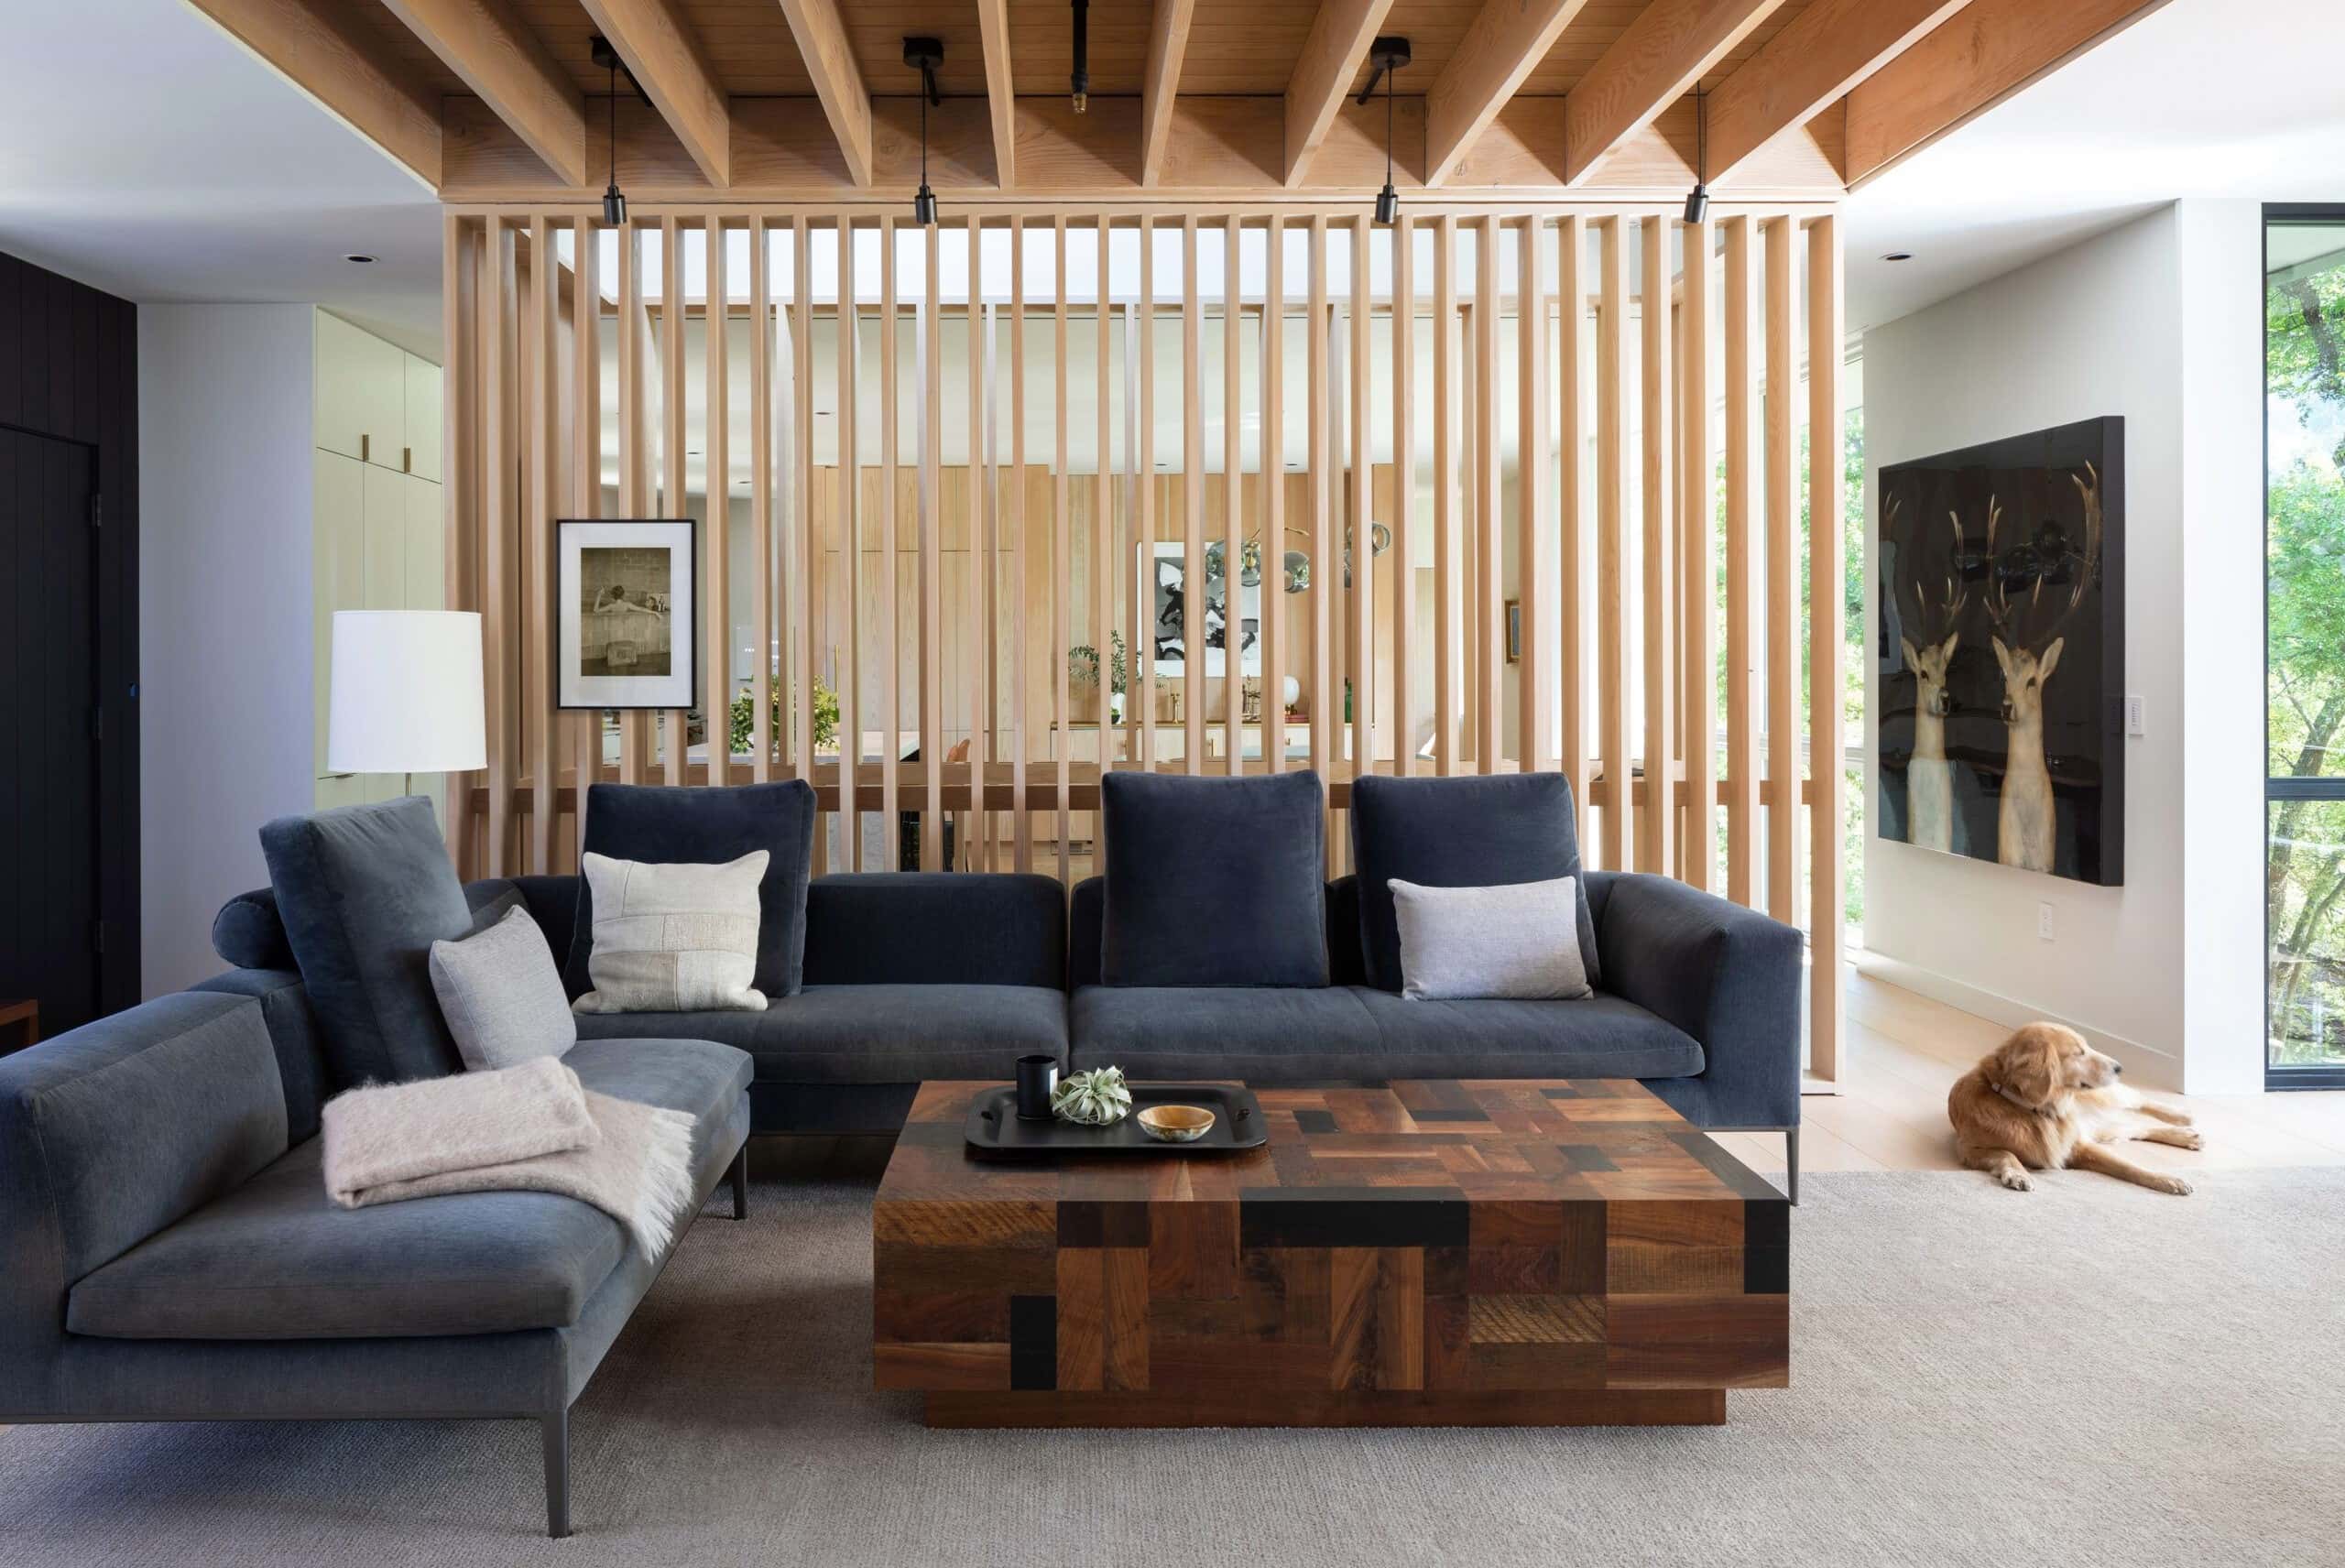
Are you looking to create a sense of division and definition within your living space without sacrificing an open concept layout? A half wall room divider could be the perfect solution! This versatile and stylish design element can add visual interest, provide a degree of separation between areas, and even offer additional functionality by integrating storage or display features. Whether you want to delineate the dining area from the living room, carve out a cozy reading nook, or simply add a touch of architectural flair, a half wall room divider can be a game-changer in your interior design.
In this comprehensive guide, we will walk you through the step-by-step process of building a half wall room divider. From planning and preparation to choosing the right materials, constructing the frame, installing the drywall, and adding the finishing touches, we've got you covered. By the end of this journey, you'll be equipped with the knowledge and confidence to embark on this rewarding home improvement project.
So, roll up your sleeves, gather your tools, and let's dive into the exciting world of half wall room dividers!
Key Takeaways:
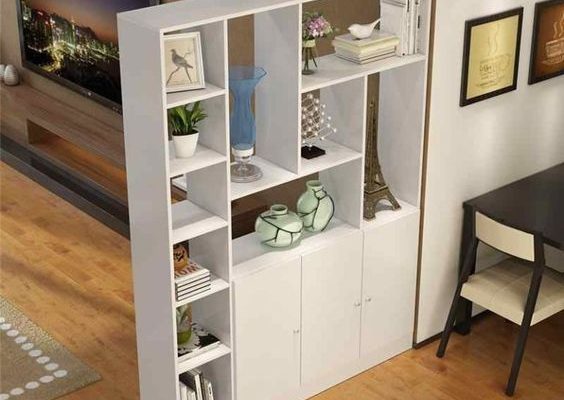
- Building a half wall room divider allows you to customize your living space, adding personality and functionality while enhancing privacy and storage options.
- By carefully planning, choosing quality materials, and paying attention to detail, you can create a stylish and practical half wall room divider that reflects your unique vision and craftsmanship.
Read more: How To Build A Room Divider
Planning and Preparation
Before you start swinging hammers and sawing wood, it’s crucial to lay a solid foundation through careful planning and preparation. Here’s a roadmap to guide you through this initial phase:
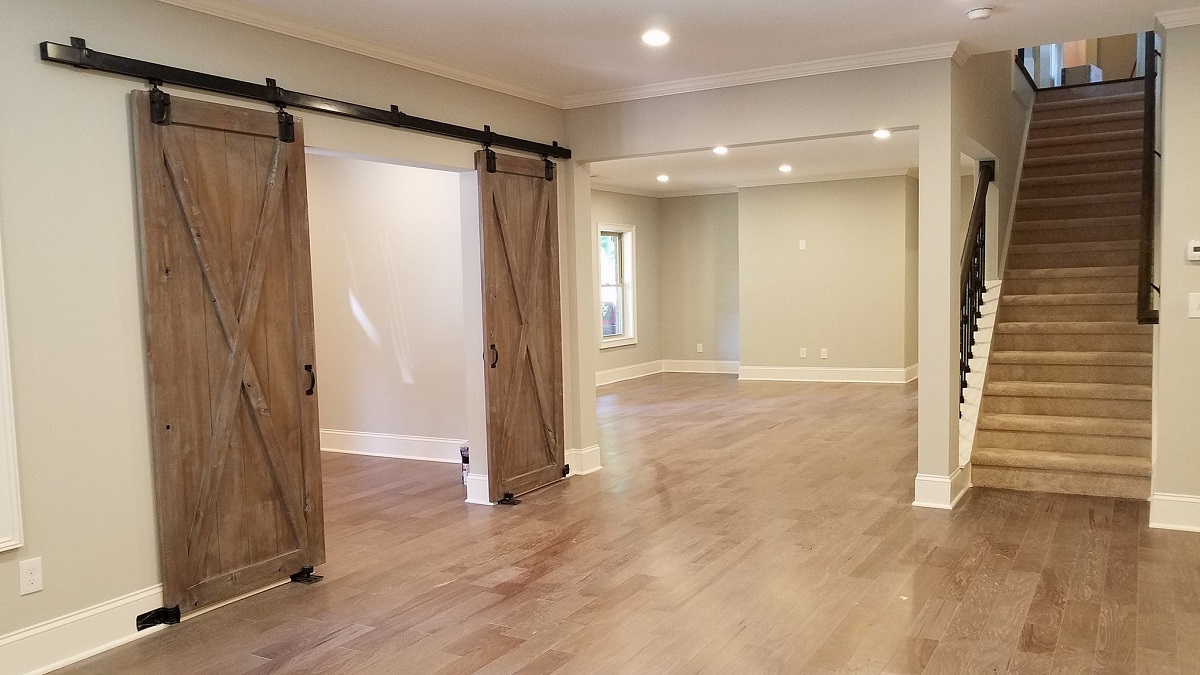
- Assess Your Space: Begin by evaluating the layout and dimensions of the room where you intend to install the half wall. Consider factors such as traffic flow, natural light, and the overall aesthetic of the space. This assessment will help you determine the most suitable location and dimensions for your divider.
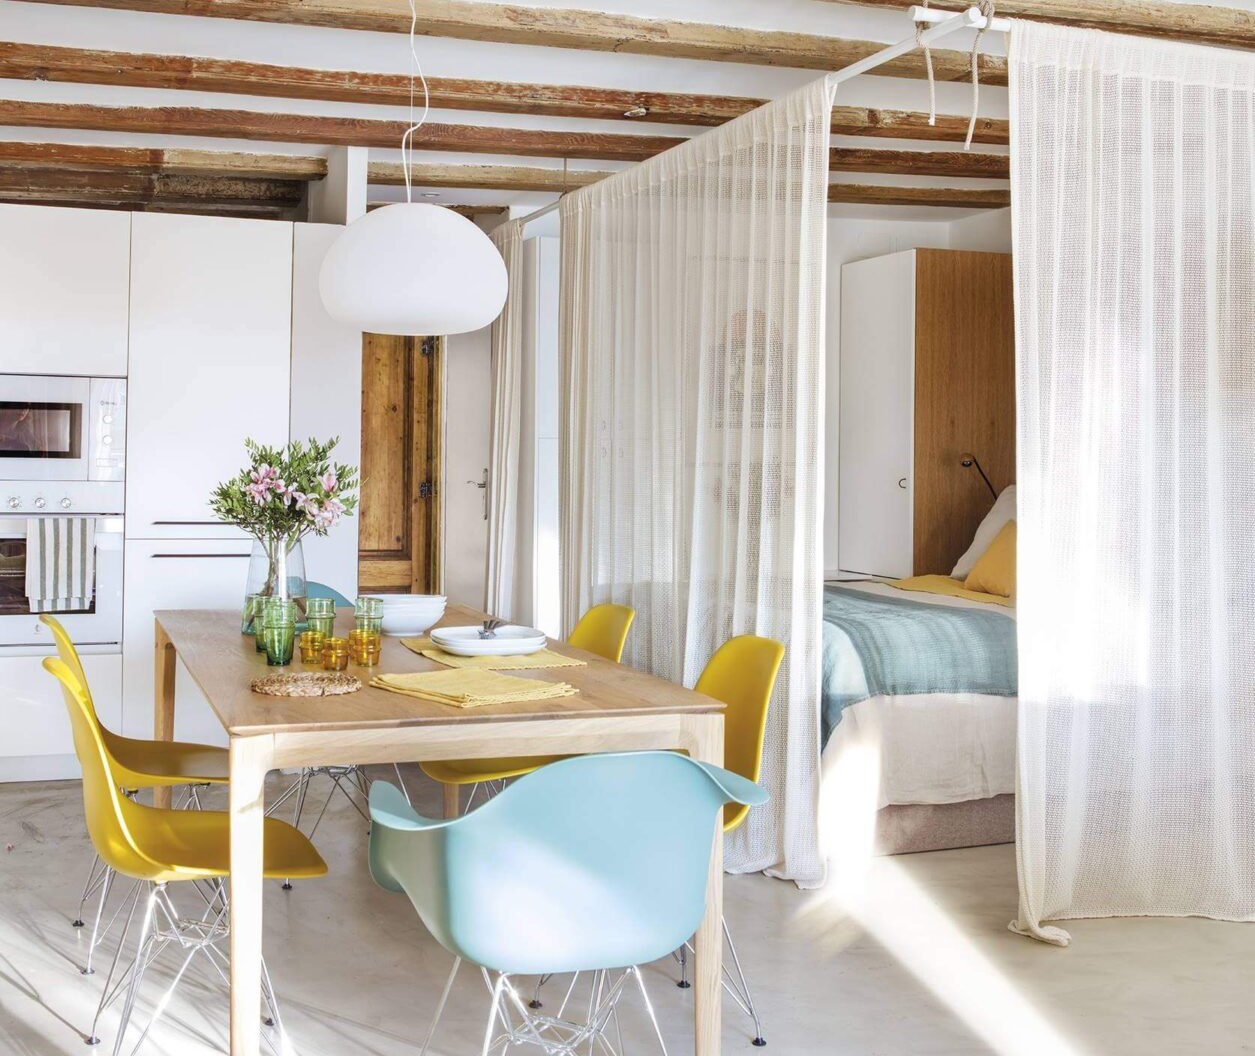
- Define Your Objectives: Clearly outline the purpose of the half wall. Are you aiming to create a visual separation between functional areas, such as the kitchen and dining room? Or perhaps you’re looking to incorporate storage or display features into the design. Understanding your objectives will shape the design and functionality of the divider.
- Check Building Codes: It’s essential to familiarize yourself with local building codes and regulations. Certain structural modifications, including the installation of half wall dividers, may be subject to specific requirements. Ensure compliance with applicable codes to avoid any legal or safety issues down the line.
- Gather Inspiration: Explore design inspirations and ideas for half wall room dividers. Platforms like Pinterest, interior design websites, and home improvement magazines can provide valuable insights and help you refine your vision for the project.
- Create a Budget and Timeline: Establish a realistic budget for the project, factoring in materials, tools, and potential labor costs if you plan to hire help. Additionally, outline a timeline for the various stages of construction to keep the project on track.
- Consult with Professionals: If you’re uncertain about any aspect of the project or if it involves complex structural modifications, consider consulting with an architect or contractor. Their expertise can provide invaluable guidance and ensure that your plans align with structural integrity and safety standards.
By investing time in meticulous planning and thorough preparation, you’ll set the stage for a successful and gratifying journey toward building your own half wall room divider.
Choosing the Right Materials
Now that you’ve laid the groundwork for your half wall room divider project, it’s time to turn your attention to selecting the appropriate materials. The materials you choose will not only influence the aesthetic appeal of the divider but also determine its structural integrity and longevity. Here’s a guide to help you make informed decisions:
- Lumber: Opt for high-quality lumber that aligns with the design and load-bearing requirements of your half wall. Common choices include dimensional lumber such as 2x4s for framing and support, as well as trim boards for finishing details.
- Drywall: Consider the thickness and durability of the drywall panels. Thicker drywall can offer enhanced sound insulation and impact resistance, which may be beneficial depending on the location of the divider within your home.
- Fasteners: Select appropriate screws or nails for securing the frame and attaching the drywall. The length and gauge of the fasteners should be compatible with the materials you’re joining to ensure a strong and secure assembly.
- Construction Adhesive: Investing in construction adhesive can bolster the stability of the frame and enhance the overall rigidity of the divider. This adhesive can be particularly useful for attaching drywall to the frame and reinforcing joints.
- Finishing Materials: Whether you plan to paint, stain, or apply a decorative finish to the divider, ensure that you have the necessary finishing materials on hand. This may include paint, primer, wood stain, or sealant, depending on your desired aesthetic outcome.
- Tools: Don’t overlook the importance of having the right tools for the job. Essential tools may include a circular saw, drill/driver, level, tape measure, framing square, and a hammer, among others. Investing in high-quality tools can streamline the construction process and contribute to the precision of your work.
By prioritizing quality and compatibility when selecting materials, you can lay a solid foundation for the construction phase and ensure that your half wall room divider stands the test of time while exuding visual appeal.
Building the Frame
With your materials in hand, it’s time to roll up your sleeves and embark on the construction phase by building the frame for your half wall room divider. The frame serves as the structural backbone of the divider, providing stability and support for the subsequent installation of drywall. Here’s a step-by-step guide to constructing the frame:
- Measure and Mark: Begin by precisely marking the location of the divider on the floor and ceiling. Use a chalk line or laser level to ensure straight and accurate markings.
- Frame Configuration: Determine the desired height and width of the half wall, taking into account any design elements such as decorative caps or shelving. Cut the lumber to the appropriate lengths, accounting for the dimensions of the frame and any openings for pass-throughs or integrated features.
- Assembly: Assemble the frame on the floor before raising it into position. Use framing nails or screws to securely join the pieces, ensuring that the frame is square and level throughout the assembly process.
- Securing the Frame: Once the frame is assembled, secure it to the floor and ceiling using appropriate fasteners. Ensure a snug fit to prevent any wobbling or shifting once the drywall is installed.
- Reinforcement: Depending on the height and intended function of the half wall, consider adding horizontal blocking between vertical studs for additional stability. This can be particularly important if the divider will support countertop overhangs or heavy shelving.
- Inspect and Adjust: Take a moment to inspect the frame for any structural issues or misalignments. Make any necessary adjustments before proceeding to the next phase of the construction process.
By meticulously crafting a sturdy and well-constructed frame, you’ll lay the groundwork for a half wall room divider that not only enhances the visual appeal of your space but also stands as a testament to your craftsmanship and attention to detail.
When building a half wall room divider, make sure to use sturdy and level materials for the base, and secure the vertical supports tightly to ensure stability. Also, consider adding a decorative top to enhance the overall look of the divider.
Installing the Drywall
With the frame in place, it’s time to transition to the transformative stage of installing the drywall. This step will bring your half wall room divider to life, providing a smooth and seamless surface that integrates with the overall aesthetic of your space. Here’s a comprehensive guide to installing the drywall:
- Measure and Cut: Begin by measuring the dimensions of the areas to be covered with drywall. Carefully mark and cut the panels to fit, ensuring precise cuts for a snug and professional-looking installation.
- Attach the Drywall: Using drywall screws, attach the panels to the frame, starting from the top and working your way down. Ensure that the screws are countersunk slightly below the surface without breaking the paper on the drywall.
- Taping and Mudding: Apply drywall tape to cover the seams between panels, followed by a thin layer of joint compound (mud) using a taping knife. Feather the edges of the mud to create a smooth transition between the panels, and allow it to dry completely before sanding.
- Sanding and Finishing: Once the joint compound is dry, sand the seams and any rough areas to achieve a smooth and even surface. Apply additional coats of joint compound as needed, sanding between each coat, until the seams are indiscernible and the drywall surface is ready for finishing.
- Priming and Painting: Prime the drywall to ensure uniform absorption of paint and enhance its durability. Select a paint color that complements your existing decor and apply it evenly to achieve a flawless finish.
By meticulously executing the installation of drywall, you’ll witness the half wall room divider taking shape and seamlessly blending with the surrounding environment. This pivotal phase brings you one step closer to realizing your vision of a well-crafted and visually striking living space.
Read more: How To Build A Freestanding Divider Wall
Finishing Touches
As you near the completion of your half wall room divider project, it’s time to shift your focus to the finishing touches that will elevate the visual appeal and functionality of the divider. These final details will add polish and personality to your creation, ensuring that it harmonizes seamlessly with your living space. Here’s a guide to the essential finishing touches:
- Trim and Molding: Install trim and molding along the top and bottom edges of the divider to create a clean and polished transition between the drywall and the frame. This finishing detail adds a touch of refinement and conceals any imperfections at the edges.
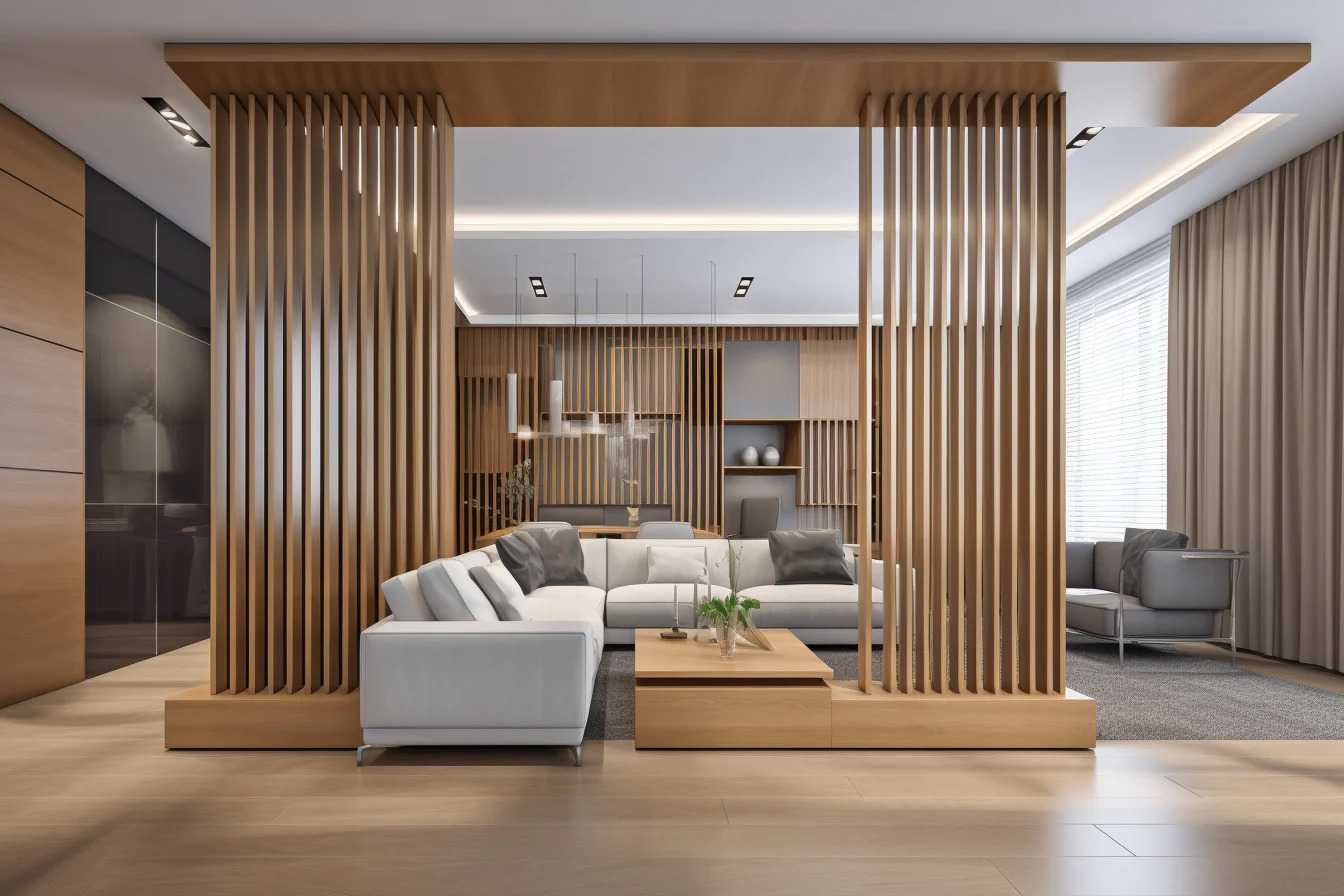
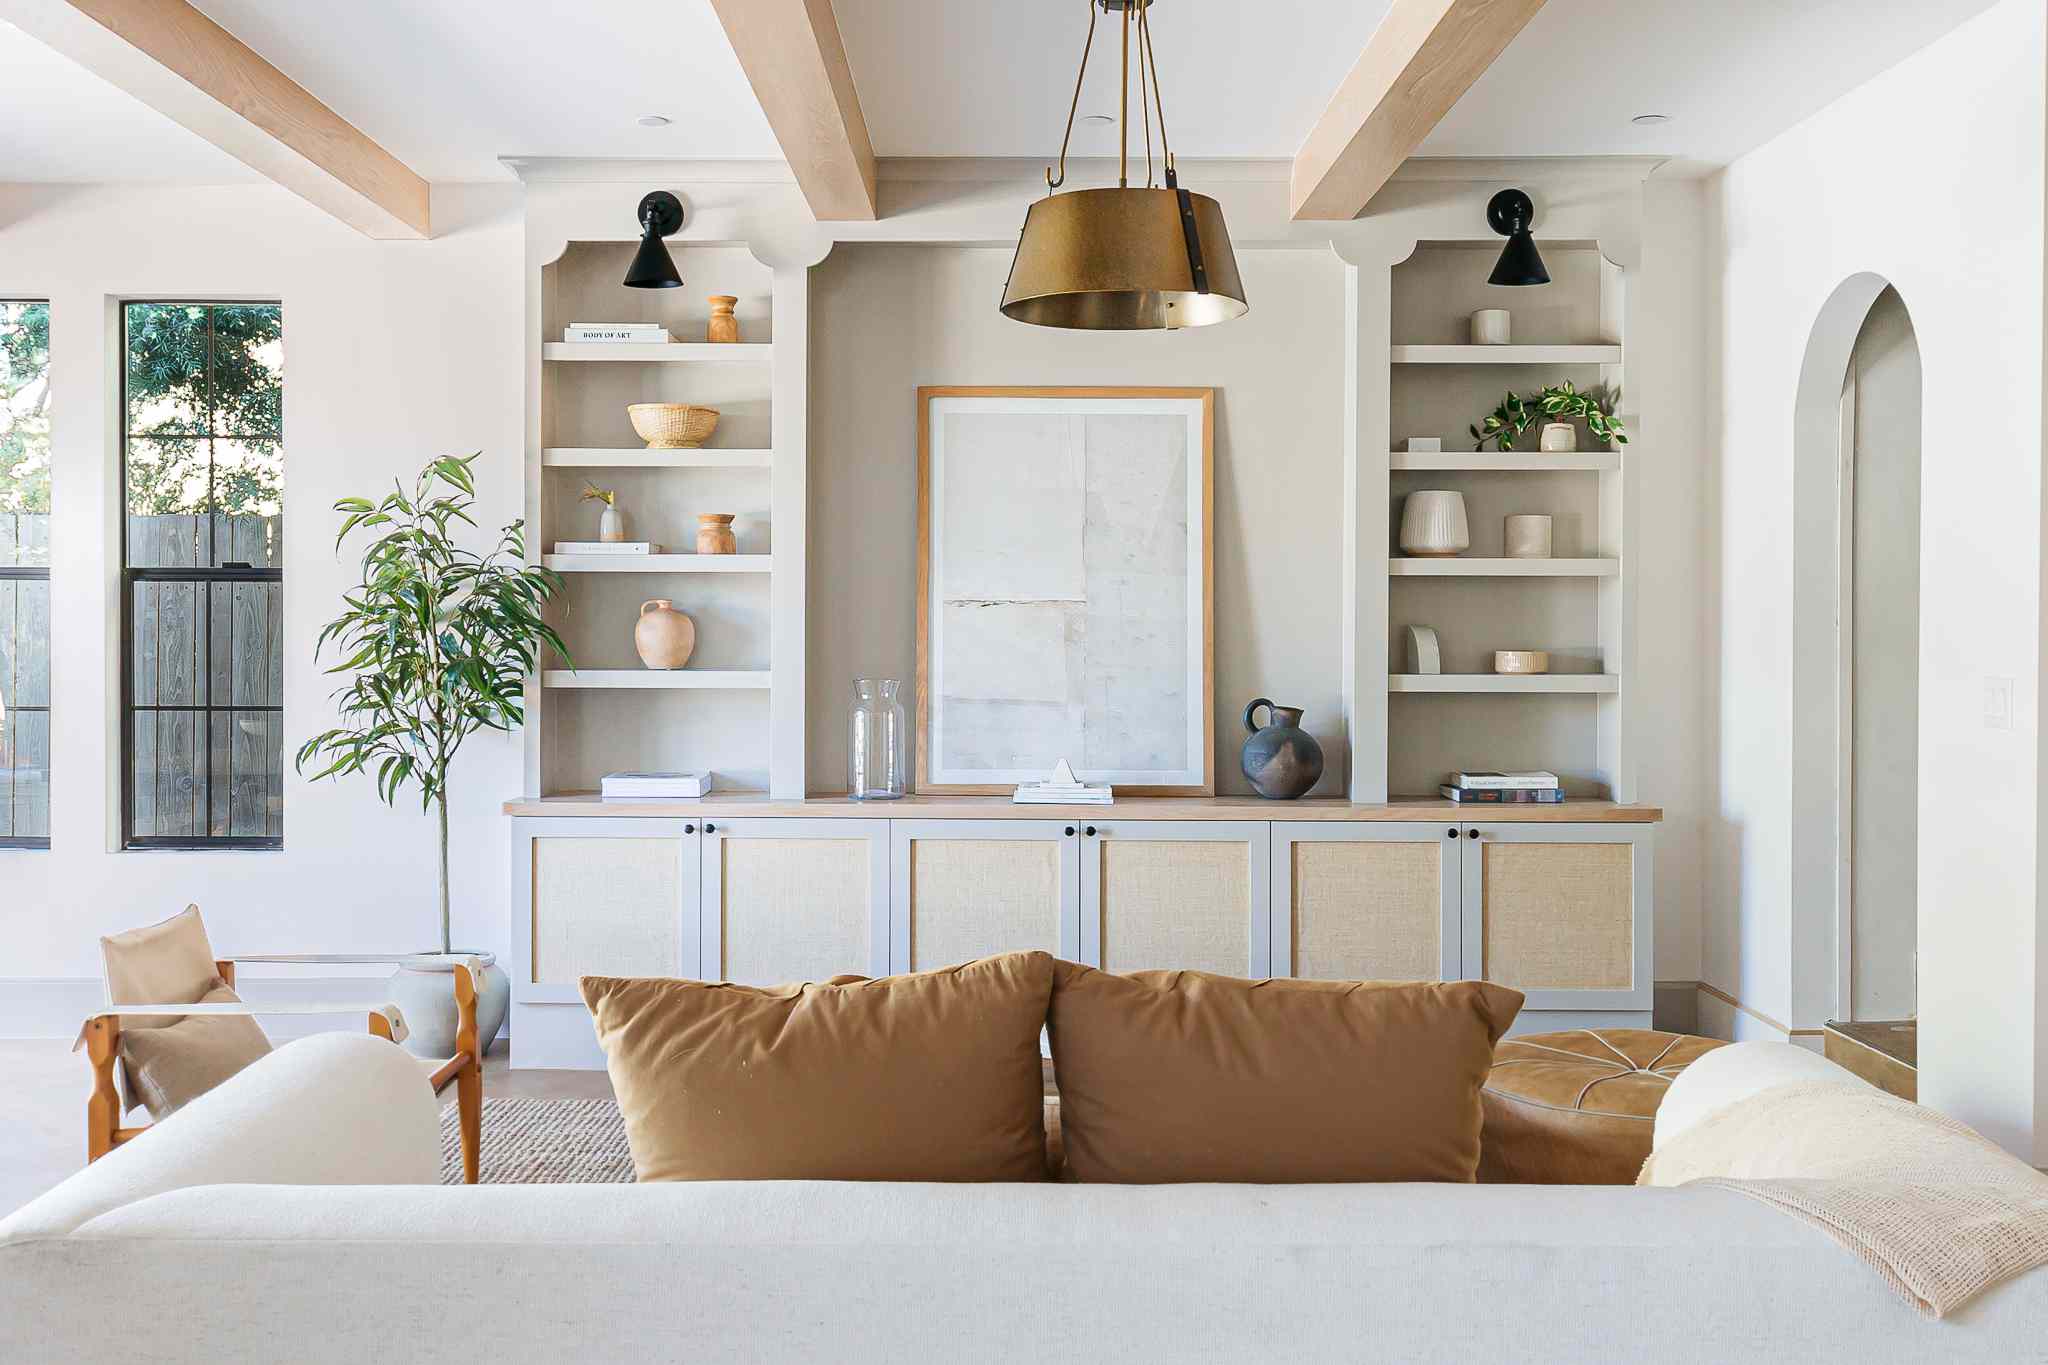
- Decorative Features: Consider incorporating decorative elements such as cap molding, corbels, or integrated shelving to enhance the aesthetic appeal of the divider. These features can infuse character and functionality into the design, creating a focal point within your living space.
- Paint or Stain: Apply a final coat of paint or stain to the frame and any exposed surfaces, ensuring a uniform and professional finish. The color choice should complement your existing decor while accentuating the architectural presence of the divider.
- Integrated Lighting: If desired, explore the option of integrating lighting fixtures into the divider to create ambiance and accentuate its presence. Recessed lighting, sconces, or LED strips can add a captivating dimension to the divider while serving a practical purpose.
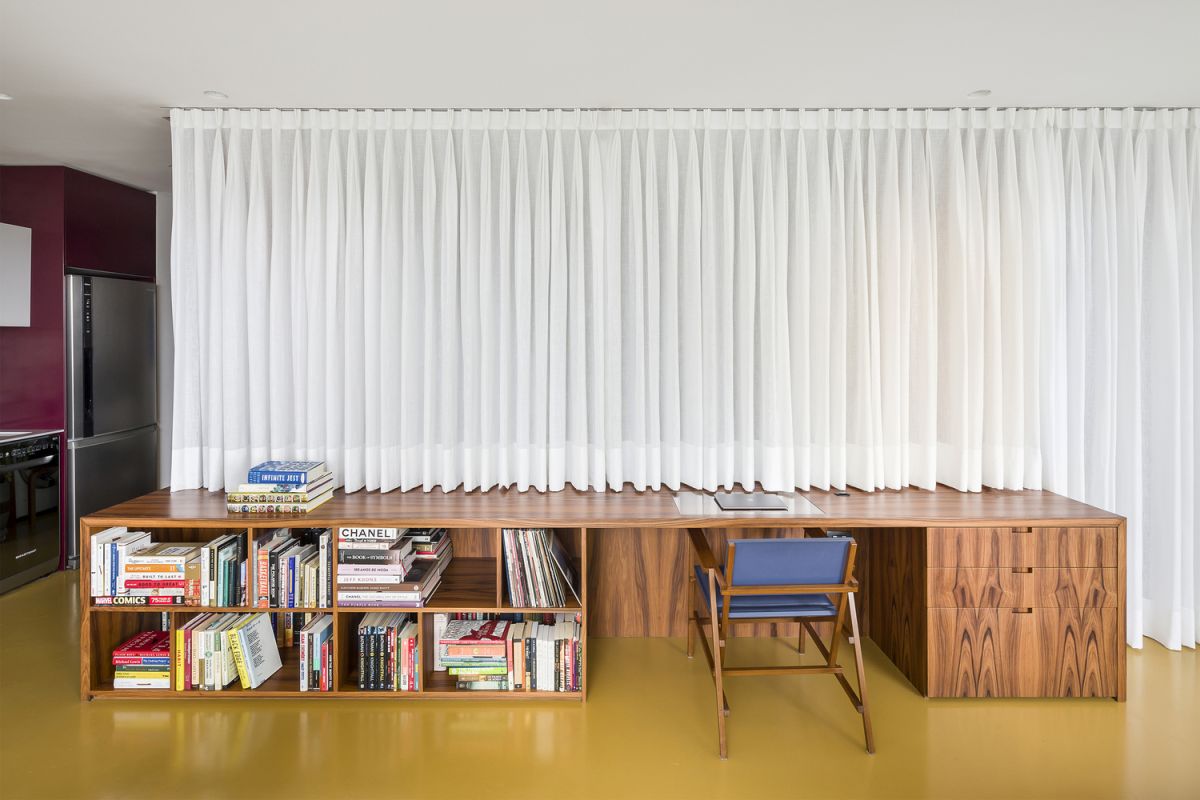
- Functional Additions: If space allows, consider incorporating functional elements such as built-in storage compartments, display niches, or a countertop surface for added utility. These additions can maximize the versatility of the divider and contribute to the overall functionality of the living space.
By attending to these finishing touches with care and precision, you’ll infuse your half wall room divider with a sense of completion and sophistication. These details serve as the crowning glory of your craftsmanship, transforming a functional partition into a captivating design feature within your home.
Conclusion
Congratulations are in order as you’ve successfully navigated the journey of building a half wall room divider, transforming your living space with ingenuity and craftsmanship. Throughout this endeavor, you’ve embarked on a creative and fulfilling pursuit, shaping an architectural element that not only delineates space but also adds character and functionality to your home. As you reflect on this transformative process, consider the following key takeaways:
- Personalized Design: Your half wall room divider is a reflection of your unique vision and style. By customizing its dimensions, materials, and finishing details, you’ve imbued it with a distinct personality that resonates with the overall ambiance of your living space.
- Enhanced Functionality: Beyond its visual impact, the divider serves a practical purpose, whether it creates a sense of privacy, integrates storage solutions, or defines specific functional zones within an open-concept layout. Its versatility enriches the usability of your home environment.
- Craftsmanship and Attention to Detail: Your commitment to precision and the execution of meticulous details have culminated in a half wall room divider that exudes quality and refinement. Each step of the construction process has contributed to the overall integrity and aesthetic appeal of the finished product.
- Continued Inspiration: As you admire the completed divider, let it serve as a source of inspiration for future design endeavors. The skills and insights gained from this project can fuel your creativity and embolden you to explore further home improvement initiatives.
With your newly constructed half wall room divider as a testament to your creativity and dedication, you’ve not only enhanced the visual allure of your living space but also enriched the experience of dwelling within it. As you bask in the satisfaction of a job well done, may this project inspire you to continue infusing your living environment with innovation, personality, and the joy of hands-on craftsmanship.
Frequently Asked Questions about How To Build A Half Wall Room Divider
Was this page helpful?
At Storables.com, we guarantee accurate and reliable information. Our content, validated by Expert Board Contributors, is crafted following stringent Editorial Policies. We're committed to providing you with well-researched, expert-backed insights for all your informational needs.

0 thoughts on “How To Build A Half Wall Room Divider”