Articles
How To Divide A Basement Into Rooms
Modified: October 20, 2024
Learn how to divide your basement into functional rooms with our helpful articles. Maximize your space and create the perfect layout for your needs.
(Many of the links in this article redirect to a specific reviewed product. Your purchase of these products through affiliate links helps to generate commission for Storables.com, at no extra cost. Learn more)
Introduction
Welcome to the comprehensive guide on how to divide a basement into rooms. If you have a spacious basement that you want to transform into functional living or working areas, this article is for you. Dividing your basement into separate rooms can maximize its potential and provide you with additional space and versatility.
Whether you want to create a home office, a guest bedroom, a recreational space, or a combination of several rooms, we will walk you through the essential steps to accomplish your goal. By following these steps, you can design a basement that meets your specific needs and preferences.
Dividing a basement into rooms requires careful planning, consideration of existing structural elements, and attention to practical aspects such as electrical and plumbing connections. It is vital to create a layout that not only separates the space but also optimizes its functionality.
Throughout this guide, we will provide you with expert tips and tricks to help you overcome common challenges that may arise during the process. So, let’s dive in and learn how to divide your basement into rooms that perfectly fit your lifestyle.
Key Takeaways:
- Transform your basement into functional living or working areas by carefully assessing the space, planning the layout, and considering structural elements. Create distinct rooms with proper insulation and soundproofing for a seamless transition.
- Ensure a comfortable environment in each room by addressing electrical and plumbing requirements, selecting suitable flooring materials, and installing adequate ventilation and climate control. Maximize the potential of your divided basement for a valuable addition to your home.
Read more: How To Divide Room With Curtains
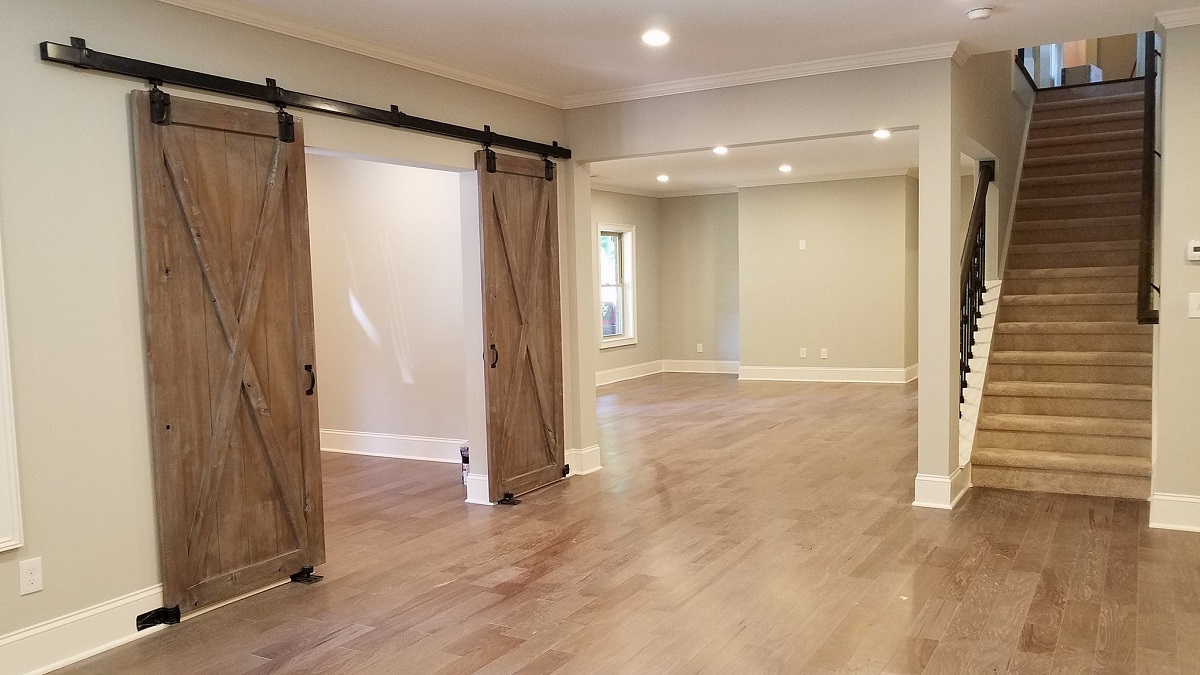
Step 1: Assess the Basement Space
Before diving into dividing your basement, it’s crucial to assess the space and understand its size, shape, and any limitations or obstacles that may affect your plans. This initial step will help you determine the feasibility of your desired room layout and identify any necessary modifications.
Start by measuring the dimensions of your basement. Take accurate measurements of the length, width, and height of the space. This information will give you a clear understanding of the available area to work with. Consider the height of the ceiling as it may impact the type of rooms you can create. For instance, a low ceiling may not be suitable for a gym or a home theater that requires ample vertical space.
Next, take note of any structural elements present in the basement. Look for load-bearing walls, support beams, or pillars that cannot be removed. These elements may influence the layout and division of rooms. It’s essential to work around them rather than compromising the structural integrity of the basement.
In addition to structural elements, identify any utilities present in the basement. Locate electrical panels, plumbing lines, and HVAC systems. Understanding the placement of these utilities will help you plan the positioning of rooms and determine the feasibility of installing electrical outlets and plumbing connections.
Consider any limitations or obstacles that may pose challenges in dividing the space. For example, irregular floor plans, awkward corners, or existing staircases may require creative solutions to optimize room divisions. Observe any windows or doorways and assess their placement to ensure they do not hinder the room layout.
By thoroughly assessing the basement space, you will gain valuable insights into the possibilities and limitations of dividing the area into rooms. This knowledge will guide your decision-making process in the subsequent steps and set the foundation for a successful transformation of your basement.
Step 2: Plan the Layout
Now that you have assessed the basement space, it’s time to plan the layout for dividing it into rooms. This step involves identifying the specific rooms you want to create and allocating space for each room based on their purposes.
Start by deciding on the desired rooms you want in your basement. Consider your lifestyle, needs, and preferences. Common options include a home office, a guest bedroom, a entertainment area, a gym, a laundry room, or a combination of these. Think about how you will use the space and what rooms would best complement your lifestyle.
Once you have determined the rooms you want, allocate space for each room based on its purpose. Consider the size and function of each room to determine how much square footage it will require. For example, a home office may only need a small area with a desk and some storage, while a recreational area with a pool table and seating may require a larger space.
It’s important to prioritize your needs and allocate space accordingly. Consider the flow and accessibility of the rooms as well. For example, you’ll want to place the entrance to the guest bedroom away from noisy areas to ensure privacy and comfort for your guests.
During this stage, you may also want to consider incorporating multi-purpose rooms. If space is limited, think about how rooms can serve dual functions. For example, a basement with a home office can also double as a guest bedroom by incorporating a pull-out sofa or a murphy bed.
As you plan the layout, keep in mind the specific requirements for each room. Consider the functionality and the furniture or equipment that will be included. Allow for sufficient walking space and storage areas within each room.
By carefully identifying the desired rooms and allocating space for each, you can create a well-thought-out and functional layout for your divided basement. This step sets the foundation for seamlessly transitioning to the next phase of the process.
Step 3: Consider Structural Elements
When dividing a basement into rooms, it’s essential to consider the existing structural elements and evaluate their placement in relation to your desired layout. This step involves assessing walls, support beams, and utilities to determine if any modifications are necessary for your room divisions.
Start by examining the placement of existing walls in your basement. Determine if they align with your planned room divisions or if they need to be modified or removed. Non-load-bearing walls can be relatively easy to remove or relocate, but it’s important to consult with a professional to ensure structural integrity and safety.
If there are load-bearing walls in your basement, it’s crucial to work around them rather than attempting to remove them. These walls provide essential support for the structure above and should not be compromised. You can incorporate them into the design by utilizing them as part of room boundaries or incorporating built-in shelving or storage units around them.
In addition to walls, assess the placement of support beams and pillars in the basement. These elements may impact your room layout and require careful consideration. You may need to work around them or incorporate them into the design plan. However, modifications to these structural elements should only be done after consulting with a structural engineer or a professional contractor.
Consider the placement of utilities such as electrical panels, plumbing lines, and HVAC systems. Ensure that your room divisions will not interfere with access to these essential services. Plan the positioning of rooms and the routing of utilities accordingly.
During this step, you may also need to address any ventilation requirements. Evaluate the existing ventilation system and consider if modifications or additional ductwork are needed to ensure proper air circulation in each room.
By carefully evaluating the placement of existing walls, support beams, utilities, and ventilation, you can make informed decisions about any necessary modifications. This step ensures that your room divisions work harmoniously with the existing structure of the basement while maintaining safety and functionality.
Step 4: Create Room Divisions
Now that you have assessed the structural elements and utilities in your basement, it’s time to create the room divisions. This step involves choosing suitable methods for dividing the space and ensuring proper insulation and soundproofing.
There are various methods you can use to divide your basement space, depending on your preferences and the structural limitations. The most common options include walls, partitions, curtains, or a combination of these.
Walls are a traditional and permanent way to divide a basement into rooms. You can use drywall or other materials to construct solid walls that provide privacy and separation. Consider the material’s fire resistance and soundproofing qualities when selecting the appropriate wall type. Remember to adhere to building codes and regulations during the construction process.
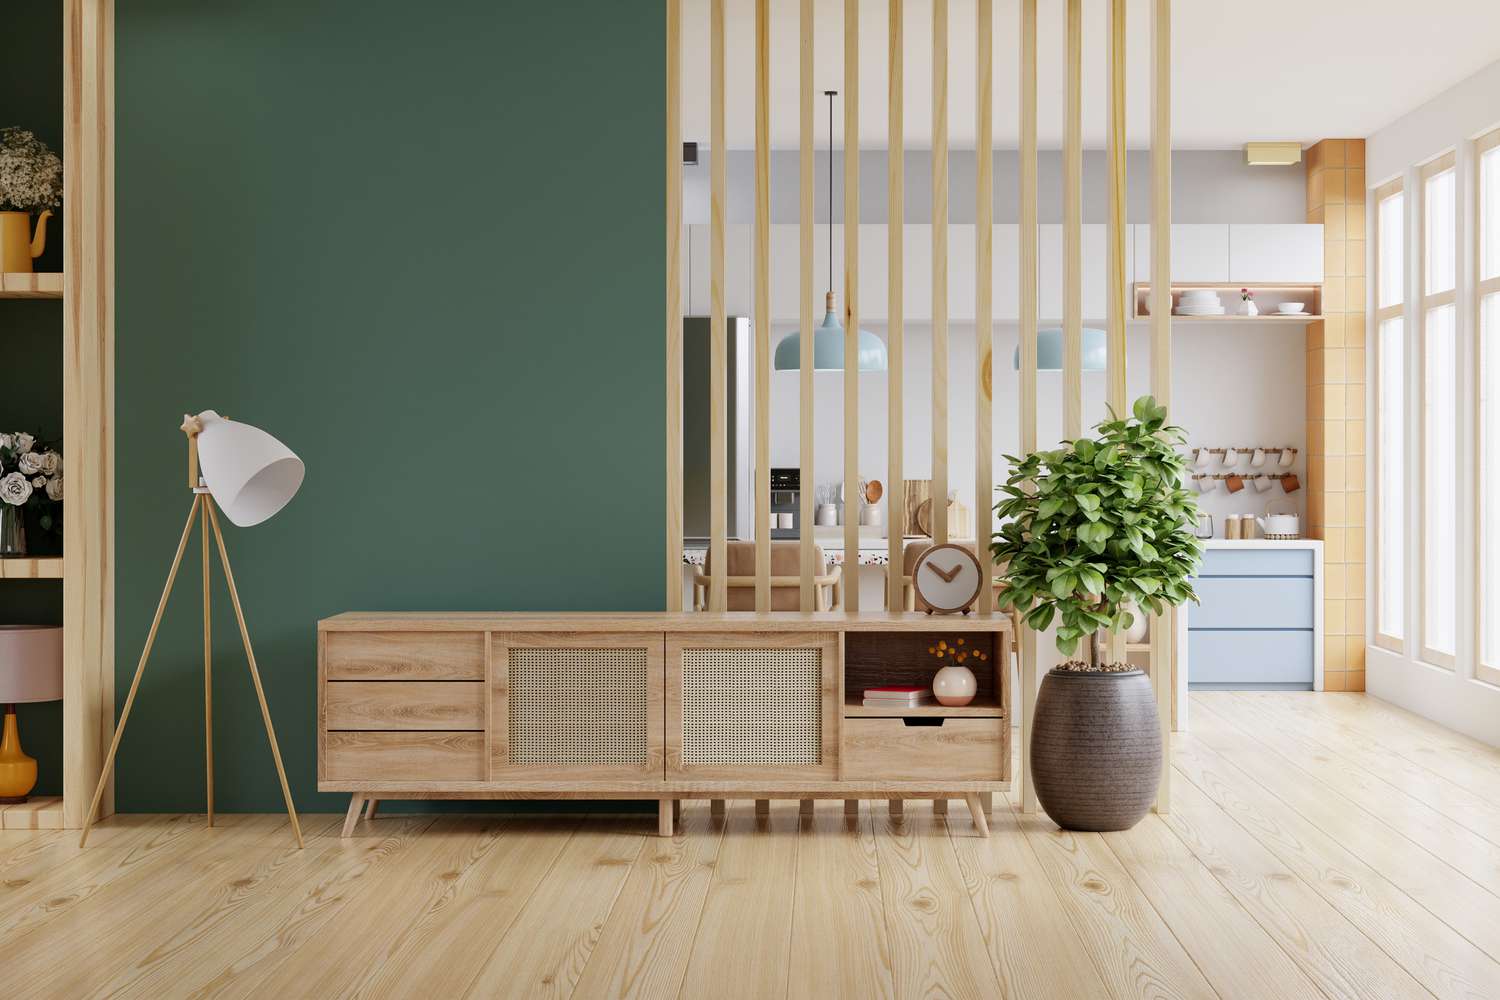
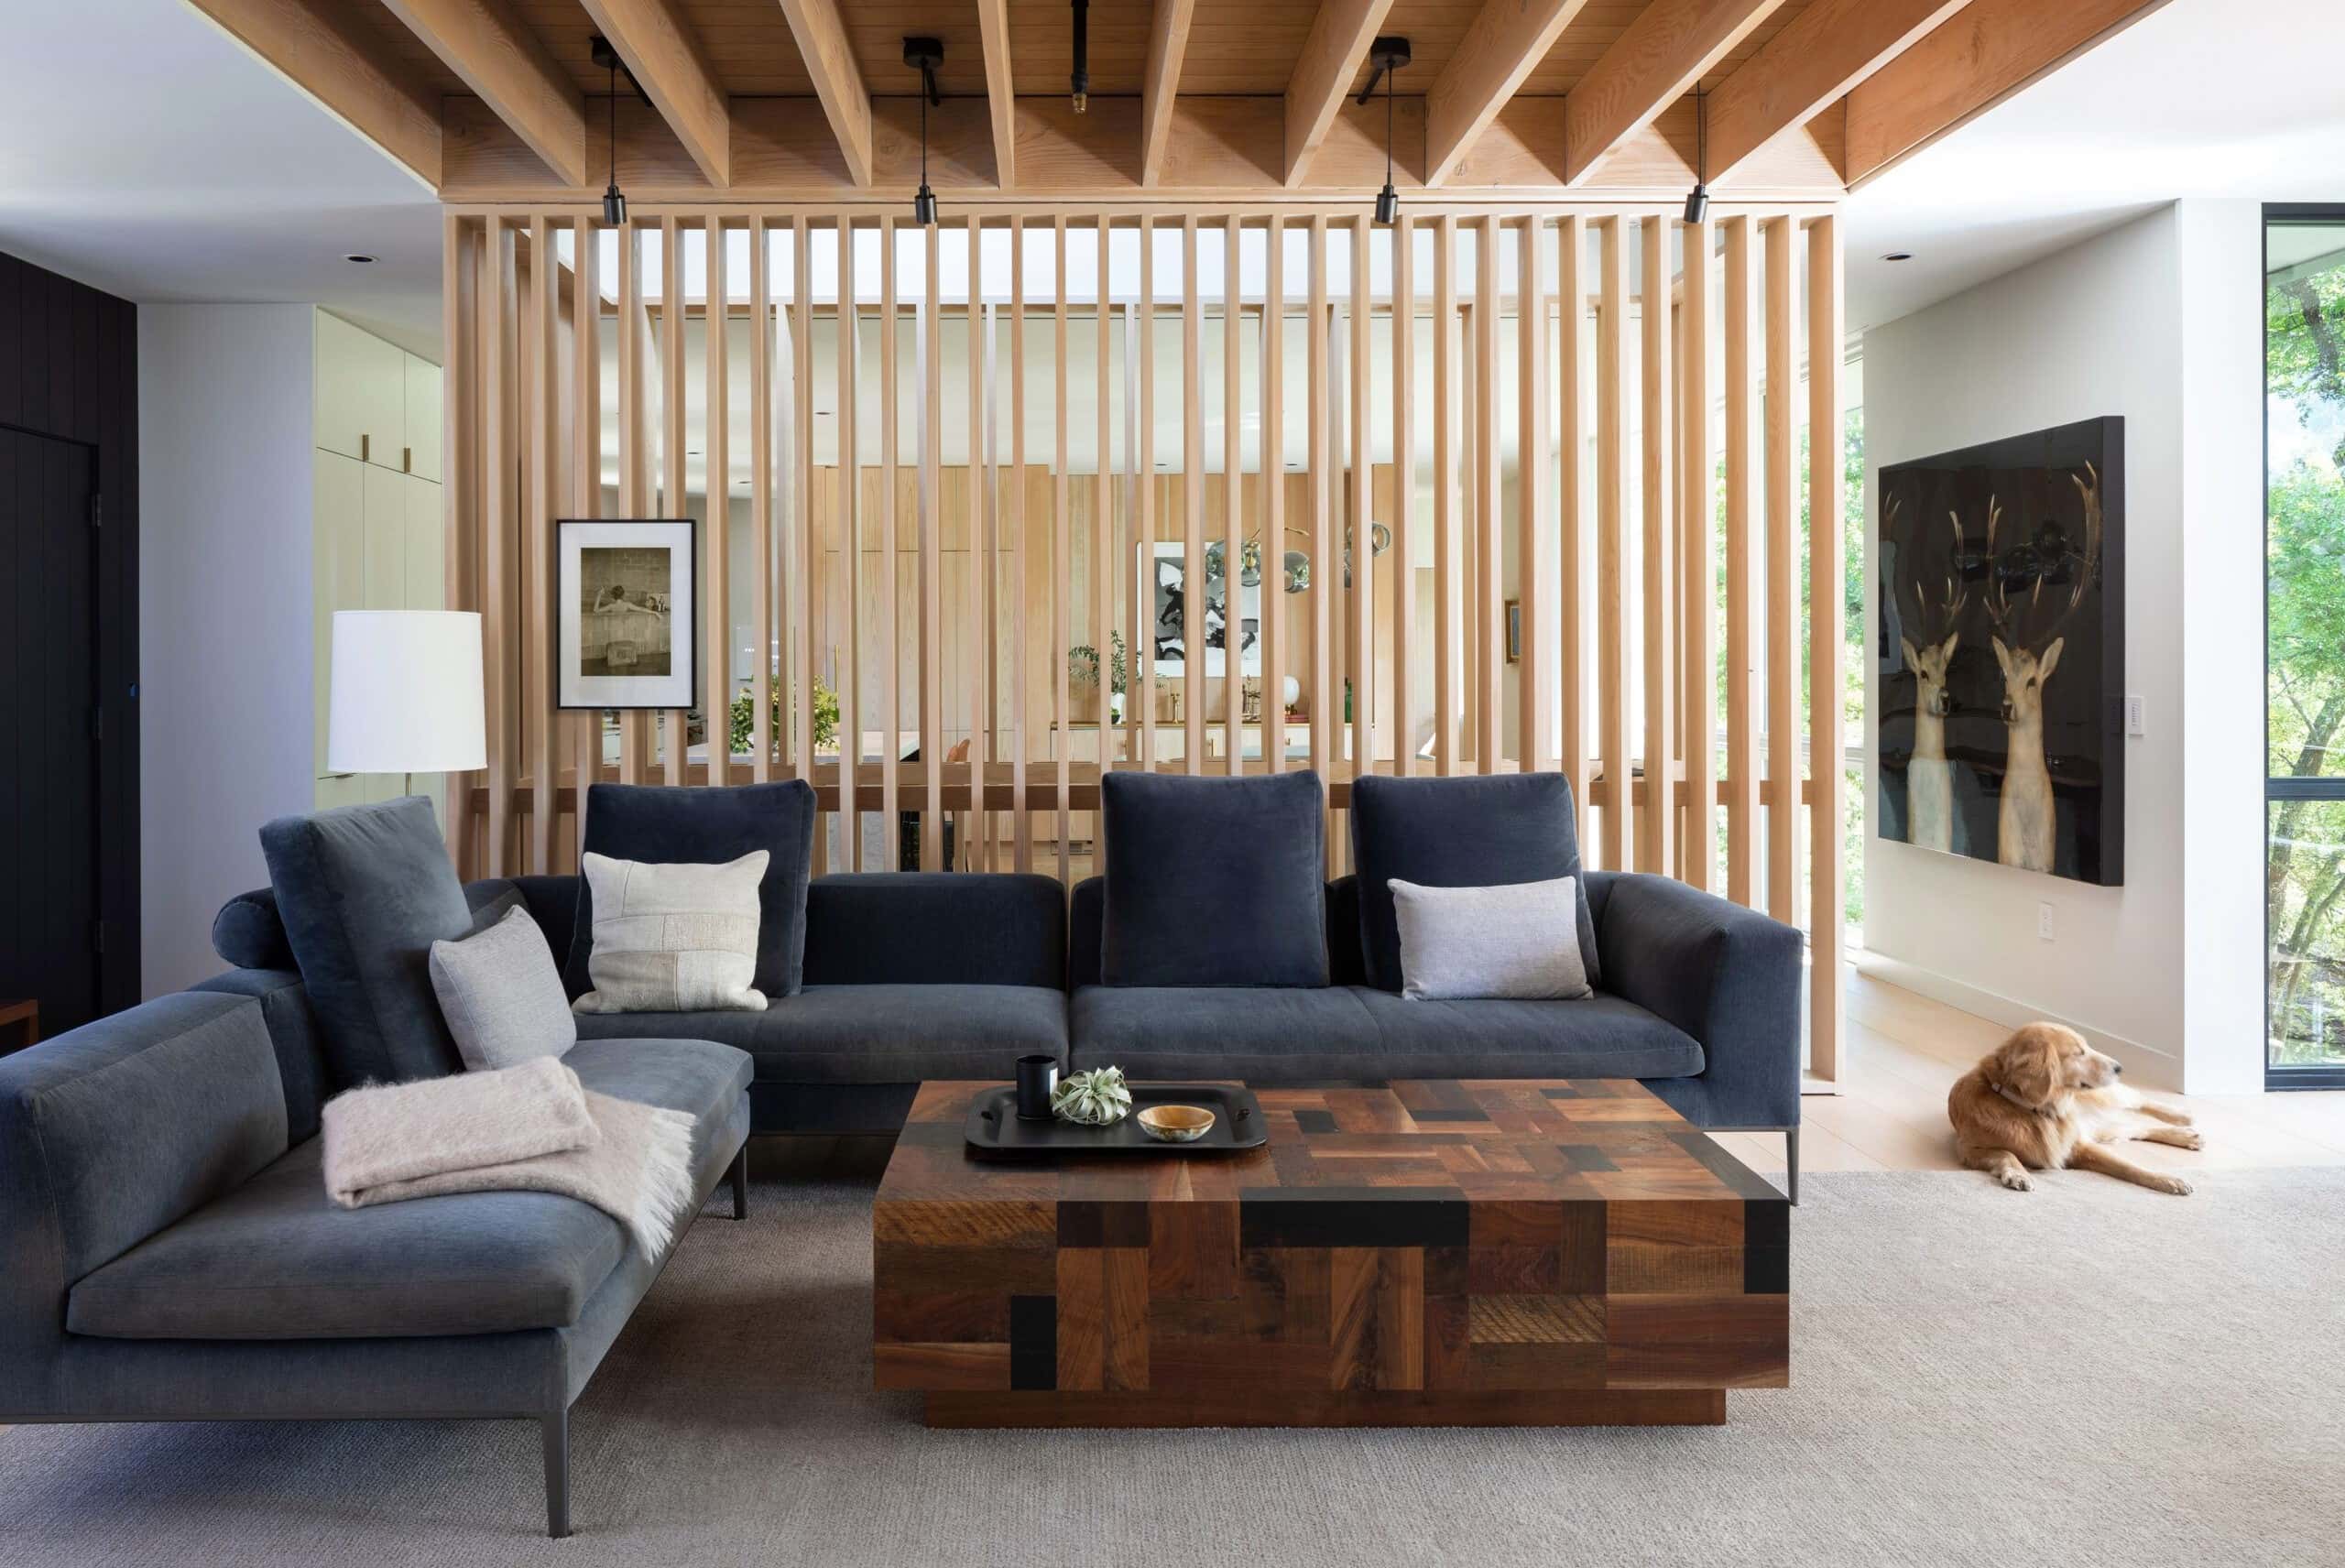
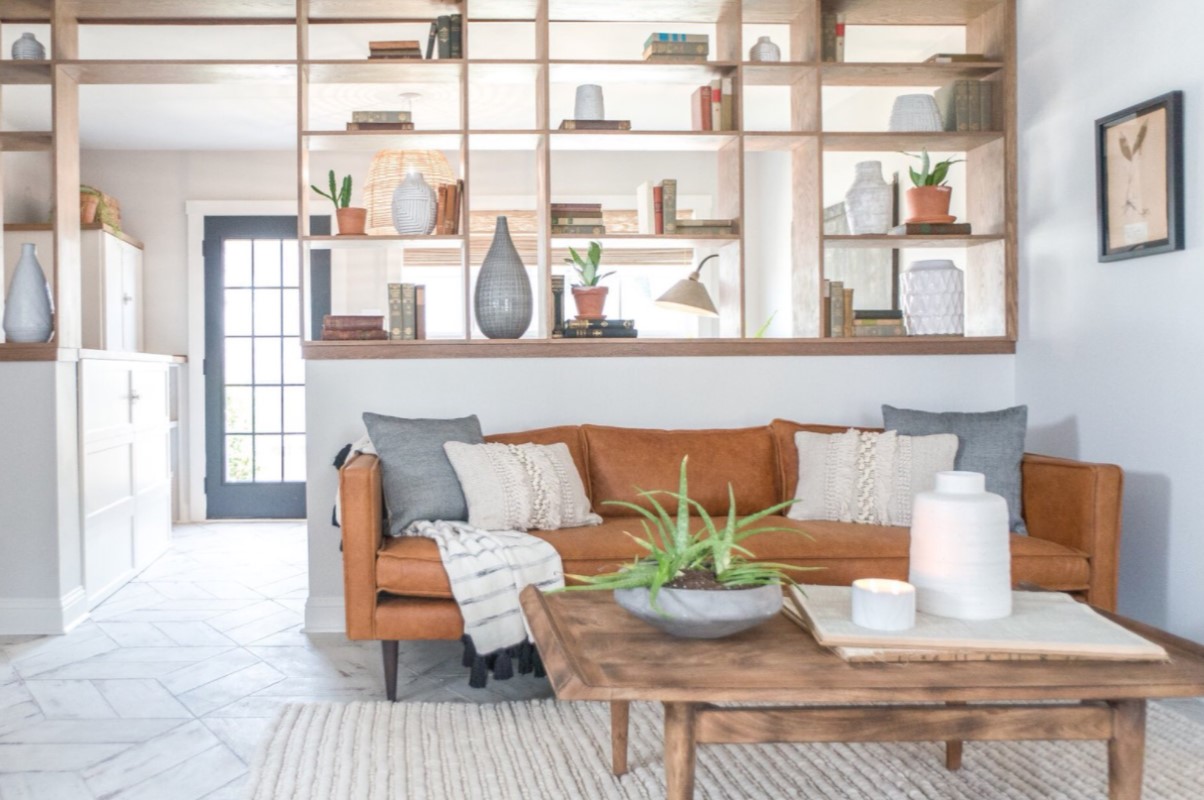
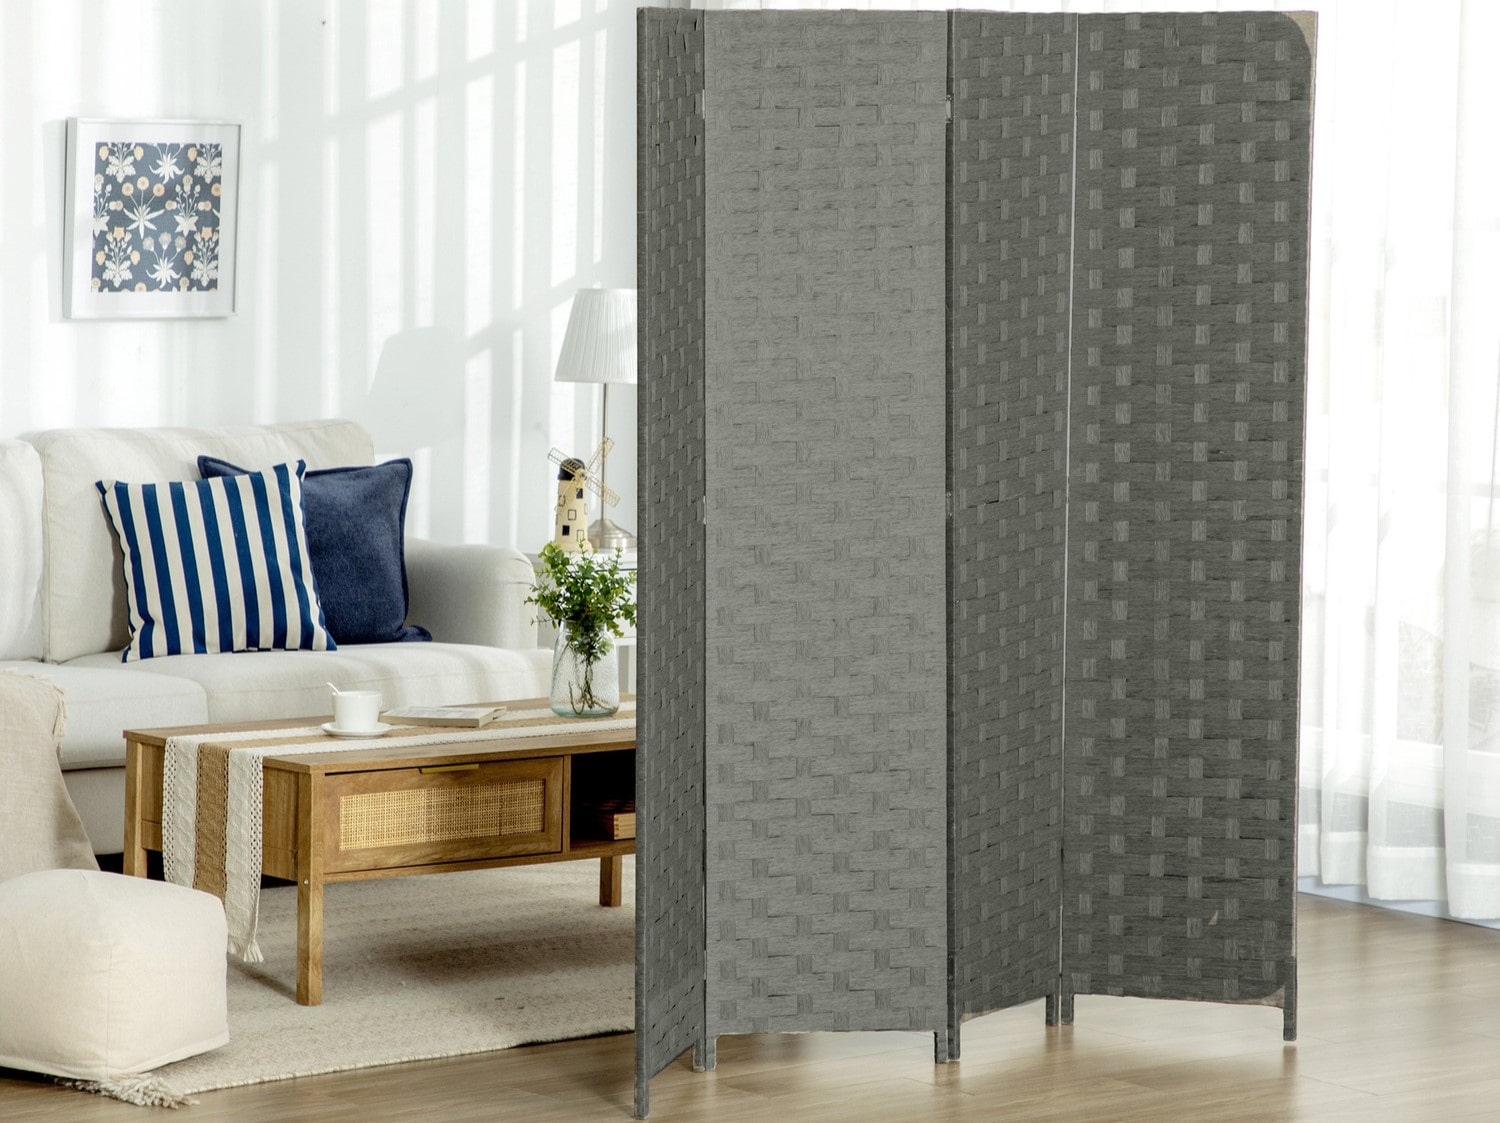
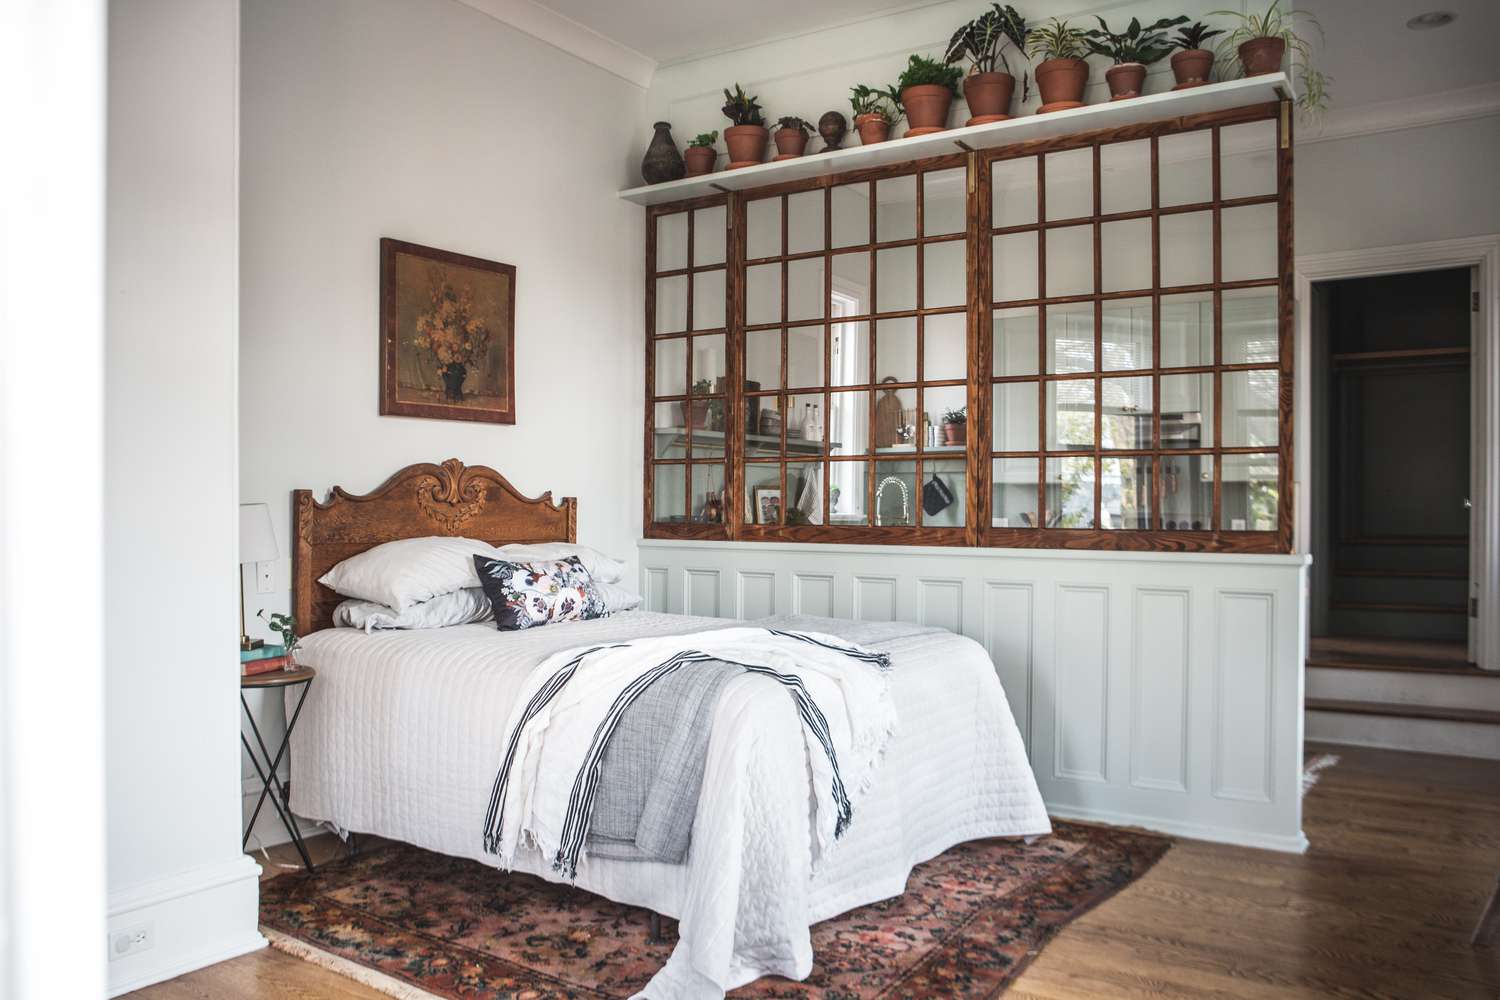
Partitions are a more flexible option compared to walls. They can be constructed with materials such as wood, glass, or even bookshelves. Partitions allow you to create distinct areas within the basement while maintaining a spacious and open feel. They are particularly useful if you want the option to easily change the layout in the future.
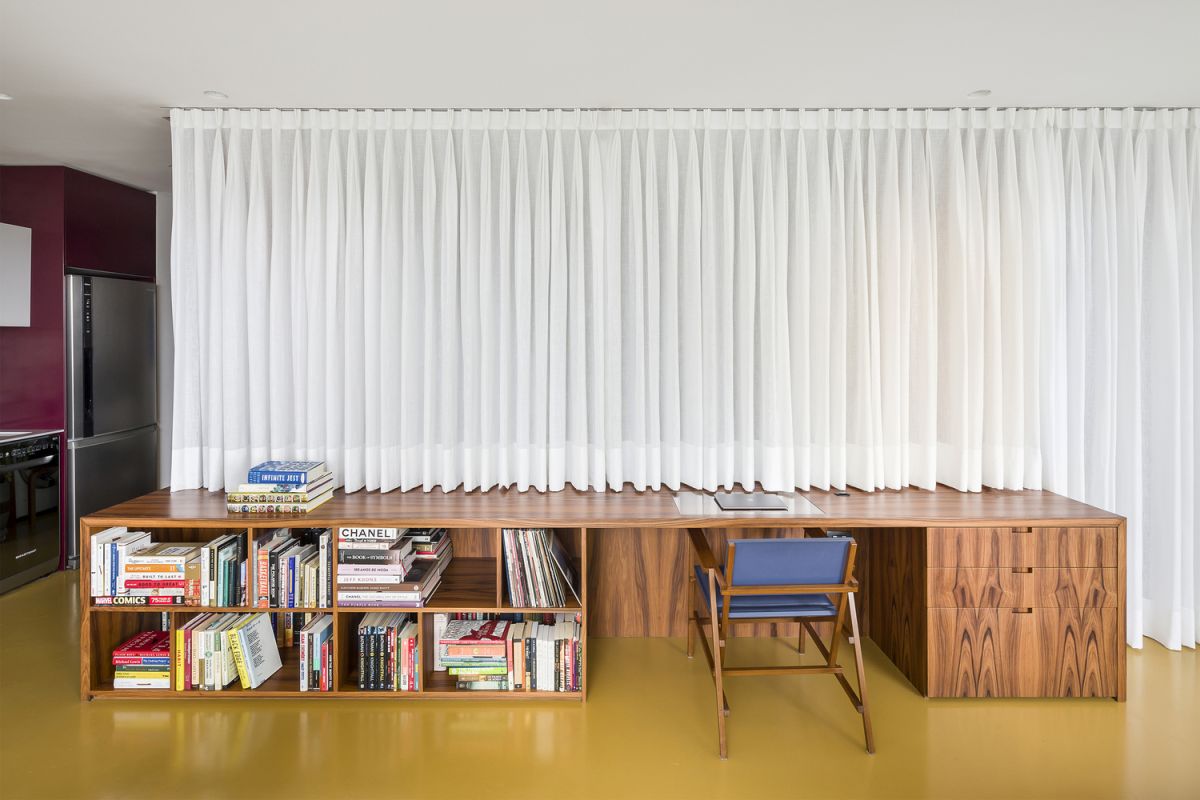
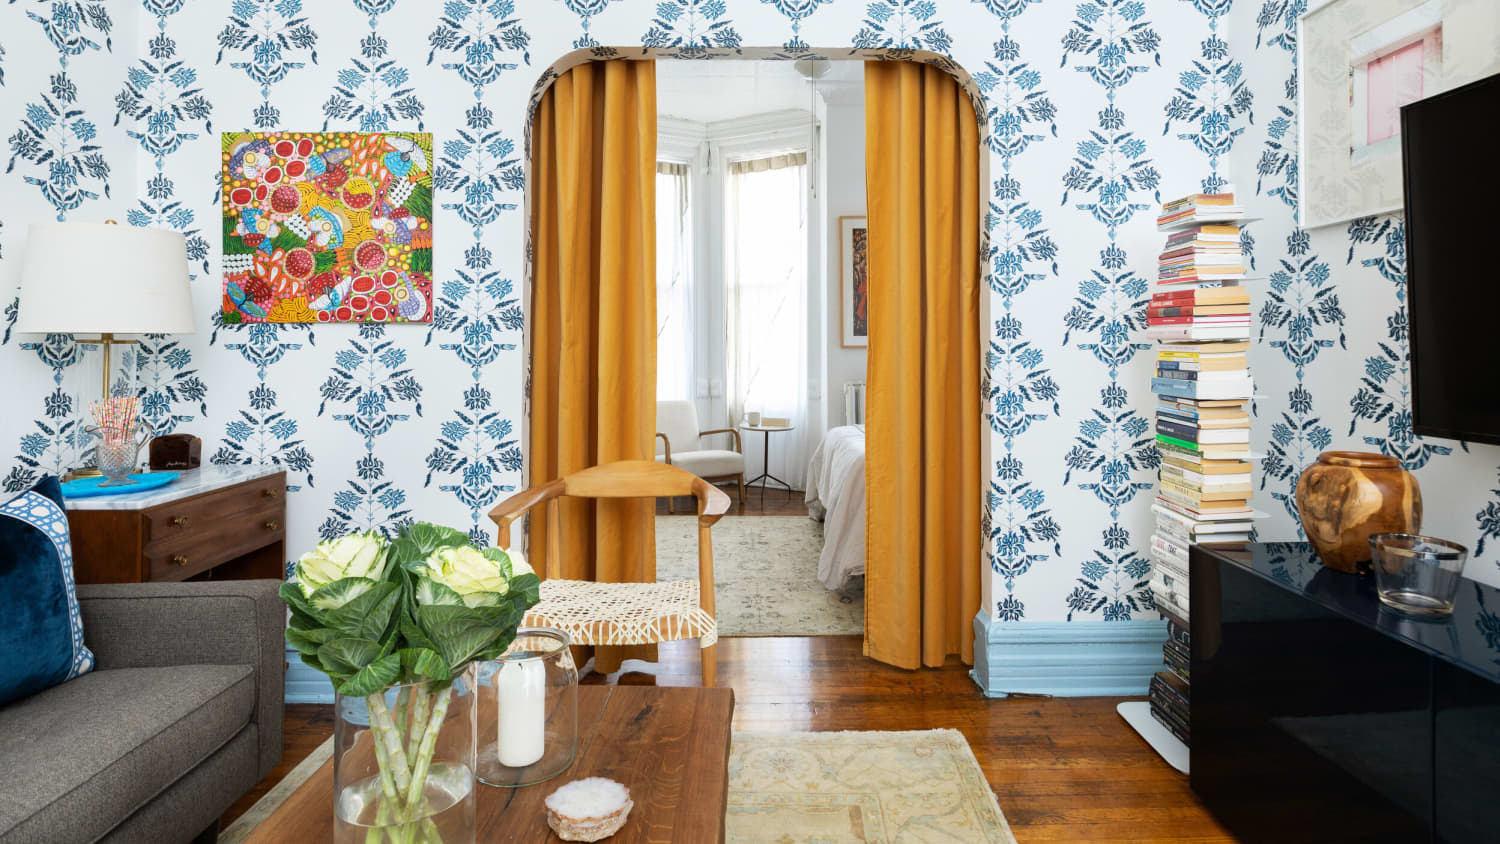
Curtains offer a temporary and versatile solution for dividing the basement space. They can be used to create visual separation between different areas without the need for construction. Curtains are ideal if you want the flexibility to change the room divisions or if you prefer a more open concept layout. Select curtains with sound-absorbing properties to minimize noise between rooms.
Regardless of the method you choose, it’s crucial to ensure proper insulation and soundproofing between the divided rooms. Insulate the walls, partitions, or curtains with materials such as fiberglass insulation or acoustic panels to maintain temperature control and minimize sound transmission. This will enhance the comfort and privacy of each room.
Remember to also install appropriate doors or doorways for access between rooms. Consider the size, style, and functionality of the doors to suit the purpose of each room and provide convenience and privacy.
By choosing the appropriate method for dividing the space and ensuring proper insulation and soundproofing, you can create distinct rooms in your basement that meet your needs and preferences.
When dividing a basement into rooms, consider the placement of existing plumbing and electrical systems to minimize the need for costly and time-consuming relocations.
Read more: How To Divide Living Room
Step 5: Electrical and Plumbing Consideration
When dividing your basement into rooms, it’s essential to consider the electrical and plumbing requirements for each area. This step involves planning the placement of electrical outlets, switches, and light fixtures, as well as evaluating the need for plumbing connections and fixtures.
Start by assessing the electrical needs of each room. Determine the number and placement of electrical outlets based on the intended use of the space. Consider the location of furniture, appliances, and electronics to ensure convenient access to power sources. Plan for sufficient outlets to accommodate your needs without overloading circuits.
Additionally, consider the placement of light fixtures and switches. Determine the type and number of light fixtures required for each room to ensure proper illumination. Consider the different lighting needs for various activities and create a suitable lighting plan. Strategically position switches for easy access and a user-friendly experience.
It’s important to consult with a licensed electrician to ensure compliance with electrical codes and safety regulations. They can provide valuable insights and assist you in planning the electrical layout to meet your specific requirements.
Next, evaluate if any rooms in your basement require plumbing connections. For example, if you plan to include a bathroom or a laundry room, plumbing considerations are necessary. Determine the location of the fixtures, such as sinks, toilets, showers, or washing machines, and plan for the necessary plumbing connections.
Consulting with a professional plumber is highly recommended to ensure that your plumbing system is properly designed and meets all code requirements. They can guide you in the layout and installation of pipes, fixtures, and drains, ensuring efficient and reliable functioning of the plumbing system.
During this step, consider any additional electrical or plumbing requirements specific to the rooms you’re creating in your basement. For example, a home theater may require special wiring for surround sound or a projector, while a wet bar may require specific plumbing connections for a sink or a mini-fridge.
By carefully planning the placement of electrical outlets, switches, light fixtures, and evaluating the need for plumbing connections, you can ensure that each room in your divided basement is equipped with the necessary amenities to meet your functional and practical needs.
Step 6: Flooring and Finishing Touches
With the room divisions in place, it’s time to focus on selecting suitable flooring materials for each room and adding the finishing touches that will bring your divided basement to life. This step involves considering the flooring options and incorporating paint, trim, and decor to create a cohesive and visually appealing space.
Start by selecting appropriate flooring materials for each room based on their specific functions and your personal preferences. Consider factors such as durability, comfort, maintenance requirements, and aesthetics. Common options include hardwood, laminate, carpet, vinyl, or tile. Choose flooring that complements the purpose of each room while creating a cohesive look throughout the basement.
If you’re creating multiple rooms with different functions, you may opt for different flooring materials to suit their specific needs. For example, carpet may be suitable for a cozy home theater or bedroom, while water-resistant vinyl or tile may be more appropriate for a bathroom or laundry room.
Once the flooring is selected, focus on the finishing touches to elevate the overall aesthetic of the space. Introduce paint colors that reflect your personal style and create the desired ambiance in each room. Consider using light or neutral shades to make the basement feel more spacious, or go for bold and vibrant colors to add personality and character.
Incorporate trim and moldings to enhance the visual appeal of the room divisions. Baseboards, crown moldings, and window casings can act as architectural features that provide a polished and finished look. Choose trim that matches the overall style of the basement and complements the flooring and paint choices.
Add decor elements that reflect your individual taste and create a welcoming atmosphere. Consider artwork, decorative mirrors, plants, and other accessories that add personality and charm to each room. Pay attention to lighting fixtures and select appropriate options to enhance the functionality and ambiance of the space.
It’s also important to consider the placement of furniture and how it will fit into each room. Measure the dimensions to ensure that furniture pieces complement the layout and do not overcrowd the space. Arrange furniture in a way that promotes ease of movement and functionality within the room divisions.
By selecting suitable flooring materials, incorporating paint, trim, and decor, you can transform your divided basement into a stylish and inviting space that reflects your personal style and serves its intended purpose.
Step 7: Ventilation and Climate Control
The final step in dividing your basement into rooms is ensuring proper ventilation and climate control. This step involves installing adequate ventilation systems for each room and considering suitable heating and cooling options to maintain a comfortable environment throughout the basement.
Start by evaluating the existing ventilation system in your basement. Assess if it provides sufficient airflow and circulation for the divided rooms. Poor ventilation can lead to stagnant air, moisture buildup, and unpleasant odors. Consider installing additional vents or fans to improve air circulation and ensure proper ventilation in each room.
Depending on the specific needs of each room, you may need to consider different types of ventilation systems. For example, a bathroom or laundry room may require exhaust fans to remove excess humidity and odors. A home gym or recreational area may benefit from ceiling fans to promote airflow and provide cooling during physical activities.
Consider the placement of windows and their size in each room. Windows not only provide natural light but also allow for the exchange of fresh air. If possible, openable windows can serve as an additional source of ventilation, enhancing the overall airflow in the basement.
Next, consider the heating and cooling options to maintain a comfortable temperature in each room. Depending on the climate, you may need to incorporate heating and/or cooling systems to regulate the temperature throughout the year.
For heating, options such as baseboard heaters, radiant floor heating, or HVAC systems can be installed. Determine the most suitable option based on your needs, energy-efficiency preferences, and budget. Consider zoning capabilities to separately control the temperature in different rooms, establishing optimal comfort levels for each area.
For cooling, options like central air conditioning, ductless mini-split systems, or portable air conditioners can be installed. Evaluate the cooling requirements of each room and select a system that can effectively cool the space without compromising energy efficiency.
Consult with HVAC professionals to determine the best heating and cooling solutions for your specific needs. They can assess the size of the divided rooms, insulation levels, and other factors to recommend the most appropriate systems for your basement.
By ensuring adequate ventilation and climate control, you can create a comfortable and enjoyable environment in each room of your divided basement, regardless of the season.
Conclusion
Congratulations on successfully dividing your basement into functional and versatile rooms! By following the steps outlined in this guide, you have transformed your basement into a valuable living or working space that suits your specific needs and preferences.
Through careful assessment of the basement space and consideration of structural elements, you have gained a clear understanding of the limitations and potential of the area. Planning the layout and allocating space for each room has allowed you to create a well-thought-out design that optimizes functionality and flow within the basement.
By choosing appropriate methods to divide the space, such as walls, partitions, or curtains, you have created distinct areas while ensuring proper insulation and soundproofing. Considering the electrical and plumbing requirements of each room has allowed you to plan for convenient access to outlets, switches, light fixtures, and necessary plumbing connections.
With the flooring and finishing touches, you have added character and style to each room. Selecting suitable flooring materials has provided comfort and aesthetics, and incorporating paint, trim, and decor has created a cohesive and visually appealing space.
Lastly, by installing adequate ventilation systems and considering heating and cooling options, you have ensured a comfortable environment in each room, regardless of the season.
Dividing a basement into rooms is a challenging but rewarding process. It offers the opportunity to maximize the potential of your space and create areas that enhance your lifestyle and meet your specific needs. Whether you have created a home office, a guest bedroom, a recreational area, or a combination of rooms, your divided basement is now a valuable addition to your home.
Remember to consult with professionals, such as contractors, electricians, plumbers, and HVAC experts, throughout the division process to ensure safety, compliance with building codes, and optimal functionality.
Enjoy your newly divided basement and make the most of the additional space you have created!
Frequently Asked Questions about How To Divide A Basement Into Rooms
Was this page helpful?
At Storables.com, we guarantee accurate and reliable information. Our content, validated by Expert Board Contributors, is crafted following stringent Editorial Policies. We're committed to providing you with well-researched, expert-backed insights for all your informational needs.


0 thoughts on “How To Divide A Basement Into Rooms”