Home>Furniture & Design>Living Room Furniture>How To Make A Room Divider With Fabric
Living Room Furniture
How To Make A Room Divider With Fabric
Modified: January 2, 2024
Learn how to create a stylish and functional room divider with fabric for your living room furniture. Get design inspiration and step-by-step instructions. Ideal for separating spaces and adding a touch of elegance to your home.
(Many of the links in this article redirect to a specific reviewed product. Your purchase of these products through affiliate links helps to generate commission for Storables.com, at no extra cost. Learn more)
Introduction
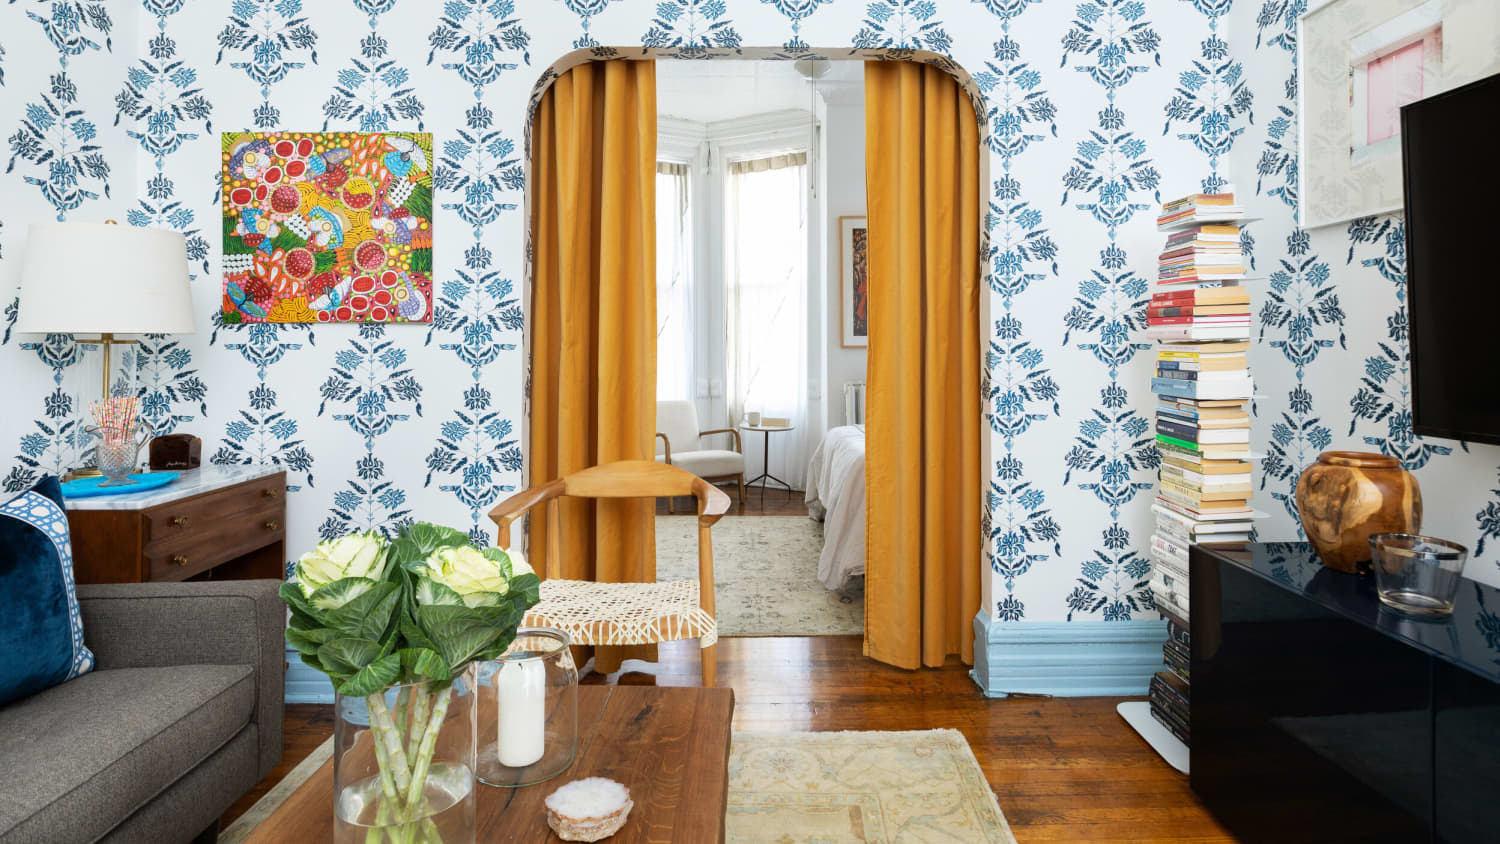
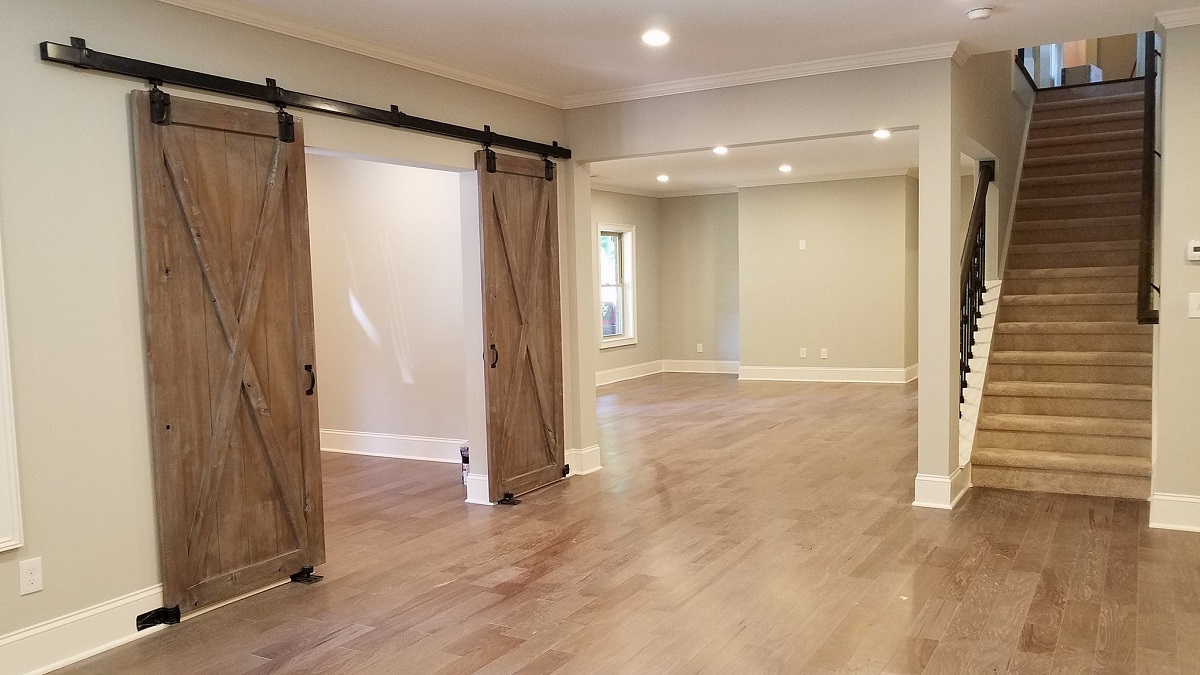
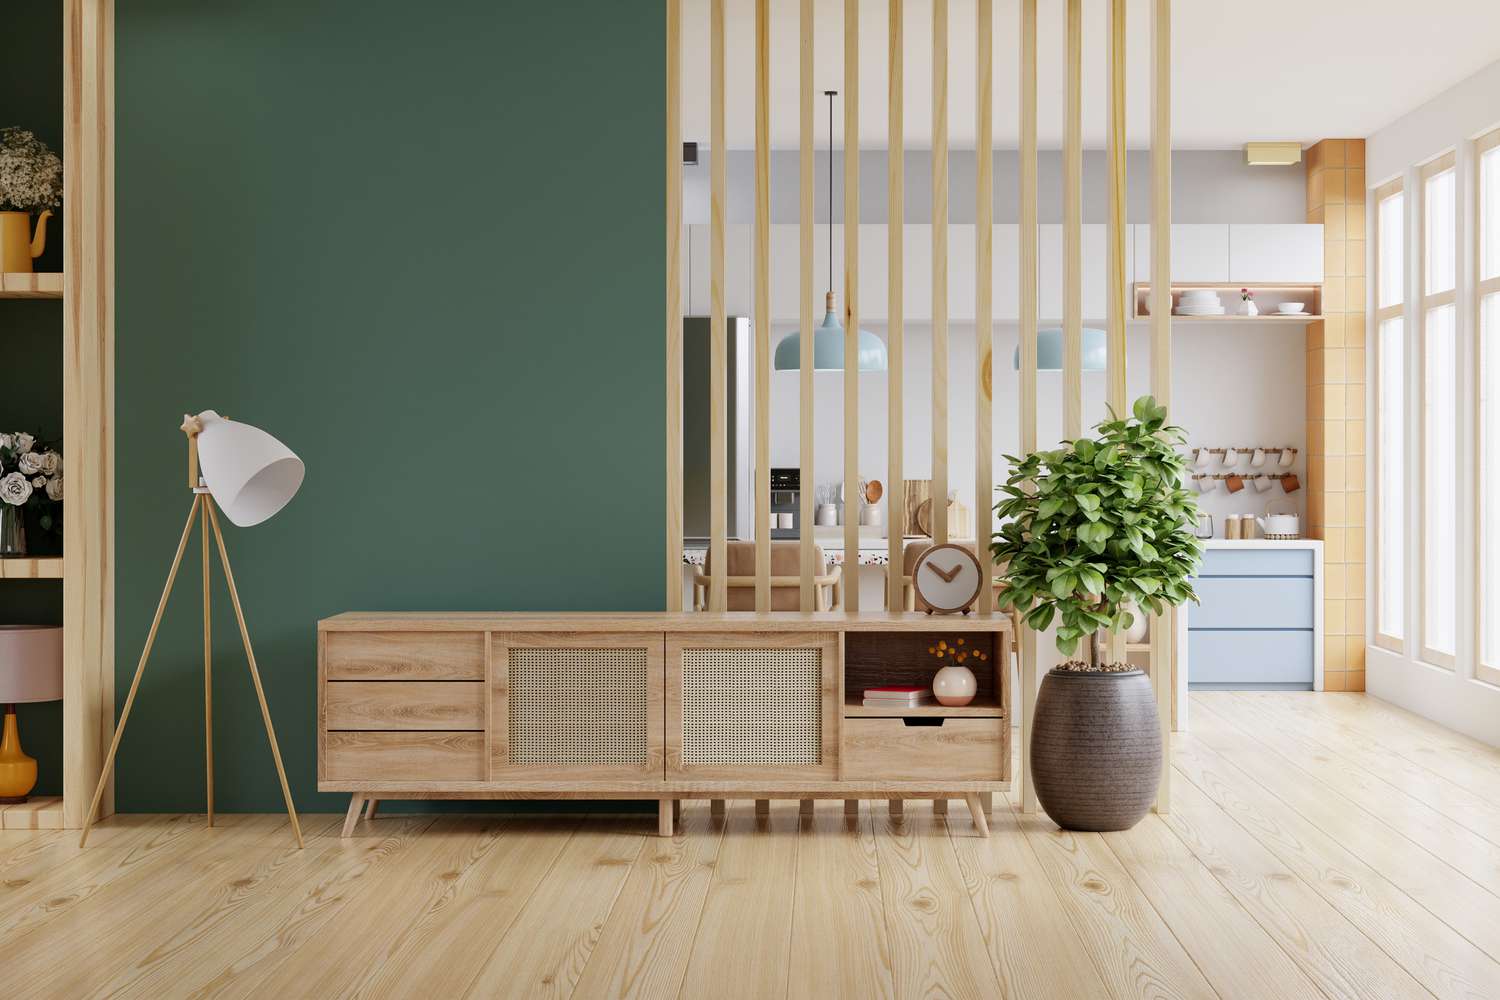
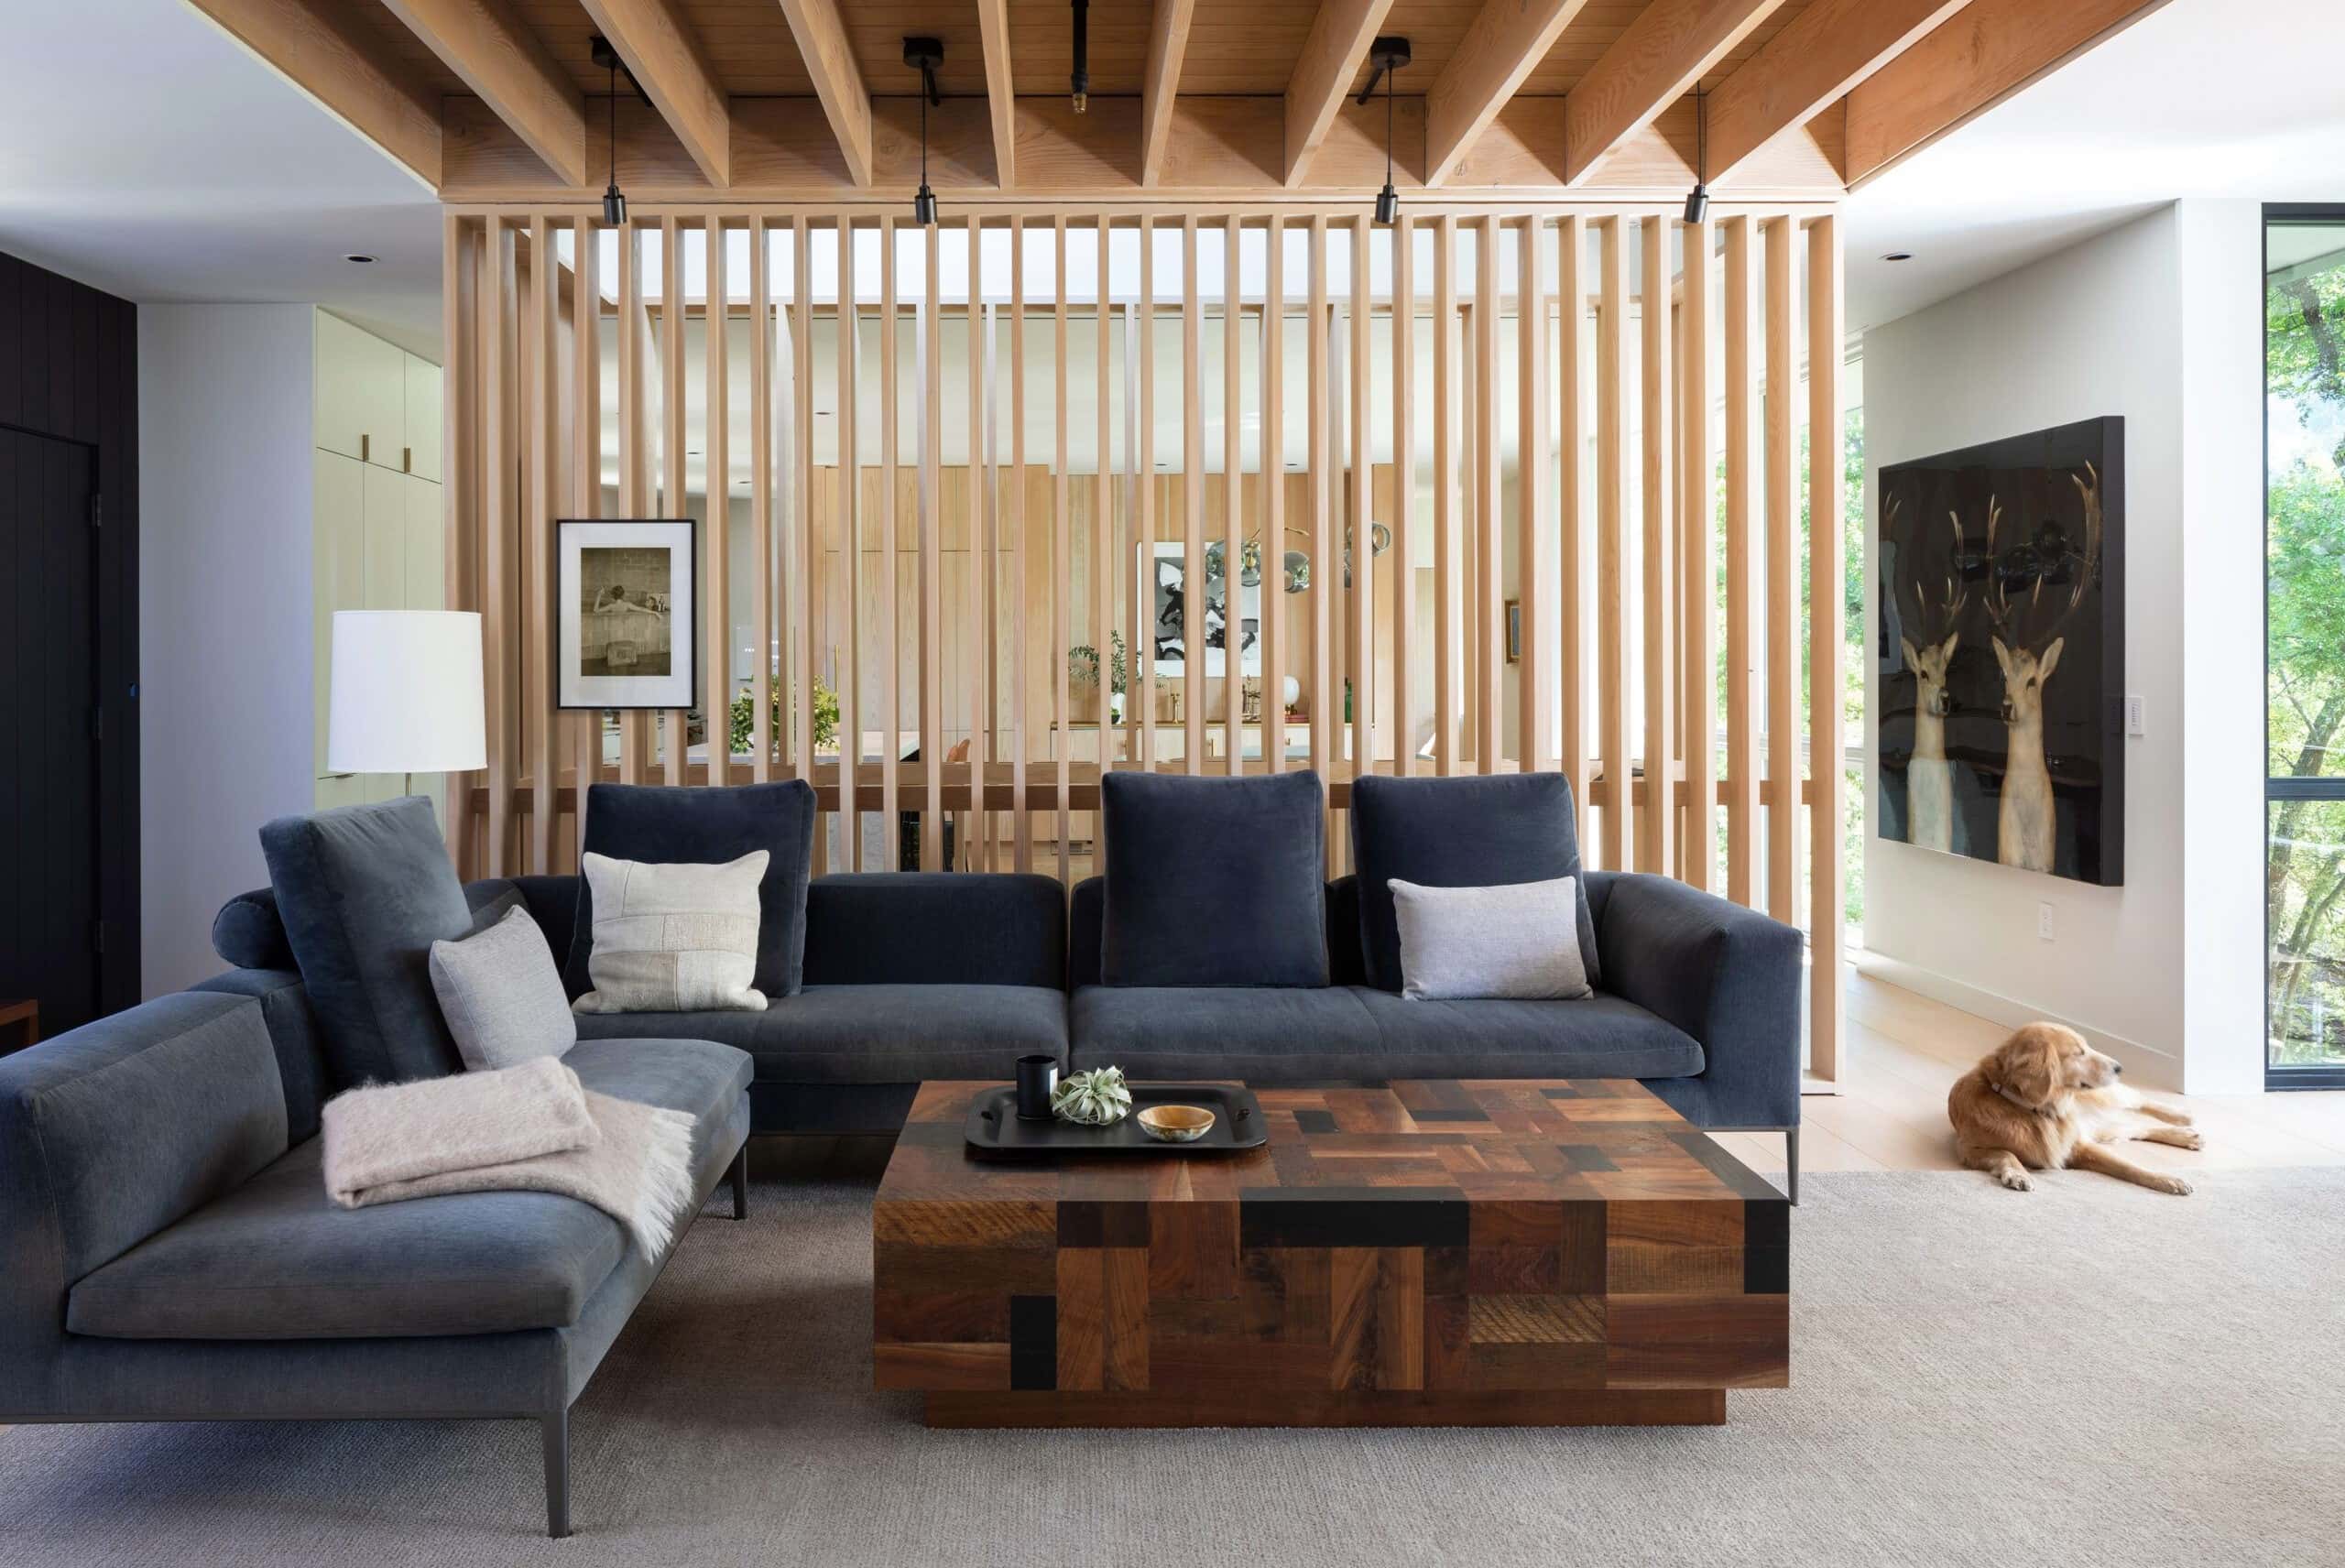
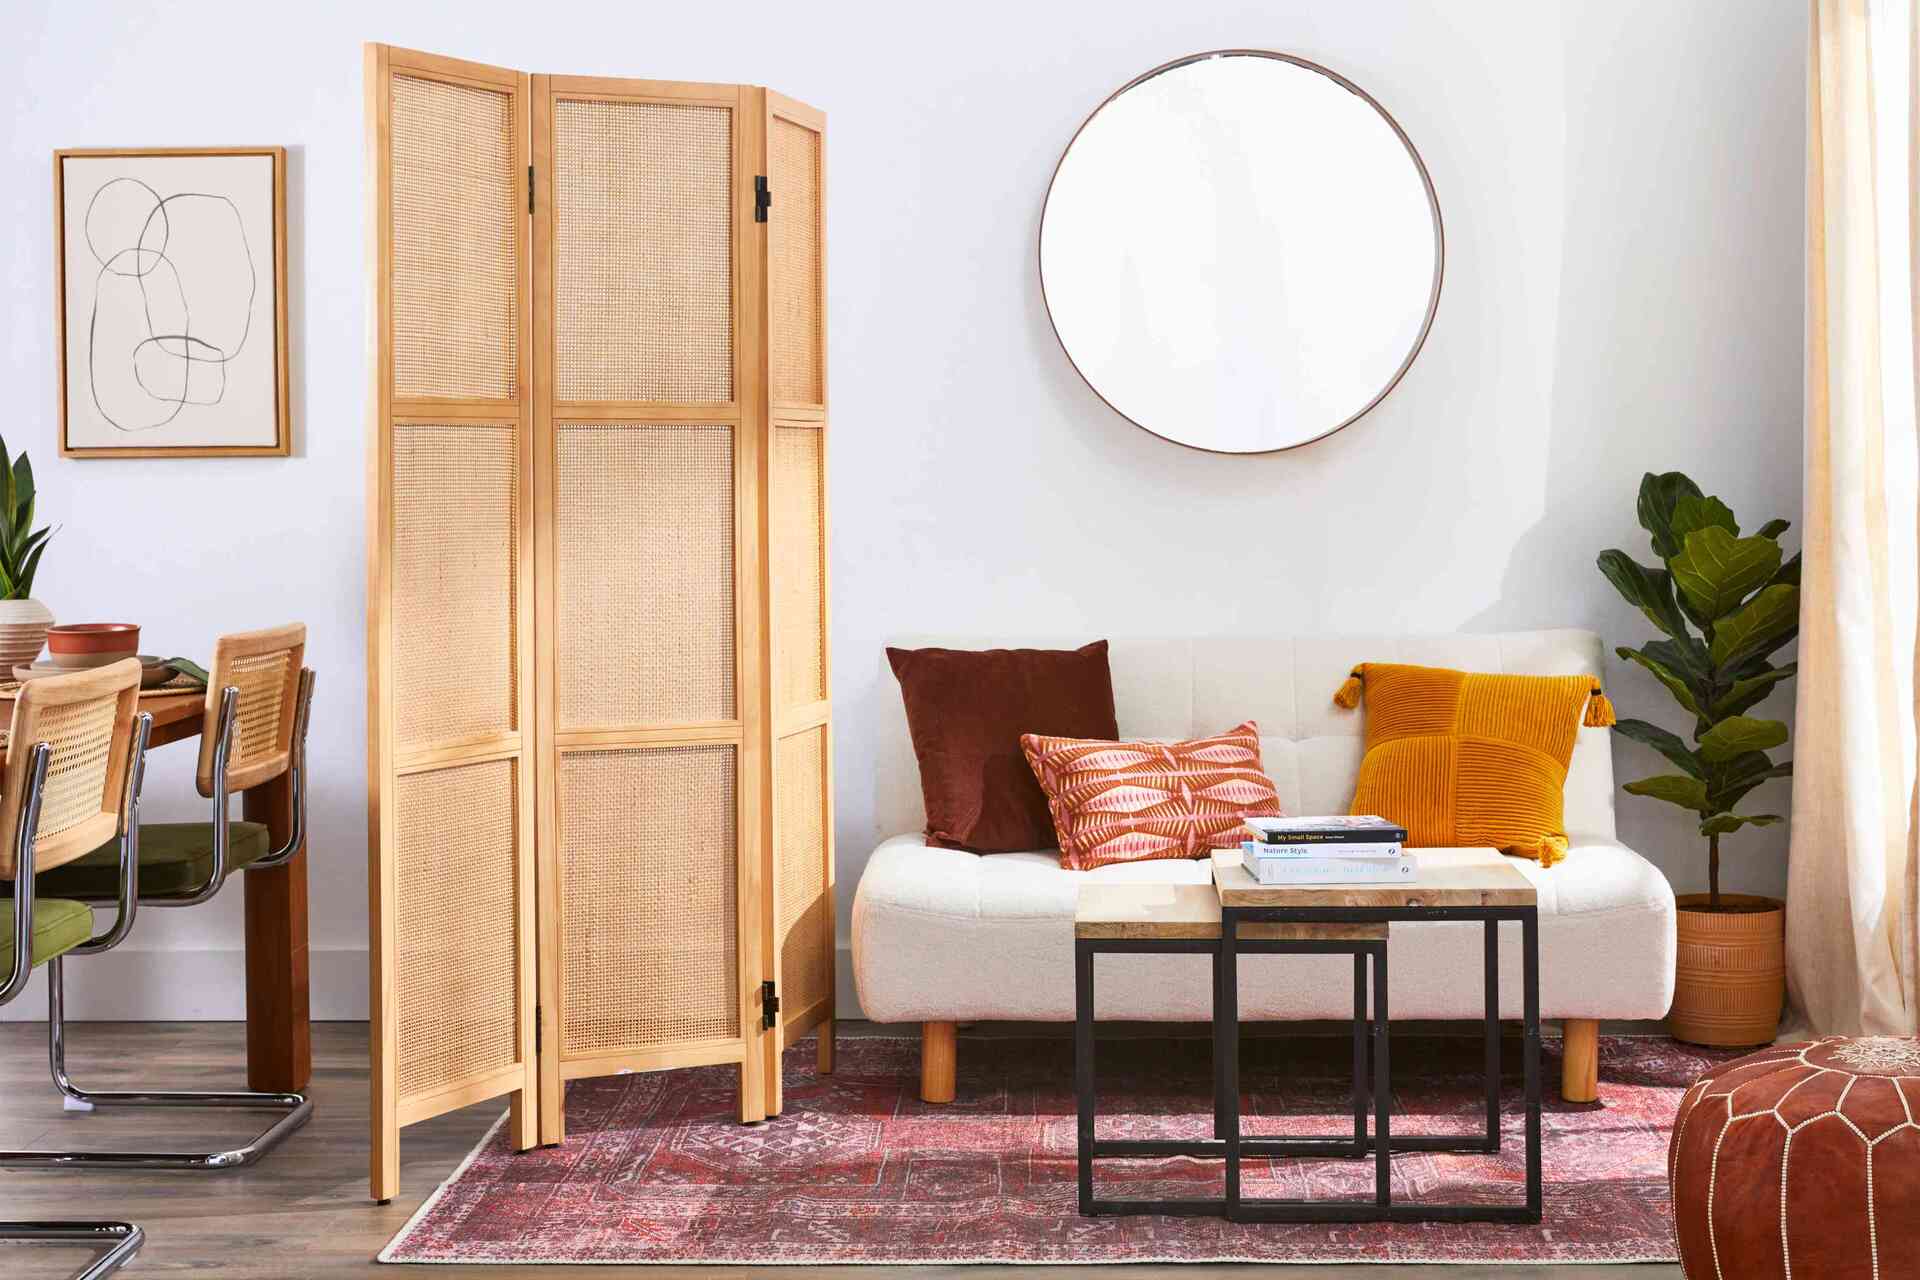
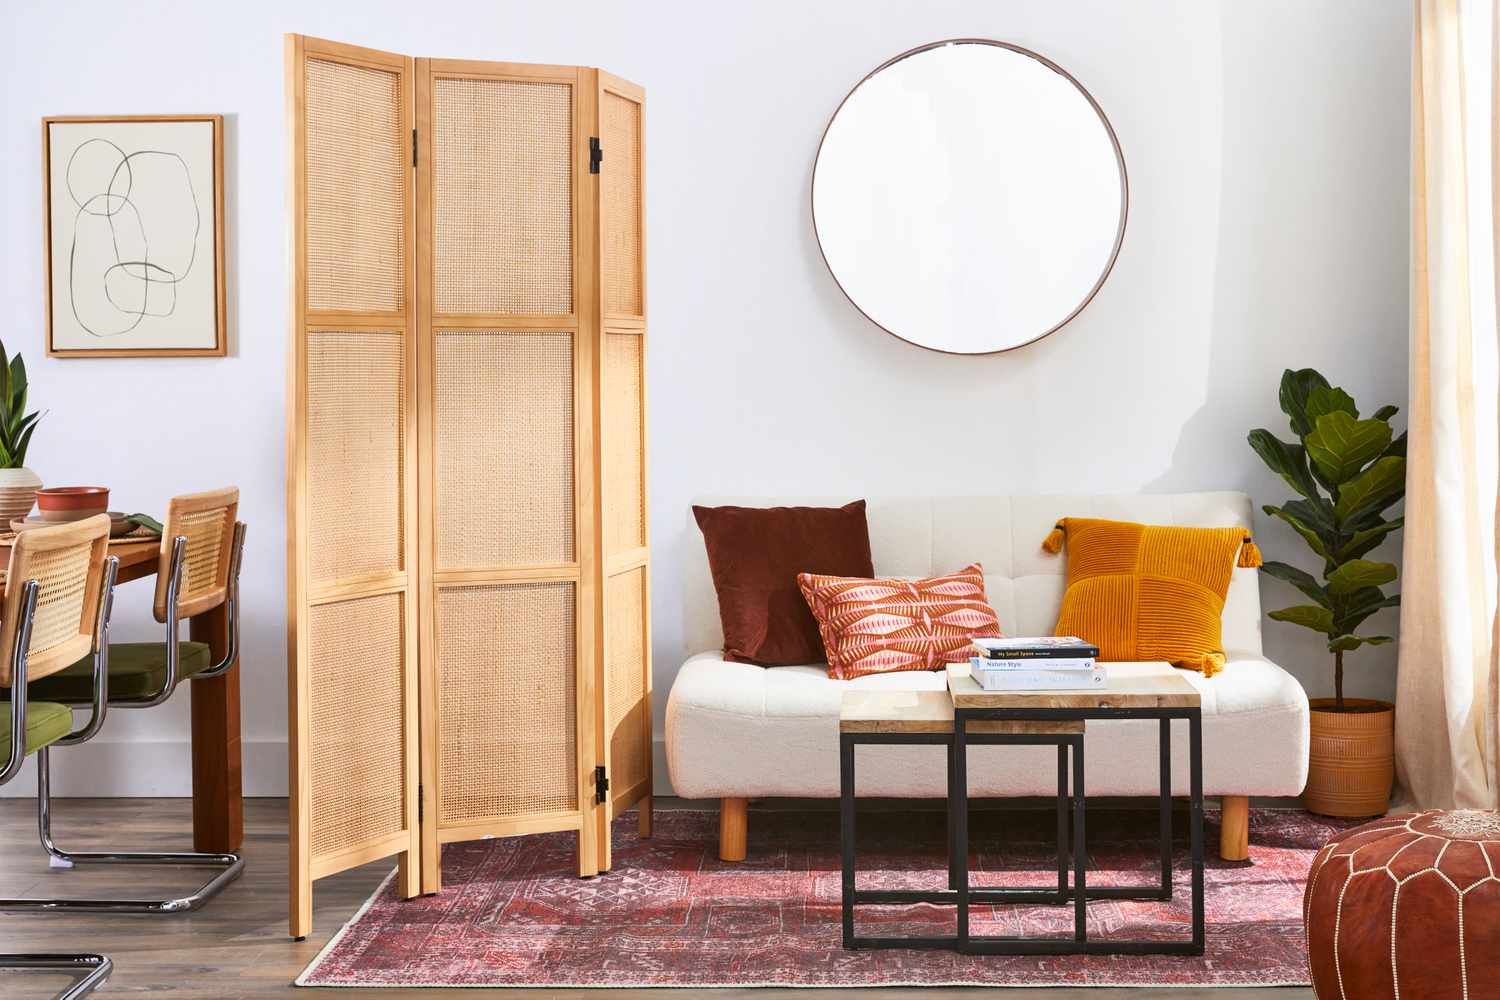
Welcome to the world of versatile and stylish room dividers! Whether you’re looking to add a touch of elegance to your living space, create a sense of privacy in a shared room, or simply divide a large area into more intimate sections, a room divider made with fabric can be the perfect solution. Not only does it serve a practical purpose, but it also adds a decorative element to your home, elevating the overall ambiance.
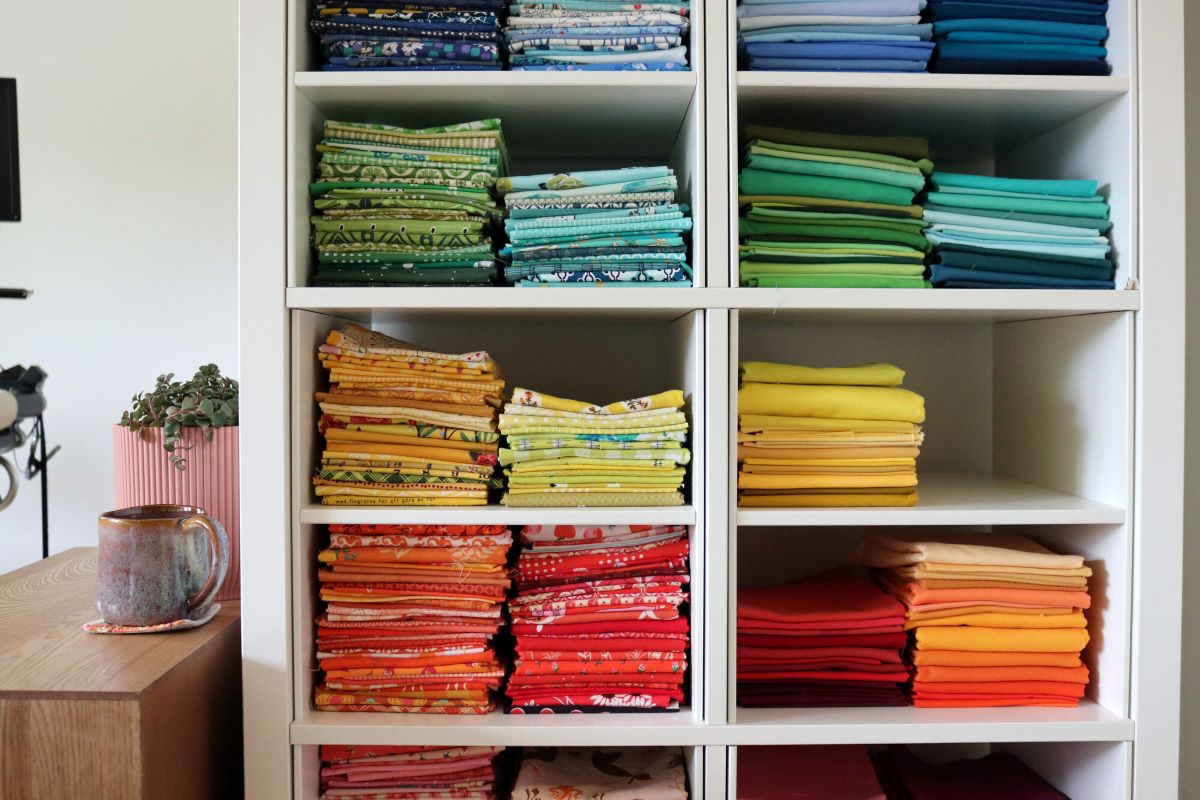
By using fabric as the primary material, you have the freedom to choose from an extensive array of colors, patterns, and textures, allowing you to customize the divider to suit your personal style and complement your existing decor. In this guide, we’ll walk you through the step-by-step process of creating your own fabric room divider, providing you with the tools and knowledge to embark on this rewarding DIY project.
Whether you’re a seasoned crafter or a newcomer to the world of home decor, this project is both accessible and gratifying. With a few simple materials and a touch of creativity, you can transform your living space and infuse it with a sense of charm and functionality. Let’s dive in and explore the art of crafting a beautiful and practical room divider with fabric!
Key Takeaways:
- Create a personalized fabric room divider to add style and functionality to your living space. With a few materials and creativity, you can craft a unique partition that reflects your design preferences.
- Transform your living space with a DIY fabric room divider. By customizing the fabric and hanging it securely, you can enhance privacy, add visual appeal, and infuse your home with charm.
Read more: How To Make A Folding Screen Room Divider
Materials Needed
Before embarking on your room divider project, it’s essential to gather the necessary materials to ensure a smooth and successful crafting experience. Here’s a list of items you’ll need:
- Fabric: Select a durable and visually appealing fabric that complements your decor. The amount will depend on the size of the divider you intend to create.
- Grommets: These small, metal-reinforced rings will be used to reinforce the fabric and facilitate hanging.
- Ceiling Hooks or Curtain Rod: Depending on your preference and the structure of your space, you’ll need a means to suspend the fabric from the ceiling.
- Measuring Tape: Essential for accurately measuring the dimensions of the fabric and determining placement.
- Fabric Scissors: A sharp pair of fabric scissors will make cutting the material a breeze.
- Iron and Ironing Board: To ensure the fabric is wrinkle-free and ready for installation.
- Optional: Fabric Paint, Embellishments, or Trim: If you’d like to personalize your divider further, consider incorporating decorative elements such as paint, appliques, or trim.
By gathering these materials, you’ll be well-equipped to begin the creative process of constructing your fabric room divider. With these tools at your disposal, you can unleash your imagination and bring your vision to life, transforming your living space in the process.
Step 1: Measure and Cut the Fabric
The first step in creating your fabric room divider is to measure and cut the fabric to the desired size. Begin by determining the height and width you’d like the divider to be, taking into account the dimensions of the area you intend to partition. Use a measuring tape to accurately gauge the space, ensuring that the fabric will cover the intended area while allowing for any desired draping or pooling at the bottom.
Once you have the measurements, lay the fabric on a flat surface, such as a large table or the floor, ensuring that it is smooth and free of wrinkles. Using fabric scissors, carefully cut the material to the specified dimensions, taking care to maintain straight lines and even edges. If you’re creating multiple panels for a more substantial divider, repeat this process for each section, ensuring consistency in size and shape.
It’s essential to approach this step with precision, as accurately cut fabric will contribute to a polished and professional-looking end result. Take your time and double-check your measurements before making any cuts, as this will set the foundation for the remainder of the project.
By completing this step, you’ll have successfully prepared the fabric for the next phase of the process, bringing you one step closer to enjoying the functional and aesthetic benefits of your custom room divider.
Step 2: Attach Grommets to the Fabric
Once you have cut the fabric to the desired dimensions, the next crucial step is to reinforce the edges and create attachment points for hanging. This is where grommets come into play, providing stability and durability while allowing for easy installation. Here’s how to attach grommets to the fabric:
- Prepare the Fabric: Lay the fabric flat on a work surface, ensuring that it is free from any wrinkles or folds. If necessary, iron the material to create a smooth and even surface for the grommets.
- Mark the Placement: Using a fabric marker or chalk, mark the locations where you want to place the grommets along the top edge of the fabric. The spacing will depend on the size of your divider and your preferred aesthetic, but it’s essential to maintain consistency between grommet placements.
- Install the Grommets: Following the instructions provided with the grommet kit, use the appropriate tools to set the grommets in place. This typically involves creating a small hole in the fabric, inserting the grommet components, and using a setting tool to secure them together. Repeat this process for each marked location, ensuring that the grommets are firmly attached and evenly spaced.
- Reinforce the Edges: To further strengthen the fabric and prevent fraying, consider folding and hemming the edges before attaching the grommets. This will provide a clean and polished look while adding longevity to your room divider.
By attaching grommets to the fabric, you’re not only enhancing its structural integrity but also setting the stage for effortless installation. These reinforced points will allow you to hang the divider securely, ensuring that it remains stable and visually appealing in its designated space.
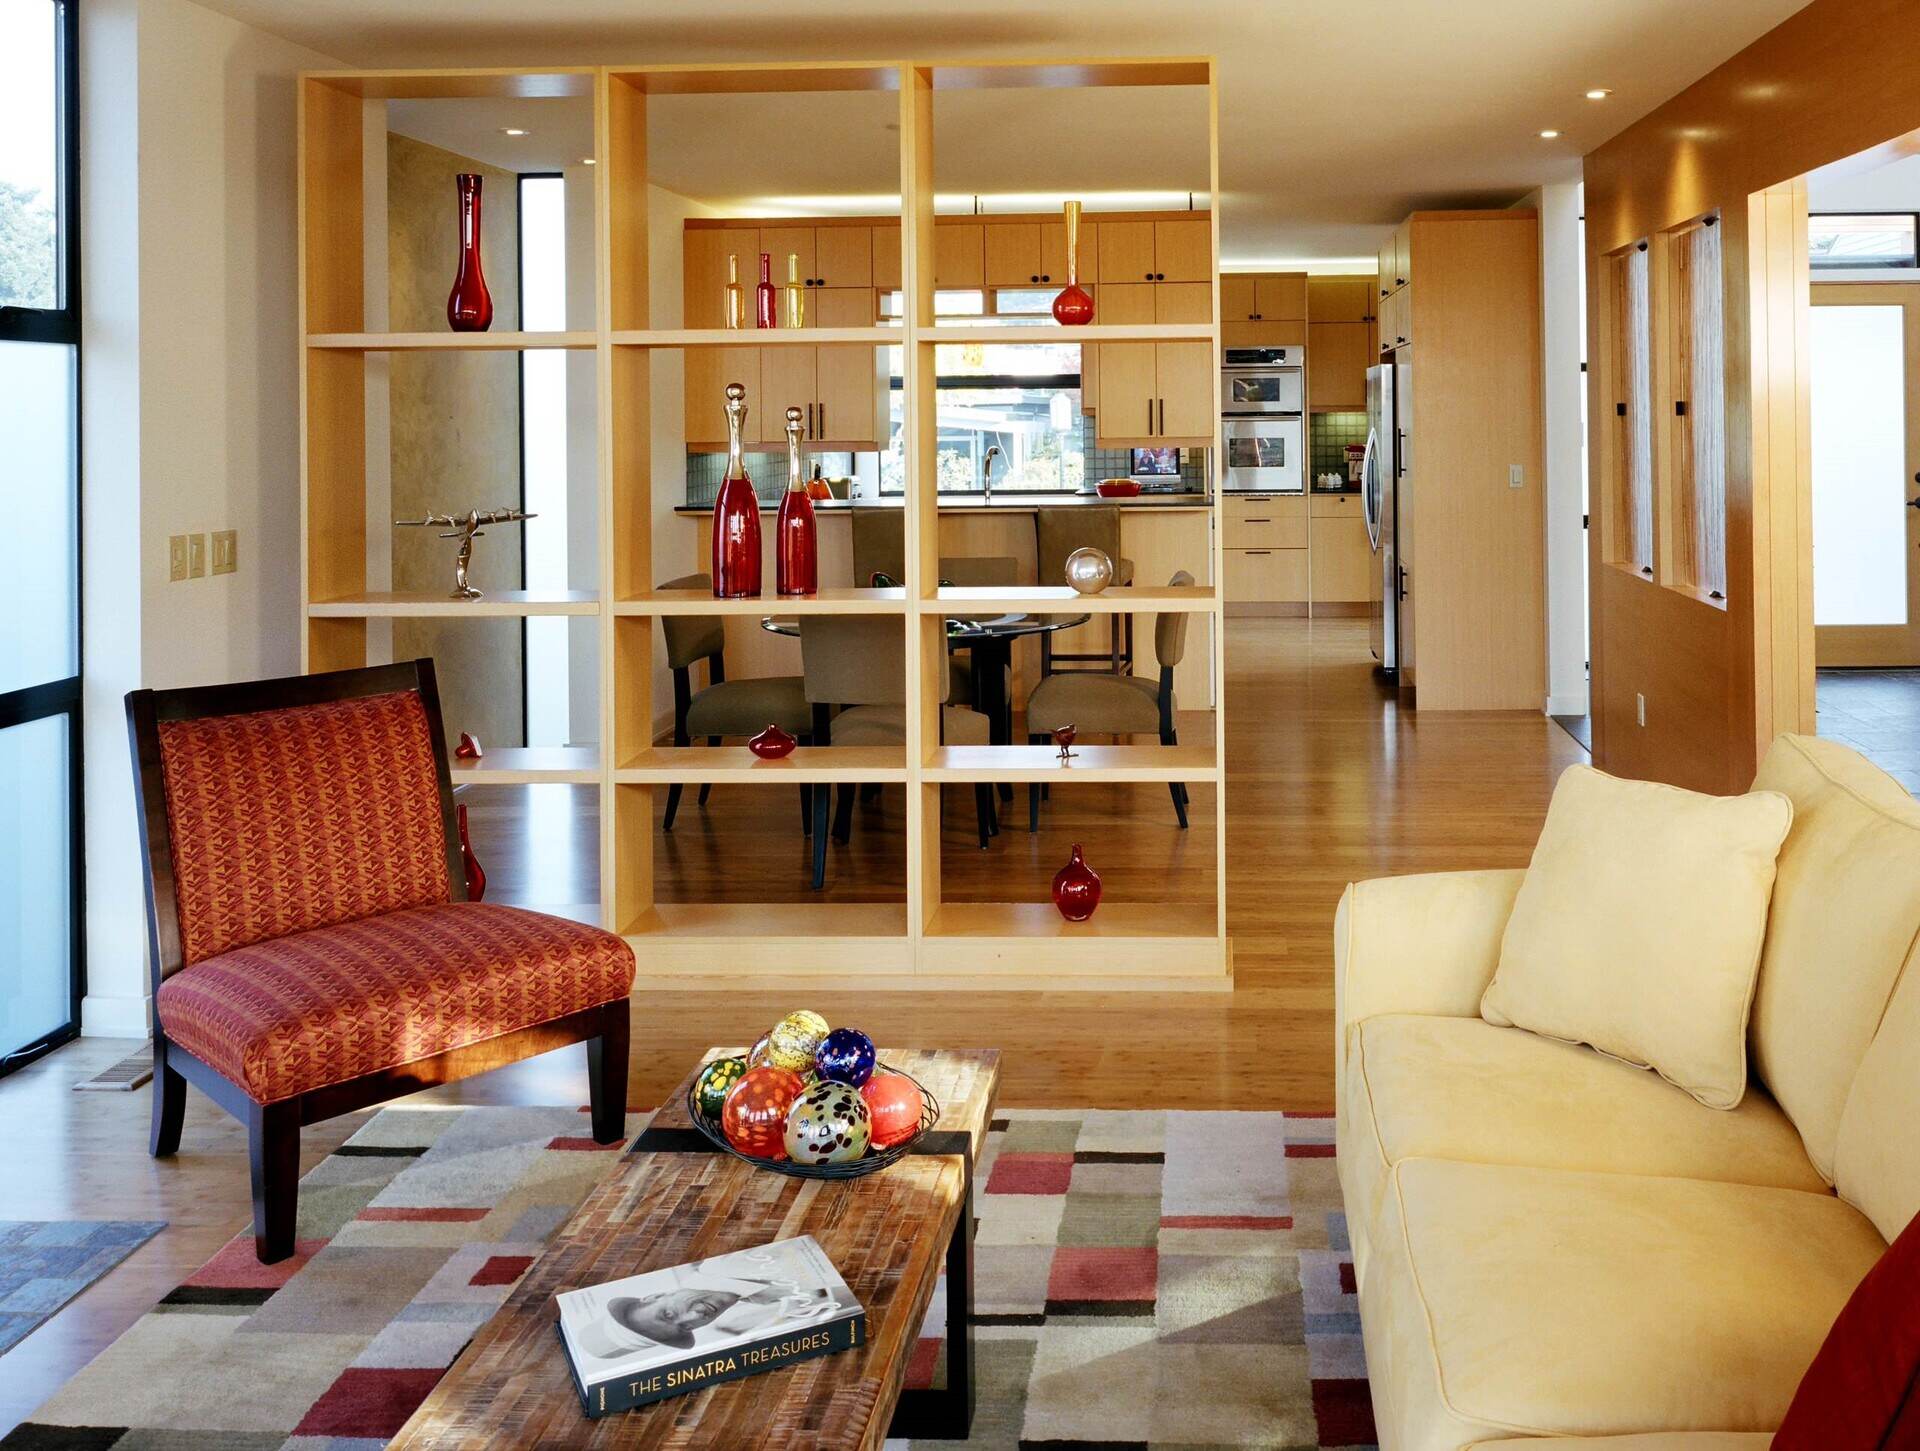
When making a room divider with fabric, be sure to choose a sturdy frame to attach the fabric to. This could be a wooden frame or a tension rod for a simpler option. Make sure the fabric is securely attached to the frame to prevent it from sagging or falling down.
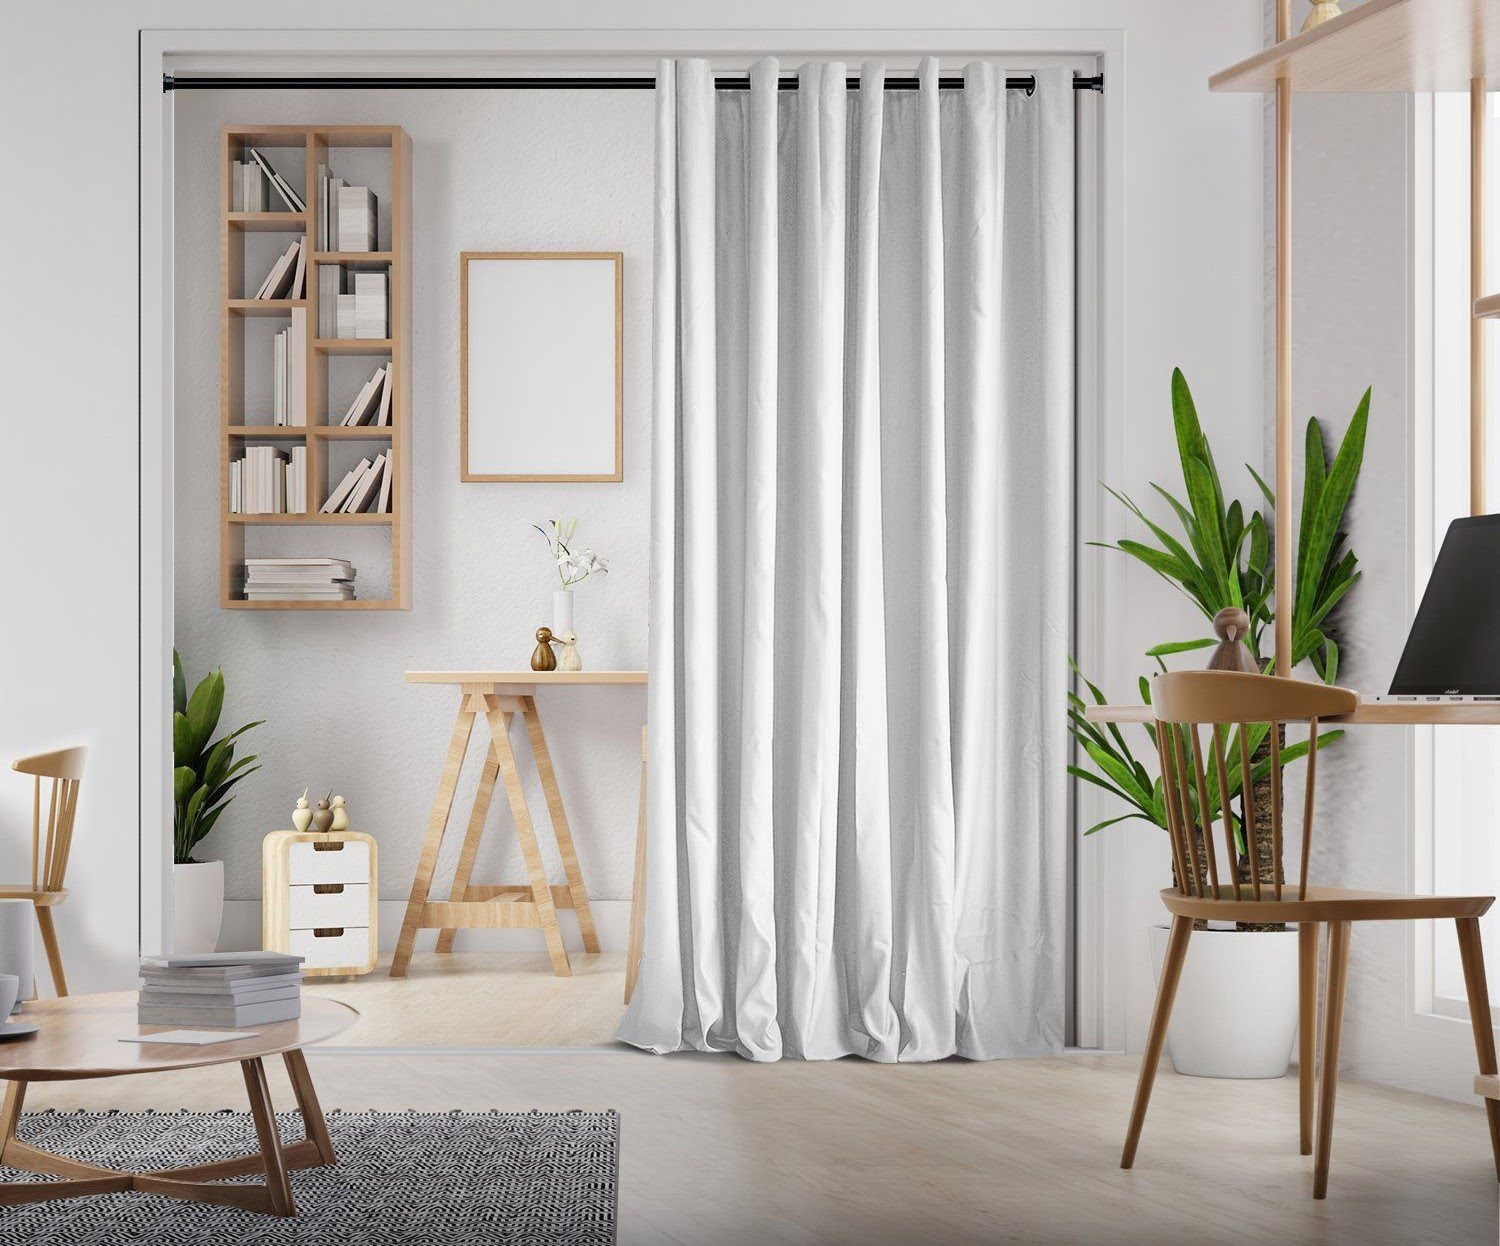
Step 3: Hang the Fabric from the Ceiling
With the fabric prepared and grommets securely in place, it’s time to bring your room divider to life by suspending it from the ceiling. The method of hanging will depend on your space and personal preference, whether you opt for a sleek and modern ceiling-mounted approach or a more relaxed and versatile curtain rod installation. Here’s how to hang the fabric from the ceiling:
- Locate the Hanging Points: Identify the ideal placement for the ceiling hooks or curtain rod brackets, ensuring that they are evenly spaced and aligned with the grommets on the fabric. Use a measuring tape and a level to guarantee precision in positioning.
- Install the Hardware: Depending on your chosen method, securely install the ceiling hooks or curtain rod brackets, taking care to follow any specific instructions provided with the hardware. Use appropriate anchors or fasteners to ensure that the hanging points can support the weight of the fabric.
- Hang the Fabric: With the hardware in place, it’s time to hang the fabric from the ceiling. Enlist the help of a friend or family member to ensure that the process goes smoothly. Thread the grommets onto the curtain rod or hooks, allowing the fabric to drape naturally and creating a seamless partition within the space.
- Adjust and Secure: Once the fabric is hung, take a step back to assess the positioning and appearance of the divider. Make any necessary adjustments to ensure that it hangs evenly and at the desired height. If using a curtain rod, ensure that it is properly secured in place to prevent any movement or slippage.
By completing this step, you’ll have successfully transformed your fabric into a functional and visually striking room divider, effectively delineating areas within your living space while adding a touch of elegance and practicality.
Step 4: Customize the Divider
Now that your fabric room divider is elegantly suspended in place, it’s time to consider how you can further personalize and enhance its visual appeal. Customization allows you to infuse your unique style and creativity into the divider, making it a standout feature within your living space. Here are some ideas for customizing your fabric room divider:
- Decorative Embellishments: Consider adding decorative elements such as fabric paint, appliques, or trim to the fabric panels. Whether you opt for a subtle embellishment or a bold, eye-catching design, these additions can elevate the divider’s aesthetic appeal.
- Functional Additions: If you’re seeking added functionality, explore the possibility of incorporating pockets or pouches into the fabric. These can serve as convenient storage for small items or provide a unique way to display decorative accents.
- Lighting Effects: Integrate LED string lights or other forms of ambient lighting into the divider to create a captivating visual effect. This can add warmth and ambiance to the space while drawing attention to the divider as a focal point.
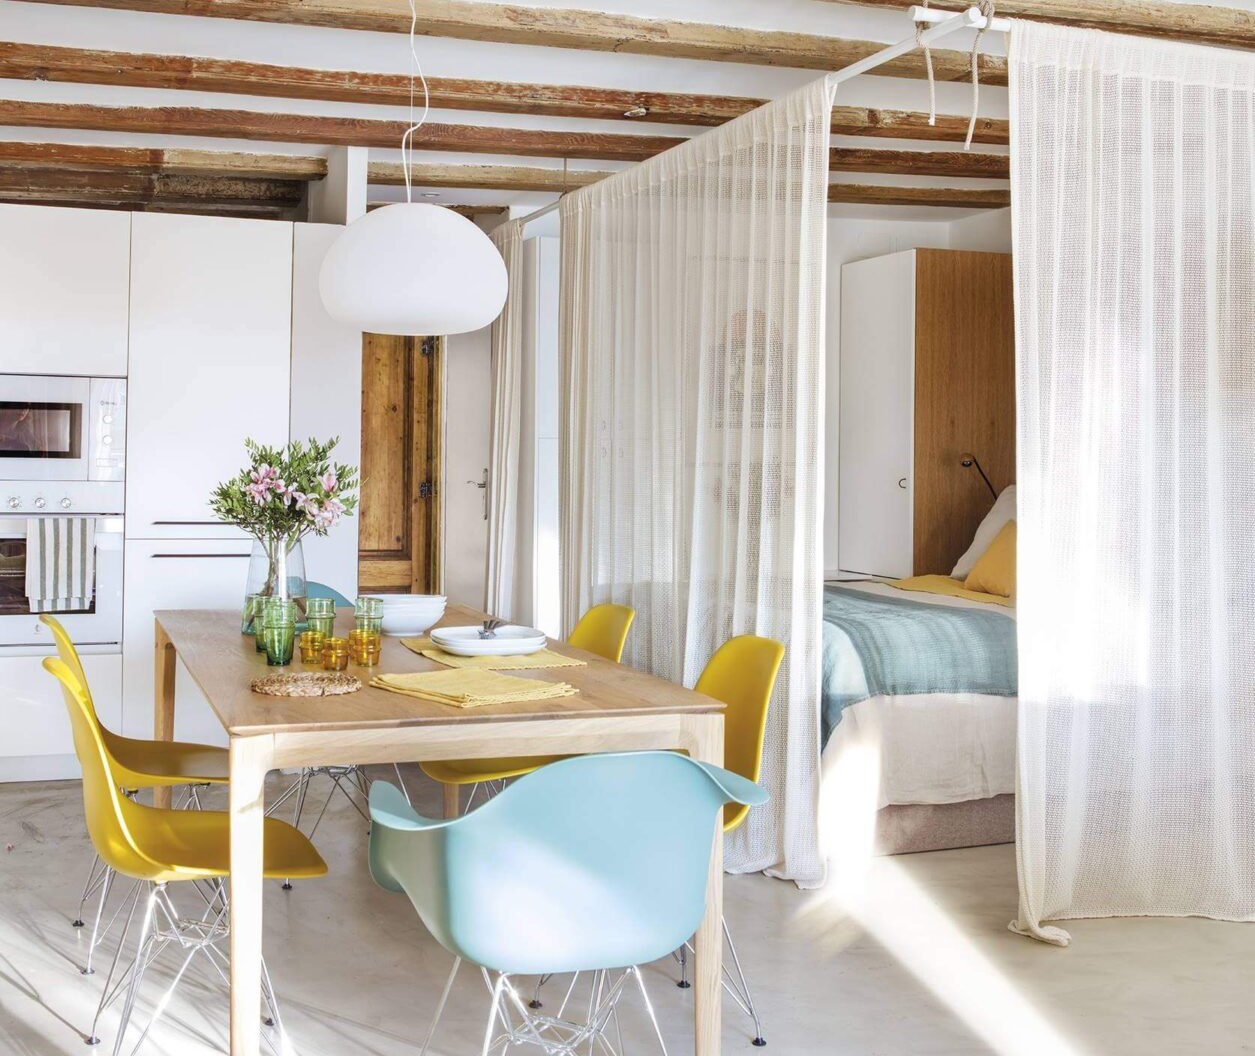
- Layered Fabrics: For a dynamic and textured look, experiment with layering different types of fabric to create a multi-dimensional divider. This approach allows for intriguing interplays of color, pattern, and transparency.
- Artistic Expression: If you’re artistically inclined, consider using the fabric panels as a canvas for your own artwork or creative designs. This personal touch can turn the room divider into a captivating piece of functional art.
By customizing your fabric room divider, you can transform it from a practical partition into a striking and personalized feature that reflects your individual taste and style. Embrace the opportunity to unleash your creativity and make the divider a true reflection of your unique vision for your living space.
Conclusion
Congratulations on completing the journey of crafting your very own fabric room divider! By following the steps outlined in this guide, you’ve not only created a functional and versatile partition for your living space but also infused it with your personal style and creativity. As you stand back and admire your handiwork, take a moment to appreciate the impact this simple yet elegant addition has made to your home.
A fabric room divider offers more than just a physical separation within a room; it serves as a statement piece that can enhance the ambiance, provide privacy, and contribute to the overall aesthetic of your living space. Whether you’ve chosen a vibrant and patterned fabric to add a pop of color or a sheer, ethereal material to create a sense of airiness, your divider has the power to transform the way you experience and interact with your environment.
Furthermore, the process of creating a fabric room divider is a testament to your creativity and resourcefulness. You’ve taken a few simple materials and transformed them into a functional and visually appealing element that reflects your personal taste and design preferences. The customization options presented in this guide allow you to continually adapt and evolve the divider to suit your changing needs and design aspirations.
As you enjoy the benefits of your newly crafted room divider, take pride in the fact that you’ve not only added a practical solution to your living space but also contributed to its character and charm. Whether you’re using the divider to create a cozy reading nook, establish a private dressing area, or simply add a touch of elegance to a shared living space, its impact will be felt in numerous ways.
Thank you for joining us on this creative journey, and we hope your fabric room divider brings joy, functionality, and inspiration to your home for years to come.
Frequently Asked Questions about How To Make A Room Divider With Fabric
Was this page helpful?
At Storables.com, we guarantee accurate and reliable information. Our content, validated by Expert Board Contributors, is crafted following stringent Editorial Policies. We're committed to providing you with well-researched, expert-backed insights for all your informational needs.

0 thoughts on “How To Make A Room Divider With Fabric”