Home>Furniture & Design>Living Room Furniture>How To Fix A Leaning Recliner
Living Room Furniture
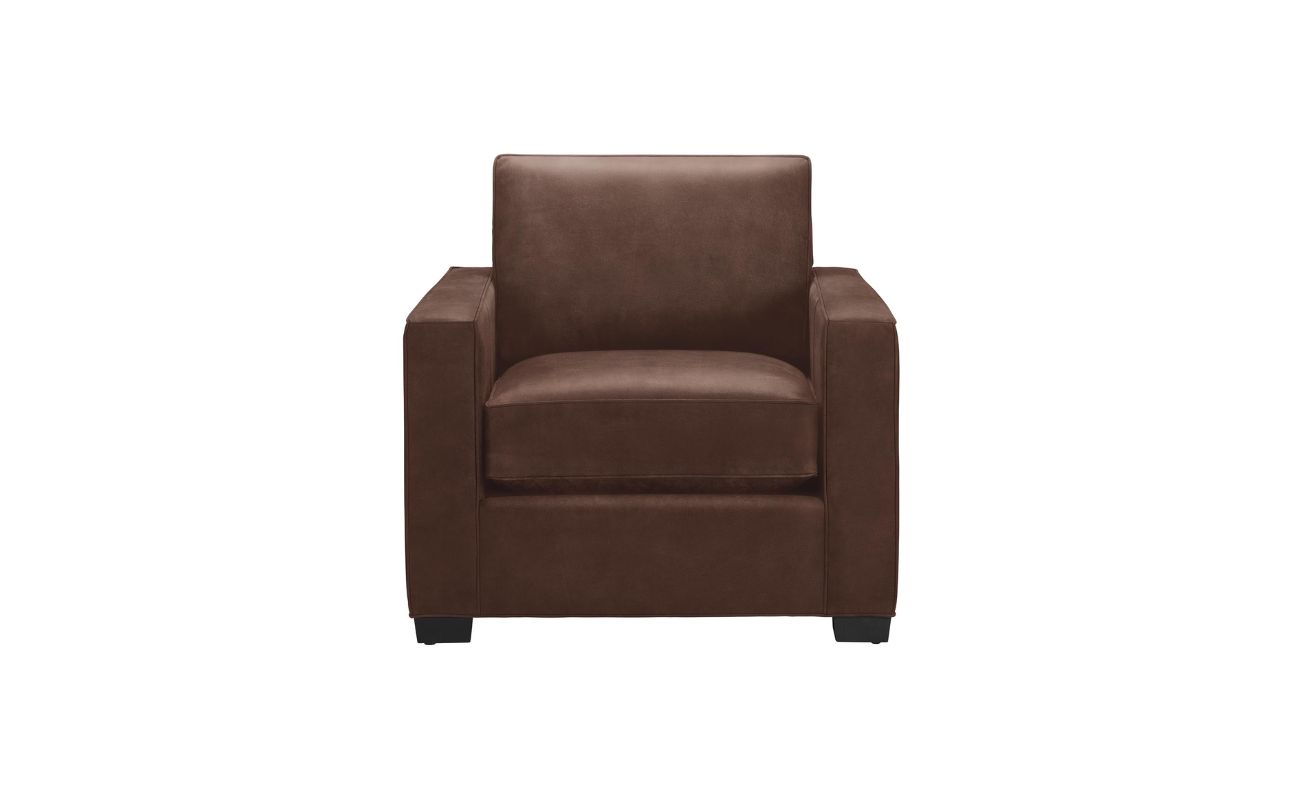
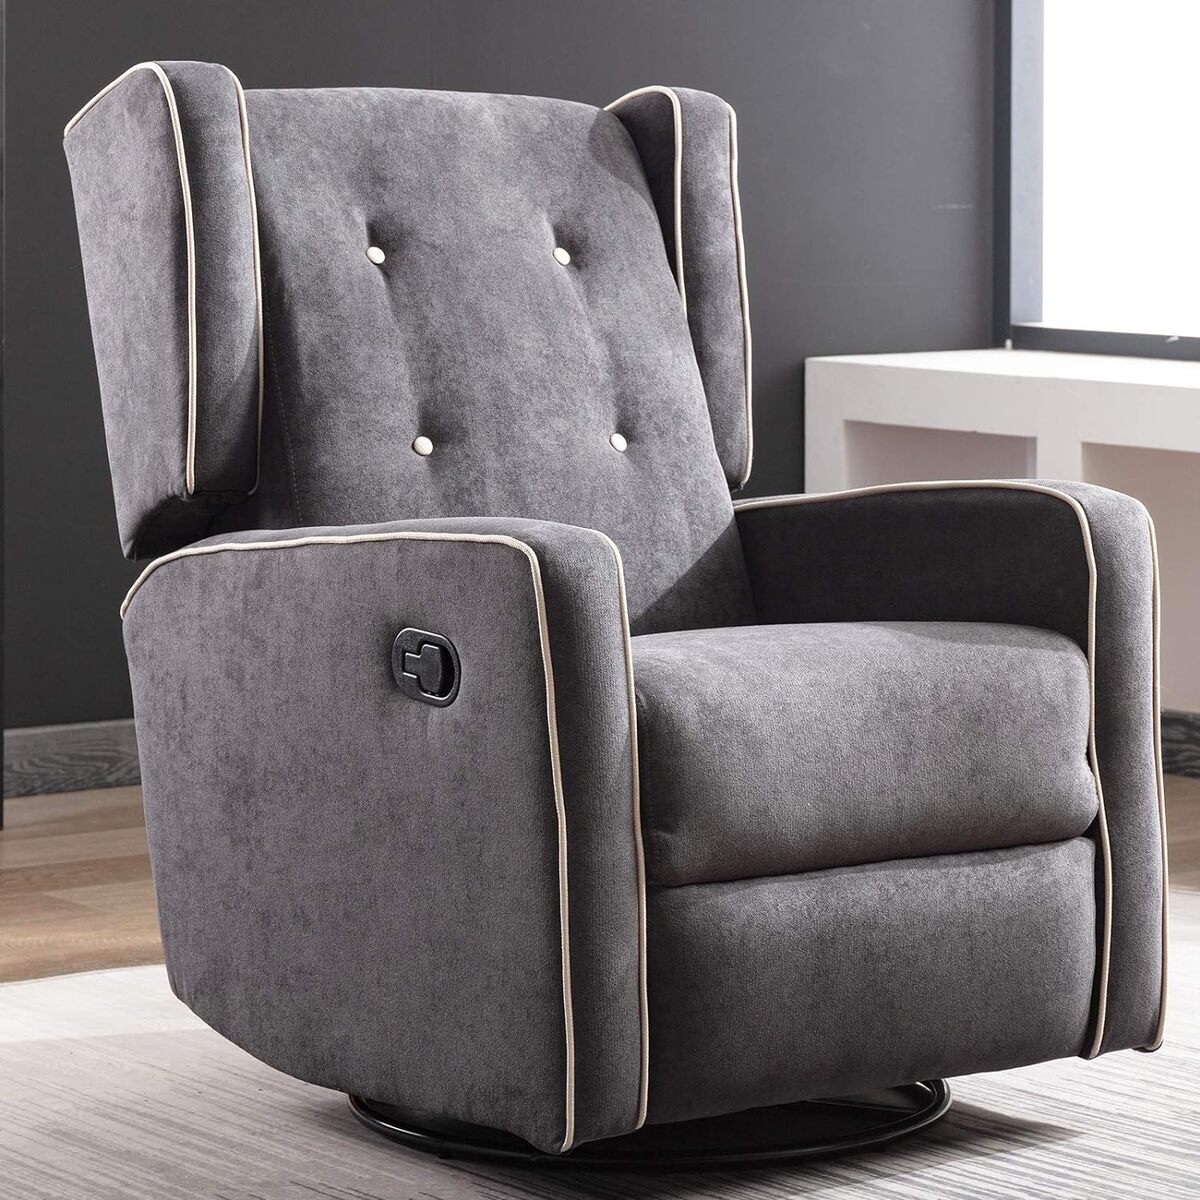
How To Fix A Leaning Recliner
Modified: October 18, 2024
Learn how to fix a leaning recliner with our expert tips. Discover the best solutions for stabilizing your living room furniture and design.
(Many of the links in this article redirect to a specific reviewed product. Your purchase of these products through affiliate links helps to generate commission for Storables.com, at no extra cost. Learn more)
Introduction
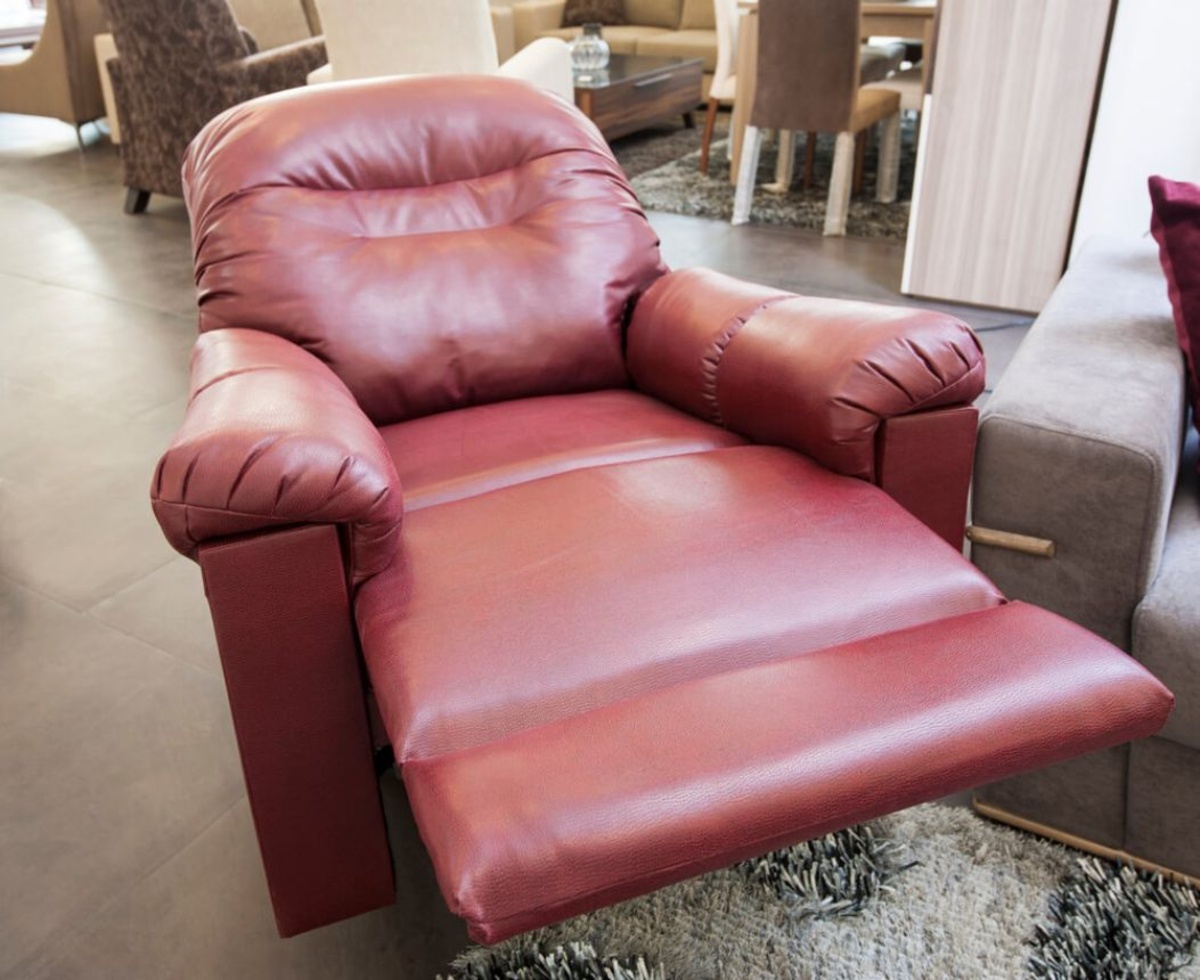
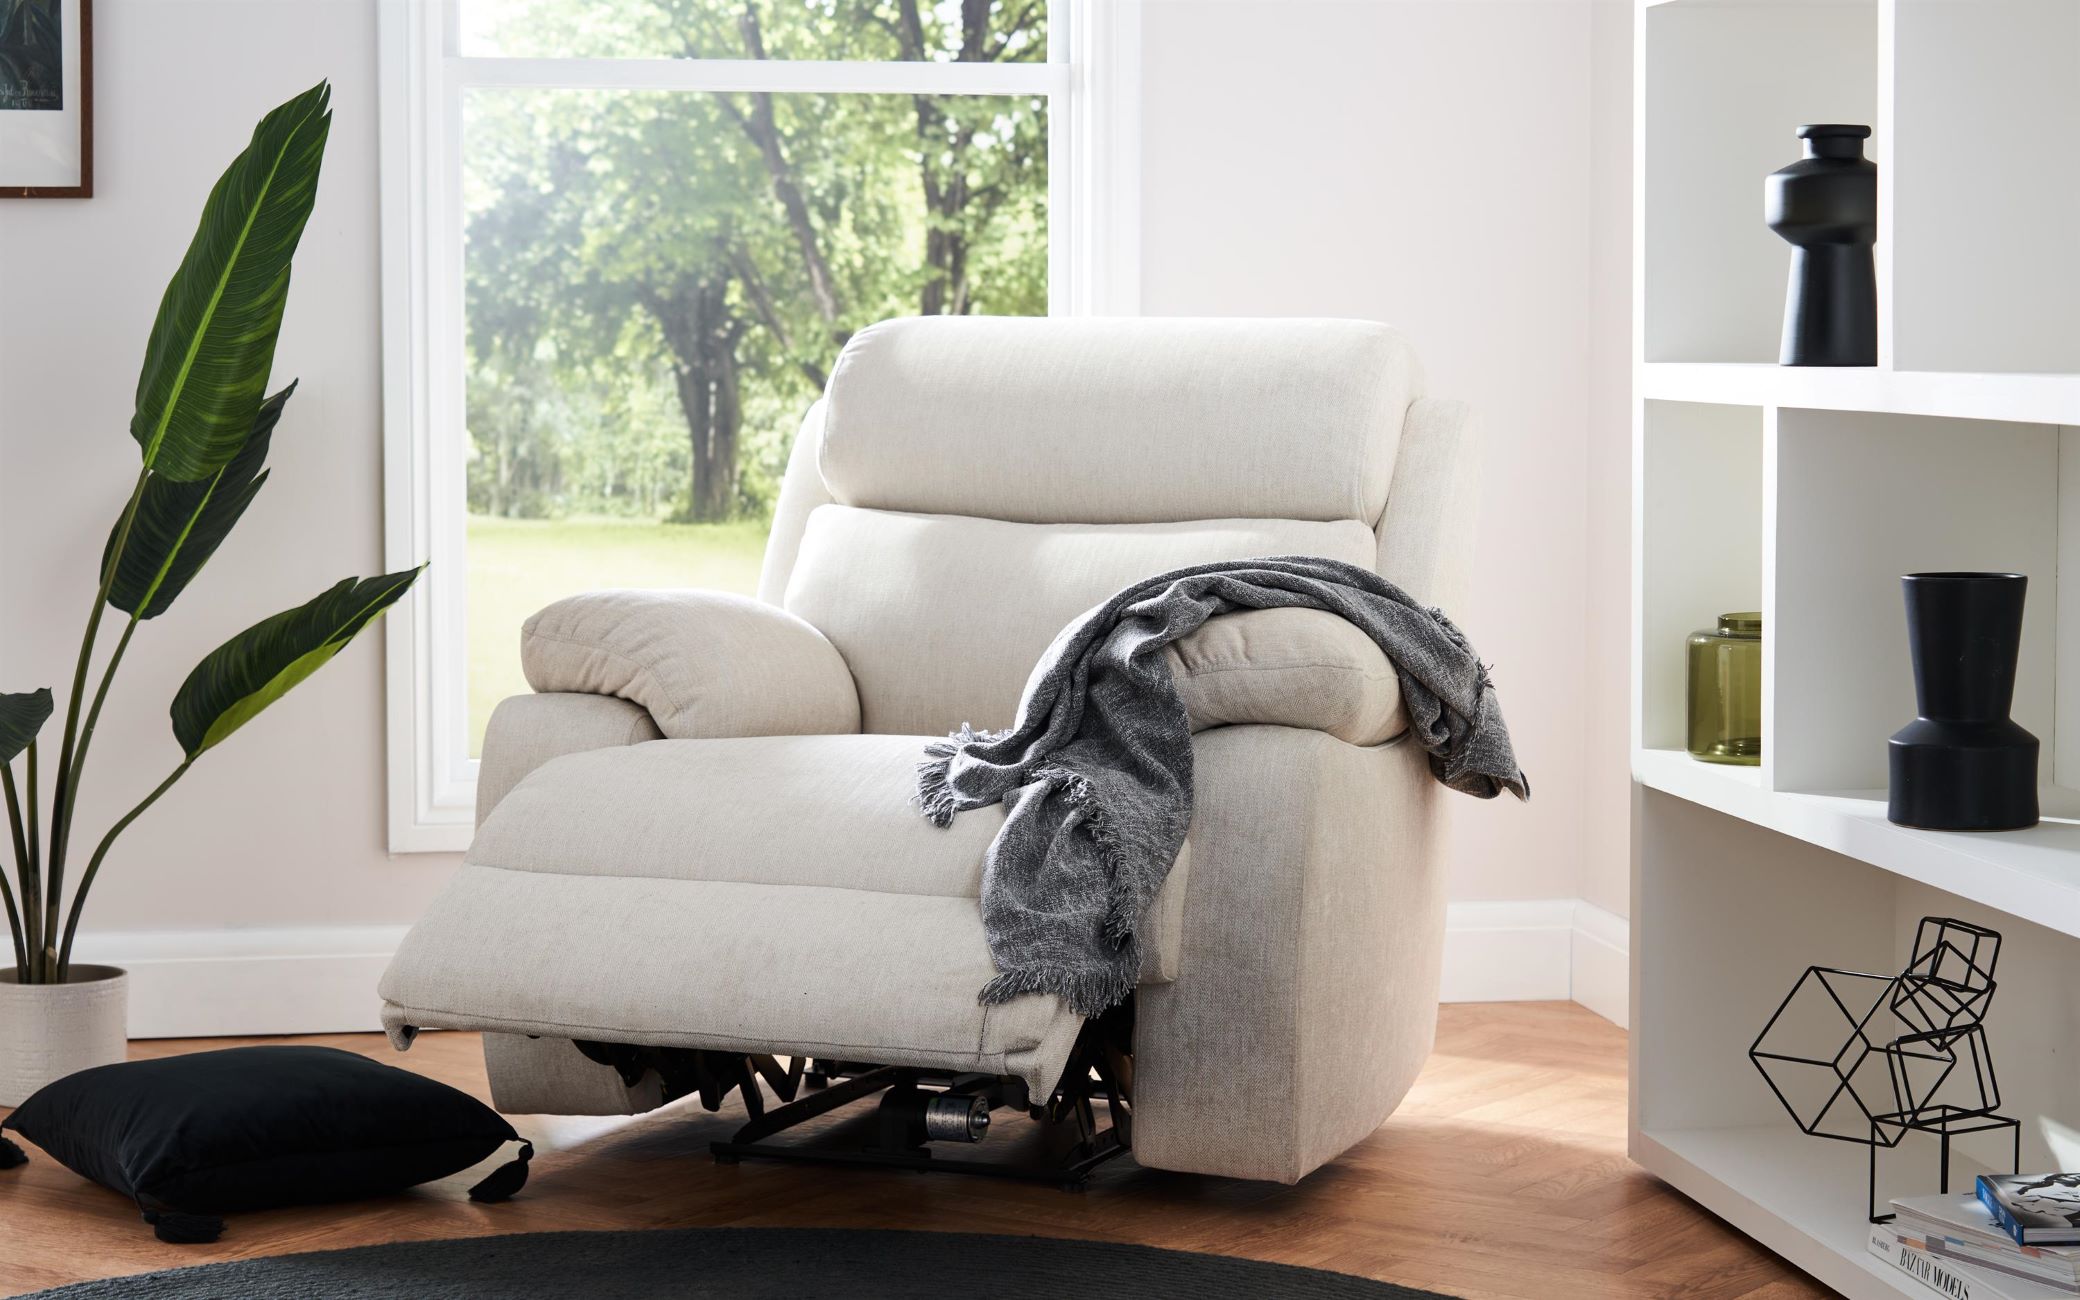
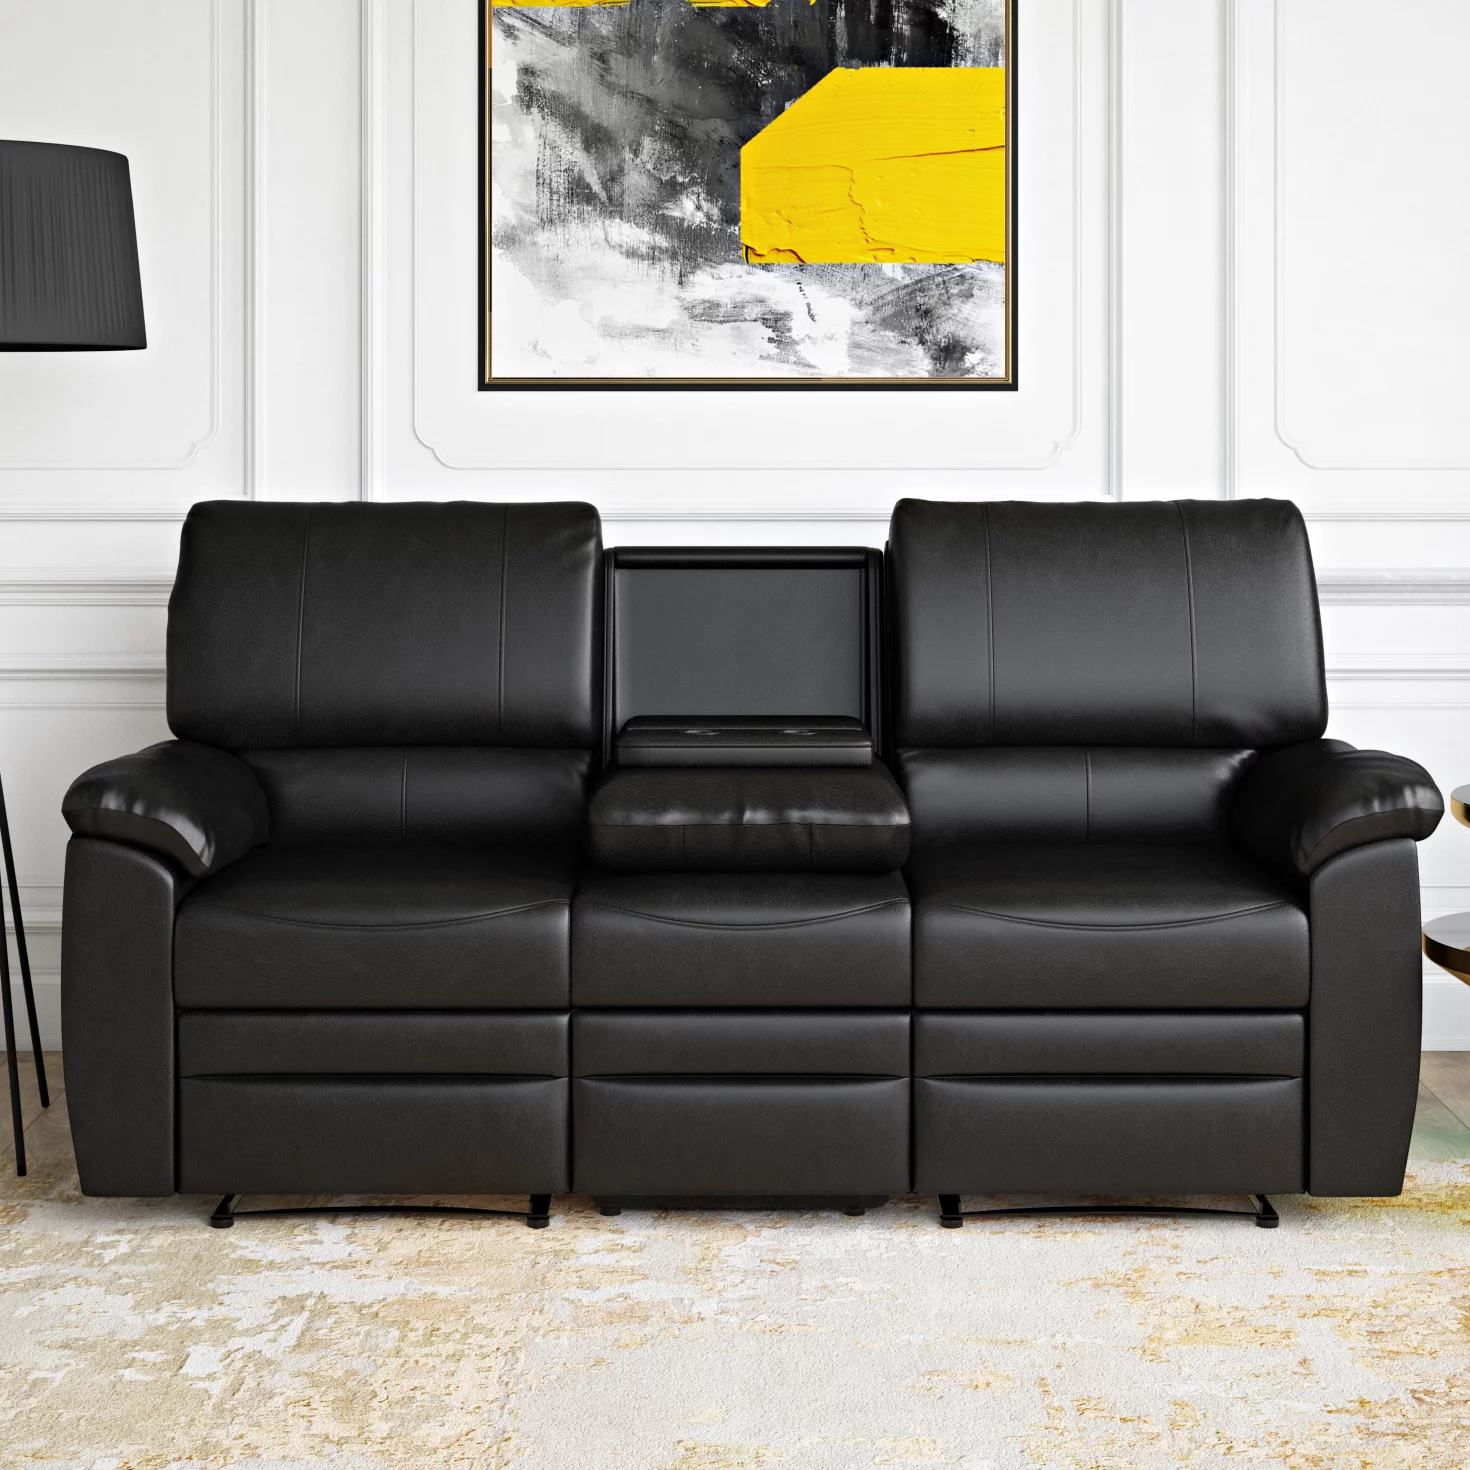
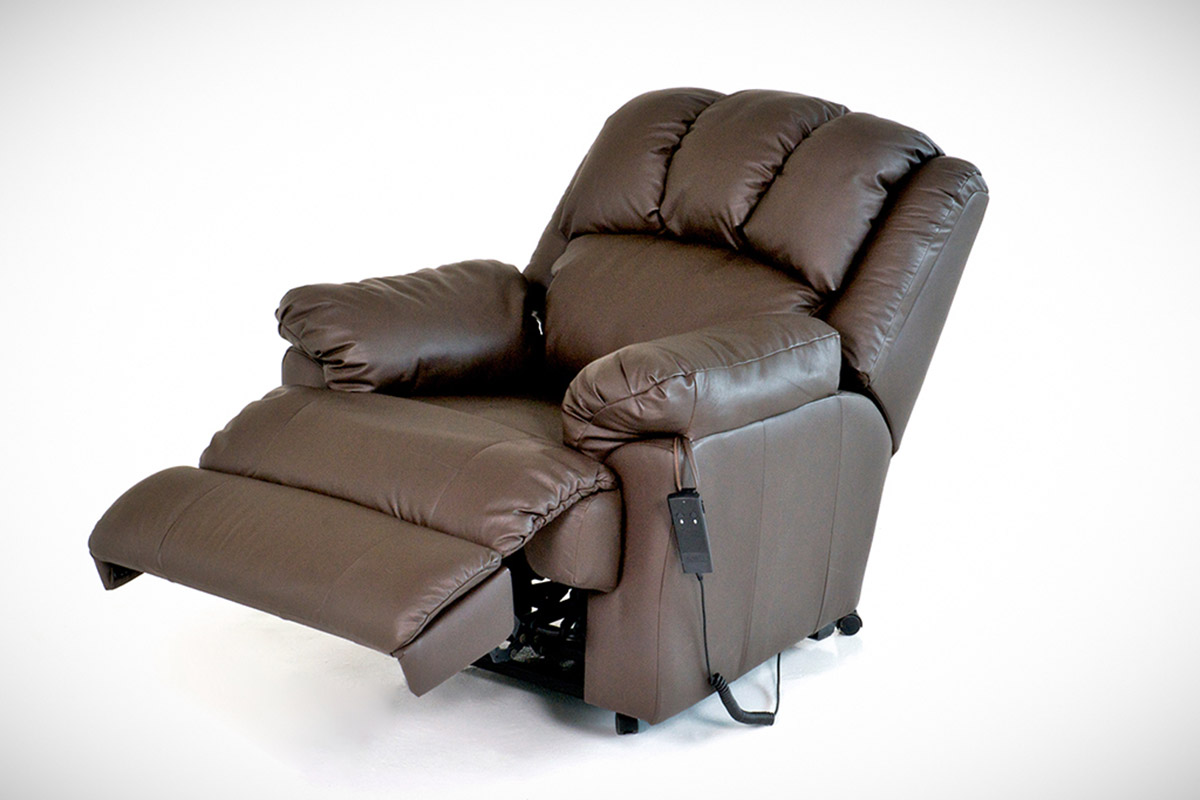
Welcome to our guide on how to fix a leaning recliner. Recliners are a popular and comfortable addition to any living room, providing a cozy spot to relax and unwind. However, over time, improper use or wear and tear can cause a recliner to start leaning to one side, making it uncomfortable and potentially ruining your lounging experience. The good news is that most leaning recliners can be fixed with a few simple steps and adjustments.
In this guide, we will walk you through the process of identifying and fixing the issue, ensuring that your recliner is restored to its original comfort and stability. Whether your recliner leans to the left or right, these steps will help you solve the problem and get back to enjoying your favorite TV shows, movies, or reading sessions.
Before we begin, it is important to note that if your recliner is still under warranty, it is advisable to contact the manufacturer or retailer for assistance. They may provide repair services or offer guidance specific to your recliner model.
Now, let’s dive into the steps to fix a leaning recliner and reclaim your comfortable seating spot.
Key Takeaways:
- Easily fix a leaning recliner by identifying the issue, tightening screws, adjusting the tension mechanism, and replacing damaged parts. Seek professional help if needed for a comfortable living room experience.
- Regular maintenance, caution, and professional assistance can restore your recliner’s comfort and stability. Follow the steps and enjoy a balanced seating experience in your living room.
Read more: How To Fix A Recliner That Leans To One Side
Step 1: Identify the Problem
The first step in fixing a leaning recliner is to identify the underlying problem causing the imbalance. There can be several reasons why your recliner is leaning to one side. Here are a few common issues to consider:
- Uneven Floor: Check if the recliner is placed on an uneven surface. A sloping or uneven floor can cause the recliner to lean to one side. Use a level to determine if the floor is the culprit.
- Loose Screws: Inspect the recliner to see if any screws or bolts are loose. Over time, frequent use can loosen the screws, leading to an uneven seating position.
- Tension Mechanism: The tension mechanism in the recliner controls the reclining action. If this mechanism is imbalanced or damaged, it can cause the recliner to lean to one side.
- Broken or Damaged Parts: Examine the recliner for any broken or damaged parts. A cracked frame or a broken spring could be the reason behind the imbalance.
By identifying the specific issue causing your recliner to lean, you can better understand the steps needed to fix it. Let’s delve into each potential problem and the corresponding solutions in the following steps.
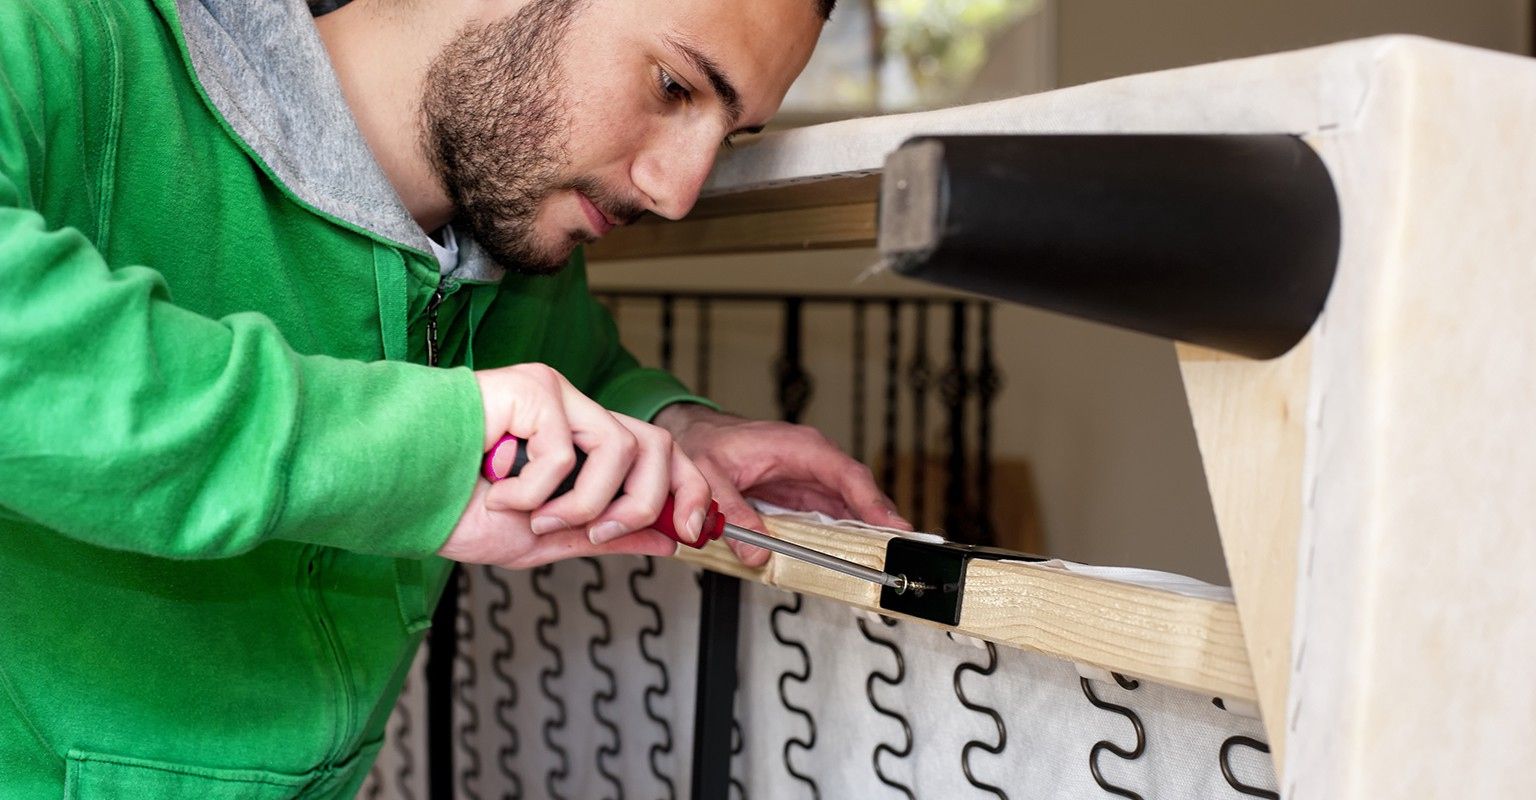
Step 2: Check and Tighten the Screws
In many cases, a leaning recliner is simply caused by loose screws. Over time, the constant movement and use of the recliner can cause screws and bolts to become loose, leading to an unstable seating position.
To fix this issue, follow these steps:
- Flip the recliner over: Carefully turn the recliner over onto its back.
- Locate loose screws and bolts: Inspect the base and frame of the recliner to identify any screws or bolts that are loose. Use a screwdriver or wrench to tighten them.
- Check all connections: Pay attention to all connection points, including the arms and backrest. Ensure that all screws and bolts are securely tightened.
- Test the recliner: Once all the screws and bolts are tightened, flip the recliner back to its original position and test it to see if the leaning issue has improved.
If this step resolves the problem and your recliner is no longer leaning, congratulations! You’ve successfully fixed the issue. However, if the recliner still leans, proceed to the next step.
Remember to use appropriate tools and exercise caution when tightening screws and bolts. Over-tightening can lead to stripped threads or damaged parts. If you are uncertain about the correct level of tightness, consult the recliner’s manual or seek professional assistance.
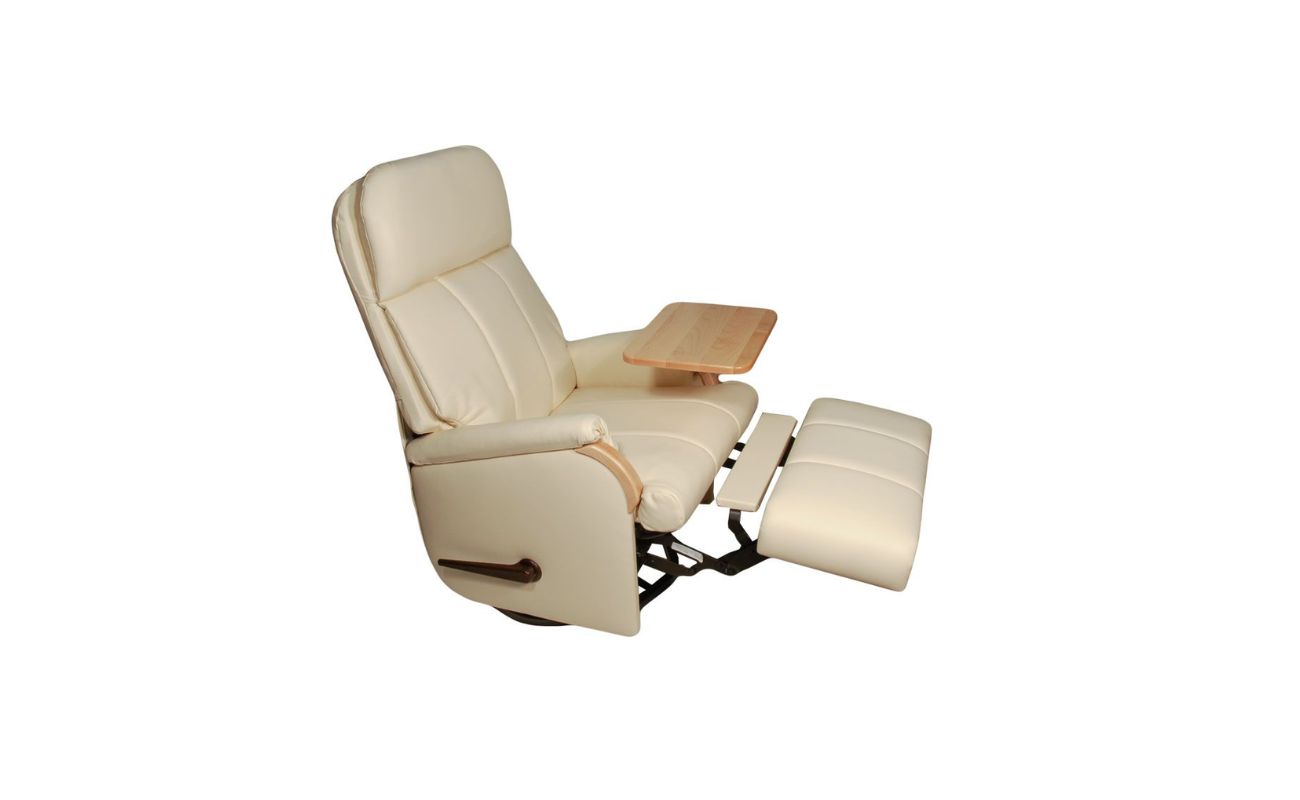
Step 3: Adjust the Recliner’s Tension Mechanism
If tightening the screws didn’t fix the leaning issue, it’s worth checking and adjusting the recliner’s tension mechanism. The tension mechanism controls the reclining action of the chair, and if it’s imbalanced or damaged, it can cause the recliner to lean to one side.
Follow these steps to adjust the tension mechanism:
- Locate the tension adjustment knob: Depending on the recliner model, the tension adjustment knob can typically be found on the underside of the recliner, near the reclining mechanism.
- Turn the knob: Start by turning the knob one way to increase or decrease the tension. Test the reclining motion after each adjustment to see if the leaning issue improves.
- Experiment with different settings: Gradually adjust the tension knob in small increments until you find the setting that provides a balanced and comfortable reclining position.
If you are unsure about the correct direction to turn the tension adjustment knob, consult the recliner’s manual or contact the manufacturer for guidance specific to your recliner model.
After making the necessary adjustments, test the recliner again to see if the leaning issue has been resolved. If the recliner is still leaning, proceed to the next step to troubleshoot further.
Remember to make small adjustments and test the recliner after each one to avoid over-tightening or causing additional damage to the tension mechanism.
Check the recliner’s frame for any signs of damage or wear. Tighten any loose screws or bolts. If the recliner still leans, consider adding shims under the feet to level it out.
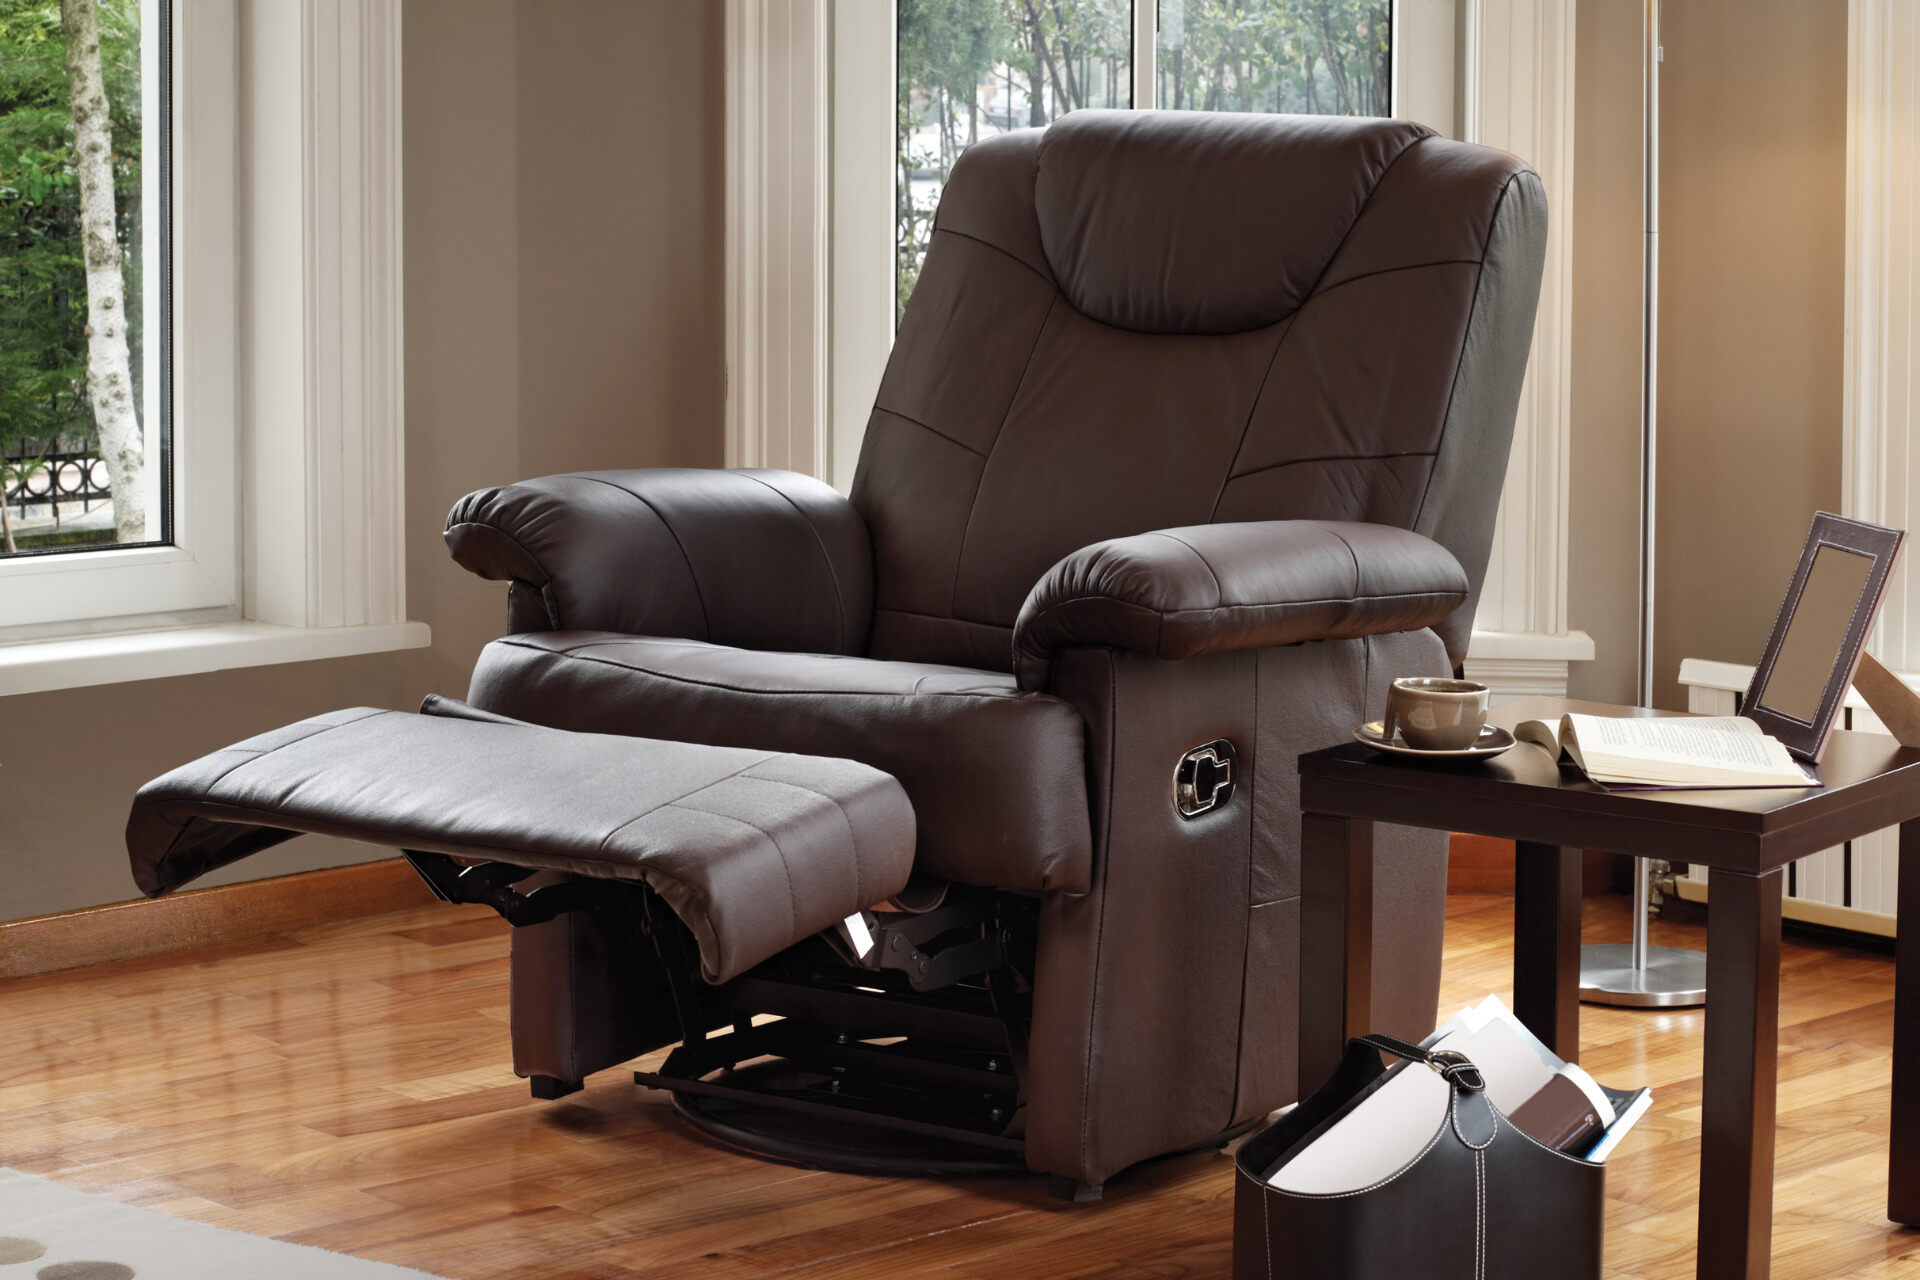
Step 4: Replace Broken or Damaged Parts
If your recliner is still leaning after checking the screws and adjusting the tension mechanism, it’s possible that there may be broken or damaged parts contributing to the issue. Components such as the frame, springs, or other internal mechanisms can wear down or break over time, leading to an unbalanced seating position.
Follow these steps to replace any broken or damaged parts:
- Identify the damaged part: Carefully examine the recliner to identify any visibly broken or damaged components. This could include the frame, springs, or other internal mechanisms.
- Order replacement parts: Contact the manufacturer or a reputable furniture parts supplier to order the necessary replacement parts. Provide them with the specific details of your recliner model to ensure you receive the correct components.
- Prepare for the replacement: Once you have the replacement parts, make sure you have the necessary tools and equipment to disassemble the recliner and install the new parts.
- Follow the manufacturer’s instructions: Consult the recliner’s manual or any accompanying instructions for guidance on how to properly replace the damaged parts. If instructions are not available, consider seeking professional help to ensure the replacement process is done correctly.
Replacing broken or damaged parts may require some technical knowledge and expertise. If you are not confident in your abilities or if the recliner is still under warranty, it is recommended to contact a professional furniture repair service for assistance.
Remember, improper installation of replacement parts can lead to further damage to the recliner or compromise its overall functionality. Take your time and follow the instructions carefully to ensure a successful repair.
Read more: How To Fix Leaning Fence Post
Step 5: Level the Recliner Using Shims
If your recliner is still leaning after checking the screws, adjusting the tension mechanism, and replacing any broken or damaged parts, leveling the recliner using shims can be a simple and effective solution.
Follow these steps to level your recliner using shims:
- Measure the gap: Place a level on the seat or base of the recliner and determine the direction and amount of the tilt. This will help you determine the size and number of shims needed.
- Choose the right shims: Purchase plastic or wooden shims from a hardware store that are sturdy and of appropriate thickness to fill the gap and level the recliner.
- Insert the shims: Carefully lift the leaning side of the recliner and insert the shims between the base or frame and the floor. Start with one shim and add more if needed to achieve a level position. Place them strategically to distribute the weight evenly.
- Test the stability: Sit on the recliner and test its stability. Adjust the shims as necessary to ensure a balanced and comfortable seating experience.
Shims are a temporary solution to level a recliner and should not be considered a permanent fix. If you notice that the recliner continues to lean even with the shims, it may be an indication of a more significant underlying issue or structural problem. In such cases, seeking professional help is advisable to prevent further damage.
Remember, it’s essential to periodically check and adjust the shims as they may shift or compress over time. Regular maintenance will help ensure that your recliner remains level and stable.
Step 6: Seek Professional Help if Necessary
If you have followed the previous steps and your recliner is still leaning, it may be time to seek professional help. Some issues may require the expertise of a furniture repair specialist who can assess and diagnose the problem more accurately.
Here are some signs that indicate it’s time to call in the professionals:
- Persistent leaning: If your recliner continues to lean despite your best efforts to fix it, it could be a sign of a more complex underlying issue that requires professional attention.
- Structural damage: If you’ve identified significant structural damage to the recliner, such as a cracked or broken frame, it’s best to leave the repairs to an experienced technician who can properly address the issue.
- Limited technical knowledge: If you feel uncomfortable or lack the technical expertise to tackle the problem on your own, it’s always better to reach out to professionals who have the necessary tools and knowledge to handle recliner repairs.
- Warranty coverage: If your recliner is still under warranty, contact the manufacturer or retailer to inquire about repair services or warranty coverage that can save you from any out-of-pocket expenses.
Professional furniture repair specialists have the expertise to diagnose and repair complex issues. They can disassemble the recliner, replace damaged parts, and address any other underlying problems that may be causing the leaning. They have access to specialized tools and resources that ensure an accurate and thorough repair.
Remember to do your research and choose a reputable furniture repair service with good customer reviews and a track record of servicing recliners. Inquire about their expertise in handling leaning recliners and whether they offer any guarantees on their work.
By seeking professional help when necessary, you can have peace of mind knowing that your recliner will be properly repaired and restored to its original comfort and stability.
Conclusion
Fixing a leaning recliner is a relatively straightforward process that can help restore comfort and stability to your favorite seating spot in the living room. By following the steps outlined in this guide, you can identify and address the underlying issues causing the recliner to lean to one side.
Throughout the process, it is crucial to approach the repair with caution and follow the manufacturer’s instructions or seek professional assistance when needed. This will ensure that the recliner is fixed correctly and prevent any further damage.
Remember, the steps to fix a leaning recliner include identifying the problem, checking and tightening screws, adjusting the tension mechanism, replacing any broken or damaged parts, leveling the recliner using shims, and seeking professional help if necessary. By systematically addressing each potential issue, you increase the likelihood of resolving the leaning problem and enjoying a comfortable seating experience again.
If you encounter any difficulties or are unsure about any steps, it’s advisable to consult the recliner’s manual or contact the manufacturer for guidance. They may be able to provide specific instructions or recommend a professional repair service.
Lastly, don’t forget the importance of regular maintenance and care to prevent future issues with your recliner. Regularly checking and tightening screws, cleaning and lubricating moving parts, and avoiding excessive force or weight can help prolong the lifespan and functionality of your recliner.
We hope that this guide has been helpful in assisting you with fixing your leaning recliner. By taking the necessary steps and investing a little time and effort, you can restore balance and comfort to your favorite piece of living room furniture.
Frequently Asked Questions about How To Fix A Leaning Recliner
Was this page helpful?
At Storables.com, we guarantee accurate and reliable information. Our content, validated by Expert Board Contributors, is crafted following stringent Editorial Policies. We're committed to providing you with well-researched, expert-backed insights for all your informational needs.


0 thoughts on “How To Fix A Leaning Recliner”