Home>Furniture & Design>Living Room Furniture>How To Fix Recliner Cable

Living Room Furniture
How To Fix Recliner Cable
Modified: August 17, 2024
Learn how to fix a recliner cable and restore your living room furniture to its former glory with our expert tips and advice. Discover the best solutions for repairing your favorite recliner.
(Many of the links in this article redirect to a specific reviewed product. Your purchase of these products through affiliate links helps to generate commission for Storables.com, at no extra cost. Learn more)
Introduction
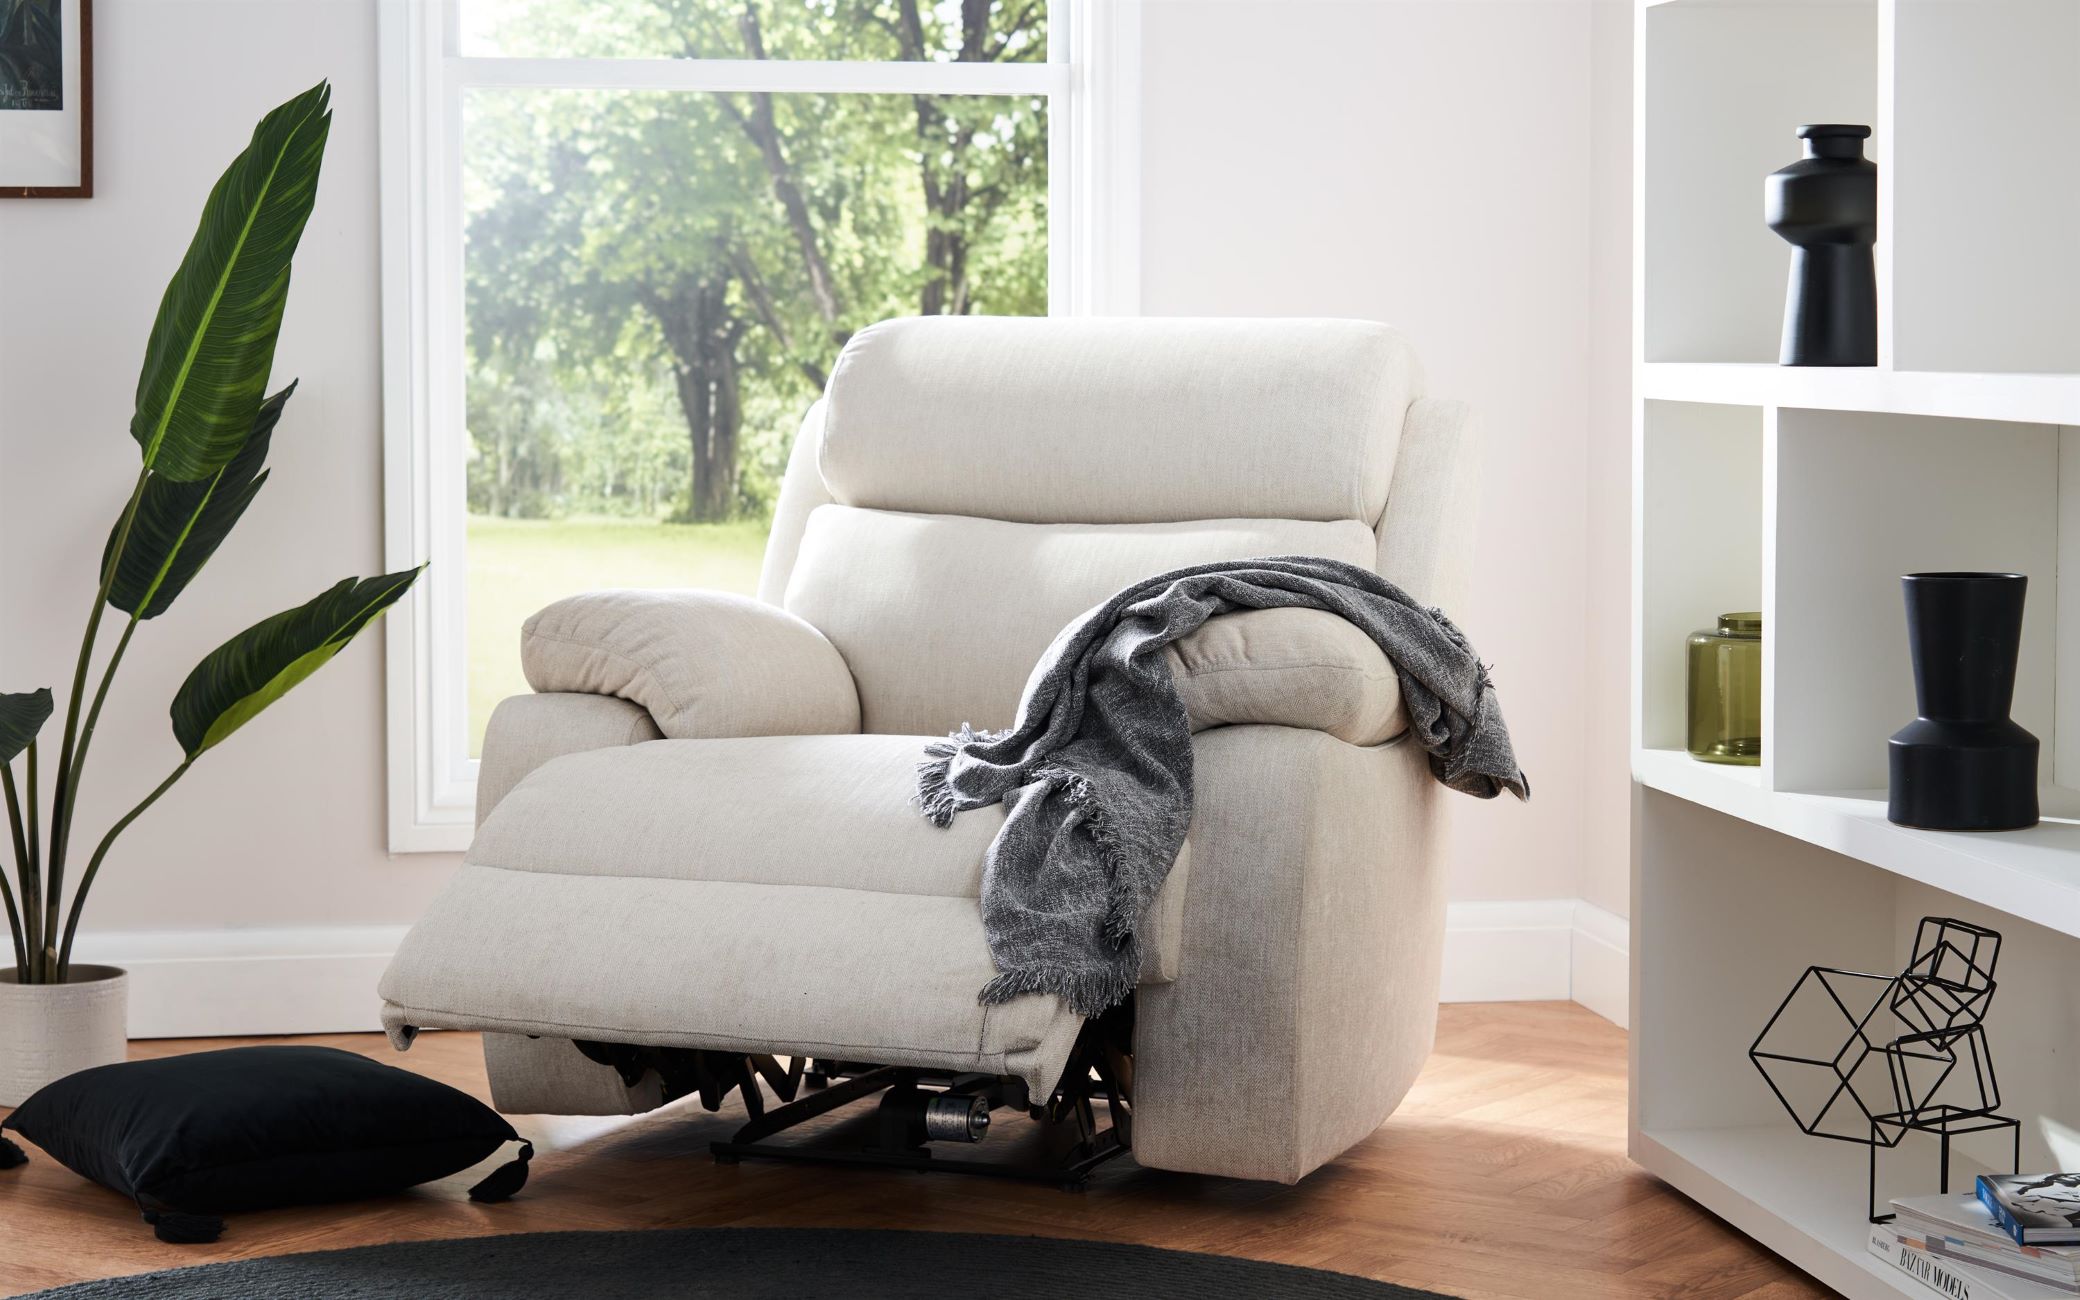
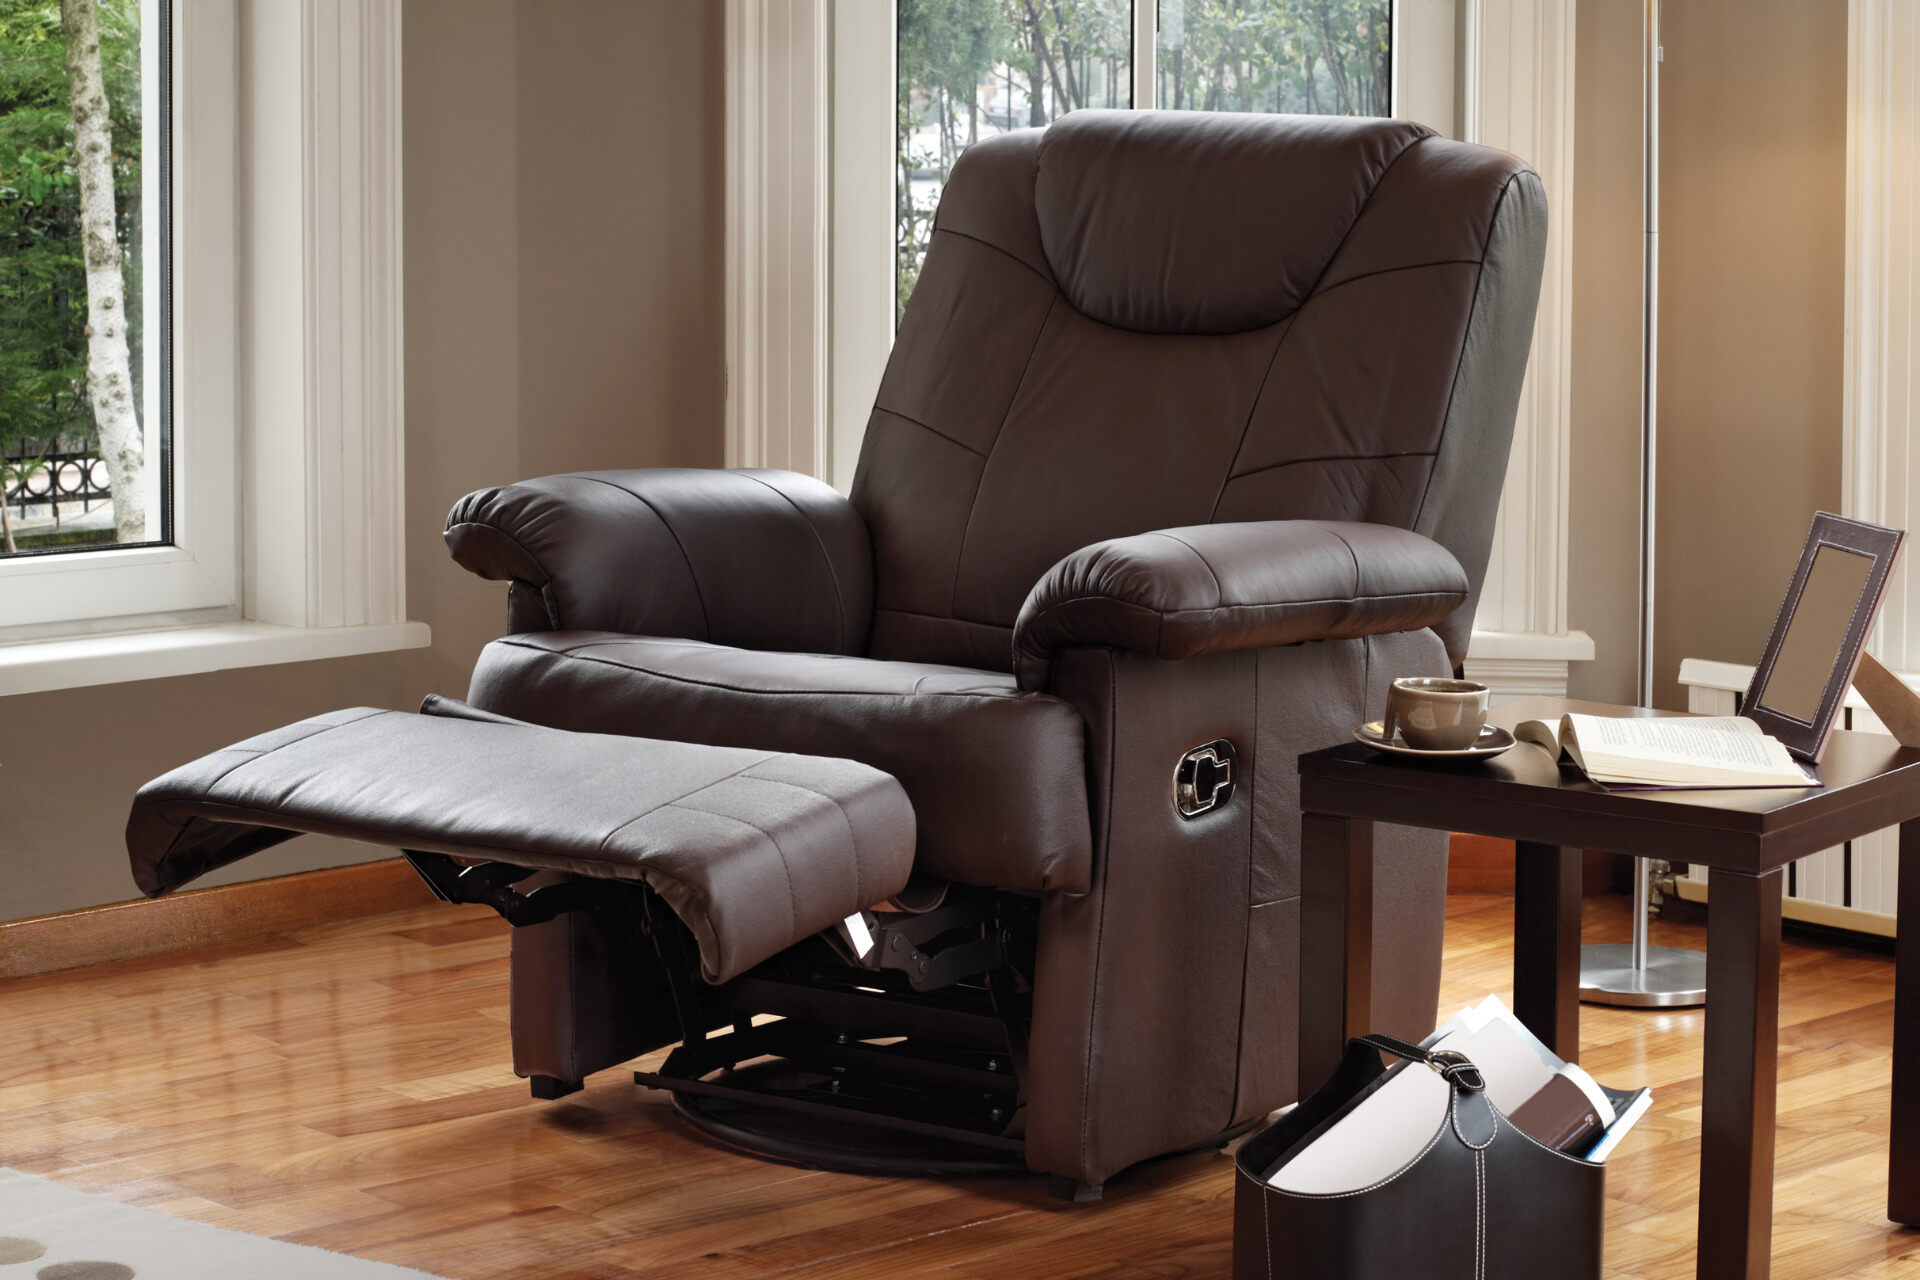
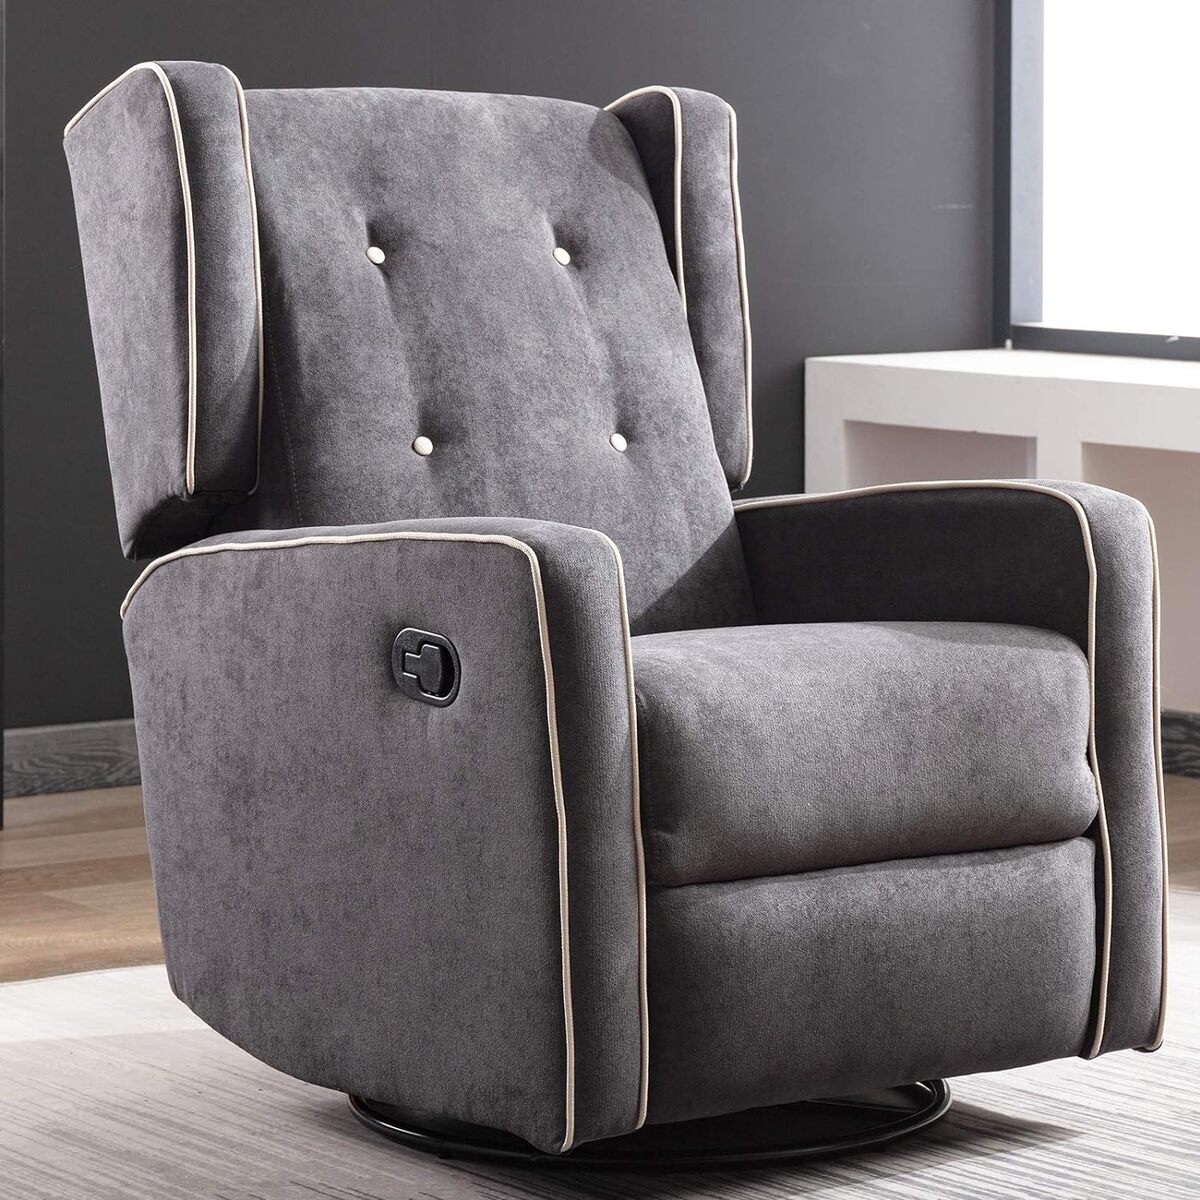
A recliner is often the centerpiece of a cozy living room, offering unparalleled comfort and relaxation. However, over time, the recliner cable may wear out or become damaged, leading to issues with the reclining mechanism. When faced with a malfunctioning recliner cable, it's essential to address the problem promptly to restore the functionality of this beloved piece of furniture.
In this comprehensive guide, we will delve into the process of fixing a recliner cable, providing step-by-step instructions and valuable insights to help you tackle this task with confidence. Whether you're a seasoned DIY enthusiast or a novice in the realm of furniture repair, this guide will equip you with the knowledge and skills needed to successfully replace a recliner cable and revive your favorite relaxation spot.
By understanding the intricacies of the recliner cable and following the outlined steps, you can breathe new life into your recliner, ensuring that it continues to serve as a comfortable and inviting haven within your home. So, let's roll up our sleeves and embark on this rewarding journey to restore the functionality of your cherished recliner.
Key Takeaways:
- Fixing a recliner cable is like giving your favorite chair a new lease on life. By understanding, replacing, and testing the cable, you can ensure your recliner continues to be a cozy haven in your home.
- With the right tools and step-by-step instructions, replacing a recliner cable can be a rewarding DIY project. It’s a chance to revive your beloved chair and maintain a comfortable living space.
Read more: How To Fix A Recliner
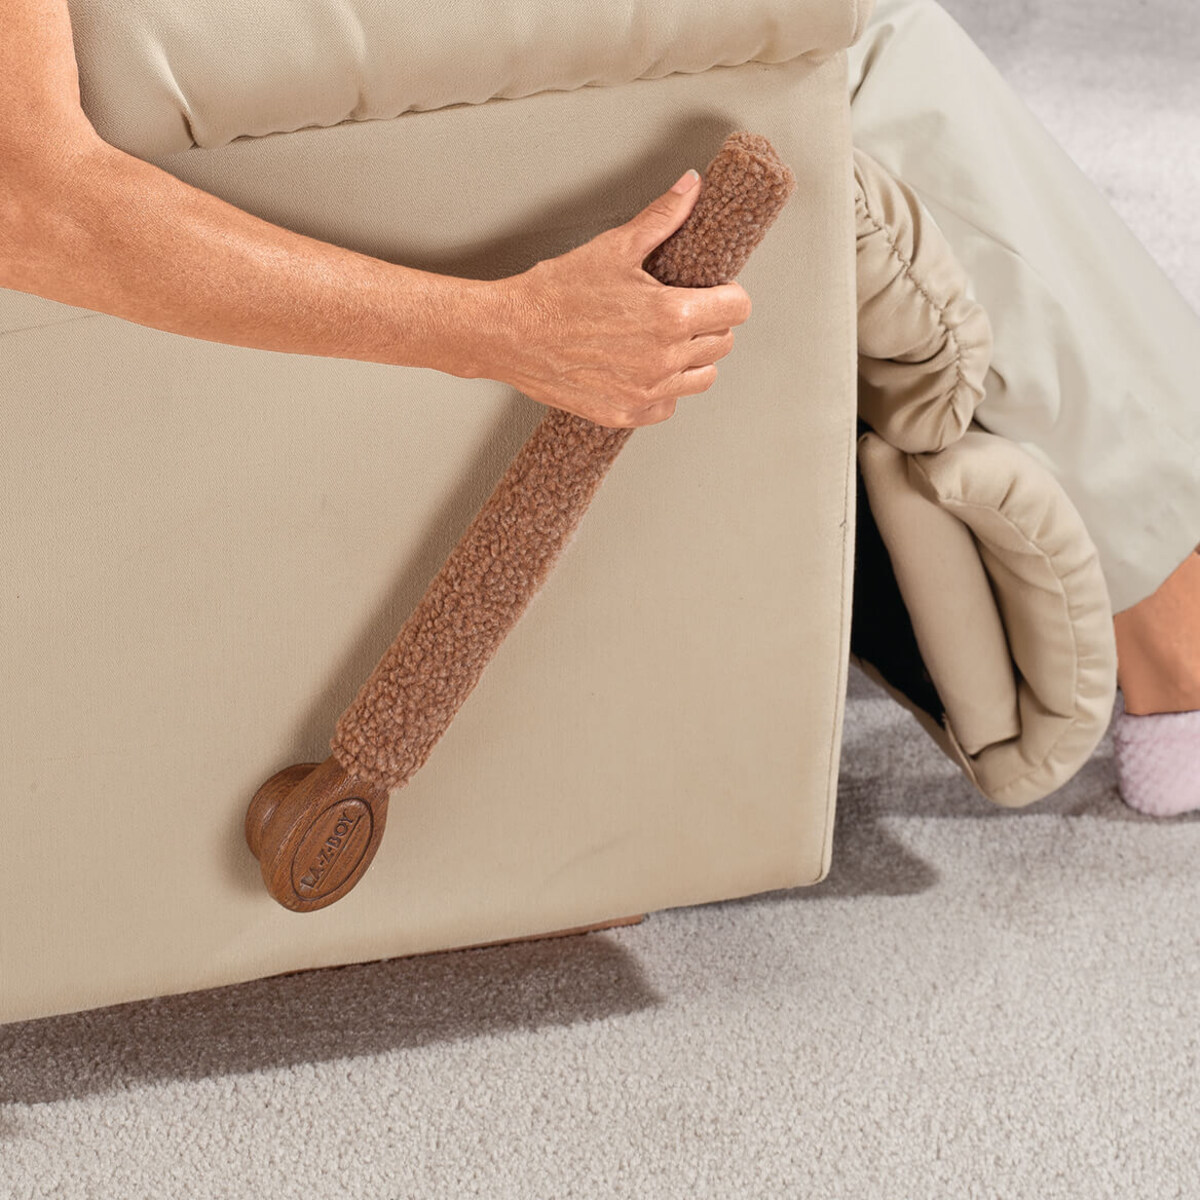
Understanding the recliner cable
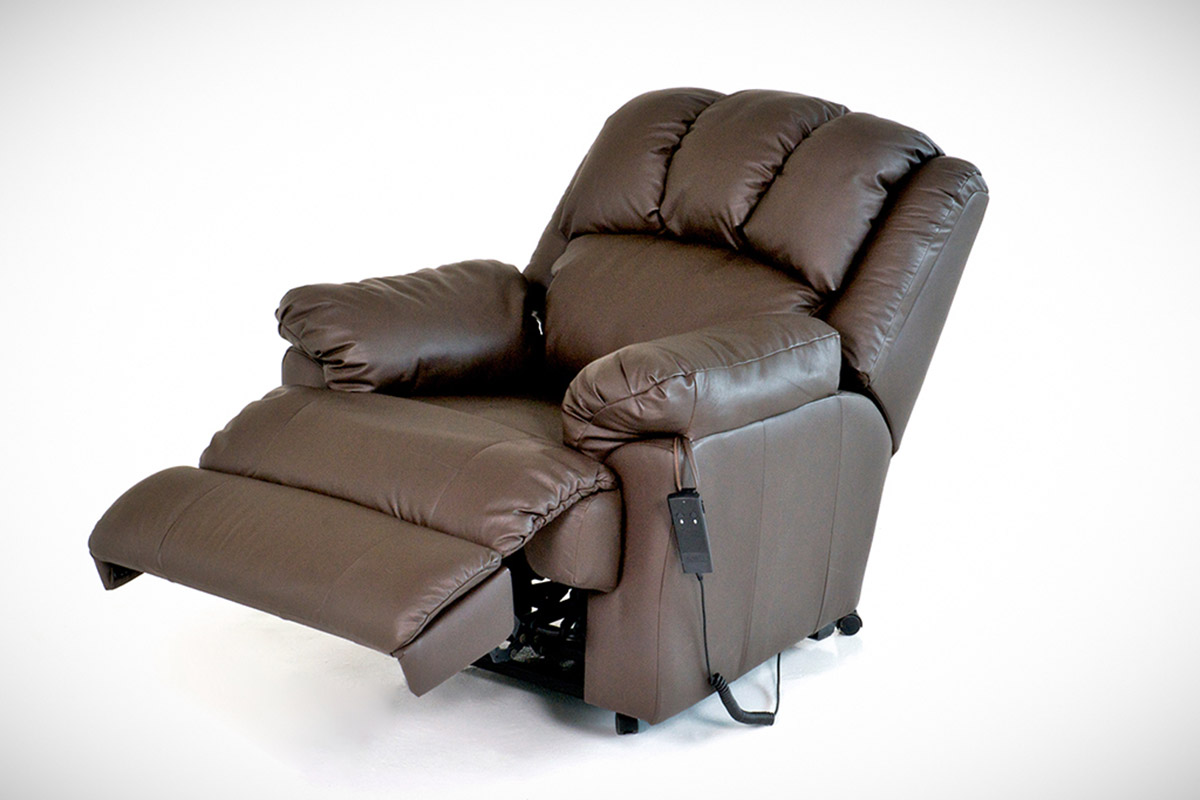
The recliner cable is a crucial component of the reclining mechanism, serving as the conduit through which the user can effortlessly adjust the position of the recliner. It is responsible for transmitting the user's movements to the internal mechanisms of the recliner, allowing for seamless reclining and returning to an upright position.
Typically, the recliner cable consists of a durable, flexible wire encased in a protective outer sheath, designed to withstand the rigors of frequent use. This wire is attached to the recliner's handle or lever, and upon activation, it engages the reclining mechanism, enabling the user to recline or return the chair to its upright position.
Over time, the recliner cable may experience wear and tear due to continuous usage, leading to fraying, stretching, or breakage. Additionally, the cable may become misaligned or dislodged from its designated track, impeding the smooth operation of the recliner.
Understanding the intricacies of the recliner cable is essential for diagnosing and addressing issues related to recliner functionality. By familiarizing oneself with the construction and function of the cable, individuals can gain insight into potential points of failure and determine the appropriate course of action for repair or replacement.
When examining the recliner cable, it is important to assess its condition, including the integrity of the wire, the functionality of the handle or lever attachment, and the overall alignment within the recliner's framework. This comprehensive evaluation enables individuals to pinpoint the specific areas requiring attention and facilitates the selection of the most suitable replacement cable.
In essence, the recliner cable serves as the lifeline of the reclining mechanism, facilitating effortless adjustments and ensuring a seamless reclining experience. By gaining a thorough understanding of this vital component, individuals can effectively troubleshoot issues and embark on the process of restoring their recliner to optimal functionality.
Tools and materials needed
Before embarking on the task of fixing a recliner cable, it's essential to gather the necessary tools and materials to ensure a smooth and efficient repair process. Here's a comprehensive list of items that will be indispensable for replacing the recliner cable:
Tools:
-
Screwdriver Set: A set of screwdrivers, including both flathead and Phillips head varieties, will be essential for removing screws and accessing the internal components of the recliner.
-
Pliers: Both needle-nose pliers and regular pliers will aid in manipulating and securing various components during the cable replacement process.
-
Adjustable Wrench: An adjustable wrench will be useful for loosening and tightening nuts and bolts, providing the necessary leverage for disassembling and reassembling the recliner.
-
Scissors or Wire Cutters: These tools will be required for cutting and trimming the new recliner cable to the appropriate length, ensuring a precise fit within the recliner mechanism.
-
Flashlight: A flashlight will assist in illuminating the internal components of the recliner, especially in dimly lit areas, enabling a clear view during the cable replacement process.
Materials:
-
Replacement Recliner Cable: Acquiring a high-quality replacement recliner cable that matches the specifications of the original cable is paramount for ensuring optimal functionality and longevity.
-
Lubricant: A suitable lubricant, such as silicone-based or graphite lubricant, will aid in maintaining smooth operation of the recliner mechanism, reducing friction and prolonging the lifespan of the new cable.
-
Cleaning Cloth: A soft, lint-free cleaning cloth will be useful for wiping down the internal components of the recliner, removing any accumulated debris or dust that may impede the functionality of the mechanism.
-
Protective Gloves: It's advisable to wear protective gloves to safeguard your hands during the repair process, especially when handling sharp edges or applying lubricant.
-
Safety Glasses: Donning safety glasses is crucial for eye protection, particularly when working with tools or components that may generate debris or particles.
By ensuring that these tools and materials are readily available, individuals can approach the task of replacing the recliner cable with confidence and preparedness, setting the stage for a successful and rewarding repair endeavor.
Read more: How To Fix Recliner Footrest
Step 1: Removing the old cable
The initial phase of replacing a recliner cable involves the meticulous removal of the existing, worn-out cable. This process requires a systematic approach to disassemble the recliner, gaining access to the internal components and facilitating the safe extraction of the old cable. By following these step-by-step instructions, individuals can effectively navigate the removal process, setting the stage for the subsequent installation of the new cable.
-
Prepare the Work Area: Begin by positioning the recliner in a well-lit and spacious area, ensuring ample room to maneuver around the chair. Clear any obstructions and create a comfortable working environment to facilitate the disassembly process.
-
Locate the Cable Attachment Points: Carefully examine the recliner to identify the attachment points of the old cable. These attachment points are typically situated near the recliner's handle or lever, as well as within the internal mechanism of the chair. Use the flashlight to illuminate hard-to-reach areas and gain a clear view of the cable's connections.
-
Remove the Handle or Lever Cover: If the recliner features a cover or panel concealing the handle or lever attachment, use the appropriate tools to carefully remove this covering. This step may involve unscrewing fasteners or gently prying the cover away to reveal the attachment point of the cable.
-
Detach the Cable from the Handle or Lever: Once the attachment point is accessible, use pliers to carefully detach the old cable from the handle or lever. Exercise caution to avoid damaging the surrounding components and ensure a smooth disconnection of the cable.
-
Access the Internal Mechanism: With the handle or lever attachment point freed from the old cable, proceed to access the internal mechanism of the recliner. This may involve removing the recliner's back panel or upholstery to reveal the cable's path within the chair's framework.
-
Unfasten Cable Retaining Hardware: Identify any retaining hardware, such as clips or fasteners, securing the old cable within the recliner's mechanism. Utilize the appropriate tools to unfasten these components, gradually releasing the old cable from its designated track.
-
Carefully Extract the Old Cable: With the retaining hardware removed, gently maneuver the old cable out of the recliner, taking care to navigate any bends or curves along its path. Exercise patience and precision to avoid causing damage to the recliner's internal components during the extraction process.
By meticulously following these steps, individuals can effectively remove the old recliner cable, paving the way for the subsequent installation of the new cable. This systematic approach ensures that the disassembly process is conducted with precision and care, setting the stage for a successful recliner cable replacement endeavor.
Step 2: Installing the new cable
With the old recliner cable successfully removed, the next pivotal phase entails the meticulous installation of the new cable, ensuring a seamless integration within the recliner's mechanism. This process demands precision, attention to detail, and a methodical approach to effectively position the replacement cable, setting the stage for the restoration of the recliner's functionality. By adhering to the following step-by-step instructions, individuals can navigate the installation process with confidence and proficiency, revitalizing their beloved recliner with a new lease on life.
-
Select the Correct Replacement Cable: Before commencing the installation, verify that the replacement recliner cable aligns with the specifications of the original cable, ensuring compatibility and optimal functionality. Confirm that the length, diameter, and attachment mechanisms of the new cable correspond to the requirements of the recliner, facilitating a seamless integration within the chair's framework.
-
Thread the New Cable into Position: Begin by carefully threading the new cable along the path previously occupied by the old cable, ensuring that it follows the designated track within the recliner's internal mechanism. Exercise patience and precision to navigate any bends or curves, guiding the cable into place without causing strain or misalignment.
-
Secure the Cable within the Mechanism: As the new cable progresses along its designated path, utilize the appropriate fasteners or retaining hardware to secure it within the recliner's mechanism. Ensure that the cable is firmly held in place, minimizing any potential movement or slack that may impede its functionality.
-
Attach the Cable to the Handle or Lever: Once the new cable reaches the handle or lever attachment point, carefully affix it to the designated mechanism, ensuring a secure and reliable connection. Use pliers to fasten the cable to the handle or lever, verifying that it engages smoothly and facilitates effortless operation.
-
Test the Cable's Functionality: With the new cable securely installed, perform a series of tests to evaluate its functionality. Engage the recliner's handle or lever, observing the cable's response as the chair transitions between upright and reclined positions. Verify that the cable operates smoothly and facilitates seamless adjustments, indicating a successful installation.
-
Adjust and Fine-Tune as Needed: If any issues or inconsistencies arise during the testing phase, make necessary adjustments to the cable's positioning or attachment points. Fine-tune the installation to rectify any potential issues, ensuring that the new cable functions optimally within the recliner's mechanism.
By meticulously following these steps, individuals can effectively install the new recliner cable, breathing new life into their cherished recliner and restoring its functionality. This meticulous approach ensures that the replacement cable integrates seamlessly within the recliner's framework, culminating in a successful and rewarding repair endeavor.
Step 3: Testing the recliner
After the meticulous installation of the new recliner cable, the crucial phase of testing the recliner becomes paramount to ensure that the replacement cable functions seamlessly within the recliner's mechanism. This pivotal step serves as the litmus test for the success of the cable replacement endeavor, allowing individuals to evaluate the chair's responsiveness and overall functionality. By following a systematic approach to testing the recliner, individuals can verify the efficacy of the new cable and address any potential issues, ensuring that the recliner is restored to its optimal state.
Engage the Reclining Mechanism
Initiate the testing phase by engaging the recliner's handle or lever, prompting the chair to transition between its upright and reclined positions. Observe the movement of the chair as the new cable facilitates the reclining mechanism, ensuring that the transition is smooth and free of any obstructions or resistance. Pay close attention to the cable's operation, verifying that it effectively translates the user's input into seamless reclining motion.
Read more: How To Fix A Leaning Recliner
Assess Stability and Alignment
As the recliner transitions between positions, assess the stability and alignment of the chair to ensure that it maintains a balanced and secure posture. Verify that the recliner remains steady and level throughout the reclining process, indicating that the new cable effectively supports the chair's movements without causing undue strain or imbalance. Additionally, confirm that the chair returns to an upright position without any irregularities or abrupt movements, signifying the successful integration of the replacement cable.
Evaluate Smooth Operation
During the testing phase, focus on the overall smoothness of the recliner's operation, paying attention to any signs of friction, resistance, or irregularities. The new cable should facilitate effortless adjustments, allowing for a seamless reclining experience without any jarring or jerky movements. By evaluating the chair's smooth operation, individuals can ascertain the effectiveness of the replacement cable and identify any potential areas requiring further adjustment or fine-tuning.
Conduct Multiple Test Cycles
Perform multiple test cycles to thoroughly evaluate the recliner's functionality and the new cable's performance. Engage the reclining mechanism repeatedly, observing the chair's response and the cable's behavior across various reclining positions. This comprehensive testing approach enables individuals to gain a comprehensive understanding of the replacement cable's reliability and ensures that it consistently delivers optimal performance under different usage scenarios.
Fine-Tune as Needed
If any issues or inconsistencies are identified during the testing phase, take the necessary steps to fine-tune the cable's installation and address any potential concerns. Make precise adjustments to the cable's positioning, attachment points, or tension to rectify any observed issues and optimize the chair's functionality. By iteratively fine-tuning the installation based on the testing outcomes, individuals can ensure that the recliner operates flawlessly with the new cable in place.
By meticulously testing the recliner following the installation of the new cable, individuals can ascertain the success of the replacement endeavor and address any potential issues to achieve optimal functionality. This thorough testing phase serves as the final validation of the cable replacement process, ensuring that the recliner is restored to its full glory, ready to provide unparalleled comfort and relaxation for years to come.
Read more: How To Fix A Recliner Handle
Conclusion
In conclusion, the process of fixing a recliner cable is a rewarding endeavor that empowers individuals to breathe new life into their beloved recliner, restoring its functionality and ensuring continued comfort and relaxation. By understanding the intricacies of the recliner cable and following the outlined steps for replacement, individuals can embark on this repair journey with confidence and proficiency.
The comprehensive understanding of the recliner cable, from its construction to its pivotal role in the reclining mechanism, equips individuals with the knowledge needed to diagnose issues and select the appropriate replacement cable. By assessing the condition of the existing cable and evaluating its attachment points, individuals can gain valuable insights into the specific areas requiring attention, laying the groundwork for a successful cable replacement process.
The meticulous approach to gathering the necessary tools and materials ensures that individuals are well-prepared to undertake the task of replacing the recliner cable. From screwdrivers and pliers to the replacement cable itself, each item plays a crucial role in facilitating a smooth and efficient repair process, setting the stage for a rewarding outcome.
The step-by-step instructions for removing the old cable and installing the new cable provide a systematic framework for individuals to navigate the intricacies of the repair process. By carefully disassembling the recliner, extracting the old cable, and methodically installing the replacement cable, individuals can ensure a seamless integration within the recliner's mechanism, culminating in the successful restoration of functionality.
The pivotal phase of testing the recliner serves as the final validation of the replacement cable's efficacy, allowing individuals to evaluate the chair's responsiveness, stability, and overall smooth operation. Through multiple test cycles and meticulous assessment, any potential issues can be identified and addressed, ensuring that the recliner operates flawlessly with the new cable in place.
Ultimately, the process of fixing a recliner cable transcends mere repair; it embodies the preservation of comfort, the revitalization of a cherished piece of furniture, and the empowerment of individuals to take proactive steps in maintaining their living space. By embracing this endeavor with enthusiasm and dedication, individuals can ensure that their recliner continues to serve as a comforting oasis within their home, ready to provide relaxation and tranquility for years to come.
Frequently Asked Questions about How To Fix Recliner Cable
Was this page helpful?
At Storables.com, we guarantee accurate and reliable information. Our content, validated by Expert Board Contributors, is crafted following stringent Editorial Policies. We're committed to providing you with well-researched, expert-backed insights for all your informational needs.

0 thoughts on “How To Fix Recliner Cable”