Home>Furniture & Design>Kitchen Furniture>How To Fix A Lazy Susan Cabinet
Kitchen Furniture
How To Fix A Lazy Susan Cabinet
Modified: January 26, 2024
Learn how to fix a lazy Susan cabinet with our expert tips and tricks. Revamp your kitchen furniture and design with our easy-to-follow solutions.
(Many of the links in this article redirect to a specific reviewed product. Your purchase of these products through affiliate links helps to generate commission for Storables.com, at no extra cost. Learn more)
Introduction
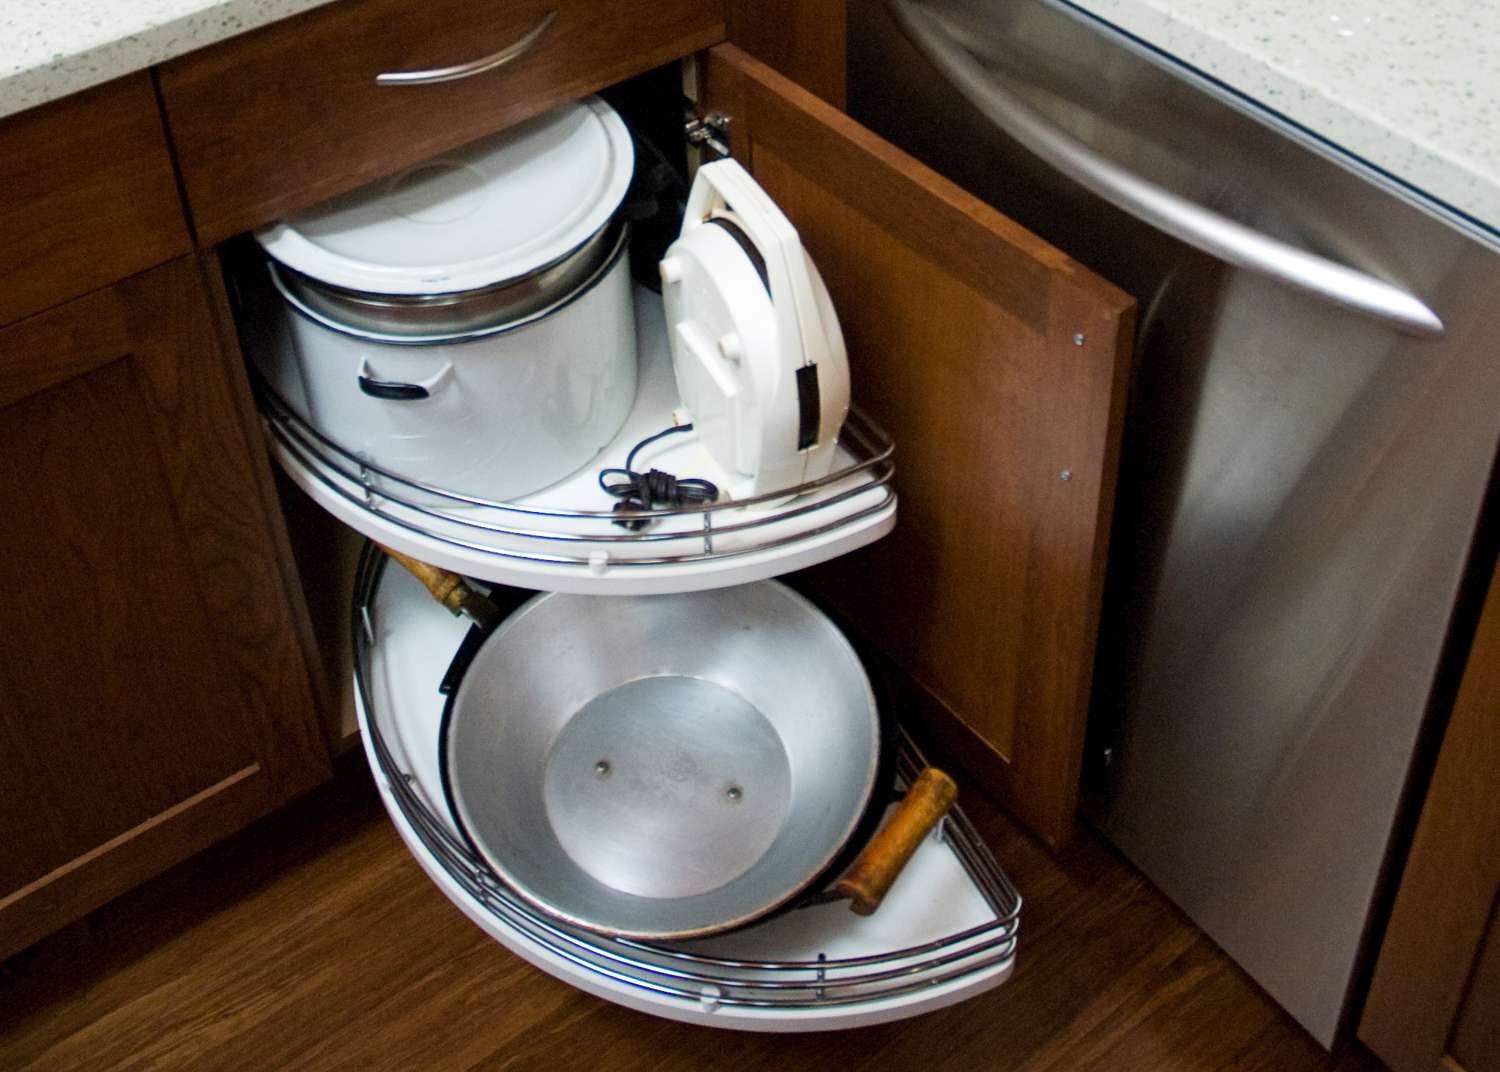
Welcome to the ultimate guide on fixing a lazy Susan cabinet! A lazy Susan cabinet is a fantastic addition to any kitchen, providing easy access to items stored in the corner. However, over time, the mechanism might become stiff or misaligned, making it challenging to rotate the shelves smoothly. But fear not! With a few simple steps and the right tools, you can restore your lazy Susan cabinet to its former glory.
In this comprehensive guide, we will walk you through the process of fixing a lazy Susan cabinet, from removing the shelves to adjusting the mechanism and reinstalling the shelves. By the end of this article, you'll have the knowledge and confidence to tackle this common kitchen cabinet issue with ease.
So, grab your tools, roll up your sleeves, and let's dive into the world of lazy Susan cabinets!
Key Takeaways:
- Revive your lazy Susan cabinet by removing, adjusting, and reinstalling the shelves. Test its smooth rotation and enjoy easy access to kitchen items once again!
- With basic tools and steps, fix your lazy Susan cabinet to restore convenience and organization in your kitchen. Enjoy the satisfaction of a job well done!
Read more: How Big Is A Lazy Susan Cabinet
Tools and Materials
Before embarking on the journey of fixing your lazy Susan cabinet, it’s essential to gather the necessary tools and materials. Here’s what you’ll need:
- Phillips-head screwdriver: To remove screws holding the lazy Susan shelves in place.
- Flat-head screwdriver: Useful for prying and adjusting the mechanism.
- Adjustable wrench: For tightening or loosening bolts and nuts.
- Lubricant (e.g., WD-40): To lubricate the rotating mechanism and ensure smooth operation.
- Clean cloth: For wiping off any accumulated dust or debris.
- Newspaper or drop cloth: To protect the surrounding area from any potential grease or dirt.
- Replacement hardware (if necessary): In case any components need to be replaced.
With these tools and materials at your disposal, you’ll be well-equipped to tackle the task of fixing your lazy Susan cabinet. Now, let’s move on to the step-by-step process of reviving this essential kitchen feature!
Step 1: Remove the Lazy Susan Shelves
The first step in fixing a lazy Susan cabinet is to remove the shelves. This process allows you to access the rotating mechanism and address any underlying issues. Here’s how to do it:
- Clear the Shelves: Begin by removing any items stored on the lazy Susan shelves. This will make the removal process easier and prevent any items from falling during the procedure.
- Locate the Mounting Screws: Using a Phillips-head screwdriver, locate and remove the mounting screws that secure the shelves to the cabinet. These screws are typically found on the underside of the shelves.
- Detach the Shelves: Once the screws are removed, carefully lift the shelves out of the cabinet. It’s important to handle them with care to avoid damage.
- Set Aside the Shelves: Place the removed shelves in a safe and clean area, ensuring they are not at risk of being scratched or dented during the repair process.
With the shelves removed, you now have clear access to the lazy Susan mechanism, allowing you to proceed with the necessary adjustments. This sets the stage for the next steps in restoring the functionality of your lazy Susan cabinet. Now, let’s move on to the crucial task of adjusting the mechanism itself!
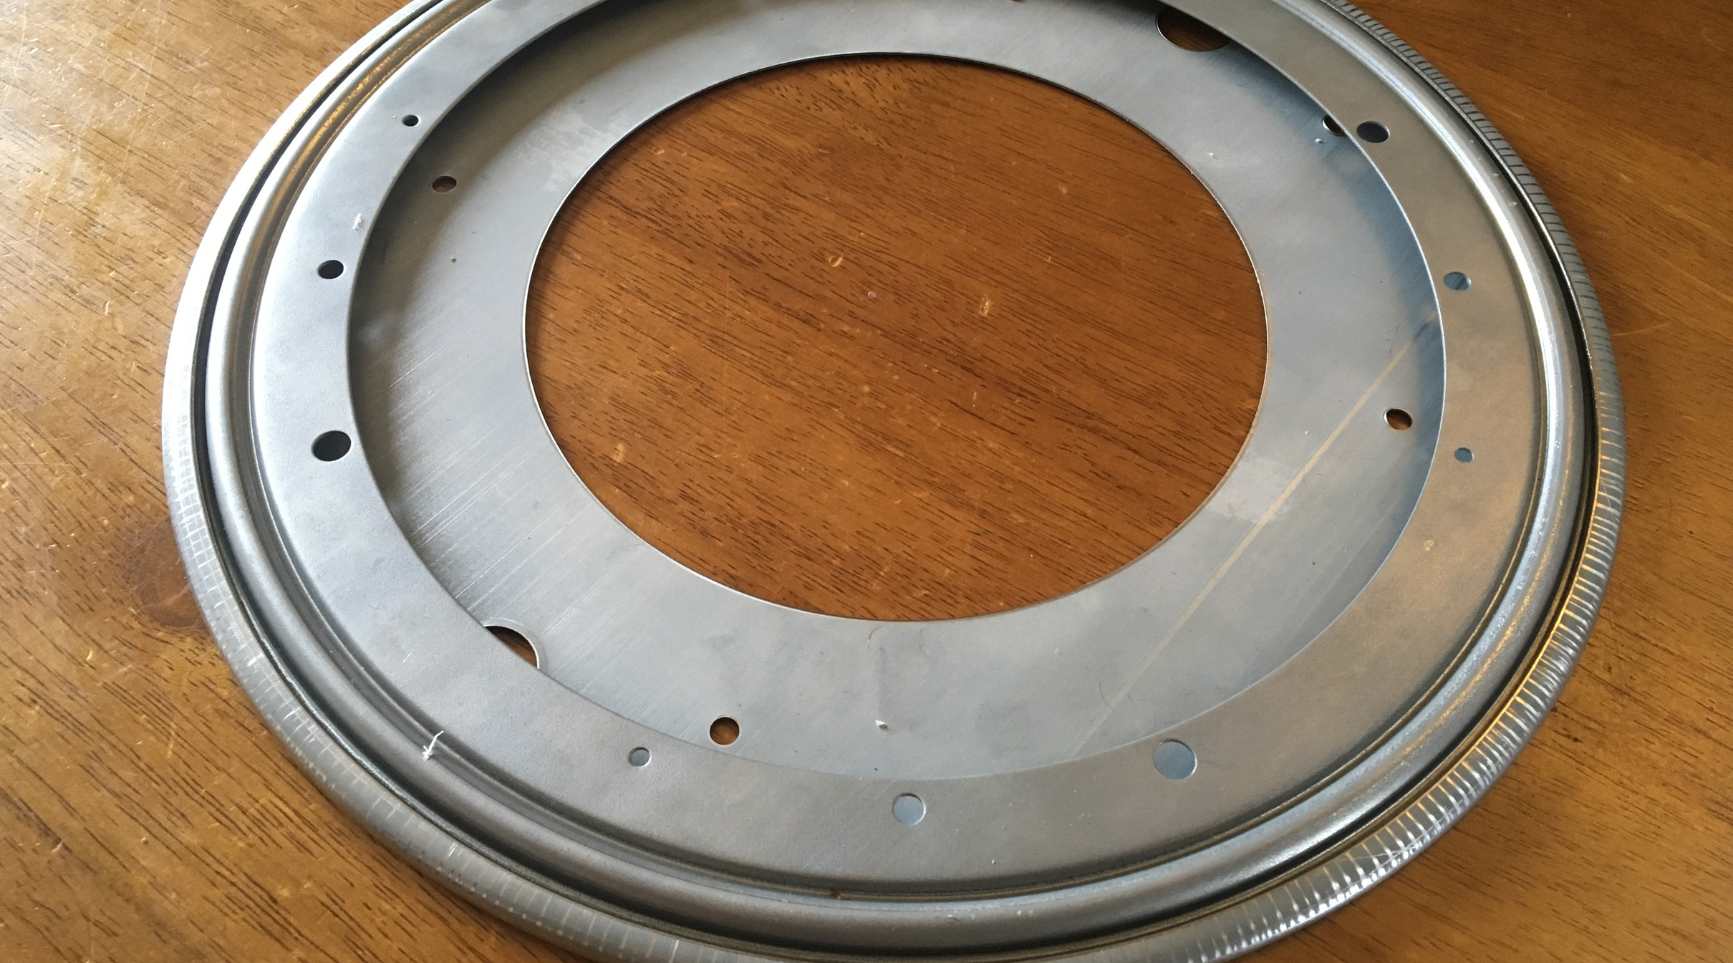
Step 2: Adjust the Lazy Susan Mechanism
Now that the shelves are safely removed, it’s time to focus on the lazy Susan mechanism itself. This step involves making adjustments to ensure that the rotating mechanism operates smoothly and efficiently. Here’s a detailed guide on how to proceed:
- Inspect the Mechanism: Take a close look at the rotating mechanism, examining it for any visible signs of wear, damage, or misalignment. Look for loose bolts, worn-out components, or any obstructions that may hinder the rotation.
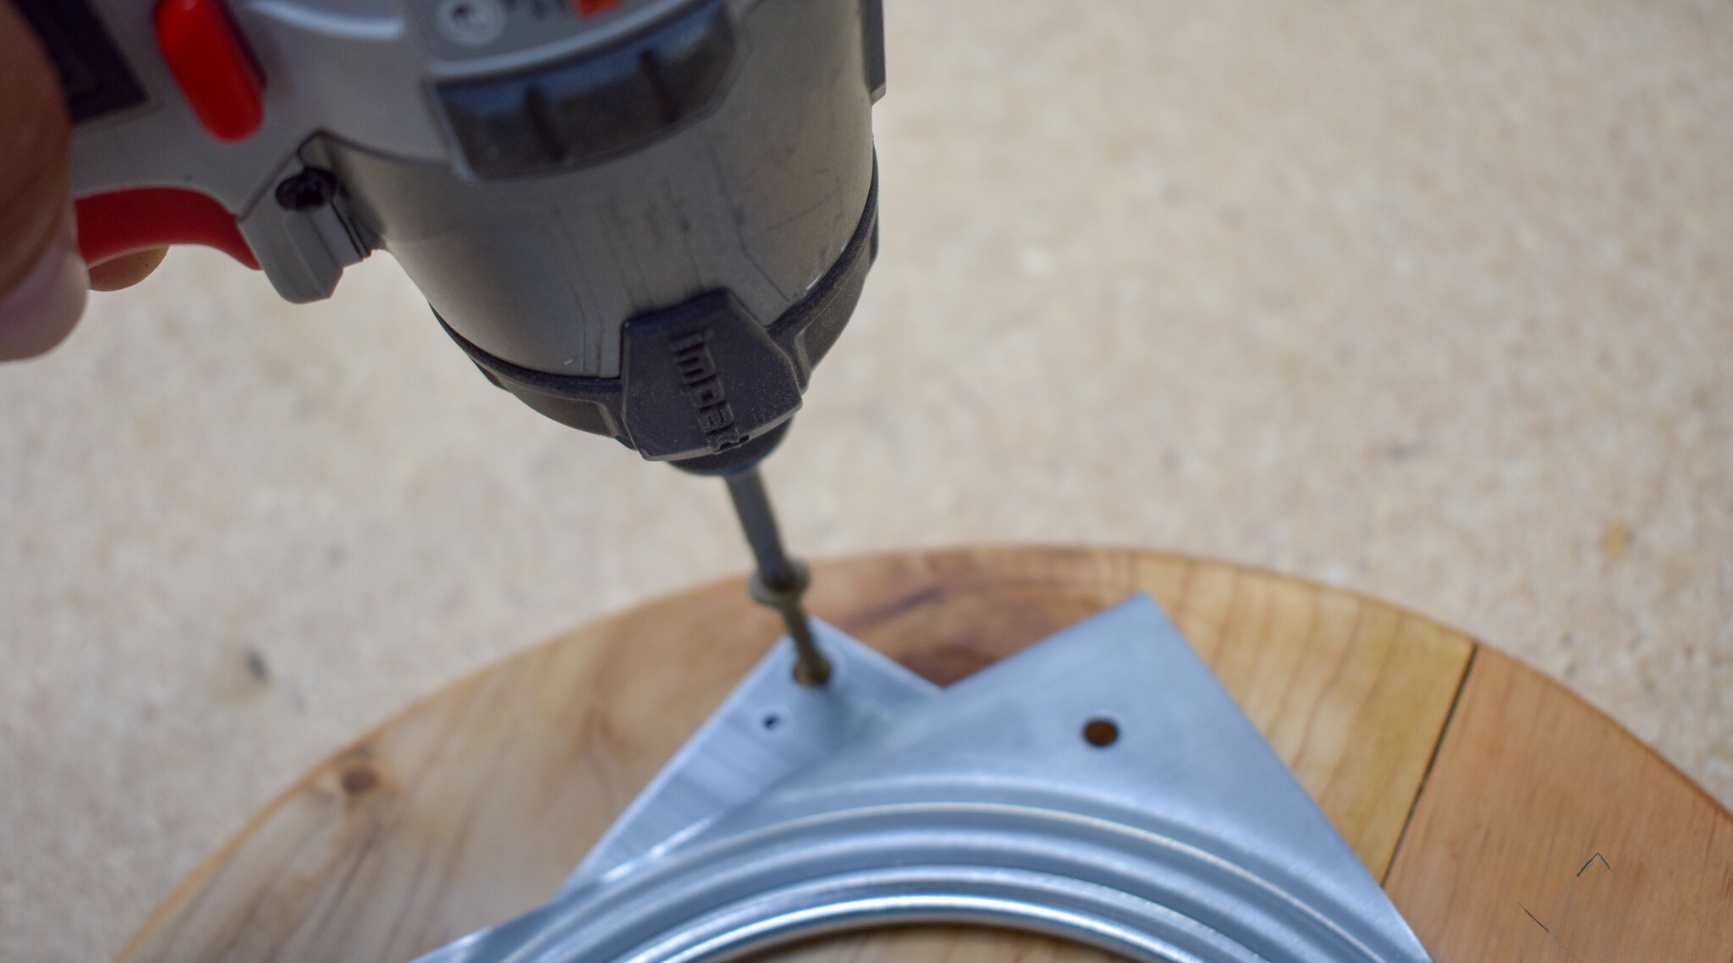
- Tighten Loose Components: Using an adjustable wrench, carefully tighten any loose bolts or nuts within the mechanism. This will help stabilize the rotating unit and prevent unnecessary wobbling or uneven movement.
- Lubricate Moving Parts: Apply a generous amount of lubricant, such as WD-40, to the moving parts of the lazy Susan mechanism. Ensure that the rotating platform and bearings are well-lubricated to facilitate smooth rotation.
- Check for Obstructions: Carefully inspect the area around the mechanism for any debris, accumulated dust, or other obstructions that may impede its operation. Use a clean cloth to wipe away any dirt or grime, ensuring that the mechanism is clean and unobstructed.
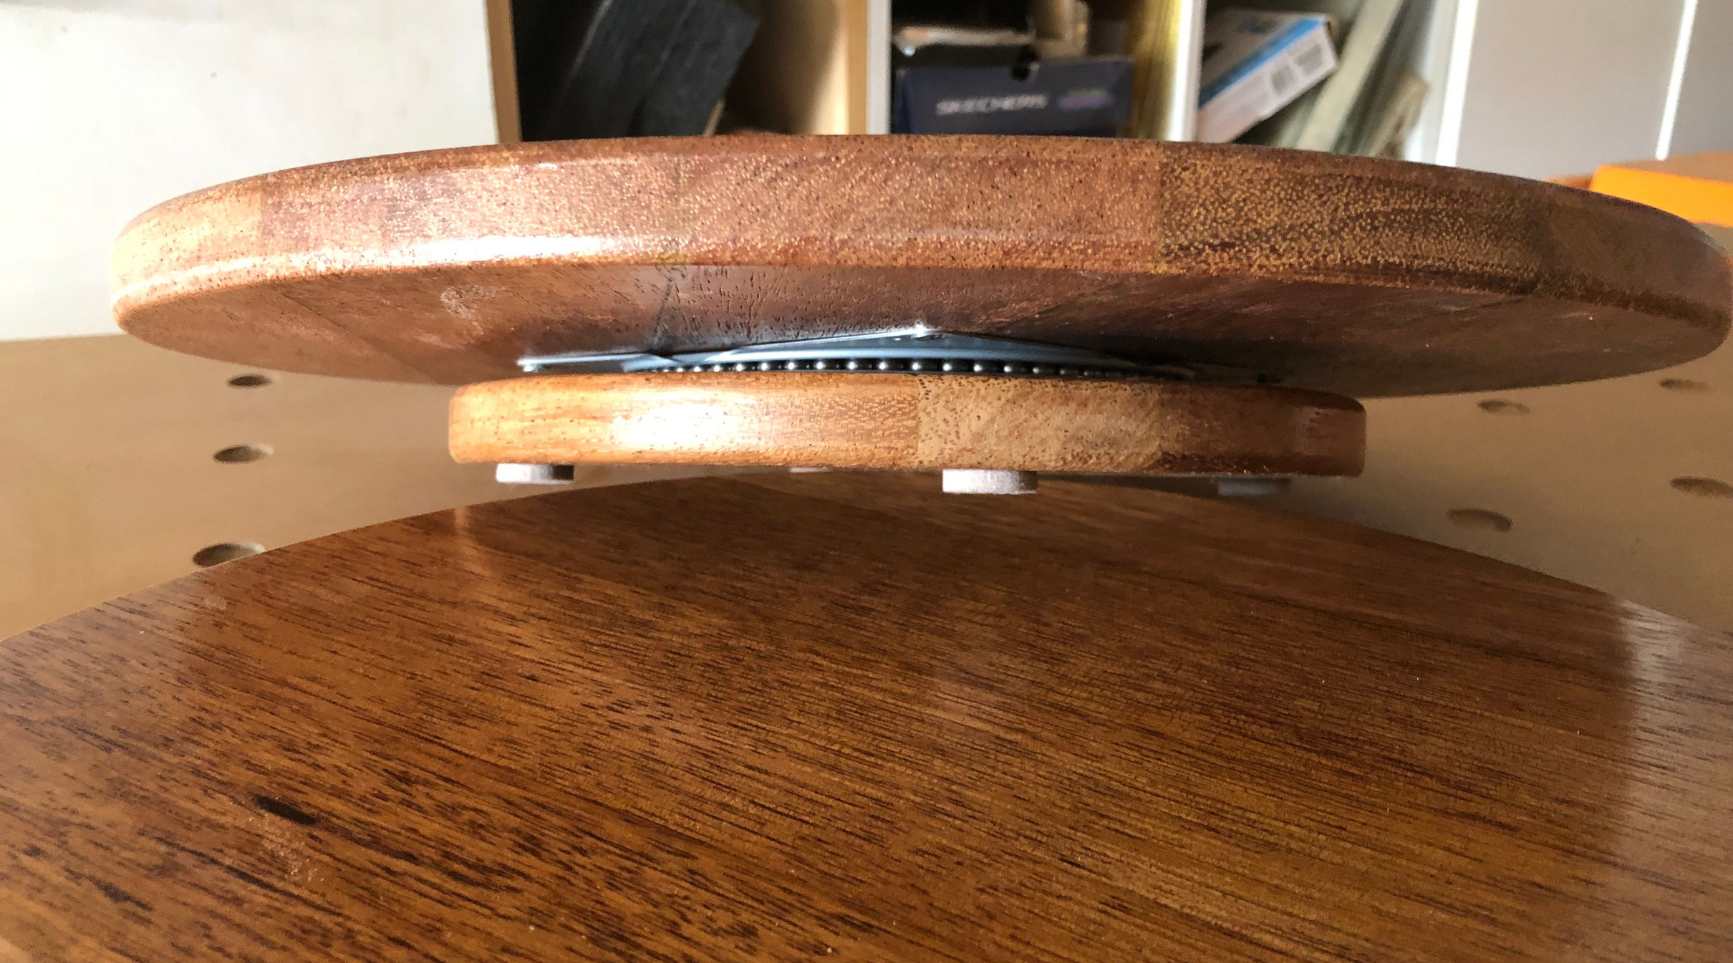
- Test the Rotation: With the adjustments and lubrication completed, manually rotate the lazy Susan mechanism to test its smoothness and freedom of movement. Ensure that it turns effortlessly without any resistance or unusual noises.
By following these steps, you can effectively address common issues that affect the functionality of a lazy Susan cabinet. Proper adjustment and maintenance of the rotating mechanism are key to restoring its optimal performance. With the mechanism fine-tuned and ready for action, it’s time to proceed to the next critical step: reinstalling the shelves and verifying the cabinet’s functionality. Let’s explore the process of reinstallation in the next step!
To fix a lazy susan cabinet, first remove any items on the shelves. Then, check for any obstructions or loose screws. Tighten all screws and lubricate the rotating mechanism for smooth movement.
Step 3: Reinstall the Lazy Susan Shelves
With the lazy Susan mechanism adjusted and operating smoothly, it’s time to reinstall the shelves into the cabinet. This step is crucial in completing the repair process and ensuring that the cabinet is fully functional. Follow these steps to reinstall the shelves with precision:
- Position the Shelves: Carefully place the removed lazy Susan shelves back into the cabinet, ensuring that they align properly with the rotating mechanism. Take care to position them securely without causing any damage to the cabinet or the shelves themselves.
- Align the Mounting Holes: Check that the mounting holes on the shelves align with the corresponding holes or brackets on the cabinet. This alignment is essential for securing the shelves in place.
- Secure the Shelves: Using the previously removed Phillips-head screws, reattach the shelves to the cabinet by securing them with the mounting screws. Ensure that the shelves are firmly and evenly secured to prevent any wobbling or instability during use.
- Double-Check Stability: Once the shelves are reinstalled, gently test their stability by applying light pressure to ensure they are securely in place. This step helps verify that the shelves are properly seated and ready for use.
With the shelves securely back in place, the lazy Susan cabinet is one step closer to being fully operational. The careful reinstallation of the shelves ensures that the cabinet is not only functional but also safe to use. Now, it’s time for the final step in the repair process: testing the lazy Susan cabinet to confirm that it operates smoothly and efficiently. Let’s explore this critical step in the next section!
Read more: How To Install Lazy Susan Cabinet
Step 4: Test the Lazy Susan Cabinet
After successfully reassembling the lazy Susan shelves, it’s essential to conduct a comprehensive test to ensure that the cabinet operates as intended. This step allows you to verify that the shelves rotate smoothly and that the entire mechanism functions without any issues. Here’s how to conduct a thorough test of your newly repaired lazy Susan cabinet:
- Rotate the Shelves: Gently rotate the shelves of the lazy Susan cabinet in both directions to assess the smoothness of the rotation. Pay attention to any resistance or unusual noises that may indicate lingering issues with the mechanism.
- Test Weight Distribution: Place items of varying weights on the shelves to simulate real-world usage. Observe how the lazy Susan mechanism handles the weight distribution and whether it maintains smooth rotation under load.
- Check for Wobbling: While the shelves are in motion, watch for any wobbling or instability that may indicate improper installation or lingering issues with the rotating mechanism. A stable and consistent rotation is essential for the cabinet’s functionality.
- Listen for Unusual Sounds: Pay close attention to any unusual sounds, such as grinding, scraping, or clicking, during the rotation of the lazy Susan shelves. Unusual noises may indicate underlying issues that require further attention.
By conducting a comprehensive test of the lazy Susan cabinet, you can identify any remaining issues and ensure that the repair process has been successful. If the cabinet operates smoothly, rotates effortlessly, and can support the intended weight without issues, then congratulations are in order – your lazy Susan cabinet is back in action!
With the completion of this final step, you have successfully revived your lazy Susan cabinet, restoring its functionality and convenience. Now, take a moment to appreciate your handiwork and the seamless operation of your newly repaired kitchen essential. With the cabinet fully tested and verified, you can once again enjoy the convenience and accessibility that a properly functioning lazy Susan cabinet provides.
Congratulations on successfully fixing your lazy Susan cabinet and ensuring that it remains a valuable asset in your kitchen for years to come!
Conclusion
Congratulations on completing the comprehensive journey of fixing your lazy Susan cabinet! By following the step-by-step process outlined in this guide, you have successfully revived this essential kitchen feature, ensuring its smooth operation and functionality for the long term.
From removing the shelves to adjusting the mechanism, reinstalling the shelves, and conducting a thorough test, you’ve demonstrated the skill and determination needed to tackle common issues with lazy Susan cabinets. Your dedication to maintaining and repairing this valuable kitchen asset will undoubtedly pay off in the form of seamless functionality and convenience.
As you reflect on your successful repair endeavor, take pride in the knowledge and expertise you’ve gained in handling kitchen cabinet maintenance. Remember that regular inspection and maintenance can help prevent future issues with your lazy Susan cabinet, ensuring that it continues to serve its purpose effectively.
With your newly restored lazy Susan cabinet, you can once again enjoy easy access to items stored in the corner of your kitchen, making meal preparation and organization a breeze. The convenience and efficiency of a properly functioning lazy Susan cabinet are now at your fingertips, thanks to your diligent efforts.
As you bask in the satisfaction of a job well done, remember that the skills and insights you’ve acquired can be applied to other maintenance tasks around the home. Your newfound expertise in repairing a lazy Susan cabinet is a testament to your resourcefulness and ability to overcome common household challenges.
Thank you for joining us on this repair journey, and we hope this guide has empowered you to tackle future home maintenance projects with confidence and success. Here’s to a smoothly rotating, fully functional lazy Susan cabinet that enhances the functionality and organization of your kitchen!
Frequently Asked Questions about How To Fix A Lazy Susan Cabinet
Was this page helpful?
At Storables.com, we guarantee accurate and reliable information. Our content, validated by Expert Board Contributors, is crafted following stringent Editorial Policies. We're committed to providing you with well-researched, expert-backed insights for all your informational needs.


0 thoughts on “How To Fix A Lazy Susan Cabinet”