Home>Furniture & Design>Kitchen Furniture>How To Fix Lazy Susan Bearing
Kitchen Furniture
How To Fix Lazy Susan Bearing
Published: January 20, 2024
Learn how to fix lazy Susan bearing in your kitchen furniture. Get expert tips and advice for repairing kitchen furniture and design.
(Many of the links in this article redirect to a specific reviewed product. Your purchase of these products through affiliate links helps to generate commission for Storables.com, at no extra cost. Learn more)
Introduction
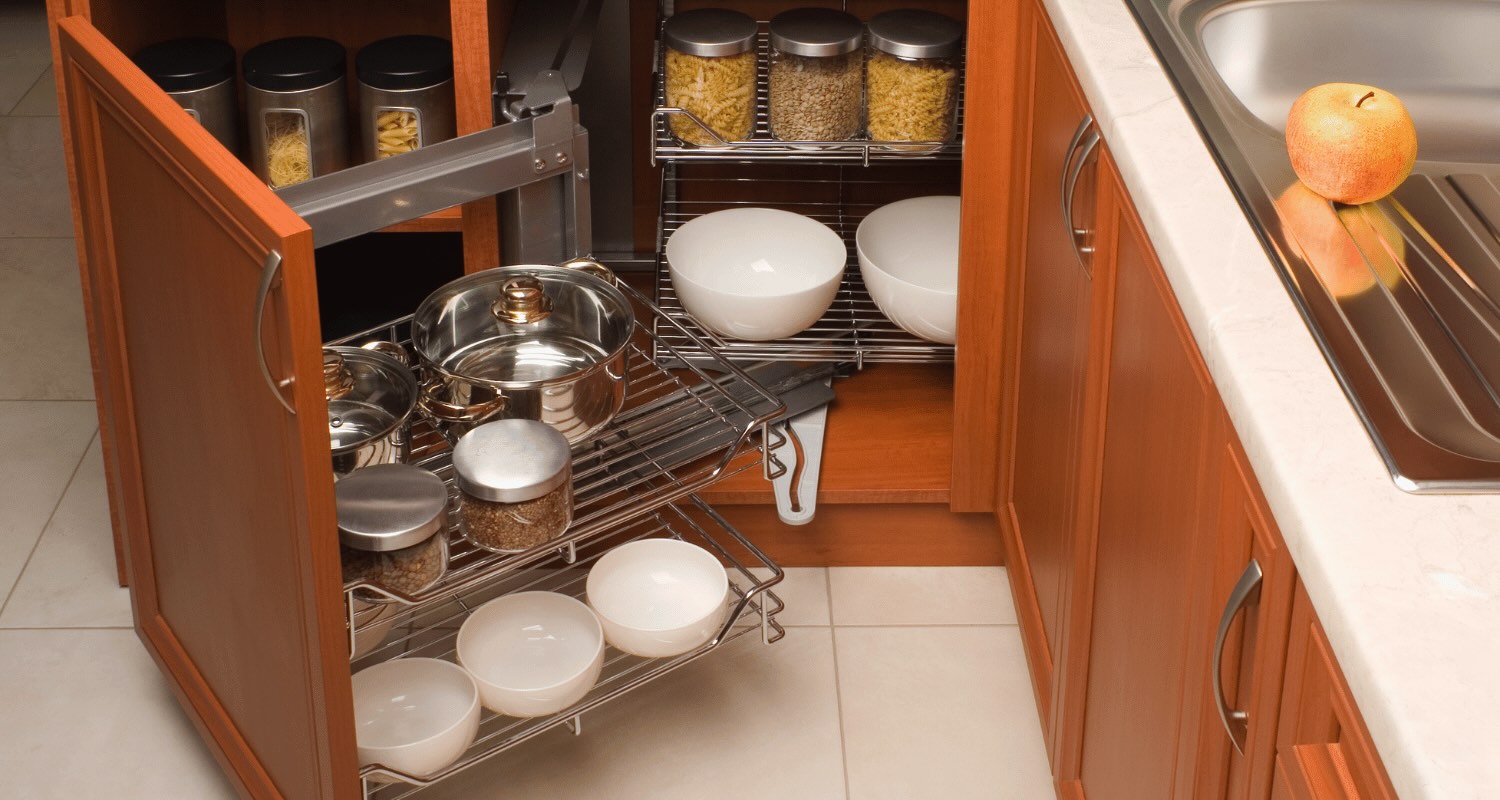
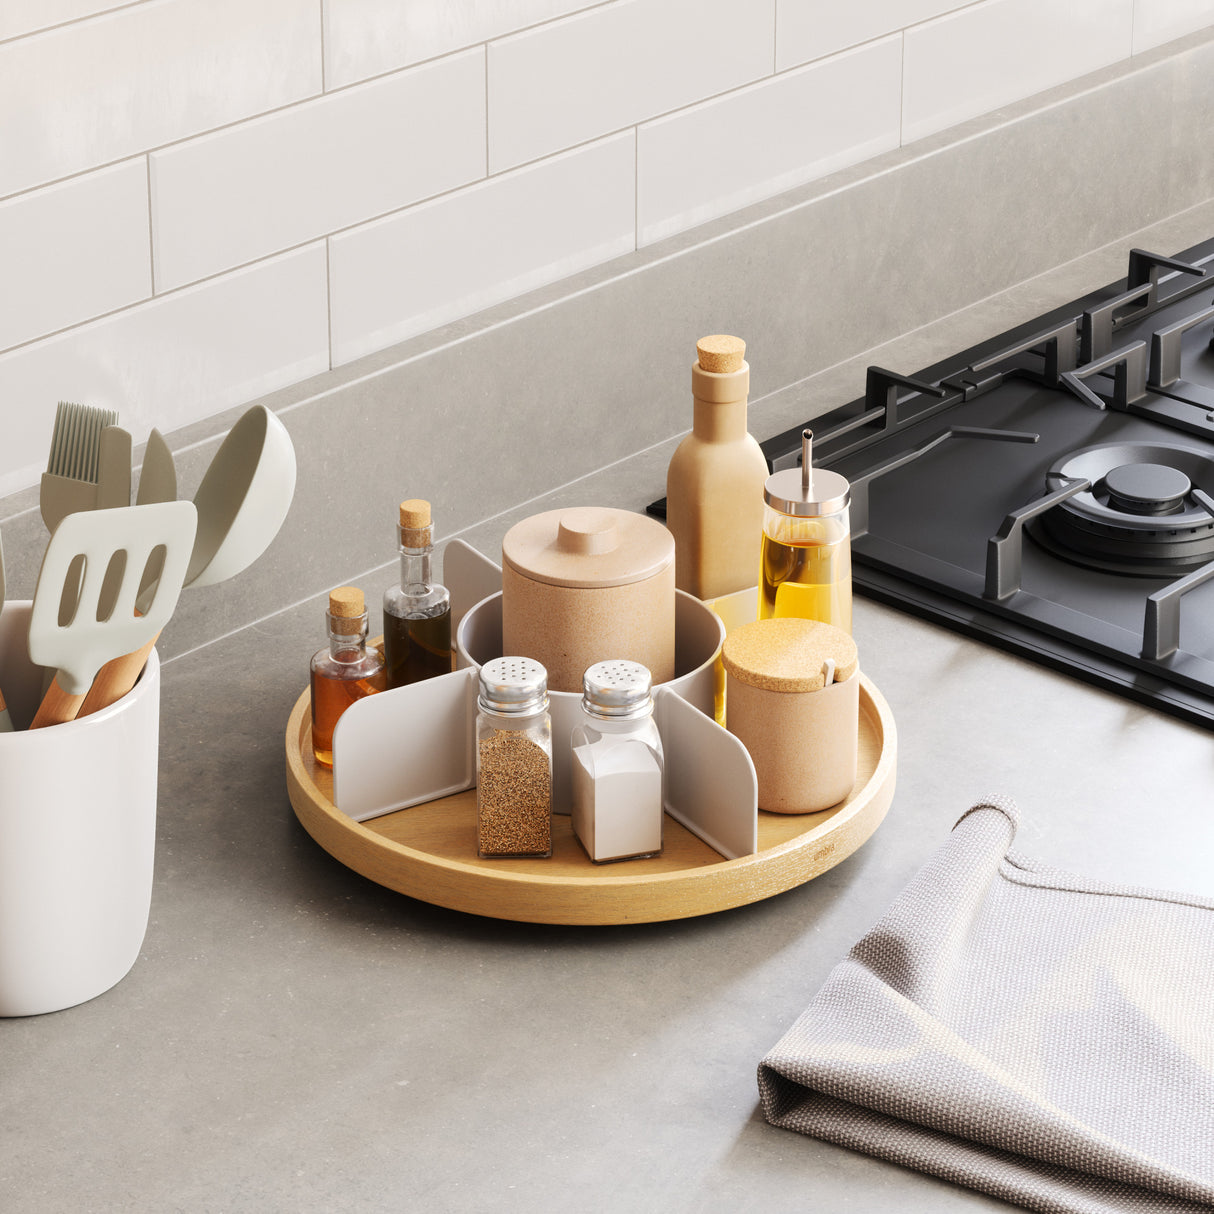
Welcome to the world of kitchen furniture and design! If you have a Lazy Susan in your kitchen, you know how convenient and space-saving this rotating shelf can be. However, over time, the bearings of the Lazy Susan may become stiff or noisy, hindering its smooth operation. The good news is that you can fix this issue yourself with a few simple steps.
In this guide, we will walk you through the process of fixing a Lazy Susan bearing, allowing you to restore its functionality and enjoy effortless access to your kitchen essentials once again. Whether you're a seasoned DIY enthusiast or just starting to explore the world of home improvement, this step-by-step tutorial will equip you with the knowledge and confidence to tackle this common issue.
So, grab your tools, roll up your sleeves, and let's dive into the fascinating realm of Lazy Susan bearings. With a little bit of effort and some basic supplies, you'll have your Lazy Susan spinning smoothly in no time!
Key Takeaways:
- DIY Empowerment: Fixing Lazy Susan bearings is a rewarding hands-on project that extends the lifespan of kitchen furniture, showcasing the value of DIY skills and proactive maintenance.
- Enhanced Functionality: Revitalizing Lazy Susan bearings streamlines kitchen organization, highlighting the importance of attention to detail and the gratifying results of thorough home maintenance.
Read more: How To Fix A Lazy Susan Cabinet
Understanding Lazy Susan Bearings
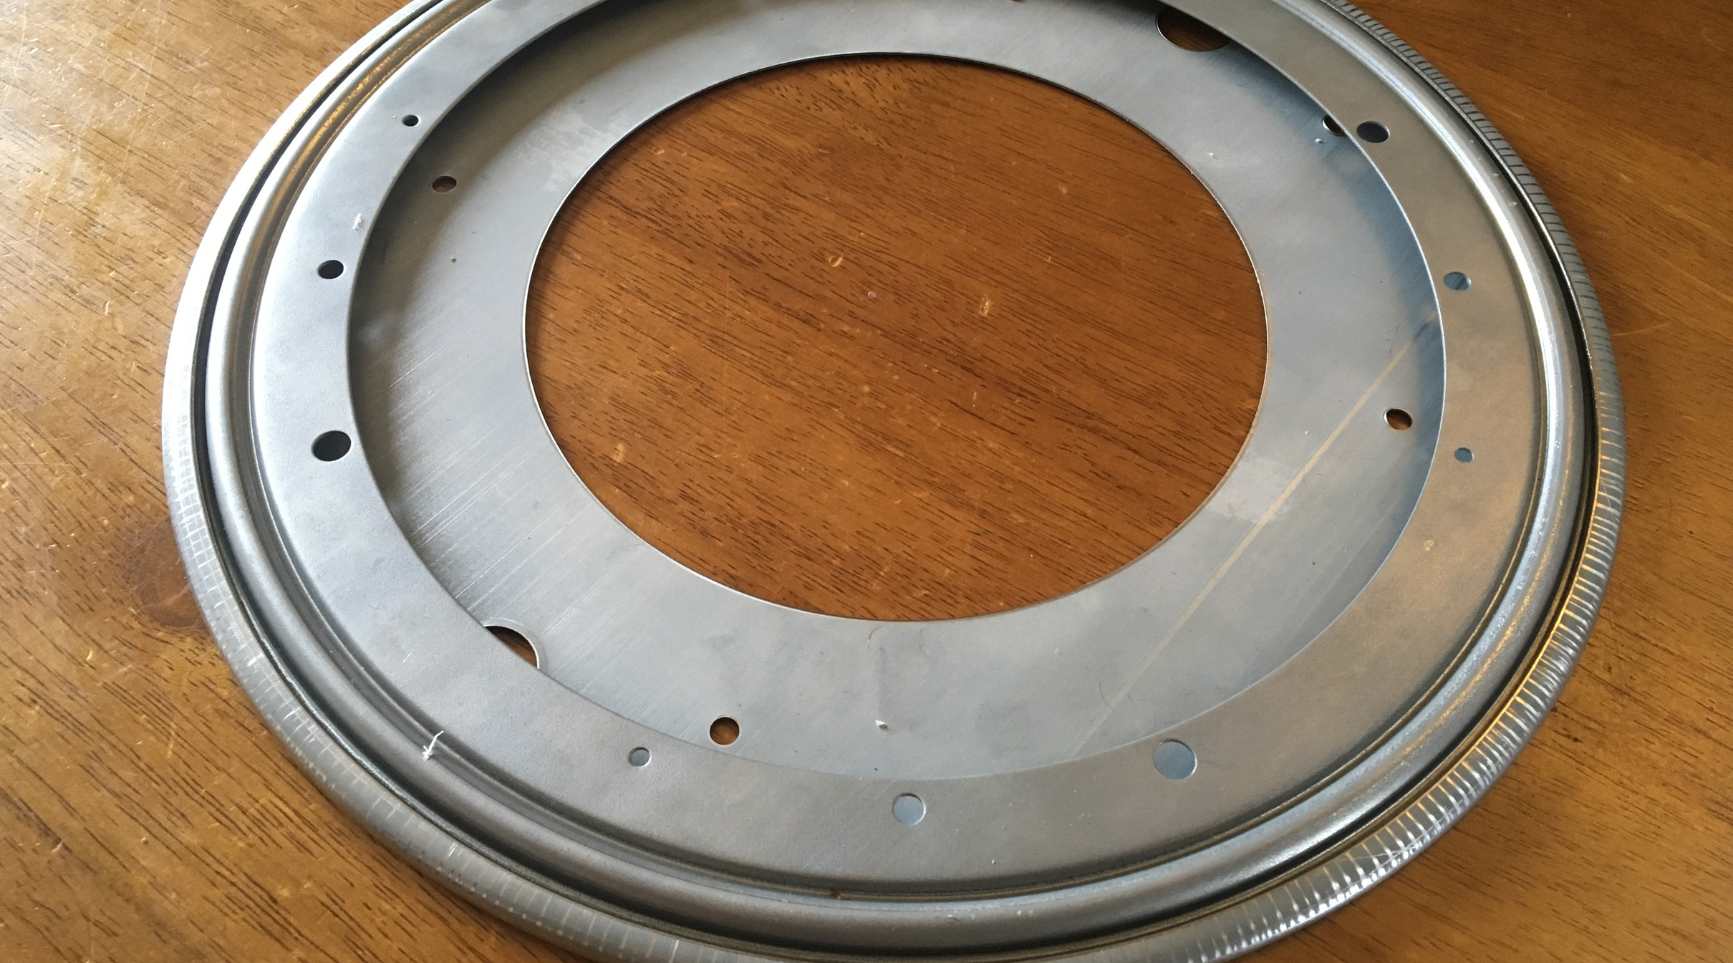
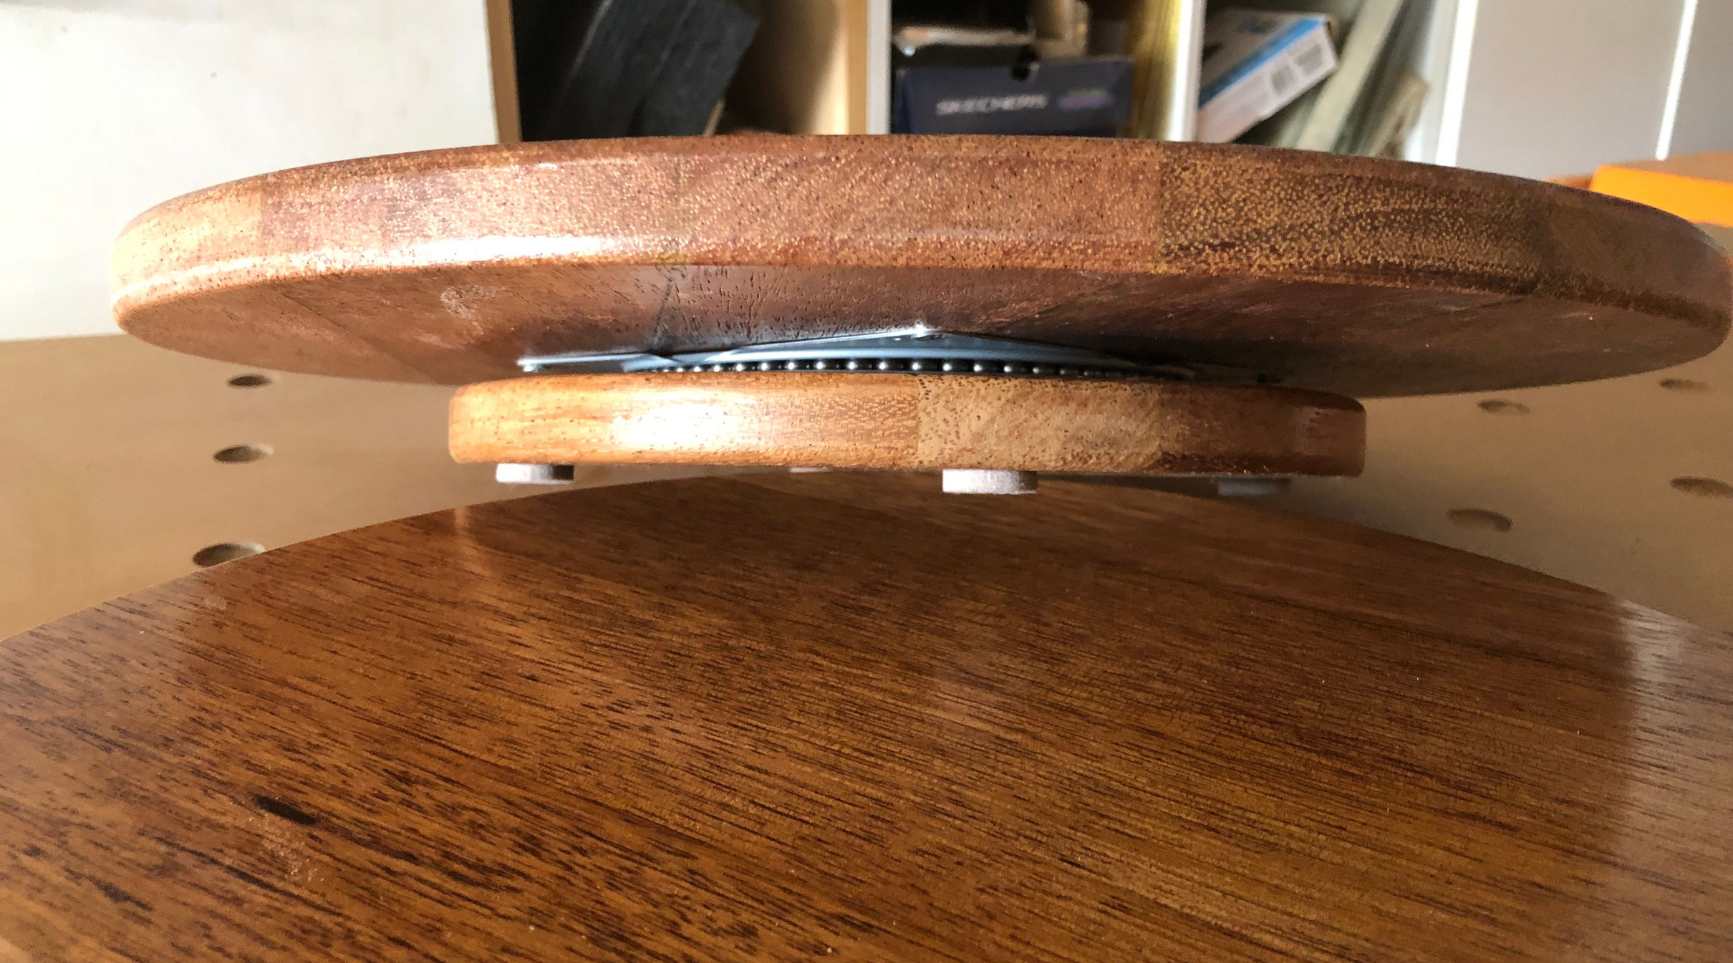
Before delving into the process of fixing a Lazy Susan bearing, it's essential to understand the role and construction of these pivotal components. Lazy Susan bearings are designed to facilitate the smooth rotation of the circular shelf, providing easy access to items stored within cabinets or corner spaces. Typically, these bearings consist of two main parts: the base plate, which is attached to the cabinet or furniture, and the rotating platform that sits on top of the base.
Over time, dust, debris, and general wear and tear can cause the bearings to become stiff or noisy, impeding the seamless rotation of the Lazy Susan. By addressing these issues through cleaning and lubrication, you can restore the bearings to their optimal condition, ensuring effortless movement and enhanced functionality.
Understanding the anatomy of Lazy Susan bearings empowers you to identify potential areas of concern and take proactive measures to maintain their performance. By familiarizing yourself with the inner workings of these components, you can approach the repair process with confidence and precision, ultimately prolonging the lifespan of your kitchen furniture.
Now that we have gained insight into the fundamentals of Lazy Susan bearings, let's gather the necessary tools and materials to embark on this rewarding DIY endeavor.
Tools and Materials
Before you begin the process of fixing a Lazy Susan bearing, it's essential to gather the necessary tools and materials to ensure a smooth and efficient repair. Here's a comprehensive list of items you will need:
- Flathead screwdriver
- Phillips screwdriver
- Adjustable wrench
- Cloth or rag
- White vinegar or mild detergent
- Warm water
- Clean, dry towel
- Multi-purpose lubricant or silicone-based lubricant
- Disposable gloves
- Optional: Replacement bearings (if the existing ones are damaged beyond repair)
These tools and materials are readily available at hardware stores or in your home, making the repair process accessible and convenient. The use of common household items, such as white vinegar and warm water, underscores the practical and budget-friendly nature of this DIY project.
By ensuring that you have all the necessary tools and materials on hand, you can proceed with confidence, knowing that you are prepared to address any issues that may arise during the repair process. With these essentials at your disposal, you are well-equipped to tackle the next steps of disassembling and servicing the Lazy Susan bearings.
Disassembling the Lazy Susan
Before you can address the bearings of the Lazy Susan, you will need to disassemble the unit to access the components that require attention. Follow these steps to disassemble the Lazy Susan:
- Clear the Shelf: Remove any items or kitchenware from the Lazy Susan shelf to ensure unobstructed access during the disassembly process.
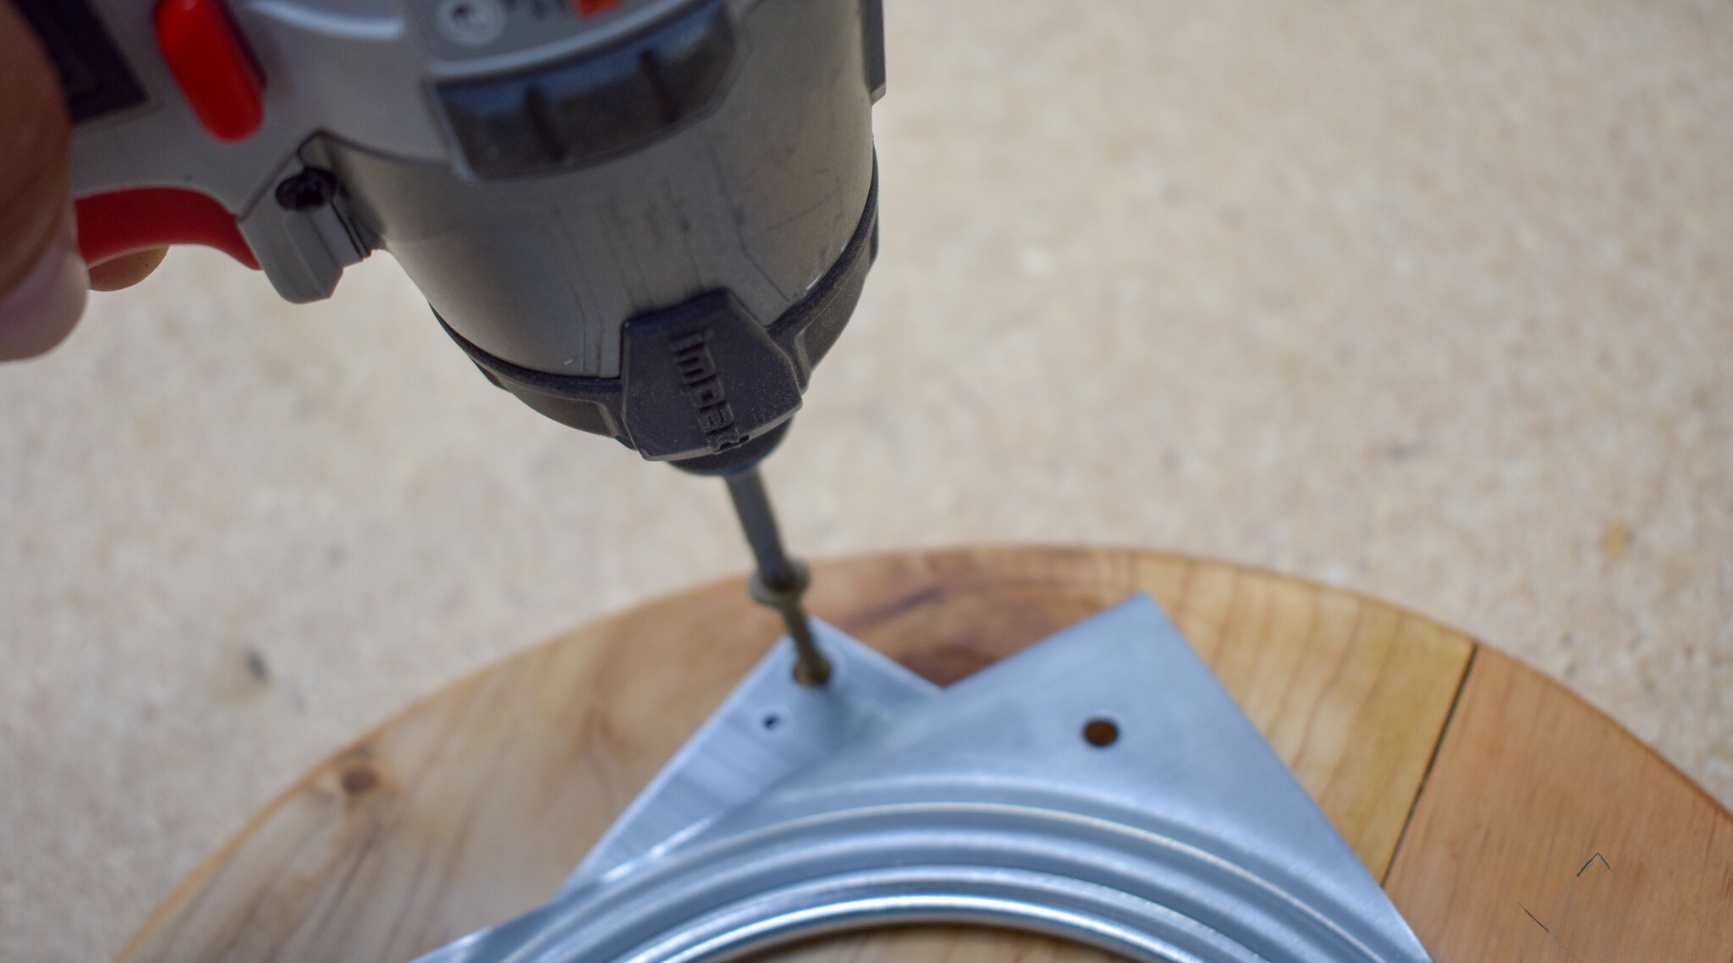
- Locate the Mounting Screws: Depending on the design of your Lazy Susan, there may be mounting screws securing the rotating platform to the base. Use a screwdriver to remove these screws and detach the platform from the base.
- Detach the Platform: Lift the rotating platform carefully to separate it from the base, exposing the bearings and the base plate.
- Inspect the Bearings: Once the platform is removed, inspect the bearings for any visible debris, rust, or signs of wear. This visual assessment will help you determine the extent of cleaning and maintenance required.
By following these steps, you can effectively disassemble the Lazy Susan, gaining access to the bearings and preparing them for the cleaning and lubrication process. Taking the time to inspect the bearings at this stage allows you to assess their condition and plan the necessary repairs accordingly.
As we move on to the next phase of cleaning the bearings, the insights gained from disassembling the Lazy Susan will guide you in restoring the smooth and silent rotation of this indispensable kitchen feature.
Cleaning the Bearings
Once the bearings of the Lazy Susan are exposed through the disassembly process, it’s time to embark on the crucial step of cleaning these components. Follow these steps to effectively clean the bearings:
- Remove Debris: Use a cloth or rag to wipe away any visible debris, dust, or grime from the bearings. Ensure that the surfaces are free from obstructions before proceeding with the cleaning solution.
- Prepare a Cleaning Solution: In a small container, mix a solution of warm water and mild detergent or white vinegar. This gentle yet effective solution will help break down any stubborn residue on the bearings.
- Soak and Scrub: Dip the cloth or rag into the cleaning solution and gently scrub the bearings, paying close attention to areas with accumulated dirt or grease. Take care to cover the entire surface of the bearings for a thorough clean.
- Rinse and Dry: Once the bearings have been cleaned, rinse them with clean water to remove any remaining cleaning solution. Use a dry towel to pat the bearings until they are completely dry.
By diligently following these steps, you can effectively remove dirt, grime, and other contaminants that may be impeding the smooth rotation of the Lazy Susan bearings. This meticulous cleaning process sets the stage for the subsequent step of lubricating the bearings, which is essential for restoring their optimal functionality.
Now that the bearings are clean and primed for the next phase, it’s time to explore the vital process of lubricating these components to ensure seamless rotation and enhanced performance.
To fix a lazy susan bearing, first remove any debris or dirt from the bearing. Then, lubricate the bearing with a silicone-based lubricant to improve its rotation. Finally, check for any damaged or worn parts and replace them if necessary.
Read more: How To Measure A Lazy Susan
Lubricating the Bearings
After thoroughly cleaning the bearings, the next critical step in restoring the functionality of your Lazy Susan involves the application of lubricant. Proper lubrication is essential for reducing friction and ensuring smooth, silent rotation. Follow these steps to effectively lubricate the bearings:
- Select the Lubricant: Choose a multi-purpose lubricant or a silicone-based lubricant suitable for metal components. These types of lubricants offer excellent protection against corrosion and provide long-lasting lubrication for the bearings.
- Apply the Lubricant: With the bearings clean and dry, apply a small amount of the selected lubricant to the surfaces. Ensure that the lubricant reaches all moving parts and crevices within the bearings.
- Rotate the Bearings: After applying the lubricant, manually rotate the bearings to distribute the lubricant evenly and allow it to penetrate the moving parts. This action helps ensure comprehensive coverage and optimal lubrication.
- Wipe Excess Lubricant: Use a clean cloth to wipe away any excess lubricant that may have accumulated on the bearings. This step helps prevent the buildup of dirt and debris, maintaining the effectiveness of the lubrication.
By following these steps, you can effectively lubricate the bearings of your Lazy Susan, promoting smooth, effortless rotation and minimizing wear and tear on the components. The application of high-quality lubricant serves as a protective barrier, guarding the bearings against corrosion and preserving their performance over time.
With the bearings now properly lubricated, the next phase involves reassembling the Lazy Susan, bringing together the cleaned and lubricated components to restore its seamless functionality within your kitchen space.
Reassembling the Lazy Susan
With the bearings cleaned and lubricated, it’s time to reassemble the components of the Lazy Susan to restore its functionality. Follow these steps to effectively reassemble the unit:
- Position the Platform: Place the rotating platform back onto the base, ensuring that it aligns properly with the bearings and the base plate.
- Secure the Platform: If your Lazy Susan features mounting screws, reattach the platform to the base using the appropriate screws and a screwdriver. Ensure that the platform is firmly secured to the base for stable and reliable operation.
- Test the Rotation: Rotate the platform to verify that it moves smoothly and quietly, indicating that the bearings are functioning optimally. This test allows you to confirm the success of the cleaning and lubrication process.
By following these steps, you can effectively reassemble the Lazy Susan, bringing together the cleaned and lubricated components to restore its seamless functionality within your kitchen space. The successful reassembly of the unit signifies the culmination of your efforts in revitalizing this indispensable kitchen feature.
As we move on to the final phase of testing the Lazy Susan, the completion of the reassembly process sets the stage for experiencing the rewarding results of your meticulous repair and maintenance work.
Testing the Lazy Susan
With the Lazy Susan reassembled, it’s time to conduct a thorough test to ensure that the bearings are functioning optimally and that the unit rotates smoothly. Follow these steps to effectively test the Lazy Susan:
- Load the Shelf: Place a few lightweight items or kitchenware on the shelf to simulate typical usage and ensure that the weight does not hinder the rotation of the Lazy Susan.
- Rotate the Shelf: With the items in place, gently rotate the shelf to assess the smoothness and ease of movement. Pay attention to any unusual noises or resistance that may indicate potential issues with the bearings.
- Verify Stability: Confirm that the platform remains stable and level during rotation, indicating that the bearings are providing adequate support and balance for the shelf.
By following these steps, you can effectively test the functionality of the Lazy Susan, confirming that the bearings have been successfully cleaned, lubricated, and restored to their optimal condition. The completion of this comprehensive test signifies the successful revitalization of this essential kitchen feature, ensuring effortless access to stored items and seamless organization within your cabinet or corner space.
As you witness the smooth and silent rotation of the Lazy Susan, you can take pride in your diligent efforts to address the bearing issues and enhance the overall performance of this indispensable furniture piece. The successful test serves as a testament to your dedication to maintaining a functional and well-appointed kitchen environment.
Conclusion
Congratulations on successfully restoring the functionality of your Lazy Susan bearing! By following the comprehensive steps outlined in this guide, you have revitalized this essential kitchen feature, ensuring smooth and effortless rotation for convenient access to your stored items. As you reflect on your journey through the repair and maintenance process, consider the following key takeaways:
- Empowerment through DIY: Taking the initiative to address the bearing issues of your Lazy Susan exemplifies the rewarding nature of do-it-yourself projects. By leveraging your skills and knowledge, you have transformed a potential inconvenience into an opportunity for hands-on improvement.
- Maintenance for Longevity: The meticulous cleaning and lubrication of the bearings not only resolved immediate issues but also contributed to the long-term durability and performance of the Lazy Susan. By prioritizing maintenance, you have extended the lifespan of this kitchen furniture piece.
- Enhanced Kitchen Functionality: With the bearings restored to optimal condition, you can once again enjoy the convenience and efficiency of the Lazy Susan, streamlining your kitchen organization and access to essential items.
- Appreciation for Detail: The attention to detail demonstrated throughout the repair process underscores the value of thoroughness and precision in home maintenance. Your commitment to addressing each aspect of the bearing repair has yielded tangible and gratifying results.
As you integrate the revitalized Lazy Susan back into your kitchen space, take pride in the knowledge that your efforts have contributed to a more functional and well-maintained home environment. The skills and insights gained from this repair endeavor will serve you well in future DIY projects and home improvement initiatives.
Remember, the ability to address common household issues such as Lazy Susan bearing maintenance empowers you to take an active role in preserving and enhancing the functionality of your living spaces. Your dedication to maintaining a well-appointed and efficient home reflects a commitment to comfort, convenience, and the enjoyment of your surroundings.
With the successful repair and revitalization of your Lazy Susan bearing, you have demonstrated the transformative impact of proactive maintenance and the gratification of reclaiming the seamless functionality of a beloved kitchen furniture piece. Embrace the sense of accomplishment that comes with a job well done, and carry forward the knowledge and skills gained from this experience into future home improvement endeavors.
Now that you've got your Lazy Susan spinning smoothly, why stop there? If a stubborn cabinet door is giving you grief, our step-by-step guide on cabinet repair will set things right with minimal fuss. For those struggling with cramped cooking spaces, our practical tips for kitchen organization can transform a cluttered kitchen into a model of efficiency. Both guides are straightforward and packed with handy advice, perfect for quick reference or a deep dive into DIY home improvement.
Frequently Asked Questions about How To Fix Lazy Susan Bearing
Was this page helpful?
At Storables.com, we guarantee accurate and reliable information. Our content, validated by Expert Board Contributors, is crafted following stringent Editorial Policies. We're committed to providing you with well-researched, expert-backed insights for all your informational needs.


0 thoughts on “How To Fix Lazy Susan Bearing”