Articles
How To Replace Porch Post
Modified: August 22, 2024
Learn how to replace porch posts with our helpful articles. Step-by-step instructions and tips for a successful porch post replacement.
(Many of the links in this article redirect to a specific reviewed product. Your purchase of these products through affiliate links helps to generate commission for Storables.com, at no extra cost. Learn more)
Introduction
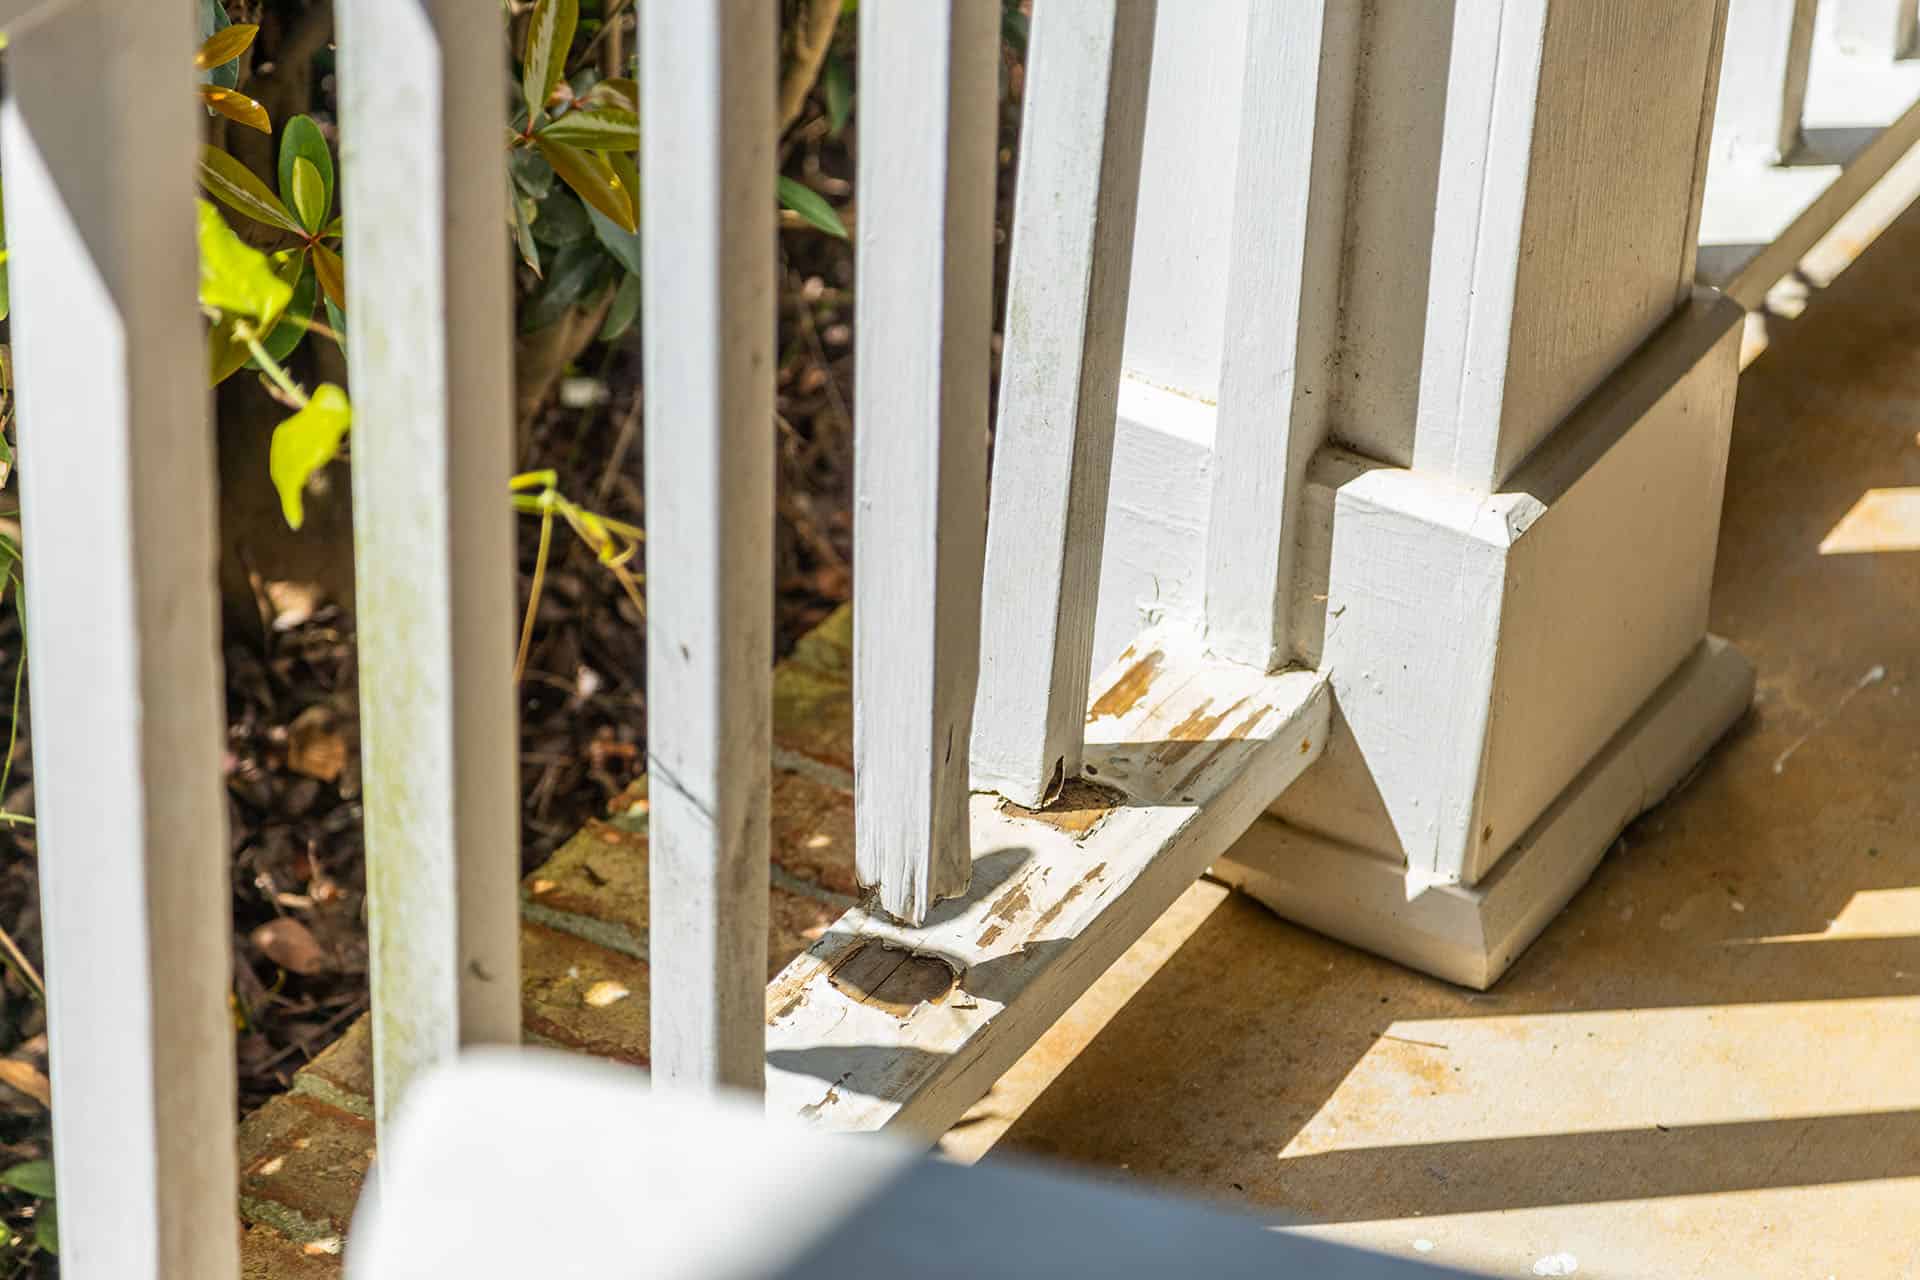
Replacing a porch post is an essential task for any homeowner who wants to maintain the structural integrity and aesthetics of their porch. Over time, porch posts can deteriorate due to weather exposure, insect damage, or rot. A damaged or unstable porch post not only compromises the safety of the porch but also detracts from the overall curb appeal of the house.
Fortunately, replacing a porch post is a manageable DIY project that can be completed with some basic tools and materials. In this article, we will guide you through the step-by-step process of replacing a porch post, ensuring that you have the knowledge and confidence to tackle this project.
Before we dive into the specific steps of replacing a porch post, it’s important to note that safety should always be a top priority. Make sure to wear appropriate protective gear, such as safety glasses and gloves, and take necessary precautions when working with tools and materials.
Now, let’s get started with gathering the materials and tools you’ll need for this project.
Key Takeaways:
- Replacing a porch post is a manageable DIY project that enhances safety and curb appeal. Prioritize safety, gather materials, and follow step-by-step instructions for a successful porch upgrade.
- Attention to detail, proper measurements, and securing techniques are crucial for a polished porch post replacement. Regular maintenance and professional guidance ensure long-term stability and aesthetic appeal.
Read more: How To Wrap Porch Posts
Step 1: Gathering Materials and Tools
Before you begin replacing a porch post, it’s essential to gather all the necessary materials and tools to ensure a smooth and efficient process. Here’s a list of what you’ll need:
- New porch post: Measure the height and width of your existing porch post to determine the appropriate size for the replacement. Choose a porch post made from a material that suits your preference and weather conditions.
- Tape measure: Use a reliable tape measure to accurately measure the dimensions of the old porch post and ensure a proper fit for the replacement.
- Saw: Depending on the material of your new porch post, you may need a handsaw or a power saw to cut it to the correct length.
- Level: A level will help you ensure that the new porch post is installed perfectly vertical, providing stability and aesthetic appeal.
- Screwdriver or drill: You’ll need a screwdriver or drill to remove screws or nails that are securing the old porch post in place.
- Hammer: A hammer will come in handy for any minor adjustments or tapping needed during the installation process.
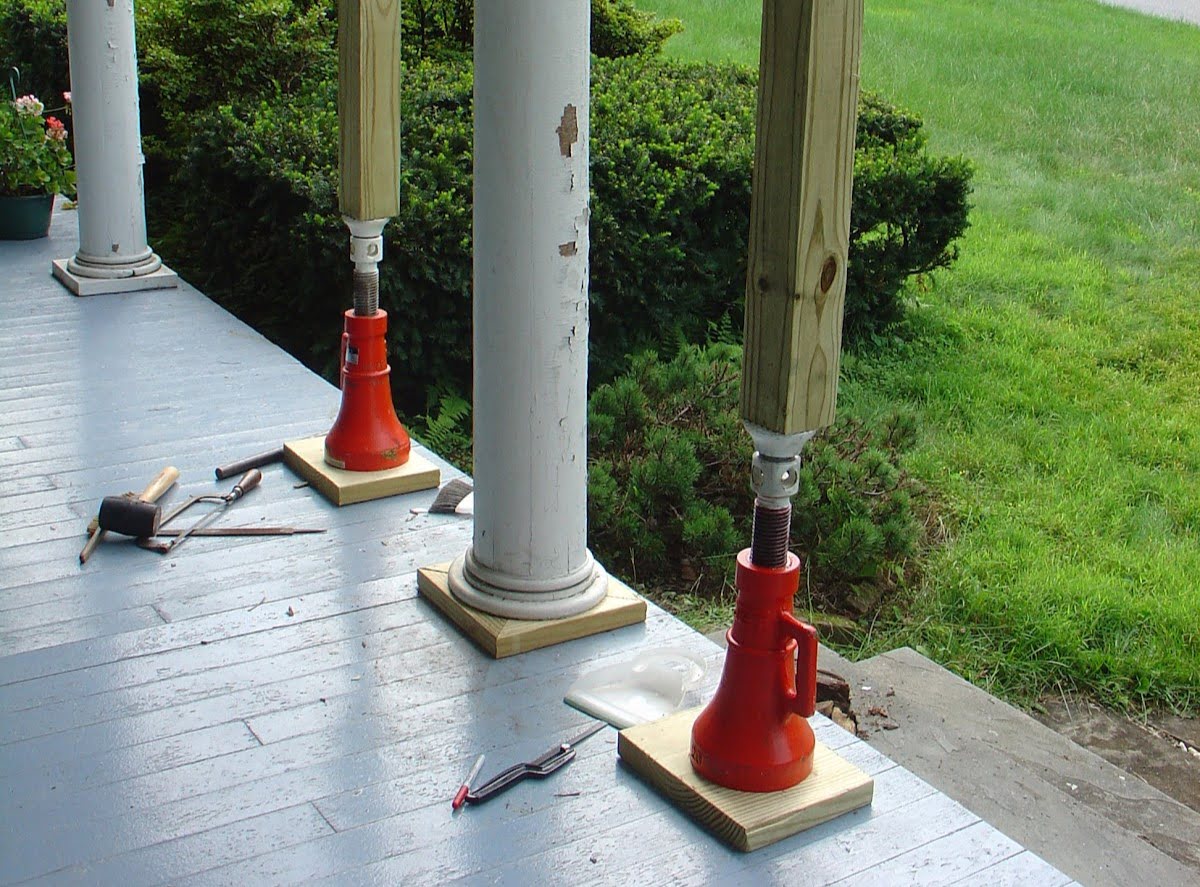
- Support jacks: These are essential for temporarily supporting the porch roof, providing stability while you remove and replace the porch post.
- Concrete mix: If your porch post is attached to a concrete porch floor, you’ll need concrete mix to pour a new footing for the replacement porch post.
- Safety equipment: Always prioritize safety by wearing gloves, safety glasses, and hearing protection when working with tools and materials.
Once you have gathered all the necessary materials and tools, you’ll be well-prepared to proceed with the next steps of replacing your porch post. Safety should always be a top priority throughout the entire process, so make sure to follow any safety guidelines included with your tools and equipment.
Next, we’ll move on to preparing the area before removing the old porch post.
Step 2: Preparing the Area
Before you begin removing the old porch post, it’s important to prepare the surrounding area to ensure a smooth and efficient replacement. Here’s what you need to do:
- Clear the area: Remove any furniture, plants, or other obstructions near the porch post to create a clear working space. This will prevent any potential accidents or damage to nearby items during the replacement process.
- Stabilize the porch roof: Since you’ll be removing the old porch post, it’s crucial to provide temporary support for the porch roof. Use support jacks placed strategically to hold up the roof while the porch post is being replaced. Make sure the support jacks are securely in place to avoid any mishaps.
- Inspect the porch foundation: Check the condition of the porch foundation and footing where the porch post is attached. Look for any signs of damage, rot, or instability. If you notice any issues, it may be necessary to repair or reinforce the foundation before proceeding with the replacement.
- Remove trim or molding: If there is any trim or molding around the porch post, carefully remove it using a pry bar or a hammer and chisel. This will allow easier access to the porch post for removal.
By taking the time to properly prepare the area, you’ll create a safe and organized workspace for replacing the porch post. This will make the following steps smoother and more efficient.
With the area prepared, we can now move on to the next step: removing the old porch post.
Step 3: Removing the Old Porch Post
Now that the area is prepared, it’s time to remove the old porch post. Follow these steps to safely and effectively remove it:
- Inspect the porch post connections: Take a close look at how the old porch post is connected to the porch foundation and the porch roof. Look for screws, nails, or other fasteners used to secure the post in place.
- Remove any fasteners: Using a screwdriver or drill, carefully remove any screws, nails, or fasteners that are holding the porch post in place. Take your time and ensure that all fasteners are fully removed.
- Apply pressure to the porch post: Once the fasteners are removed, gently apply pressure to the porch post to determine its stability. If the post feels loose or wobbly, carefully remove it from its position.
- Disassemble the porch post if necessary: In some cases, the porch post may be comprised of multiple sections that are joined together. If this is the case, disassemble the post by carefully removing the connecting hardware or screws.
- Remove the old porch post: With the fasteners removed and any sections disassembled, carefully lift and remove the old porch post from its position. Take caution not to damage the surrounding area or any trim or molding.
During the removal process, be mindful of any electrical wires, plumbing, or other elements that may be hidden behind or near the porch post. Take the necessary precautions to avoid damaging these essential components.
With the old porch post successfully removed, you can now move on to the next step: measuring and cutting the new porch post.
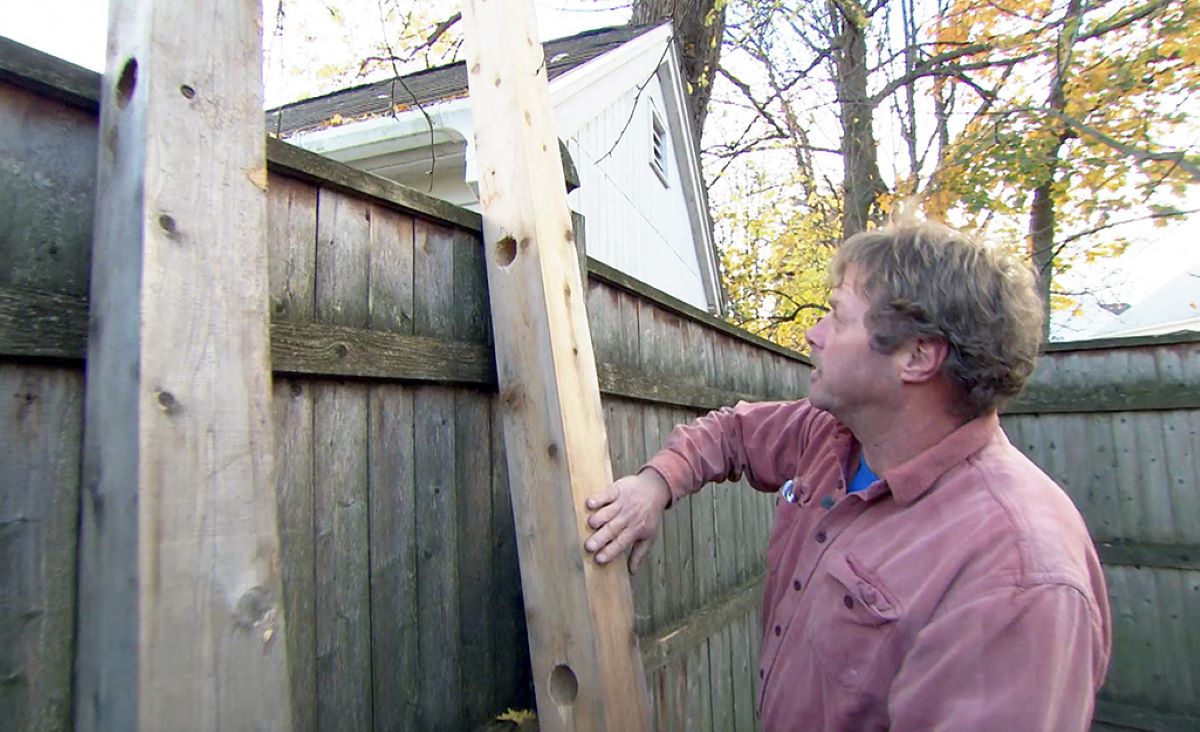
Step 4: Measuring and Cutting the New Porch Post
With the old porch post removed, it’s time to measure and cut the new porch post to ensure a proper fit. Follow these steps to accurately measure and cut the new porch post:
- Measure the height: Use a tape measure to measure the height of the old porch post. Transfer this measurement to the new porch post, marking the desired height for the replacement.
- Measure the width: Measure the width of the old porch post, taking note of any tapering or decorative elements. Transfer this measurement to the new porch post, marking the appropriate width.
- Cut the porch post: Using a saw appropriate for the material of the new porch post, carefully cut along the marked lines. Take your time and ensure a clean, straight cut.
- Triple-check the measurements: Before moving forward, double and triple-check the measurements of the new porch post to ensure accuracy. This will help prevent any issues during installation.
When cutting the new porch post, it’s important to follow all safety guidelines provided by the saw manufacturer. Wear safety glasses and gloves to protect yourself from any potential hazards.
Once the new porch post is cut to the correct measurements, you’re ready to move on to the next step: installing the new porch post.
When replacing a porch post, make sure to measure the height and width of the existing post accurately before purchasing a replacement. It’s important to choose a post that matches the dimensions to ensure a proper fit and support for the porch.
Read more: How To Install Porch Post On Concrete
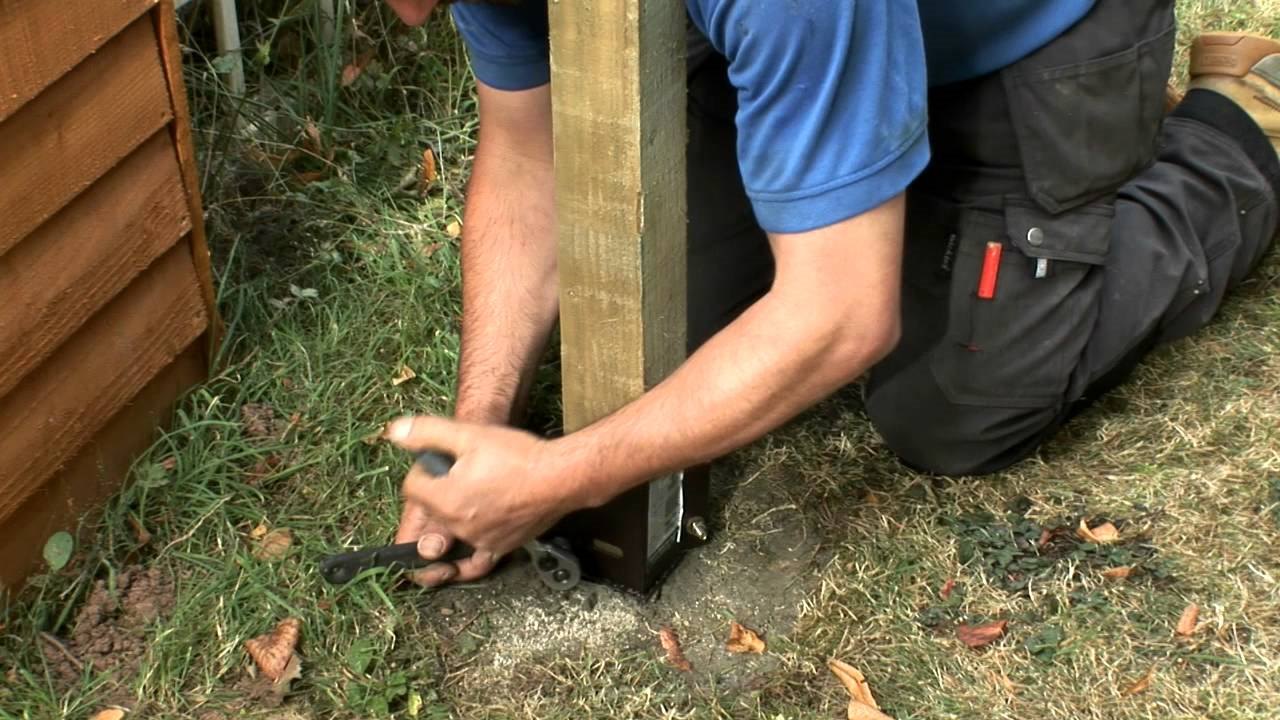
Step 5: Installing the New Porch Post
With the new porch post cut to the correct measurements, it’s time to install it in place. Follow these steps to properly install the new porch post:
- Position the new porch post: Carefully place the new porch post in the desired location, aligning it with the existing porch foundation and the porch roof. Use a level to ensure that the post is perfectly vertical.
- Check for stability: Once the porch post is positioned, check for stability by applying gentle pressure to see if it wobbles or moves. If there is any instability, adjust the position or use shims to create a level and sturdy base.
- Attach the porch post: Depending on the style and material of the new porch post, follow the manufacturer’s instructions to securely attach it to the porch foundation and the porch roof. This may involve using screws, nails, or other fasteners provided with the post.
When attaching the new porch post, make sure to follow any specific guidelines provided by the manufacturer. Use a screwdriver or drill to fasten the post securely, but avoid over-tightening as it may damage the material or weaken the structure.
Once the new porch post is properly attached, you’re ready to move on to the next step: securing the porch post in place.
Step 6: Securing the Porch Post in Place
After installing the new porch post, it’s important to secure it in place to ensure stability and longevity. Follow these steps to effectively secure the porch post:
- Check for alignment: Use a level to ensure that the porch post is perfectly vertical and aligned with the porch foundation and the porch roof. Make any necessary adjustments before proceeding.
- Add additional support: Depending on the design and height of the porch post, you may need to add additional support to enhance stability. This can include using metal braces or brackets, or even pouring concrete around the base for added strength.
- Secure with fasteners: Once you’ve added any necessary supports, use appropriate fasteners to secure the porch post in place. This can involve using screws, nails, or brackets depending on the material of the porch post and the porch structure.
- Double-check stability: After securing the porch post, check for stability by applying gentle pressure and ensuring that it does not wobble or move. If there is any instability, make further adjustments or consult a professional for guidance.
It’s important to follow the manufacturer’s instructions and any local building codes when securing the porch post. This will ensure that it is properly anchored and able to withstand various weather conditions and loads over time.
Now that the porch post is securely in place, we’re ready for the final step: finishing touches and cleanup.
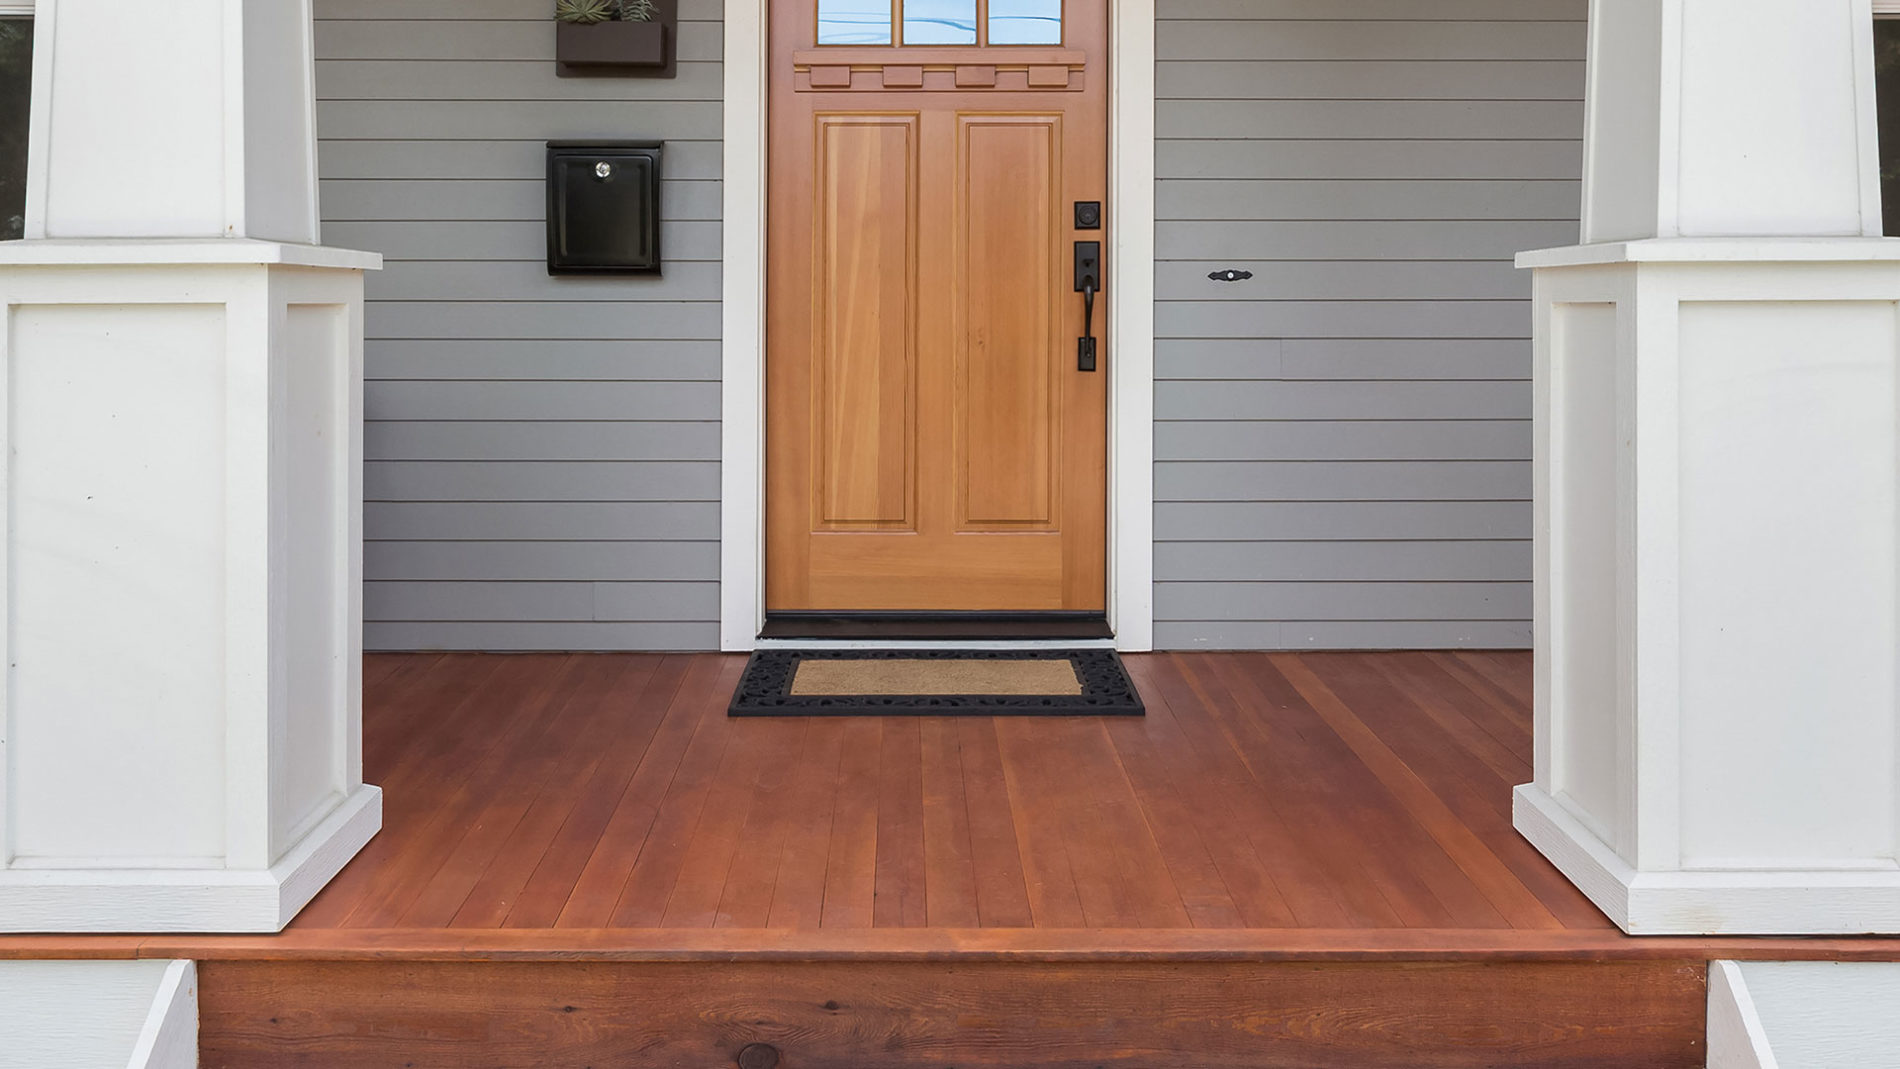
Step 7: Finishing Touches and Cleanup
With the new porch post securely installed, it’s time to add the finishing touches and complete the project. Follow these steps to add the final touches and ensure a clean and polished look:
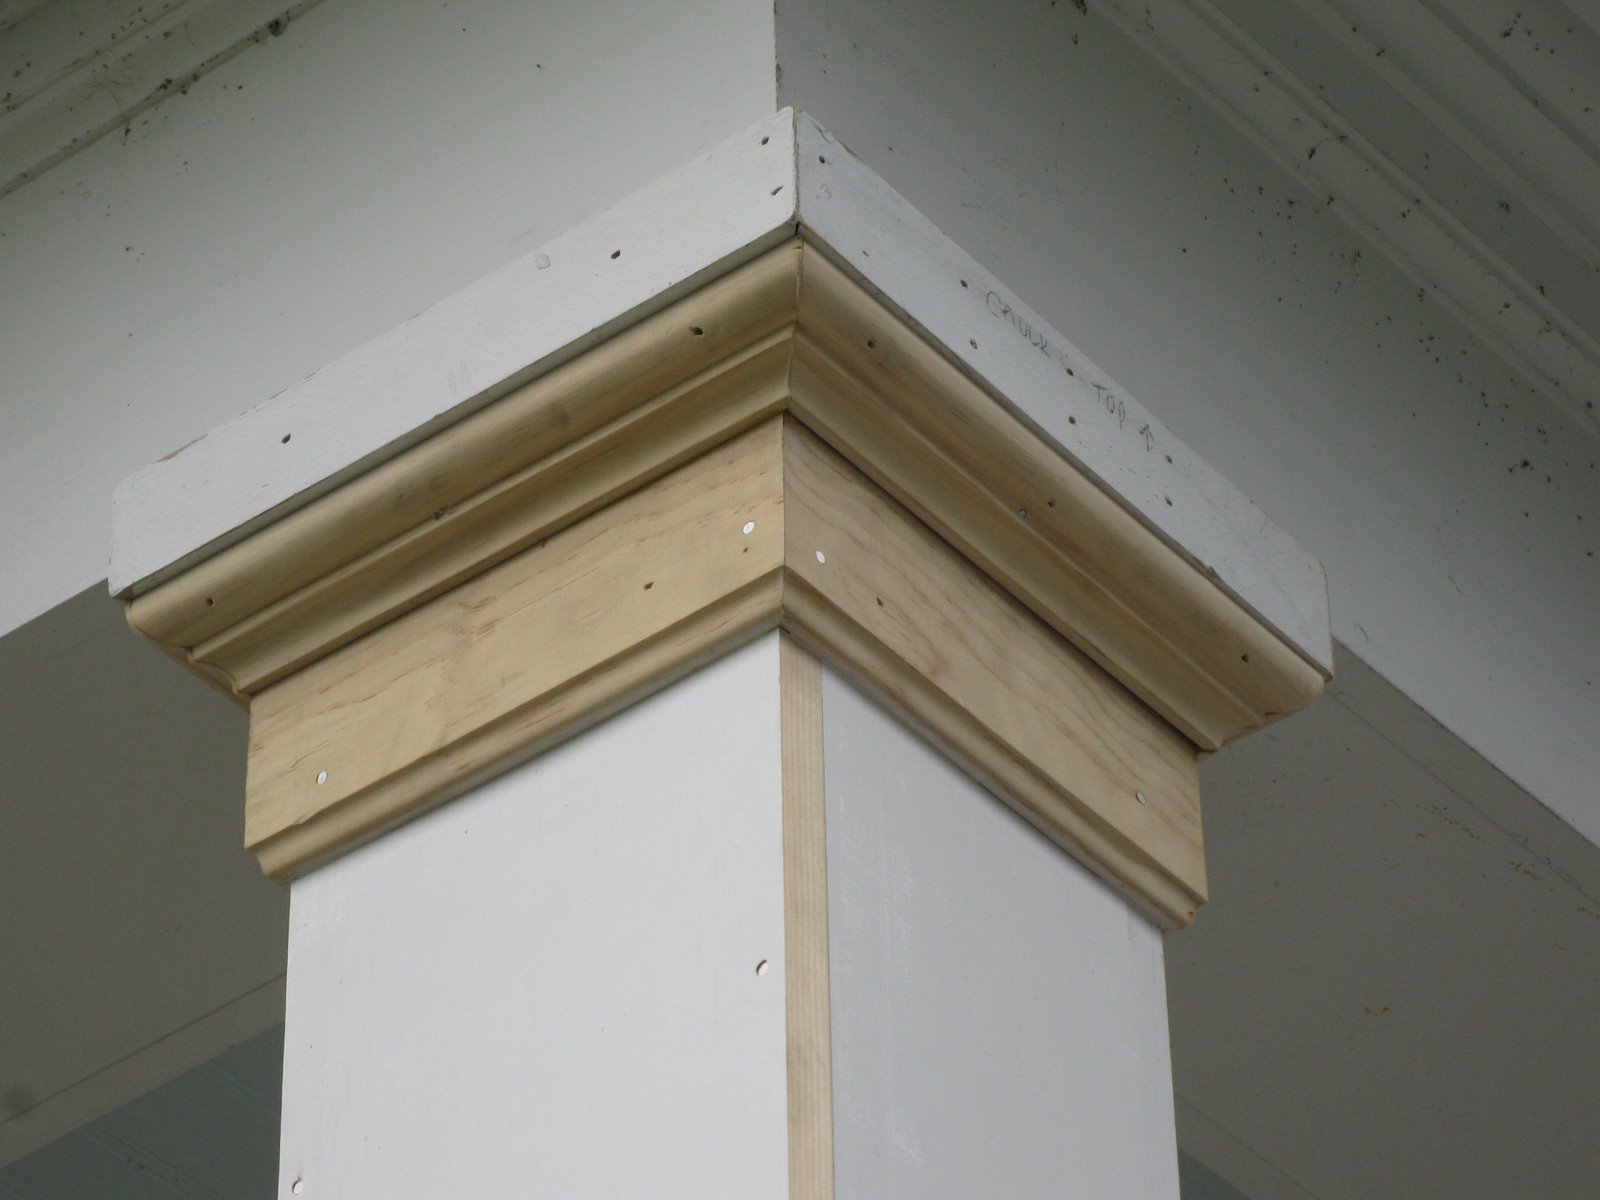
- Replace trim or molding: If you removed any trim or molding around the porch post during the removal process, now is the time to replace it. Carefully attach the trim or molding using appropriate fasteners, matching it to the existing design and style.
- Paint or stain the porch post: Depending on the material of the porch post, you may choose to paint or stain it to match the rest of your porch and house. Follow the manufacturer’s instructions and apply the paint or stain evenly, allowing it to dry completely.
- Clean up the area: Remove any debris, tools, or equipment from the work area. Sweep or hose down the porch floor and surrounding area to ensure a clean and tidy finish.
- Inspect the installation: Take a final look at the installed porch post to ensure that everything is secure, stable, and visually pleasing. Make any necessary adjustments or touch-ups as needed.
Completing these finishing touches and cleanup steps will leave your porch looking refreshed and well-maintained. It’s important to maintain the porch post regularly, checking for any signs of damage or wear, and making necessary repairs or replacements as needed.
Congratulations! You’ve successfully replaced a porch post, enhancing the safety and aesthetics of your porch. By following these steps and taking the time to do the job right, you’ve ensured that your porch will provide enjoyment and functionality for years to come.
Remember, if you have any doubts or concerns throughout the process, it’s always a good idea to consult with a professional contractor or seek guidance from a knowledgeable source. Safety should always be prioritized, and any complex or structural modifications may require professional assistance.
Now sit back, relax, and enjoy your newly replaced porch post!
Conclusion
Replacing a porch post may seem like a daunting task, but with the right knowledge and tools, it can be a manageable DIY project for any homeowner. By following the step-by-step guide outlined in this article, you can confidently replace a porch post, improving the structural integrity and aesthetic appeal of your porch.
Throughout the process, it’s important to prioritize safety by wearing appropriate protective gear and following any safety guidelines provided by the tools and equipment manufacturers. Take the time to prepare the area, measure and cut the new porch post accurately, and secure it in place with proper techniques and fasteners.
Remember to pay attention to details such as aligning the porch post, adding additional support if necessary, and finishing touches like replacing trim and painting or staining the post to match your porch and house. Taking these extra steps will ensure a polished and cohesive look.
As with any home improvement project, it’s essential to regularly inspect and maintain the porch post after installation. Keep an eye out for any signs of damage or wear and make the necessary repairs or replacements to prevent further issues.
If you feel uncertain or overwhelmed at any point during the process, don’t hesitate to seek guidance from a professional contractor or knowledgeable source. They can provide valuable advice and assistance to ensure the project is done correctly and safely.
By replacing a porch post, you not only enhance the stability and safety of your porch but also improve the overall curb appeal and value of your home. So, roll up your sleeves, gather your materials and tools, and give your porch the upgrade it deserves!
Frequently Asked Questions about How To Replace Porch Post
Was this page helpful?
At Storables.com, we guarantee accurate and reliable information. Our content, validated by Expert Board Contributors, is crafted following stringent Editorial Policies. We're committed to providing you with well-researched, expert-backed insights for all your informational needs.


0 thoughts on “How To Replace Porch Post”