Home>Gardening & Outdoor>Outdoor Structures>How To Take Apart A Rubbermaid Shed

Outdoor Structures
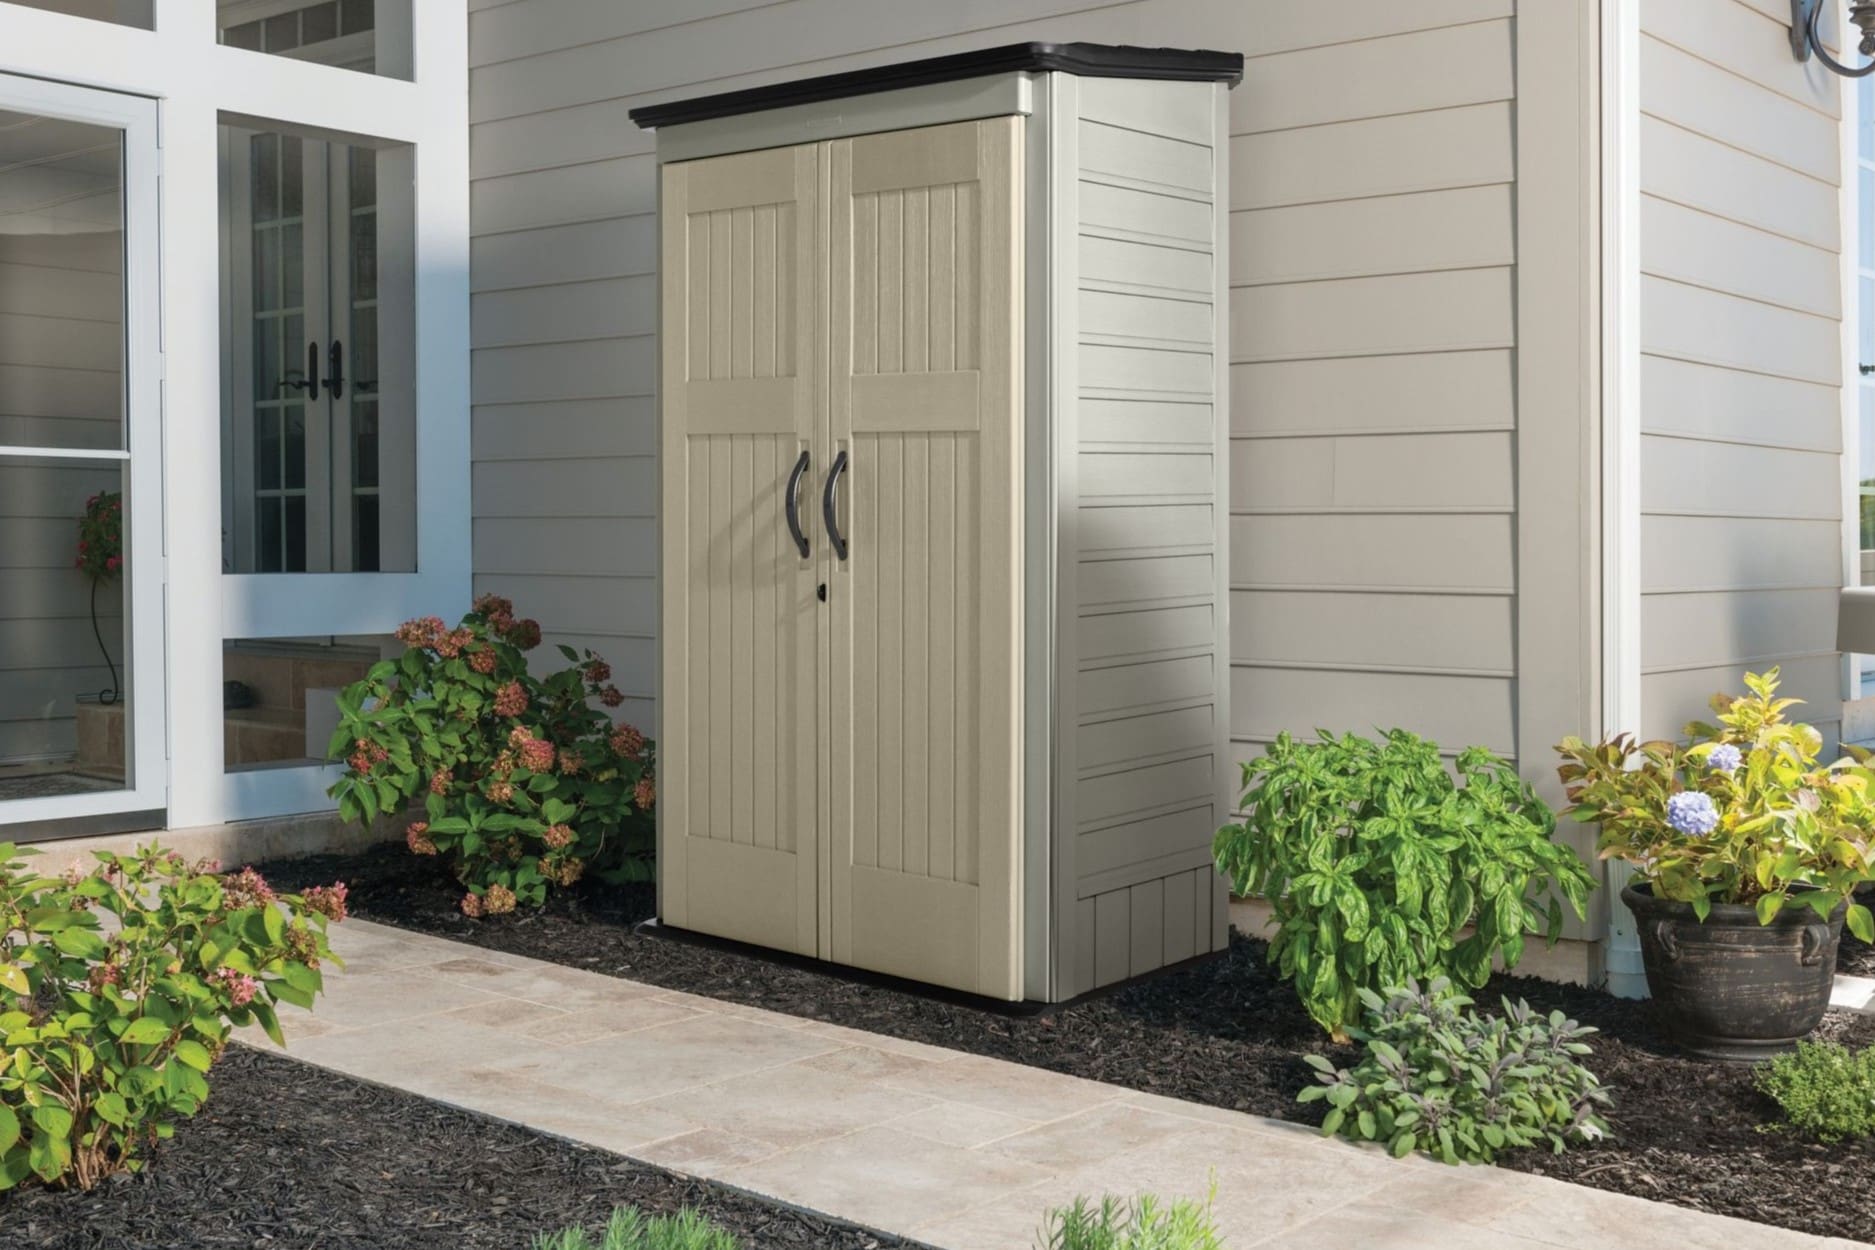
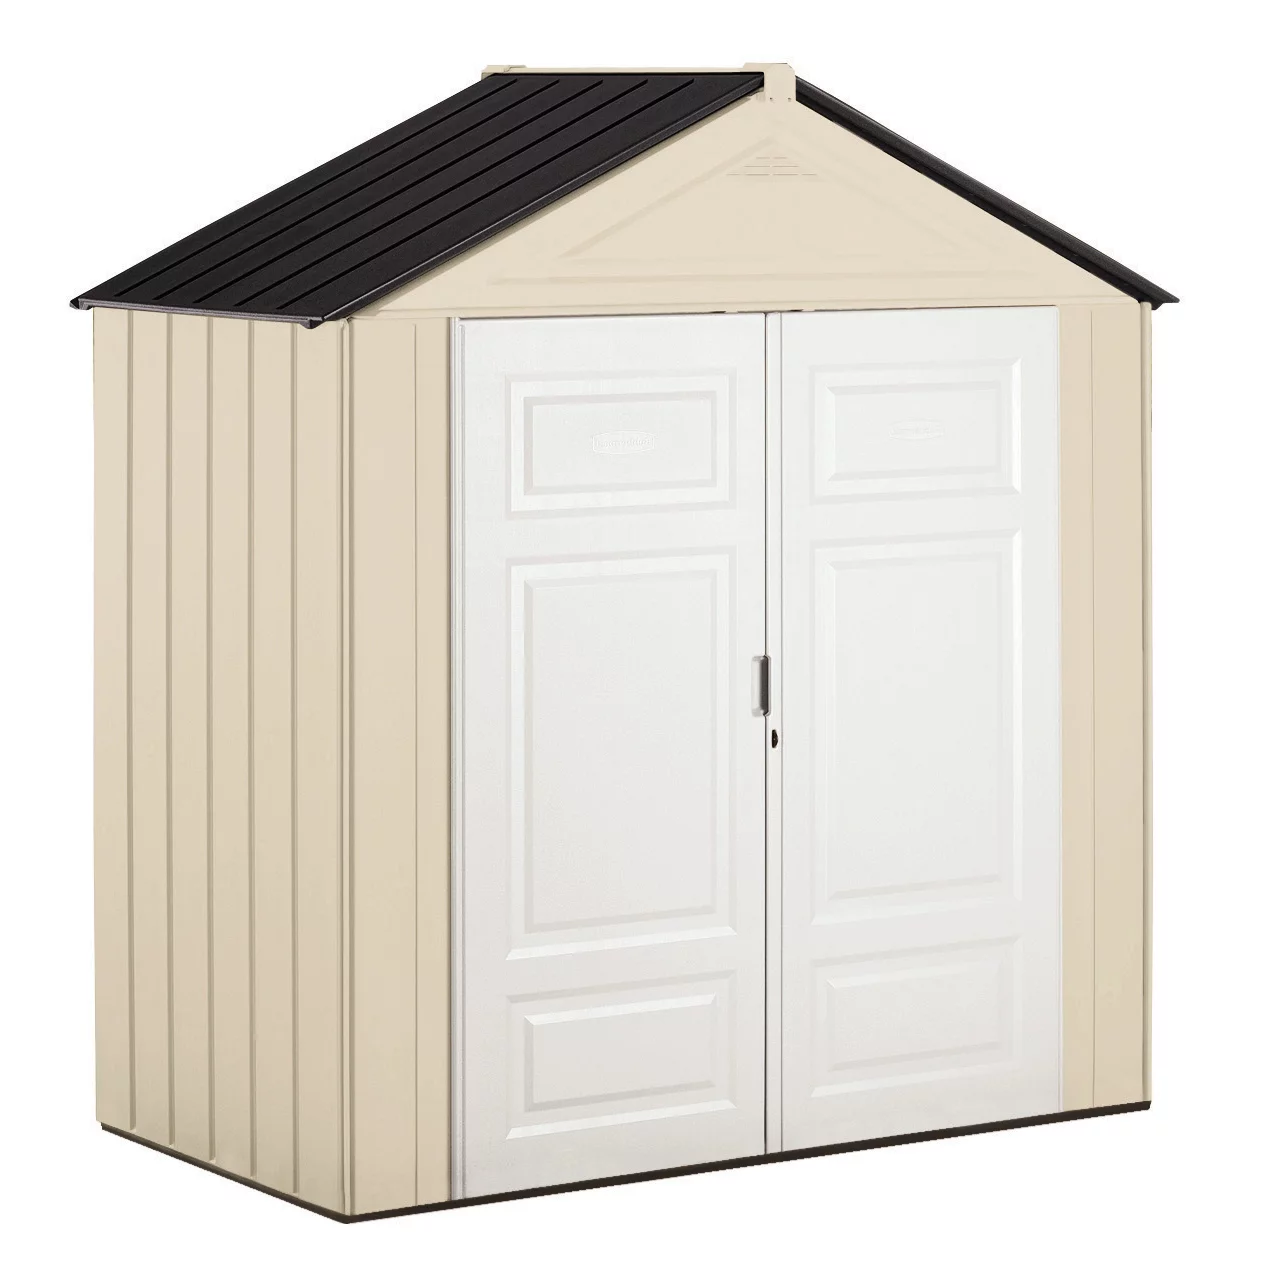
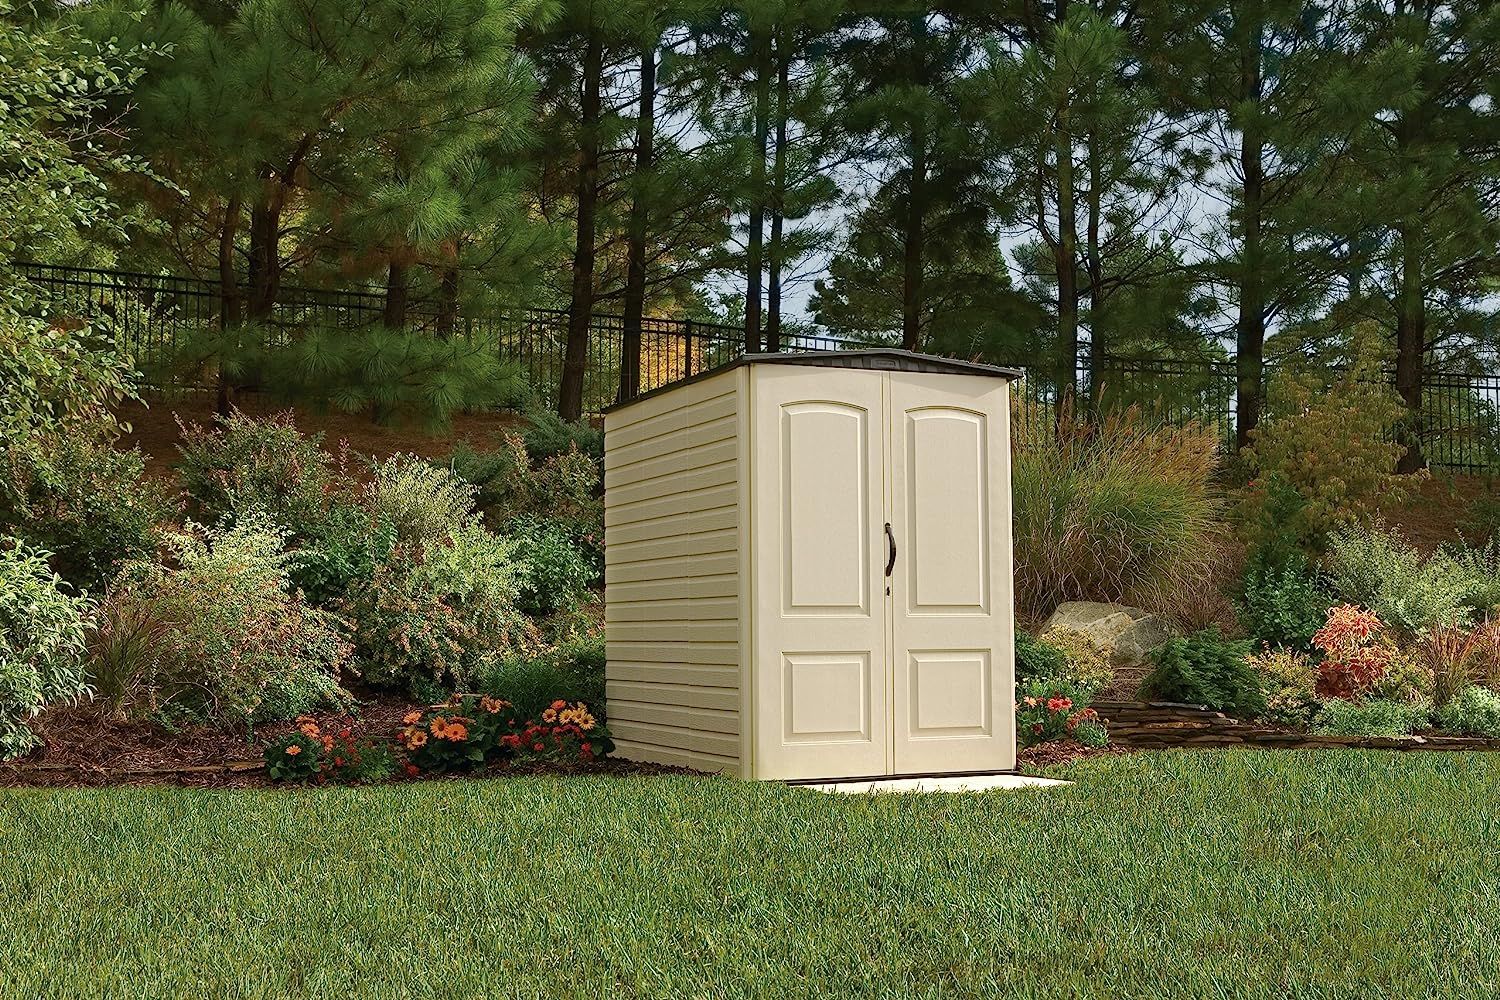
How To Take Apart A Rubbermaid Shed
Modified: March 25, 2024
Learn how to efficiently disassemble your Rubbermaid shed with our step-by-step guide. Keep your outdoor structures in top shape with our expert tips.
(Many of the links in this article redirect to a specific reviewed product. Your purchase of these products through affiliate links helps to generate commission for Storables.com, at no extra cost. Learn more)
Introduction
Taking apart a Rubbermaid shed may seem like a daunting task, but with the right approach and tools, it can be a manageable and rewarding project. Whether you're relocating, renovating, or simply looking to declutter your outdoor space, dismantling your shed can open up new possibilities for your yard or garden. By following a systematic process and taking the time to organize the disassembled parts, you can ensure a smooth and efficient project from start to finish.
In this comprehensive guide, we will walk you through the step-by-step process of disassembling a Rubbermaid shed. From preparing the necessary tools and materials to carefully removing each component, we'll cover everything you need to know to successfully take apart your shed. By the end of this guide, you'll have the knowledge and confidence to tackle this project with ease, allowing you to make the most of your outdoor space.
So, roll up your sleeves, gather your tools, and let's embark on this shed-dismantling journey together. Whether you're a seasoned DIY enthusiast or a first-time shed dismantler, this guide is designed to equip you with the insights and techniques to accomplish the task efficiently and effectively. Let's dive in and discover the satisfying process of deconstructing a Rubbermaid shed, opening the door to new possibilities for your outdoor living space.
Key Takeaways:
- Dismantling a Rubbermaid shed requires careful planning, the right tools, and step-by-step approach. Clearing the area, removing doors, walls, roof, and floor, and organizing parts are essential for a successful project.
- Properly storing and labeling disassembled shed parts allows for potential reuse or repurposing in future projects. The skills gained from this DIY endeavor can be applied to future creative initiatives and home improvement ventures.
Read more: How To Assemble A Rubbermaid Tool Shed
Tools and Materials Needed
Before you begin the process of taking apart your Rubbermaid shed, it’s essential to gather the necessary tools and materials to ensure a smooth and efficient dismantling process. Here’s a comprehensive list of the items you’ll need:
- Work Gloves: Protect your hands from sharp edges and debris with a durable pair of work gloves.
- Safety Goggles: Shield your eyes from dust, debris, and potential hazards while working on the shed.
- Adjustable Wrench: A versatile tool for loosening nuts and bolts during the disassembly process.
- Screwdriver Set: Ensure you have a variety of screwdrivers, including Phillips and flathead, to handle different types of screws.
- Utility Knife: Useful for cutting through sealants, adhesives, or any materials that need to be separated.
- Pry Bar: Ideal for gently prying apart components and removing stubborn fasteners.
- Step Ladder: Depending on the shed’s height, a stable step ladder will provide safe access to higher areas during the dismantling process.
- Cordless Drill: Speed up the disassembly by using a cordless drill to remove screws and fasteners efficiently.
- Hammer: A versatile tool for tapping out stubborn parts and aiding in the disassembly of the shed.
- Storage Containers: Have a sufficient number of labeled containers or bags to store and organize the shed’s disassembled parts.
- Marker or Labels: Use markers or labels to clearly mark and identify the parts as you disassemble the shed, making reassembly easier if needed in the future.
- Assistance: Enlist the help of a friend or family member to assist in certain stages of the dismantling process, especially when handling larger shed components.
Additionally, it’s important to consider the weather conditions and prepare accordingly. If you’re working outdoors, dress appropriately for the climate and have a plan in place in case of unexpected changes in weather.
By ensuring you have the right tools, safety equipment, and organizational materials, you’ll be well-equipped to tackle the disassembly of your Rubbermaid shed with confidence and efficiency. With these essentials in place, you’re ready to move on to the first step of the dismantling process.
Step 1: Clearing the Area
Before you commence the disassembly of your Rubbermaid shed, it’s crucial to prepare the surrounding area to ensure a safe and unobstructed workspace. Clearing the area around the shed will not only facilitate the dismantling process but also minimize the risk of accidents and damage to nearby objects. Here’s a detailed guide on how to effectively clear the area:
- Remove Contents: Begin by removing all items stored inside the shed. Clearing out the contents will lighten the shed’s load and make it easier to disassemble.
- Clean the Interior: Take the opportunity to clean the interior of the shed, clearing away any debris, dirt, or cobwebs. This will also ensure that any items you remove from the shed remain clean and in good condition.
- Clear Surrounding Space: Clear any obstacles or obstructions around the shed, such as garden tools, furniture, or planters. Creating ample space around the shed will provide room to maneuver and safely disassemble its components.
- Secure Loose Items: If there are any loose or detachable components on the shed, such as shelves or hooks, remove and secure them separately. This will prevent them from getting in the way during the disassembly process.
- Prepare Disposal or Storage: Consider the disposal or storage of the shed’s disassembled parts. If certain components are no longer needed, have a plan for their removal or disposal. For parts that may be reused or repurposed, designate a storage area for organized keeping.
- Check the Weather: Assess the weather conditions before beginning the disassembly. If inclement weather is expected, consider postponing the project to ensure a safe and comfortable working environment.
By thoroughly clearing the area and preparing the space around the shed, you’ll set the stage for a seamless and efficient dismantling process. This initial step lays the foundation for a safe and organized approach to taking apart your Rubbermaid shed, paving the way for the subsequent stages of disassembly.
With the area cleared and the workspace ready, you’re now prepared to move on to the next step in the shed-dismantling process, bringing you closer to the successful completion of this rewarding project.
Step 2: Removing the Doors
As you embark on the disassembly of your Rubbermaid shed, the next crucial step involves removing the doors. Whether your shed features single or double doors, taking them off will pave the way for the subsequent dismantling of the shed’s walls and roof. Here’s a detailed guide on how to effectively remove the doors:
- Clear Door Access: Ensure that the area surrounding the doors is free from any obstructions, allowing unimpeded access for the removal process.
- Unscrew Hinges and Hardware: Using the appropriate screwdriver or drill bit, carefully unscrew and remove the hinges and any hardware securing the doors to the shed’s frame. Keep the screws and hardware in a labeled container for safekeeping.
- Enlist Assistance: If the doors are large or heavy, consider enlisting the help of a friend or family member to assist in safely lifting and carrying them away from the shed.
- Store Doors Securely: Once removed, store the doors in a safe and designated area, ensuring they are positioned upright to prevent warping or damage. If the doors are in good condition, consider repurposing or selling them for future use.
- Inspect Door Frame: With the doors removed, inspect the door frame and surrounding areas for any remaining hardware, screws, or potential obstructions that may impede the subsequent disassembly steps.
By carefully removing the doors, you’ll make significant progress in the disassembly process, setting the stage for the next phase of dismantling the shed’s walls and roof. This step not only prepares the shed for further deconstruction but also presents an opportunity to repurpose or reuse the doors in other projects, adding value to your DIY endeavors.
With the doors successfully removed, you’re now ready to proceed to the subsequent stages of disassembling your Rubbermaid shed, bringing you closer to the completion of this rewarding project.
Step 3: Disassembling the Walls
With the doors removed, the next pivotal phase in the disassembly of your Rubbermaid shed involves carefully dismantling the walls. This step requires attention to detail and precision to ensure the safe and efficient removal of the shed’s wall panels. Here’s a comprehensive guide on how to effectively disassemble the walls:
- Identify Panel Connections: Examine the seams and connections between the wall panels to understand how they are secured to the shed’s frame. Look for screws, fasteners, or interlocking mechanisms that hold the panels in place.
- Remove Fasteners: Using the appropriate tools, such as a screwdriver or drill, carefully remove the fasteners securing the wall panels to the shed’s frame. Keep the fasteners organized and labeled for ease of reassembly if needed in the future.
- Disengage Interlocking Panels: If the wall panels feature interlocking edges, gently disengage them from each other, taking care not to force or damage the panels during separation.
- Enlist Assistance if Needed: Depending on the size and weight of the wall panels, consider seeking assistance to safely lift and maneuver them away from the shed’s frame. Working with a partner can make the process smoother and reduce the risk of injury.
- Store Wall Panels Securely: Once removed, store the wall panels in a designated area, ensuring they are stacked and stored vertically to prevent warping or damage. Label the panels for easy identification during reassembly or potential reuse.
- Inspect the Frame: After the wall panels are removed, inspect the shed’s frame for any remaining screws, fasteners, or potential obstacles that may hinder the dismantling of the roof and floor.
By methodically disassembling the walls, you’ll make significant headway in the shed-dismantling process, bringing you closer to the ultimate goal of fully deconstructing the structure. This step not only clears the way for the subsequent dismantling of the roof and floor but also presents opportunities for repurposing or recycling the wall panels in future projects.
With the walls successfully disassembled, you’re now prepared to progress to the next stages of taking apart your Rubbermaid shed, marking another milestone in this fulfilling DIY endeavor.
Before taking apart a Rubbermaid shed, make sure to carefully label and organize all the parts and hardware. This will make reassembly much easier.
Read more: How To Assemble A Rubbermaid Shed
Step 4: Dismantling the Roof
As you continue the disassembly of your Rubbermaid shed, the next critical phase involves the careful dismantling of the roof. Removing the roof panels and support structures is a pivotal step in the overall process, requiring attention to detail and a methodical approach. Here’s a comprehensive guide on how to effectively dismantle the roof:
- Evaluate Roof Attachment: Assess how the roof panels are attached to the shed’s frame, identifying the fasteners, screws, or other securing mechanisms used to hold the roof in place.
- Remove Fasteners and Support Structures: Using the appropriate tools, such as a drill or screwdriver, carefully remove the fasteners securing the roof panels to the shed’s frame. Additionally, disassemble any support structures or trusses that contribute to the roof’s stability.
- Work with Caution: Exercise caution when removing the roof panels, especially if they are large or heavy. Enlist the assistance of a partner to safely lift and maneuver the panels away from the shed’s frame, minimizing the risk of injury or damage.
- Store Roof Panels Securely: Once the roof panels are removed, store them in a designated area, ensuring they are positioned horizontally to prevent warping. Label the panels for easy identification during potential reassembly or reuse.
- Inspect the Frame: After the roof panels and support structures are dismantled, thoroughly inspect the shed’s frame for any remaining fasteners, screws, or potential obstacles that may impede the subsequent disassembly of the floor.
By meticulously dismantling the roof, you’ll make significant strides in the shed-dismantling process, bringing you closer to the culmination of this rewarding project. This step not only prepares the shed for the final phase of disassembling the floor but also presents opportunities for repurposing or recycling the roof panels and support structures in future endeavors.
With the roof successfully dismantled, you’re now ready to advance to the subsequent stages of taking apart your Rubbermaid shed, marking another significant achievement in this fulfilling DIY undertaking.
Step 5: Taking Apart the Floor
As you approach the final phase of disassembling your Rubbermaid shed, the meticulous removal of the floor panels and support elements is paramount. Dismantling the floor requires careful attention to detail and a systematic approach to ensure the shed is fully deconstructed. Here’s a comprehensive guide on how to effectively take apart the floor:
- Assess Floor Attachment: Evaluate how the floor panels are affixed to the shed’s frame, identifying any fasteners, screws, or anchoring mechanisms securing the floor in place.
- Remove Fasteners and Support Elements: Utilizing the appropriate tools, such as a drill or screwdriver, methodically remove the fasteners securing the floor panels to the shed’s frame. Additionally, disassemble any support elements or joists contributing to the floor’s stability.
- Exercise Caution: Exercise care when removing the floor panels, particularly if they are substantial or weighty. Enlist the assistance of a partner to safely lift and maneuver the panels away from the shed’s frame, reducing the risk of injury or damage.
- Store Floor Panels Securely: Once the floor panels are disassembled, store them in a designated area, ensuring they are stacked horizontally to prevent warping. Label the panels for easy identification during potential reassembly or repurposing.
- Thoroughly Inspect the Frame: After the floor panels and support elements are removed, thoroughly inspect the shed’s frame for any remaining fasteners, screws, or potential obstacles, ensuring the area is clear and ready for future use or disposal.
By methodically taking apart the floor, you will complete the deconstruction of the Rubbermaid shed, marking the successful culmination of this rewarding project. This final step not only prepares the area for potential future projects but also presents opportunities for repurposing or recycling the floor panels and support elements, adding value to your DIY endeavors.
With the floor panels and support elements successfully disassembled, you have achieved a significant milestone in the shed-dismantling process, bringing closure to this fulfilling DIY undertaking.
Step 6: Organizing and Storing the Parts
Upon completing the disassembly of your Rubbermaid shed, the final crucial step involves organizing and storing the various components and parts. Proper organization and storage not only ensure that the disassembled elements are well-preserved but also facilitate potential reassembly or repurposing in the future. Here’s a comprehensive guide on how to effectively organize and store the shed’s disassembled parts:
- Sort and Categorize: Methodically sort the disassembled parts, categorizing them based on their function and location within the shed. This may include wall panels, roof panels, floor panels, fasteners, and support structures.
- Labeling and Documentation: Clearly label each component, using markers or adhesive labels, to indicate its specific purpose and placement within the shed. Additionally, consider creating a simple inventory or documentation of the disassembled parts for future reference.
- Secure Storage Containers: Utilize sturdy and appropriately sized storage containers to house the disassembled parts. Ensure the containers are sealed and protected from moisture, dust, and potential damage.
- Preservation Measures: Implement measures to preserve the components, such as applying rust-resistant coatings to metal parts, storing wooden elements in a dry environment, and protecting delicate components from impact or pressure.
- Designated Storage Area: Allocate a designated storage area for the disassembled parts, ensuring they are positioned in an organized and accessible manner. Consider utilizing shelves, racks, or a dedicated section of your storage space for this purpose.
- Documentation and Reassembly Guide: If reassembly is a possibility in the future, consider creating a simple guide or documentation outlining the sequence and process for reconstructing the shed. This can streamline the reassembly process and ensure that no components are overlooked.
By meticulously organizing and storing the disassembled parts, you’ll preserve the shed’s components for potential future use or repurposing, adding value to your DIY endeavors. This final step not only marks the completion of the shed-dismantling process but also sets the stage for potential projects and creative initiatives down the line.
With the parts effectively organized and safely stored, you have successfully concluded the disassembly of your Rubbermaid shed, accomplishing a rewarding and fulfilling DIY project.
Conclusion
Congratulations on successfully completing the disassembly of your Rubbermaid shed! The journey of taking apart this outdoor structure has not only provided a sense of accomplishment but has also opened up new possibilities for your outdoor space. As you reflect on this rewarding DIY endeavor, it’s essential to appreciate the efforts invested in the meticulous dismantling process and the potential for future projects and creativity.
By following a systematic approach and leveraging the right tools and techniques, you have effectively deconstructed the shed, paving the way for a transformed outdoor environment. The organized removal of the doors, walls, roof, and floor has not only decluttered the space but has also presented opportunities for repurposing or recycling the shed’s components in future endeavors.
As you navigate the post-dismantling phase, consider the potential applications of the disassembled parts. Whether it’s repurposing the panels in new construction projects, utilizing the storage containers for other organizational needs, or documenting the disassembly process for future reference, the shed’s components can continue to contribute to your DIY pursuits.
Furthermore, the skills and insights gained from this project can be applied to future endeavors, empowering you to tackle new challenges and creative initiatives with confidence. The knowledge acquired in organizing, labeling, and preserving the disassembled parts can serve as a valuable foundation for upcoming DIY projects and home improvement ventures.
As you bask in the sense of accomplishment and the renewed potential of your outdoor space, take a moment to appreciate the journey and the skills honed throughout the shed-dismantling process. Whether it’s creating a clean and open outdoor area, embarking on new construction projects, or simply embracing the satisfaction of a well-executed DIY endeavor, the impact of this project extends beyond the disassembled shed.
With the shed successfully deconstructed and its components organized and preserved, you have not only transformed your outdoor environment but have also enriched your DIY repertoire. Embrace the possibilities that lie ahead, knowing that the skills and experiences gained from this project will continue to shape your future creative pursuits.
As you embark on new ventures and creative endeavors, may the lessons learned from dismantling the Rubbermaid shed serve as a testament to your ingenuity, resourcefulness, and commitment to enhancing your living space through thoughtful and purposeful DIY initiatives.
Frequently Asked Questions about How To Take Apart A Rubbermaid Shed
Was this page helpful?
At Storables.com, we guarantee accurate and reliable information. Our content, validated by Expert Board Contributors, is crafted following stringent Editorial Policies. We're committed to providing you with well-researched, expert-backed insights for all your informational needs.



0 thoughts on “How To Take Apart A Rubbermaid Shed”