Furniture
How To Take Apart A Lamp
Modified: August 28, 2024
Learn how to disassemble a lamp with our step-by-step guide. Transform your furniture with these easy-to-follow instructions for taking apart a lamp.
(Many of the links in this article redirect to a specific reviewed product. Your purchase of these products through affiliate links helps to generate commission for Storables.com, at no extra cost. Learn more)
Introduction
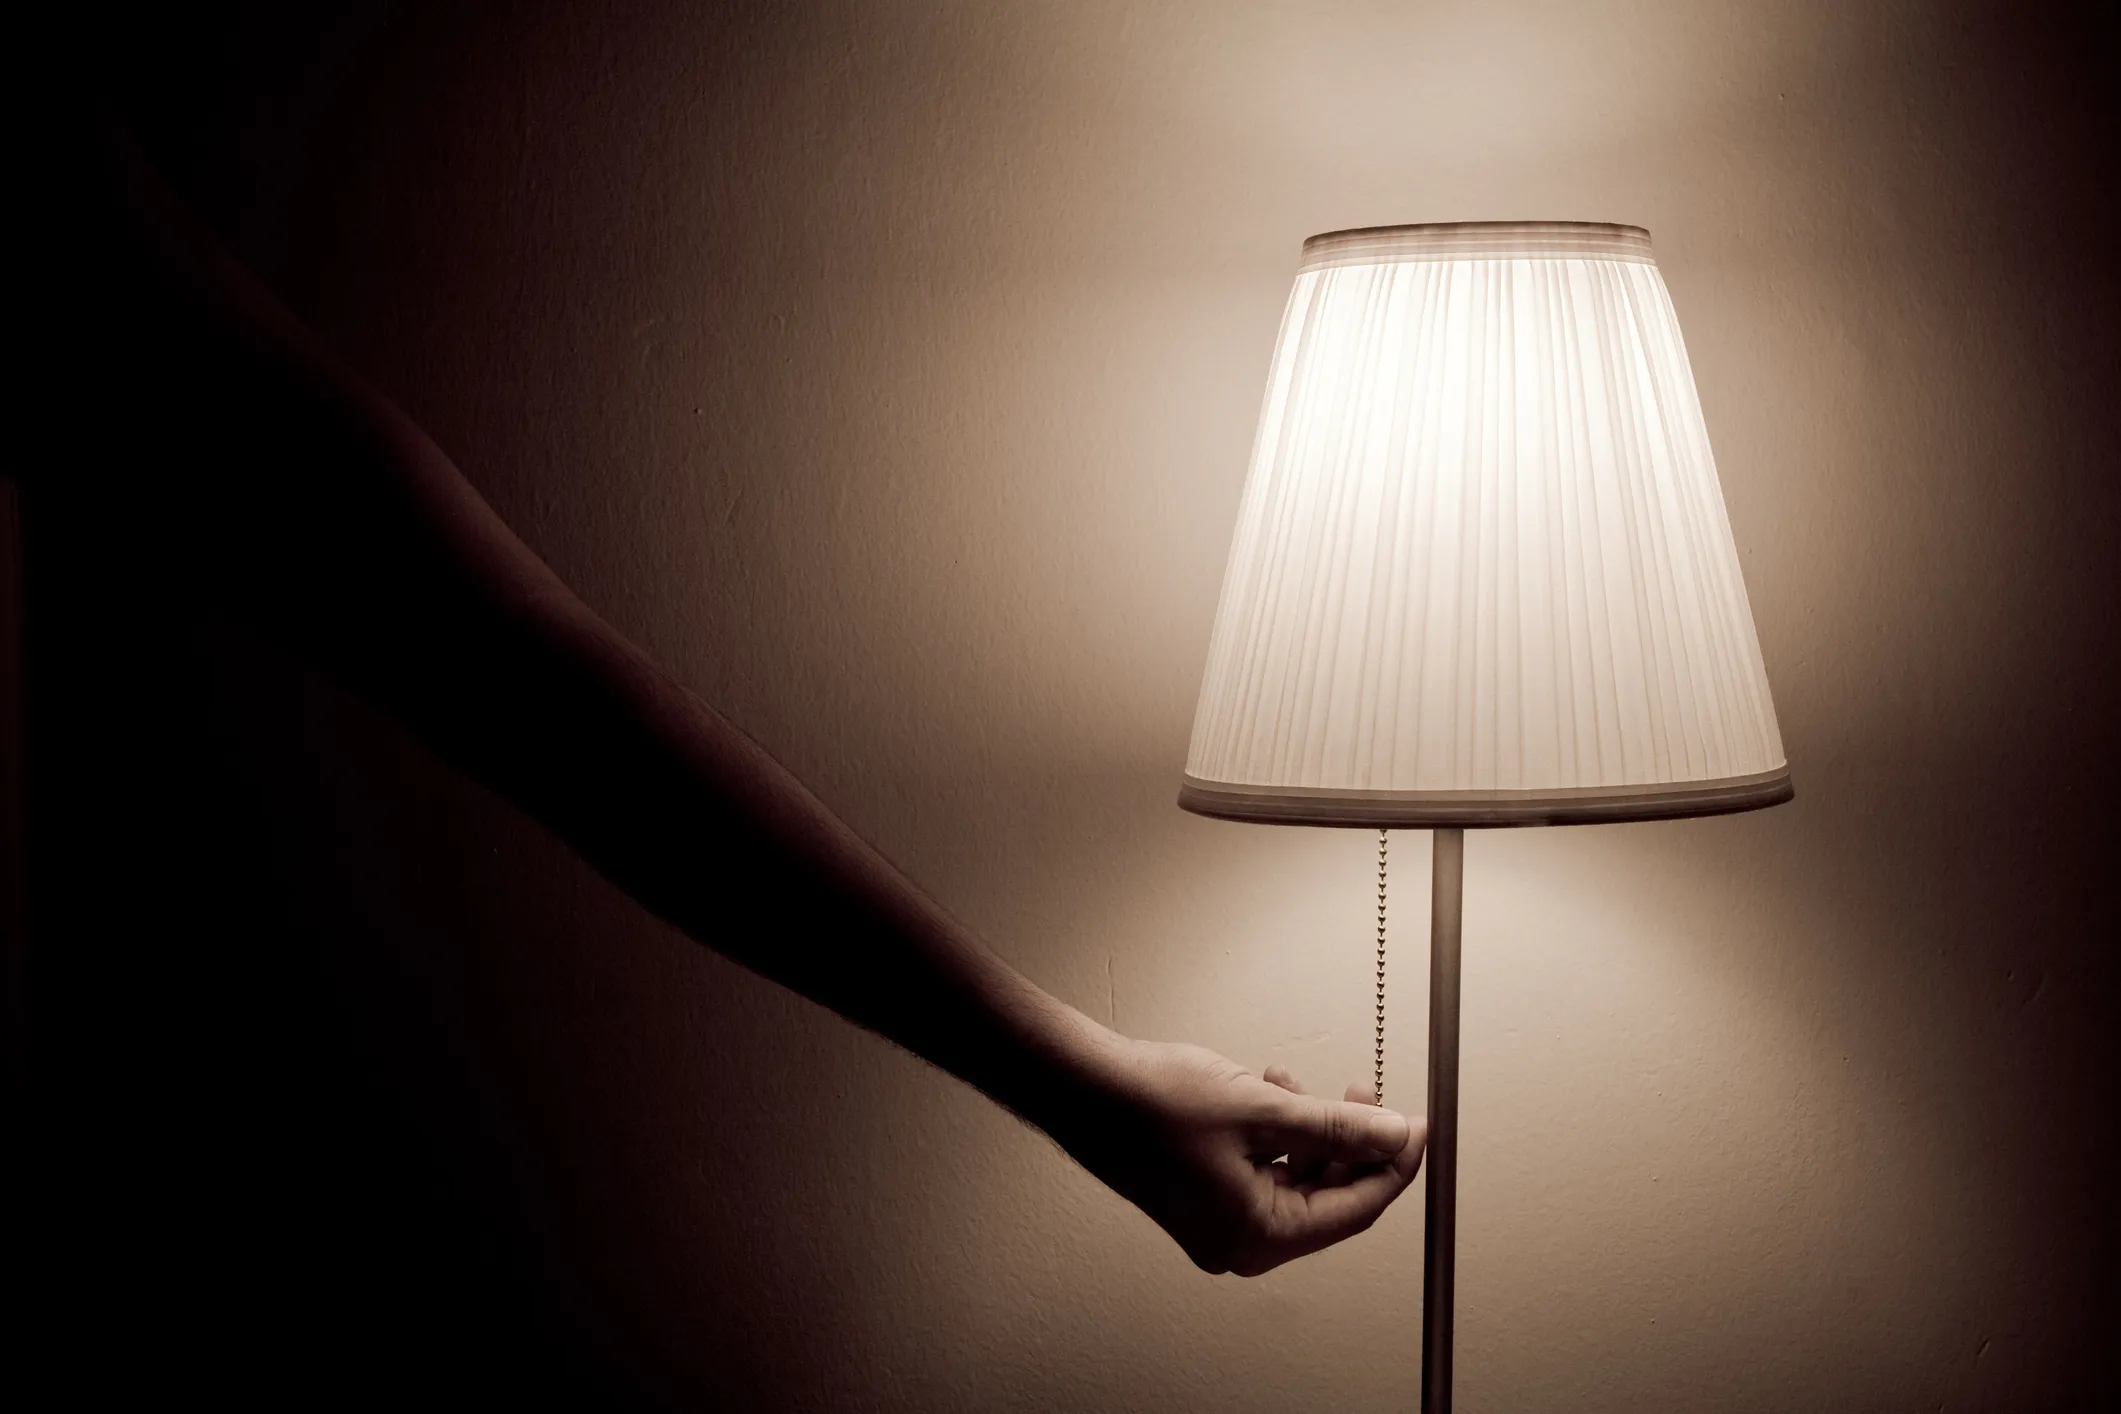
Have you ever wondered how to take apart a lamp? Whether you’re looking to repair a broken lamp or simply want to change its design, disassembling a lamp can be a useful skill to have. With the right tools and step-by-step guidance, you’ll be able to dismantle your lamp safely and efficiently.
In this article, we’ll provide you with a comprehensive guide on how to take apart a lamp. We’ll walk you through each step of the process and provide tips and tricks along the way. So, grab your tools and let’s get started!
Key Takeaways:
- Master the art of disassembling and reassembling a lamp with the right tools and step-by-step guidance. Unleash your creativity and customize your lighting fixtures with confidence and safety.
- Prioritize safety when working with electrical components, and consult a professional if unsure. Enjoy the satisfaction of transforming and customizing your lamps while extending their lifespan.
Read more: How To Take A Dryer Apart
Step 1: Gather the necessary tools
Before you begin disassembling your lamp, it’s important to gather the necessary tools. Having the right tools at hand will make the process much easier and ensure that you can safely take apart the lamp without causing damage. Here are the essential tools you’ll need:
- Screwdriver set: A set of screwdrivers with various sizes (both flathead and Phillips head) will be useful for removing screws.
- Pliers: Pliers will come in handy for gripping and twisting small parts.
- Wire cutters/strippers: If your lamp has a cord that needs to be cut or stripped, this tool will be necessary.
- Socket wrench: A socket wrench will be necessary if your lamp has a threaded base that needs to be unscrewed.
- Gloves: It’s always a good idea to wear gloves to protect your hands from any sharp edges or hot surfaces.
- Optional: Multimeter or voltage tester – This tool can be useful for testing the electrical components of the lamp for any faults.
Once you have gathered all the necessary tools, you’ll be ready to proceed to the next step. Having everything on hand will save you time and make the process smoother.
Step 2: Unplug and prepare the lamp
Before you start disassembling the lamp, it’s important to ensure your safety by unplugging it from the electrical outlet. This step will prevent any potential electrical shocks or accidents.
Once the lamp is unplugged, take a moment to examine it and identify any potential hazards. Check for any frayed or damaged cords, loose electrical connections, or sharp edges. If you notice any issues, it’s best to address them before proceeding further.
Next, clear a workspace where you can comfortably take apart the lamp. Use a sturdy table or workbench and lay down a soft cloth or protective surface to prevent any scratches or damage to the lamp or furniture.
If your lamp has a lampshade, remove it carefully and set it aside. You may need to unscrew any finial holding the lampshade in place, or simply lift it off the lamp base if it’s secured with clips.
By properly preparing the lamp and creating a safe and organized workspace, you’ll be ready to move on to the next step of disassembling the lamp.
Step 3: Remove the lampshade
With the lamp unplugged and the workspace prepared, it’s time to remove the lampshade. The lampshade is usually the easiest part of the lamp to remove, as it is often held in place with a simple attachment mechanism.
Start by inspecting the lampshade to determine how it is attached to the lamp base. Common attachment methods include:
- Finial: Some lampshades are secured with a finial, which is a decorative screw or knob that holds the shade in place. Loosen the finial by turning it counterclockwise and remove it completely.
- Clips or Brackets: Other lampshades have clips or brackets that attach them to the lamp harp or spider. Gently squeeze the clips or release the brackets to detach the shade from the lamp base.
Once you have removed the attachment mechanism, carefully lift the lampshade off the lamp base. Take care to support the shade evenly to avoid any damage.
If your lampshade is dusty or dirty, you can use a soft brush or a vacuum cleaner attachment to remove any debris. Be mindful not to apply too much pressure or force, as it can cause the shade to collapse or become misshapen.
Set the lampshade aside in a safe location where it won’t get damaged. Removing the lampshade will now give you better access to the lamp base, allowing you to move on to the next steps of disassembling the lamp.
Step 4: Disassemble the base
Once the lampshade has been removed, it’s time to disassemble the lamp base. The exact method of disassembly will vary depending on the design of your lamp, but here are some general steps to follow:
- Inspect the base: Take a moment to examine the lamp base and identify any screws, bolts, or other fasteners that may be holding it together. Look for any decorative elements that may need to be removed first.
- Remove decorative elements: If there are any decorative elements on the lamp base such as knobs, accents, or trimmings, unscrew or detach them carefully. Keep these parts in a safe place, as you will need to reattach them later if desired.
- Unscrew the base: Using a screwdriver or socket wrench, remove any screws or bolts that are holding the lamp base together. Start with the obvious ones on the bottom or sides of the base, and carefully set them aside for later use.
- Separate the parts: Once all the screws or bolts have been removed, you should be able to gently separate the different parts of the lamp base. Be cautious not to force anything or apply excessive pressure, as this can lead to breakage.
During the disassembly process, it’s a good idea to take note of how the different parts fit together. This will make the reassembly process much easier later on.
If there are any stubborn or stuck parts, you can try using a lubricant like WD-40 to loosen them. Apply the lubricant according to the manufacturer’s instructions and allow it to penetrate before attempting to remove the parts again.
Once the base is fully disassembled, set aside the individual parts in a safe and organized manner. Now you can move on to the next step of disconnecting the electrical components.
Read more: How To Take Apart A Dresser
Step 5: Disconnect the electrical components
Now that you have disassembled the lamp base, it’s time to disconnect the electrical components. This step is crucial for safely taking apart the lamp and will ensure that you can work on the different parts without any electric current flowing through them.
Before proceeding, it’s important to emphasize that if you are not comfortable working with electricity or unsure about the wiring, it is best to consult a professional electrician.
Here are the general steps to disconnect the electrical components of the lamp:
- Identify the power cord: Locate the power cord that connects the lamp to the electrical outlet. Trace the cord from the base of the lamp to where it enters the lamp body.
- Unplug or disconnect the cord: If your lamp has a detachable power cord like a plug, simply unplug it from the electrical outlet. If the cord is hardwired or connected internally, you will need to find the point where it connects to the lamp’s electrical system.
- Disconnect the wires: Once you have located the connection point, carefully disconnect the wires. Depending on the lamp’s design, you may need to unscrew terminal screws or detach wire connectors to free the wires.
- Label the wires: To make the reassembly process easier later on, it’s a good idea to label the wires or take a photo of their placement. Note which wire is connected to the neutral (typically white or silver) and which one is connected to the hot (typically black or gold) terminal.
After disconnecting the electrical components, be sure to secure the loose wires to prevent them from accidentally coming into contact with live electrical parts.
Remember, if you are uncertain about any step or uncomfortable working with electricity, it’s always best to seek professional assistance.
With the electrical components properly disconnected, you can now proceed to the next step of removing the lightbulb socket.
Before taking apart a lamp, always unplug it to avoid electrical shock. Use a screwdriver to remove the base and carefully disconnect the wires. Keep track of the parts for reassembly.
Step 6: Remove the lightbulb socket
With the electrical components safely disconnected, it’s time to remove the lightbulb socket from the lamp base. The lightbulb socket is the part that holds the lightbulb in place and connects it to the lamp’s electrical system.
Here are the steps to remove the lightbulb socket:
- Identify the socket: Locate the socket within the lamp base. It is often located at the top or center of the base, depending on the lamp’s design.
- Inspect the socket: Take a close look at the socket to determine how it is attached or held in place. Some sockets may be secured with screws, while others may twist or clip into position.
- Unscrew or unclip the socket: Depending on the type of socket, use a screwdriver or your hands to unscrew or unclip it from the lamp base. Be gentle and careful to avoid damaging the socket or lamp base.
- Disconnect the wires: Once the socket is loosened, carefully disconnect the wires connected to it. You may need to unscrew terminal screws or detach wire connectors, similar to the process of disconnecting the electrical components.
Once the lightbulb socket is removed, inspect it for any signs of damage or wear. If necessary, replace the socket with a new one of the same type and specifications.
Set the removed socket aside in a safe location, as you may reuse it when reassembling the lamp later on.
With the lightbulb socket removed, you have made significant progress in disassembling the lamp. The next step will involve taking apart the lamp cord, so let’s move on to the next step.
Step 7: Take apart the lamp cord
After removing the lightbulb socket, it’s time to take apart the lamp cord. This step involves disconnecting the cord from the lamp base and, if necessary, replacing it with a new one.
Here is a step-by-step guide on how to take apart the lamp cord:
- Locate the connection point: Identify where the lamp cord enters the lamp base. This is typically near the bottom or side of the base.
- Inspect the connection: Take a close look at the connection point to determine how the cord is attached or held in place. It may be secured with screws, clamps, or a combination of both.
- Disconnect the cord: Using the appropriate tools, unscrew any screws or loosen any clamps to release the lamp cord from the base. Take care not to damage the cord or any of its internal wiring during this process.
- Inspect the cord: Once the cord is disconnected, examine it for any signs of damage or wear. Look for frayed wires, exposed conductors, or any other issues that may necessitate replacing the cord.
- Replace the cord (if needed): If the lamp cord is damaged or you simply want to replace it, you can purchase a new cord that matches the specifications of the original cord. Follow the manufacturer’s instructions to install the new cord, making sure to connect it securely to the lamp base.
After the lamp cord is taken apart or replaced, carefully set it aside. It is important to handle the cord with care, as it contains electrical wiring that should not be damaged or mishandled.
With the lamp cord now disassembled, you have successfully taken apart the essential components of the lamp. The next step will involve cleaning and inspecting the parts, so let’s move on to the next step.
Step 8: Clean and inspect the parts
With the lamp components disassembled, it’s a good idea to clean and inspect each part before proceeding with reassembly. This step will help ensure the longevity and functionality of the lamp, as well as improve its overall appearance.
Here are some steps to clean and inspect the parts:
- Dust and wipe: Use a soft cloth or a brush to remove any dust or debris from the lamp base, lightbulb socket, and other components. Wipe them down gently to remove any grime or dirt.
- Clean with mild detergent: If the parts are particularly dirty, you can use a mild detergent and water solution to clean them. Dip a cloth into the solution, wring out any excess liquid, and gently wipe the parts. Be careful not to saturate any electrical components or immerse them in water.
- Inspect for damage: As you clean each part, inspect them closely for any signs of damage. Look for cracks, chips, loose connections, or other issues that may affect the lamp’s functionality or safety.
- Replace damaged parts (if needed): If you discover any damaged components during the inspection, consider replacing them with new ones. Ensure you source replacements that match the original specifications of the lamp.
- Polish metal parts: If the lamp base or other metal parts have tarnished or lost their shine, you can polish them using a suitable metal polish or cleaner. Follow the product instructions and use a cloth or sponge to apply the polish and restore the metal’s luster.
By cleaning and inspecting the parts, you are taking proactive measures to maintain and prolong the lifespan of your lamp. Additionally, repairing or replacing any damaged components will help ensure the lamp’s safety and functionality.
Once you have cleaned and inspected all the parts to your satisfaction, you are now ready to move on to the final step of reassembling the lamp. Let’s proceed to the next step.
Read more: How To Take Apart A Rubbermaid Shed
Step 9: Reassemble the lamp
After thoroughly cleaning and inspecting the lamp parts, it’s time to bring everything back together and reassemble the lamp. This step will involve reversing the disassembly process and carefully putting the components back in their correct positions.
Here is a step-by-step guide to reassembling the lamp:
- Start with the lamp base: Begin by assembling the lamp base components in the reverse order of disassembly. Align the parts properly and secure them with screws or other fasteners.
- Reconnect the electrical components: Locate the lamp cord and reconnect it to the lamp base, ensuring that the wires are securely attached. Follow the same process you used to disconnect the cord, but in reverse.
- Attach the lightbulb socket: Place the lightbulb socket back into its designated spot on the lamp base. Screw it in or clip it securely, depending on the type of attachment used.
- Replace the lampshade: If you had removed the lampshade, now is the time to put it back on. Position it carefully and secure it in place using the appropriate attachment method, such as a finial or clips.
- Test the lamp: Once all the components are reassembled, plug the lamp back into an electrical outlet and test it. Turn the lamp on to ensure that it functions properly. If any issues arise, double-check the connections and troubleshoot as needed.
During the reassembly process, refer to any notes or labeled wires you made during the disassembly to ensure proper alignment and connection.
Once you have successfully reassembled the lamp and it is working correctly, take a moment to admire your handiwork. You have successfully taken apart and put back together a lamp!
Remember to always follow safety precautions and handle electrical components properly. If you encounter any difficulties or are unsure about any steps, it’s best to seek the help of a professional electrician.
With the lamp fully reassembled, you can now enjoy its renewed beauty and functionality. Congratulations!
Conclusion
Disassembling and reassembling a lamp can be a rewarding and practical skill to have. Whether you’re repairing a malfunctioning lamp or simply want to change its design, knowing how to take apart a lamp gives you the ability to customize and maintain your lighting fixtures.
Throughout this guide, we have provided you with a comprehensive step-by-step process to safely and effectively take apart a lamp. From gathering the necessary tools to reassembling the lamp, each step has been carefully outlined to ensure a successful outcome.
Remember to always prioritize safety when working with electrical components. Unplug the lamp, gather the appropriate tools, and work in a well-ventilated and well-lit area. If you’re unsure about any step or uncomfortable handling electrical parts, it’s best to consult with a professional electrician.
By disassembling your lamp, you can clean and inspect each component, identify any potential issues, and make any necessary repairs or replacements. This helps to extend the lifespan of your lamp and ensure its continued functionality.
Once you’ve completed the disassembly process and made any necessary repairs or replacements, reassembling the lamp is a straightforward process. Take your time to align the components correctly, reconnect the electrical elements with care, and test the lamp to ensure it works properly.
Now that you’ve learned how to take apart a lamp and put it back together, you have an excellent opportunity to explore your creativity and update the look of your lighting fixtures. You can experiment with different lampshades, change the base or accents, and even add your personal touch to create a unique and customized lamp.
We hope that this guide has been helpful in guiding you through the process of disassembling and reassembling a lamp. By following these steps and taking proper precautions, you can safely and confidently transform your lamps and enjoy the satisfaction that comes with a job well done.
So go ahead, unleash your inner craftsman or craftswoman, and take apart that lamp to embark on an exciting journey of customization and creativity!
Now that you've mastered dismantling a lamp, why not brighten up your space with sophisticated fixtures? Our guide on LED mirrors will show you how to light rooms with style and flair. These innovative mirrors not only offer ideal lighting but also add a dash of elegance to any interior. Don't miss out on transforming your home into a beautifully lit haven.
Frequently Asked Questions about How To Take Apart A Lamp
Was this page helpful?
At Storables.com, we guarantee accurate and reliable information. Our content, validated by Expert Board Contributors, is crafted following stringent Editorial Policies. We're committed to providing you with well-researched, expert-backed insights for all your informational needs.