Home>Storage & Organization>Living Room Organization>How To Build A Coat Rack With A Shelf
Living Room Organization
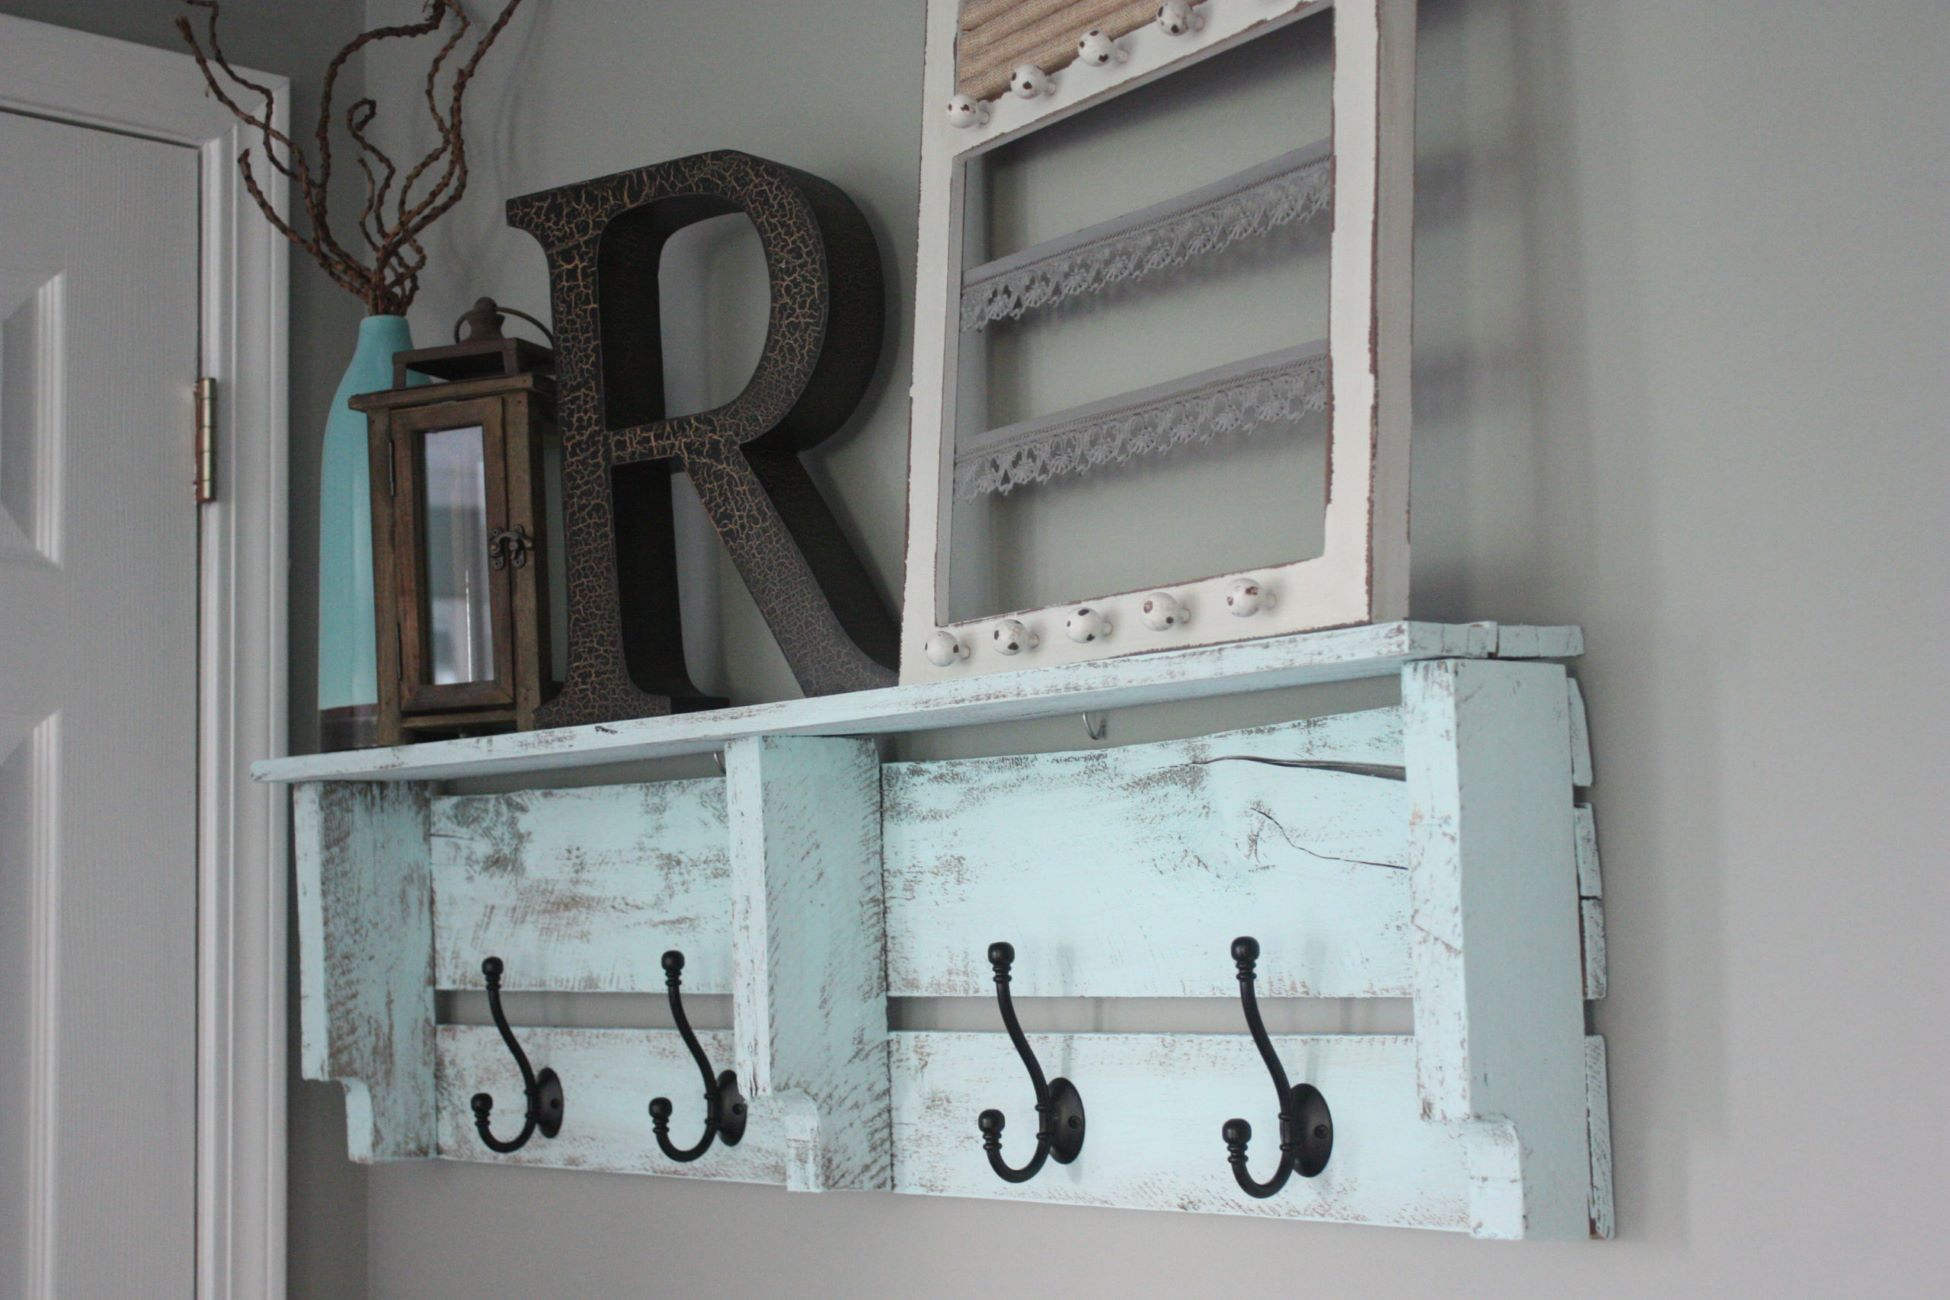
How To Build A Coat Rack With A Shelf
Modified: October 18, 2024
Learn how to create a stylish and functional coat rack with a shelf for your living room organization. Follow our step-by-step guide for a practical and attractive storage solution.
(Many of the links in this article redirect to a specific reviewed product. Your purchase of these products through affiliate links helps to generate commission for Storables.com, at no extra cost. Learn more)
Introduction
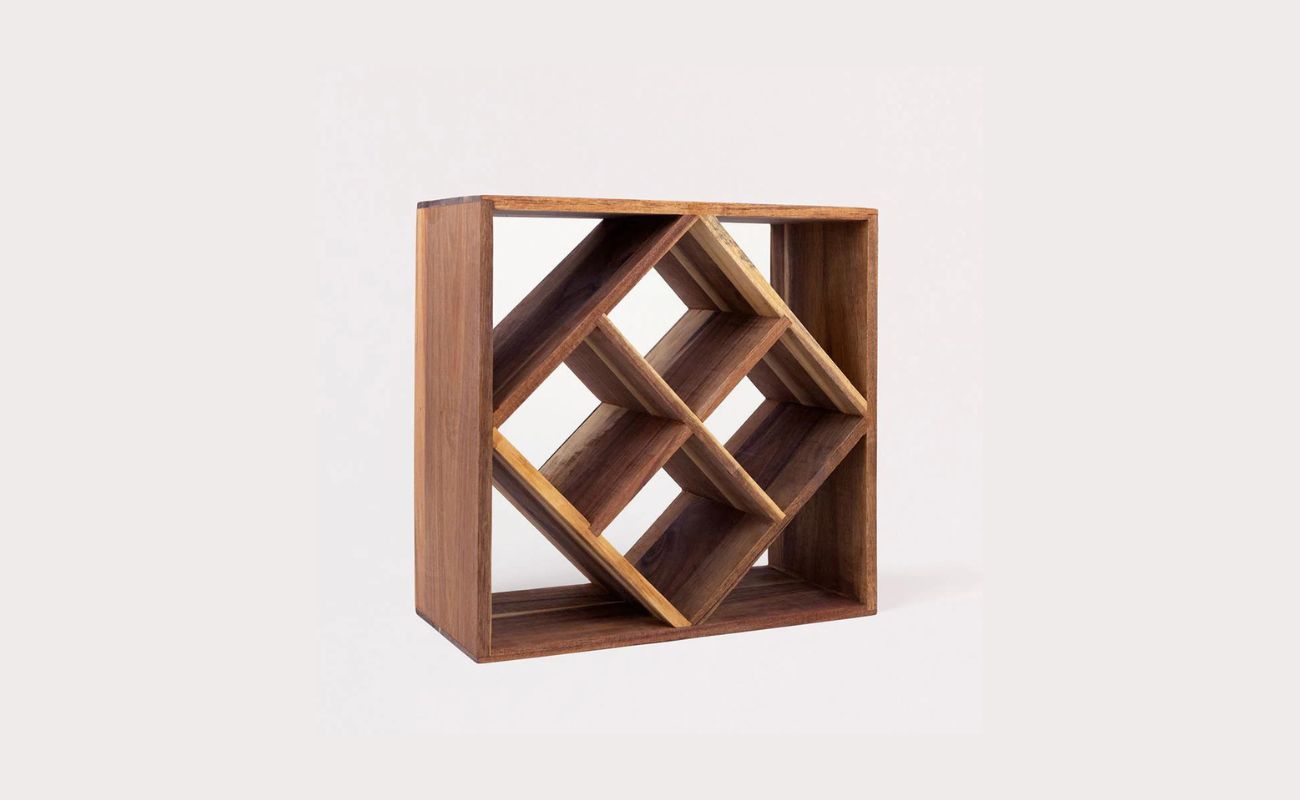
Creating a coat rack with a shelf is a fantastic way to add functionality and style to your living room. This DIY project not only provides a convenient spot to hang coats, hats, and scarves but also offers a practical shelf for displaying decorative items or storing everyday essentials. By crafting your own coat rack with a shelf, you can customize it to suit your space and design preferences, resulting in a unique and personalized addition to your home decor.
In this comprehensive guide, we will walk through the step-by-step process of building a coat rack with a shelf, providing detailed instructions and valuable tips to help you achieve a professional-looking result. Whether you're a seasoned DIY enthusiast or a novice looking to embark on your first woodworking project, this guide will equip you with the knowledge and confidence to tackle this rewarding endeavor.
By following the instructions and utilizing the suggested materials, you can create a practical and aesthetically pleasing coat rack with a shelf that complements your living room decor. From selecting the right wood and preparing the materials to assembling the components and mounting the finished piece, each step is crucial in ensuring a sturdy, attractive, and functional coat rack that will enhance the organization and visual appeal of your living space.
So, roll up your sleeves, gather your tools, and let's embark on this exciting journey of crafting a coat rack with a shelf that will not only serve a practical purpose but also become a standout feature in your living room. Let's dive into the materials needed and get ready to bring your vision to life!
Key Takeaways:
- Create a personalized coat rack with a shelf to add style and functionality to your living room. Customize it to suit your space and design preferences for a unique and practical addition to your home decor.
- Building a coat rack with a shelf allows you to showcase your woodworking skills and creativity. From selecting the wood to mounting the finished piece, each step contributes to a personalized and functional furniture piece.
Read more: How To Build A Coat Rack Bench
Materials Needed
To embark on the fulfilling endeavor of building a coat rack with a shelf, you will need a carefully curated selection of materials and tools. Each item plays a crucial role in the construction process, contributing to the overall durability, functionality, and aesthetic appeal of the finished piece. Here's a comprehensive list of the materials and tools required for this DIY project:
Wood
Selecting the right type of wood is essential for ensuring the sturdiness and visual appeal of your coat rack with a shelf. Opt for a high-quality, durable wood species such as oak, pine, or maple. The wood should be thick enough to provide ample support for hanging coats and sturdy enough to hold the weight of items placed on the shelf.
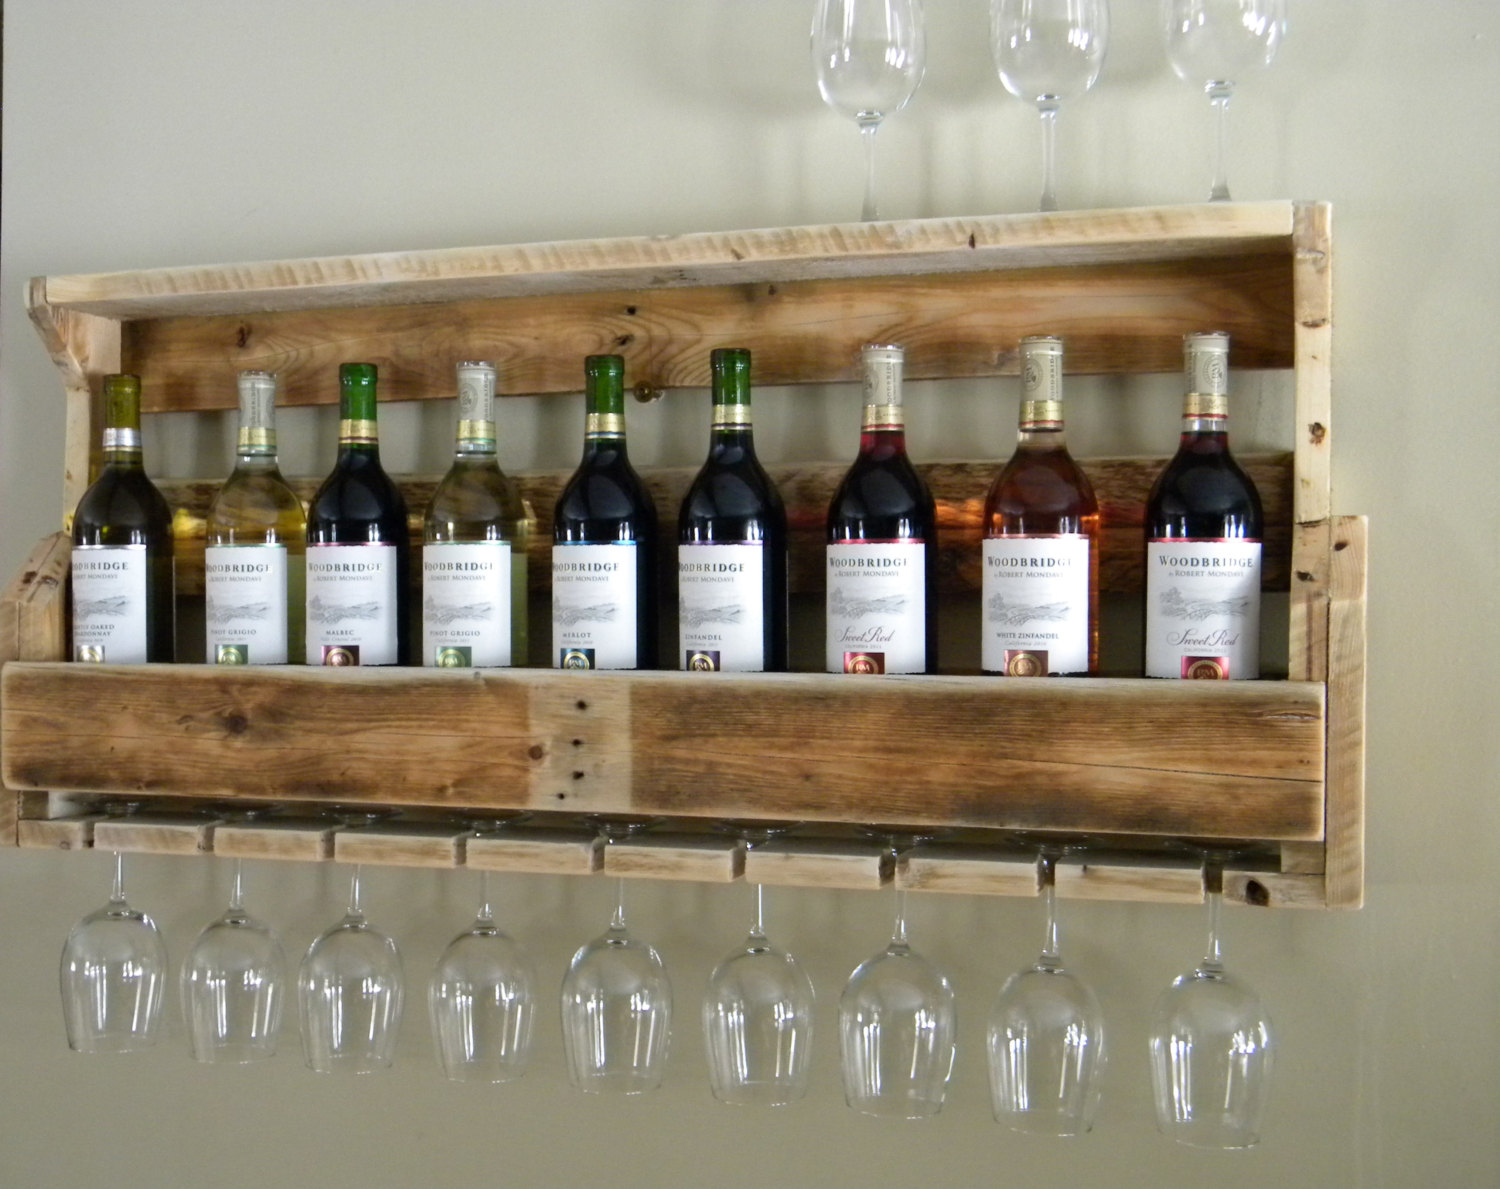
Shelf Bracket
Choose a sturdy and visually appealing shelf bracket that complements the overall design of your living room. The bracket will play a pivotal role in supporting the shelf, so ensure it is made of durable material and has a weight-bearing capacity suitable for your intended use.
Coat Hooks
Select stylish and robust coat hooks that align with your aesthetic preferences and the overall design of the coat rack. Consider the number of hooks needed based on the anticipated usage and the available wall space for mounting the coat rack.
Read more: How To Build A Wall-Mounted Coat Rack
Sandpaper
Invest in high-quality sandpaper with varying grits to ensure a smooth and polished finish on the wood. The sandpaper will be used to prepare the wood surface for staining or painting, as well as to remove any rough edges and imperfections.
Stain or Paint
Depending on your design vision, choose a high-quality wood stain or paint that complements your living room decor. The stain will enhance the natural beauty of the wood grain, while paint allows for creative color customization to suit your personal style.
Wood Glue
A reliable wood glue is essential for securely bonding the wooden components of the coat rack. Look for a strong adhesive that is suitable for woodworking applications and provides a long-lasting bond.
Mounting Hardware
Ensure you have the appropriate mounting hardware, such as screws and wall anchors, to securely attach the coat rack to the wall. The hardware should be selected based on the wall material and the weight-bearing capacity required for the coat rack.
Read more: How To Decorate A Coat Rack
Tools
Gather essential tools including a saw for cutting the wood to size, a drill for creating holes and attaching hardware, a screwdriver for assembling components, and a level for ensuring the coat rack is mounted straight and securely.
By assembling these materials and tools, you will be well-equipped to commence the construction of your coat rack with a shelf. With careful attention to detail and a creative vision, you can transform these raw materials into a functional and visually appealing addition to your living room. Now, let's move on to the first step of the construction process: cutting the wood.
Step 1: Cut the Wood
The initial step in crafting a coat rack with a shelf involves cutting the wood to the required dimensions. This pivotal stage sets the foundation for the structural integrity and visual appeal of the finished piece. Here's a detailed breakdown of the cutting process:
Measure and Mark
Begin by carefully measuring and marking the wood according to the predetermined dimensions for the coat rack and shelf. Use a measuring tape and a pencil to make precise markings, ensuring accuracy in the cutting process. Double-check the measurements to avoid errors that could impact the overall assembly.
Use a Saw
Once the wood is accurately marked, it's time to use a saw to make the necessary cuts. Depending on the design, you may need to cut the wood into specific lengths for the coat rack and shelf components. A miter saw or a hand saw can be employed to achieve clean and precise cuts, ensuring that the pieces fit together seamlessly during assembly.
Read more: How To Build A Shelf In A Cabinet
Smooth the Edges
After cutting the wood, it's essential to smooth the edges using sandpaper. This step not only enhances the visual appeal of the wood but also ensures that the surfaces are free from splinters and rough spots. By meticulously sanding the edges, you'll create a polished and professional look for the coat rack and shelf.
Optional Design Elements
If desired, this is the stage where you can incorporate design elements such as beveled edges or decorative cuts to add a unique touch to the wood pieces. These customizations can elevate the aesthetic appeal of the coat rack with a shelf, showcasing your creativity and attention to detail.
By meticulously executing the wood-cutting phase, you'll lay the groundwork for a well-crafted coat rack with a shelf. The precision and care invested in this stage will set the tone for the subsequent steps, ensuring that the final assembly is structurally sound and visually impressive. With the wood cut to perfection, you're ready to proceed to the next phase: sanding the wood to prepare it for the finishing touches.
Step 2: Sand the Wood
Sanding the wood is a crucial step in the construction of a coat rack with a shelf, as it not only enhances the overall appearance of the wood but also ensures a smooth and polished surface for the finishing touches. This process involves meticulous attention to detail and the use of high-quality sandpaper to achieve a professional-grade result.
Sandpaper Selection
Before commencing the sanding process, it's essential to select the appropriate sandpaper grits for the task. Begin with a coarse grit, such as 80 or 100, to remove any rough spots, imperfections, and mill marks from the wood surface. Once the initial sanding is complete, progress to a finer grit, such as 120 or 150, to smoothen the wood and prepare it for the finishing treatment. The final sanding stage involves using an even finer grit, such as 220, to achieve a silky-smooth surface that is ready for staining or painting.
Read more: How To Make A Standing Coat Rack
Sanding Technique
When sanding the wood, it's important to maintain a consistent and even pressure to avoid uneven surfaces or dips in the wood. Sand in the direction of the wood grain to prevent cross-grain scratches and achieve a uniform finish. Pay close attention to the edges and corners, ensuring that they are carefully sanded to remove any sharp edges and create a seamless transition between surfaces.
Surface Inspection
Throughout the sanding process, periodically inspect the wood surface to identify any remaining imperfections, scratches, or rough areas. Address these issues by focusing the sanding efforts on the problematic areas, gradually refining the surface until it attains a velvety-smooth texture. Thoroughly inspect the wood to ensure that it is free from blemishes and ready for the next phase of the construction process.
Final Preparation
Once the wood has been meticulously sanded and all imperfections have been addressed, it's essential to remove any residual dust and debris from the surface. Use a clean, dry cloth or a tack cloth to wipe down the wood, ensuring that it is free from any particles that could affect the application of the finishing treatment. This final preparation sets the stage for the application of wood stain or paint, allowing the wood to showcase its natural beauty or serve as a blank canvas for creative customization.
By diligently sanding the wood to perfection, you'll elevate the visual appeal and tactile quality of the coat rack with a shelf, setting the stage for the application of the finishing treatment. With the wood surface flawlessly prepared, you're now ready to proceed to the next step: assembling the shelf and preparing for the attachment of the coat hooks.
Step 3: Assemble the Shelf
Assembling the shelf is a pivotal stage in the construction of a coat rack with a shelf, as it sets the foundation for the functional and decorative aspects of the finished piece. This step involves carefully joining the wooden components to create a sturdy and visually appealing shelf that seamlessly integrates with the overall design. Here's a detailed breakdown of the assembly process:
Read more: How To Build Ladder Shelf
Shelf Bracket Installation
Begin by positioning the selected shelf bracket on the underside of the shelf. Ensure that the bracket is centered and aligned with the dimensions of the shelf, allowing for adequate overhang on each side. Mark the locations for the screw holes on the shelf, corresponding to the mounting holes on the bracket. Use a drill to create pilot holes at the marked locations, ensuring that the holes are straight and accurately positioned.
Secure the Bracket
With the pilot holes in place, align the shelf bracket with the holes and attach it securely to the underside of the shelf using screws. Ensure that the bracket is firmly anchored to the shelf, providing robust support for the items that will be displayed or stored on the shelf. Double-check the alignment and stability of the bracket to guarantee its structural integrity.
Wood Glue Application
To reinforce the assembly and enhance the overall strength of the shelf, apply a thin, even layer of wood glue to the edges of the shelf where it will be joined with the coat rack components. The wood glue acts as a bonding agent, creating a durable and long-lasting connection between the shelf and the coat rack.
Secure the Shelf to the Coat Rack
Carefully position the shelf in the desired location on the coat rack, ensuring that it is level and centered. Use clamps to hold the shelf in place while the wood glue sets, providing additional support during the assembly process. Once the shelf is properly aligned, use screws to secure it to the coat rack, creating a seamless and robust connection between the two components.
By meticulously assembling the shelf and integrating it with the coat rack, you'll establish a cohesive and functional structure that enhances the overall utility and visual appeal of the coat rack with a shelf. With the shelf securely in place, you're now ready to proceed to the next phase of the construction process: attaching the coat hooks to complete the assembly of the coat rack.
Read more: How To Build An Outdoor Plant Shelf
Step 4: Attach the Hooks
Attaching the hooks is a pivotal stage in the construction of a coat rack with a shelf, as it adds the essential functionality of providing a designated space for hanging coats, hats, scarves, and other items. This step involves strategically positioning and securing the coat hooks to ensure they are not only visually appealing but also capable of supporting the weight of various garments and accessories. Here's a detailed breakdown of the process of attaching the hooks:
Determine Hook Placement
Begin by carefully planning the placement of the coat hooks on the coat rack. Consider the available wall space and the intended usage of the coat rack to determine the optimal positioning for the hooks. Ensure that the spacing between the hooks allows for easy access and sufficient clearance for hanging multiple items without overcrowding.
Mark the Hook Locations
Using a pencil and a measuring tape, mark the precise locations where the coat hooks will be attached to the coat rack. Maintain consistency in the spacing between the hooks to create a visually balanced and functional arrangement. Double-check the markings to ensure accuracy before proceeding to the next step.
Pre-Drill Holes
To facilitate the attachment of the coat hooks and prevent the wood from splitting, use a drill to create pilot holes at the marked locations. The pilot holes should be slightly smaller than the diameter of the screws that will be used to secure the hooks, ensuring a snug and secure fit.
Read more: How To Build A Towel Rack
Attach the Hooks
Position the coat hooks over the pilot holes and use screws to securely fasten them to the coat rack. Ensure that the hooks are aligned and level to maintain a uniform and visually appealing appearance. Use a screwdriver to tighten the screws, ensuring that the hooks are firmly anchored to the wood and capable of supporting the weight of various items.
Test the Stability
Once the hooks are attached, gently test the stability and weight-bearing capacity by applying slight pressure to each hook. This step allows you to verify that the hooks are securely fastened and capable of withstanding the load of coats and accessories without compromising the structural integrity of the coat rack.
By meticulously attaching the hooks to the coat rack, you'll complete the essential functionality of the coat rack with a shelf, providing a designated space for organizing and displaying outerwear and accessories. With the hooks securely in place, the coat rack is now ready for the final phase of the construction process: mounting it to the wall to transform it into a functional and visually striking addition to your living room.
Step 5: Mount the Coat Rack
Mounting the coat rack is the culminating step in the construction process, transforming the assembled components into a functional and visually striking addition to your living room. This phase involves securely affixing the coat rack to the wall, ensuring stability, and providing a designated space for organizing outerwear and accessories.
Determine Mounting Location
Before commencing the mounting process, carefully select the ideal location for the coat rack in your living room. Consider factors such as wall space availability, proximity to entryways, and overall aesthetic appeal. Once the location is determined, use a level to mark the precise positions where the mounting hardware will be installed, ensuring that the coat rack will be straight and visually balanced.
Read more: How High Should I Hang A Coat Rack?
Install Wall Anchors
If the coat rack will be mounted on drywall or a similar material, it's essential to use wall anchors to provide robust support. Use a drill to create pilot holes at the marked locations, then insert the wall anchors securely into the wall. The anchors serve as a stable foundation for attaching the coat rack, ensuring that it can bear the weight of coats and accessories without compromising the integrity of the wall.
Secure the Coat Rack
With the wall anchors in place, carefully position the coat rack at the designated location, ensuring that it is level and aligned with the markings on the wall. Use screws to securely attach the coat rack to the wall, driving them through the mounting holes and into the wall anchors. Double-check the alignment and stability of the coat rack to guarantee that it is firmly anchored and capable of withstanding the intended usage.
Test the Stability
Once the coat rack is mounted, gently test its stability by applying slight pressure and ensuring that it can support the weight of coats and accessories without shifting or loosening from the wall. This step allows you to verify that the coat rack is securely installed and ready to fulfill its organizational and decorative functions in your living room.
By meticulously mounting the coat rack, you'll complete the construction process, culminating in a functional and visually appealing addition to your living room. With the coat rack securely affixed to the wall, it stands ready to serve as a practical and stylish organizational solution, enhancing the overall functionality and aesthetic charm of your living space.
Conclusion
Congratulations on successfully completing the construction of your very own coat rack with a shelf! By embarking on this DIY journey, you've not only added a practical and stylish organizational solution to your living room but also demonstrated your creativity and craftsmanship. As you stand back and admire the finished piece, you can take pride in the fact that you've created a functional and visually appealing addition to your home decor.
The process of building a coat rack with a shelf has allowed you to exercise your woodworking skills, attention to detail, and design sensibilities. From carefully selecting the wood and assembling the components to mounting the coat rack to the wall, each step has contributed to the creation of a personalized and functional piece of furniture.
Beyond the tangible outcome, this DIY project has provided a sense of fulfillment and empowerment. You've transformed raw materials into a practical and aesthetically pleasing addition to your living space, showcasing your ability to bring your vision to life through hands-on craftsmanship.
As you admire the coat rack with a shelf in its designated spot, take a moment to appreciate the thought and effort that went into every stage of the construction process. The meticulous cutting and sanding of the wood, the precise assembly of the shelf and coat hooks, and the secure mounting to the wall have all culminated in a piece that reflects your dedication to quality and attention to detail.
Furthermore, the coat rack with a shelf serves as a testament to your ability to customize and enhance your living space through DIY projects. By tailoring the design, wood finish, and placement to suit your preferences, you've created a piece that not only serves a practical purpose but also harmonizes with your overall interior decor.
As you enjoy the functionality and visual appeal of your newly constructed coat rack with a shelf, remember that the skills and knowledge gained from this project can be applied to future woodworking endeavors. Whether it's crafting additional furniture pieces, tackling home improvement projects, or exploring new creative pursuits, the experience gained from this DIY endeavor will continue to inspire and empower you.
In conclusion, the construction of a coat rack with a shelf has not only enriched your living room with a practical and visually appealing addition but has also enriched your own skills, creativity, and sense of accomplishment. Embrace the satisfaction of a job well done and the pride of having created a piece that reflects your craftsmanship and personal style. Cheers to your successful DIY endeavor!
Frequently Asked Questions about How To Build A Coat Rack With A Shelf
Was this page helpful?
At Storables.com, we guarantee accurate and reliable information. Our content, validated by Expert Board Contributors, is crafted following stringent Editorial Policies. We're committed to providing you with well-researched, expert-backed insights for all your informational needs.

0 thoughts on “How To Build A Coat Rack With A Shelf”