Articles
How To Build A Shelf In A Cabinet
Modified: December 6, 2023
Learn how to build a stylish and functional shelf in a bedroom cabinet with our easy step-by-step guide. Maximize your bedroom furniture's storage potential and enhance your organization.
(Many of the links in this article redirect to a specific reviewed product. Your purchase of these products through affiliate links helps to generate commission for Storables.com, at no extra cost. Learn more)
Introduction
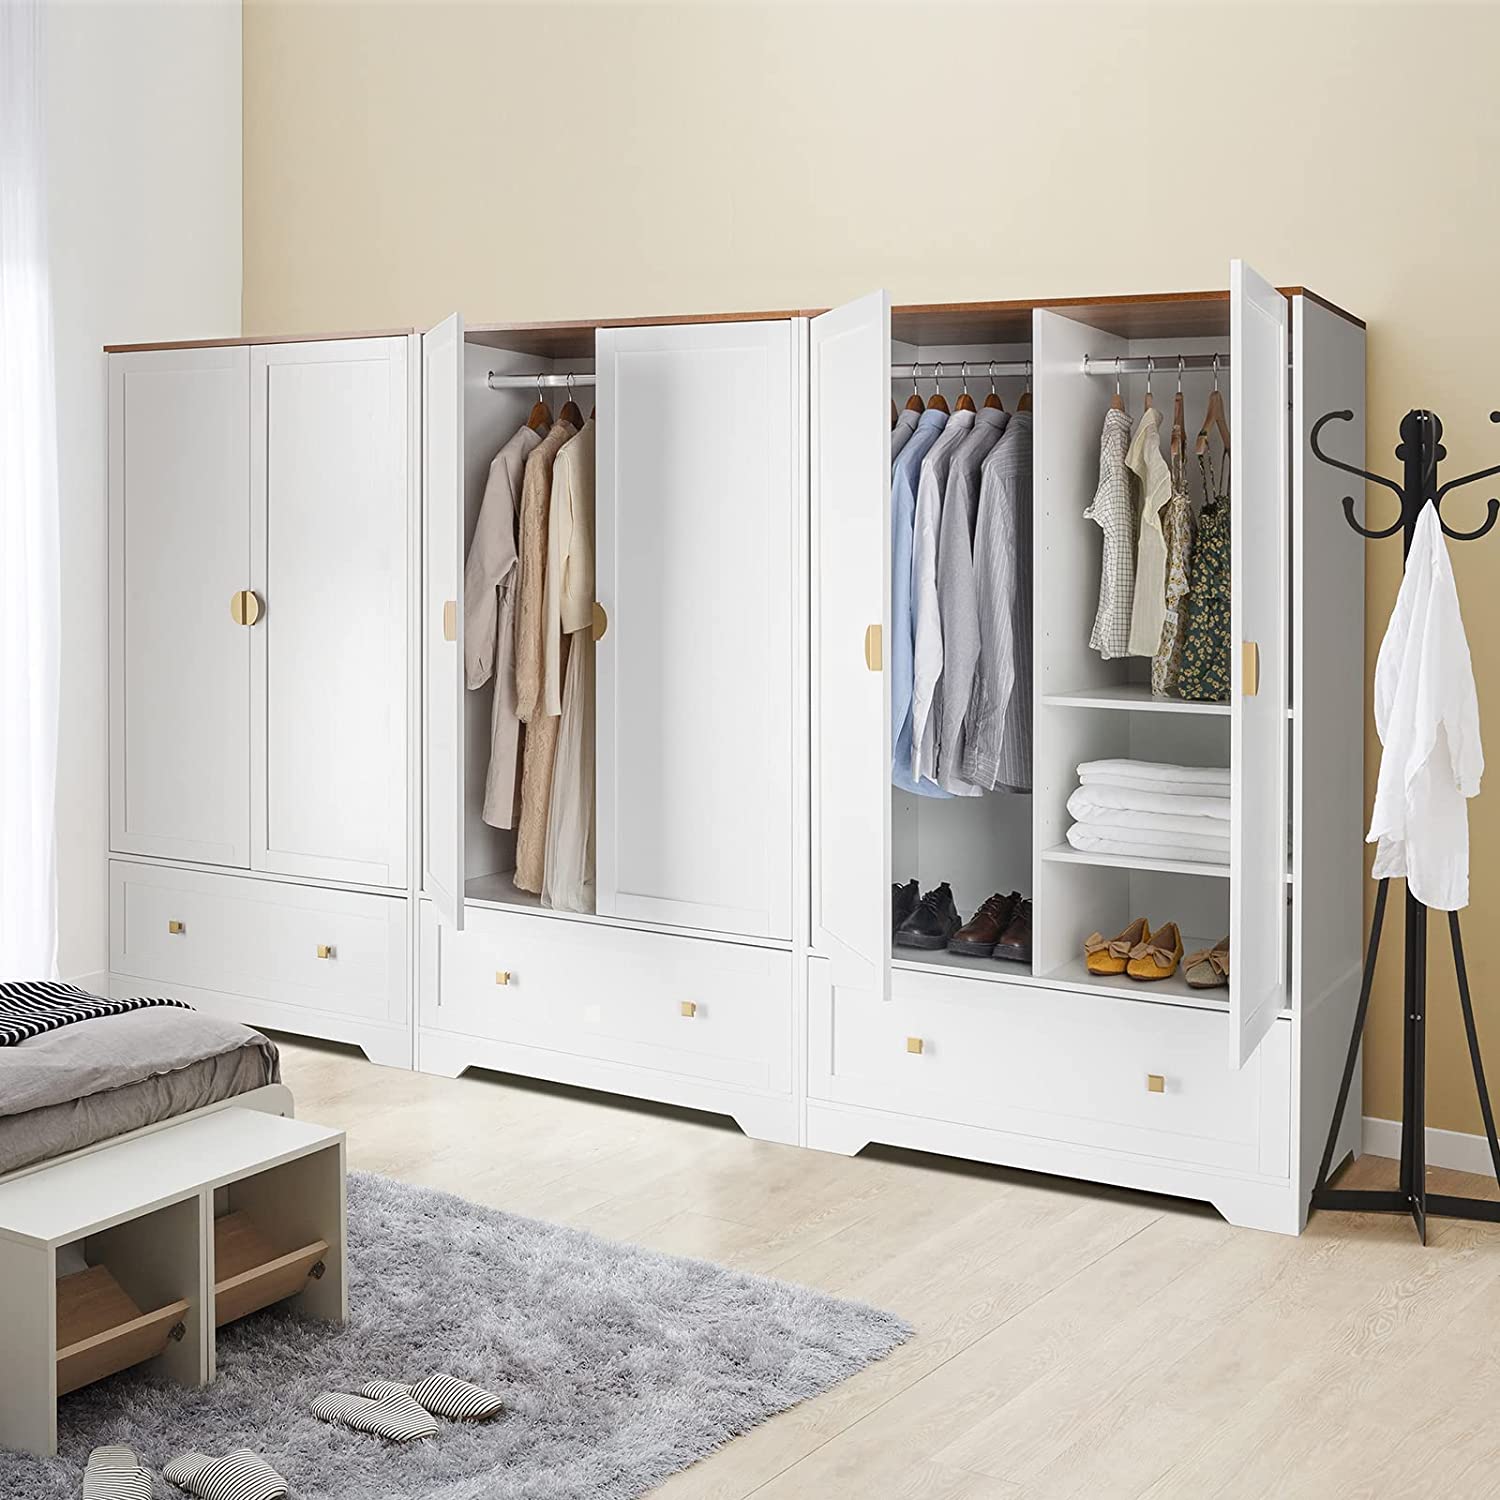
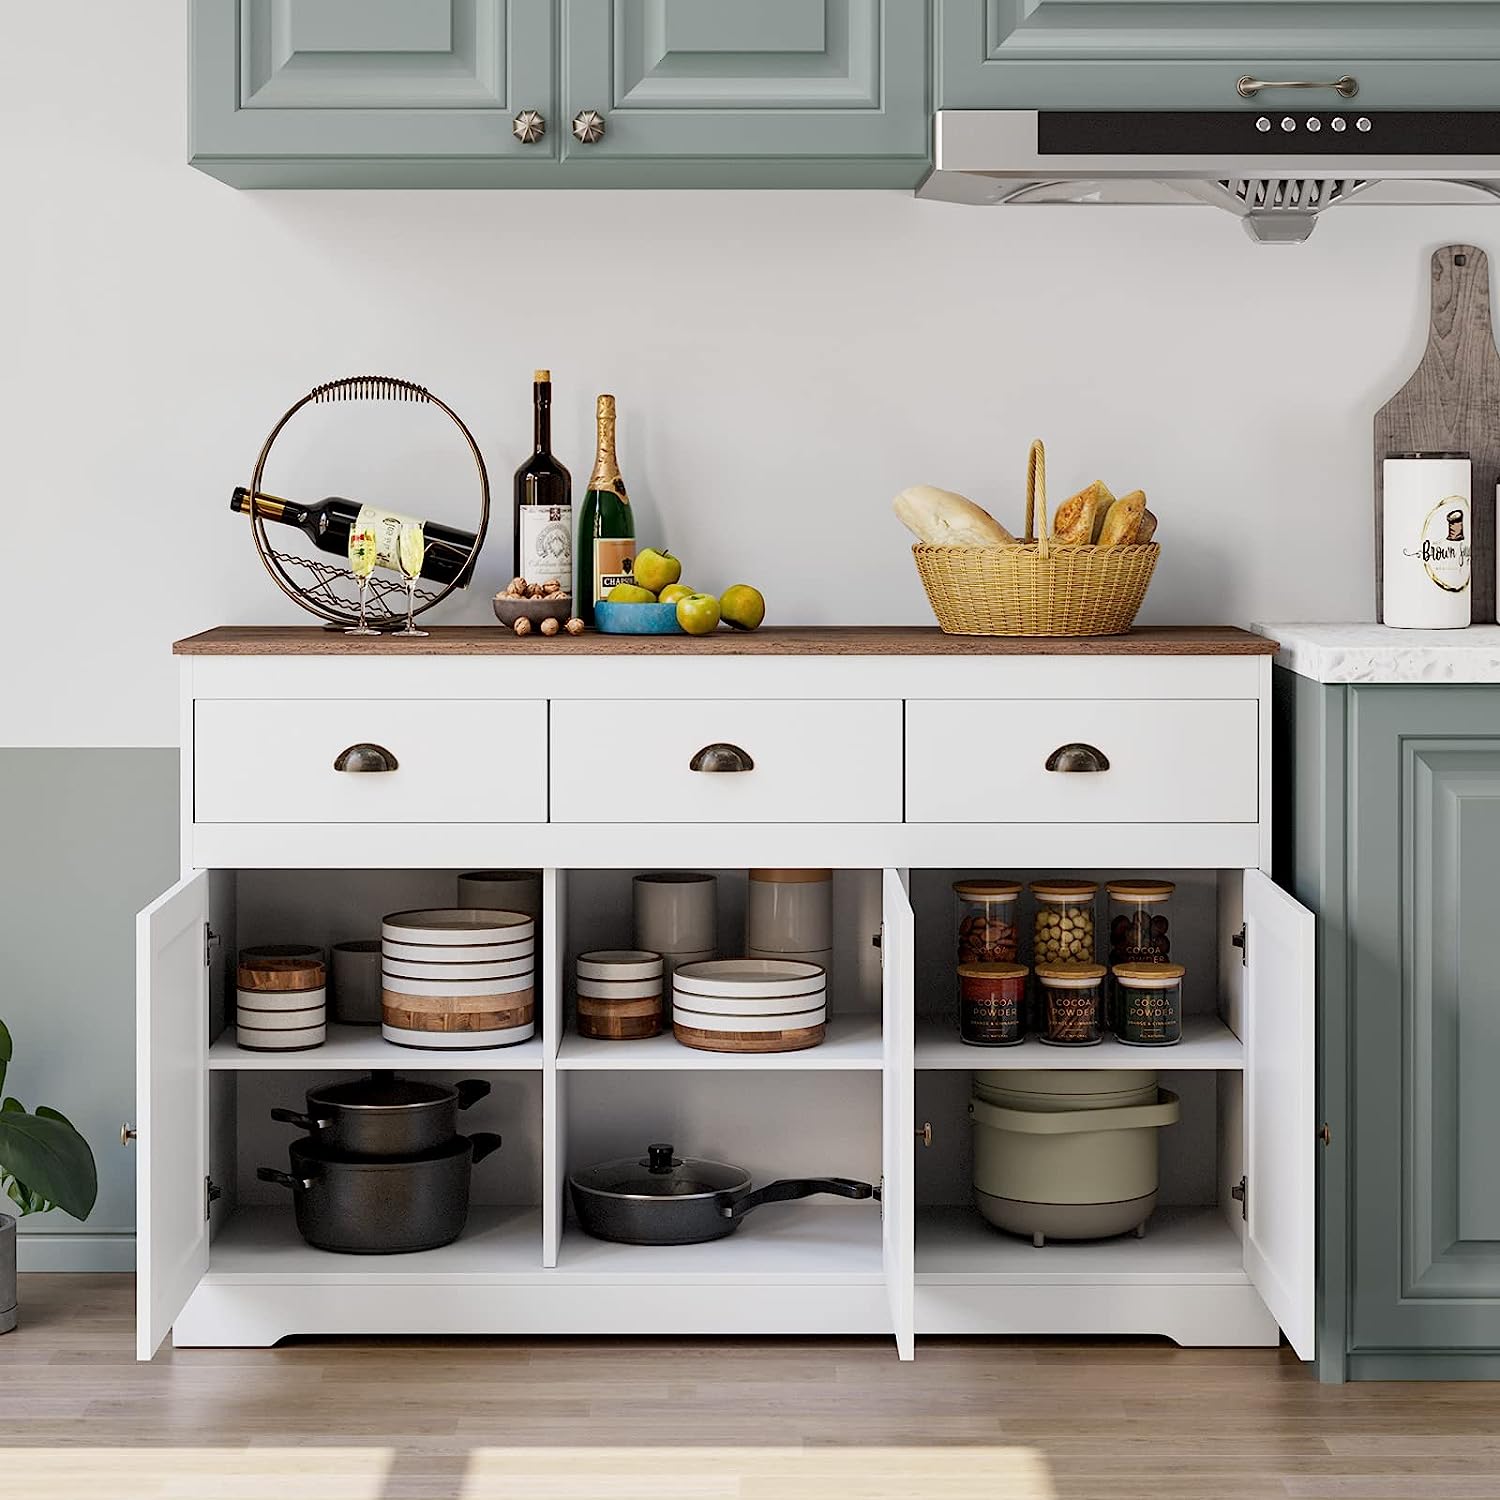
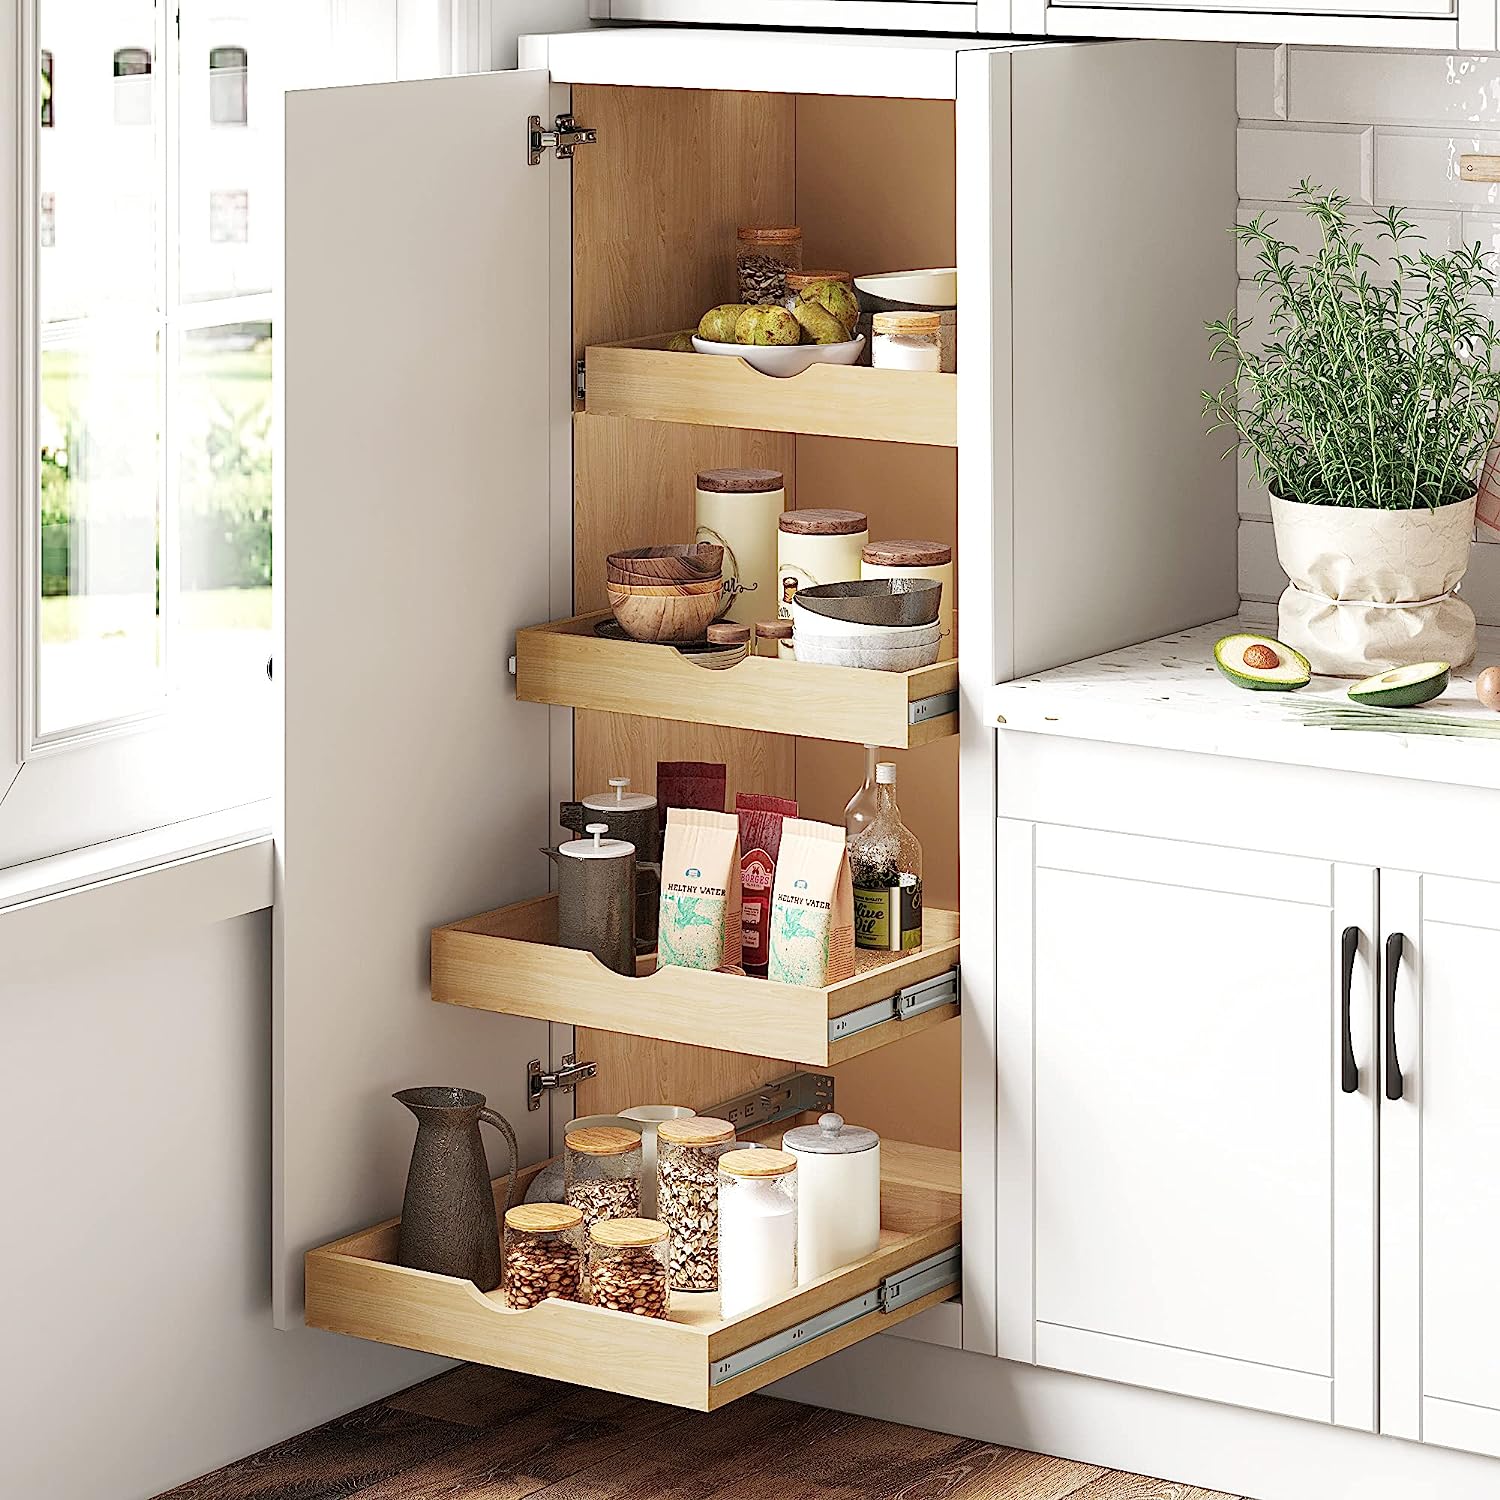
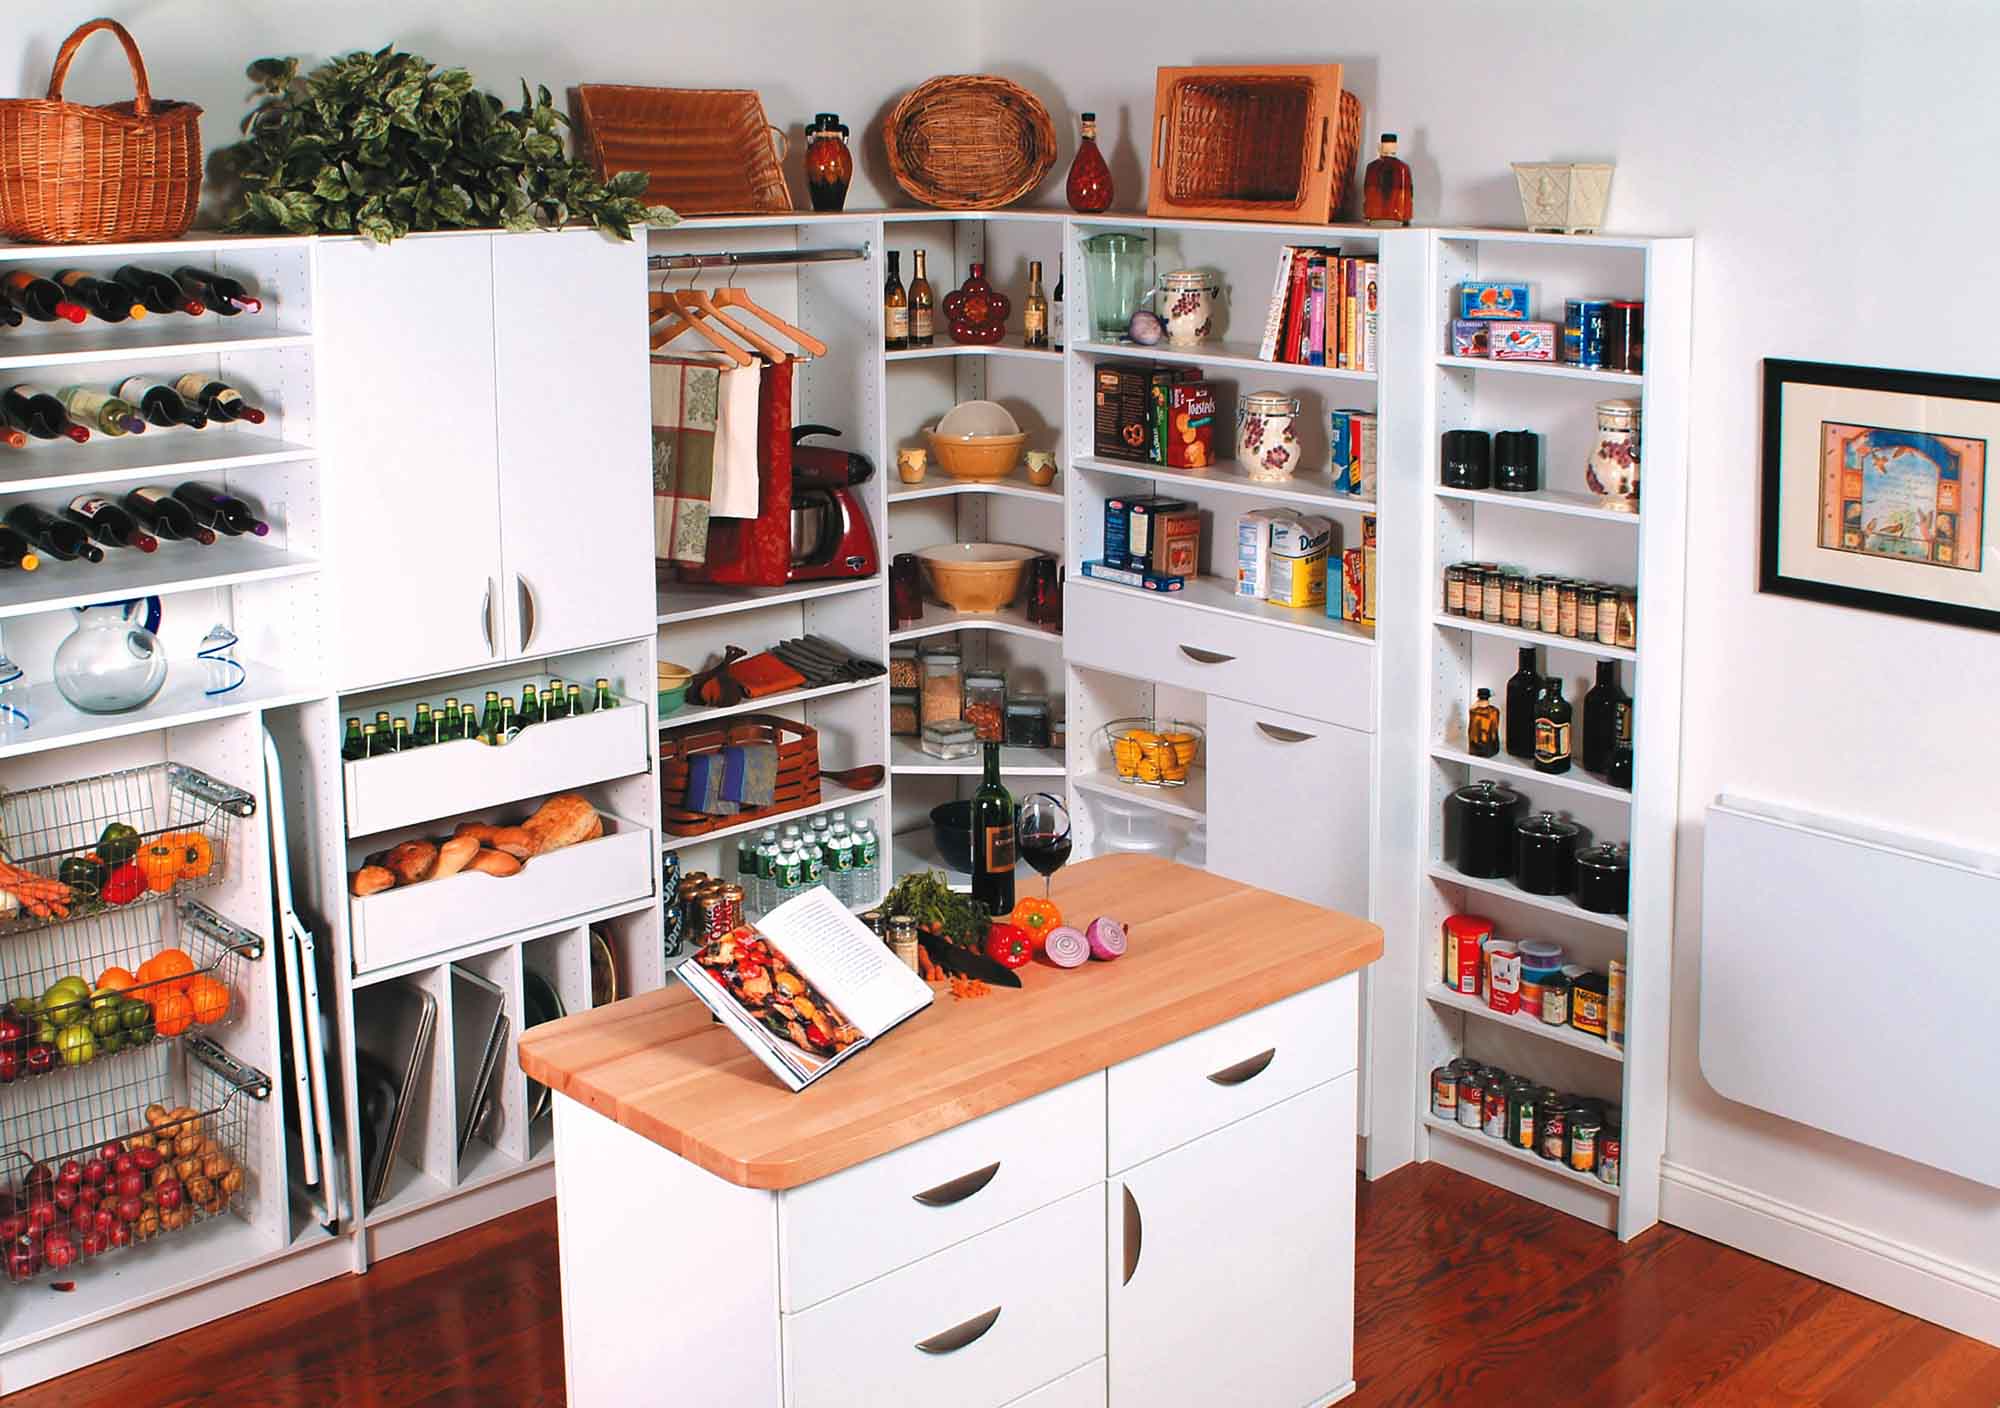
Are you frustrated with the lack of storage space in your cabinet? Building a shelf in a cabinet can be a great solution to maximize space and keep your belongings organized. Whether you need an extra shelf to store pantry items, dishes, or even office supplies, this step-by-step guide will help you create a functional and sturdy shelf to fit your needs.
By following these instructions, you can easily transform your cabinet into a more efficient storage space. With just a few tools and materials, you’ll have a custom-made shelf that not only increases functionality but also adds a touch of personalization to your cabinet.
But before we dive into the details of building a shelf, let’s first assess the cabinet space and gather the necessary materials. Remember, careful planning and preparation will ensure a successful and satisfying end result.
Key Takeaways:
- Maximize cabinet space and organization by building a custom shelf. Follow step-by-step instructions to assess space, gather materials, and create a sturdy, personalized storage solution.
- Ensure stability and functionality of your new shelf by testing weight distribution and making necessary adjustments. Enjoy a clutter-free and well-organized cabinet with your custom-built shelf.
Read more: How To Add A Shelf In A Cabinet
Step 1: Assess the Cabinet Space
Before you start building a shelf in your cabinet, it’s essential to assess the available space. Take a close look at the interior of the cabinet and consider the following factors:
- Height: Measure the height of the cabinet to determine how much vertical space you have for the shelf. Consider the items you plan to store on the shelf and make sure there is sufficient clearance.
- Width: Measure the width of the cabinet to determine the width of your shelf. Consider leaving some extra space on either side to allow for easy installation.
- Depth: Measure the depth of the cabinet to determine how deep you want your shelf to be. Consider the size of the items you plan to store and ensure that the shelf will provide enough space.
- Existing Shelves: Take note of any existing shelves or dividers inside the cabinet. You may need to remove or adjust them to accommodate the new shelf.
Once you have a clear understanding of the cabinet space, you can move on to the next step: measuring and marking the location for your shelf.
Step 2: Measure and Mark
Now that you have assessed the cabinet space, it’s time to measure and mark the location for your shelf. Follow these steps to ensure accurate measurements:
- Measure the height: Using a measuring tape, measure the desired height for your shelf from the bottom of the cabinet. Mark this measurement on both sides of the interior walls of the cabinet.
- Measure the width: Determine the width of your shelf by measuring the distance between the interior walls of the cabinet. Mark the width measurement on the back wall of the cabinet.
- Measure the depth: Measure how deep you want your shelf to be. Keep in mind the size of the items you plan to store. Mark the depth measurement on the side walls of the cabinet.
Ensure that your measurements are accurate and level. Use a level to make sure the marked lines are straight and parallel to the cabinet walls.
Once you have marked the location for your shelf, it’s time to gather the materials needed for the construction process. This will ensure a smooth and efficient building experience.
Step 3: Gather Materials
Now that you have measured and marked the location for your shelf, it’s time to gather the necessary materials. Here is a list of materials you will need:
- Shelf board: Choose a sturdy and durable material for your shelf board, such as solid wood or plywood. Make sure it is the appropriate size to fit the width and depth measurements of your marked location.
- Shelf supports: You will need shelf supports to provide stability and support for your shelf. Consider using metal brackets or adjustable shelf supports, depending on your preference.
- Screws/nails: To secure the shelf supports to the cabinet walls and to attach the shelf board, you will need screws or nails. Make sure they are the appropriate size and type for your chosen materials.
- Measuring tape: A good-quality measuring tape will help ensure accurate measurements during the construction process.
- Level: Use a level to make sure your shelf will be installed straight and level, avoiding any slant that could compromise its stability.
- Saw: If needed, you may need a saw to cut the shelf board to the desired width and length.
- Sandpaper and finish: Sandpaper will come in handy to smooth the edges of your shelf board, while a finish (such as paint or varnish) will protect the surface and give it a polished look.
- Protective gear: Don’t forget to wear safety goggles and gloves when handling tools and materials to protect yourself from any accidents.
Once you have gathered all the necessary materials, you are ready to move on to the next step: cutting the shelf board to the appropriate size.
Step 4: Cut Shelf Board
Now that you have all the materials gathered, it’s time to cut the shelf board to the appropriate size. Follow these steps to ensure accurate cutting:
- Measure and mark: Using your measuring tape, measure and mark the width and depth of the shelf board based on the measurements you took in Step 2.
- Cut the board: Carefully use a saw to cut the shelf board along the marked lines. Make sure to follow safety guidelines and use proper techniques when cutting the board.
- Sand the edges: After cutting the board, use sandpaper to smooth the edges. This will help prevent splinters and create a clean, finished look.
Once you have cut and sanded the shelf board, it’s time to move on to the next step: sanding and finishing.
When building a shelf in a cabinet, make sure to measure the space accurately and use sturdy materials such as plywood or MDF. Consider adding support brackets for extra stability.
Read more: How To Build Ladder Shelf
Step 5: Sand and Finish
After cutting the shelf board to the appropriate size, it’s important to sand and finish the surface to create a smooth and polished appearance. Follow these steps to sand and finish your shelf board:
- Sand the surface: Use sandpaper, starting with a coarse grit and gradually moving to a finer grit, to sand the entire surface of the shelf board. This will help smooth out any rough spots or imperfections.
- Remove dust: Once you have finished sanding, use a cloth or brush to remove any dust or debris from the surface of the shelf board. Ensure that the surface is clean and ready for finishing.
- Apply finish: Depending on your preference, you can choose to paint, stain, or apply a protective varnish to the shelf board. Using a brush or roller, evenly apply the finish of your choice to the entire surface of the board. Follow the manufacturer’s instructions for proper application and drying times.
- Allow to dry: After applying the finish, allow the shelf board to dry completely. This may take a few hours or even overnight, depending on the type of finish used. Ensure that the shelf board is completely dry before moving on to the next step.
Once your shelf board is sanded and finished, it’s time to install the shelf supports and position the board inside the cabinet. This will provide the necessary stability and support for your new shelf.
Step 6: Position Shelf Supports
With your shelf board sanded and finished, it’s time to position the shelf supports inside the cabinet. The shelf supports will provide stability and support for your shelf. Follow these steps to properly position the shelf supports:
- Measure and mark: Measure the height at which you want your shelf to be positioned inside the cabinet. Using a measuring tape, mark this measurement on the interior walls of the cabinet on both sides.
- Align the supports: Place the shelf supports against the interior walls of the cabinet, aligning them with the marked measurements. Ensure that they are level and parallel to each other.
- Mark the screw/nail holes: Once the supports are properly aligned, use a pencil or marker to mark the locations of the screw/nail holes on both the supports and the cabinet walls. These holes will be used to secure the supports in place.
- Pre-drill the holes: Using a drill with an appropriate drill bit, pre-drill pilot holes at the marked locations. This will make it easier to install the screws or nails later on.
- Attach the supports: With the pilot holes drilled, align the shelf supports with the holes and attach them securely to the interior walls of the cabinet using screws or nails.
- Ensure stability: Once the supports are attached, double-check their stability by gently pushing against them. They should feel secure and able to hold the weight of the shelf.
With the shelf supports in place, you are now ready to move on to the next step: installing the shelf board itself.
Step 7: Install Shelf Board
With the shelf supports properly positioned and secured, it’s time to install the shelf board onto the supports. Follow these steps to install the shelf board:
- Align the shelf board: Place the shelf board onto the installed supports, ensuring that it is level and centered within the cabinet.
- Secure the shelf board: Using screws or nails, secure the shelf board to the top of the supports. Place them at regular intervals along the back and side edges of the shelf board, ensuring a secure attachment.
- Check for stability: Once the shelf board is securely attached, give it a gentle shake to check for stability. The board should be firmly held in place by the supports.
- Make any necessary adjustments: If the shelf board feels unbalanced or unstable, make any necessary adjustments to ensure it is properly aligned and supported. This may involve tightening the screws or nails, or repositioning the shelf board as needed.
Once you have installed the shelf board and ensured its stability, it’s time to test the overall stability and functionality of the newly built shelf in the cabinet.
Step 8: Test Stability
Now that you have installed the shelf board in your cabinet, it’s important to test its stability to ensure it can safely hold the weight of your items. Follow these steps to test the stability of your newly built shelf:
- Load the shelf: Gradually place items onto the shelf, starting with lighter objects and gradually adding heavier ones. Distribute the weight evenly across the surface of the shelf.
- Observe for sagging: Pay close attention to the shelf board to see if it shows any signs of sagging or bending under the weight. If you notice any significant sagging, you may need to reinforce the shelf supports or consider using a thicker and sturdier shelf board.
- Check for stability: Gently shake or apply pressure to the shelf to test its stability. It should feel secure and not wobble or shift under the weight of the items. If it feels unstable, make necessary adjustments such as tightening screws or reinforcing the supports.
- Ensure proper weight distribution: Make sure that the weight of the items is evenly distributed across the shelf. If one side is significantly heavier than the other, it may cause instability or imbalance.
- Reassess and make adjustments: If you notice any issues with stability or weight distribution, reassess the situation and make the necessary adjustments. This may involve redistributing the items, reinforcing the supports, or making changes to the shelf board.
By thoroughly testing the stability of your new shelf, you can ensure its durability and functionality. Once you are satisfied with the stability, you can confidently use and enjoy your newly built shelf in the cabinet!
Read more: How To Build An Outdoor Plant Shelf
Conclusion
Congratulations! You have successfully built a shelf in your cabinet, providing an efficient and stylish storage solution for your belongings. By following the step-by-step guide outlined in this article, you have created a custom-made shelf that maximizes space, enhances organization, and adds a personal touch to your cabinet.
Throughout the process, you assessed the cabinet space, measured and marked the location for the shelf, gathered the necessary materials, cut and sanded the shelf board, positioned the shelf supports, installed the shelf board, and tested the stability of the newly built shelf. Each step was crucial in ensuring a sturdy and functional end result.
Remember to always consider safety precautions when working with tools and materials, and to take accurate measurements for precise results. By paying attention to detail and taking the time to properly construct the shelf, you have created a long-lasting storage solution that meets your specific needs.
Now that your cabinet has a new shelf, you can enjoy the benefits of a clutter-free and well-organized space. Use it to store pantry items, dishes, office supplies, or any other belongings that need a designated spot. The additional storage space will make your daily life more convenient and efficient.
Thank you for following along with this guide on how to build a shelf in a cabinet. We hope you found it helpful and that the end result brings you satisfaction. Happy organizing!
Frequently Asked Questions about How To Build A Shelf In A Cabinet
Was this page helpful?
At Storables.com, we guarantee accurate and reliable information. Our content, validated by Expert Board Contributors, is crafted following stringent Editorial Policies. We're committed to providing you with well-researched, expert-backed insights for all your informational needs.


0 thoughts on “How To Build A Shelf In A Cabinet”