Home>Furniture & Design>Outdoor Furniture>How To Change An Outdoor Spigot
Outdoor Furniture
How To Change An Outdoor Spigot
Published: January 15, 2024
Learn how to easily change an outdoor spigot with our step-by-step guide. Upgrade your outdoor furniture with our expert tips and advice.
(Many of the links in this article redirect to a specific reviewed product. Your purchase of these products through affiliate links helps to generate commission for Storables.com, at no extra cost. Learn more)
Introduction
If you've noticed a leaky or malfunctioning outdoor spigot, fear not! With a few simple tools and a bit of know-how, you can easily replace it and restore functionality to your outdoor water source. Whether you're an experienced DIY enthusiast or a novice looking to tackle a new project, changing an outdoor spigot is a manageable task that can make a significant difference in your outdoor space.
In this comprehensive guide, we'll walk you through the step-by-step process of changing an outdoor spigot, from gathering the necessary tools and materials to turning the water supply back on. By the end of this article, you'll feel confident in your ability to upgrade your outdoor spigot and enjoy a reliable water source for various outdoor activities.
So, grab your toolkit and let's dive into the world of outdoor spigot replacement!
Key Takeaways:
- Easily replace a leaky outdoor spigot with basic tools and step-by-step guidance, enhancing your outdoor water source for gardening, car washing, and more.
- By following safety precautions and thorough instructions, you can confidently upgrade your outdoor spigot, showcasing your DIY skills and improving your outdoor space.
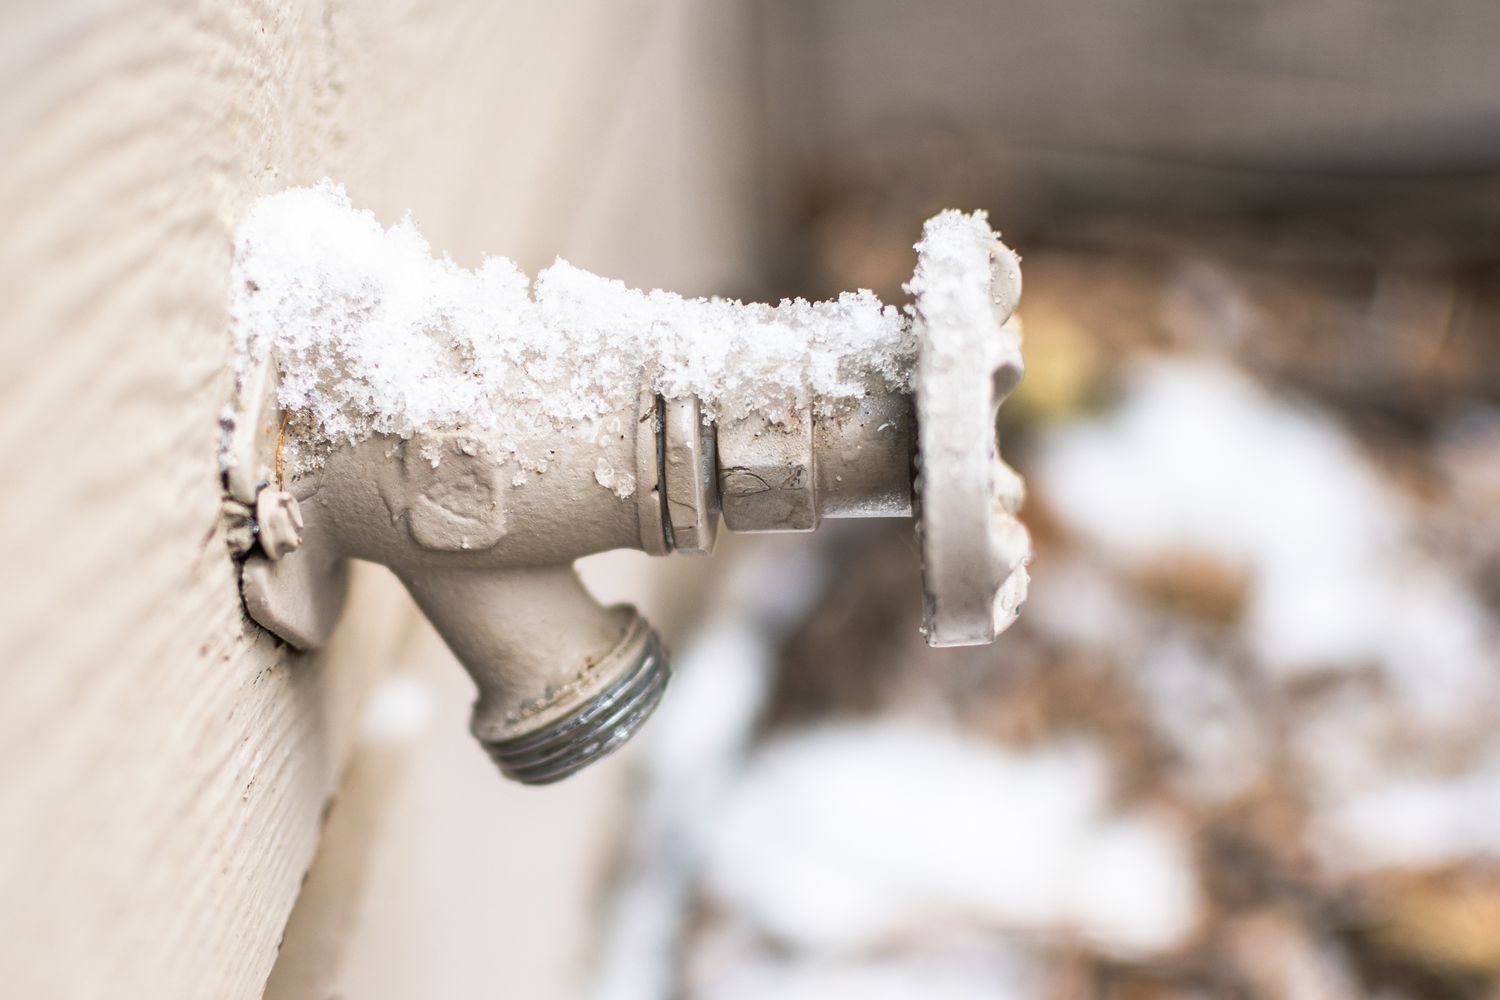
Read more: How To Winterize An Outdoor Spigot
Step 1: Gather the necessary tools and materials
Before you embark on the journey of replacing your outdoor spigot, it’s essential to gather all the required tools and materials. Here’s a comprehensive list to ensure you have everything you need:
- Adjustable wrench: This versatile tool will come in handy for loosening and tightening various connections.
- Pipe wrench: A pipe wrench is essential for securely gripping and turning pipes and fittings during the replacement process.
- Plumber’s tape: Also known as Teflon tape, this thin white tape is used to seal pipe threads, preventing leaks in the connections.
- New outdoor spigot: Ensure you have the replacement spigot on hand, compatible with your existing plumbing setup.
- Screwdriver: Depending on the type of fasteners used, you may need a flathead or Phillips screwdriver to remove the old spigot.
- Bucket: Have a bucket or container ready to catch any residual water that may drain from the pipes during the process.
- Rags or towels: Keep some rags or towels nearby to wipe away any water or debris as you work.
- Flashlight: In case the work area is dimly lit, a flashlight can help you see clearly and navigate the space.
- Safety goggles and gloves: Protect your eyes and hands from any debris or splashing water during the replacement.
Once you’ve assembled all the necessary tools and materials, you’ll be well-prepared to move on to the next steps of replacing your outdoor spigot.
Step 2: Turn off the water supply
Before beginning any work on your outdoor spigot, it’s crucial to shut off the water supply to prevent any unexpected leaks or water flow. Here’s a step-by-step guide to safely turning off the water:
- Locate the main water shut-off valve: Depending on your property’s plumbing setup, the main shut-off valve may be located in the basement, crawlspace, or near the water meter. It’s typically a lever or wheel that can be turned to stop the flow of water to the entire property.
- Turn off the main water supply: Using a firm grip, carefully turn the shut-off valve clockwise to close it completely. This action will halt the water supply to all the faucets, fixtures, and outdoor spigots in your home.
- Drain any residual water: After shutting off the main water supply, open a few indoor faucets to allow any remaining water in the pipes to drain out. This step will help minimize the amount of water that may escape when you remove the old spigot.
By following these simple yet crucial steps, you’ll effectively cut off the water flow and create a safe environment to proceed with replacing your outdoor spigot. Remember, safety is paramount when working with plumbing, and taking the time to turn off the water supply is a fundamental part of the process.
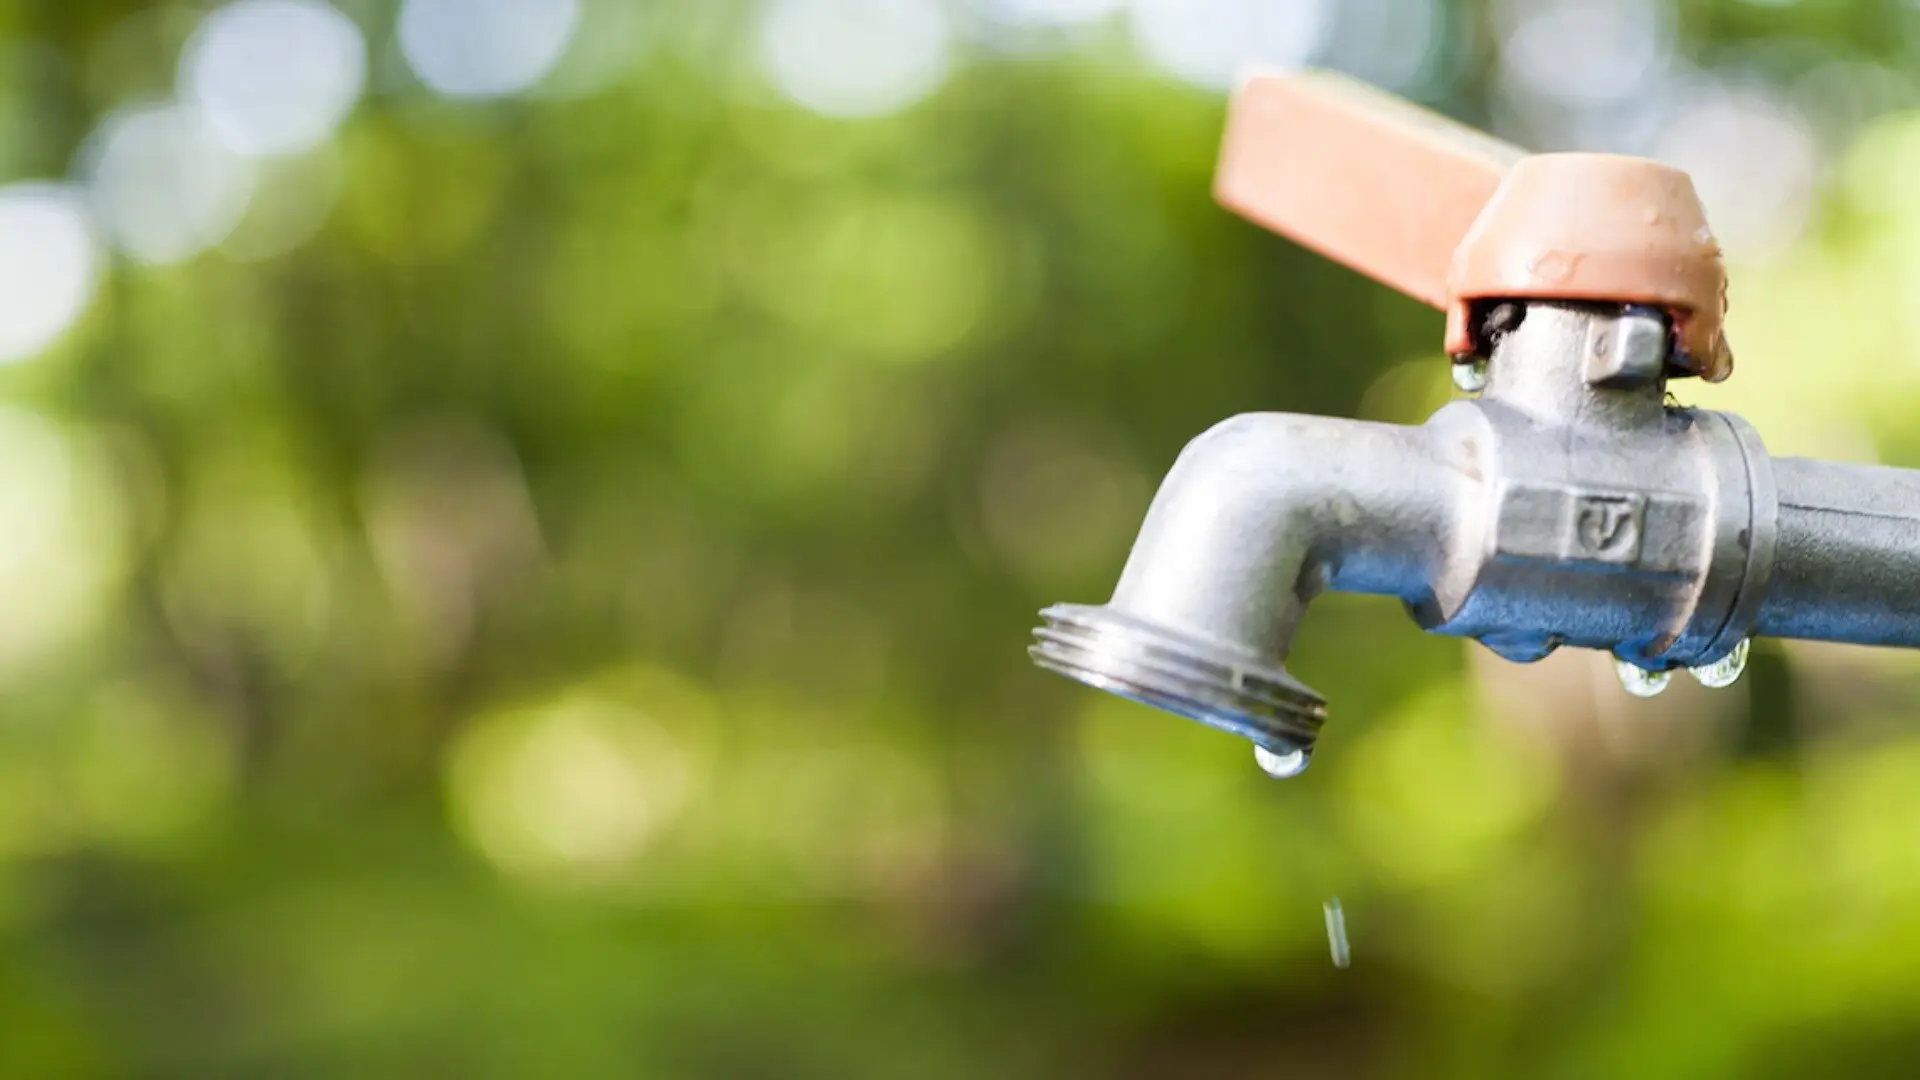
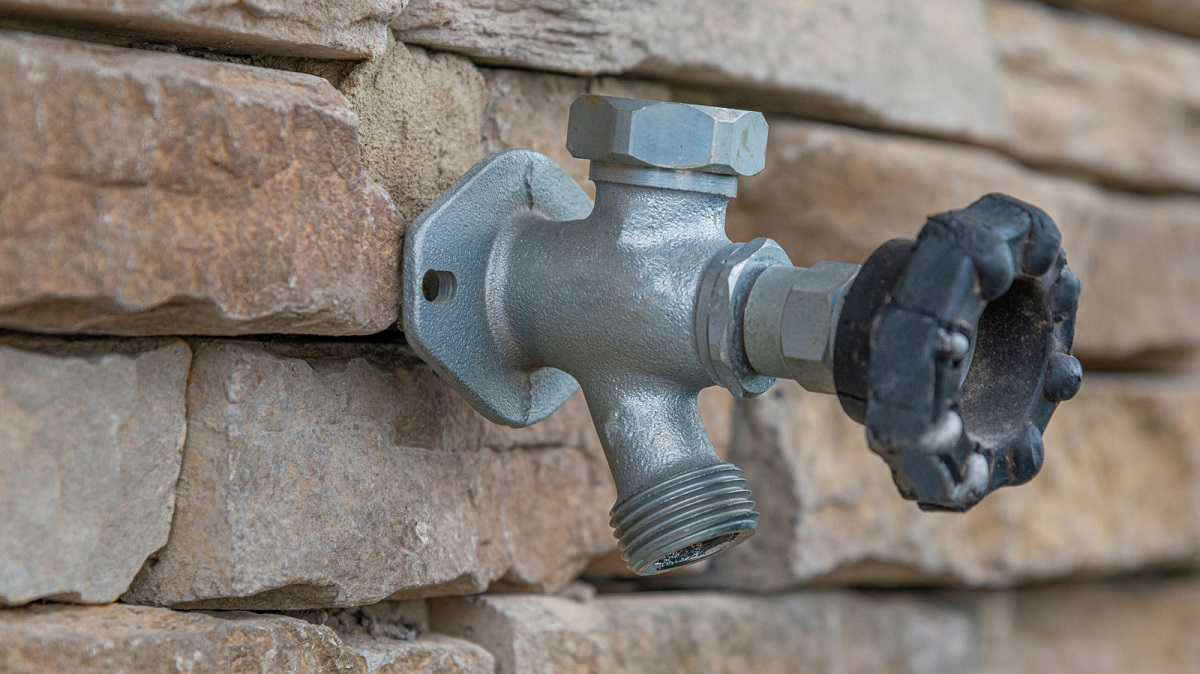
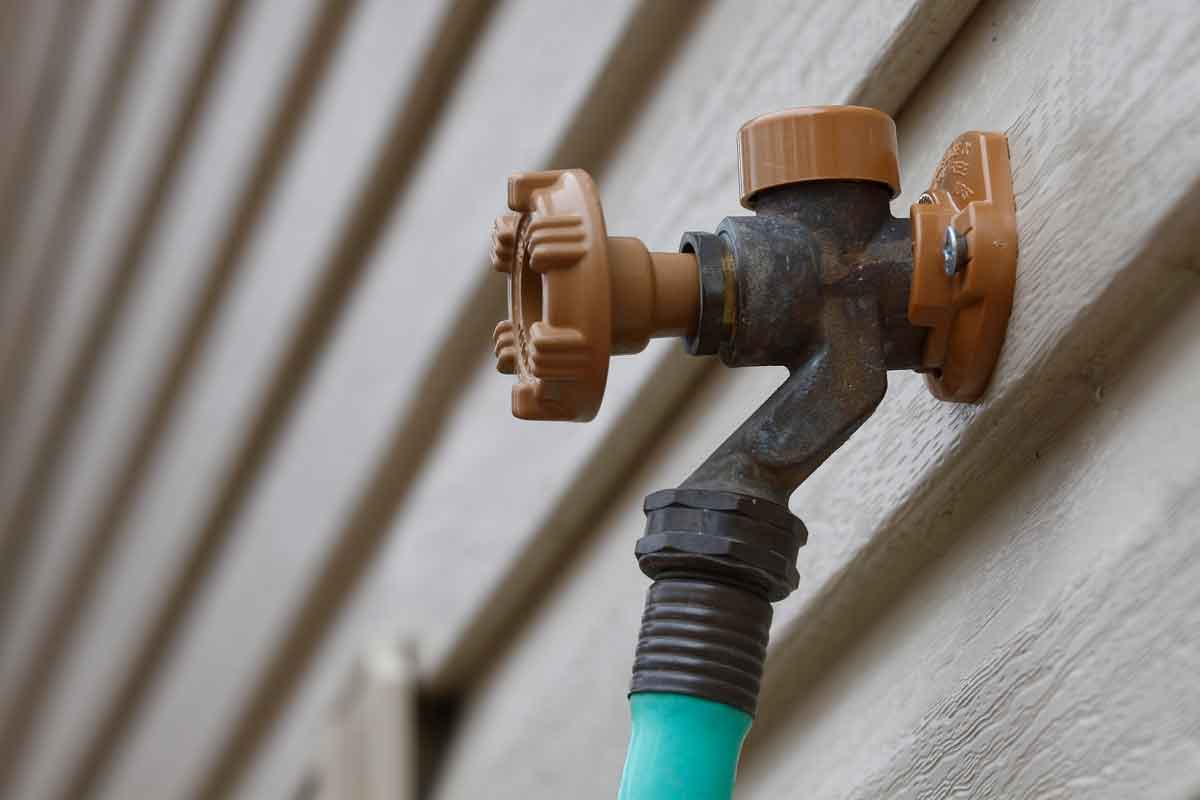
Step 3: Remove the old spigot
With the water supply safely turned off, it’s time to bid farewell to the old, worn-out spigot. Follow these steps to remove the existing spigot and prepare for the installation of the new one:
- Inspect the existing spigot: Take a moment to assess the condition of the old spigot. Look for any visible damage, corrosion, or signs of wear that may have contributed to its malfunction.
- Remove any decorative elements: If your spigot features decorative caps or flanges, carefully unscrew and set them aside for reuse or replacement with the new spigot.
- Loosen the fasteners: Using the appropriate tools, such as a wrench or screwdriver, loosen and remove any nuts, bolts, or screws securing the spigot to the outdoor wall or mounting surface.
- Disconnect the water supply: Once the fasteners are removed, gently pull the old spigot away from the wall to expose the connecting pipe. If the spigot is connected via a threaded pipe, carefully unscrew it from the pipe. If it’s soldered or welded, use a pipe cutter to remove the spigot, ensuring a clean and straight cut.
- Clean the mounting surface: With the old spigot successfully removed, take a moment to clean the area where the new spigot will be installed. Remove any debris, old sealant, or remnants of the previous installation to ensure a smooth and secure fit for the replacement spigot.
By following these steps, you’ll effectively remove the old spigot and prepare the installation site for the new one. Take care to handle the old spigot and any fasteners with caution, and keep the work area tidy as you transition to the next phase of the replacement process.
Make sure to turn off the water supply before attempting to change an outdoor spigot. This will prevent any water from leaking out and causing a mess or damage.
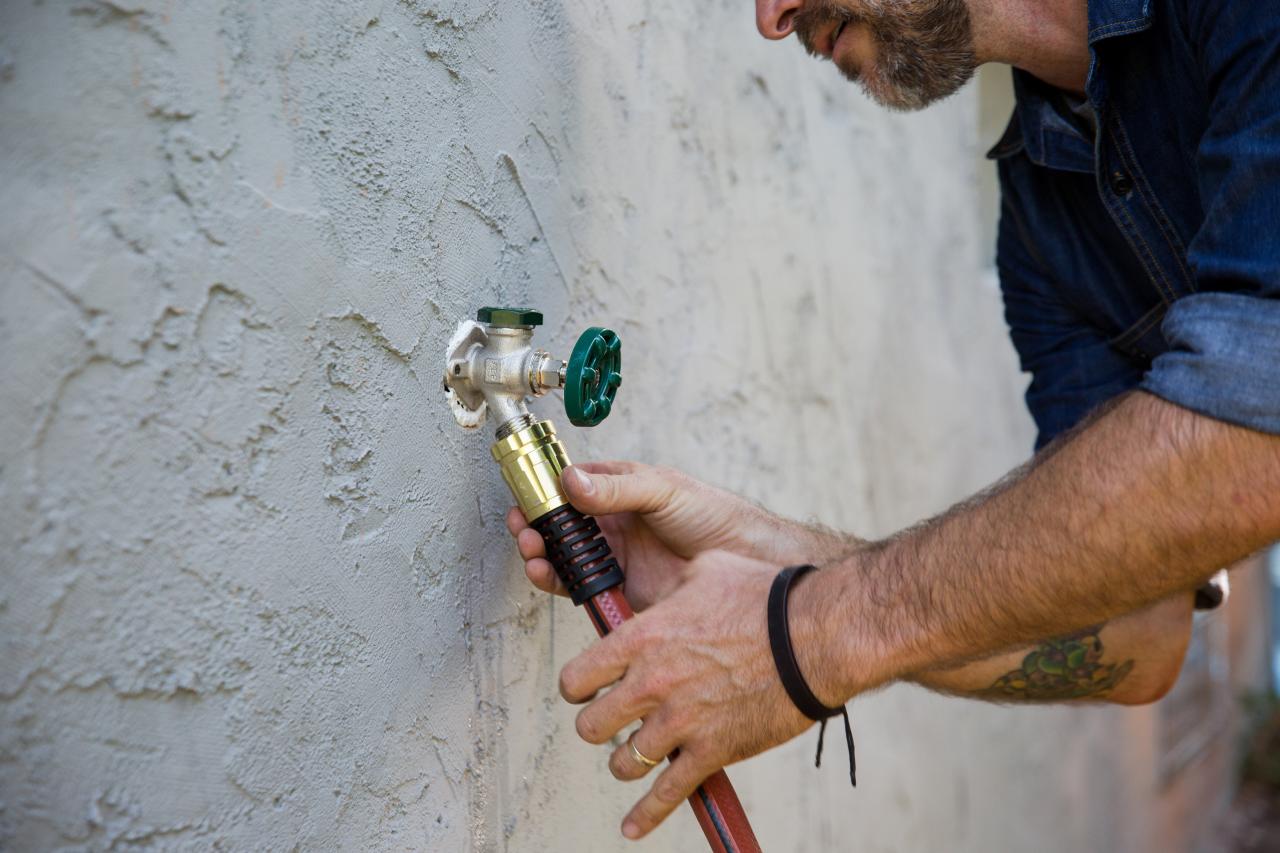
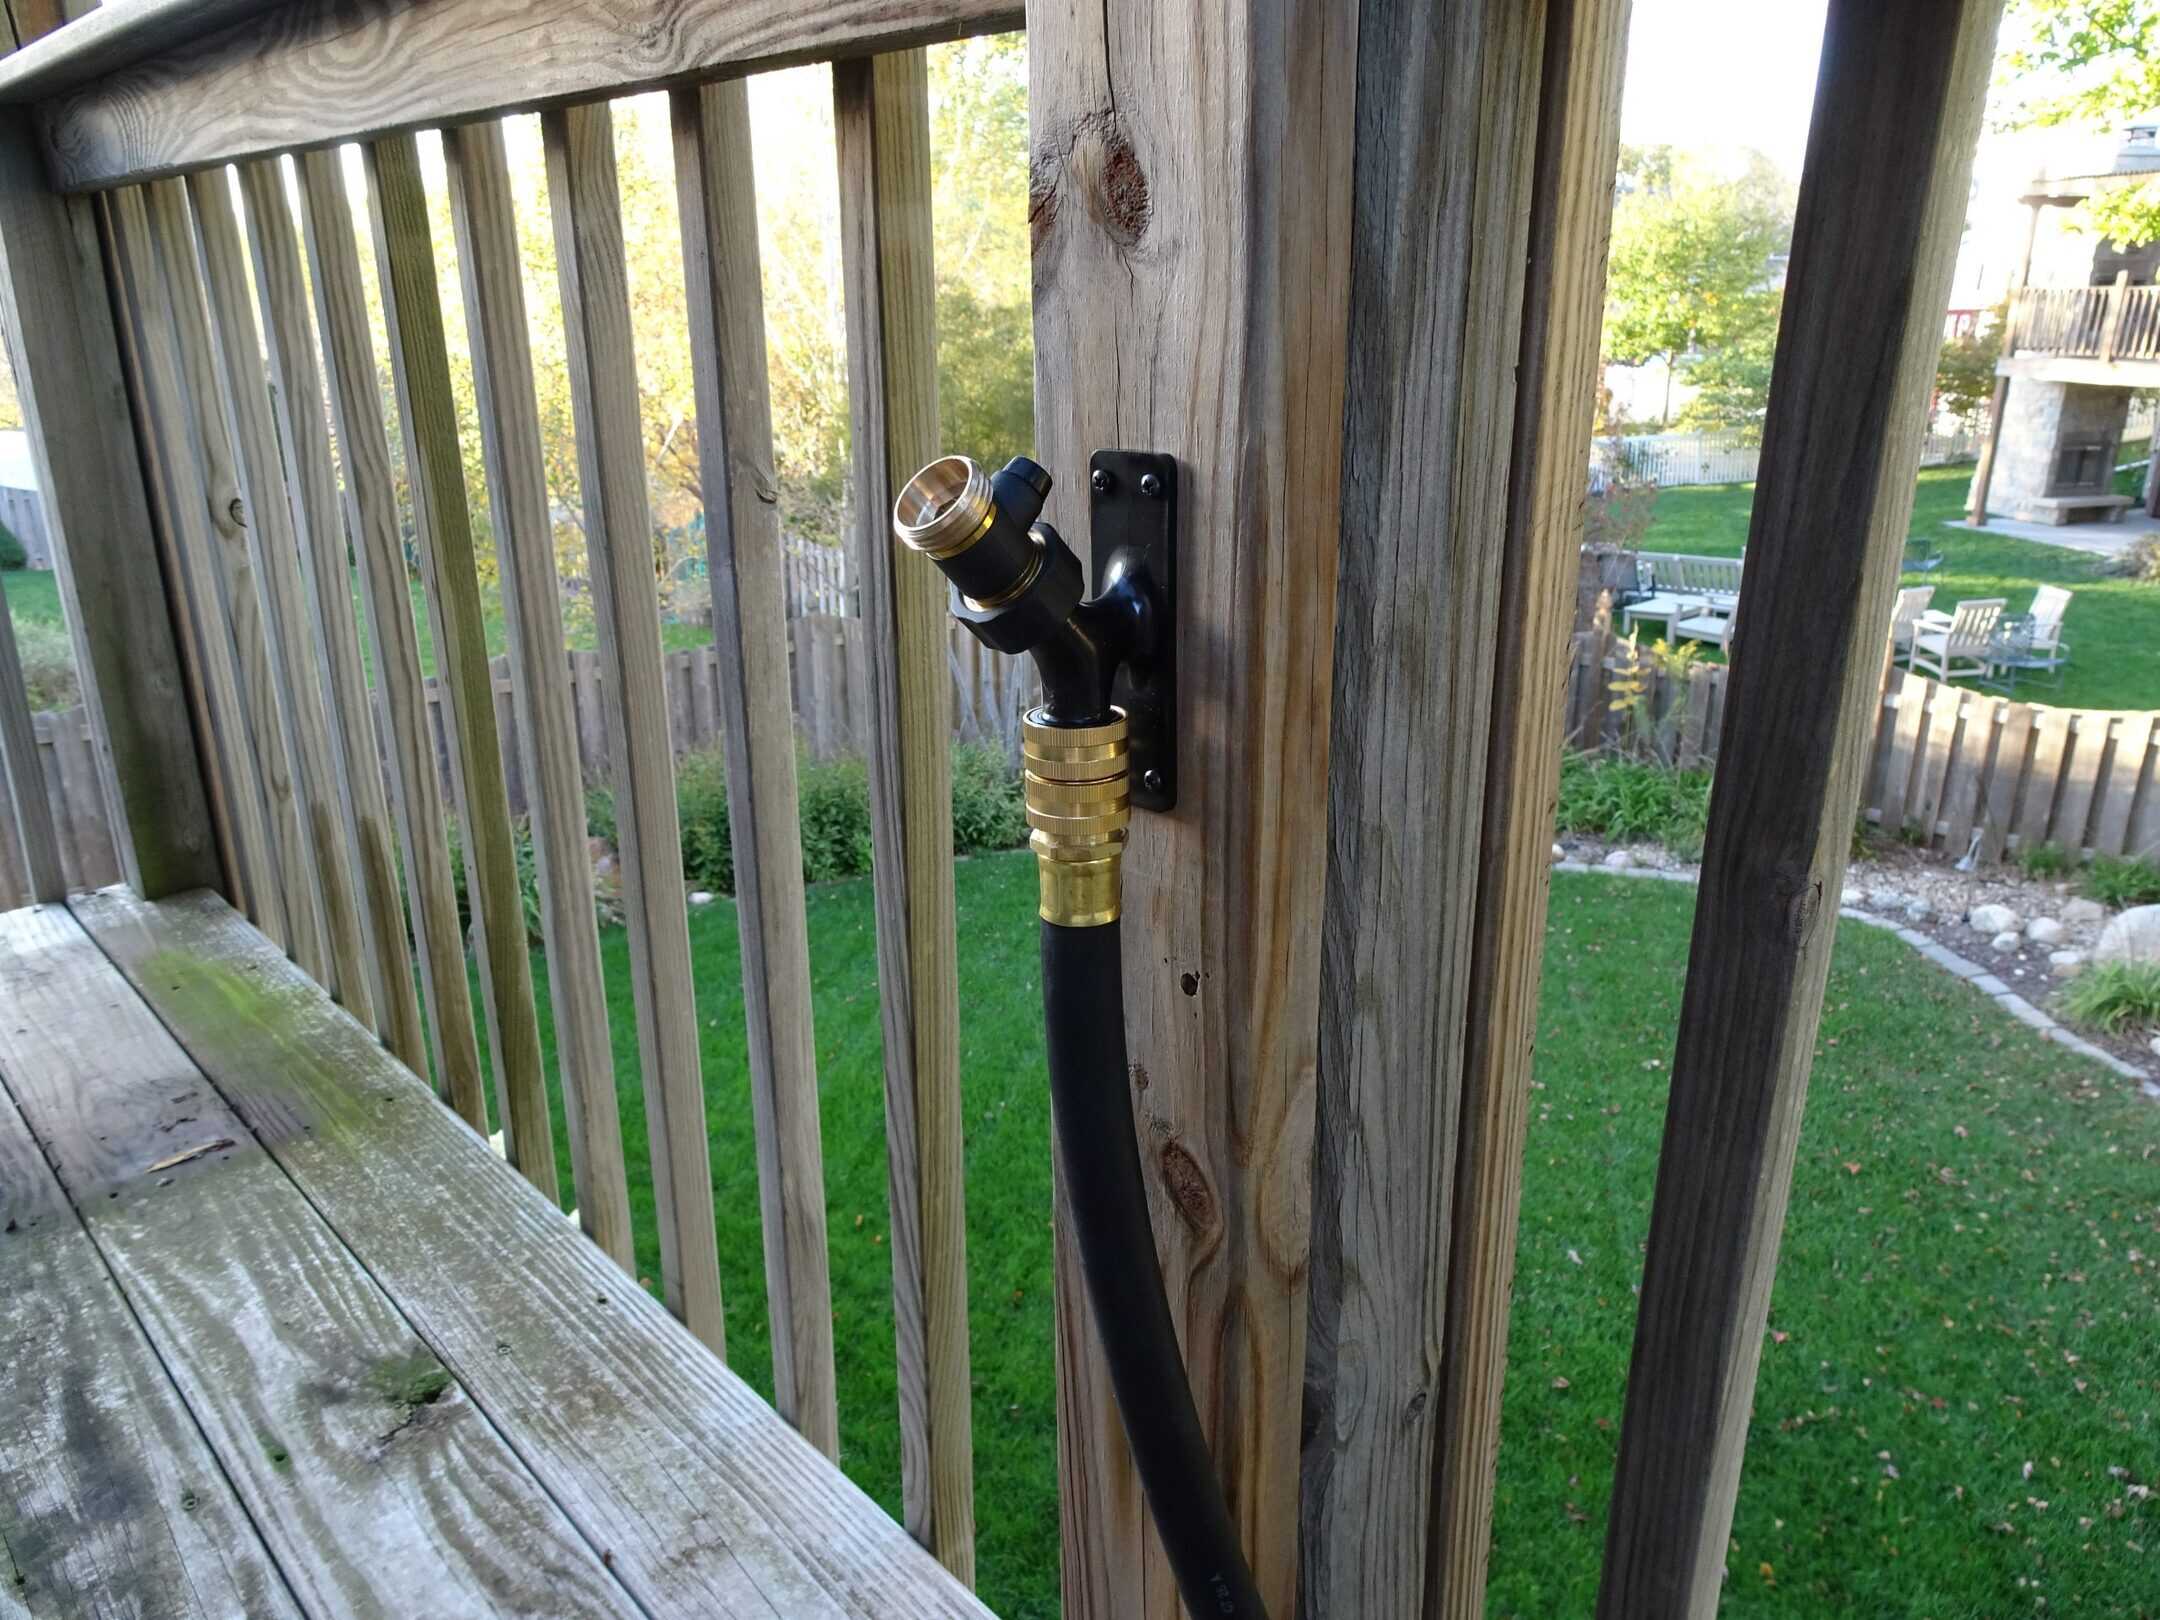
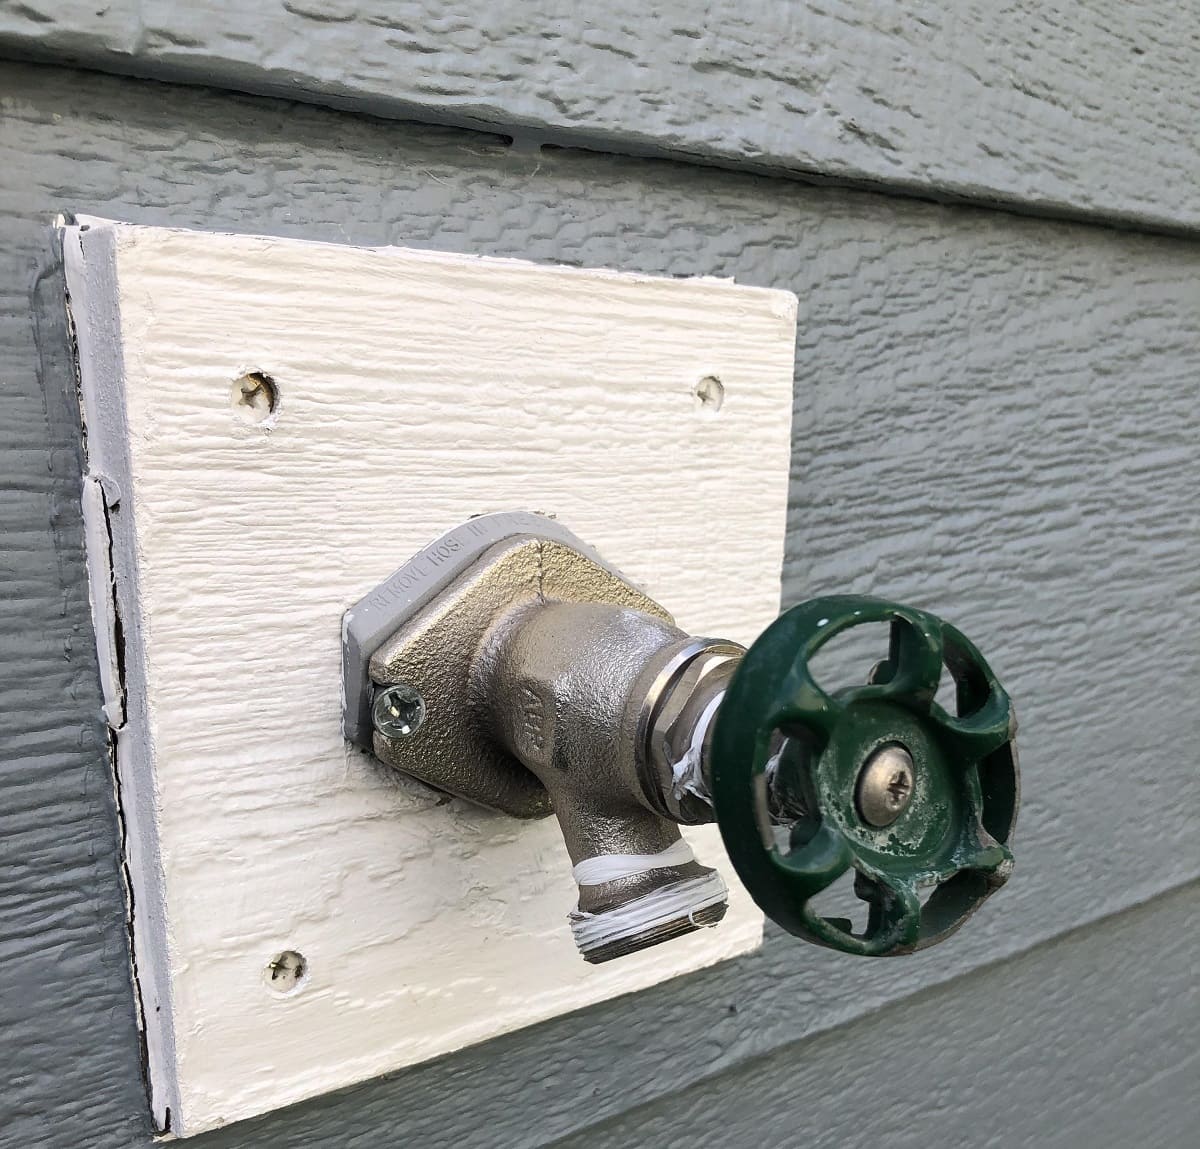
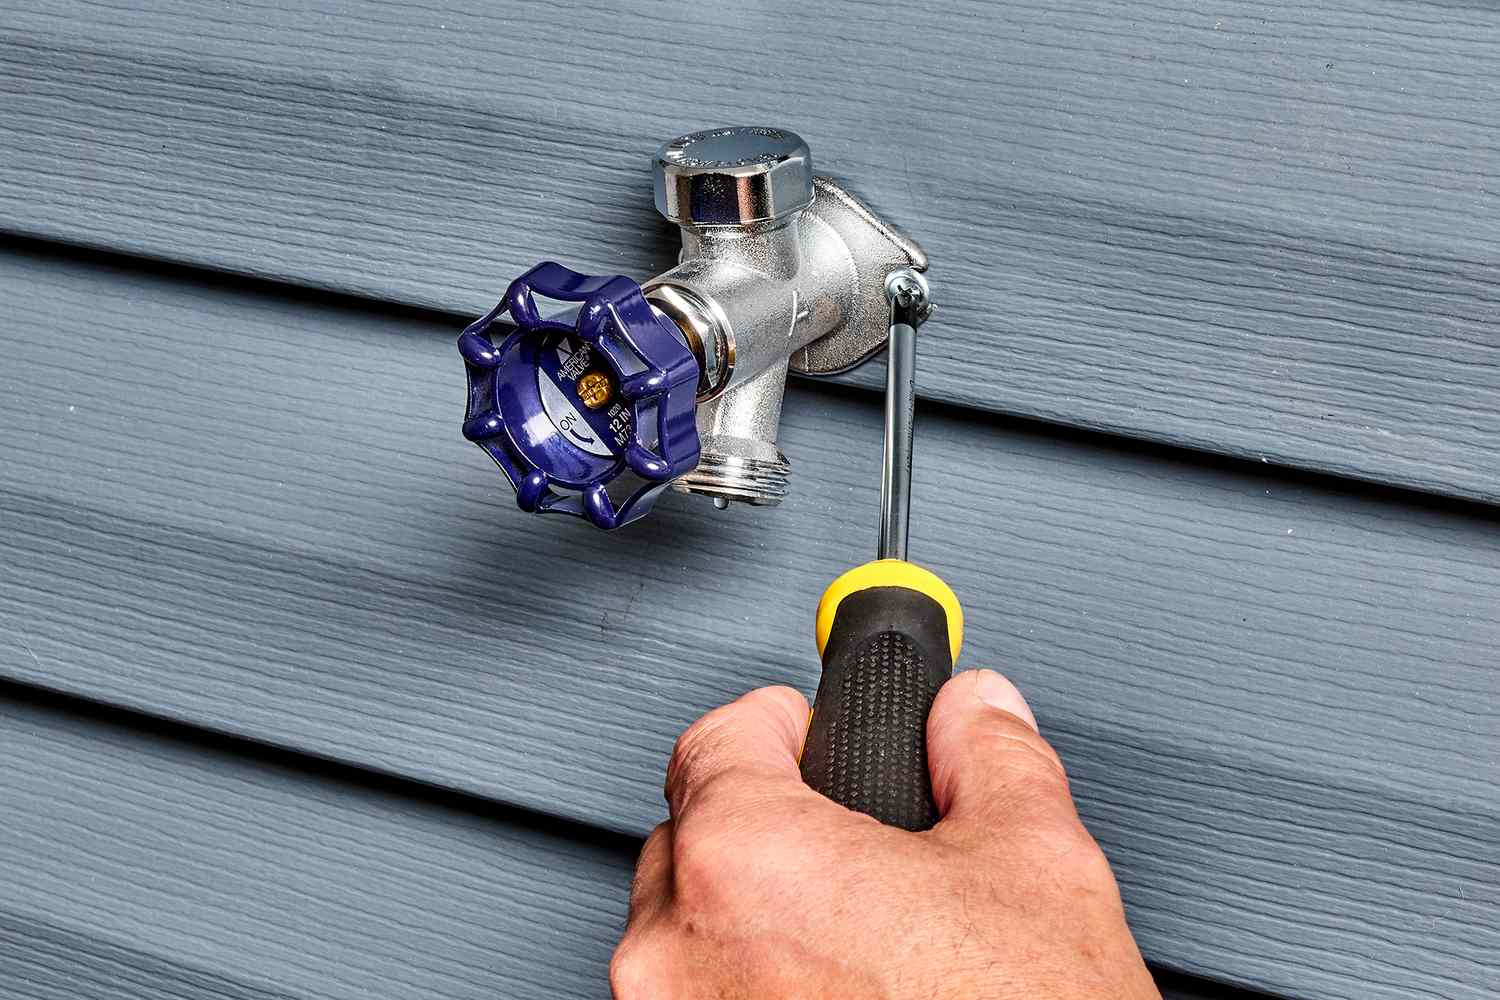
Step 4: Install the new spigot
Now that you’ve bid adieu to the old spigot, it’s time to usher in the new and improved version. Follow these steps to seamlessly install the replacement spigot and restore functionality to your outdoor water source:
- Prepare the new spigot: Before installation, ensure that the new spigot is compatible with the existing plumbing and mounting configuration. If necessary, apply plumber’s tape to the threaded connections to create a secure and leak-resistant seal.
- Position the new spigot: Carefully align the new spigot with the mounting surface, ensuring that it sits flush and level against the wall. If the spigot requires specific orientation or positioning, take note of any markings or directional indicators provided by the manufacturer.
- Secure the spigot: Using the appropriate fasteners and tools, secure the new spigot to the mounting surface. Whether it requires screws, bolts, or other fastening mechanisms, ensure that the spigot is firmly anchored in place to prevent any wobbling or instability.
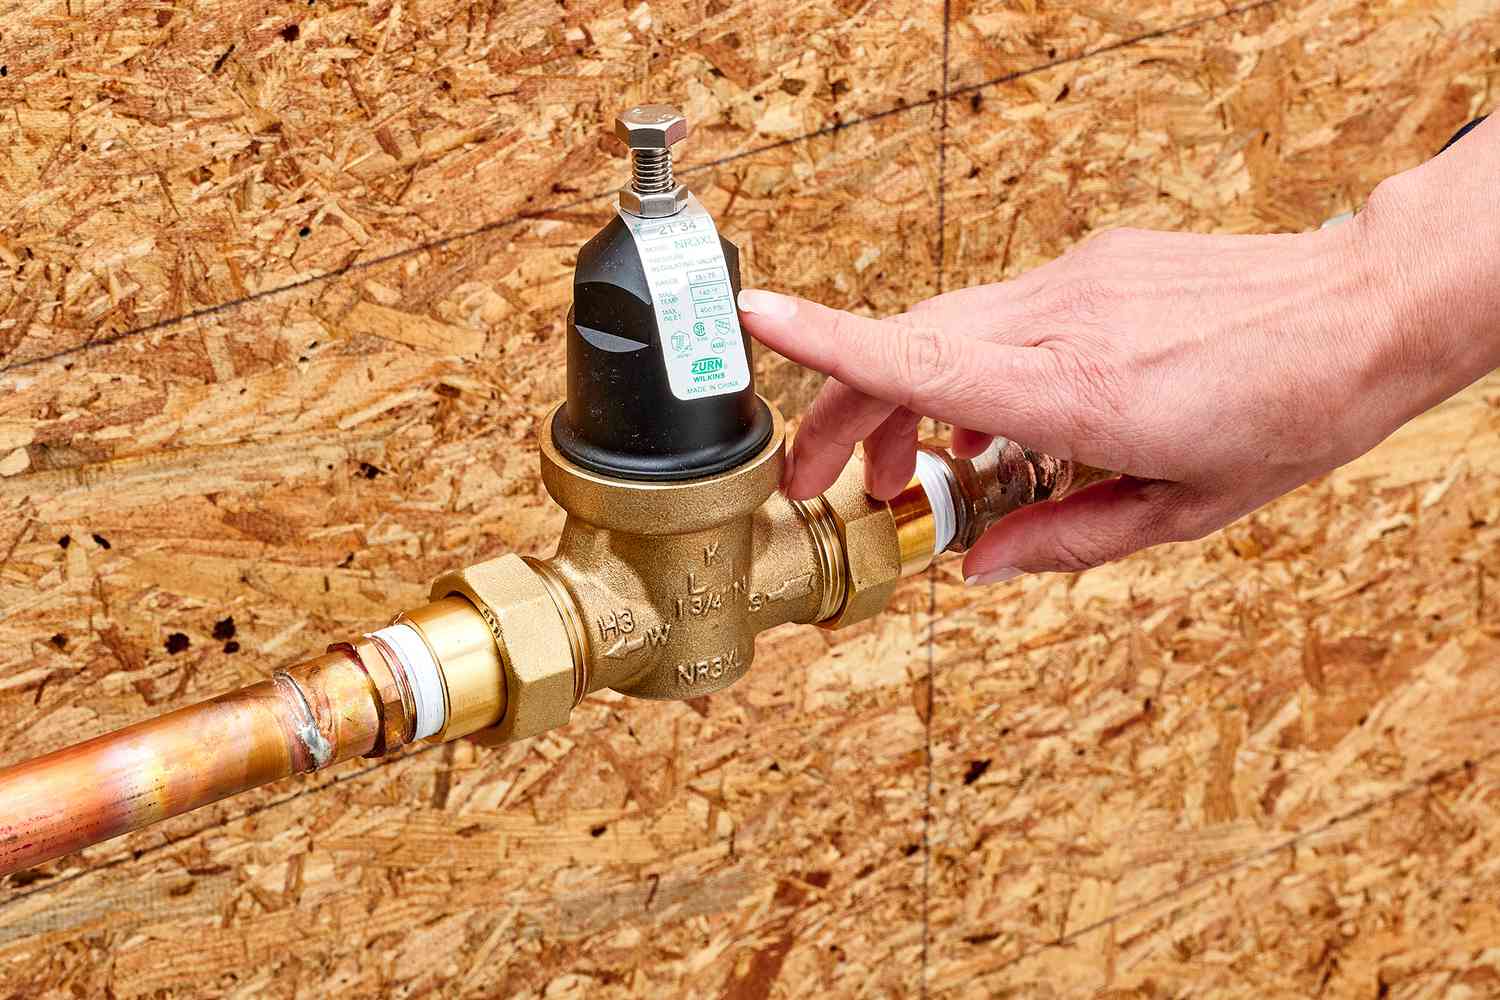
- Connect the water supply: If the new spigot features threaded connections, carefully thread it onto the existing pipe, ensuring a snug and secure fit. If the spigot requires soldering or welding, follow the manufacturer’s guidelines or seek professional assistance to complete the connection safely and effectively.
- Test for leaks: Once the new spigot is installed, slowly turn on the main water supply and check for any leaks or drips around the connections. If you notice any signs of leakage, promptly tighten the connections or reapply plumber’s tape to achieve a watertight seal.
By following these steps, you’ll successfully install the new spigot, bringing renewed functionality and reliability to your outdoor water fixture. Take care to follow the manufacturer’s instructions and recommendations for your specific spigot model, ensuring a seamless and professional installation.
Read more: How To Raise An Outdoor Spigot
Step 5: Turn the water supply back on
With the new spigot securely in place, it’s time to restore the flow of water and test the functionality of your freshly installed outdoor fixture. Follow these steps to safely turn the water supply back on and ensure that everything is in working order:
- Locate the main water shut-off valve: Return to the main water shut-off valve, which you previously closed, and prepare to reopen it to restore the water supply.
- Turn on the main water supply: Carefully turn the main shut-off valve counterclockwise to gradually reopen the water supply. Take note of any sounds or indications of water flowing through the pipes as the supply is restored.
- Check for leaks: As the water supply is reestablished, closely inspect the new spigot and its connections for any signs of leakage or seepage. Look for water droplets, damp areas, or any unusual moisture around the spigot and adjoining pipes.
- Test the new spigot: With the water supply back on, test the functionality of the new spigot by turning it on and off. Ensure that the water flows smoothly and consistently, and that there are no unexpected drips or irregularities in its operation.
- Verify proper drainage: If you encountered any residual water during the installation process, confirm that the drainage system is functioning as expected and that any excess water is safely directed away from the spigot and surrounding area.
By carefully following these steps, you’ll successfully turn the water supply back on and assess the performance of the new spigot. Take the time to observe and confirm that everything is functioning as intended, and enjoy the satisfaction of a job well done as you complete the final phase of the replacement process.
Conclusion
Congratulations! You’ve successfully navigated the process of changing an outdoor spigot, transforming a worn-out fixture into a reliable and functional component of your outdoor space. By following the step-by-step guide provided in this article, you’ve gained valuable insights and practical knowledge that empower you to tackle essential home maintenance tasks with confidence.
As you reflect on your accomplishment, take a moment to appreciate the impact of a well-maintained outdoor spigot. Whether you’re watering your garden, washing your car, or connecting a hose for various outdoor tasks, a dependable spigot enhances the convenience and utility of your outdoor area.
Remember, the key to a successful spigot replacement lies in thorough preparation, attention to detail, and a commitment to safety. By gathering the necessary tools and materials, turning off the water supply, removing the old spigot, installing the new one, and turning the water supply back on, you’ve demonstrated your ability to handle essential home improvement projects with skill and precision.
As you enjoy the benefits of your newly installed outdoor spigot, take pride in your accomplishment and the knowledge you’ve gained. Whether you embark on future DIY endeavors or share your expertise with others, the experience of changing an outdoor spigot serves as a testament to your resourcefulness and capability as a homeowner and DIY enthusiast.
So, take a moment to admire your handiwork, bask in the satisfaction of a job well done, and embrace the enhanced functionality and reliability of your outdoor water fixture. With your newfound expertise, you’re well-equipped to tackle a wide range of home improvement projects and continue to elevate your living space with confidence and ingenuity.
Frequently Asked Questions about How To Change An Outdoor Spigot
Was this page helpful?
At Storables.com, we guarantee accurate and reliable information. Our content, validated by Expert Board Contributors, is crafted following stringent Editorial Policies. We're committed to providing you with well-researched, expert-backed insights for all your informational needs.


0 thoughts on “How To Change An Outdoor Spigot”