Home>Furniture & Design>Outdoor Furniture>How To Build Outdoor Wooden Table

Outdoor Furniture
How To Build Outdoor Wooden Table
Modified: January 23, 2024
Learn how to build a beautiful outdoor wooden table with our step-by-step guide. Discover expert tips for creating custom outdoor furniture and design. Ideal for your backyard or patio.
(Many of the links in this article redirect to a specific reviewed product. Your purchase of these products through affiliate links helps to generate commission for Storables.com, at no extra cost. Learn more)
Introduction
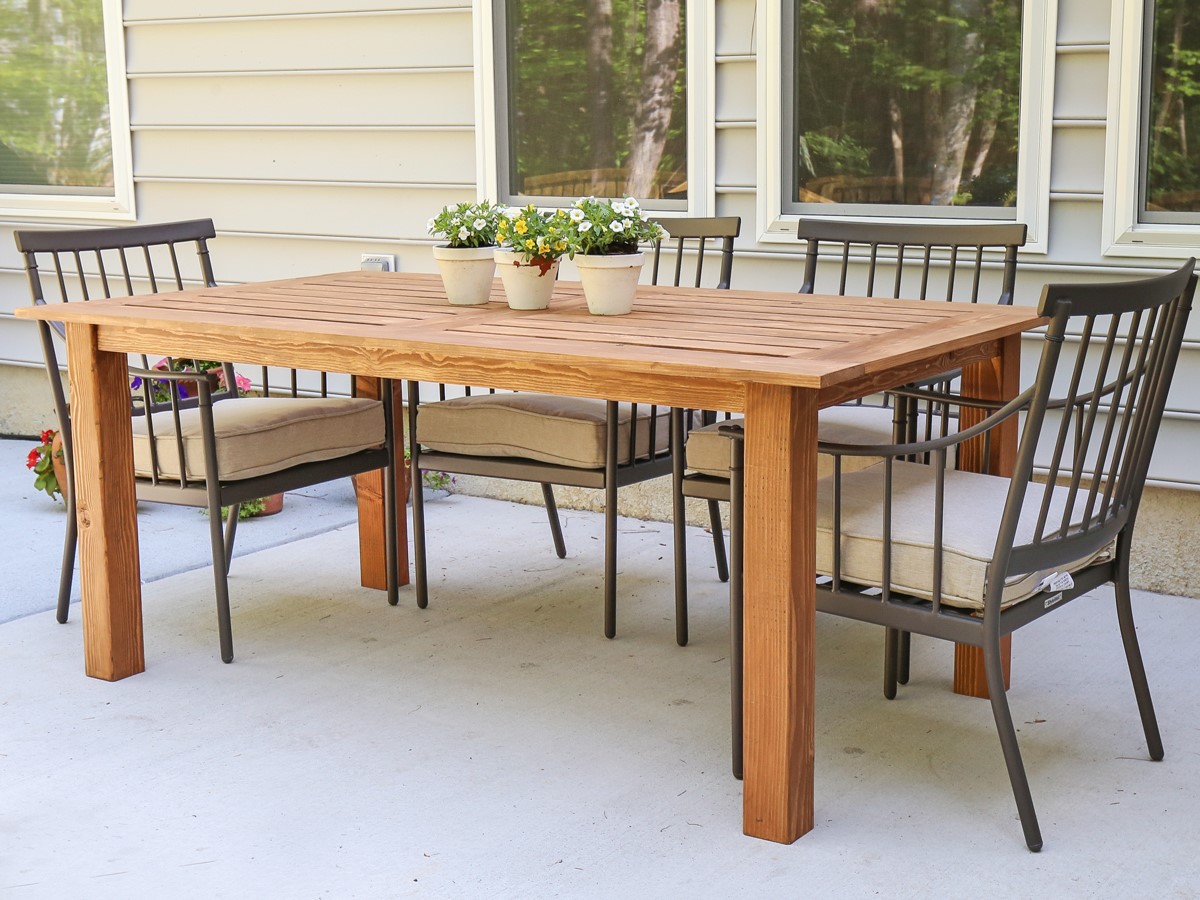
Creating your own outdoor wooden table can be a rewarding and satisfying project that adds a personal touch to your outdoor space. Whether you're a seasoned woodworking enthusiast or a novice DIY-er, building your own table allows you to tailor the design to your specific needs and preferences. Not only does it provide a sense of accomplishment, but it also offers the opportunity to save money compared to purchasing a pre-made table.
The process of building an outdoor wooden table involves careful planning, precise measurements, and the use of quality materials and tools. From selecting the right type of wood to adding the finishing touches, each step contributes to the overall functionality and aesthetic appeal of the final product. In this guide, we'll explore the essential materials and tools needed, the process of choosing the right wood for outdoor use, design considerations, and the step-by-step construction of a sturdy and stylish outdoor wooden table. Whether you envision a classic picnic table for family gatherings or a sleek dining table for al fresco meals, this guide will equip you with the knowledge and inspiration to bring your vision to life. So, roll up your sleeves, unleash your creativity, and let's embark on this woodworking adventure together!
Key Takeaways:
- Building your own outdoor wooden table allows for personalization, skill development, and the creation of a unique piece that reflects your individual style and vision. It’s a gratifying endeavor that fosters creativity and craftsmanship.
- Constructing an outdoor wooden table not only provides a durable and resilient piece of furniture for outdoor living but also serves as a source of inspiration for future woodworking projects and creative endeavors. It’s a transformative and rewarding pursuit that enriches your outdoor lifestyle.
Read more: How To Build An Outdoor Dining Table
Materials and Tools Needed
Before diving into the construction of your outdoor wooden table, it’s crucial to gather all the necessary materials and tools. Having the right supplies at your disposal ensures a smooth and efficient building process. Here’s a comprehensive list of what you’ll need:
Materials:
- Pressure-treated or rot-resistant wood for outdoor use, such as cedar, redwood, or teak
- Wood screws or outdoor-grade fasteners
- Wood glue
- Waterproof wood sealant or outdoor wood finish
- Sandpaper of various grits
Tools:
- Tape measure
- Pencil
- Circular saw or table saw
- Drill with screwdriver bits
- Clamps
- Sandpaper or electric sander
- Safety goggles
- Ear protection
- Dust mask
These materials and tools form the foundation of your woodworking arsenal, enabling you to tackle each step of the construction process with precision and efficiency. Additionally, it’s essential to prioritize safety throughout the project by using the appropriate protective gear and handling tools and materials with care. With everything in place, you’re ready to move on to the next phase: choosing the right wood for your outdoor table.
Choosing the Right Wood
When it comes to building an outdoor wooden table, selecting the right type of wood is paramount to ensure longevity, durability, and visual appeal. Outdoor furniture is exposed to the elements, including sunlight, moisture, and temperature fluctuations, making it essential to choose a wood species that can withstand these challenges. Here are some popular wood options suitable for outdoor use:
Read more: How To Build Wooden Ladder
Cedar:
Cedar is a popular choice for outdoor furniture due to its natural resistance to decay and insects. It possesses a distinct reddish-brown hue and weathers to an attractive silver-gray patina over time, adding rustic charm to your outdoor space. Cedar is relatively lightweight, making it easier to maneuver during the construction process.
Redwood:
Known for its rich, reddish-brown color and exceptional durability, redwood is an excellent choice for outdoor tables. It contains natural oils that enhance its resistance to decay and insect damage, ensuring its longevity in outdoor environments. Redwood’s elegant appearance and stability make it a sought-after option for outdoor furniture projects.
Teak:
Teak is revered for its remarkable strength and natural oils, making it highly resistant to moisture, rot, and pests. It boasts a beautiful golden-brown hue that weathers gracefully, exuding a timeless appeal. While teak is pricier than other wood species, its unparalleled durability and low maintenance requirements make it a worthwhile investment for outdoor furniture, including tables.
Regardless of the wood species you choose, it’s essential to use pressure-treated or rot-resistant wood specifically designed for outdoor applications. Additionally, consider the grain pattern, stability, and overall aesthetic of the wood to align with your design preferences. With the right wood in hand, you’re poised to embark on the next phase: designing and measuring your outdoor wooden table.
Design and Measurements
Before cutting a single piece of wood, it’s crucial to establish a clear design plan and take precise measurements for your outdoor wooden table. The design phase allows you to envision the table’s shape, size, and overall style, while accurate measurements lay the groundwork for a successful construction process. Here are the key considerations for designing and measuring your outdoor table:
Read more: How To Clean A Wooden Coffee Table
Table Design:
Consider the intended use of the table and the available outdoor space. Whether you prefer a classic rectangular table, a cozy round table, or a unique custom shape, the design should complement your outdoor setting and accommodate your specific needs. Additionally, factor in the number of individuals the table will seat comfortably, ensuring ample surface area for dining, socializing, or other outdoor activities.
Measurements:
Begin by determining the desired length, width, and height of the table. Take precise measurements to ensure that the table fits harmoniously within the outdoor environment and aligns with your functional requirements. If you plan to pair the table with existing outdoor furniture, consider its proportions to maintain visual balance and cohesion in the outdoor space.
Additional Considerations:
Think about the table’s structural details, such as the thickness of the tabletop and the dimensions of the legs and supports. These elements contribute to the table’s stability and visual appeal. Moreover, if you intend to incorporate features like an umbrella hole or integrated benches, factor them into the design and measurements to achieve a comprehensive and cohesive final product.
By carefully conceptualizing the design and meticulously recording measurements, you lay a solid foundation for the subsequent phases of construction. With a clear vision and precise dimensions in hand, you’re ready to bring your outdoor wooden table to life through cutting and sanding the wood.
Cutting and Sanding
Once you have finalized the design and obtained the necessary measurements for your outdoor wooden table, the next crucial steps involve cutting the wood to the appropriate dimensions and refining the surfaces through sanding. These tasks are pivotal in shaping the individual components of the table and preparing them for assembly. Here’s how to approach the cutting and sanding process:
Read more: How Build A Wooden Tool Chest
Cutting the Wood:
Utilize a circular saw or table saw to precisely cut the wood according to the measurements outlined in your design plan. Exercise caution and adhere to safety protocols while operating the saw, ensuring straight and accurate cuts. Divide the wood into components such as the tabletop, legs, and support structures, maintaining a keen eye on the design specifications to achieve uniformity and precision.
Sanding the Surfaces:
Once the wood components are cut, it’s time to refine their surfaces through sanding. Begin with coarse-grit sandpaper to eliminate rough edges, uneven surfaces, and any splinters. Gradually progress to finer-grit sandpaper to achieve a smooth and polished texture on all exposed wood surfaces, including the tabletop, legs, and other structural elements. Thorough sanding not only enhances the tactile appeal of the table but also preps the wood for the application of finishes or sealants.
Attention to Detail:
Pay close attention to the details of each wood component, ensuring that edges are chamfered or rounded for a more comfortable and visually appealing finish. Consistent and meticulous sanding contributes to the overall craftsmanship of the table, elevating its aesthetic allure and tactile comfort.
By meticulously cutting the wood to size and diligently sanding the surfaces, you set the stage for the assembly phase, where the individual components will seamlessly come together to form a cohesive outdoor wooden table. With the wood prepared and refined, you’re ready to embark on the next stage: assembling the table.
Assembling the Table
With the wood components cut to precise dimensions and meticulously sanded, it’s time to bring your outdoor wooden table to life through the assembly process. This phase involves joining the individual pieces to create a sturdy and visually appealing table that aligns with your design vision. Here’s a step-by-step guide to assembling the table:
Read more: How To Build A Wooden Garage Door
Arranging the Components:
Lay out the tabletop, legs, and support structures in the designated assembly area, ensuring ample space to maneuver and align the components effectively. Refer to your design plan and measurements to position the pieces accurately, maintaining a keen eye on symmetry and proportional spacing.
Securing the Joints:
Utilize wood screws or outdoor-grade fasteners to secure the legs and supports to the tabletop, employing clamps to hold the components in place during the assembly process. Ensure that the joints are snug and stable, promoting the structural integrity of the table. Apply wood glue to the joints before fastening the components for added reinforcement, enhancing the table’s durability.
Alignment and Stability:
Regularly assess the alignment and stability of the table as you progress through the assembly, making any necessary adjustments to ensure that the components are harmoniously integrated. Confirm that the table stands level on the ground, addressing any discrepancies in leg lengths or uneven contact points to achieve a balanced and stable foundation.
Quality Assurance:
Thoroughly inspect the assembled table for any potential issues, such as protruding fasteners, uneven surfaces, or misaligned components. Address these concerns promptly, refining the table’s construction to meet the highest standards of craftsmanship and functionality.
By methodically assembling the components with precision and attention to detail, you transform a collection of wood pieces into a cohesive and resilient outdoor wooden table. With the table taking shape, the final phase entails adding the finishing touches to enhance its aesthetic appeal and safeguard it from outdoor elements. As the assembly process concludes, you’re poised to elevate the table’s allure through the application of finishes and sealants.
Read more: How To Build A Wooden High Chair
Finishing Touches
As the assembly of your outdoor wooden table nears completion, the application of finishes and sealants serves as the crowning touch, enhancing the table’s visual allure and fortifying it against the rigors of outdoor exposure. Finishing treatments not only imbue the table with a lustrous appearance but also safeguard the wood from moisture, UV rays, and general wear and tear. Here’s how to add the perfect finishing touches to your outdoor wooden table:
Wood Sealant or Outdoor Finish:
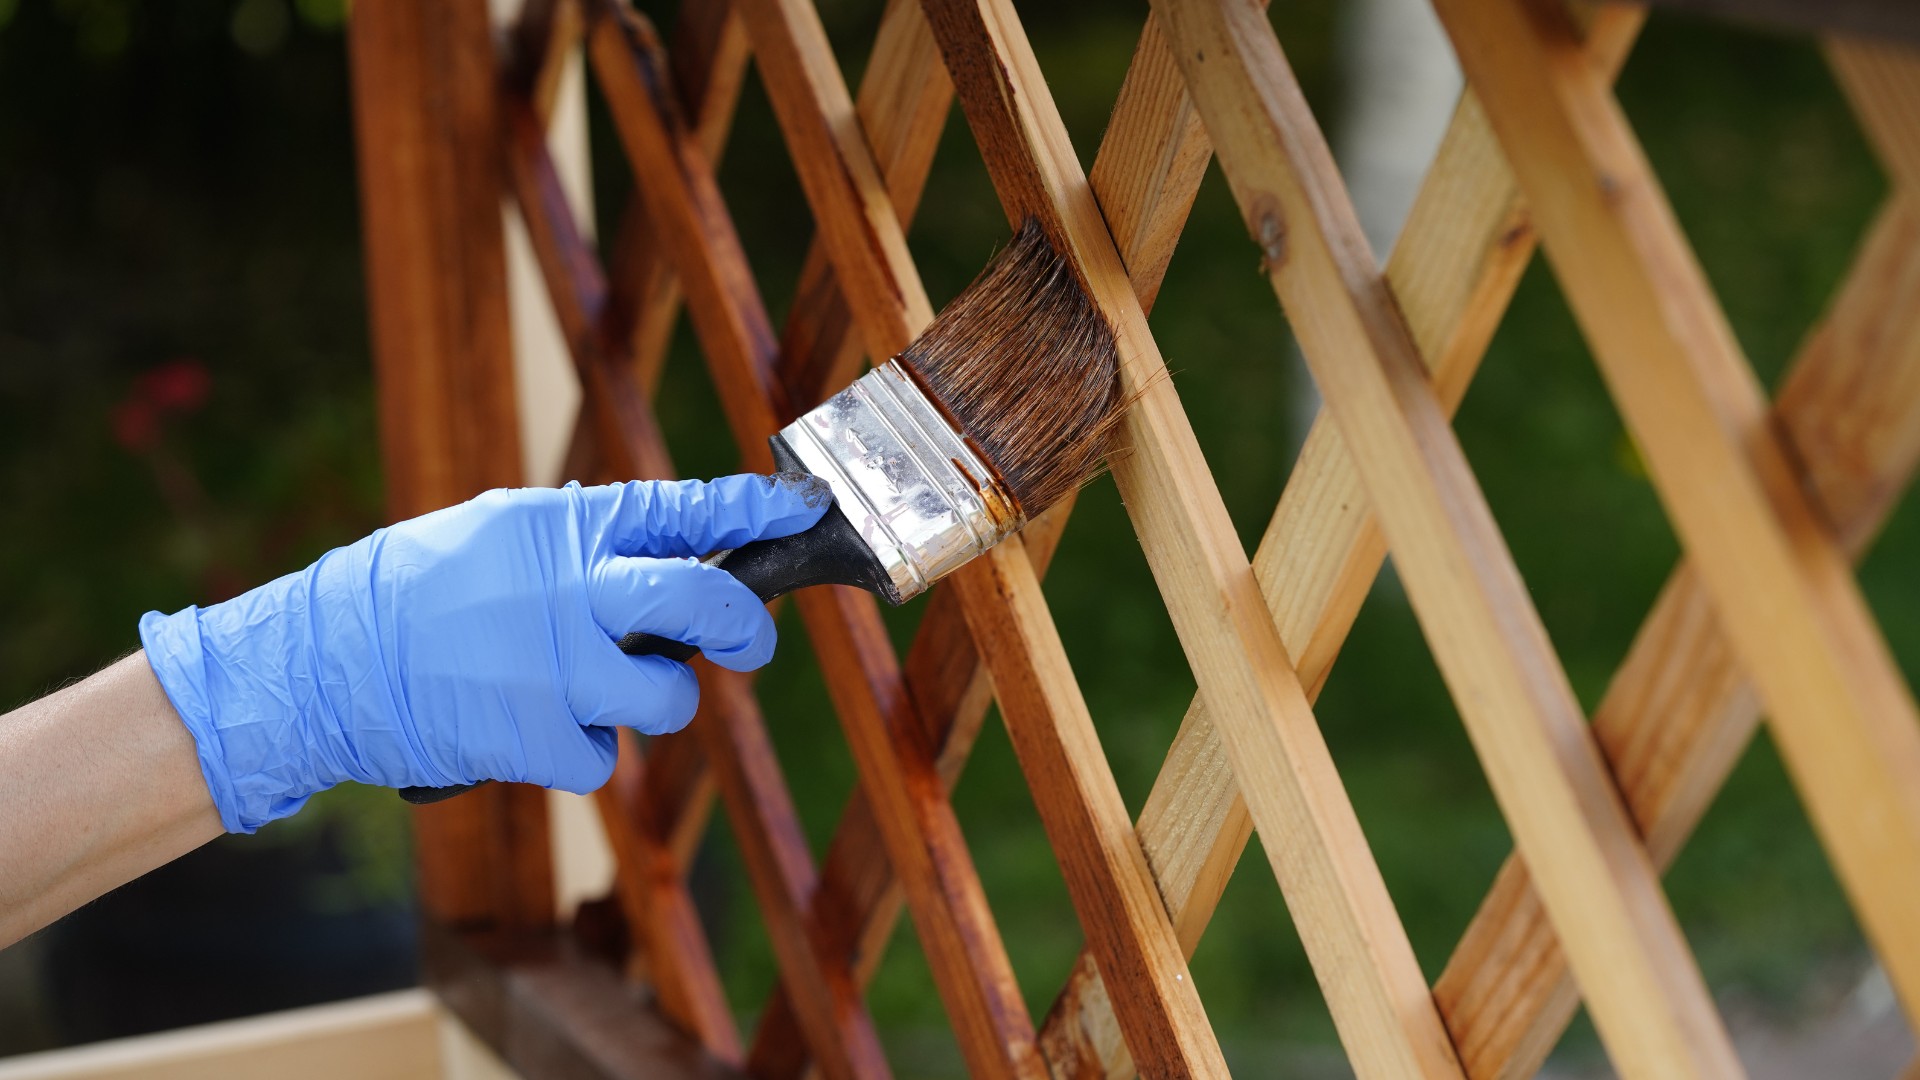
Select a high-quality wood sealant or outdoor finish specifically formulated for the wood species used in your table. Apply the sealant evenly across all exposed wood surfaces, including the tabletop, legs, and supports, using a brush or applicator pad. The sealant forms a protective barrier, shielding the wood from moisture infiltration and preventing decay, thereby extending the table’s lifespan.
Enhancing Natural Beauty:
If you desire to maintain the natural appearance of the wood, opt for a clear or transparent wood sealant that accentuates the wood’s grain and color while providing essential protection. Alternatively, if you prefer to enrich the wood’s hue, consider using a tinted or pigmented outdoor finish that complements your outdoor aesthetic and personal style.
Multiple Coats and Drying Time:
Apply multiple coats of the sealant or finish as recommended by the manufacturer, allowing sufficient drying time between each application. This layering approach ensures comprehensive coverage and reinforces the wood’s resistance to environmental elements, promoting long-term durability and visual appeal.
Read more: How To Make A Wooden Outdoor Bench
Final Inspection:
Upon completing the finishing process, conduct a thorough inspection of the table, verifying that the sealant or finish has been uniformly applied and that the wood surfaces exhibit a smooth and polished appearance. Address any imperfections or uneven areas, ensuring that the table exudes a refined and inviting presence in your outdoor setting.
By meticulously applying the appropriate finishes and sealants, you elevate the outdoor wooden table to its full potential, marrying aesthetic charm with enduring resilience. With the finishing touches in place, your custom-crafted table stands as a testament to your woodworking prowess and creative vision, ready to enrich your outdoor gatherings and leisure moments for years to come.
Conclusion
Embarking on the journey of building your own outdoor wooden table is a gratifying endeavor that intertwines craftsmanship, creativity, and practicality. From the initial selection of quality wood to the final application of finishes, each step in the construction process contributes to the creation of a bespoke table that harmonizes with your outdoor environment and lifestyle. As you reflect on the comprehensive process of building an outdoor wooden table, consider the following key takeaways:
Personalization and Customization:
By constructing your own outdoor table, you have the opportunity to tailor every aspect of its design and construction to align with your specific preferences and functional requirements. Whether it’s the choice of wood species, the table’s dimensions, or the finishing treatments, your input shapes a unique and personalized piece of outdoor furniture that reflects your individual style and vision.
Craftsmanship and Skill Development:
Engaging in woodworking projects such as building an outdoor table fosters the development of valuable skills and craftsmanship. From precise measurements and accurate cuts to meticulous sanding and assembly, each phase hones your abilities and deepens your appreciation for the art of woodworking. Furthermore, the sense of accomplishment derived from creating a tangible and functional piece of furniture is immeasurable.
Read more: How To Paint Wooden Outdoor Furniture
Longevity and Enjoyment:
By incorporating durable wood species and protective finishes, the outdoor wooden table you construct possesses the resilience to withstand the demands of outdoor living, ensuring its longevity and enduring appeal. As a focal point for outdoor gatherings, dining experiences, and leisure activities, the table becomes a cherished fixture that enriches your outdoor lifestyle and fosters memorable moments with family and friends.
Continued Inspiration:
As you bask in the satisfaction of completing your outdoor wooden table, let this experience inspire future woodworking projects and creative endeavors. The knowledge and skills acquired throughout the construction process serve as a springboard for exploring additional furniture designs, outdoor accessories, and woodworking challenges, perpetuating a cycle of innovation and self-expression.
Ultimately, the construction of an outdoor wooden table transcends the realm of practical furniture-making, evolving into a deeply rewarding and transformative pursuit. As your custom-crafted table graces your outdoor space, it stands as a testament to your ingenuity, dedication, and the timeless allure of woodworking. Embrace the memories and moments that unfold around this handcrafted centerpiece, knowing that it embodies not only your craftsmanship but also the spirit of creativity and craftsmanship that enriches your life.
Frequently Asked Questions about How To Build Outdoor Wooden Table
Was this page helpful?
At Storables.com, we guarantee accurate and reliable information. Our content, validated by Expert Board Contributors, is crafted following stringent Editorial Policies. We're committed to providing you with well-researched, expert-backed insights for all your informational needs.



0 thoughts on “How To Build Outdoor Wooden Table”