Home>Furniture & Design>Outdoor Furniture>How To Make A Wooden Outdoor Bench
Outdoor Furniture
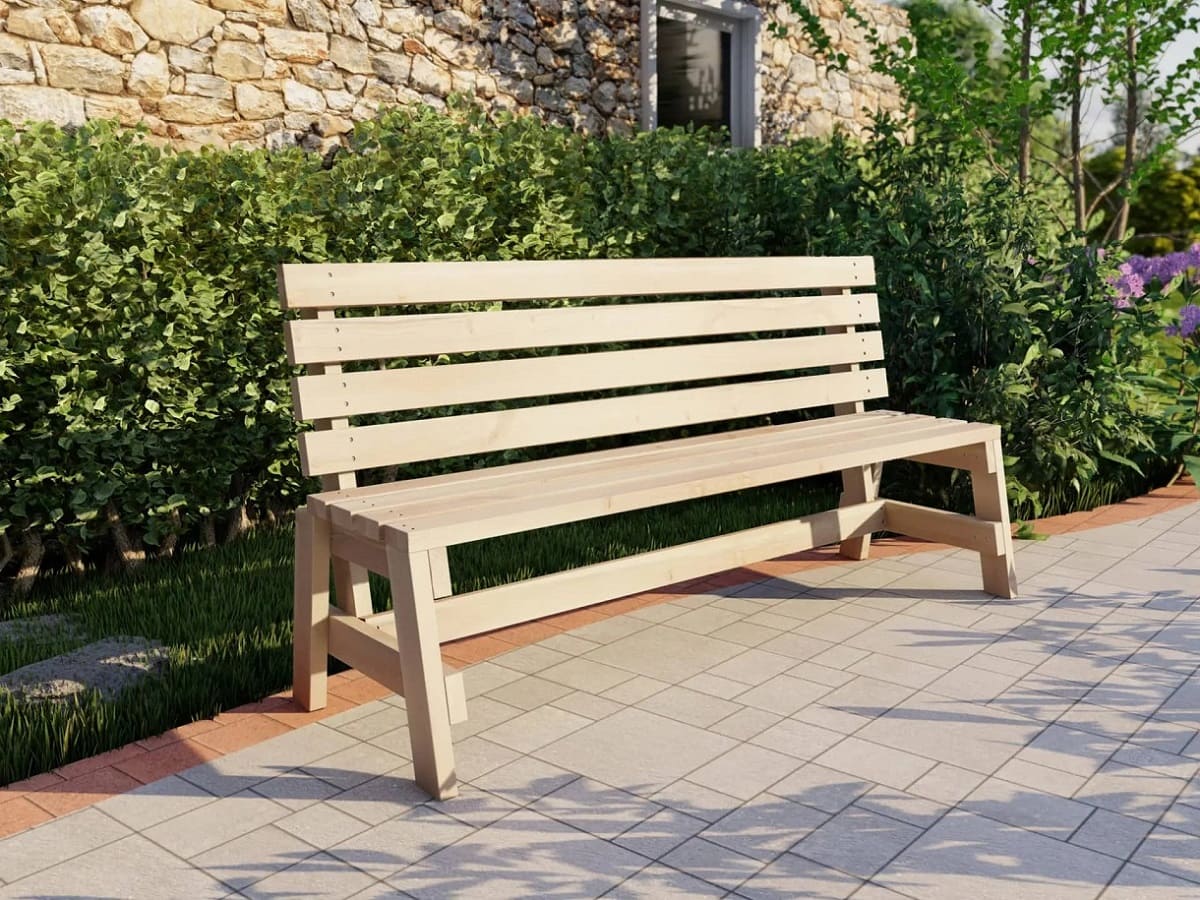
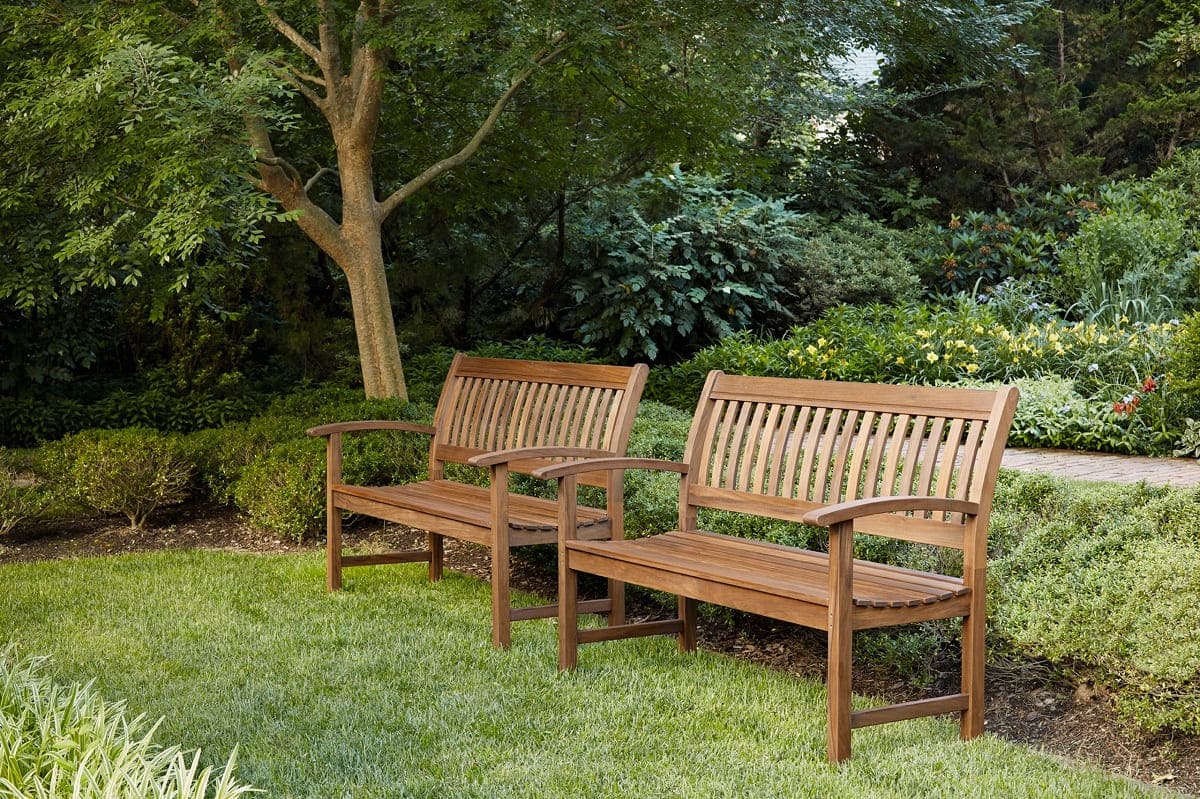
How To Make A Wooden Outdoor Bench
Published: January 13, 2024
Learn how to build a custom wooden outdoor bench with our step-by-step guide. Create stylish and durable outdoor furniture and design your ideal outdoor space. Discover the best techniques for crafting outdoor furniture.
(Many of the links in this article redirect to a specific reviewed product. Your purchase of these products through affiliate links helps to generate commission for Storables.com, at no extra cost. Learn more)
Introduction
Welcome to the world of outdoor furniture design, where craftsmanship meets nature to create functional and beautiful pieces that enhance the outdoor living experience. In this article, we will explore the art of creating a classic wooden outdoor bench. Whether you are a seasoned woodworker or a DIY enthusiast looking to embark on a new project, this guide will provide you with the essential steps to construct a durable and visually appealing outdoor bench.
Crafting a wooden outdoor bench is a gratifying endeavor that allows you to connect with the timeless art of woodworking while adding a touch of rustic charm to your outdoor space. The process involves selecting the right materials, using the appropriate tools, and employing woodworking techniques to bring your vision to life. Additionally, the satisfaction of completing a project with your own hands and witnessing the transformation of raw materials into a functional piece of furniture is truly rewarding.
By following this comprehensive guide, you will gain valuable insights into the intricacies of woodworking, including measuring and cutting wood, assembling components, and refining the bench's surface to achieve a smooth and polished finish. Whether you plan to place the bench in a serene garden, on a cozy patio, or by a tranquil pond, the end result will be a testament to your creativity and dedication to the craft.
So, roll up your sleeves, gather your tools, and let's embark on this woodworking journey together. Whether you are seeking a peaceful retreat in your backyard or a spot to gather with loved ones, the wooden outdoor bench you create will undoubtedly become a cherished addition to your outdoor oasis. Let's delve into the materials and tools needed to kick-start this exciting project.
Key Takeaways:
- Crafting a wooden outdoor bench is a gratifying journey that combines woodworking skills with creativity, resulting in a durable and visually appealing piece of furniture for your outdoor space.
- By meticulously measuring, cutting, and assembling the wood, and applying a protective finish, you can create a timeless wooden outdoor bench that enhances your outdoor oasis and withstands the test of time.
Read more: How To Make An Outdoor Bench
Materials and Tools
Before diving into the construction process, it’s essential to gather the necessary materials and tools to ensure a smooth and efficient workflow. Here’s a comprehensive list of the items you will need to construct a sturdy and visually appealing wooden outdoor bench:
Materials:
- Pressure-treated or weather-resistant wood planks: These will form the seat, backrest, and legs of the bench. Opting for durable, weather-resistant wood is crucial to ensure the longevity of your outdoor bench.
- Wood screws: Select corrosion-resistant screws designed for outdoor use to secure the various components of the bench.
- Wood glue: A high-quality wood adhesive will reinforce the joints and enhance the overall strength of the bench.
- Wood finish or sealant: Applying a protective finish or sealant will safeguard the wood from the elements, preventing decay and enhancing its natural beauty.
- Sandpaper: Different grits of sandpaper will be required for smoothing the wood surfaces and achieving a refined finish.
Tools:
- Tape measure and carpenter's square: These tools are essential for accurate measurements and ensuring precise angles during assembly.
- Saw: A circular saw or a miter saw will be needed to cut the wood to the desired dimensions.
- Drill/driver: A power drill equipped with screwdriver bits will facilitate the assembly process by driving screws into the wood.
- Clamps: Utilize clamps to hold the wood pieces securely in place during assembly, ensuring a tight fit.
- Sanding block or orbital sander: These tools will aid in smoothing the wood surfaces, creating a polished and splinter-free finish.
- Paintbrushes or applicators: If you plan to apply a wood finish or sealant, suitable brushes or applicators will be necessary for even application.
By acquiring these materials and tools, you will be well-equipped to commence the construction of your wooden outdoor bench. With these essentials at your disposal, you can proceed to the next phase: cutting and preparing the wood for assembly.
Cutting and Preparing the Wood
Once you have gathered the required materials and tools, the next step in crafting your wooden outdoor bench involves cutting and preparing the wood for assembly. This phase is essential for ensuring that the components fit together seamlessly and that the bench exhibits structural integrity. Here’s a detailed overview of the process:
1. Measurement and Marking:
Begin by measuring and marking the wood according to the dimensions of the bench components. Use a tape measure and a carpenter’s square to ensure accuracy, and mark the cut lines clearly to avoid errors during the cutting process.
2. Cutting the Wood:
Utilize a saw, such as a circular saw or a miter saw, to cut the wood planks to the specified lengths for the seat, backrest, and legs of the bench. Take care to follow the marked lines precisely, resulting in clean and uniform cuts.
3. Creating Joints:
If your design incorporates joints for connecting the bench components, such as mortise and tenon joints or lap joints, use appropriate woodworking techniques and tools to create these connections. Ensure that the joints are accurately formed to guarantee a secure and stable assembly.
4. Pre-drilling Screw Holes:
Before assembling the components, pre-drill holes for the wood screws to prevent splitting and ensure precise alignment during assembly. Use a drill/driver with a suitable bit to create these pilot holes, taking care to maintain consistent spacing and depth.
Read more: How To Make A Brick Bench
5. Sanding the Edges:
After cutting the wood, use sandpaper to smooth the edges and remove any roughness or splinters. This step is crucial for achieving a professional finish and ensuring that the bench is comfortable to touch and use.
By meticulously measuring, cutting, and preparing the wood, you will lay the foundation for a successful assembly process. The precision and care invested in this phase will ultimately contribute to the structural integrity and visual appeal of your wooden outdoor bench. With the wood components ready for assembly, it’s time to move on to the exciting phase of bringing the bench to life through assembly.
Assembling the Bench
With the wood components cut to size and prepared for assembly, it’s time to bring your wooden outdoor bench to life through the art of joining and securing the various elements. The assembly phase is where the individual pieces come together to form a cohesive and functional bench. Here’s a step-by-step guide to the assembly process:
1. Arranging the Components:
Begin by organizing the cut wood pieces according to the bench design. Lay out the seat, backrest, and legs in the designated assembly area, ensuring that all components are easily accessible and properly oriented for assembly.
2. Applying Wood Glue:
If your design incorporates joints or connections that require additional reinforcement, apply wood glue to the mating surfaces before joining them together. This will enhance the strength and stability of the assembled bench.
Read more: How To Make Wooden Stairs
3. Securing with Screws:
Use corrosion-resistant wood screws and a power drill equipped with screwdriver bits to secure the components. Start by fastening the legs to the seat, followed by attaching the backrest to the assembled seat and legs. Ensure that the screws are driven in snugly to create a firm and durable connection.
4. Checking Alignment:
Throughout the assembly process, periodically check the alignment and positioning of the components to ensure that the bench takes shape as intended. Make any necessary adjustments to maintain symmetry and structural integrity.
5. Reinforcing Joints:
If your design includes additional joints or connections, such as cross supports or armrests, reinforce these areas by applying wood glue and securing them with screws. This step will fortify the bench and contribute to its overall stability.
6. Removing Excess Glue:
After the components are assembled, carefully remove any excess wood glue using a damp cloth or a suitable adhesive remover. This will prevent unsightly glue residue and facilitate the finishing process.
By methodically assembling the bench components with precision and care, you will witness the transformation of individual wood pieces into a functional and visually appealing outdoor bench. The next phase involves refining the bench’s surface to achieve a smooth and polished finish, enhancing its aesthetic appeal and tactile comfort.
Read more: How To Make A Wooden Walkway
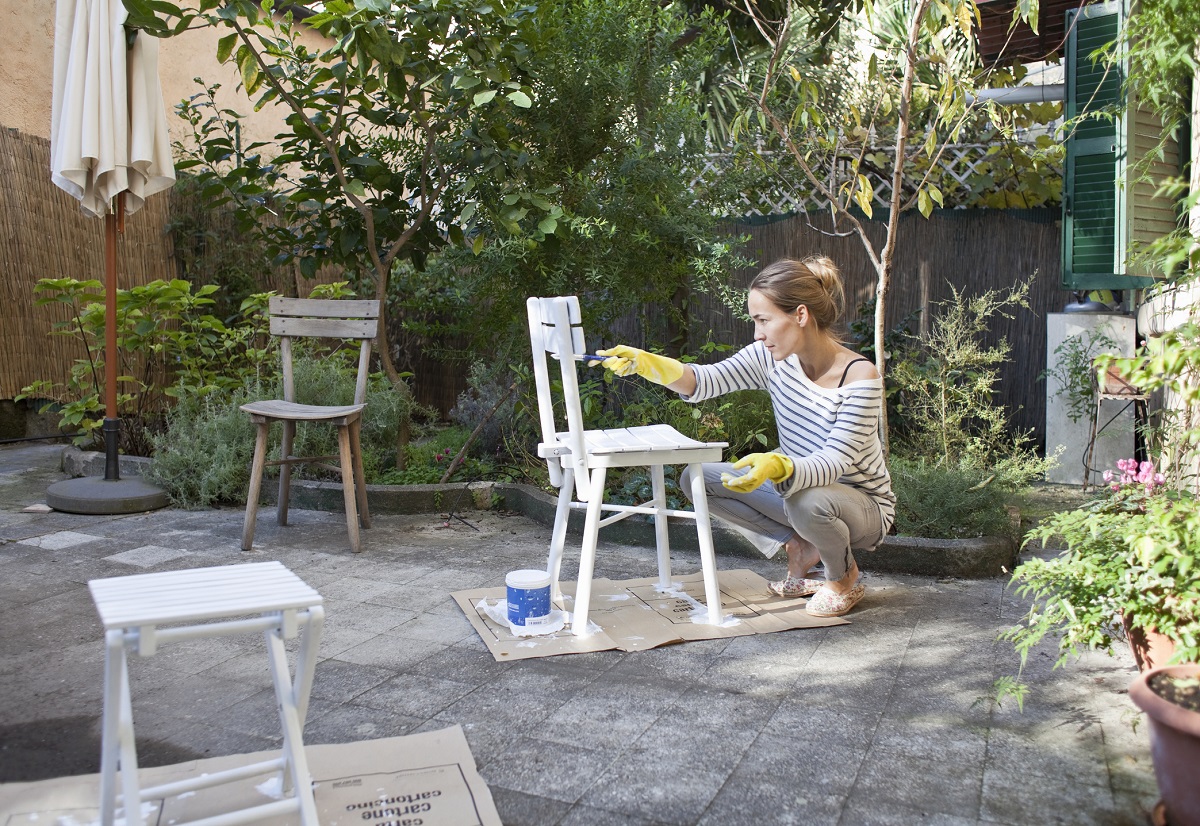
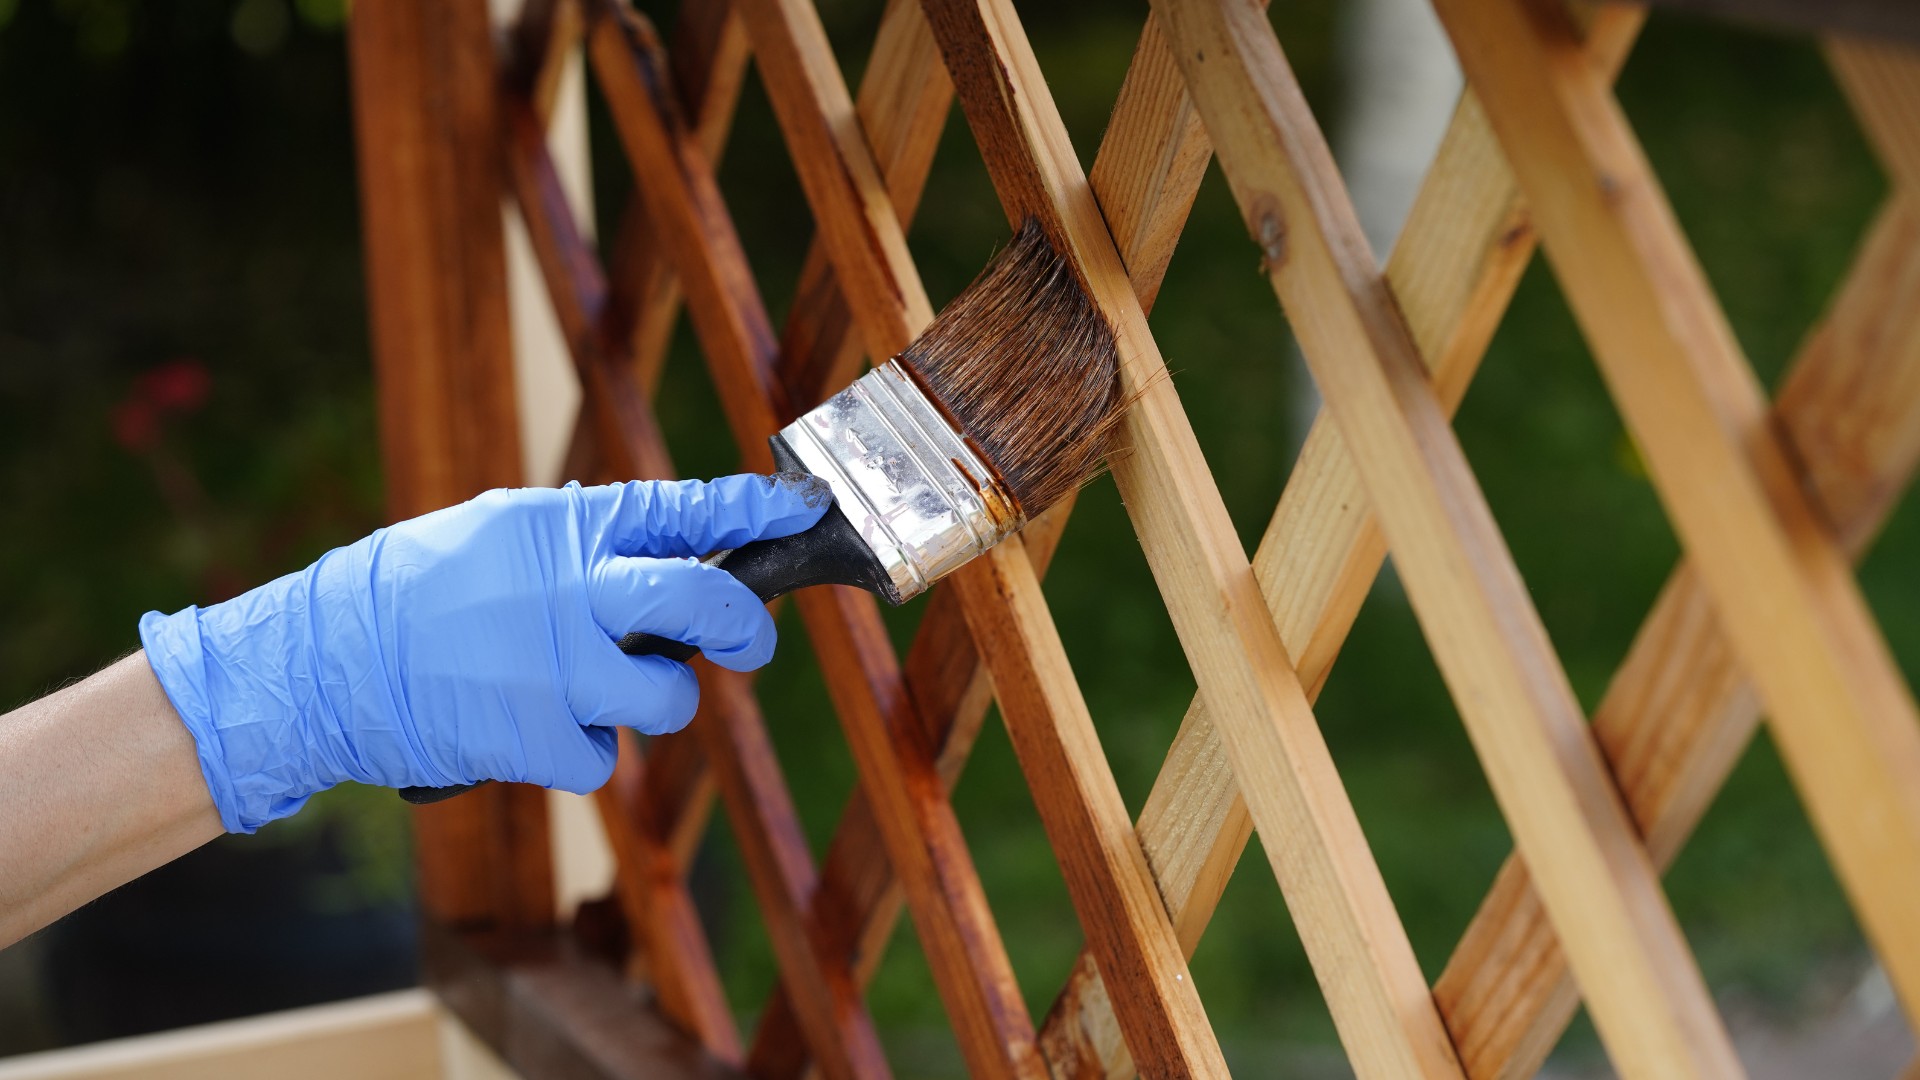
Sanding and Finishing
As the assembled wooden outdoor bench takes shape, the sanding and finishing phase plays a pivotal role in refining the wood surfaces, enhancing their visual appeal, and protecting the bench from the elements. This transformative process elevates the bench from a collection of components to a polished and inviting piece of outdoor furniture. Here’s a detailed overview of the sanding and finishing process:
1. Sanding the Wood Surfaces:
Begin by using sandpaper of varying grits to smooth the surfaces of the bench components. Start with a coarser grit to remove any rough spots, imperfections, and tool marks, then progress to finer grits for a progressively smoother finish. Pay particular attention to the edges and corners to ensure a uniform and comfortable feel.
2. Removing Dust:
After sanding, use a clean, dry cloth or a tack cloth to remove the dust and debris from the wood surfaces. This step is essential for preparing the wood to receive the finishing materials without any contaminants that could affect the final result.
3. Applying Wood Finish or Sealant:
Select a high-quality wood finish or sealant designed for outdoor use, and apply it to the sanded wood surfaces using a paintbrush or an applicator. Ensure even coverage and follow the manufacturer’s instructions regarding the number of coats, drying times, and any additional preparation or finishing steps.
Read more: How To Build Outdoor Wooden Table
4. Allowing for Drying and Curing:
Once the finish or sealant is applied, allow the bench to dry and cure in a well-ventilated area according to the product’s recommended drying times. This will ensure that the finish properly adheres to the wood and provides the desired level of protection and visual enhancement.
5. Inspecting and Touching Up:
After the initial application and drying process, inspect the bench for any areas that may require additional touch-ups or refinishing. Address any imperfections or uneven areas by lightly sanding and reapplying the finish as needed.
6. Final Polishing:
Once the finish has fully cured, consider giving the bench a final polish using a clean, soft cloth to enhance its luster and smoothness. This step adds a professional touch and accentuates the natural beauty of the wood.
By meticulously sanding and finishing the wooden outdoor bench, you will not only achieve a refined and inviting appearance but also ensure its resilience against outdoor elements. The combination of a smooth, polished finish and protective sealant will prolong the bench’s lifespan and maintain its aesthetic appeal, making it a cherished addition to your outdoor living space for years to come.
Conclusion
Congratulations on completing the construction of your wooden outdoor bench! Through meticulous planning, precise woodworking techniques, and a touch of creativity, you have transformed raw materials into a functional and visually captivating piece of outdoor furniture. As you reflect on this rewarding journey, it’s important to recognize the significance of your craftsmanship and the enduring beauty of the finished bench.
By venturing into the realm of outdoor furniture design, you have not only honed your woodworking skills but also added a personal touch to your outdoor living space. The wooden bench you have created is more than just a piece of furniture; it is a testament to your dedication, creativity, and passion for woodworking.
As you place the bench in its designated outdoor setting, whether it be a tranquil garden, a welcoming patio, or a scenic backyard, envision the moments it will facilitate. From providing a serene spot for quiet contemplation to serving as a gathering place for cherished conversations, your bench will become an integral part of your outdoor oasis.
Furthermore, the durability and weather resistance of the bench, achieved through thoughtful material selection and meticulous finishing, ensure that it will stand the test of time. As the seasons change and the elements exert their influence, your bench will remain steadfast, offering comfort and respite to all who encounter it.
Lastly, the act of creating a wooden outdoor bench transcends the realm of practicality; it embodies the art of blending craftsmanship with nature. Your bench is a harmonious fusion of natural elements and human ingenuity, a testament to the timeless allure of woodworking and the enduring appeal of outdoor furniture design.
As you admire your completed bench, take pride in the knowledge that your creation will enrich the outdoor experience, beckoning you and others to embrace the beauty of nature and the comfort of well-crafted furniture. Whether basking in the warmth of the sun’s rays or stargazing on a clear night, your wooden outdoor bench will serve as a steadfast companion, inviting you to savor life’s simple pleasures.
So, as you embark on future woodworking endeavors or simply enjoy the fruits of your labor, may your wooden outdoor bench stand as a symbol of creativity, craftsmanship, and the enduring connection between humanity and the great outdoors.
Frequently Asked Questions about How To Make A Wooden Outdoor Bench
Was this page helpful?
At Storables.com, we guarantee accurate and reliable information. Our content, validated by Expert Board Contributors, is crafted following stringent Editorial Policies. We're committed to providing you with well-researched, expert-backed insights for all your informational needs.


0 thoughts on “How To Make A Wooden Outdoor Bench”