Home>Furniture & Design>Outdoor Furniture>How To Paint Outdoor Wooden Steps

Outdoor Furniture
How To Paint Outdoor Wooden Steps
Modified: August 27, 2024
Learn how to paint outdoor wooden steps with our expert tips and techniques. Elevate your outdoor furniture design with a fresh coat of paint. Transform your outdoor space today!
(Many of the links in this article redirect to a specific reviewed product. Your purchase of these products through affiliate links helps to generate commission for Storables.com, at no extra cost. Learn more)
Introduction
When it comes to enhancing the curb appeal of your home, few things make as significant an impact as a fresh coat of paint on outdoor wooden steps. Whether you're looking to revamp the entrance to your home or add a pop of color to your backyard deck, painting your outdoor wooden steps can breathe new life into your outdoor space.
In this comprehensive guide, we'll walk you through the step-by-step process of painting outdoor wooden steps, from gathering the necessary materials to applying the final sealant. By following these instructions, you'll be able to achieve a professional-looking finish that not only enhances the aesthetic appeal of your outdoor space but also provides essential protection for your wooden steps against the elements.
So, roll up your sleeves, grab your paintbrush, and let's transform those weather-worn wooden steps into a stunning focal point that complements your home's exterior design. Let's dive into the first step: gathering materials and preparing the area.
Key Takeaways:
- Transform weather-worn wooden steps into a stunning focal point by following a step-by-step guide to painting and preserving outdoor wooden steps. Enhance curb appeal and protect against the elements for long-lasting beauty and functionality.
- Gather materials, clean, sand, prime, paint, and seal outdoor wooden steps to revitalize your outdoor space. Infuse personal style, protect against wear, and create a welcoming pathway that reflects your dedication to outdoor improvement.
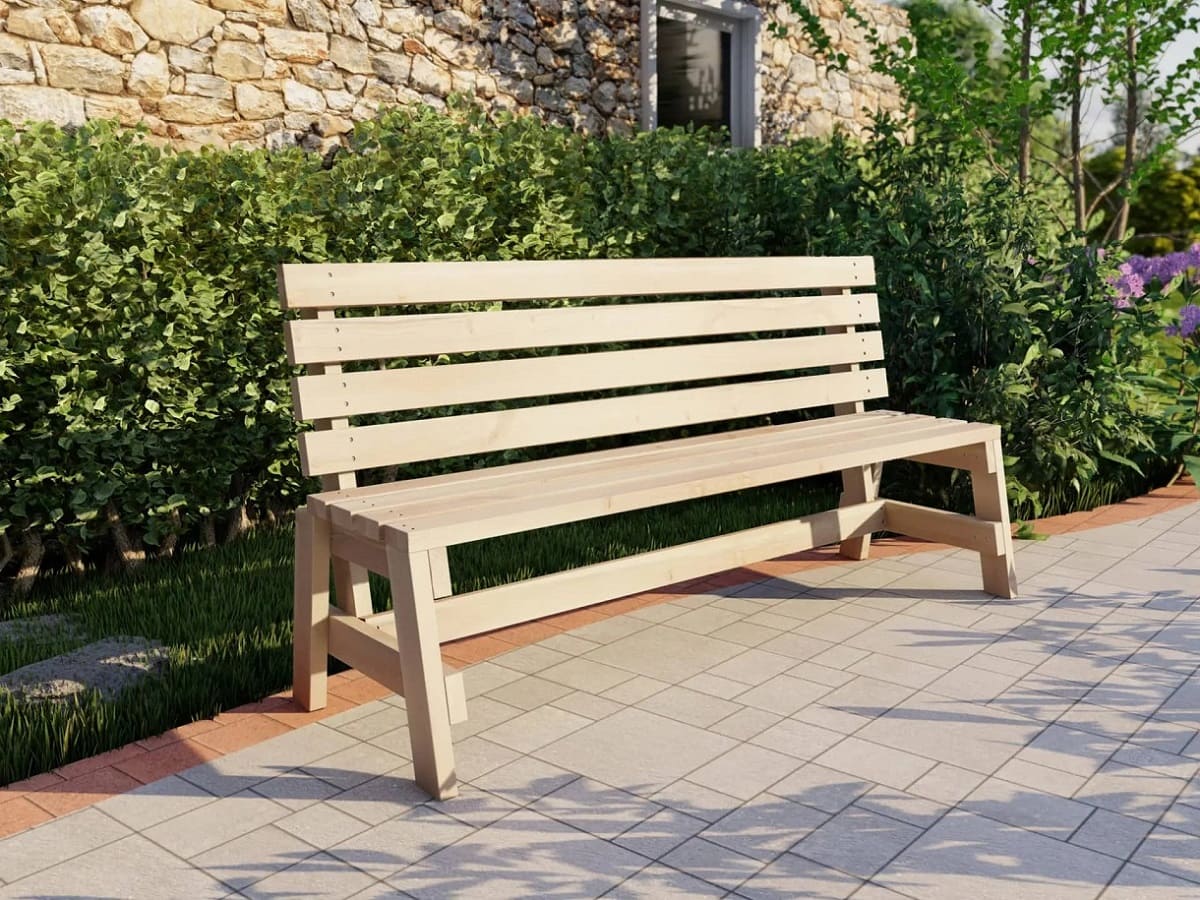
Read more: How To Paint Wooden Outdoor Furniture
Step 1: Gather Materials and Prepare the Area
Before embarking on your outdoor wooden step painting project, it’s essential to gather all the necessary materials and prepare the area for the task at hand. Here’s what you’ll need:
- Paint and primer suitable for outdoor use
- Paintbrushes and/or rollers
- Sandpaper or a power sander
- Cleaner or wood deck cleaner
- Bucket and scrub brush
- Protective gear, including gloves and a mask
- Drop cloths or plastic sheeting
- Painter’s tape
- Wood filler and putty knife (if repairs are needed)
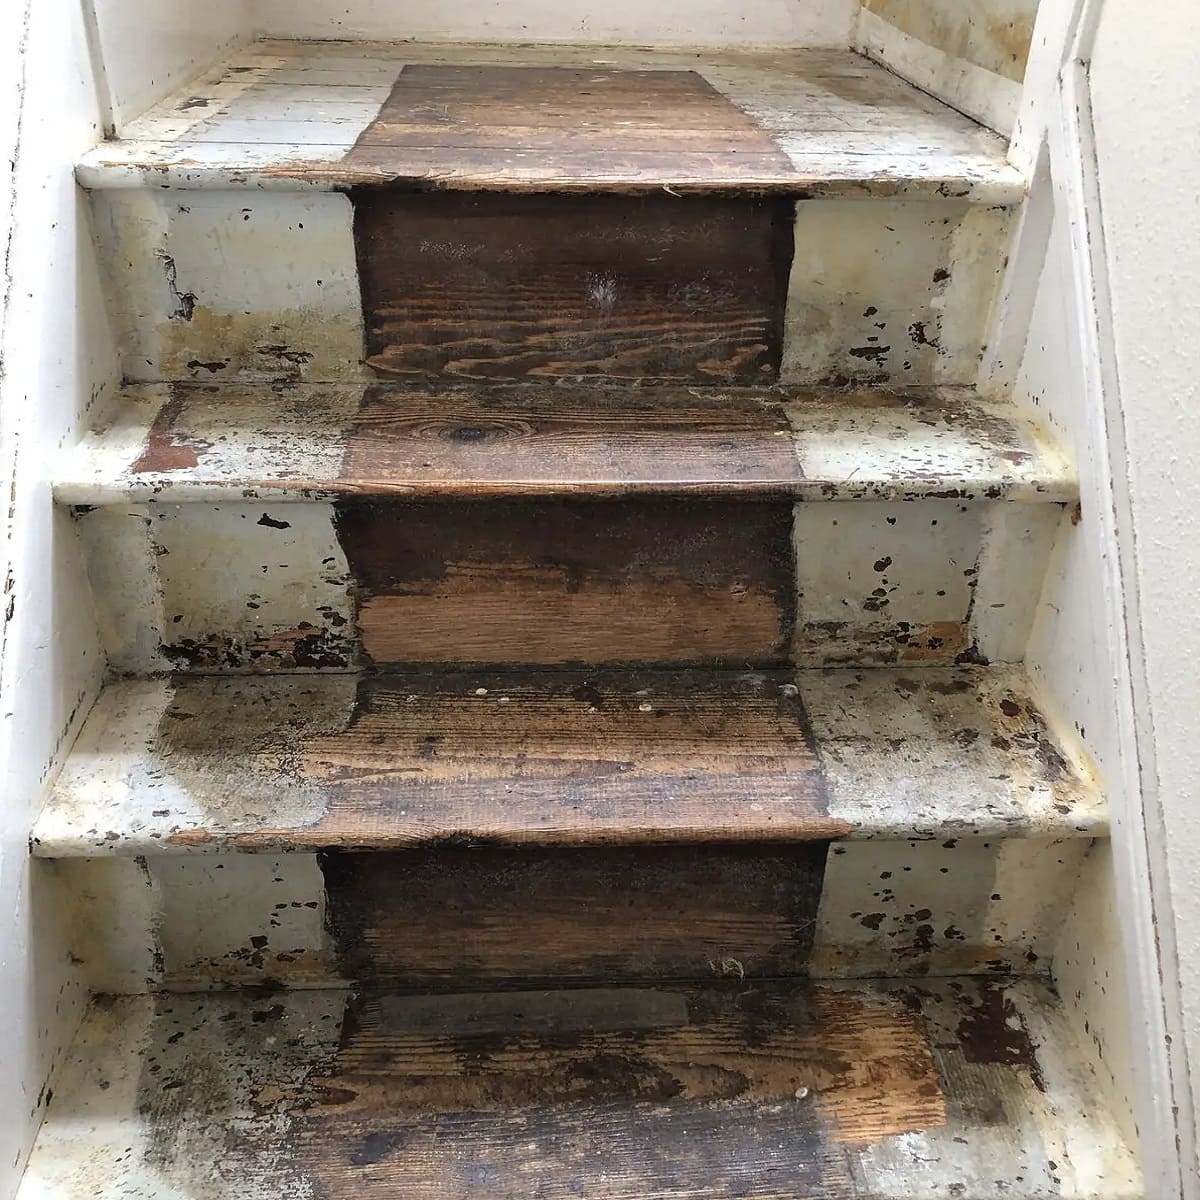
Once you’ve gathered your materials, it’s time to prepare the area. Start by clearing the steps of any debris, such as leaves or dirt. If there are any existing coatings or flaking paint, use a scraper to remove them. Next, protect the surrounding area by laying down drop cloths or plastic sheeting to prevent any accidental spills or splatters from reaching other surfaces.
Additionally, if there are any cracks, holes, or imperfections in the wood, now is the time to address them. Use wood filler to repair any damaged areas, and sand the surface smooth once the filler has dried. This preparation ensures that the wooden steps are in optimal condition for the painting process.
By gathering the right materials and meticulously preparing the area, you’re setting the stage for a successful outdoor wooden step painting project. With the groundwork laid, you’re ready to move on to the next step: cleaning the wooden steps.
Step 2: Clean the Wooden Steps
Before applying a fresh coat of paint, it’s crucial to thoroughly clean the wooden steps to ensure proper adhesion and a long-lasting finish. Over time, outdoor wooden steps can accumulate dirt, grime, and other contaminants that can hinder the paint’s ability to adhere effectively. Here’s a step-by-step guide to cleaning your wooden steps:
- Clear the Surface: Begin by removing any loose dirt, debris, or leaves from the steps. A broom or brush can be used to sweep away surface-level particles.
- Choose the Right Cleaner: Select a suitable cleaner for the job. There are various options available, including wood deck cleaners and mild detergents. Ensure that the cleaner is compatible with the type of wood and safe for outdoor use.
- Mix and Apply the Cleaner: Follow the manufacturer’s instructions to mix the cleaner with water in a bucket. Using a scrub brush, apply the cleaning solution to the wooden steps, working in small sections.
- Scrub and Rinse: Thoroughly scrub the steps to remove embedded dirt and stains. Pay special attention to any areas with heavy buildup. Once scrubbed, rinse the steps with clean water to remove the cleaning solution and residue.
- Allow for Drying: After cleaning, allow the wooden steps to dry completely before proceeding to the next step. This ensures that the wood is free of moisture and ready for the next stages of the painting process.
By taking the time to clean the wooden steps diligently, you’re creating an optimal foundation for the paint to adhere and bond effectively. Additionally, removing dirt and grime helps to restore the natural beauty of the wood, setting the stage for a vibrant and long-lasting finish.
With the wooden steps now clean and dry, it’s time to move on to the next crucial step: sanding the surface to prepare it for the primer.
Step 3: Sand the Surface
Preparing the surface of the wooden steps through sanding is a critical step in the painting process. Sanding serves multiple purposes, including smoothing out imperfections, creating a suitable texture for paint adhesion, and removing any remaining traces of the previous finish. Here’s a guide to effectively sanding the surface of your outdoor wooden steps:
- Select the Right Sandpaper: Choose the appropriate grit of sandpaper for the job. For initial sanding and smoothing, a medium-grit sandpaper (around 80-100 grit) is suitable. For a finer finish, opt for a higher grit (around 120-150 grit).
- Sand in the Direction of the Grain: Always sand in the direction of the wood grain to avoid creating visible scratches or marks. This technique helps maintain the natural aesthetics of the wood.
- Smooth Imperfections: Use the sandpaper to smooth out any rough spots, uneven areas, or minor blemishes on the surface of the steps. Pay particular attention to edges and corners.
- Remove Previous Finish: If there are traces of old paint or finish remaining on the steps, sanding helps to remove these remnants, creating a clean and uniform surface for the new paint to adhere to.
- Clean the Surface: After sanding, use a brush or cloth to remove any dust and debris created during the sanding process. This ensures that the surface is clean and ready for the next steps.
By meticulously sanding the surface of the wooden steps, you’re creating an ideal canvas for the subsequent stages of the painting process. The smooth and properly prepared surface sets the stage for the next step: applying primer to enhance paint adhesion and durability.
With the surface now sanded and cleaned, you’re ready to move on to the next crucial phase of the project: applying primer to the wooden steps.
Before painting outdoor wooden steps, make sure to clean and sand the surface to remove any dirt, debris, and rough spots. This will help the paint adhere better and result in a smoother finish.
Step 4: Apply Primer
Priming the surface of the wooden steps is a vital preparatory step that significantly contributes to the longevity and quality of the paint job. A primer creates a strong bond between the wood and the paint, enhances adhesion, and provides an additional layer of protection. Here’s a detailed guide to effectively applying primer to your outdoor wooden steps:
- Choose the Right Primer: Select a high-quality exterior wood primer suitable for outdoor use. Look for a product that offers excellent adhesion, seals the wood, and provides resistance to moisture and UV exposure.
- Prepare the Primer: Stir the primer thoroughly before use to ensure an even consistency. If necessary, thin the primer according to the manufacturer’s instructions for optimal application.
- Apply the Primer: Using a paintbrush or roller, apply a smooth and even coat of primer to the wooden steps. Work in manageable sections and maintain a wet edge to prevent lap marks.
- Pay Attention to Details: Ensure that the primer reaches all exposed surfaces, including edges, corners, and any intricate details in the woodwork. Thorough coverage is essential for maximum protection and adhesion.
- Allow for Drying: Follow the recommended drying time specified by the primer manufacturer. Ensure that the primer is completely dry before proceeding to the next phase of the painting process.
By applying a high-quality primer to the wooden steps, you’re creating a strong foundation for the paint, promoting enhanced durability, and ensuring a professional-looking finish. The primer acts as a barrier, protecting the wood from moisture and environmental stressors, ultimately extending the lifespan of the paint job.
With the primer now applied and dried, you’re ready to move on to the next exciting phase: painting the wooden steps with your chosen color.
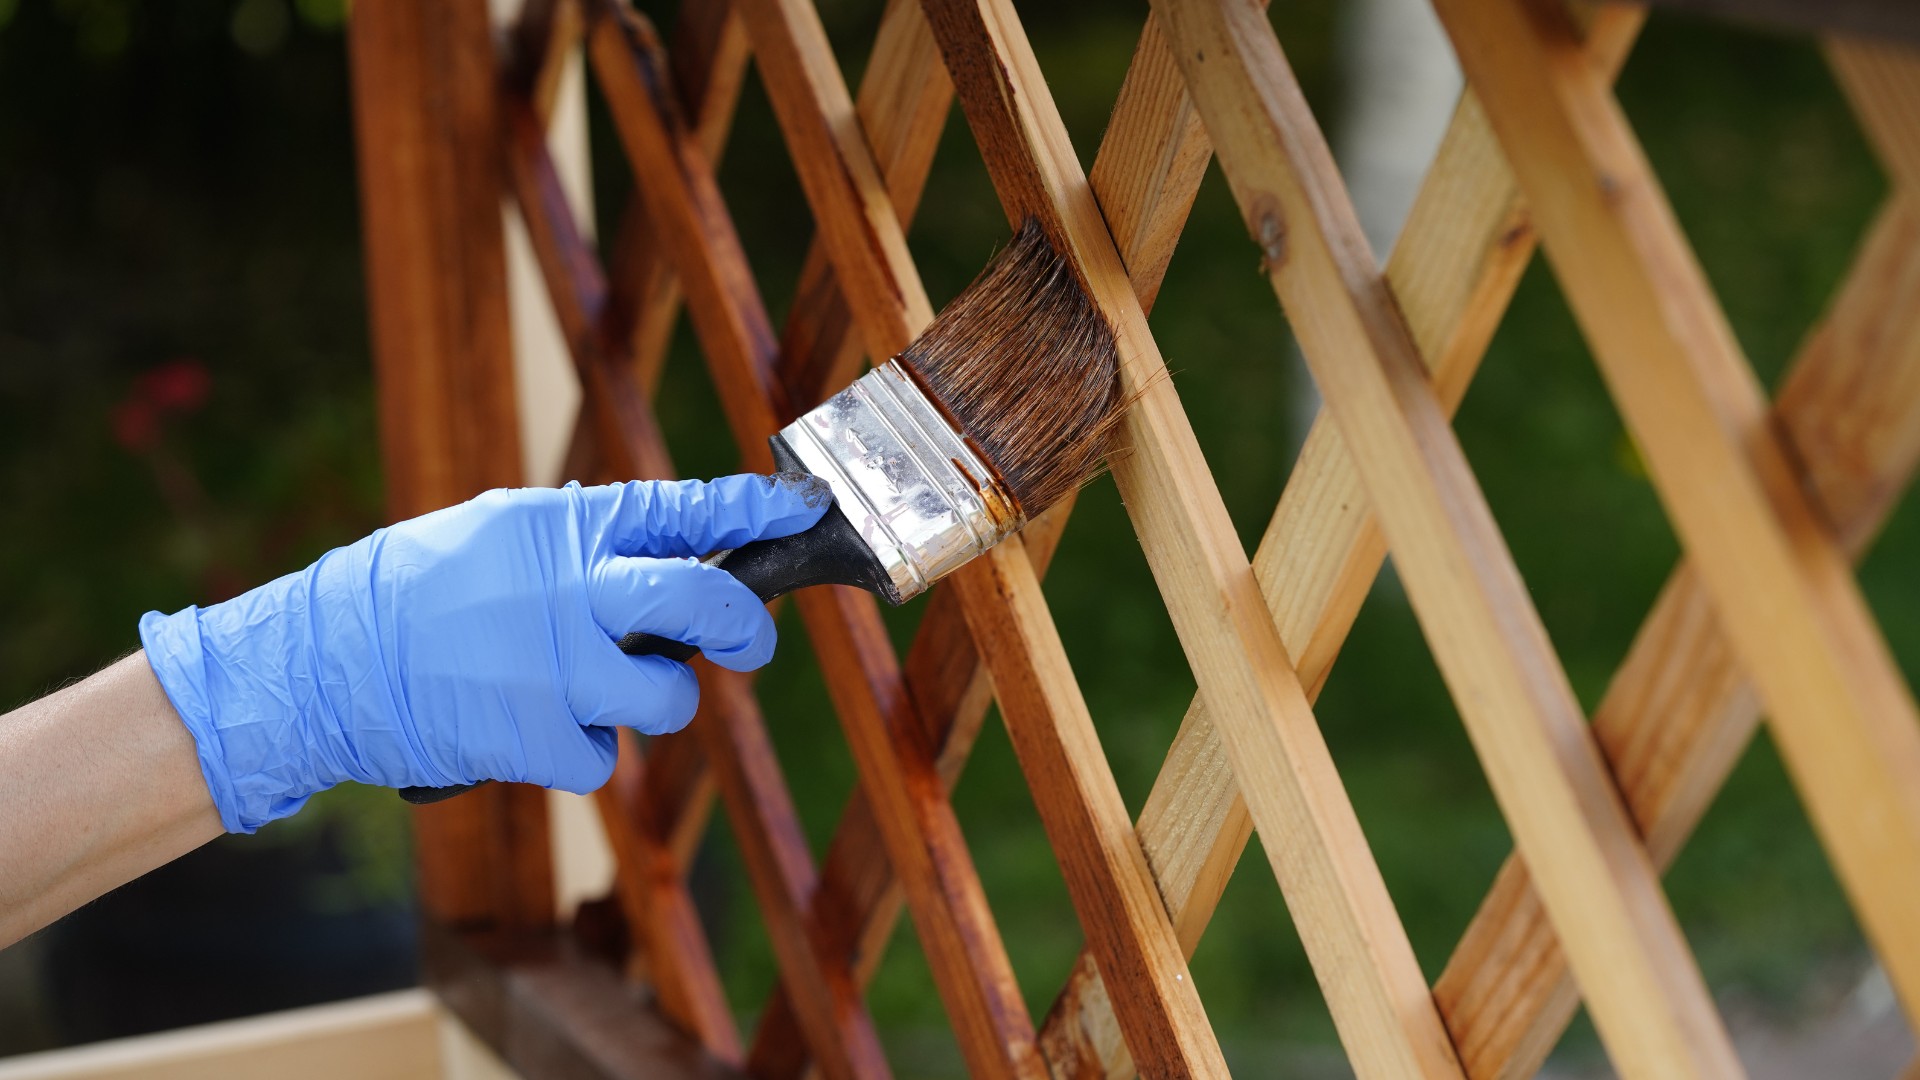
Read more: How To Paint Wooden Fence
Step 5: Paint the Steps
Painting the wooden steps is where your creativity and personal style come into play, transforming the surface into a visually appealing and protective feature of your outdoor space. Whether you opt for a classic, timeless hue or a bold, vibrant color, the painting process allows you to infuse your unique aesthetic preferences into your home’s exterior. Here’s a comprehensive guide to painting your outdoor wooden steps:
- Choose High-Quality Exterior Paint: Select a premium exterior paint designed for use on wood surfaces. Consider factors such as durability, UV resistance, and color retention to ensure a long-lasting and vibrant finish.
- Prepare the Paint: Stir the paint thoroughly to achieve a consistent color and texture. If using multiple cans of paint, mix them together to ensure uniformity across the entire project.
- Apply the Paint: Using a high-quality paintbrush or roller, apply a smooth and even coat of paint to the wooden steps. Work methodically, starting from the top of the steps and progressing downwards. Ensure thorough coverage while maintaining a wet edge to prevent lap marks.
- Consider Multiple Coats: Depending on the desired opacity and the specific characteristics of the paint, you may need to apply multiple coats. Follow the manufacturer’s recommendations for drying times between coats.
- Pay Attention to Detailing: Take care to paint the edges, corners, and any intricate details of the woodwork with precision. Attention to detail contributes to a professional-looking and polished result.
- Allow for Proper Drying: After the final coat of paint has been applied, allow the steps to dry thoroughly according to the paint manufacturer’s instructions. This ensures that the paint cures effectively for optimal durability and longevity.
By painting the wooden steps with precision and care, you’re not only enhancing their visual appeal but also providing essential protection against the elements. A well-executed paint job adds character and charm to your outdoor space while safeguarding the wood from moisture, UV exposure, and general wear and tear.
With the steps now freshly painted and dried, you’re ready to proceed to the final step: applying a sealant to preserve the beauty and integrity of the painted surface.
Step 6: Apply a Sealant
Applying a sealant serves as the final protective layer for your freshly painted outdoor wooden steps, safeguarding the surface against environmental elements and foot traffic. A high-quality sealant not only enhances the longevity of the paint job but also preserves the vibrant color and natural beauty of the wood. Here’s a detailed guide to effectively applying a sealant to your painted wooden steps:
- Choose a Suitable Sealant: Select a clear, exterior-grade polyurethane or varnish designed for use on painted wood surfaces. Consider factors such as UV protection, durability, and slip resistance, especially for steps exposed to outdoor elements.
- Prepare the Sealant: If the sealant requires mixing or stirring, ensure that it is thoroughly blended to achieve a consistent texture and composition. Follow the manufacturer’s instructions for any necessary preparation steps.
- Apply the Sealant: Using a clean paintbrush or applicator, apply a smooth and even coat of sealant to the painted wooden steps. Work methodically, covering the entire surface with attention to detail, including edges and corners.
- Consider Additional Coats: Depending on the specific characteristics of the sealant and the level of protection desired, you may opt to apply multiple coats. Follow the recommended drying times between coats for optimal results.
- Allow for Proper Drying and Curing: After the final coat of sealant has been applied, allow the steps to dry and cure according to the manufacturer’s instructions. Proper drying and curing times are essential for the sealant to form a strong, protective barrier.
By applying a high-quality sealant to the painted wooden steps, you’re adding an extra layer of defense against moisture, UV exposure, and general wear. The sealant not only enhances the durability of the paint but also simplifies maintenance and cleaning, allowing your outdoor wooden steps to maintain their pristine appearance for an extended period.
With the sealant now applied and the steps thoroughly protected, you’ve successfully completed the process of painting and preserving your outdoor wooden steps. The vibrant, freshly painted steps now stand as a testament to your dedication to enhancing the beauty and functionality of your outdoor space.
Conclusion
Congratulations on completing the transformative journey of painting your outdoor wooden steps! By following the step-by-step process outlined in this guide, you’ve not only revitalized the appearance of your outdoor space but also fortified the wooden steps against the elements, ensuring long-lasting beauty and functionality.
From gathering the necessary materials and meticulously preparing the area to the final application of a protective sealant, each step has contributed to the overall success of the project. The careful attention to detail and the use of high-quality products have resulted in a stunning and durable finish that enhances the aesthetic appeal of your home’s exterior.
As you admire the freshly painted and sealed wooden steps, take pride in the craftsmanship and dedication you’ve invested in this project. The vibrant colors and protective layers stand as a testament to your commitment to maintaining a welcoming and visually captivating outdoor environment.
Not only have you elevated the curb appeal of your home, but you’ve also created a welcoming pathway that beckons visitors and family members alike. The newly painted steps serve as a focal point, seamlessly blending with your outdoor design while exuding charm and character.
As you revel in the completed project, take a moment to appreciate the impact of your efforts. Your outdoor space now boasts a feature that not only reflects your personal style but also exemplifies the practicality of a well-maintained and visually appealing entryway or deck.
With your outdoor wooden steps now beautifully painted and protected, you can look forward to enjoying the enhanced aesthetics and durability for years to come. Whether you’re welcoming guests to your home or simply savoring moments in your outdoor sanctuary, the painted steps will continue to make a lasting impression.
Thank you for embarking on this rewarding journey of outdoor improvement and for entrusting this guide to bring your vision to life. May your newly painted wooden steps serve as a source of pride and joy, enriching your outdoor living experience with their timeless allure and enduring quality.
Ready to tackle more projects around your home? If you enjoyed learning about revitalizing outdoor steps, you'll definitely appreciate our guide on DIY home projects. From creating custom shelving to updating light fixtures, this resource is packed with practical advice to help you transform your living space efficiently and with style. Don't miss out on these valuable insights that can turn everyday tasks into exciting adventures in home improvement!
Frequently Asked Questions about How To Paint Outdoor Wooden Steps
Was this page helpful?
At Storables.com, we guarantee accurate and reliable information. Our content, validated by Expert Board Contributors, is crafted following stringent Editorial Policies. We're committed to providing you with well-researched, expert-backed insights for all your informational needs.


0 thoughts on “How To Paint Outdoor Wooden Steps”