Home>Furniture & Design>Outdoor Furniture>How To Mount Outdoor Security Camera
Outdoor Furniture
How To Mount Outdoor Security Camera
Modified: January 24, 2024
Learn how to properly mount outdoor security cameras for your outdoor furniture and design. Follow our step-by-step guide for the best results. Protect your outdoor space with ease!
(Many of the links in this article redirect to a specific reviewed product. Your purchase of these products through affiliate links helps to generate commission for Storables.com, at no extra cost. Learn more)
Introduction
Read more: How High To Mount An Outdoor Security Camera
Introduction
Welcome to the world of outdoor security cameras! In today's fast-paced and interconnected world, ensuring the safety and security of your home and property has never been more important. Installing an outdoor security camera is an effective way to monitor your surroundings, deter potential intruders, and gain peace of mind knowing that your property is well-protected.
Whether you're a homeowner, a business owner, or simply someone who values security, choosing the right outdoor security camera and mounting it properly is crucial for maximizing its effectiveness. In this comprehensive guide, we will explore the essential steps for mounting an outdoor security camera, from selecting the right camera to finding the ideal mounting location and completing the installation process.
By the end of this guide, you will have the knowledge and confidence to install your outdoor security camera with ease, ensuring that your property remains secure and protected around the clock. So, let's dive in and discover how to mount an outdoor security camera like a pro!
Key Takeaways:
- Choosing the right outdoor security camera and finding the perfect mounting location are crucial for effective surveillance. Consider durability, resolution, night vision, and other features to ensure optimal security.
- Gathering the necessary tools and following step-by-step installation and testing processes are essential for successful outdoor security camera mounting. Optimize camera angle, test night vision, and configure motion detection for reliable surveillance.
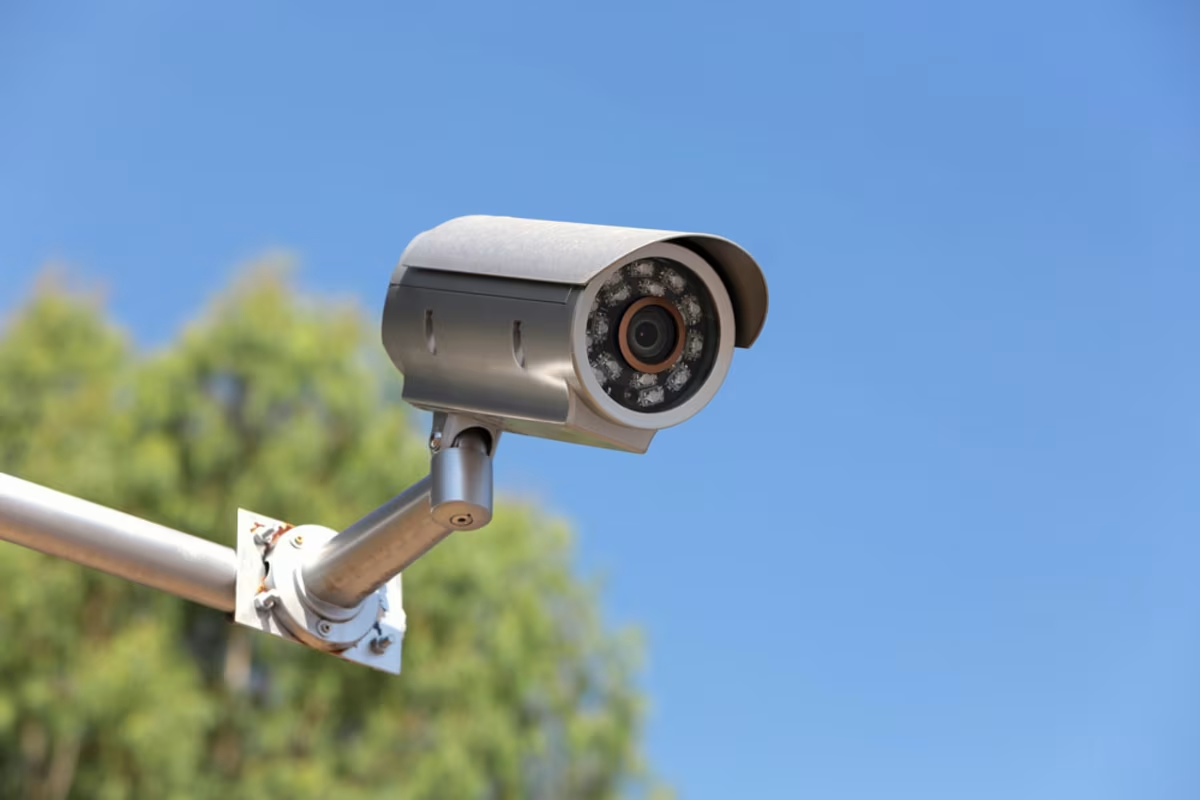
Choosing the Right Outdoor Security Camera
When it comes to selecting an outdoor security camera, there are several factors to consider to ensure that you choose the best option for your specific needs. Here are some key considerations to keep in mind:
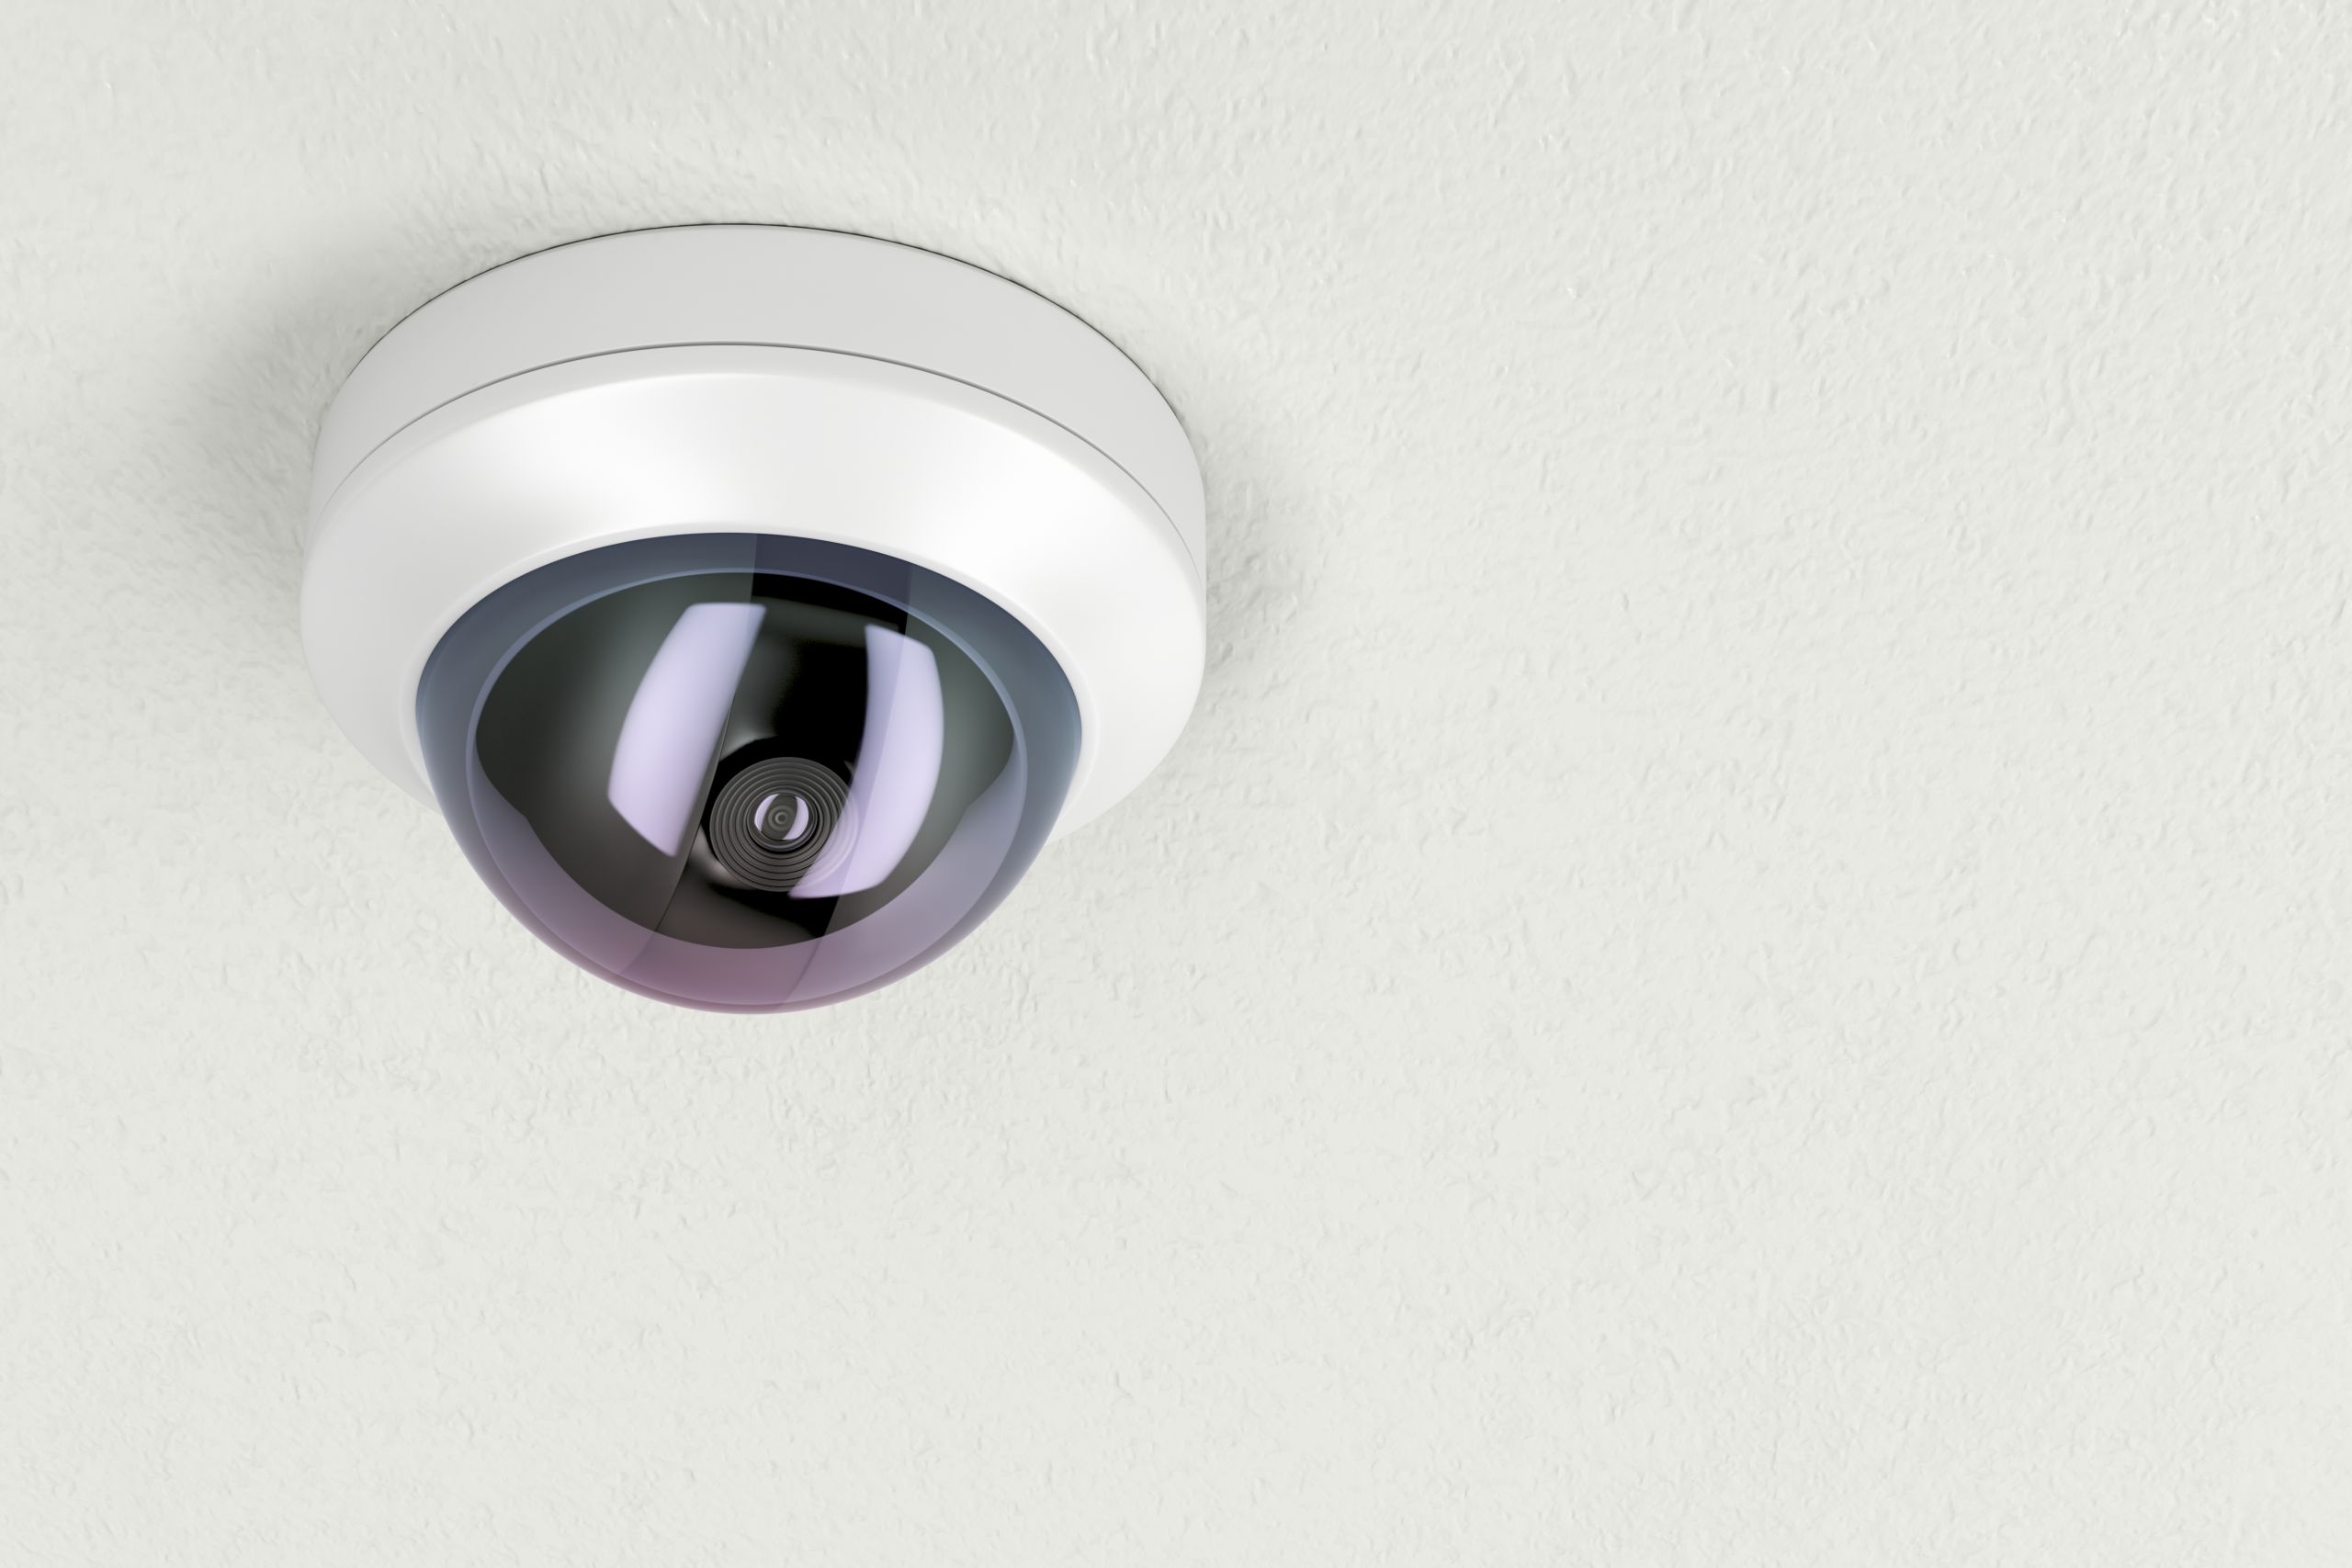
- Outdoor Durability: Look for a camera specifically designed for outdoor use, capable of withstanding various weather conditions, such as rain, snow, and extreme temperatures. A durable, weatherproof camera will ensure reliable performance year-round.
- Resolution and Quality: Opt for a camera with high-definition resolution to capture clear and detailed footage. A higher resolution allows for better clarity and the ability to zoom in on specific details if needed.
- Night Vision: Choose a camera equipped with infrared night vision technology to capture clear images and video in low-light or nighttime conditions. This feature is essential for 24/7 surveillance.
- Field of View: Consider the camera’s field of view, which determines the area it can cover. A wider field of view is beneficial for monitoring larger outdoor spaces, while a narrower focus may be suitable for specific entry points or pathways.
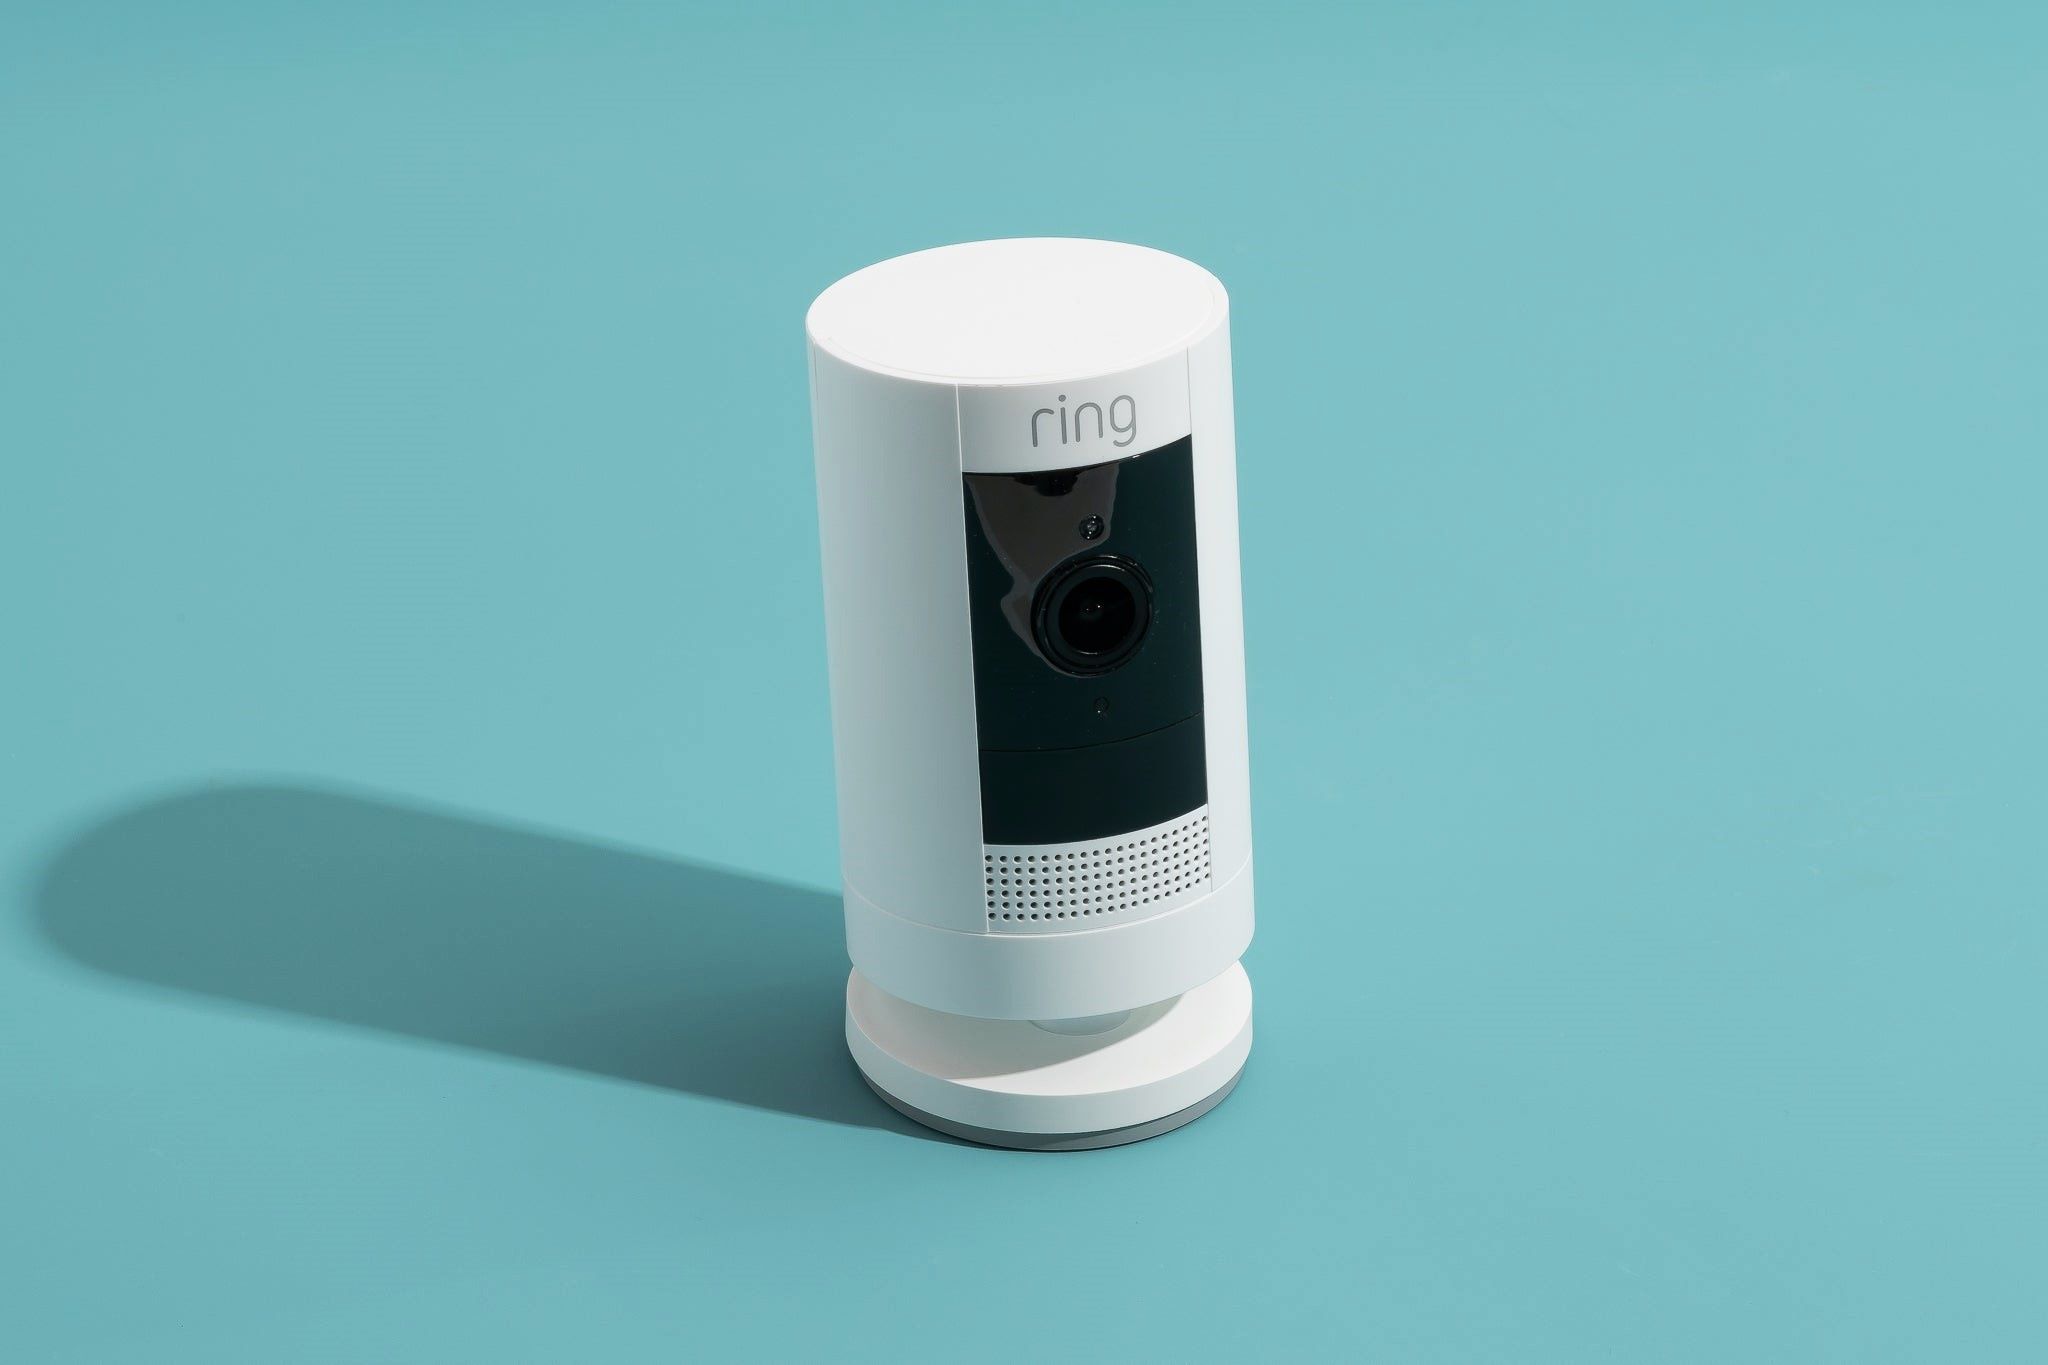
- Power Source: Determine whether the camera operates on battery power, wired electricity, or Power over Ethernet (PoE). Each power source has its advantages, so choose based on your preferences and the availability of power outlets or wiring.
- Connectivity and Storage: Select a camera with reliable connectivity options, such as Wi-Fi or Ethernet, and consider the storage options for recorded footage, whether it’s through cloud storage, a built-in SD card, or a separate DVR system.
- Additional Features: Explore additional features like two-way audio, motion detection, remote access via mobile apps, and compatibility with smart home systems for added convenience and functionality.
By carefully evaluating these factors, you can narrow down your options and choose an outdoor security camera that aligns with your security requirements and preferences. Once you’ve selected the ideal camera, it’s time to move on to the next crucial step: finding the perfect mounting location.
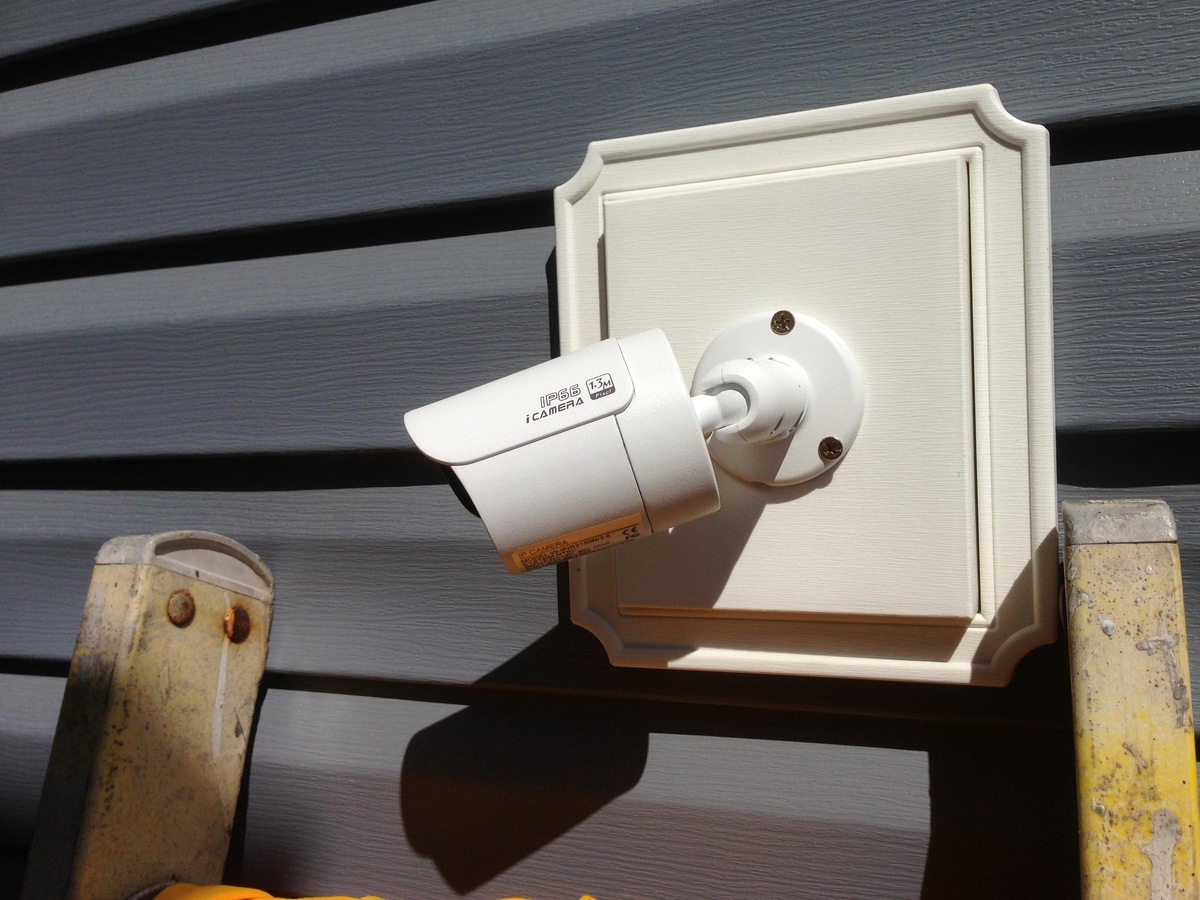
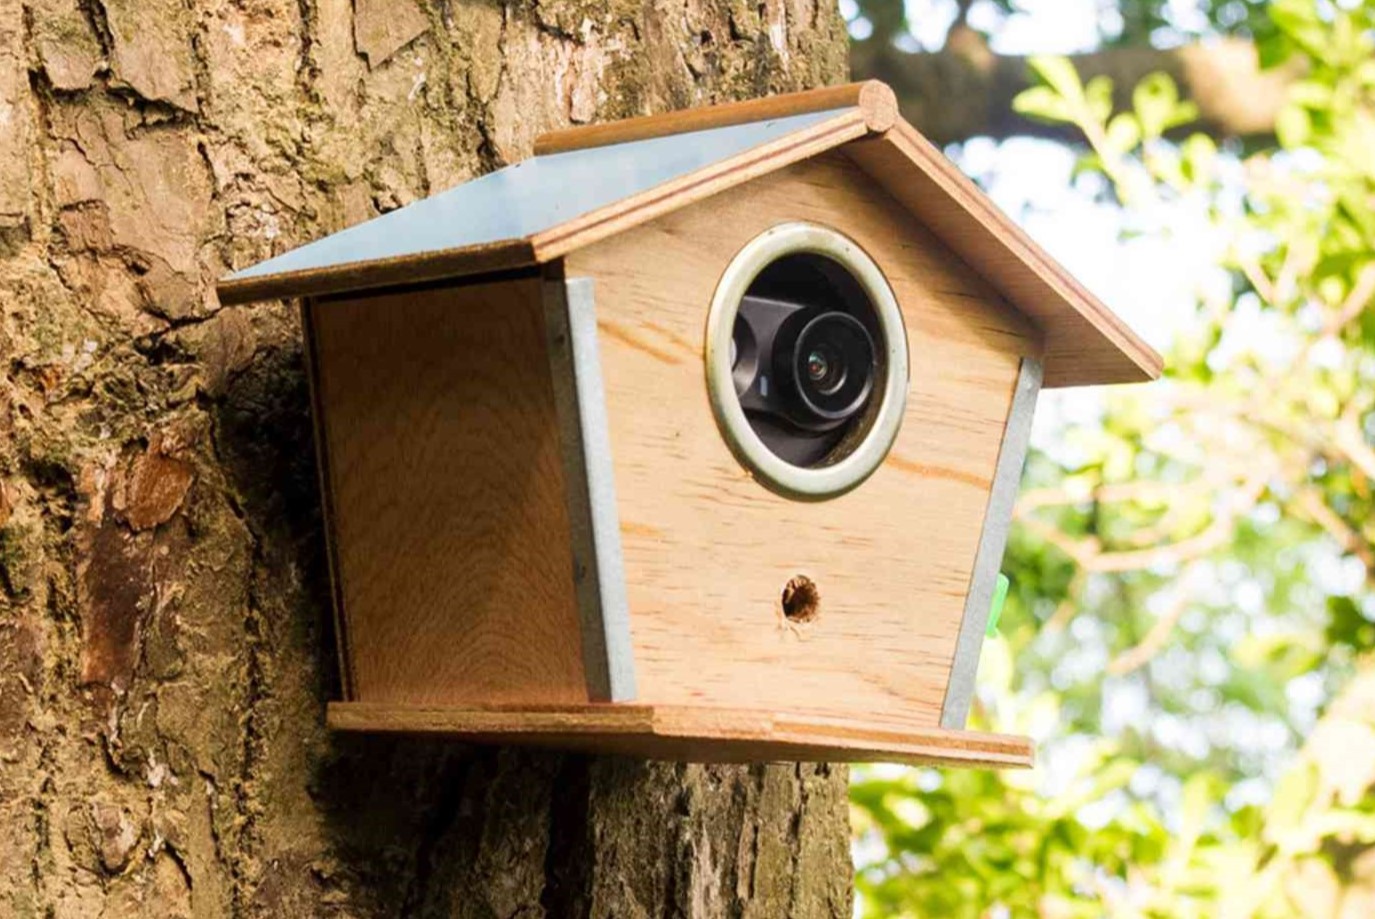
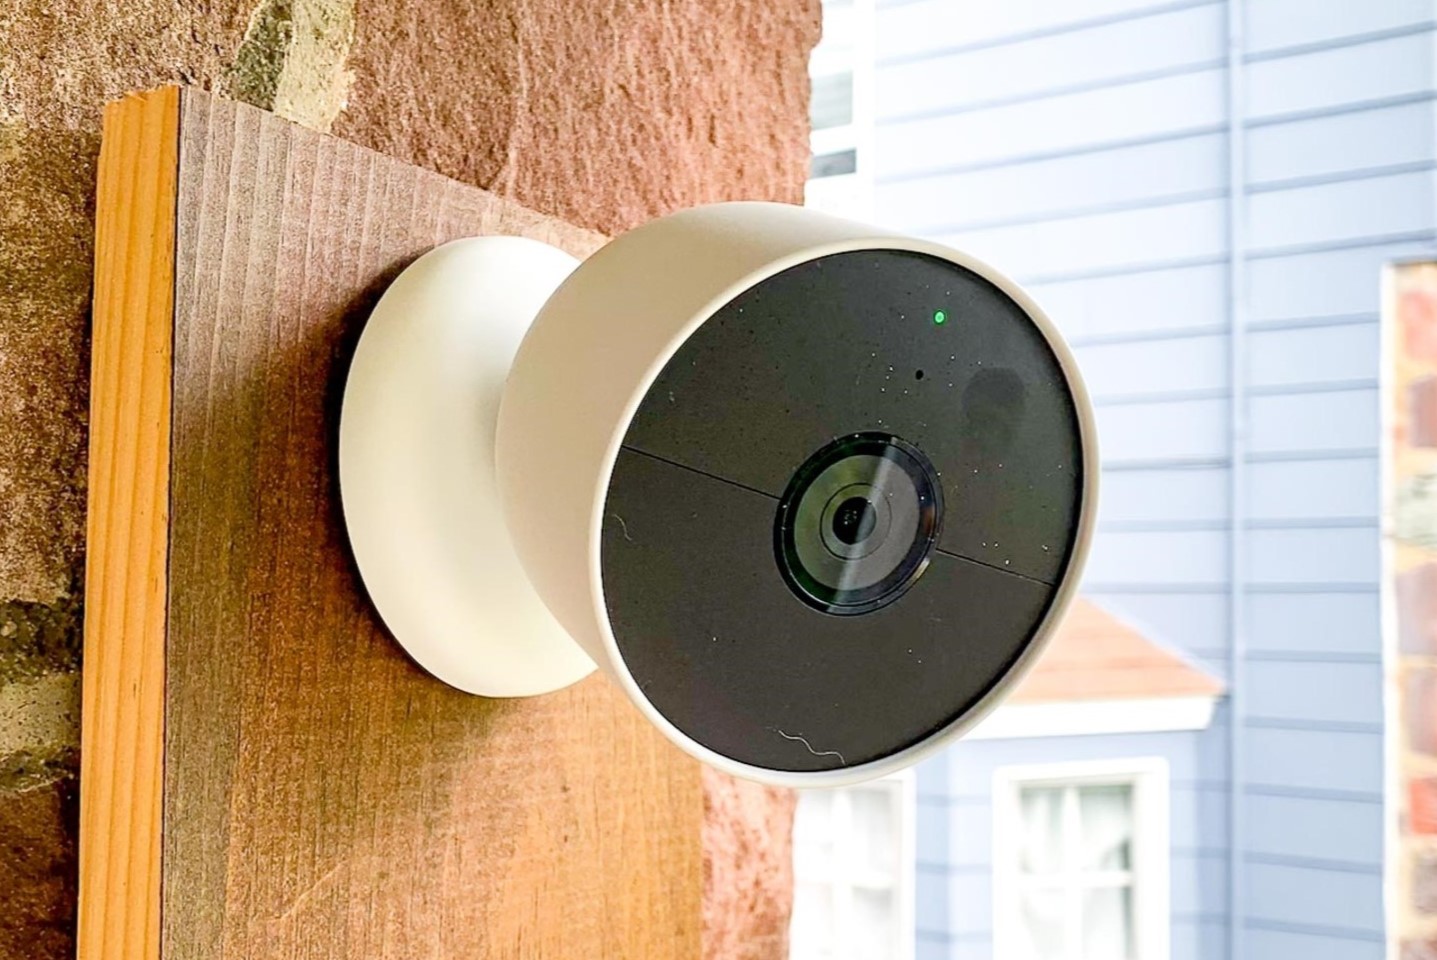
Selecting the Ideal Mounting Location
Choosing the right mounting location for your outdoor security camera is essential for maximizing its effectiveness and capturing the best possible footage. Here are key considerations to help you select the ideal mounting location:
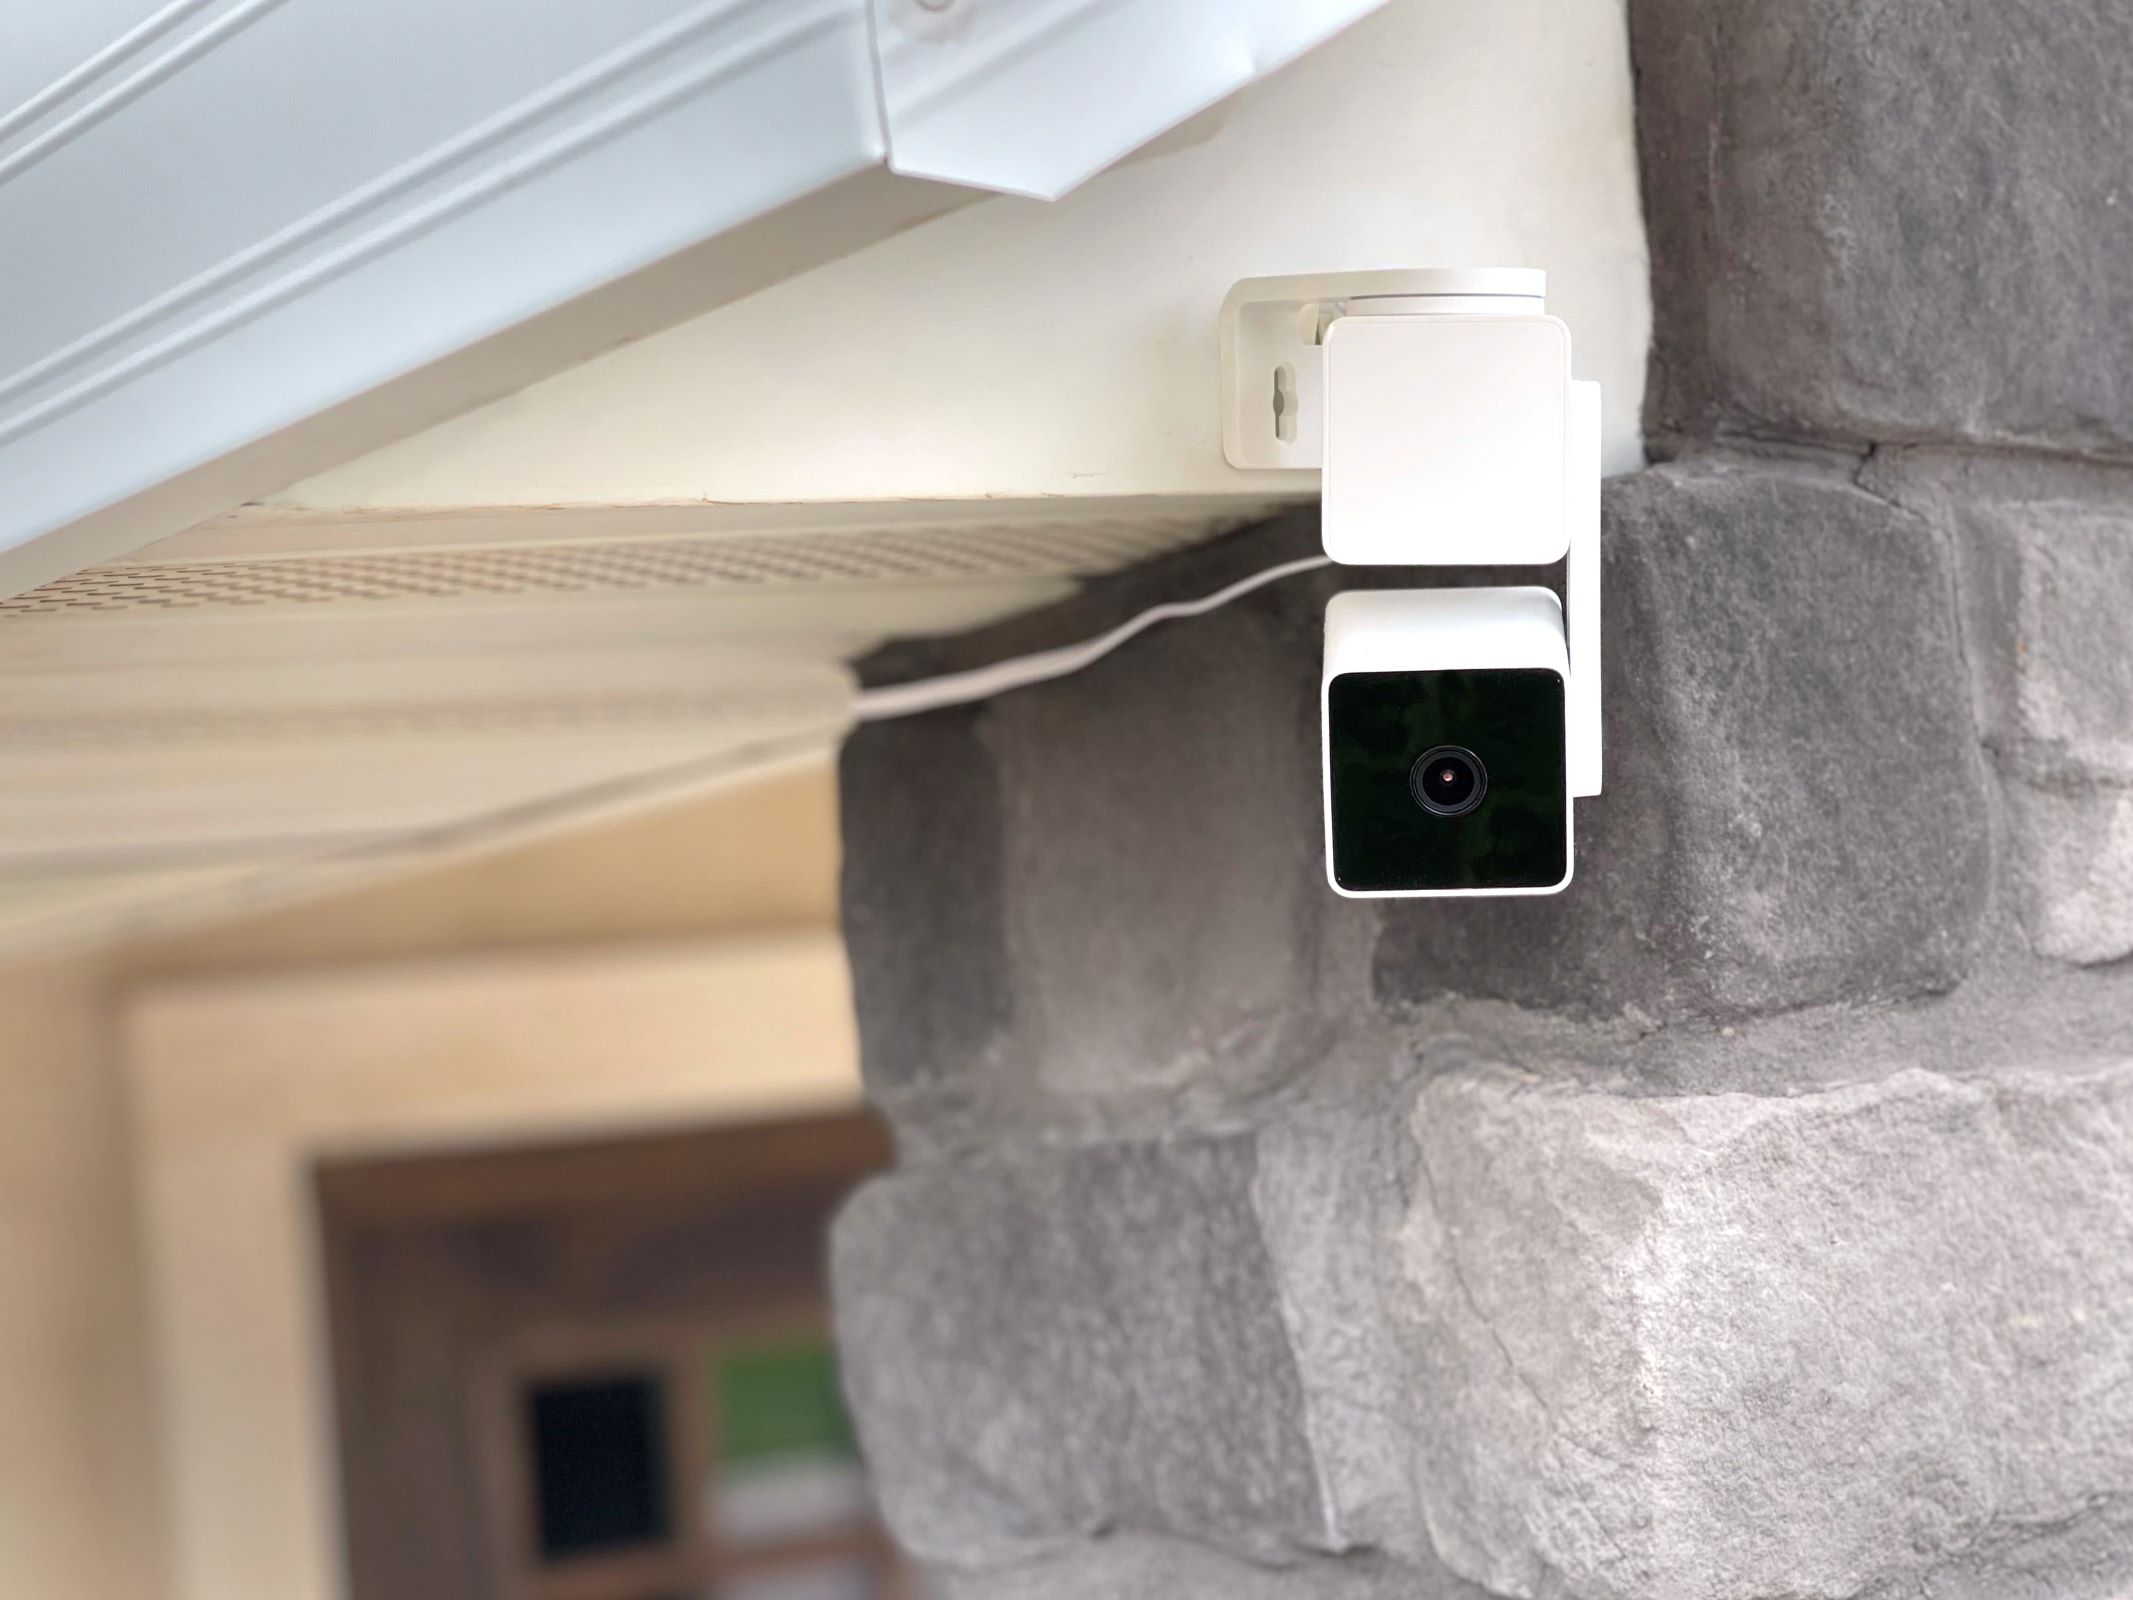
- Strategic Coverage: Assess your property and identify strategic areas that require surveillance, such as entry points, driveways, walkways, and outdoor living spaces. Determine the specific areas where the camera’s view will provide optimal coverage and monitoring.
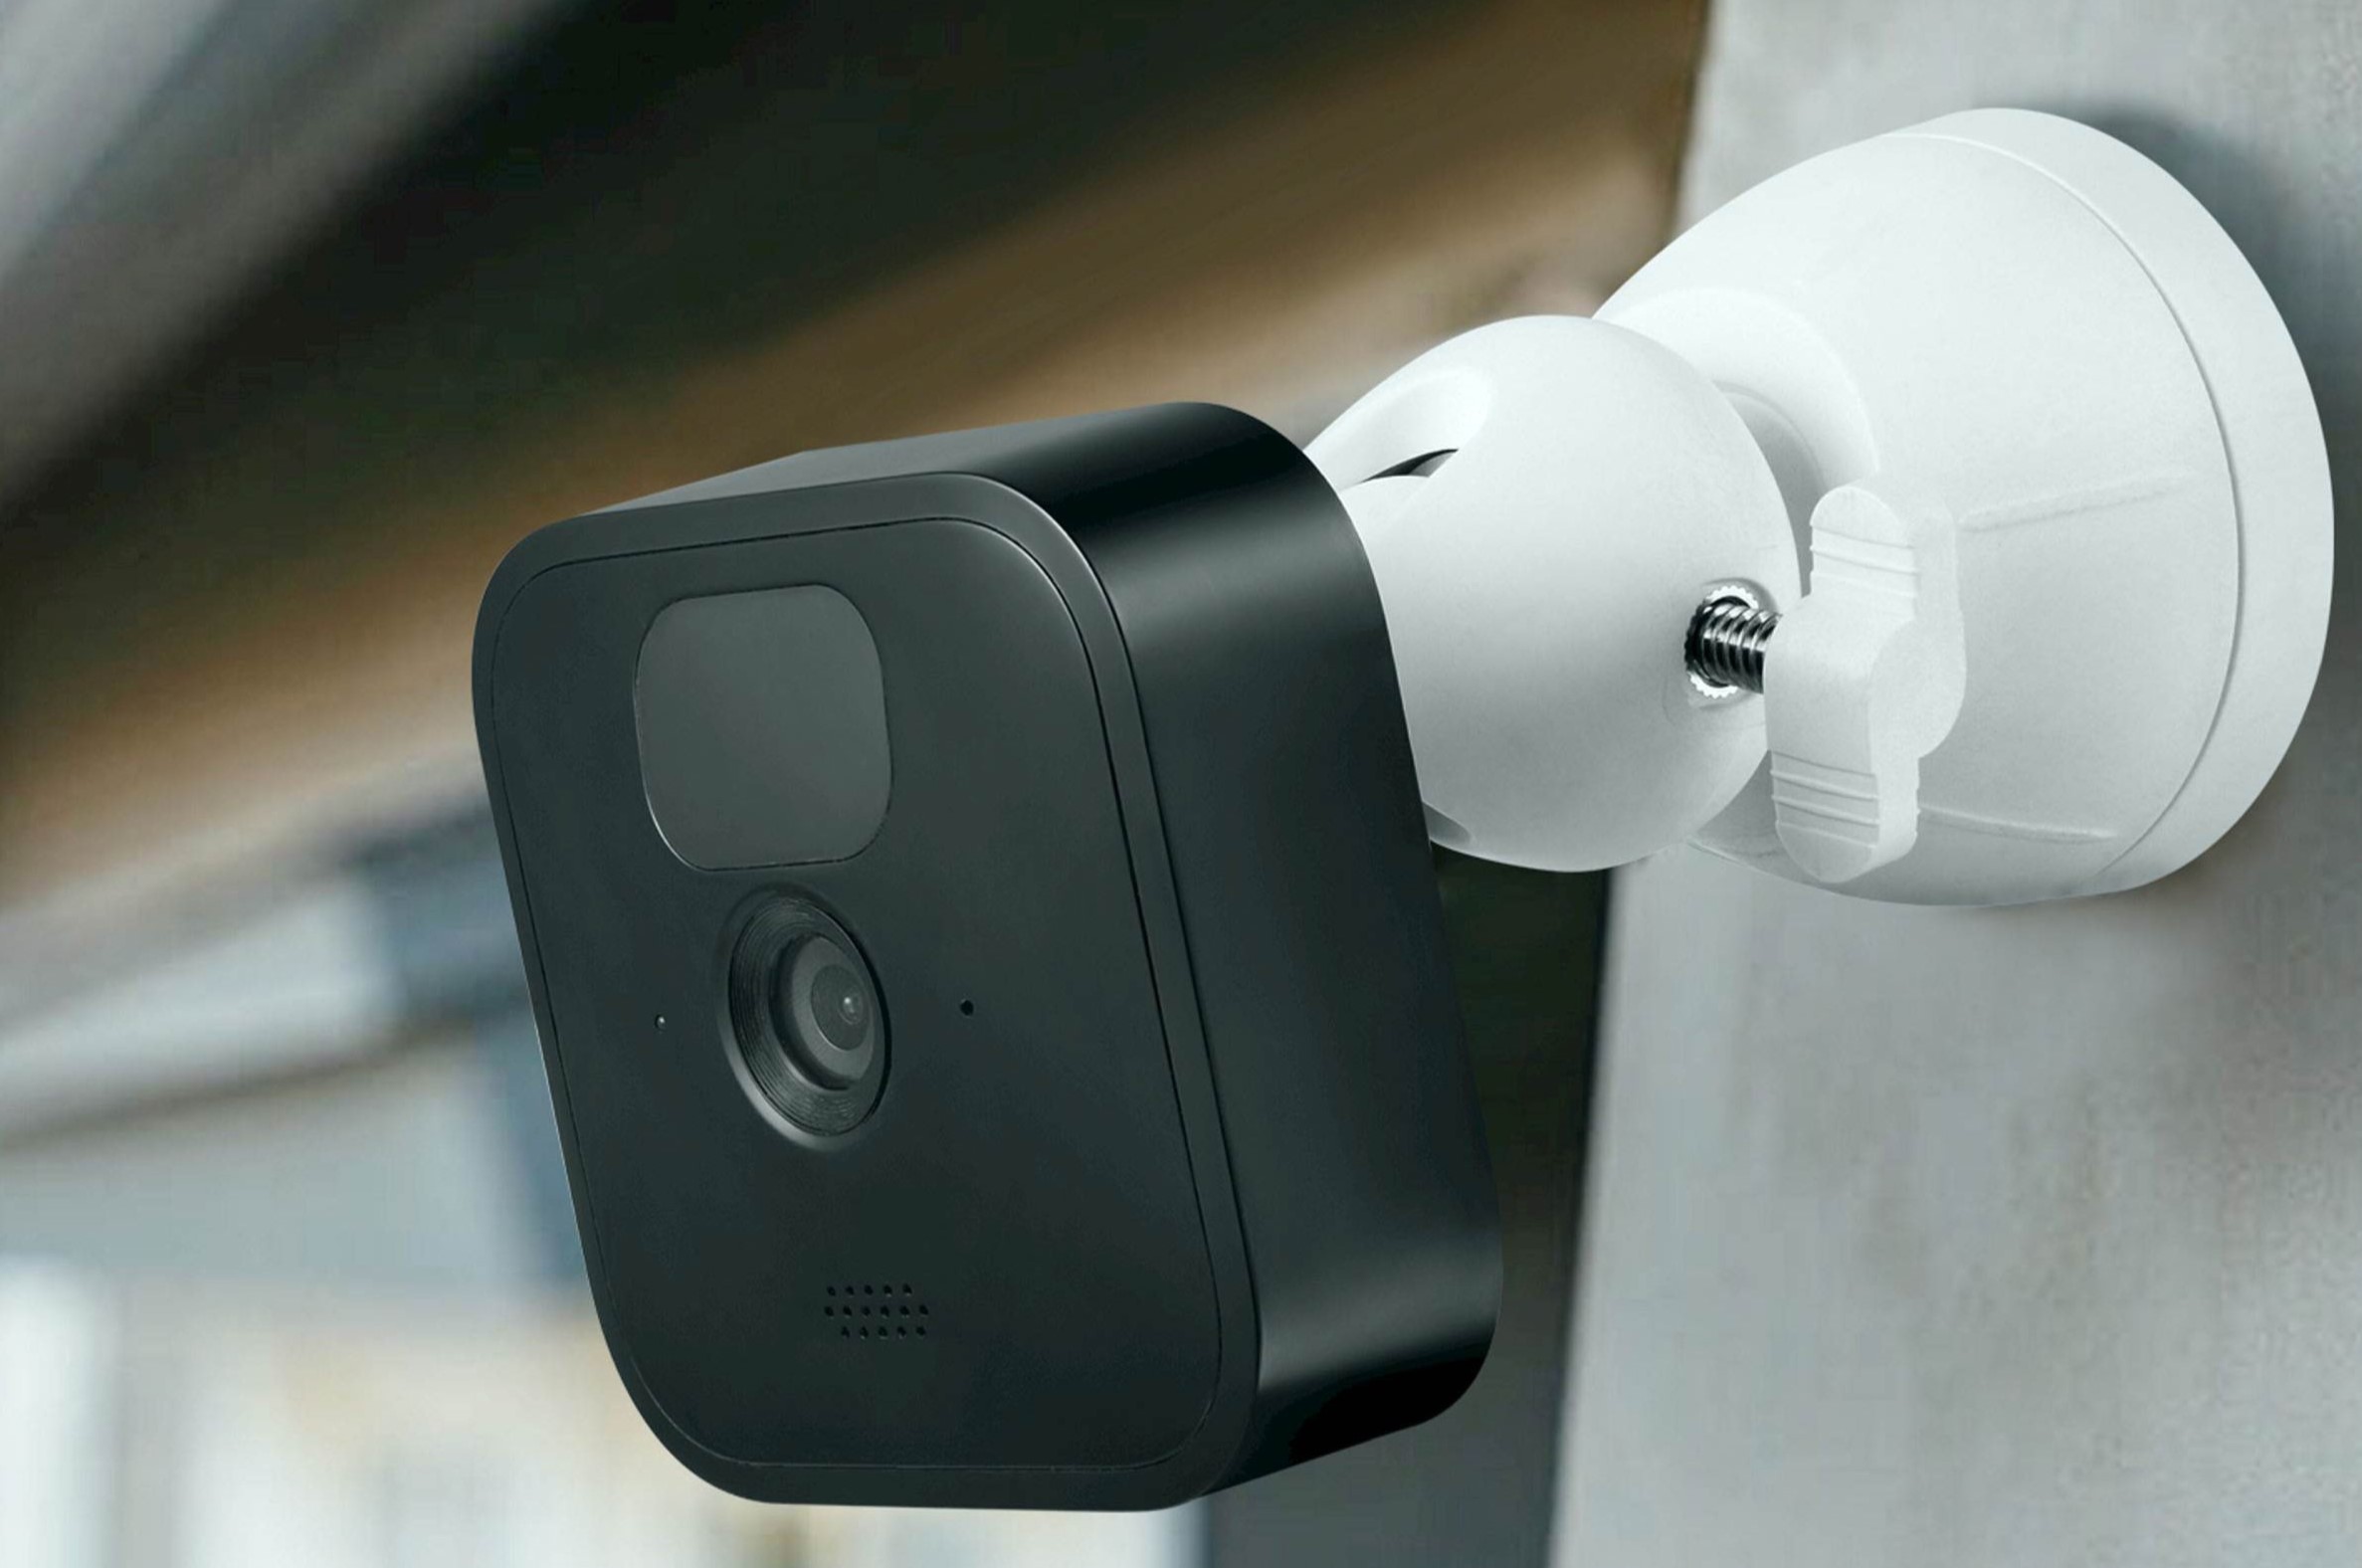
- Height and Angle: Mount the camera at an elevated position to achieve a broad perspective and minimize the risk of tampering. Ensure that the camera’s angle covers the desired area without obstructions, such as trees, shrubs, or architectural features.
- Accessibility: Consider the accessibility of the mounting location for installation, maintenance, and potential adjustments. Ensure that the camera is within reach for cleaning, battery replacement (if applicable), and any necessary repositioning.
- Weather Protection: Choose a mounting location that provides adequate protection from harsh weather conditions, direct sunlight, and potential vandalism. Consider using weatherproof housing or protective enclosures if the selected area is exposed to the elements.
- Legal Considerations: Familiarize yourself with local regulations and privacy laws regarding surveillance cameras. Ensure that your chosen mounting location complies with any applicable laws and respects the privacy of neighboring properties.
- Power Source Proximity: If the camera requires a power source, select a mounting location in close proximity to electrical outlets or consider the feasibility of running power cables to the chosen spot.
- Wi-Fi Signal Strength: For wireless cameras, assess the strength of the Wi-Fi signal at the potential mounting location to ensure reliable connectivity and smooth operation.
By carefully evaluating these factors and conducting a thorough assessment of your property, you can pinpoint the ideal mounting location that aligns with your surveillance objectives and ensures comprehensive coverage of your outdoor space. Once you’ve identified the perfect spot for mounting the camera, it’s time to gather the necessary tools and equipment for the installation process.
Tools and Equipment Required
Before embarking on the installation of your outdoor security camera, it’s essential to gather the necessary tools and equipment to ensure a smooth and successful mounting process. Here’s a comprehensive list of the items you’ll need:
- Outdoor Security Camera: The selected camera that meets your specific surveillance requirements, including any mounting brackets or accessories provided with the camera.
- Mounting Hardware: Depending on the mounting surface (e.g., wood, brick, stucco), you may need screws, anchors, or other appropriate hardware to securely attach the camera mount to the chosen location.
- Power Source and Cables: If the camera requires a power source, ensure that you have the necessary power adapter, extension cords, or cables to connect the camera to an electrical outlet or power supply.
- Tools: Common tools such as a power drill, screwdriver, level, wrench, and a stud finder, if applicable, will be essential for mounting the camera securely and accurately.
- Ladder or Step Stool: Depending on the height of the mounting location, a stable and secure ladder or step stool will facilitate safe access to the installation area.
- Weatherproofing Materials: If the mounting location is exposed to the elements, consider using weatherproofing materials such as silicone sealant or outdoor-rated cable conduits to protect the camera’s connections and wiring.
- Mobile Device or Monitor: Having a smartphone, tablet, or monitor on hand will be beneficial for adjusting the camera’s position and angle during the installation process and for testing the camera’s view and functionality.
- Protective Gear: Depending on the installation environment, consider using protective gear such as gloves, safety goggles, and appropriate clothing to ensure personal safety during the installation.
- User Manual and Documentation: Keep the camera’s user manual and any relevant documentation readily accessible for reference during the installation, including instructions for setup and configuration.
By ensuring that you have all the necessary tools and equipment at your disposal, you’ll be well-prepared to proceed with the mounting of your outdoor security camera. With these essentials in hand, you’re ready to embark on the step-by-step process of mounting the camera in its designated location.
When mounting an outdoor security camera, make sure to place it high enough to avoid tampering, but low enough for easy maintenance. Also, consider the camera’s field of view and potential obstructions.
Read more: How To Mount An Outdoor Camera
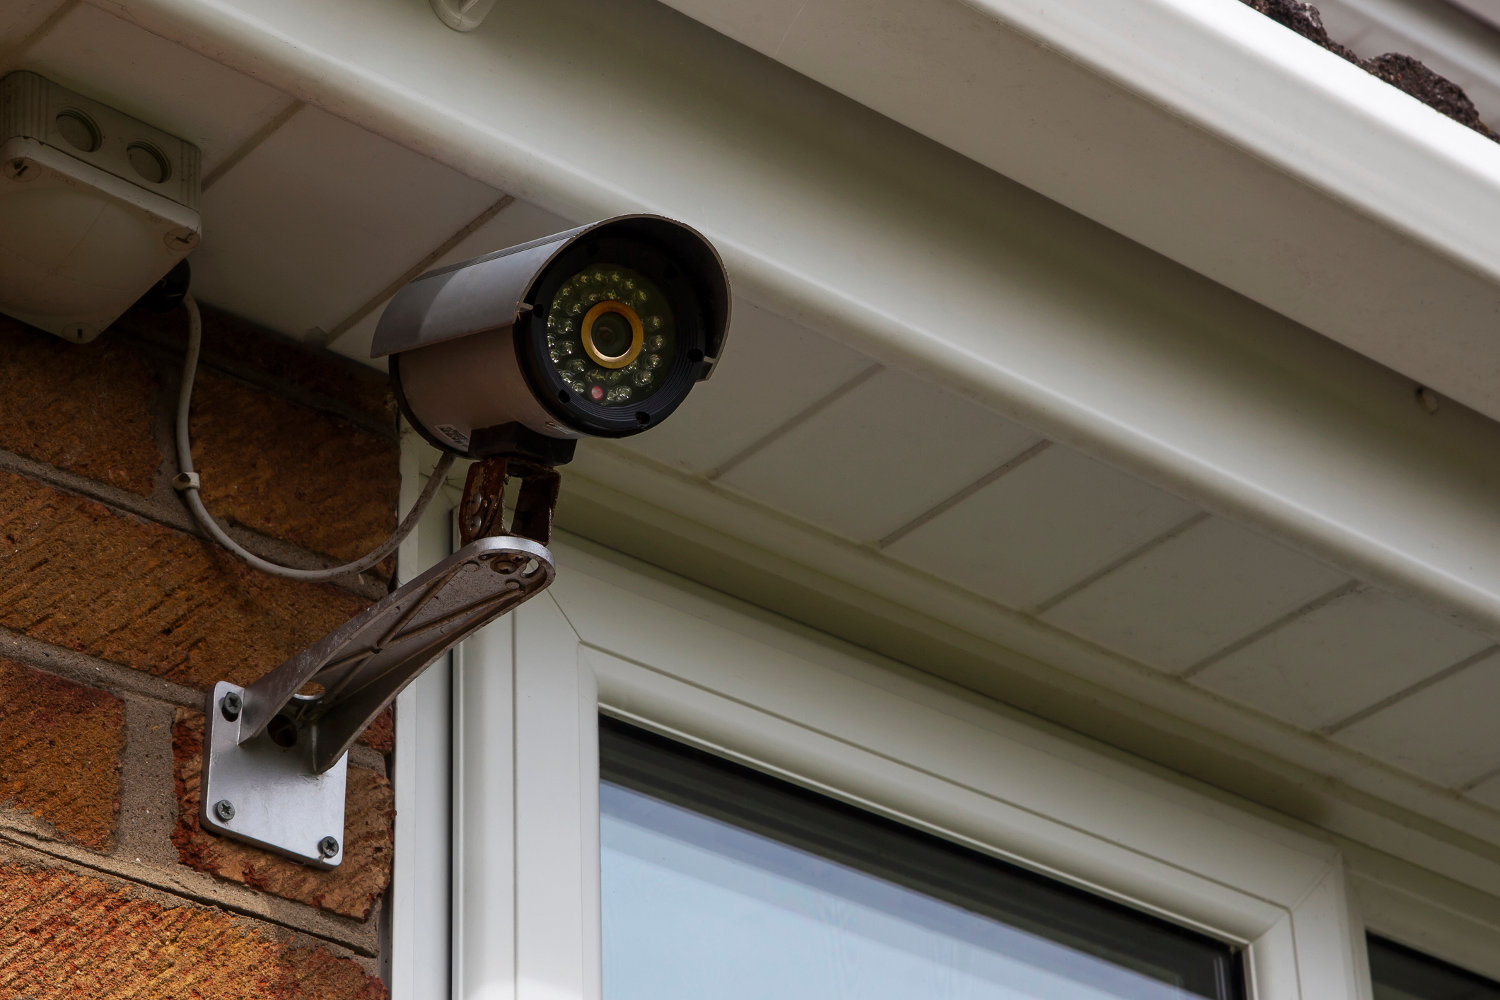
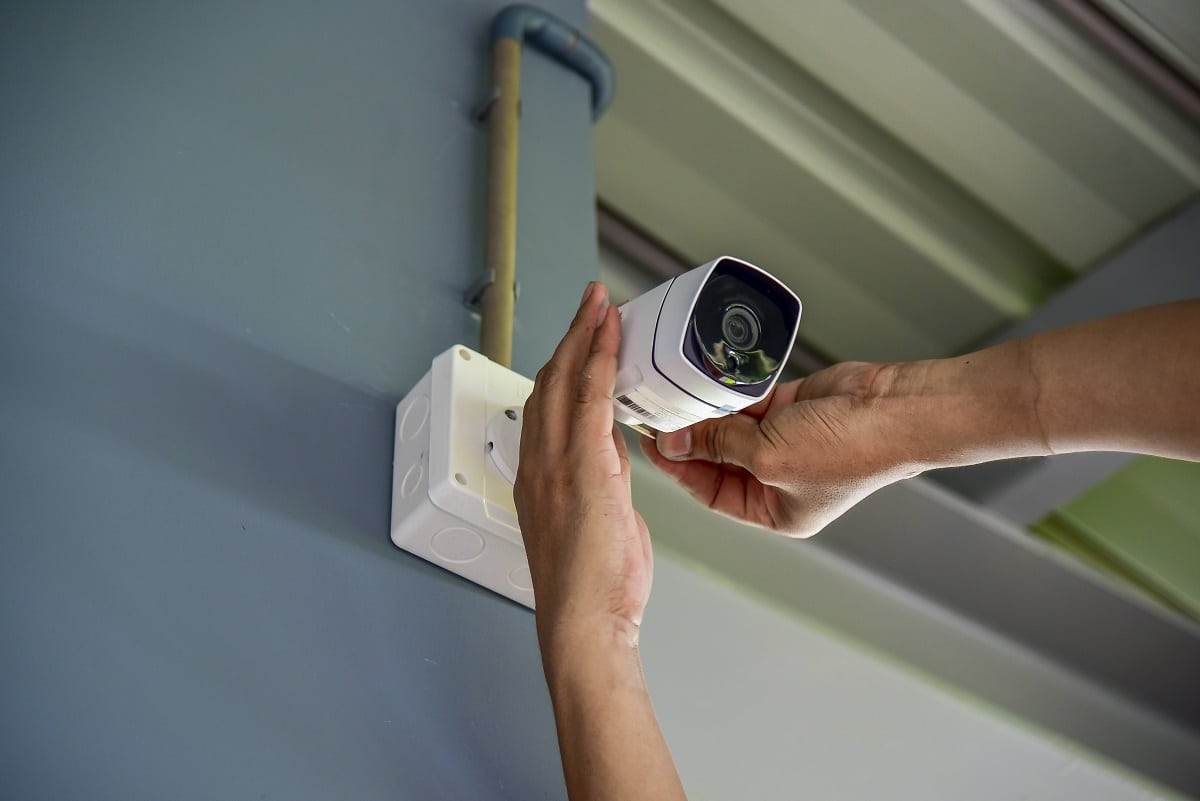
Steps for Mounting the Camera
Now that you’ve selected the ideal outdoor security camera, identified the perfect mounting location, and gathered the necessary tools and equipment, it’s time to embark on the step-by-step process of mounting the camera. Follow these essential steps to ensure a successful installation:
- Prepare the Mounting Location: Clean and prepare the selected mounting location, ensuring that it is free of dirt, debris, and any potential obstructions that may hinder the installation process.
- Assemble the Camera and Mount: If the camera requires assembly or attachment to a mounting bracket, carefully follow the manufacturer’s instructions to prepare the camera for installation.
- Mark and Drill Mounting Holes: Using a level and appropriate measurements, mark the positions for drilling mounting holes based on the mounting bracket’s design. Use a power drill and the necessary drill bit to create the mounting holes in the designated spots.
- Secure the Mounting Bracket: Attach the mounting bracket securely to the mounting surface using the appropriate hardware, such as screws and anchors, ensuring a stable and level installation.
- Mount the Camera: Depending on the camera’s design, carefully position and secure the camera onto the mounting bracket, following the manufacturer’s instructions for proper attachment and alignment.
- Connect Power and Cables: If the camera requires a power source or wired connectivity, carefully route and connect the power cable and any necessary cables, ensuring a secure and weatherproof connection to protect against the elements.
- Adjust Camera Position and Angle: Fine-tune the camera’s position and angle to achieve the desired field of view, ensuring that the camera covers the intended surveillance area with optimal clarity and coverage.
- Secure and Weatherproof Connections: If necessary, apply weatherproofing materials such as silicone sealant or outdoor-rated cable conduits to protect the camera’s connections and wiring from moisture and environmental factors.
- Test Camera Functionality: Power on the camera and verify its functionality, ensuring that it captures clear images and video, and that any additional features such as night vision and motion detection are operational.
- Adjust and Fine-Tune Settings: Access the camera’s settings and configuration options as per the user manual, adjusting parameters such as motion sensitivity, recording preferences, and network connectivity to suit your surveillance needs.
By following these step-by-step instructions and exercising care and precision during the installation process, you can ensure that your outdoor security camera is securely mounted and ready to fulfill its vital role in safeguarding your property. With the camera in place, the final crucial step involves adjusting and testing the camera to optimize its performance.
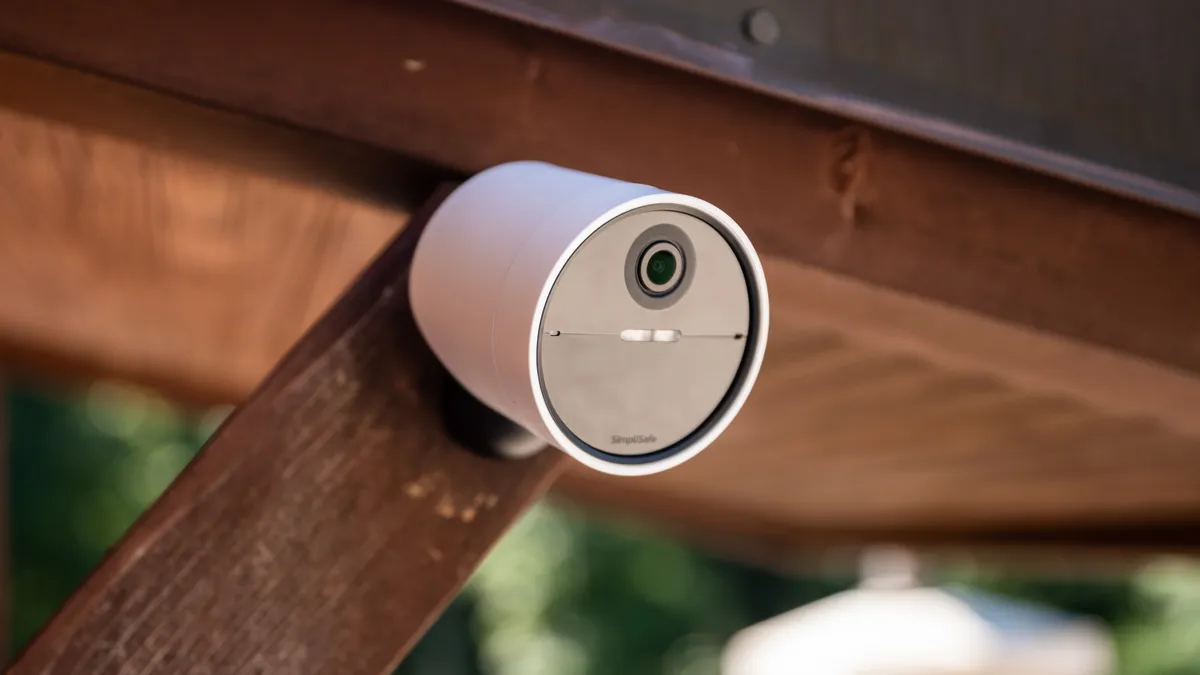
Adjusting and Testing the Camera
With the outdoor security camera successfully mounted in its designated location, the next critical phase involves adjusting and testing the camera to ensure optimal performance and functionality. Follow these essential steps to fine-tune the camera’s settings and verify its effectiveness:
- Optimize Camera Angle and Field of View: Review the camera’s live feed or footage to assess the captured view and make any necessary adjustments to the camera’s angle and position. Ensure that the camera covers the intended surveillance area with the best possible perspective and coverage.
- Verify Image Clarity and Resolution: Inspect the captured images and video to assess the clarity and resolution. If necessary, adjust the camera’s focus and settings to enhance the sharpness and detail of the captured footage.
- Test Night Vision Capability: If the camera is equipped with night vision functionality, conduct a test in low-light or nighttime conditions to verify the quality and range of the night vision feature, ensuring clear and reliable surveillance after dark.
- Configure Motion Detection and Alerts: Access the camera’s settings to configure motion detection parameters, including sensitivity levels and alert notifications. Test the motion detection feature by simulating movement within the camera’s view and verifying that alerts are triggered as expected.
- Remote Access and Monitoring: If the camera supports remote access via a mobile app or web interface, configure and test the connectivity to ensure seamless remote monitoring and access to live footage from anywhere with an internet connection.
- Review Recording and Storage Options: If the camera offers recording capabilities, verify the recording settings and storage options, such as cloud storage or onboard memory. Test the recording functionality to ensure that captured footage is stored as intended.
- Perform System Integration Tests: If the camera is part of a larger surveillance system or smart home setup, integrate and test its compatibility with other devices and systems, ensuring seamless operation and data sharing.
- Document Settings and Configurations: Record and document the camera’s settings, configurations, and any customizations made during the adjustment and testing process for future reference and troubleshooting.
By meticulously adjusting and testing the camera’s features and functionality, you can ensure that it operates at its full potential, providing reliable surveillance and security for your outdoor space. With the camera fine-tuned and verified, you can trust that your property is under vigilant protection, offering you peace of mind and enhanced security.
Conclusion
Congratulations! You’ve successfully navigated the process of selecting, mounting, and optimizing an outdoor security camera, equipping your property with a powerful surveillance tool to enhance safety and security. By following the comprehensive steps outlined in this guide, you’ve taken a proactive approach to safeguarding your outdoor space and gaining valuable peace of mind.
With the right outdoor security camera in place, strategically mounted and meticulously adjusted, you can enjoy the following benefits:
- Enhanced Security: The presence of a reliable outdoor security camera acts as a powerful deterrent to potential intruders and trespassers, bolstering the security of your home or business.
- 24/7 Surveillance: With advanced features such as night vision and motion detection, your outdoor camera provides round-the-clock surveillance, capturing crucial footage in all lighting conditions.
- Remote Monitoring: Access live camera feeds and recorded footage from anywhere, offering the convenience of remote monitoring and the ability to stay connected to your property at all times.
- Peace of Mind: Knowing that your outdoor space is under constant surveillance and protection allows you to enjoy greater peace of mind, whether you’re at home, at work, or away on vacation.
- Documentation and Evidence: In the event of security incidents or unforeseen events, the captured footage serves as valuable documentation and evidence for investigations and insurance claims.
By investing the time and effort into mounting and optimizing your outdoor security camera, you’ve prioritized the safety and well-being of your property and those within it. Your proactive approach to security empowers you to stay vigilant and informed, mitigating potential risks and enhancing the overall resilience of your property.
Remember to periodically review and maintain your outdoor security camera to ensure continued reliability and performance. Regular checks, cleaning, and software updates will help maximize the camera’s effectiveness and longevity, allowing you to reap the long-term benefits of a well-maintained surveillance system.
Thank you for embarking on this journey to mount an outdoor security camera like a pro. Your commitment to security and vigilance contributes to a safer and more secure environment for you and those around you. Stay proactive, stay secure, and enjoy the peace of mind that comes with effective outdoor surveillance.
Frequently Asked Questions about How To Mount Outdoor Security Camera
Was this page helpful?
At Storables.com, we guarantee accurate and reliable information. Our content, validated by Expert Board Contributors, is crafted following stringent Editorial Policies. We're committed to providing you with well-researched, expert-backed insights for all your informational needs.


0 thoughts on “How To Mount Outdoor Security Camera”