Home>Furniture & Design>Outdoor Furniture>How To Clean Outdoor Condenser Unit
Outdoor Furniture
How To Clean Outdoor Condenser Unit
Modified: January 24, 2024
Learn how to effectively clean and maintain your outdoor condenser unit to keep your outdoor furniture in top condition. Follow these simple tips for outdoor furniture care and design.
(Many of the links in this article redirect to a specific reviewed product. Your purchase of these products through affiliate links helps to generate commission for Storables.com, at no extra cost. Learn more)
Introduction
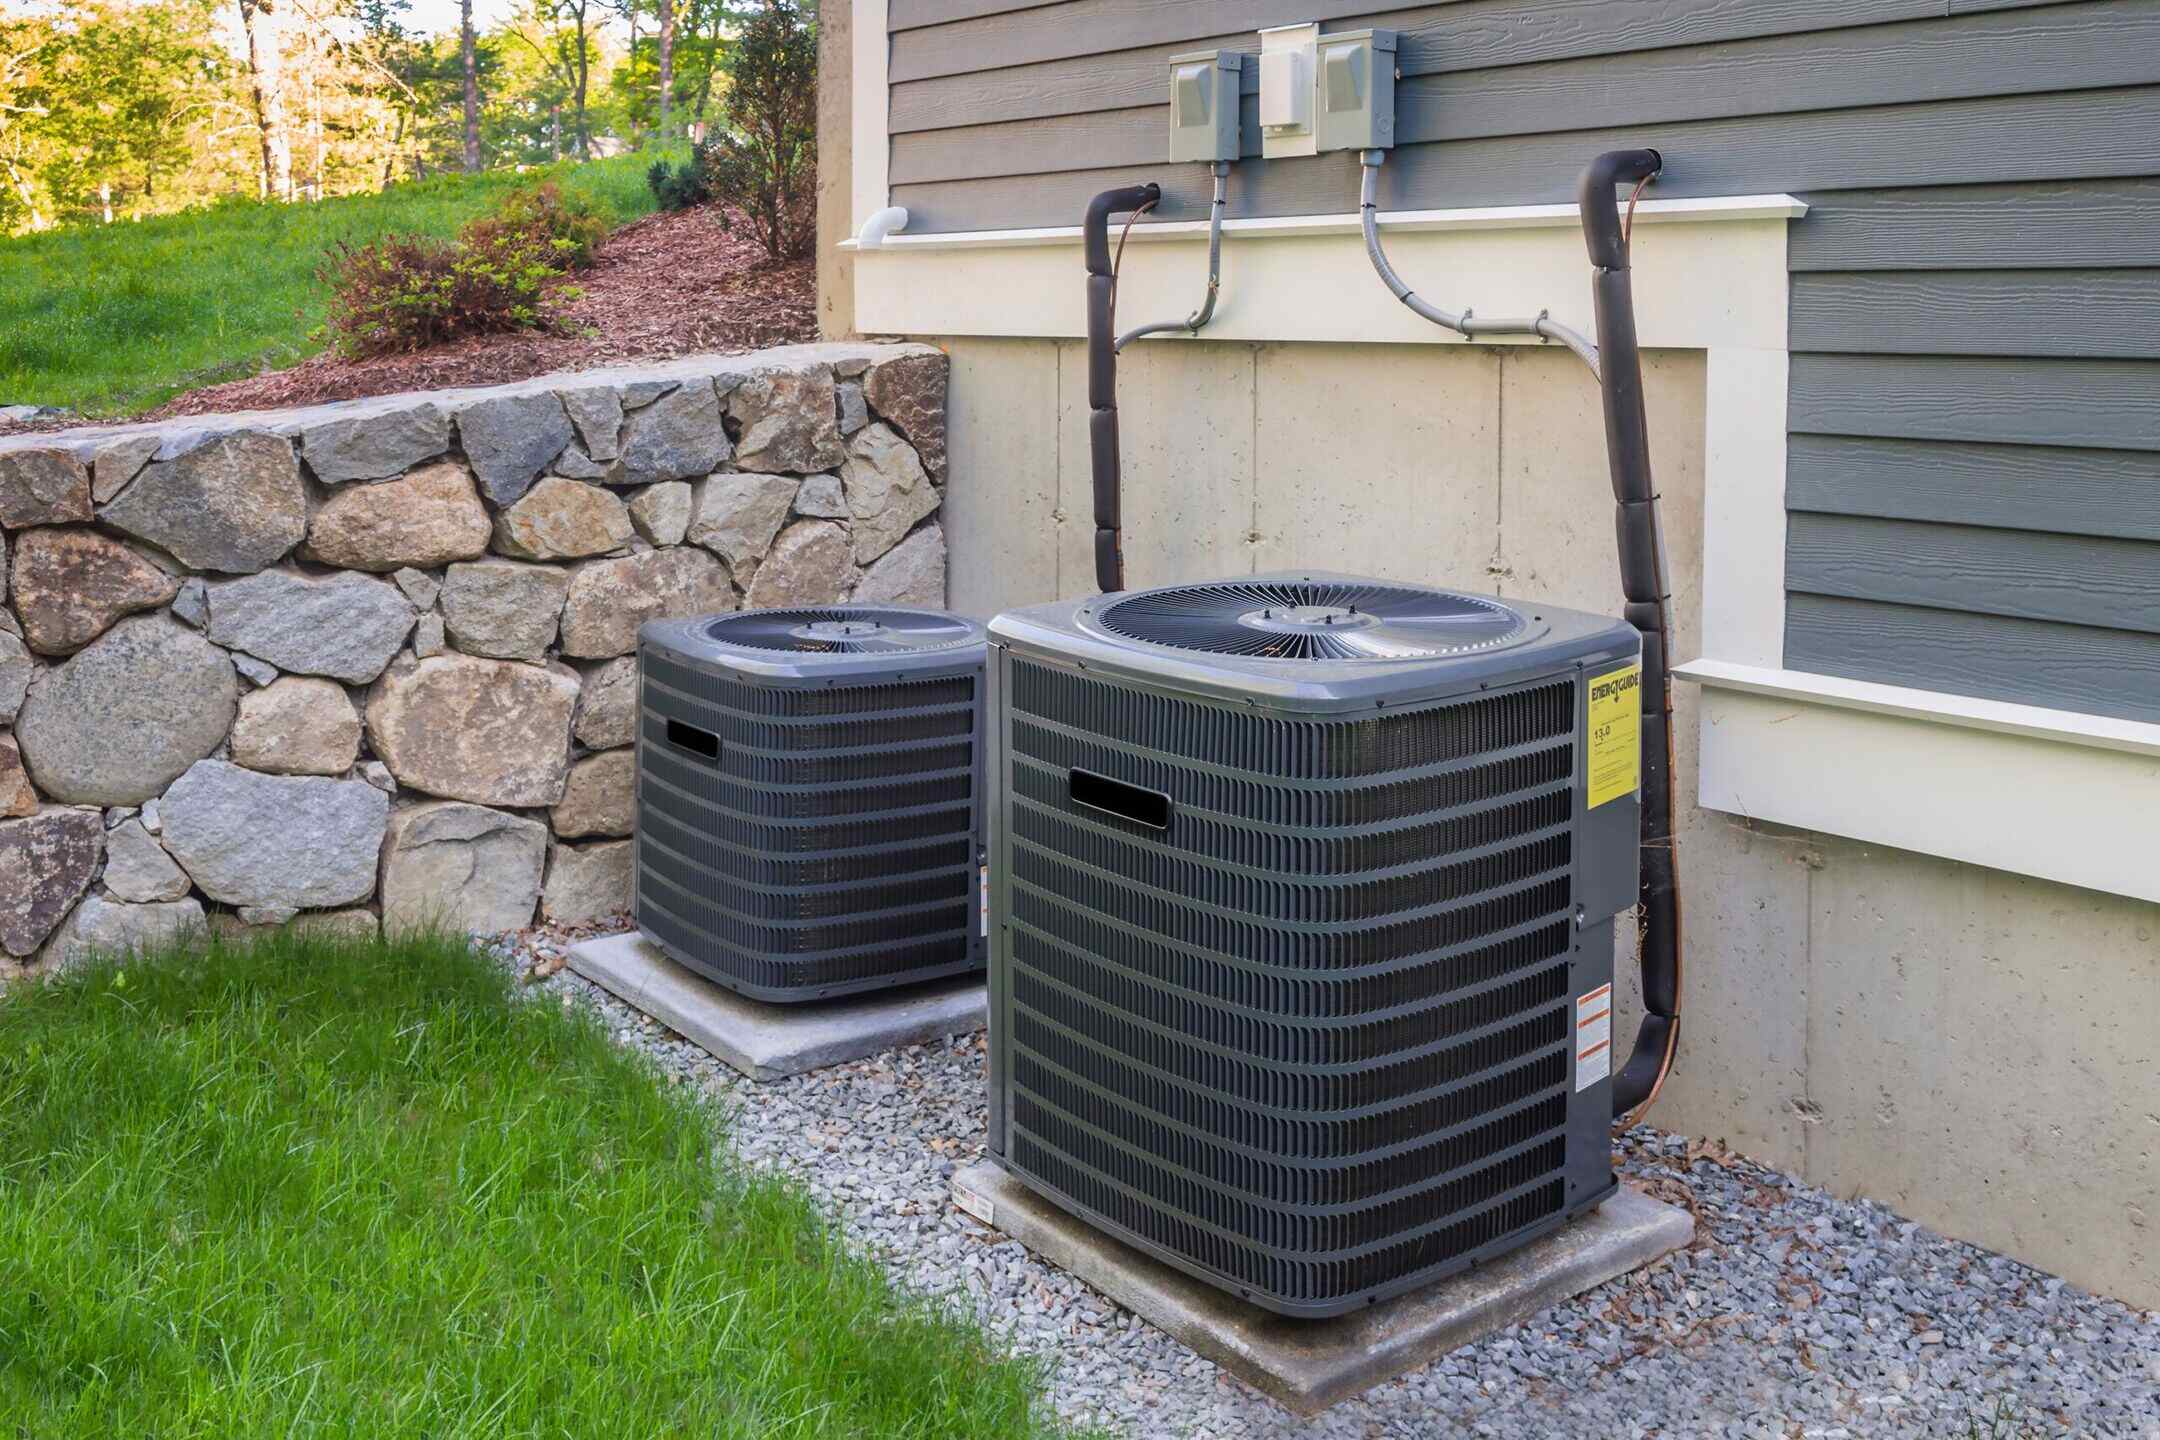
Maintaining an efficient and well-functioning outdoor condenser unit is crucial for the optimal performance of your air conditioning system. Over time, dirt, debris, and other contaminants can accumulate on the condenser, hindering its ability to expel heat effectively. Regular cleaning not only extends the lifespan of the unit but also ensures that it operates at peak efficiency, potentially reducing energy costs.
In this comprehensive guide, we will walk you through the step-by-step process of cleaning your outdoor condenser unit. By following these instructions, you can enhance the functionality of your air conditioning system and contribute to a more comfortable indoor environment.
Let's dive into the essential steps and precautions to take when cleaning your outdoor condenser unit. By investing a little time and effort in this maintenance task, you can enjoy the benefits of a more reliable and efficient cooling system.
Key Takeaways:
- Regularly cleaning your outdoor condenser unit ensures efficient cooling, lower energy costs, and a longer lifespan for your air conditioning system. Prioritize safety, remove debris, and maintain the surrounding area for optimal performance.
- By following safety precautions, cleaning the fins, straightening bent fins, and tidying the area, you can maintain a reliable and efficient air conditioning system. Regular maintenance prevents issues and prolongs the lifespan of your condenser unit.
Read more: How To Clean Car AC Condenser
Safety Precautions
Prior to initiating the cleaning process for your outdoor condenser unit, it’s imperative to prioritize safety. The condenser unit contains electrical components and moving parts, necessitating careful attention to safety measures. Here are some crucial precautions to observe:
- Power Off: Begin by turning off the power to the condenser unit at the disconnect box or the circuit breaker. This ensures that there is no risk of electric shock during the cleaning process.
- Protective Gear: Wear appropriate safety gear, including gloves and safety goggles, to shield yourself from potential debris and contaminants.
- Firm Footing: Ensure that the area around the condenser unit is clear and stable to prevent any tripping hazards or accidents.
- Avoid Pressure Washing: Refrain from using a pressure washer to clean the fins, as the high pressure can cause damage to the delicate components of the unit.
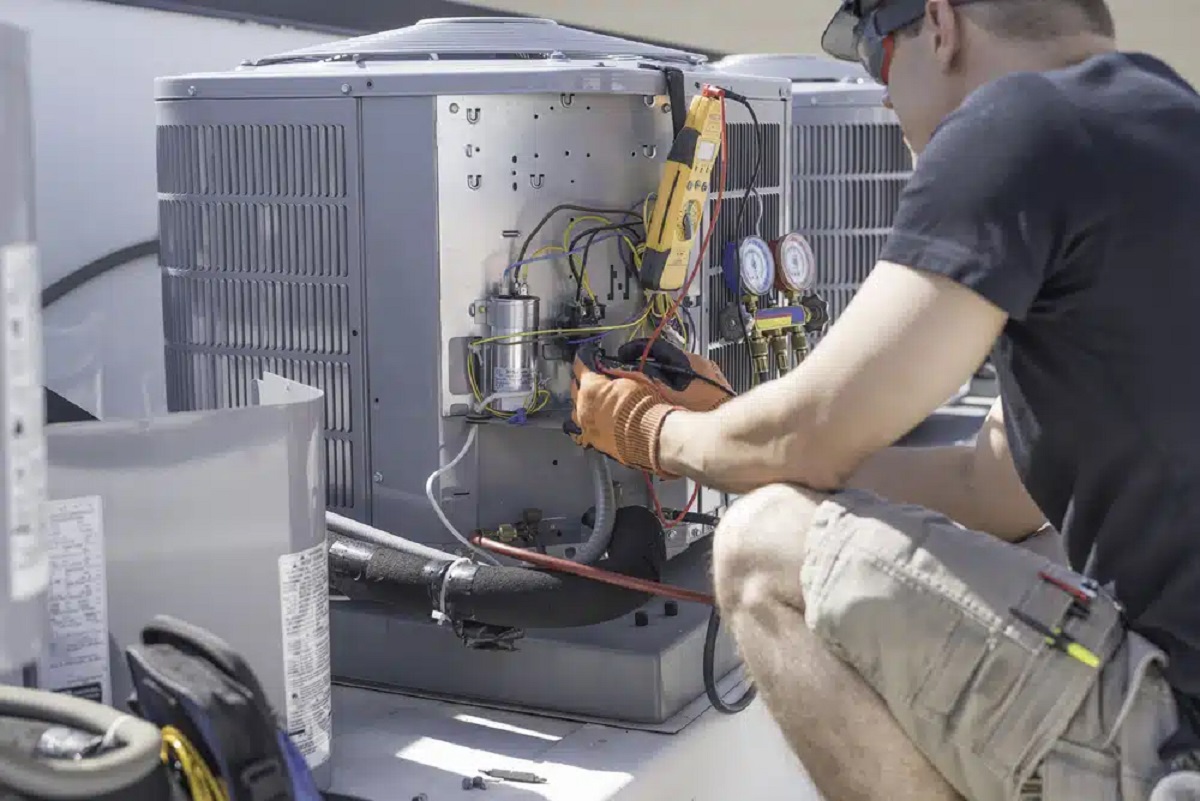
- Inspect for Damage: Before proceeding with the cleaning, inspect the unit for any visible damage or signs of wear. If you notice any issues, it’s advisable to consult a professional technician for repairs.
By adhering to these safety precautions, you can minimize the risk of accidents and ensure a secure cleaning process for your outdoor condenser unit. Safety should always be the foremost priority when performing maintenance tasks on electrical equipment.
Tools and Materials Needed
Before embarking on the cleaning process for your outdoor condenser unit, it’s essential to gather the necessary tools and materials to ensure a thorough and efficient job. Here’s a list of items you’ll need:
- Garden Hose: A garden hose with a spray nozzle attachment will be used for rinsing and cleaning the condenser unit.
- Soft-Bristle Brush: A soft-bristle brush, such as a paintbrush or a specialized fin cleaning brush, is ideal for removing dirt and debris from the fins without causing damage.
- Foaming Coil Cleaner: A foaming coil cleaner specifically designed for air conditioner condenser units will help dissolve and remove stubborn dirt and grime.
- Gloves and Safety Goggles: Protective gloves and safety goggles are essential for safeguarding your hands and eyes during the cleaning process.
- Screwdriver: A screwdriver may be required to remove the access panel and provide access to the interior of the condenser unit.
- Fin Straightening Tool (Optional): If you notice bent fins during the cleaning process, a fin straightening tool can be used to carefully straighten them and restore optimal airflow.
- Work Gloves: Sturdy work gloves provide protection and a better grip when handling and maneuvering components of the condenser unit.
- Protective Tarp or Plastic Sheet: Placing a protective tarp or plastic sheet around the work area can prevent water and debris from spreading and protect the surrounding ground.
By ensuring that you have the appropriate tools and materials on hand, you can streamline the cleaning process and achieve effective results while maintaining the integrity of the condenser unit components.
Shut Off the Power
Prior to commencing the cleaning process for your outdoor condenser unit, it is imperative to deactivate the power supply to ensure a safe working environment. Follow these essential steps to shut off the power:
- Locate the Disconnect Box: The disconnect box is typically located near the condenser unit and contains the power supply switch. It may have a hinged cover or a pull-out handle.
- Turn Off the Power: Open the disconnect box and switch off the power to the condenser unit by either flipping the switch or pulling the handle. This action effectively cuts off the electrical supply to the unit.
- Additional Safety Measure: For added security, it is advisable to shut off the circuit breaker that supplies power to the condenser unit at the main electrical panel.
By adhering to these steps and ensuring that the power source is completely deactivated, you mitigate the risk of electrical hazards and create a safe environment for the subsequent cleaning procedures.
Remove Debris
Once the power to the outdoor condenser unit has been safely shut off, the next crucial step is to remove any accumulated debris that may impede the unit’s performance. Follow these steps to effectively clear the unit of debris:
- Clear Surrounding Debris: Begin by removing any leaves, twigs, and other debris from the immediate vicinity of the condenser unit. Use a handheld brush or broom to sweep away loose debris from the sides and top of the unit.
- Clean the Exterior: Gently brush or wipe the exterior surfaces of the condenser to eliminate dirt and grime. Be cautious not to apply excessive pressure, especially around the fins and delicate components.
- Inspect the Interior: Carefully remove the access panel to inspect the interior of the condenser unit. Check for any debris, such as leaves or grass clippings, that may have entered the unit and obstructed airflow.
- Use a Vacuum (Optional): If there is a significant buildup of debris within the unit, a vacuum with a soft brush attachment can be used to carefully suction out the accumulated dirt and debris.
By diligently removing debris from both the exterior and interior of the condenser unit, you can ensure that airflow remains unobstructed and that the unit is prepared for the subsequent cleaning steps.
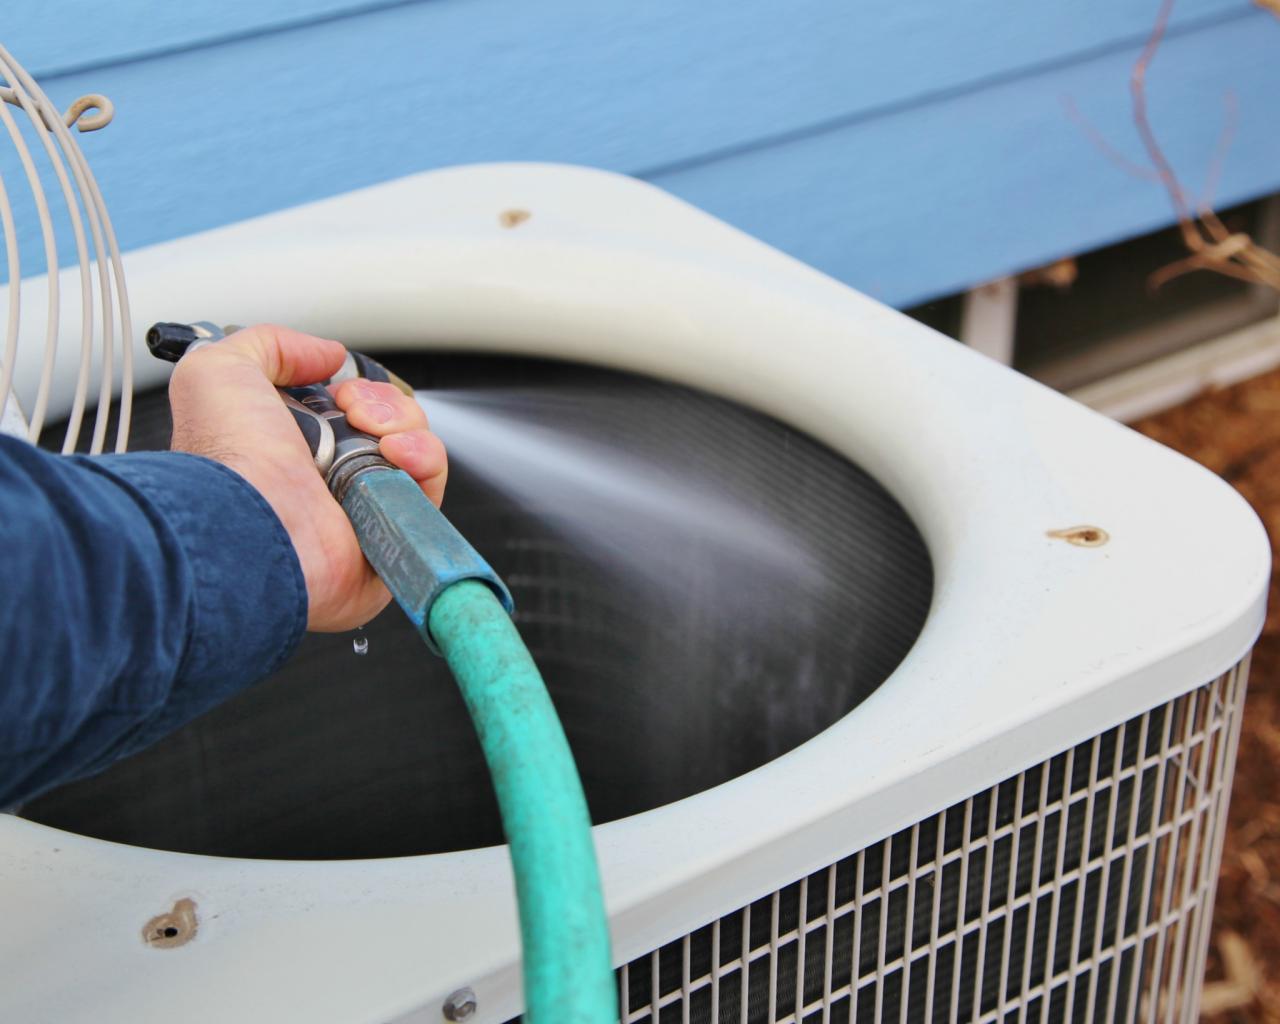
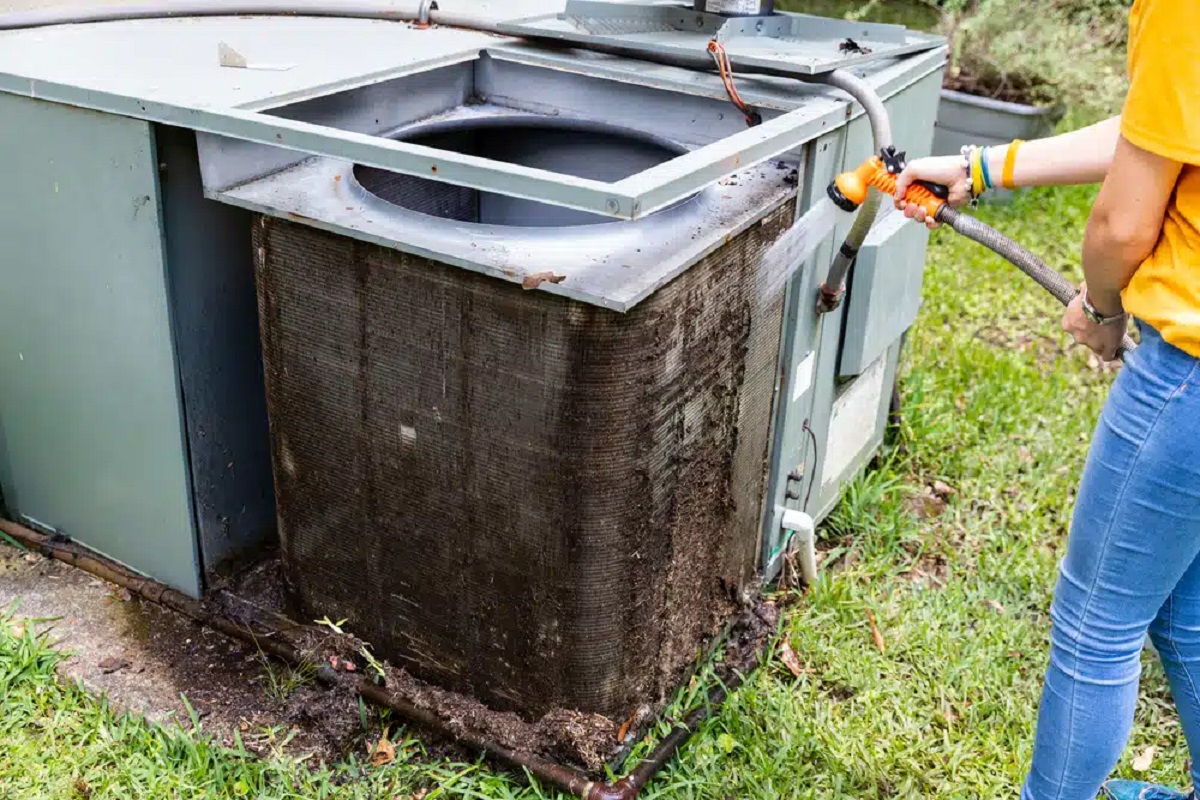
Regularly clean the outdoor condenser unit by removing any debris, such as leaves and dirt, from the surrounding area. Use a hose to gently spray the unit to remove any built-up dirt and grime. Make sure to turn off the power to the unit before cleaning.
Read more: How To ReplACe AC Condenser
Clean the Fins
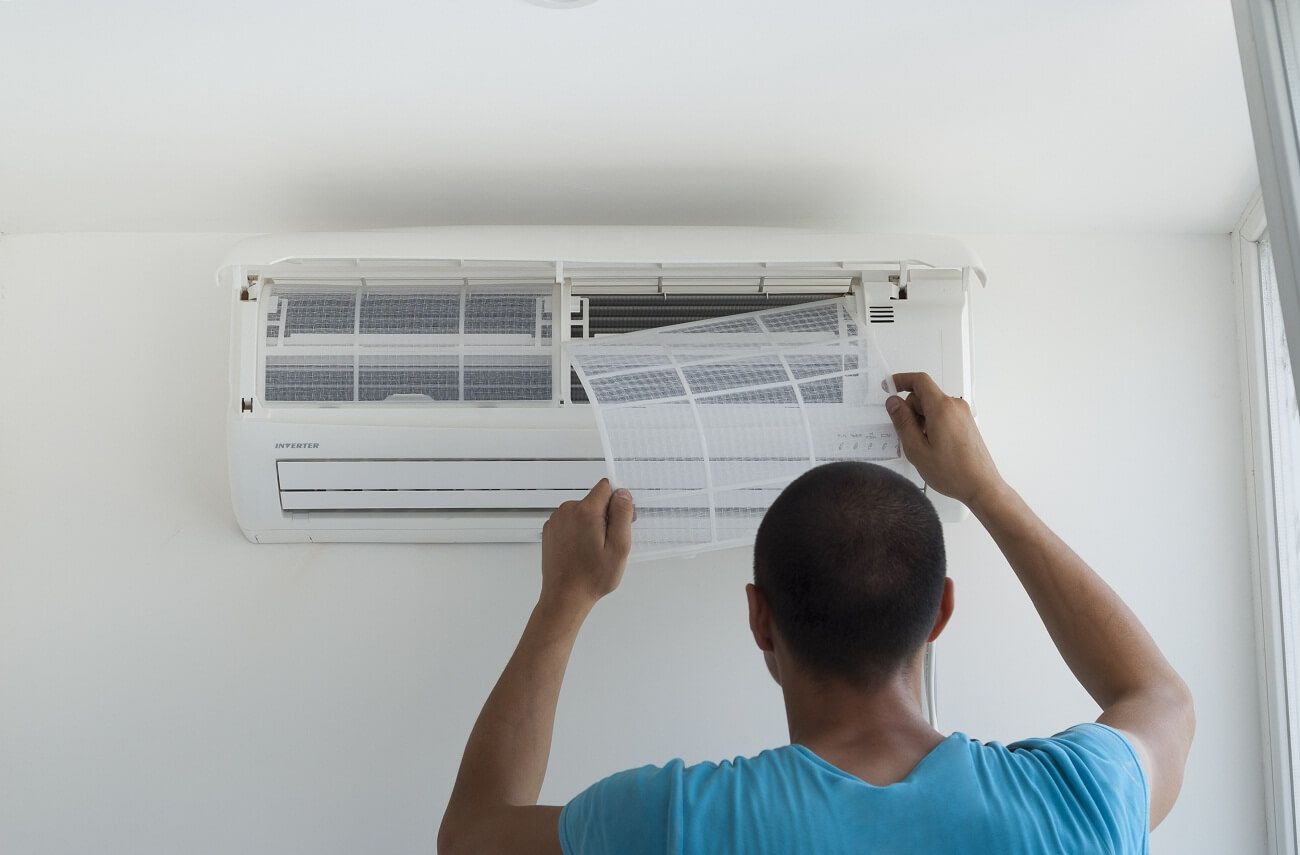
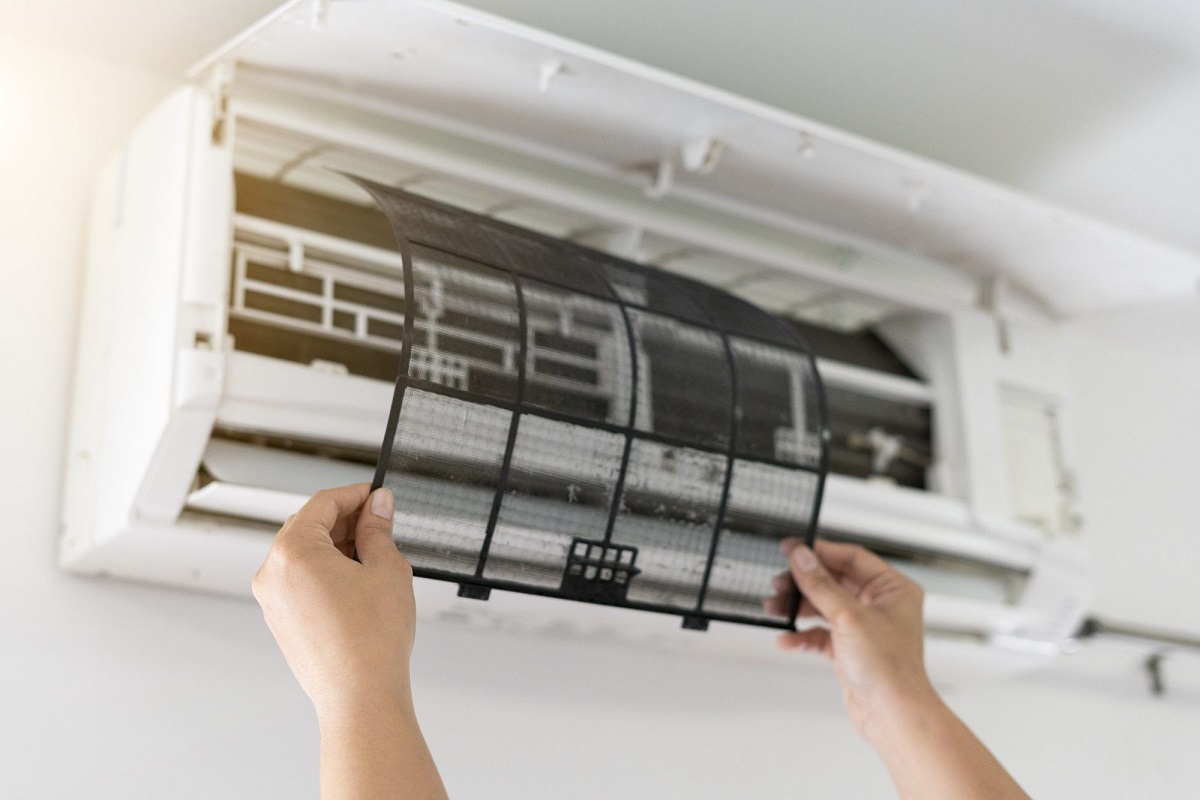
Once the debris has been cleared from the outdoor condenser unit, it’s essential to focus on cleaning the fins, also known as the condenser coils. These delicate metal fins play a crucial role in dissipating heat from the unit. Follow these steps to effectively clean the fins:
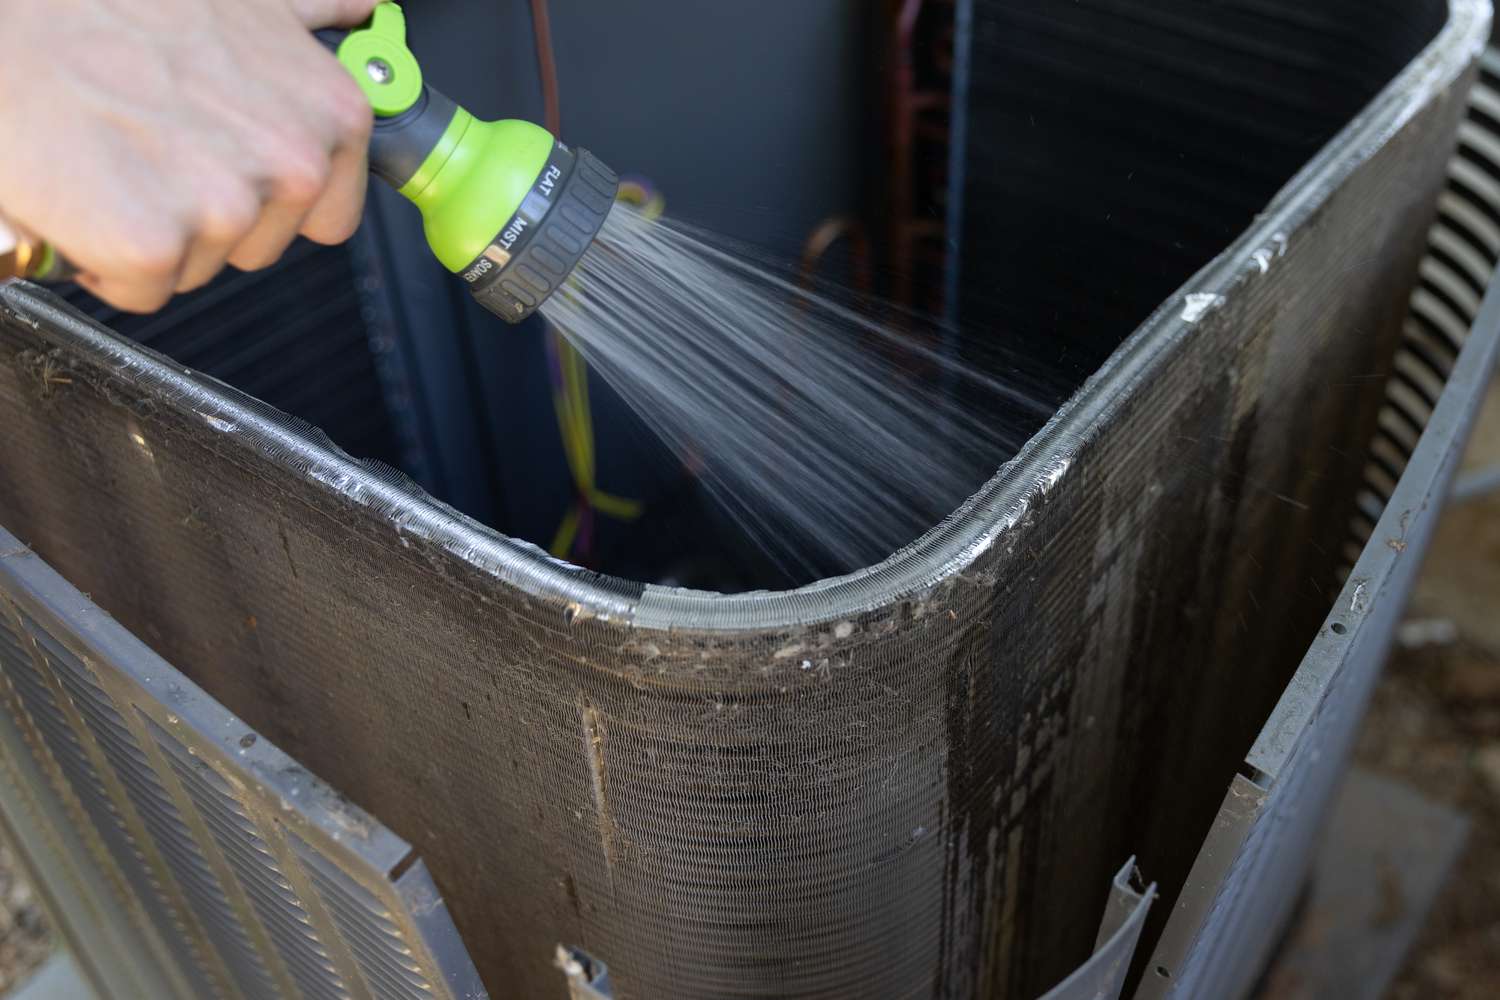
- Use a Soft Brush: Gently brush the exterior of the fins with a soft-bristle brush to remove accumulated dirt and debris. Take care to avoid bending or damaging the fins during this process.
- Apply Foaming Coil Cleaner: Spray a foaming coil cleaner onto the fins, ensuring even coverage. The foaming action helps to penetrate and dislodge stubborn dirt and grime from the coils.
- Allow Dwell Time: Let the foaming coil cleaner sit for the recommended duration as per the product instructions. This allows the cleaner to effectively break down and dissolve the accumulated debris.
- Rinse with Water: Using a gentle stream of water from a garden hose with a spray nozzle, carefully rinse the foaming coil cleaner and dislodged debris from the fins. Direct the water flow in the opposite direction of the airflow to prevent pushing debris further into the unit.
- Repeat if Necessary: If the fins still appear dirty or clogged, consider repeating the foaming coil cleaner application and rinsing process to achieve a thorough cleaning.
By meticulously cleaning the fins, you ensure that the condenser unit can efficiently expel heat, contributing to the overall effectiveness and longevity of your air conditioning system.
Straighten Bent Fins
After cleaning the fins, it’s important to inspect for any bent or misshapen fins that may impede airflow through the condenser unit. Bent fins can disrupt the efficient transfer of heat and reduce the unit’s overall performance. Follow these steps to straighten bent fins and restore optimal airflow:
- Use a Fin Straightening Tool: A fin straightening tool, specifically designed for this purpose, can be gently maneuvered over the bent fins to straighten them. This tool features a series of thin, flexible tines that can effectively realign the fins without causing damage.
- Work Carefully: With the fin straightening tool, carefully comb through the bent fins, applying gentle pressure to straighten them. Take care to avoid excessive force, as this can lead to further damage or distortion of the fins.
- Ensure Even Spacing: As you straighten the fins, pay attention to maintaining even spacing and alignment, ensuring that the airflow through the condenser remains unobstructed.
- Inspect for Uniformity: After straightening the fins, visually inspect the entire surface to ensure that the fins are uniformly aligned and free from obstructions.
By straightening any bent fins, you optimize the airflow through the condenser unit, allowing for efficient heat dissipation and enhancing the overall performance of your air conditioning system.
Clean the Surrounding Area
Ensuring that the surrounding area of the outdoor condenser unit is clean and unobstructed is essential for maintaining its optimal functionality. Follow these steps to tidy up the area around the unit:
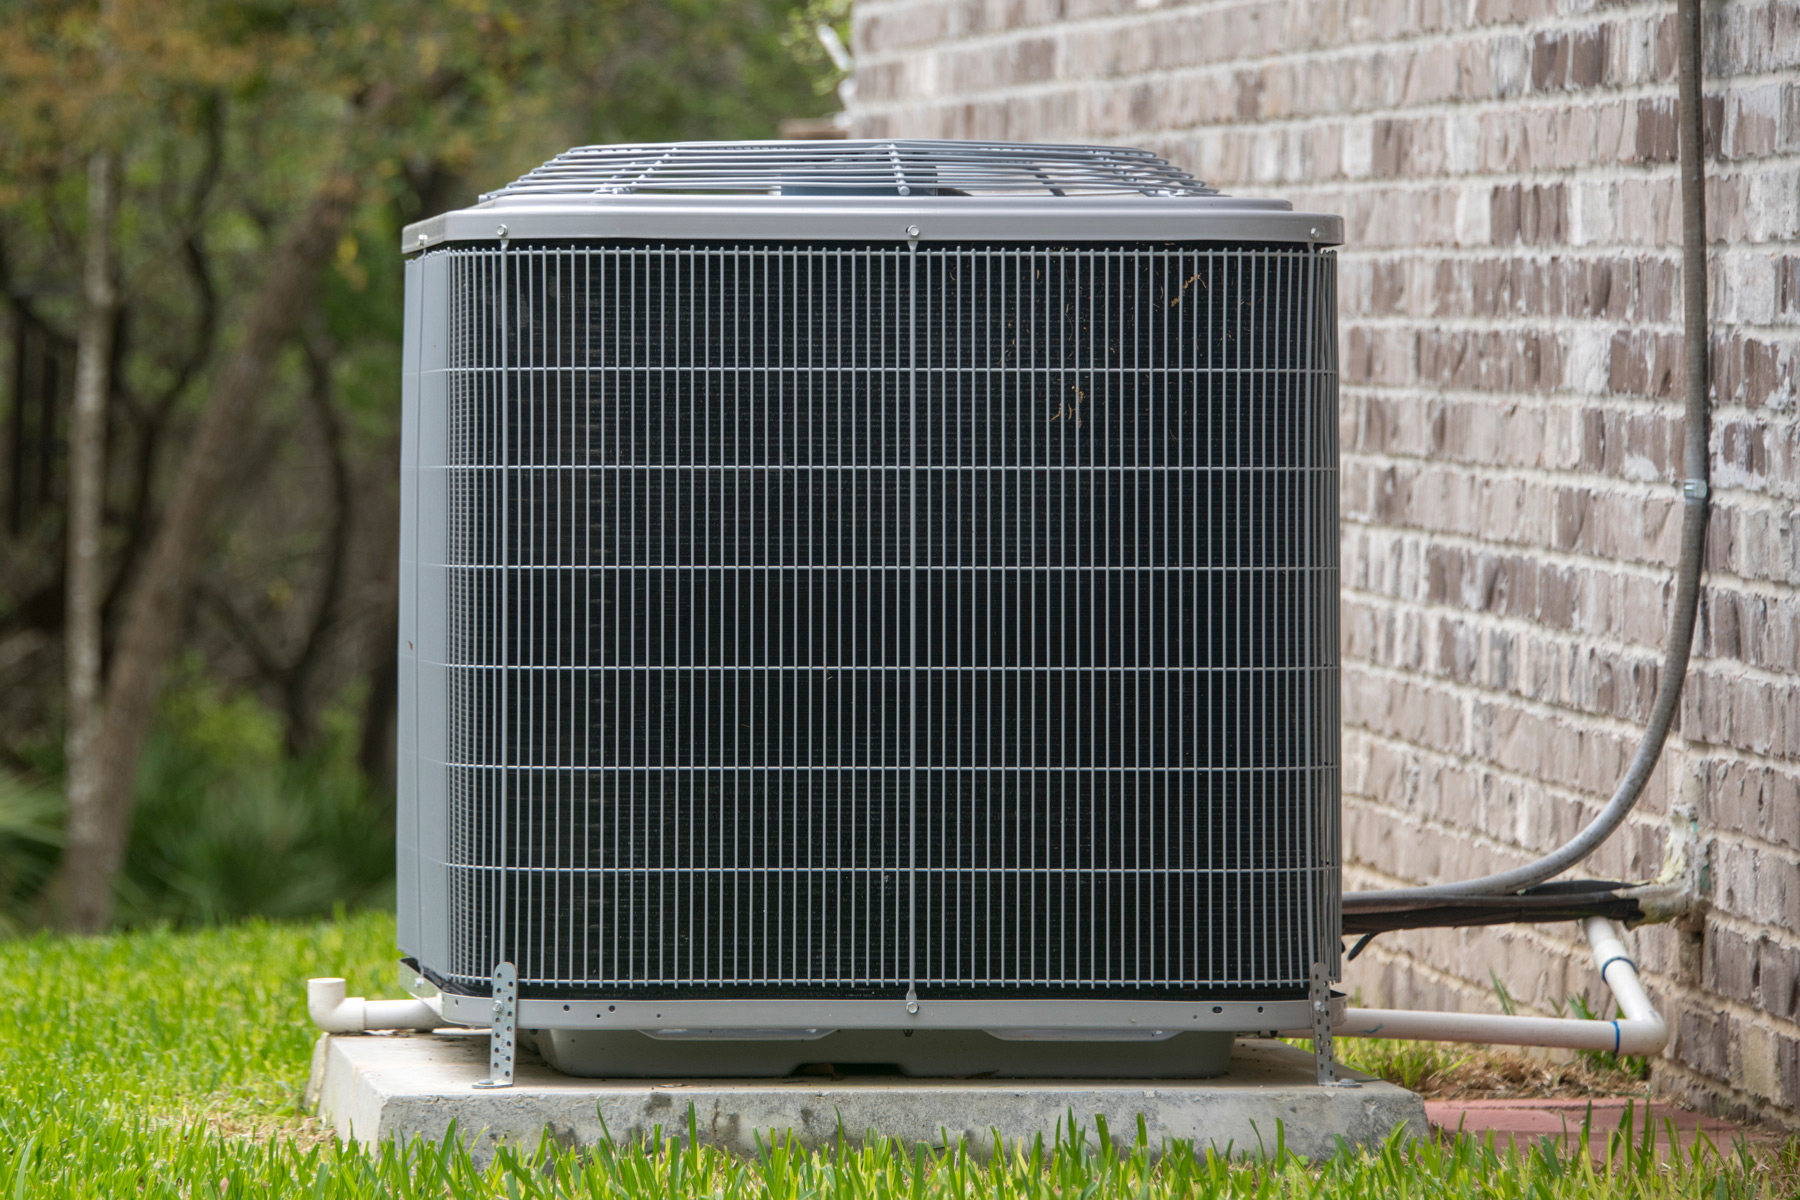
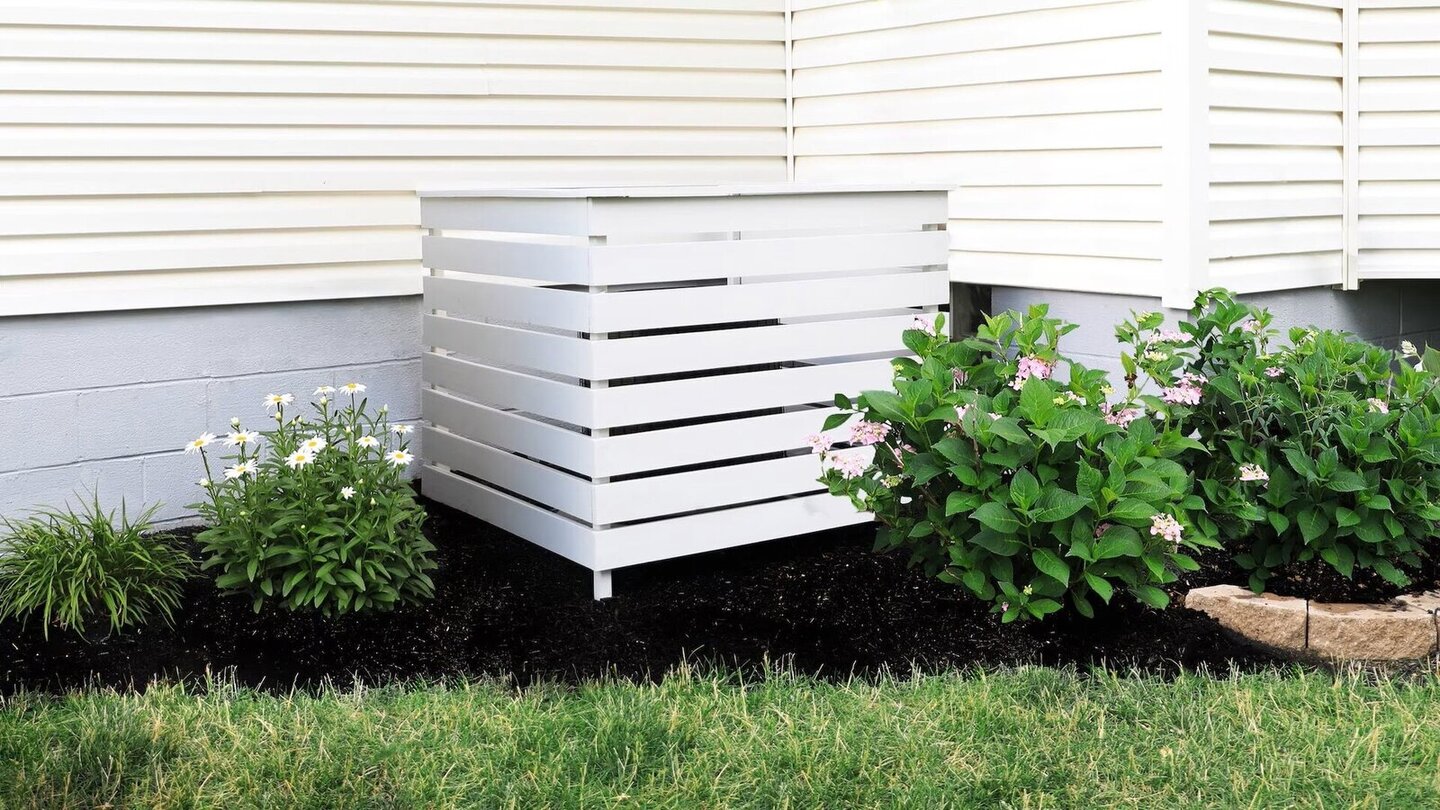
- Trim Vegetation: Trim back any overgrown grass, shrubs, or plants near the condenser unit, ensuring a clearance of at least two feet around the unit. This prevents vegetation from obstructing airflow and allows for easy access during future maintenance.
- Clear Debris: Remove any debris, such as fallen leaves, branches, or other organic matter, from the immediate vicinity of the condenser unit. Regularly clearing the area helps prevent debris from entering the unit and obstructing airflow.
- Inspect for Obstructions: Check for any potential obstructions, such as outdoor furniture, gardening equipment, or storage items, that may impede airflow or hinder access to the unit. Clear these obstructions to create a clear and unobstructed space around the condenser.
- Check for Drainage: Ensure that the area around the condenser unit allows for proper drainage. Clear any accumulated water or debris that could impede drainage and potentially affect the unit’s performance.
By maintaining a clean and unobstructed area around the outdoor condenser unit, you facilitate optimal airflow and accessibility, contributing to the efficient operation and longevity of the unit.
Reassemble and Restore Power
After completing the cleaning and maintenance tasks for your outdoor condenser unit, it’s time to reassemble the components and restore power to the unit. Follow these essential steps to finalize the process:
- Replace the Access Panel: Carefully reattach the access panel to the condenser unit, ensuring that it is securely fastened in place. This panel provides protection and access to the internal components of the unit.
- Remove Protective Coverings: If you placed a protective tarp or plastic sheet around the work area, carefully remove it, ensuring that any debris or water is contained and properly disposed of.
- Turn On the Power: Return to the disconnect box or the circuit breaker and switch the power supply back on to the condenser unit. This restores the electrical supply and prepares the unit for operation.
- Observe Operation: Once the power is restored, observe the condenser unit for any unusual sounds or malfunctions. Listen for the hum of the motor and the sound of the fan, ensuring that the unit is operating smoothly.
- Monitor Performance: Over the next few hours, monitor the performance of the air conditioning system to ensure that the condenser unit is effectively expelling heat and contributing to a comfortable indoor environment.
By reassembling the unit and restoring power in a careful and methodical manner, you finalize the cleaning process and prepare the outdoor condenser unit to resume its crucial role in maintaining a comfortable and well-regulated indoor climate.
Read more: Where Is The AC Condenser Located
Conclusion
Regular maintenance and cleaning of your outdoor condenser unit are essential for preserving the efficiency and longevity of your air conditioning system. By following the comprehensive steps outlined in this guide, you have taken proactive measures to ensure that your condenser unit operates at peak performance, contributing to a comfortable indoor environment and potential energy savings.
By prioritizing safety precautions, removing debris, cleaning the fins, straightening bent fins, and tidying the surrounding area, you have demonstrated a commitment to the care and maintenance of your air conditioning system. These efforts not only enhance the unit’s functionality but also contribute to its durability and reliability over time.
Remember that regular cleaning and maintenance can help prevent potential issues and costly repairs, ultimately prolonging the lifespan of your outdoor condenser unit. By integrating these tasks into your seasonal maintenance routine, you can enjoy the benefits of a consistently efficient and dependable air conditioning system.
As you reassemble the unit and restore power, take pride in the proactive steps you’ve taken to ensure the optimal performance of your air conditioning system. By maintaining a clean and unobstructed condenser unit, you are actively contributing to a more comfortable and enjoyable indoor environment for yourself and your family.
With the knowledge and skills gained from this guide, you are well-equipped to maintain the health and functionality of your outdoor condenser unit, allowing you to enjoy the benefits of a reliable and efficient air conditioning system for years to come.
Frequently Asked Questions about How To Clean Outdoor Condenser Unit
Was this page helpful?
At Storables.com, we guarantee accurate and reliable information. Our content, validated by Expert Board Contributors, is crafted following stringent Editorial Policies. We're committed to providing you with well-researched, expert-backed insights for all your informational needs.

0 thoughts on “How To Clean Outdoor Condenser Unit”